Renovating a house: The ultimate guide to restoring your property
Renovating a house can be both rewarding and challenging in equal measures. Find out what to expect and how to make sure it goes to plan
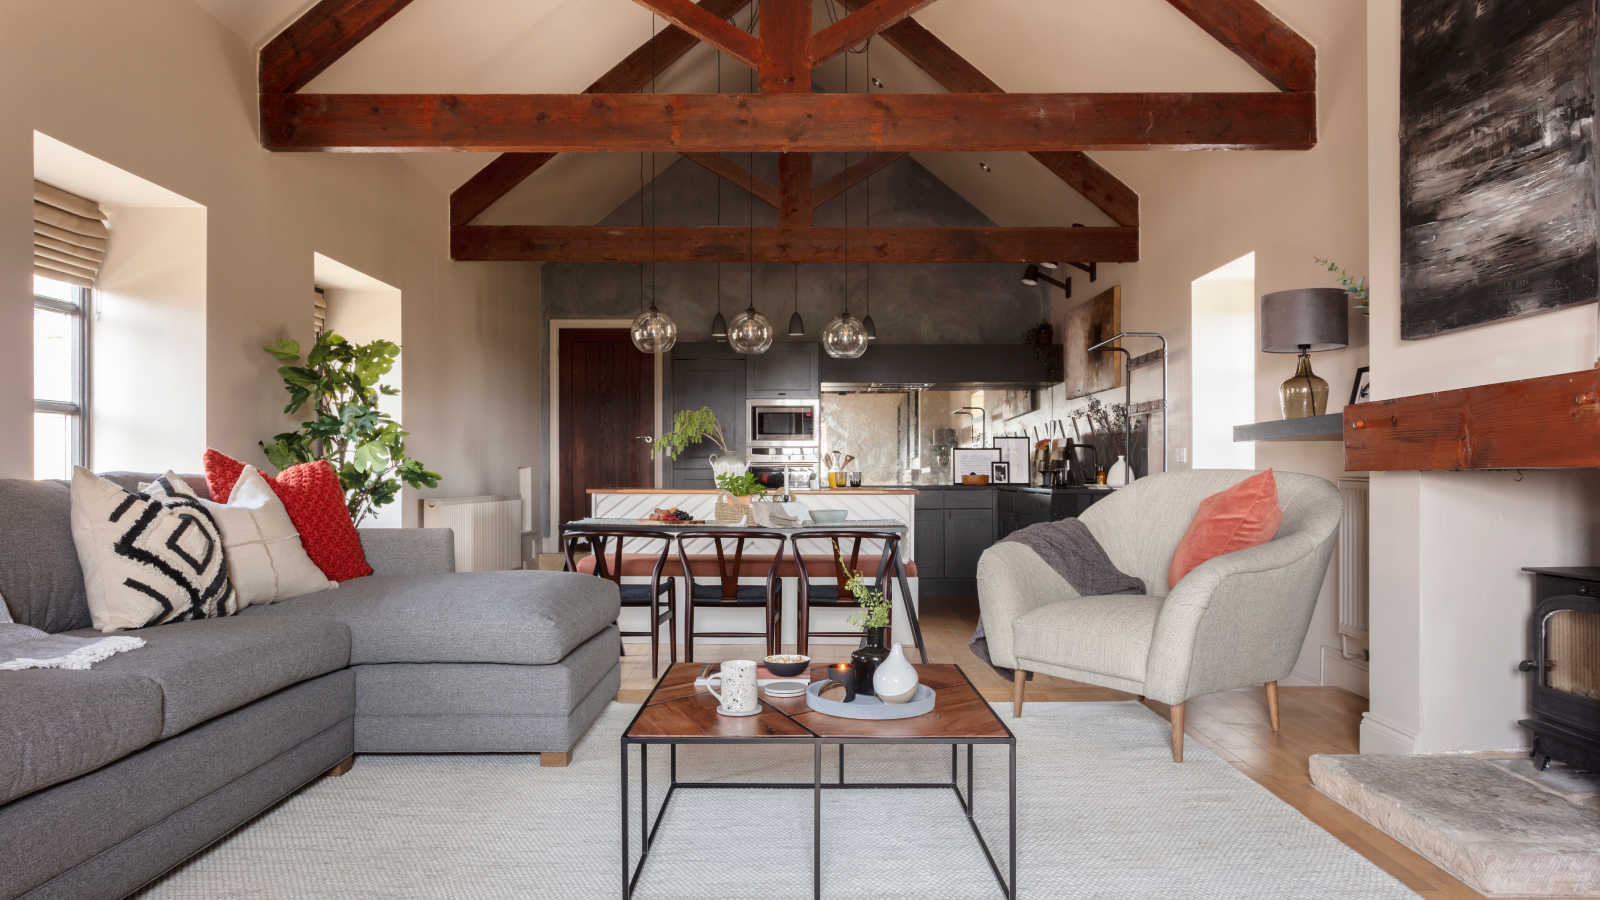
If you’re keen to flex your interior design or DIY skills, renovating a house can seem like the perfect opportunity to breathe new life into a run-down property. As well as giving you the opportunity to restore original features and bring the property back to life, the potential uplift in value can turn into a money-earner.
But, with the potential downsides including the risk of uncovering expensive surprises that eat into your budget, and the fact it’s no longer easy to pick up a bargain renovation from an estate agent or even at auction, it’s important to go into any house renovation project with your eyes wide open and a bank of knowledge at your fingertips.
Which is where our guide to renovating a house comes in. From start to finish we outline the key stages to help you every step of the way from removing the risks of purchasing through to dealing with any unexpected pitfalls.
Renovating a house: Renovate or remodel?
Although the two terms have different meanings, there is usually some crossover when renovating a property. Renovation is more akin to restoration – bringing something back to its original state, to reinvigorate and refresh it.
Remodelling on the other hand, essentially refers to changing a building, perhaps through altering its layout or extending it. However, the boundaries between the two can often be blurred. Renovating a Victorian property for example may include remodelling the layout or adding a side return extension to give you more space, as well as renovating the interior features.
What’s important with any project that involves renovating a house is to identify what Cathy Dean, founder and CEO of Studio Dean refers to as your home’s ‘superpower’.
“Every home has an interior design superpower. Some superpowers jump out, some take a small adventure to reveal themselves. Some need to be handled carefully so they don’t take over the world. Some, you might even have to invent yourself - but every home can have a superpower,” says Cathy.
Bring your dream home to life with expert advice, how to guides and design inspiration. Sign up for our newsletter and get two free tickets to a Homebuilding & Renovating Show near you.
“The key is to not think about your house like everyone else would. It’s surprising how many assumptions we can make about certain builds and how this can affect our interior design and architecture choices,” she says.
“Just because you have a terraced house, doesn’t mean it needs to act like every other terraced house on the street. Own your home’s USP (unique super power) and plan everything around it.”


Cathy founded Studio Dean in 2016 and has made it her life’s mission to dispel the myth that functional cannot be beautiful. She has a vast amount of knowledge when it comes to renovating and remodelling properties and she excels in creating stunning interior and architectural designs that work with everyday life.
Finding a property
The actual process of finding and buying a house to renovate is often one of the hardest parts of renovating a house. Properties in need of modernisation are always in high demand with renovating for profit on many people's wish list, and as a result, it is not uncommon for people to end up paying more than a house is worth in order to beat the competition, adding to your house renovation costs before you even get started.
Cash-buyers tend to be more successful than those relying on a regular mortgage or a renovation mortgage, as getting a mortgage on a property will depend on an independent valuation to ensure the house is worth as much as your accepted offer.
Despite properties selling fast, it's important not to rush into anything – checks will need to be made to uncover any issues that could swallow up your budget. Fortunately, you don't have to buy blind and even before you have purchased a renovation project, it is possible to get a good idea of the condition of a house.
Properties in need of renovation are often sold at auction or using a sealed bid system of best and final offers. Get to know how these systems work early on to help you stand the best chance of securing a renovation property at a great price.
Make a renovation project checklist
Not all renovation projects are going to be right for you – some will just work out to be too much of a financial undertaking while others will involve too much work.
So, when assessing a home for renovation to understand its potential, it’s important to have a renovation checklist that will ensure you ask the right questions before committing to a purchase. It’s often all too easy to fall in love what you think is the potential of a property, without really understanding what is practically possible, what will be permitted by the local authority (or Heritage Officers in the case of listed buildings), and what will be affordable.
When viewing a house online or in person, make sure you find out answers to the following questions, especially if you are looking for somewhere you can extend.
- Is there space to add a house extension, convert a loft, basement or garage?
- Have neighbouring houses been successful in getting planning permission for renovations, similar to your house extension ideas?
- Is the house in the right location for you?
- How much of the work will be structural versus decorative?
- What are the ceiling prices for houses in the area? Will your renovations add value to the property?
- Are there any covenants or planning restrictions that could prevent your planned extensions or alterations?
When possible, it’s also a good idea to ask to go back for a second viewing and take a builder or architect with you to ask for their professional opinion. It certainly saved me from making bad choices in the past as any good builder will spot problems that you may not notice on your first visit, such as windows and doors not quite lining up properly which may suggest an issue with subsidence.
Subsidence, underpinning or piling work to the existing foundations can be a particular concern, and if lateral spread has occurred in the walls and roof, steel ties might be needed. In some cases, the insertion of steel props, beams or scaffold will prevent further collapse. Whether you choose to proceed knowing this will come down to ensuring you have the best professional advice to deal with the problem and a comprehensive set of underpinning costs for rectifying it.
Booking the right surveys
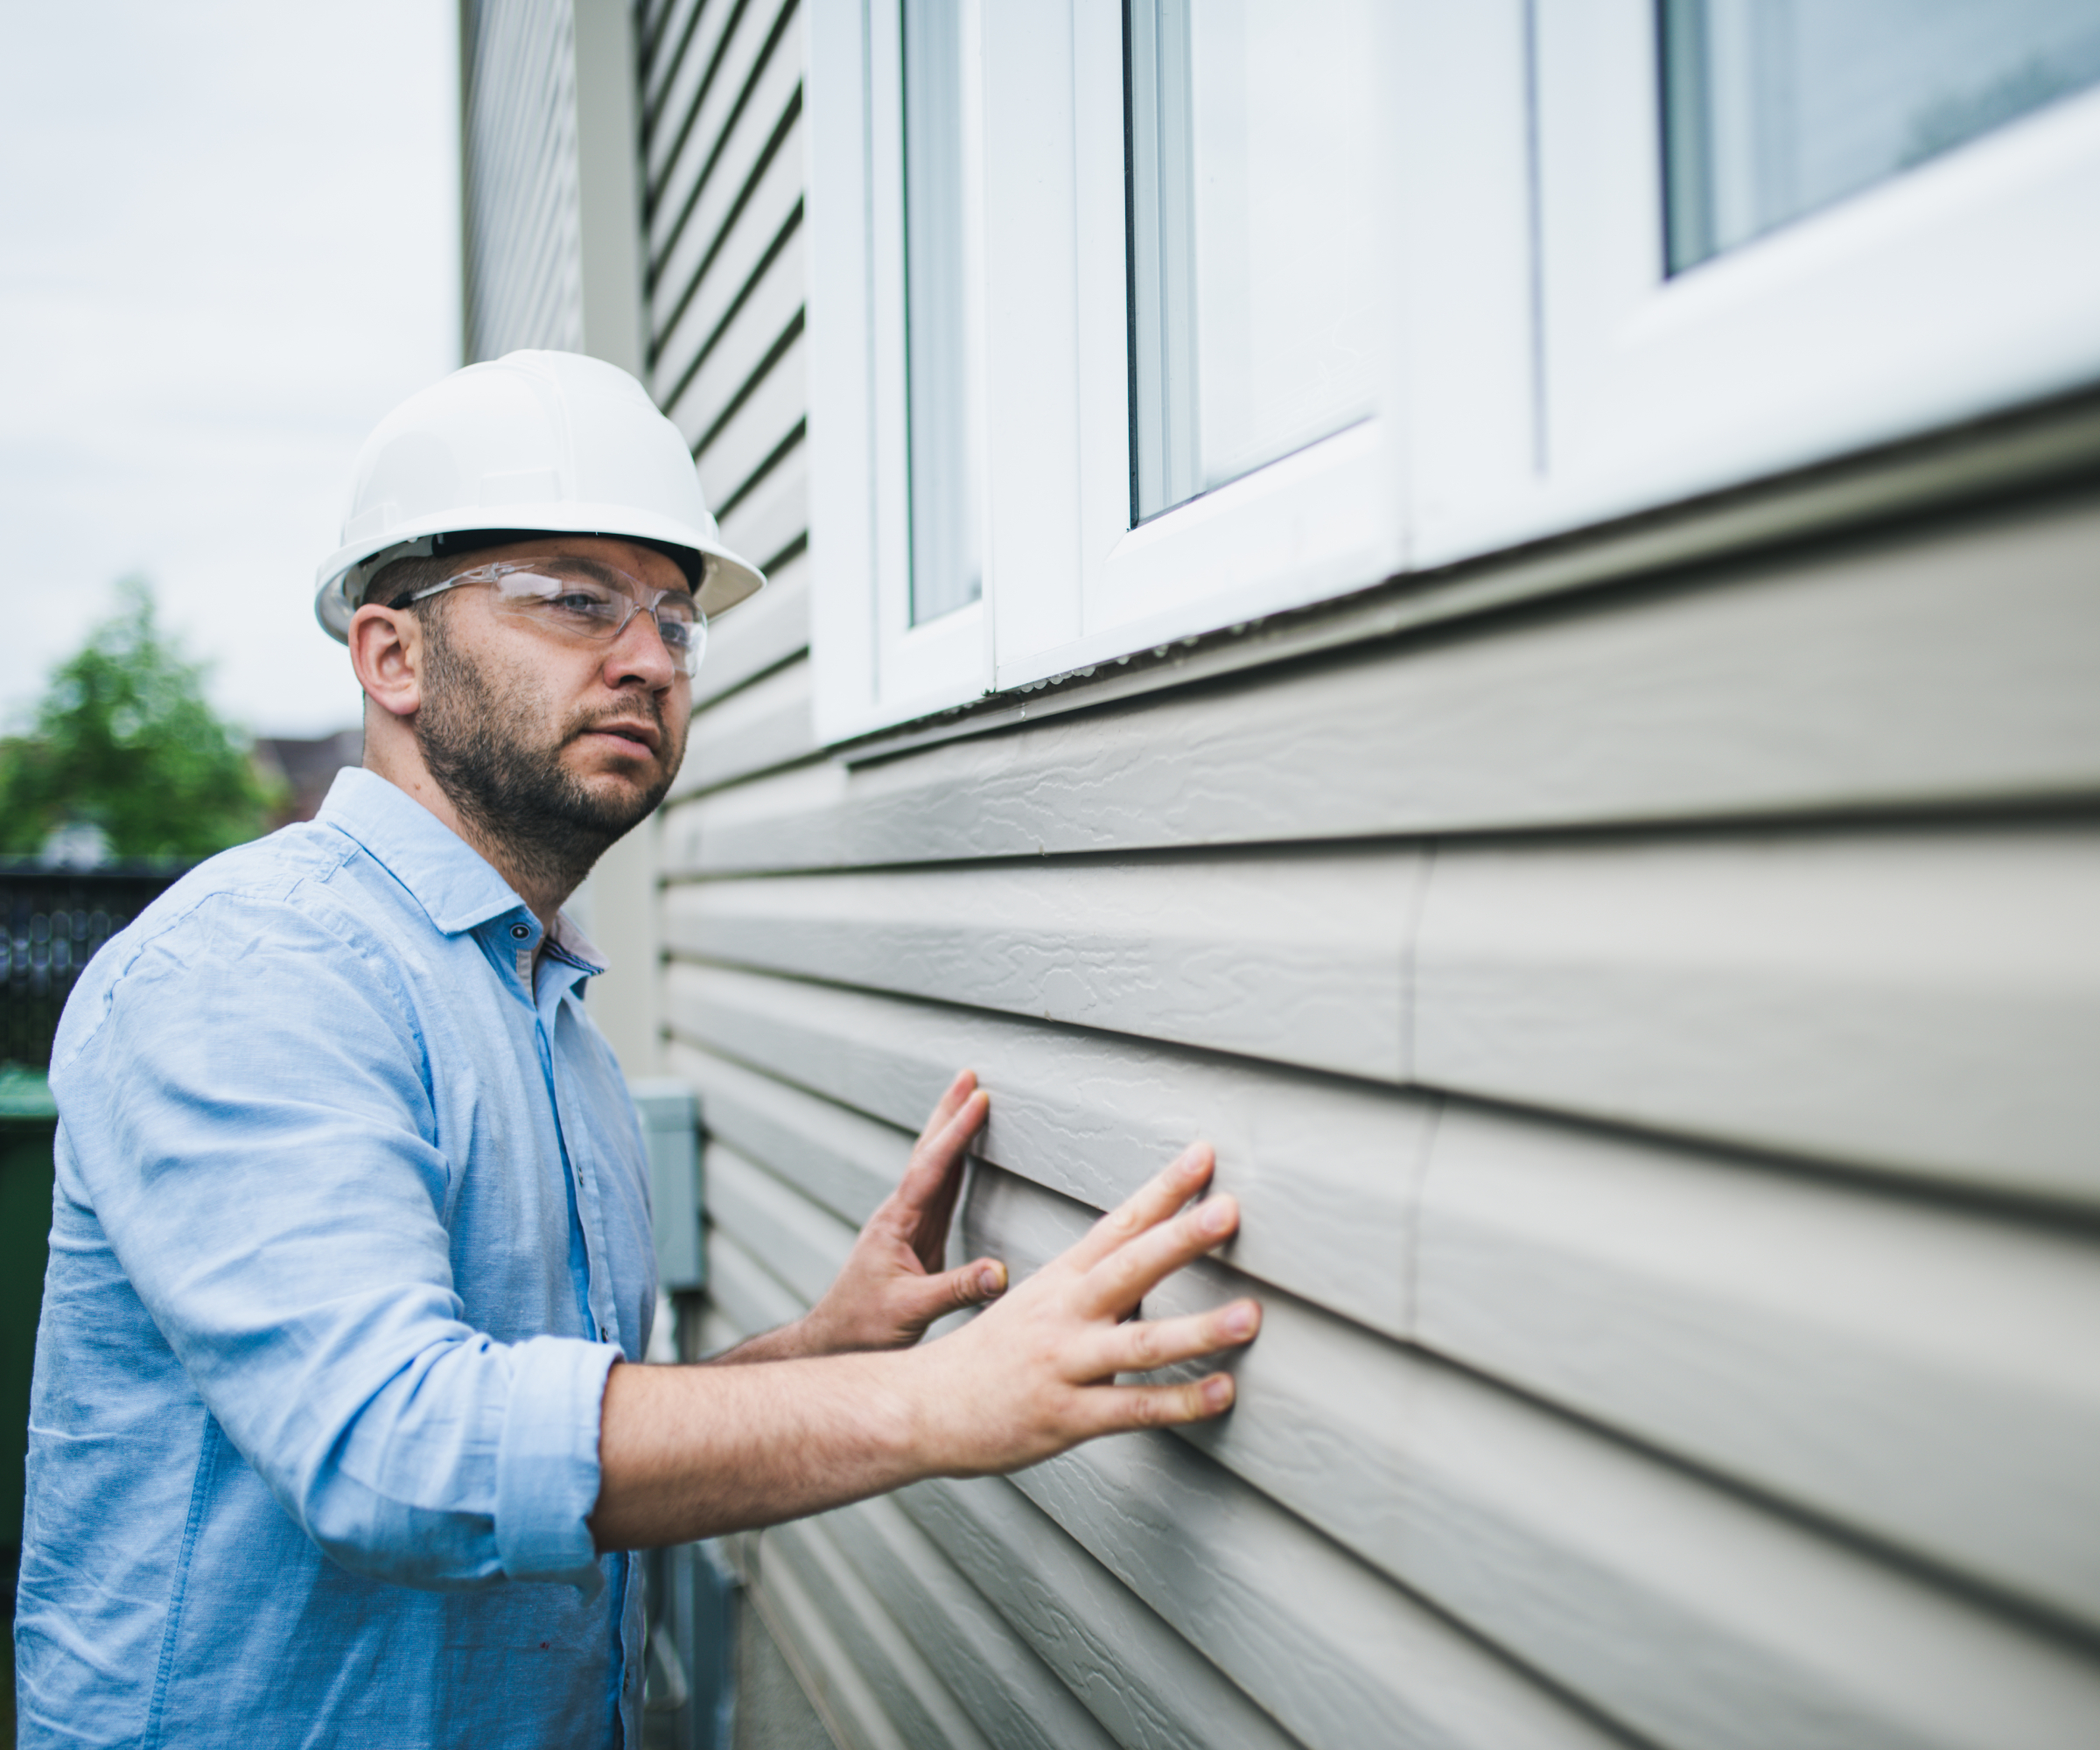
The right building survey will ensure any potential issues are flagged up early. In fact, if the homeowner consents, it is sometimes possible to arrange a survey before even putting in an offer on the property, but the norm is for it to take place once your offer has been accepted.
A comprehensive building survey needs to be conducted by a Chartered Surveyor and you can find a surveyor via the Royal Institute of Chartered Surveyors. The survey report should highlight any areas of concern and give you an idea of any essential repairs that will be needed and what they might cost. If the repairs seem manageable, you may even be able to barter money off the property based on the findings.
And although there’s a risk the survey finds problems that are worrying enough to make you withdraw your offer, meaning you’ve paid for a survey and won’t get that money back, if the issues are that serious, it will have saved you money in the long run.
A building report should also help to reveal the construction methods that have been used in the house (sometimes these vary if the house has been extended over the years). This information can then be used during the house renovation in order that any new materials and techniques used are appropriate.
And if you’re keen to get an architect to start drawing up plans, you may also decide to commission a measured survey so you can get a precise scale drawing of the layout of the existing building. These are often required when putting in a planning permission application for the likes of an extension so it won’t go to waste.
Also think about a drainage survey even if you don’t see any obvious problems as it offers peace of mind on a property's drain system and is relatively inexpensive, especially when compared to the cost of rectifying any drainage problems that are left unidentified after you've already bought the property.

Additional surveys may also be needed
Although a building survey may be sufficient, be prepared for further investigations if your Chartered Surveyor finds or suspects infestation, subsidence or heave, damp or drainage problems.
Remember, most structural issues will have a solution. While these may well mean you need to increase your budget, finding them early on will allow you to plan better for this. But, you do need to bear in mind that certain structural problems, such as subsidence, could affect your insurance options, as well as the eventual resale value of your home.
Working out your renovation budget
If you are aiming to renovate on a budget, this is a really important stage. Before buying a property to renovate, you should be aware that, apart from the usual house renovation costs, there are some additional fees you should factor in, including:
- Reconnection fees: It may be necessary to connect or re-connect services such as water, electricity or gas
- Council tax: Don’t forget that this may change if you extend your property putting it into a higher valuation bracket
- Professional fees: include planning permission and Building Regulations approval, a variety of surveys, structural engineer reports and any other professional fees (e.g. tree surveys) in your budget
- Contingency fund: make sure you have some extra cash on hand to deal with anything unexpected that may arise (and when renovating a house, it is absolutely to be expected that you will end up using it)
- Legal costs: expect to pay anything upwards from £500 - £2,000 for a solicitor or conveyancer to act on your behalf
Explore the possibility of renovation grants
It pays (quite literally) when organising funding for your renovation, to check whether you are eligible for any grants that might apply to the house renovation work you are carrying out as you will need to apply for grants before starting work. Check with your local council and also at national level from Central Government via National Heritage.
When it comes to VAT concessions, reduced rates may be offered on residential buildings that have been empty for two or more years. You can find more on this in VAT Notice 708.

Organising renovation insurance and warranties
Once you’ve exchanged contracts on a renovation project you become responsible for the site and you must therefore have the right insurance in place. Renovation insurance covers your property while building work is taking place, and is also sometimes referred to as building work insurance, building renovation insurance and house refurbishment insurance.
It may also affect your funding, as if you are taking out a mortgage to fund the project, your lender may not release any money without your warranty and proof of insurance being in place.
However, should you experience issues such as flooding, theft or fire to the property, this tends to be claimed via standard home insurance. It’s therefore vital to let your insurer know when you're conducting major house renovations of any kind as your standard policy could be invalidated.
When renovating a house, insurance should include public and employer liability, cover for building materials and works, plant, tools, temporary buildings, the existing structure, personal accident cover and legal expenses. Typical costs range from £500-£1,500 depending on the project.
Do I need a house warranty?
While house warranties are not always a requirement when renovating a house, they can be a good idea.
A warranty is basically a policy which will cover your house against flaws in its design, materials or build quality – it will also cover any problems that occur as a result of these defects. They usually last for around 10 years.
If you are interested in getting a warranty on your project, try and get one from the beginning of the renovations as premiums are likely to increase the more you progress with your project.
Finding the right architect for renovating your house
Once you have secured your renovation project and assessed its structural condition, the next task on your list will be to develop a design for your new home and any extensions you might have planned. Many people renovating a house find producing a design for an existing house trickier than starting from scratch.
Likewise, some may choose to live in the property for a while before making any major decisions, but if the property you are purchasing is in need of too much work, you may be keen to hit the ground running as soon as you pick up the keys. In which case, the scope of the work will depend who you hire.
It is not always necessary to hire an architect, architectural technologist or interior designer and obviously you may well have some great home renovation ideas of your own. However, extension projects and larger-scale renovation projects, as well as those in sensitive areas or listed buildings, will almost always require professional advice.
The benefits of hiring professionals mean you will have experts such as a structural engineer who would be able to provide good solutions for specific problems, as well as a team who will be able to talk you through the planning permission process, produce designs based on your brief, advise on what will or won’t be viewed favourably by the local planners (some works might fall under permitted development) and give you a good idea of how far your budget will stretch.

Finalising your house renovation design
When it comes to finalising your design and renovation plans, there are a number of key factors to consider from both a practical and aesthetic perspective.
Improving your home’s energy efficiency
Sometimes referred to as ‘eco-vation’, eco-renovation is the process of improving the energy efficiency of older properties which are historically cold, draughty and poorly insulated.
There are two main ways to ensure your finished renovation is eco friendly. Firstly, you need to minimise the amount of heat your home uses to keep its occupants warm, and secondly, minimise the cost of producing the heat that it does require.
Draught-proofing is essential, but you should also prioritise wall and loft insulation. Upgrading the boiler and heating sources (such as old radiators) will also help to reduce heating bills, as well as creating a more comfortable internal environment.
Easy draught-proofing measures include adding draught seal, renovating sash windows or damaged and ill-fitting windows and doors, and the use of draught excluders.
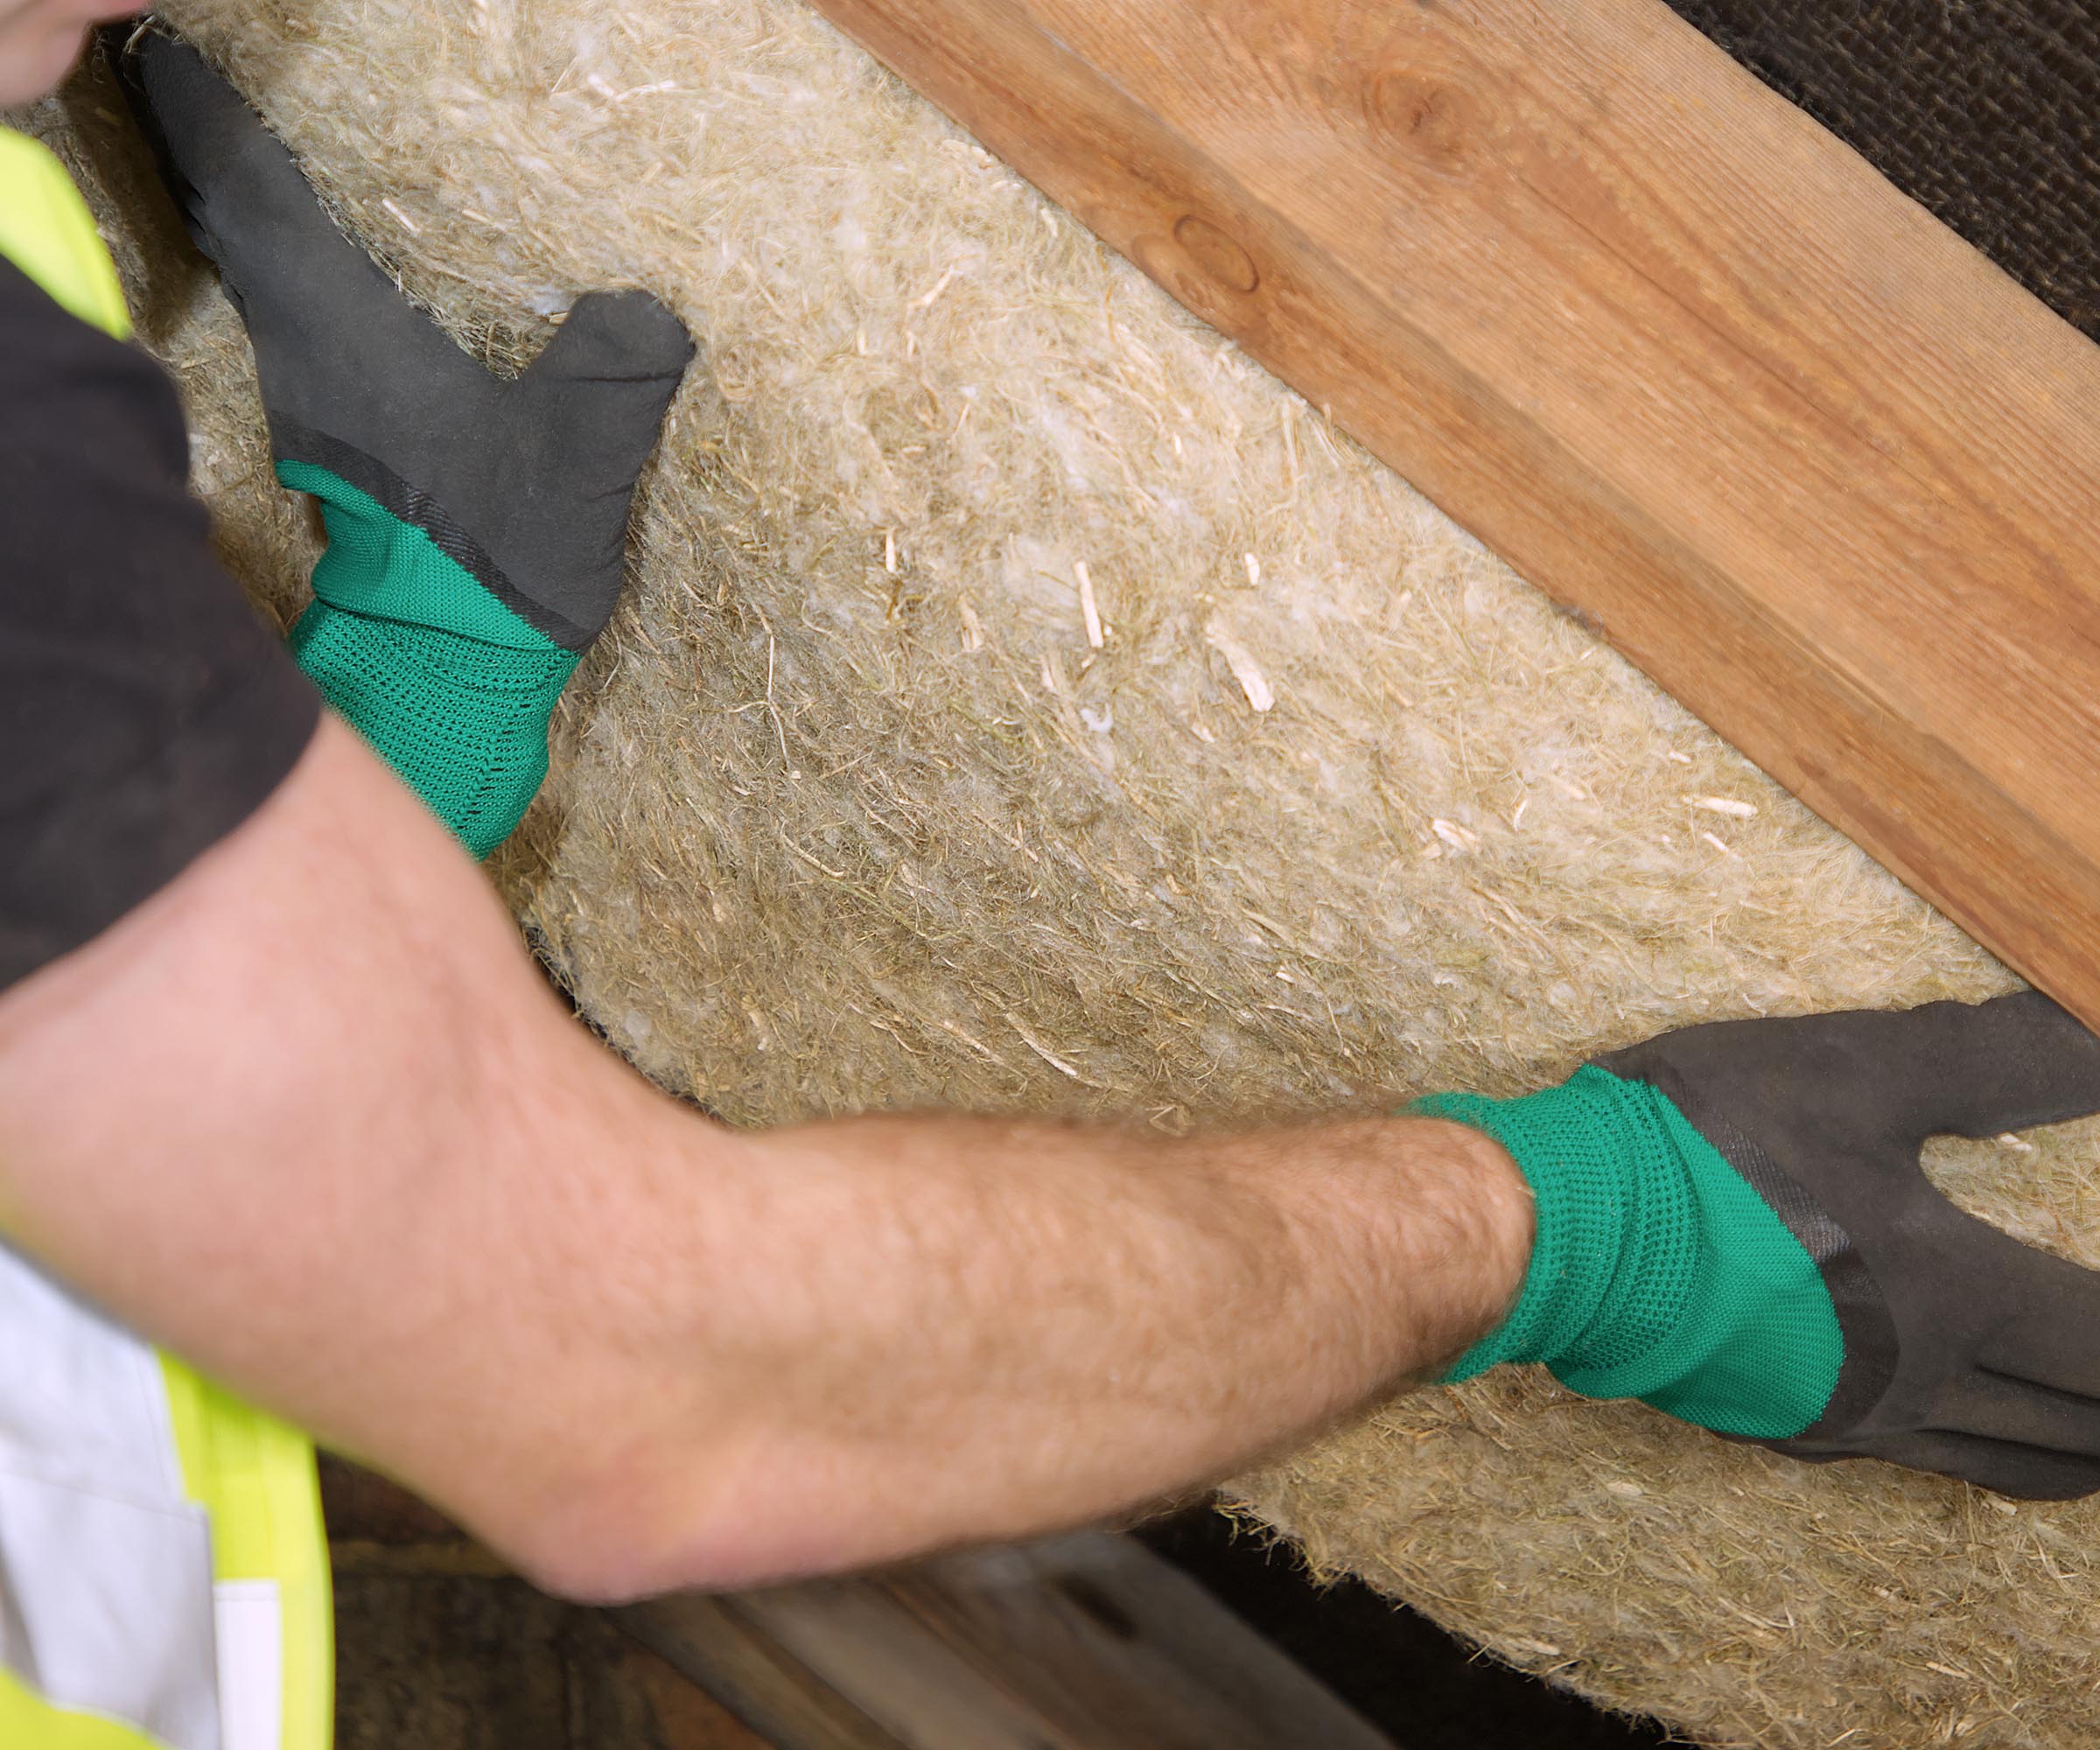
Insulating old houses can involve adding in cavity wall insulation (providing you have cavity walls), adding internal wall insulation to existing solid walls, which will then require plastering, or adding external wall insulation (an option for those carrying our an external make-over or re-rendering).
You might also consider investing in double glazing costs, although this will depend on the affect it will have on the overall appearance of the house and whether it is permitted under your planning permission.
Getting the aesthetics right
When renovating a house, as well as the finishing touches such as colours and materials, you’ll need to focus initially on the bigger picture items says Cathy Dean, all of which can help tap into your home’s unique characteristics. In order to harness its full potential, she recommends taking a look at the following areas and ensuring you get them right.
1. Symmetry
“Symmetry is the key to beauty, and beauty is power, so if your home has it, use it. Georgian houses for example have beautiful symmetry, but sometimes it doesn’t suit how we live now. But, you should always try to keep the proportions and regularity in place and keep everything symmetrical,” says Cathy. “Try to avoid turning windows into doors as it will make the house look lopsided.”
2. Period features
“If your house is of a certain age, it was built with its own inherent superpowers. These give it character and tell a story of its age and origin which you can’t replace or fake,” she agrees. “Original fireplaces, coving, window frames, doors and flooring are all treasures, unique to your home.
“Our mantra is “what’s old is old and what’s new is new” so as a company, we will never try to make period features modern, or put period features in modern homes. Celebrate homes for what they are, keep all the history and features that you can, and use colour and decor to frame, spotlight and personalise them.”

3. Light
“The way the light hits and enters your house through the day can be a real superpower if you harness it well. Observe how light falls at different times of the day and year, and then think about what you can do to make the most of it,” advises Cathy.
“Options can include adding roof lanterns or skylights, or creating double-height spaces to move light through the house vertically. Or enlarge windows and remove interior walls to let light flow through horizontally.”
4. Space
“Super spatial planning will take your interior architecture and make it perfect for your lifestyle,” explains Cathy. “Maybe you don’t need three en-suites that you never use. Maybe one larger family bathroom would work best for you, and then you can have a cheeky yoga space or upstairs laundry room.
“To maximise function when renovating properties, consider adding games rooms, butler’s kitchens, pantries, boot rooms, mud rooms or even dog-washing and drying rooms.”

5. Flow
“Optimising the way you flow through your home immediately elevates the whole space, and makes your life easier. There are several ways to power up your flow. Architecturally, you can move, remove or add stud walls to improve function and flow. You can add, remove or disguise doors to direct flow to and away from public and private spaces.
“To make your whole home flow, keep your flooring consistent all the way through,” suggests Cathy, “as this makes your interior design instantly cohesive.”
6. Views
“Sometimes we forget that what’s outside your house is just as much a superpower as what’s inside. If you have a gorgeous view to one side of your house, redesign your interior architecture to harness it throughout,” says Cathy. “Put lesser used rooms the furthest from the view – such as bathrooms, boot rooms and snugs that are usually used when it’s dark.”
7. Exterior improvements
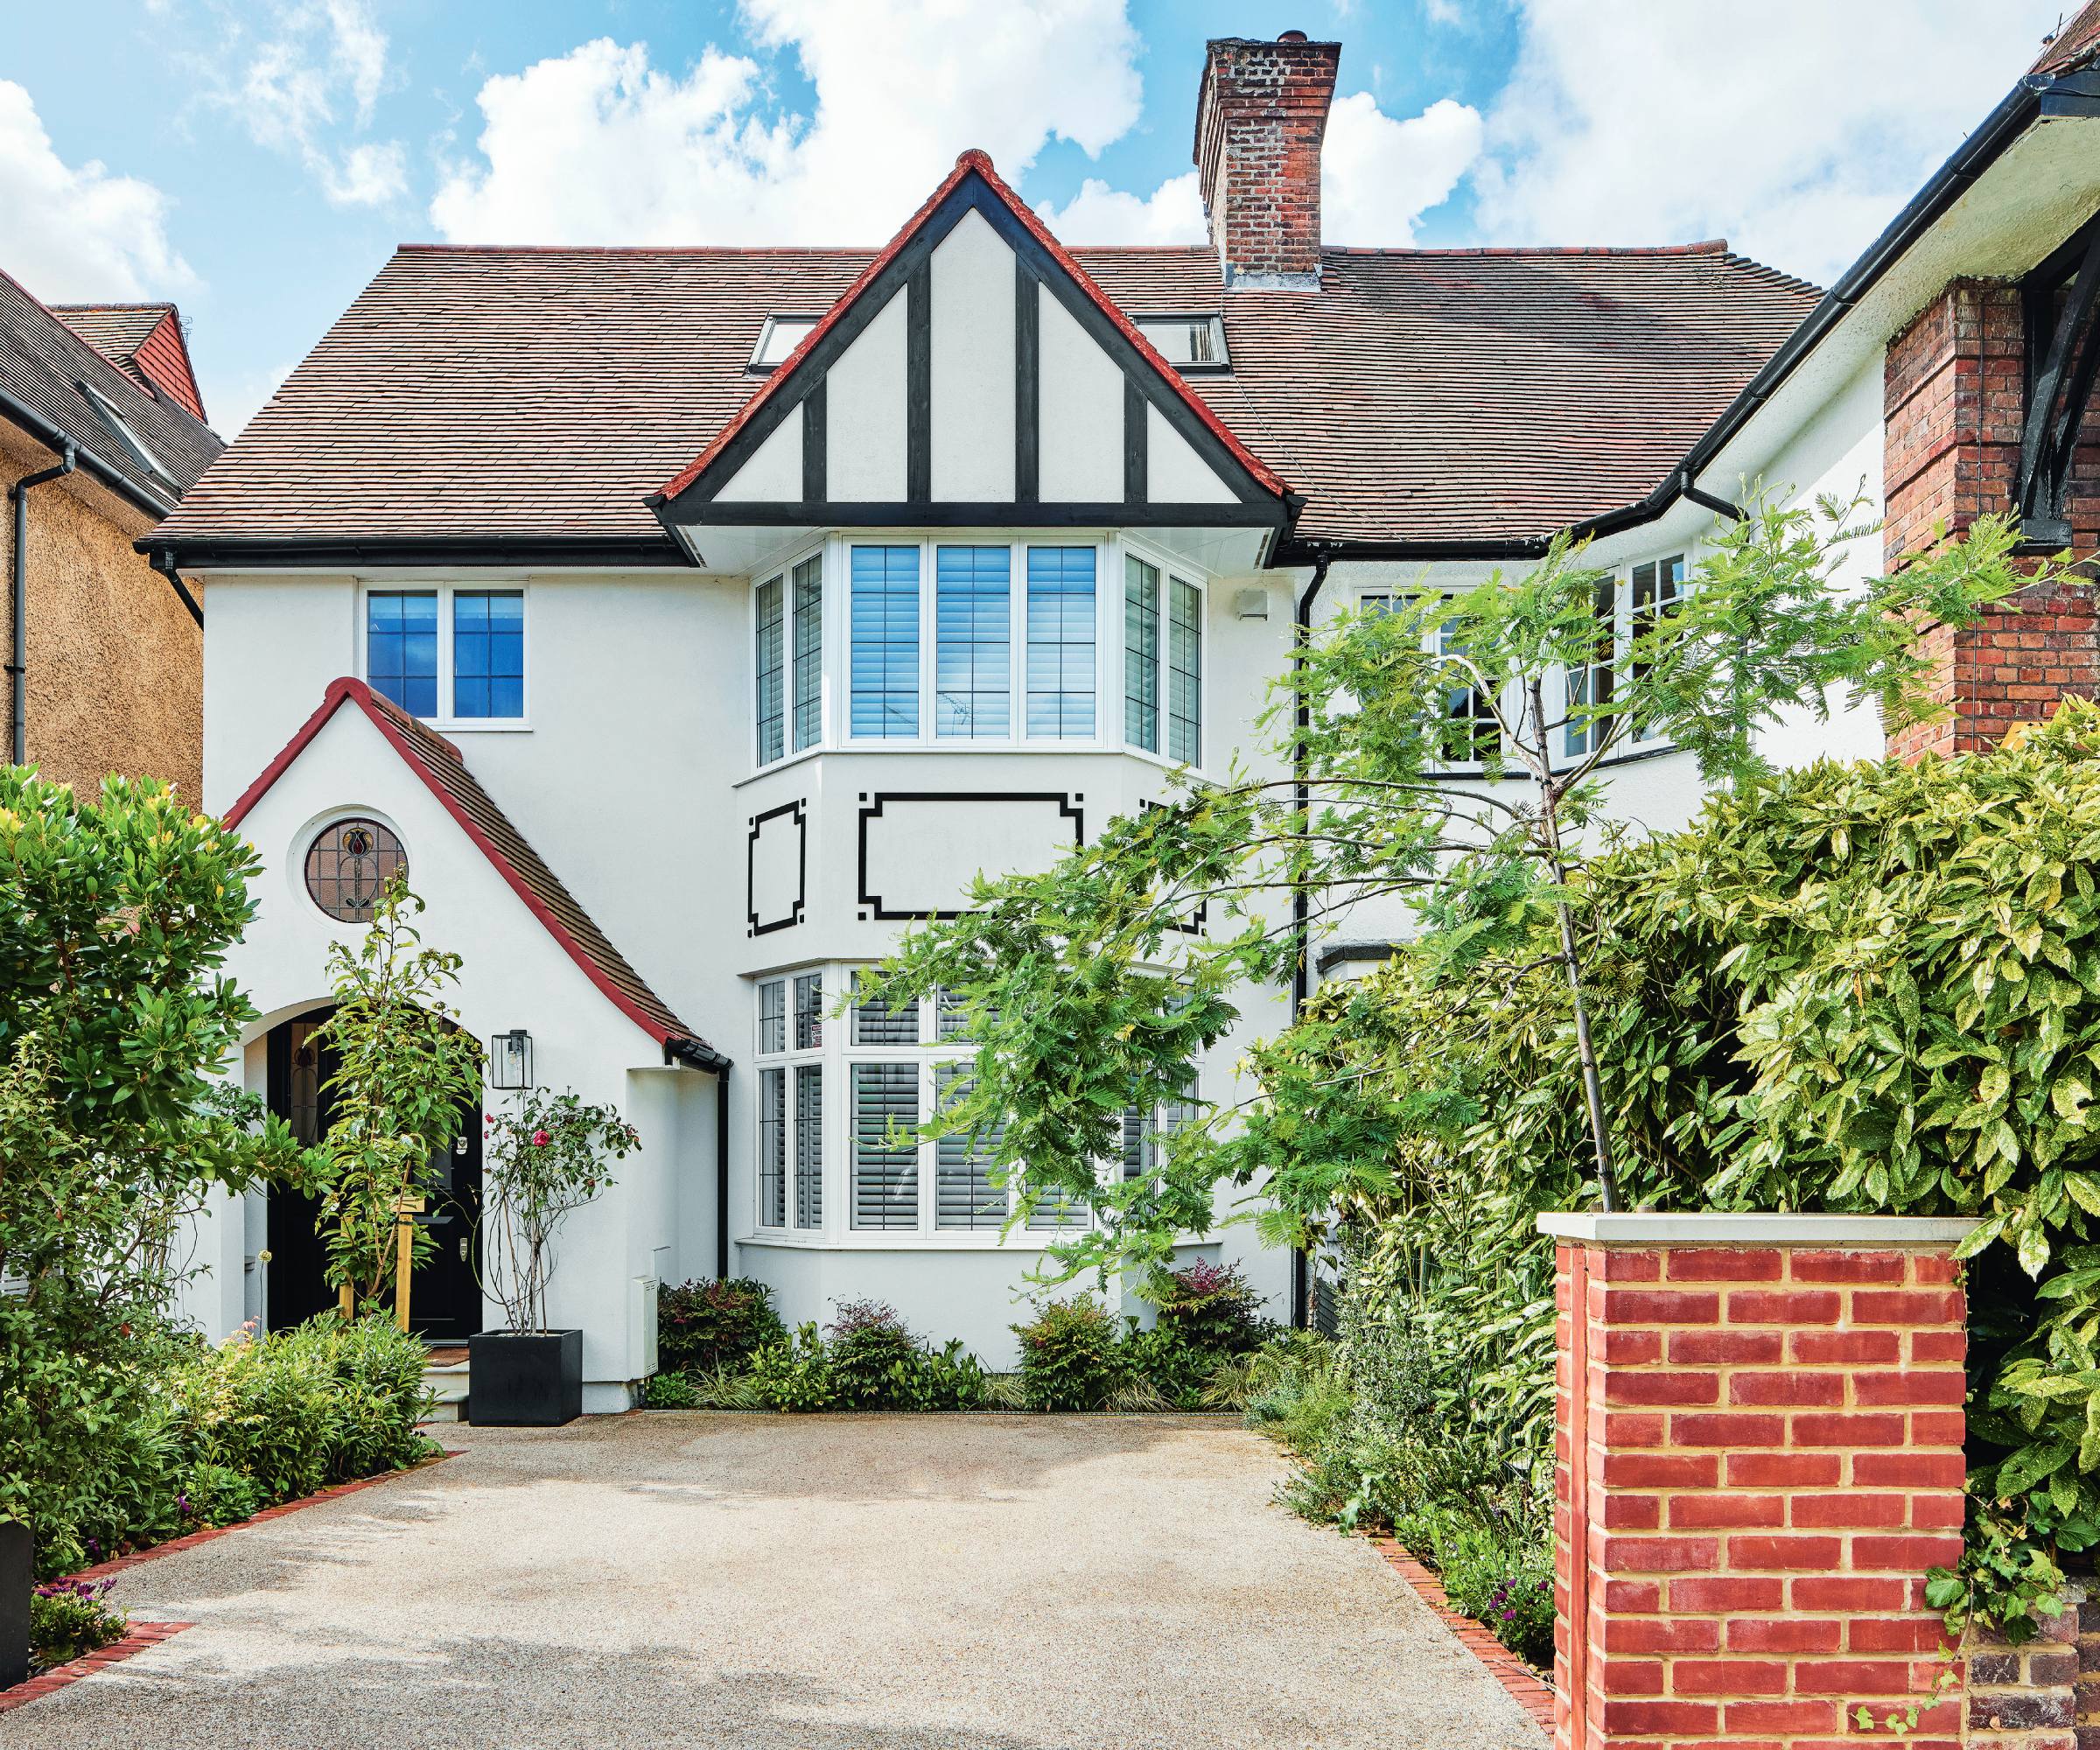
Renovating a house doesn’t always involve a pretty country cottage or beautifully symmetrical period properties which may mean you’re also faced with needing to think of ideas for giving the exterior of your home a face-lift.
In fact, an increasing number of people are now waking up to the potential of post-war properties that, whilst not as visually attractive at the outset, are often cheaper, full of natural light and come with large open internal spaces. Post-war houses provide a huge amount of potential for a stunning exterior makeover, including new cladding, roofing materials, window treatments and driveways.
It is important to look at the smaller details that you could change without breaking the bank before you take on a large-scale makeover – these are vital when it comes to creating kerb appeal. Many of these changes can be carried out under Permitted Development, but if your home has a special designation (i.e. listed) these rights are removed. Small alterations to consider include:
- Replacing rainwater goods
- Repainting (or replacing) any timber work, such as fascia boards and finials
- Adding a porch idea to add character
- Landscaping, including gates, fences and planting
- Painting brickwork
Establishing if you need planning permission (if you haven’t already)
Not all house renovation projects will require planning permission, some will fall under permitted development, but there are several consent checks such as listed building consent to bear in mind before starting work on your house.
If you are extending or altering the roofline you may well require planning permission and if you live in a designated area, you will almost certainly require consent before carrying out any work.
Checking with your local planning department for full clarity before you exchange on a property is generally advisable, as even though they won’t able to give you a fixed answer, they will be able to let you know what has and hasn’t been approved on similar properties in the past.
Don’t forget the Party Wall Act
If you are building near the boundary of your house renovation you should also check whether or not this work is affected by the Party Wall Act.
To avoid delays, begin your schedule of works (more on this later) with those projects that do not require planning consent.
Hiring a builder for renovating a house
If you are using an architect, you may well find that they have builders they regularly work with and who they can recommend.
Otherwise, you will need to find a builder to carry out the renovation work for you (unless you plan on doing all the work on a DIY basis.)
Trusted recommendations are the best way to go about tracking down reliable tradespeople and you should always aim to use builders who have carried out work of a similar type and scale to those you are planning. Get at least three quotes before making a final decision and if the work is vast, consider engaging a quantity surveyor to prepare a Bill of Quantities to ensure the quotes are all priced on the same materials.
Once you have a design you are happy with and which has been approved, you should then work with them to create a schedule of works to ensure that you are carrying out improvements in a logical way to minimise disruption and duplication.
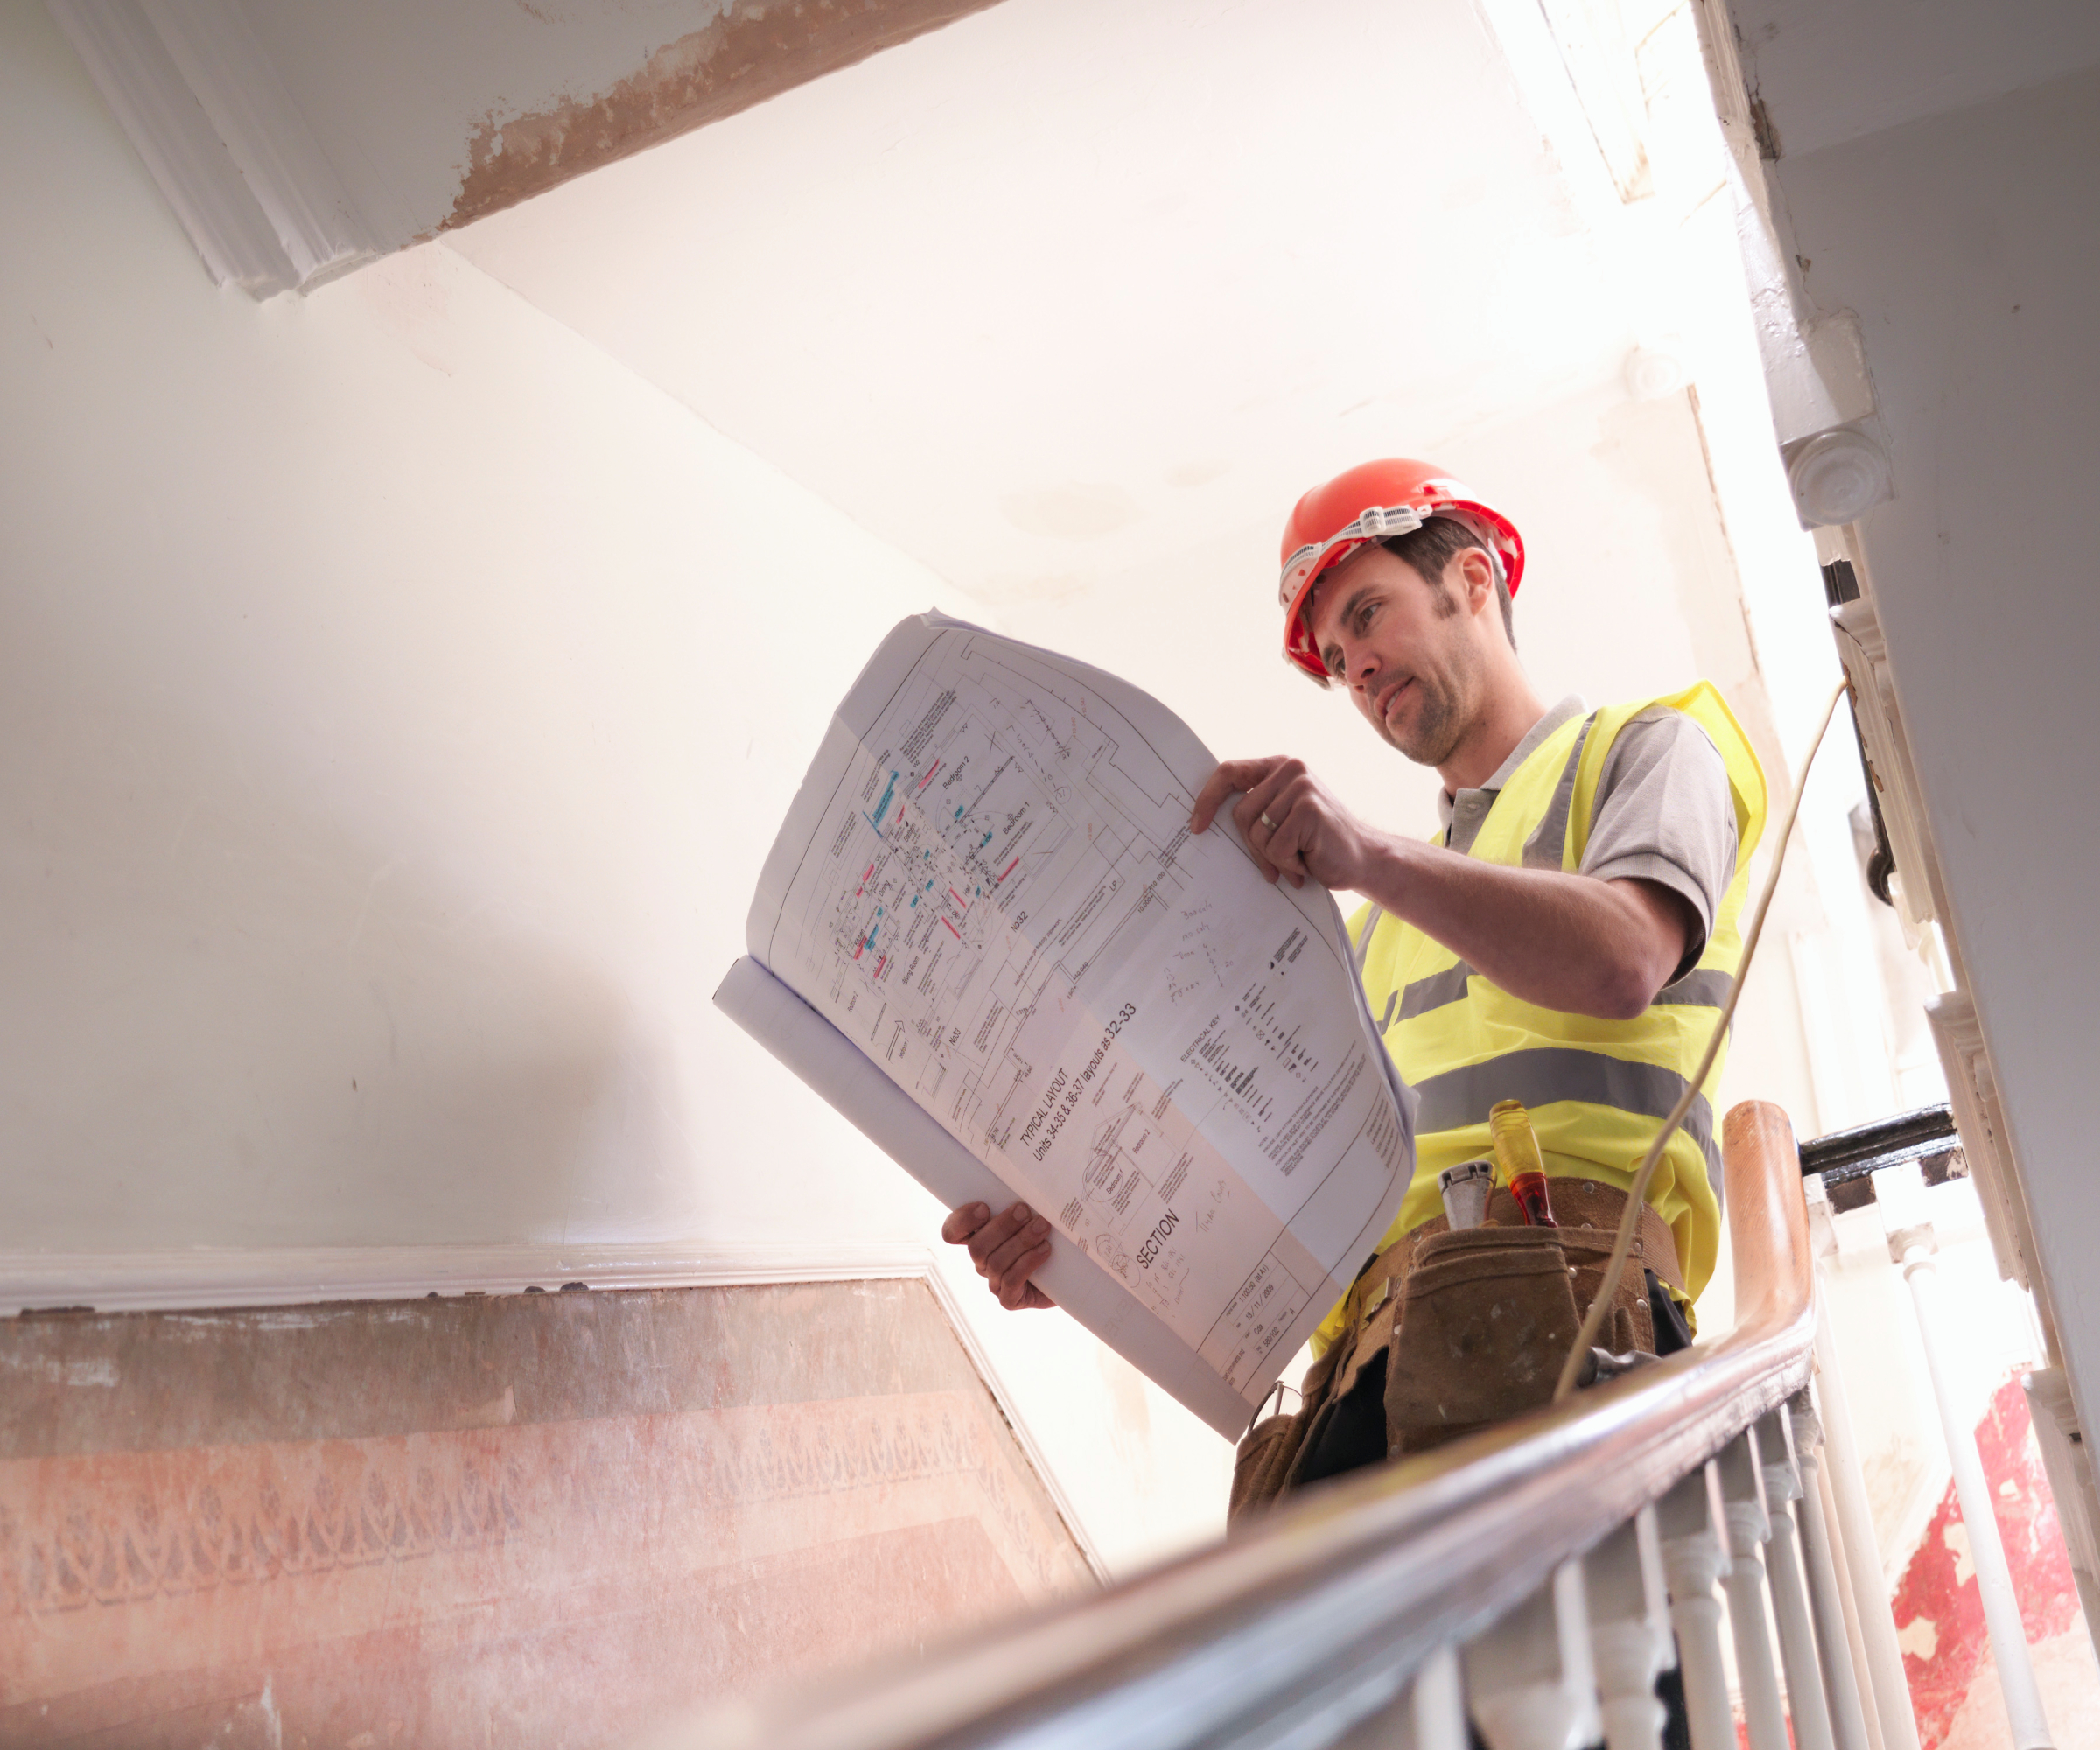
What is a schedule of works?
No renovation project should kick off without a schedule of works. It will keep the project on track and ensure you and the trades know the order in which the work will take place.
A concise and clear schedule of works will list every single job that's required when renovating a house, laid out in the correct order for the most efficient process. It should also ideally include who should be doing what and how much it will cost.
While each schedule of works will vary depending on the nature of the project, with plans approved, and permissions and funding in place, a typical one could look like this:
- Any immediate remedial repairs
- Stabilising the structure
- Demolition work
- Dealing with damp
- Drain work
- Improving site access
- Major building work
- Getting the property weathertight
- Exterior finishes
- Hard landscaping
- First fix
- Plastering
- Drying out
- Flooring
- Second fix
- Decorating
- Final clean
- Snagging
Notifying building control
Even if the work you’re doing as part of renovating a house doesn’t require planning permission, the work will still need to comply with Building Regulations in order to ensure it meets a whole range of standards including, but not limited to safety, thermal and energy efficiency, sound, electrics and glazing.
There is a big difference between planning permission and building regulations, one of them being that even those jobs that require Building Regulations approval can be started following 24 hours’ notice of the intention to comply being made to the local authority building control department. This is unlike planning whereby you cannot start work until permission has been granted.
External and internal renovation stages
Renovating a house, especially one where you are extending or adding a conversion will involve both external and internal works. Prior to this, it’s worth remembering that if your house renovation is located on a site with already restricted access, it’s a good idea to plan ahead and get any large items or machinery in for landscaping, before access is further obstructed by new building work and stored materials.
And while renovating a house can be a similar process to building a house, each project will be unique. As a guideline however, you can expect to experience some or all of the following stages.
1. Demolition and waste removal
If you are removing any sections of the house you will also need to think about demolition work and how you will dispose of any waste. Skip hire costs will need to be including in your budget, or if the work taking place doesn’t involve too much debris, private individuals can get rid of most waste for free at local authority tips, although asbestos will need to be dealt with separately.
2. Protect and repair original features
For many people renovating a house, one of the main attractions tends to be the potential to incorporate original features that may still be in place – all of which add to the character and charm of old buildings. In one property I renovated, the staircase was considered to be worth renovating so during the project we boxed it in with plywood so that it wasn’t damaged while the rest of the work took place.
While you may choose to remove those items that can be renovated and restore them safely off-site, not all renovation projects will have survived years of neglect, meaning original features might be missing or damaged. Work out which features are worth saving and which are later additions in order to avoid spending money unnecessarily.
In some cases, the cost of repair work does not practically make sense and you may need to consider sourcing sympathetic, matching replacements. However, unless you are prepared to spend more, these replacements may not capture the fine detailing of the originals.
In order to retain the original character of your renovation project, there are certain features which you should pay extra attention to including:
- Repairing windows
- Renovating floors
- Stripping doors
- Opening up fireplaces
- Original mouldings
- Reparing roofs
- Restoring timber beams

If however you’ve revealed certain period features which aren’t in keeping with the your renovation plan, these items can sometimes be sold onto a salvage yard. Sometimes it is even possible to sell the salvage rights of large-scale demolition projects in which case some of the removal work may be undertaken by the reclamation yard – saving time and effort and potentially raising some cash, too.
3. Deal with drainage
Before starting work, it’s also worth checking your existing drains again. Locate the inspection chambers (manholes) and pour different colour food dye down the loos and sinks to find out what is connected to where and whether any drains have collapsed and need digging up.
If building an extension, you may have to relocate drains anyway and now is the time to find out. If there is no mains drainage connection, inspect the condition of any existing septic tank and soakaways.
4. Get your project watertight
Once the roof structure has been repaired (or built in the case of extensions), felted and battened, the entire structure should be made weathertight to keep out the elements and to secure the building.
Whilst the scaffold is up, check that any chimney stacks and pots are stable and clear, put on bird guards, repair lead flashings around the chimneys, in valleys, on hips, dormers and any abutments.
If any new parts of the roof intersect with the old, it is always preferable to match the existing/original roof covering either by buying reclaimed tiles/slates or by replacing one plane of the roof at the back and using the salvaged tiles/slates at the front.
Doors and windows can also now be installed and glazed. Where doors and windows are not yet on site, the openings should be covered in plastic sheets or even better, boarded up.
The scaffolding will also be useful when it comes to replacing, repairing and fixing rainwater goods. This is also the ideal time to carry out decoration to external joinery such as fascias and soffits, barge boards and windows, render and timber siding.
5. Make internal structural or layout changes
In the case of most renovation and remodelling projects, an element of structural change will be necessary in order to make the house suitable for modern-day living.
Period houses were often designed to incorporate lots of smaller spaces and may have been subject to a hotchpotch of ill thought-out additions over the years, meaning the general flow of the layout can be left lacking.
You may want to extend or change the use of your spaces by knocking down internal walls, building out into the garden or perhaps making use of existing redundant spaces, leading to a basement conversion, garage conversion or loft conversion.

6. Update your plumbing and electrics
Rewiring and re-plumbing a renovation project are expensive jobs but both these projects offer you the chance to install systems specifically tailored to your lifestyle, your energy usage and can be designed around any future plans you may have for the house. Updating heating and electrics will also add significant end value to the property.
If you are lucky, you might find that the heating and electrics have been updated to a good standard quite recently, in which case all that will be required may be new radiators. Old radiators can suffer from cold spots caused by a build up of sludge – having them power flushed will be a big help in improving their performance.
Of course many people renovating a house and particularly those adding extensions will want to consider underfloor heating as an alternative to radiators.
7. Complete first fix jobs
As with any house building project, first fix often still applies when renovating a house (always when extending) as it’s the point when the internal structure takes form so that any new plumbing and wiring can be added. Internal stud wall frames are built, flooring grade chipboard or floorboards can be fixed to joists, and ceiling joists can be added where required.
Door linings are fitted ready for the plasterers to work to (these are added later for dry-lining), and window reveals and cills can also be inserted. Then, once the first fix carpentry (including new staircases) is complete, new first fix wiring and plumbing work can be undertaken, including soil pipes and drainage connections.
It’s at this stage when everything that will later be concealed by plaster also needs to be installed, such as:
- ventilation ducts
- hot water cylinder
- extract ducts
- wiring for central heating controls
- alarms
- speakers or any other home automation equipment
8. Plaster and repair
With first fix complete it is time to look at plastering walls, apply plasterboard/dry-lining to ceilings and any stud walls (tacking), and to repair any damaged plasterwork/mouldings.
In older buildings, avoid using modern metal angle beads around arises, unless you want crisp clean lines: instead use timber beads.
You also want to consider the type of plaster you use – many older houses will have been finished with lime plaster and adding a new modern plaster could well result in damp issues. And, make sure you protect the stairs and any other vulnerable features while the plasterers are in, as it is a messy job.
New floor screeds for the ground floor will also be laid at this point, usually after plastering to help keep it clean, but some like to screed and then plaster in order to create a neater joint between plaster and floor.
If you are laying underfloor heating, the pipes or cable elements will usually be laid after plastering, so that the manifolds can be fixed in place, but before screeding so that the pipes and elements are covered.
9. Complete second fix stage
Once flooring is laid and the house is plastered, second fix work can begin. Second fix typically involves:
- Connecting the consumer unit and fit all light fittings, sockets, switches, phone and TV points and the extractor hood
- Hanging all doors and fix skirting, architrave, spindles and handrails
- Installing the bathroom fittings and connecting the taps
- Installing the boiler and controls, and fitting radiators
- Fitting the kitchen and completing any fitted furniture
- Boxing in any pipes or soil stacks ready for the decorators
- It is also time for the plumber and electrician to commission the heating system
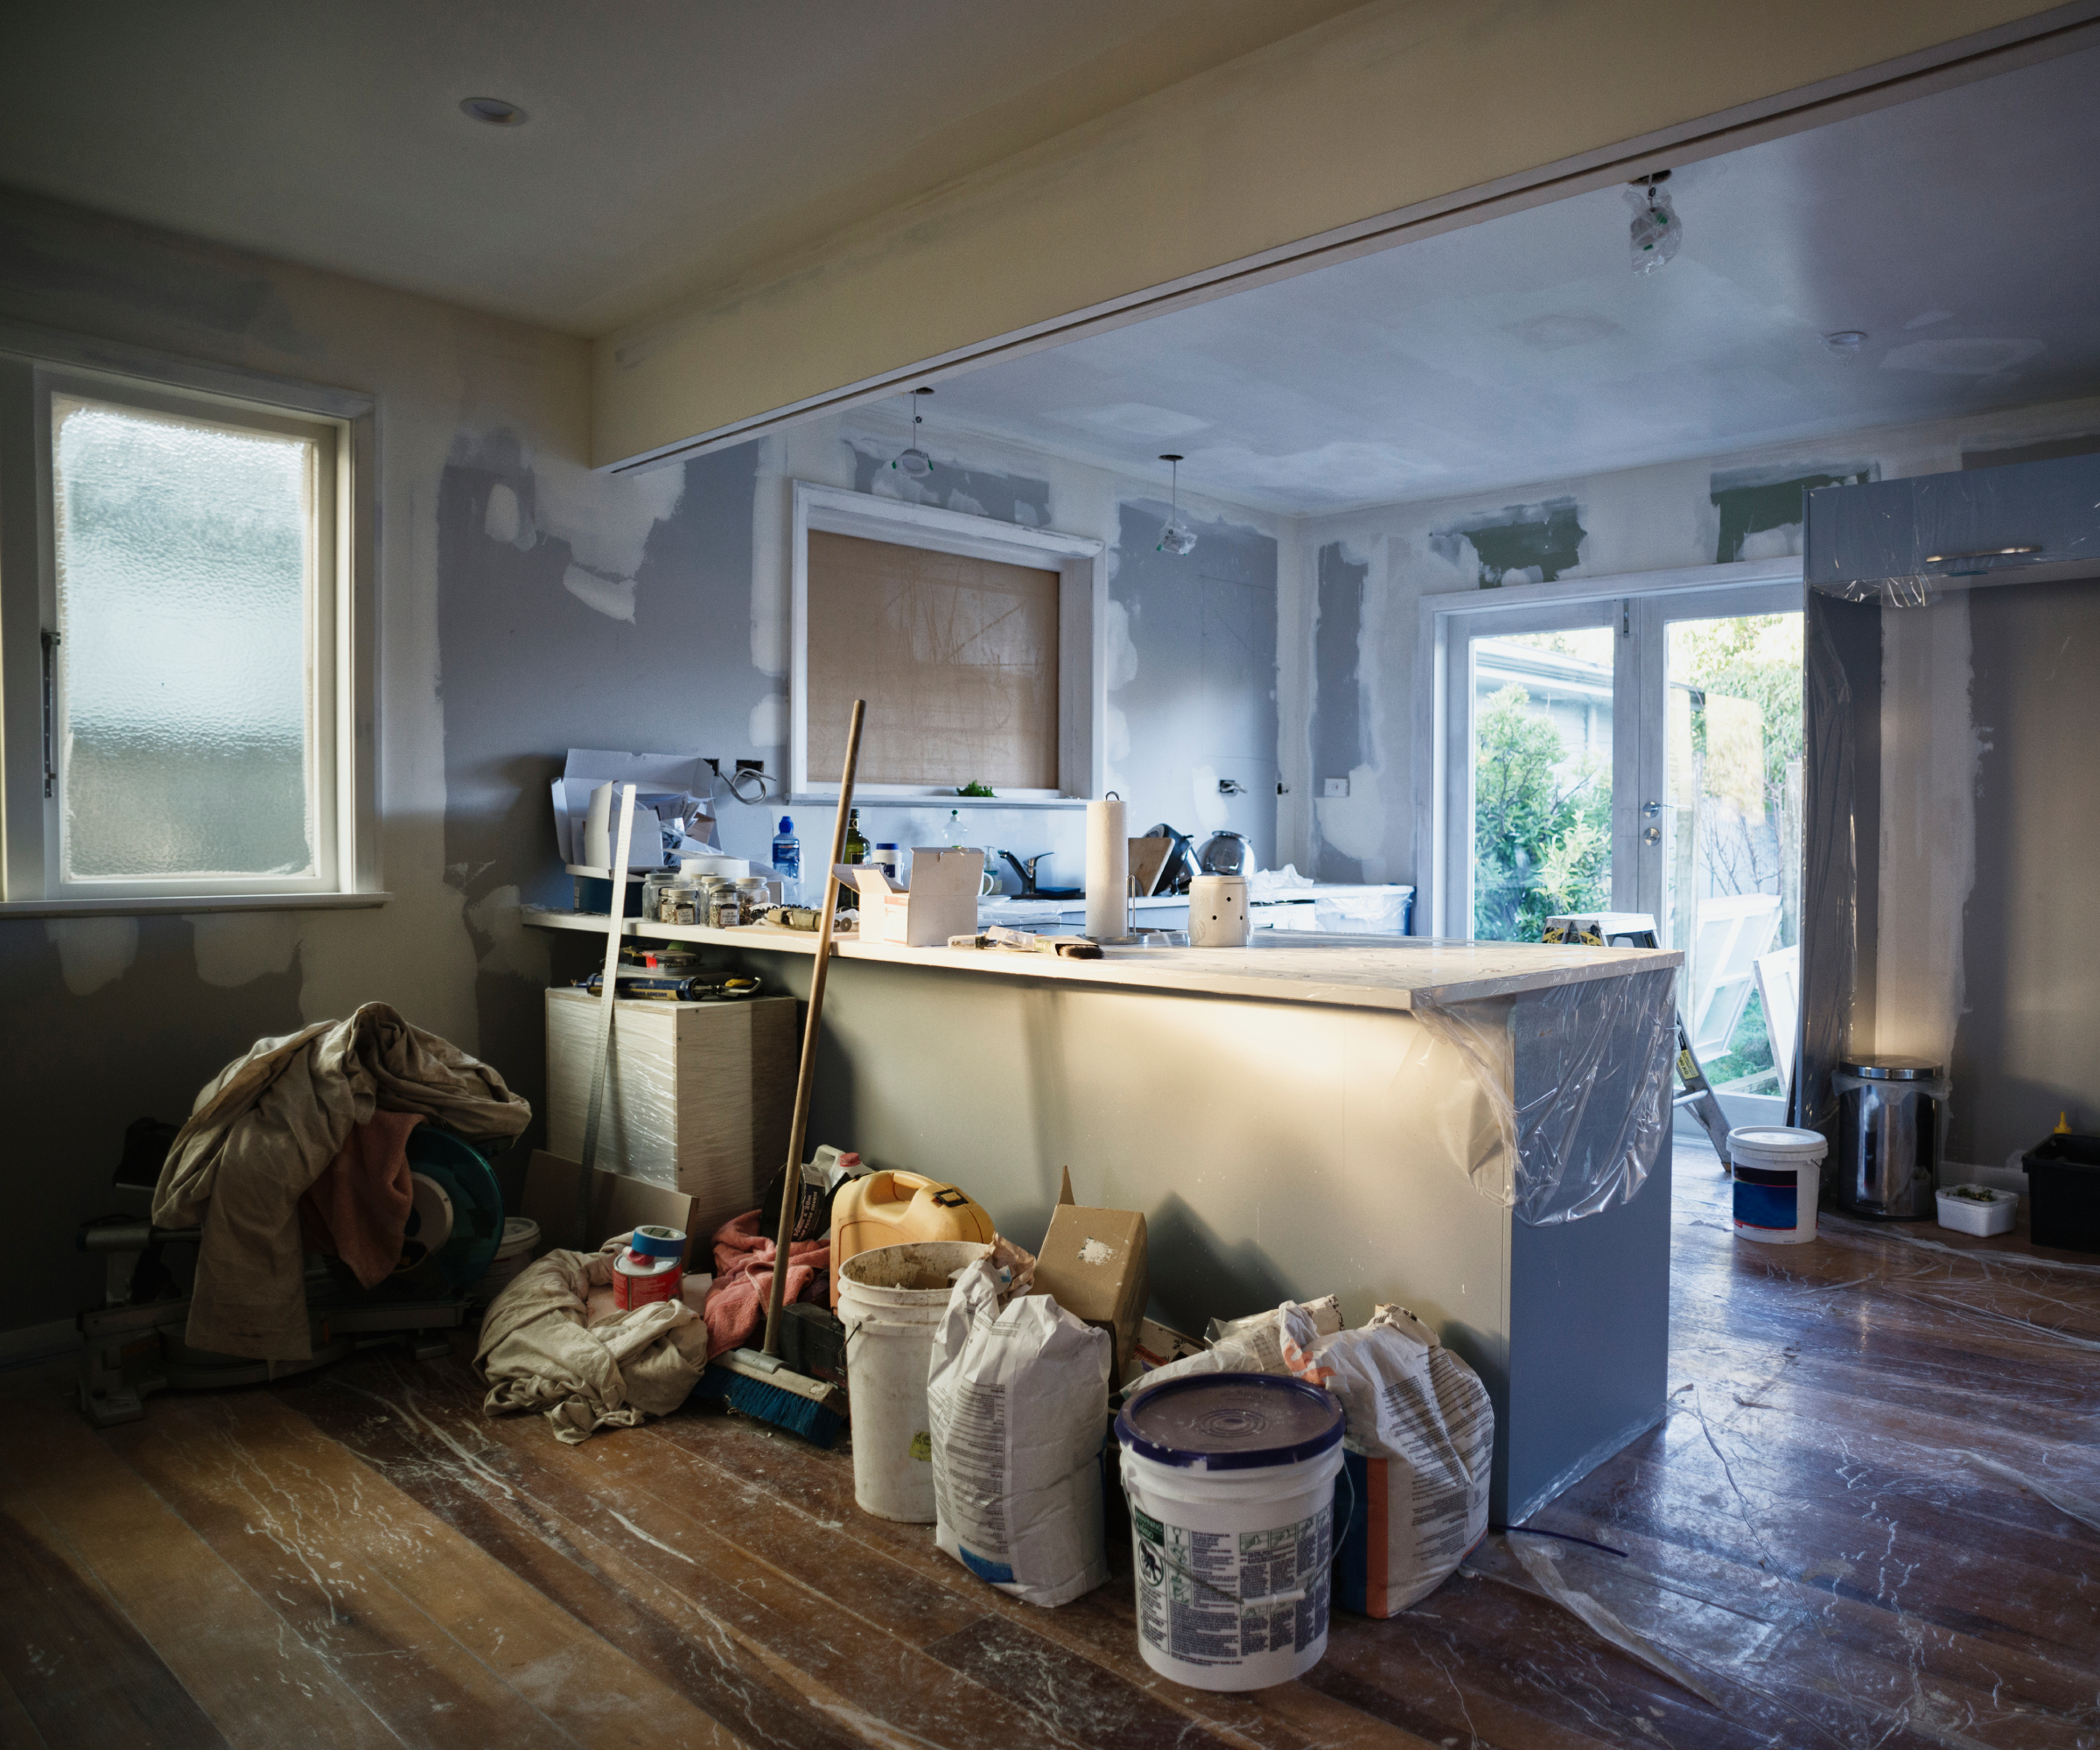
10. Decorating
Painting and staining should only begin once all second fix work and preparation is complete to ensure the building is clean and dust free – otherwise it will be impossible to get a good finish.
Kitchen and bathroom wall tiling can now be carried out and shower enclosures and doors can be fitted once tiling is complete. Finally, once decorating is complete, any soft floor coverings, such as vinyl and carpet can be laid and the white goods such as the oven, hob, fridge and washing machine can be fitted.
11. Snagging your house renovation
Small problems will inevitably crop up over the ensuing months and it’s important to fix these problems as they arise, or, if you used tradesmen, ask them back. But, do expect to have to pay them for defects that are not their fault, such as plaster cracks.
If you used a main contractor, you may have held back a retention of 2.5-5% on the final payment. This sum is released once they have returned and resolved any defects.

While many house renovations will have a wealth of period features, sometimes they have been stripped out and it’s impossible to replace them. If your house renovation has no original features and you are unable to find genuine replacements at salvage yards, Cathy Dean shares the philosophy she follows.
“If you can’t replace with an original, don't fake it. Bring in modern architectural features that make an impact instead,” she says. “Adding modern wood panelling or other features to ceilings for example adds character and won’t look out of place.
"Use consistent materials, colour and texture to create a cohesion instead. Use interesting wood all the way through to feel purposeful for example. Bring in a natural material through your flooring – maybe a glorious stone or wooden floor, and use all five walls (fifth is your ceiling) to make a statement, using something such as fabric effect wallpaper instead.”
Keen to know more about the realities of renovating? Be inspired with these ideas for renovating a terraced house, and find out the pros and cons of living on site while renovating.

Sarah is Homebuilding & Renovating’s Assistant Editor and joined the team in 2024. An established homes and interiors writer, Sarah has renovated and extended a number of properties, including a listing building and renovation project that featured on Grand Designs. Although she said she would never buy a listed property again, she has recently purchased a Grade II listed apartment. As it had already been professionally renovated, she has instead set her sights on tackling some changes to improve the building’s energy efficiency, as well as adding some personal touches to the interior.
