Painting a bathroom — the essential steps to follow for a clean and fresh finish
Understanding the right process for painting a bathroom is key when water, awkward spaces and a mix of materials can make it challenging. Here's how to get a long-lasting result
Bring your dream home to life with expert advice, how to guides and design inspiration. Sign up for our newsletter and get two free tickets to a Homebuilding & Renovating Show near you.
You are now subscribed
Your newsletter sign-up was successful
If painting a bathroom features on your list of jobs when renovating a bathroom, there's no doubt that a fresh coat of paint will transform even the tiniest of restrooms into a restful retreat.
But with bathroom walls and ceilings needing to stand up to not only wear and tear, but also daily doses of moisture laden air, making sure you prep well, pick the right paint and apply it evenly is key to achieving a long-lasting finish.
In our expert guide to painting a bathroom we'll show you the steps to follow, as well as offering advice on tackling tricky areas (such as painting around the toilet), so you can be confident your new bathroom will make a splash – in all the right ways.
Tools for painting a bathroom
To paint a bathroom successfully, you will need to have the following tools and products to hand:
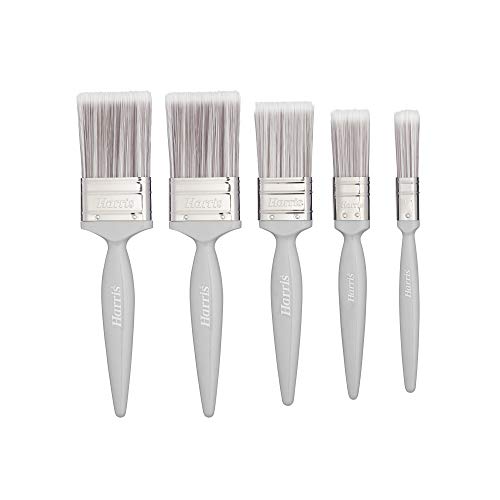
- Paint brushes
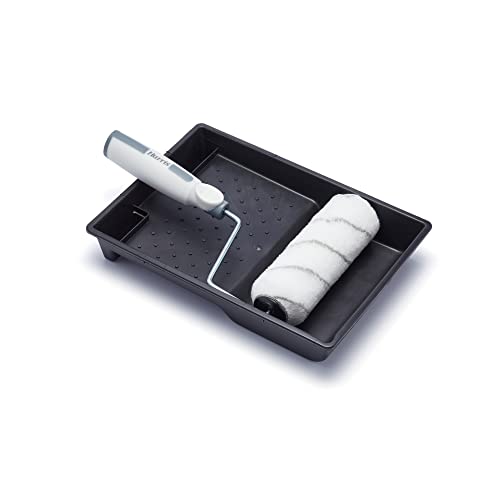
- Roller & roller tray
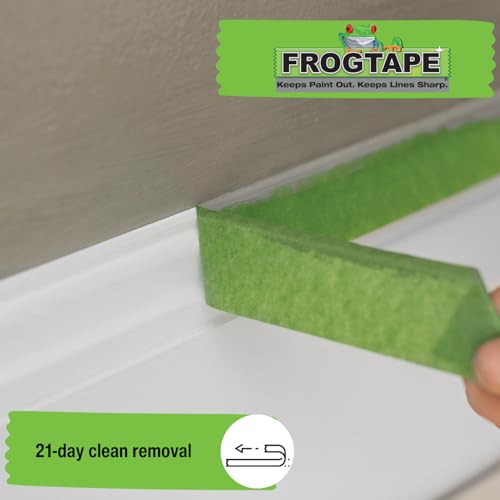
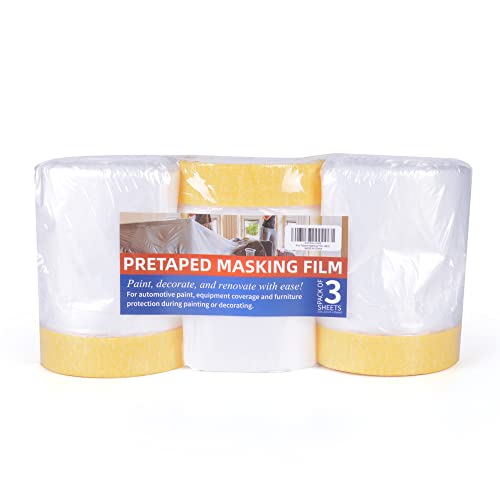
- Masking tape
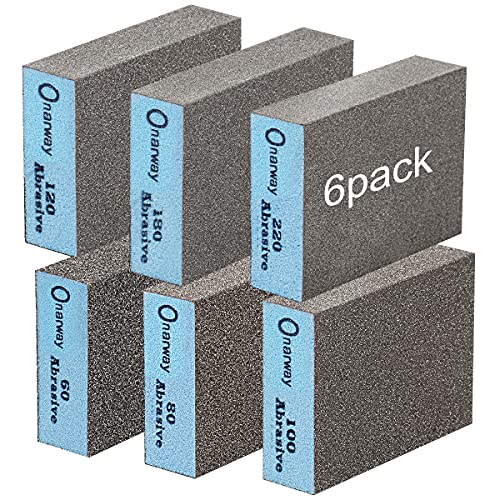
- Sandpaper
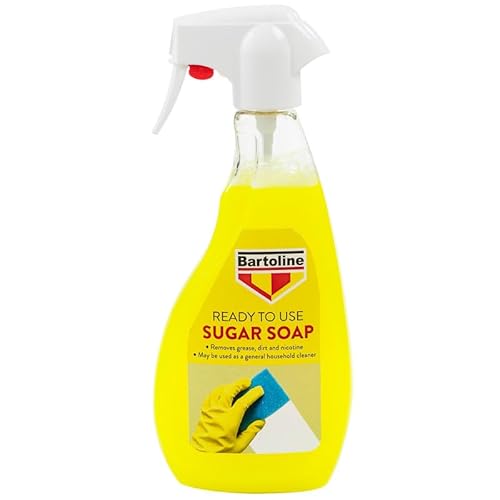
- Sugar soap
- Dust sheets
Where to buy tools for painting a bathroom
Best type of paint for painting a bathroom
“When painting a bathroom, it’s key to consider the surfaces you're painting, how well-ventilated the room is, and whether the walls will be in direct contact with water. The closer a surface is to potential splashes from showers or sinks, the more durable the finish should be," says Anna Hill, brand director and colour consultant at Fenwick & Tilbrook.
In general, it's always advisable to select the best bathroom paint you can afford for your budget, and as a rule, you will need a paint that repels any moisture to help prevent mould and keep your bathroom looking good for longer.
"For woodwork or walls prone to splashes, we’d recommend using an eggshell – either interior or exterior, depending on your preferred sheen level," says Anna. "For walls further from water sources, opt for a scrubbable emulsion that can handle moisture and look for paints that protect against mould too," she adds.
Bring your dream home to life with expert advice, how to guides and design inspiration. Sign up for our newsletter and get two free tickets to a Homebuilding & Renovating Show near you.
"As an example, our Pure Matt Plus is perfectly suited to bathroom walls and ceilings," Anna explains. "It can be washed with warm soapy water if needed and achieves a Class 1 scrub rating, making it durable enough to stand up to the demands of a busy family bathroom."
Dulux Easycare Bathroom paint and Johnstones Bathroom Paint are two other good options, as they are both moisture and mould resistant and available in a host of contemporary colours.
Alternatively, if white is your preferred colour choice, try Zinsser's Perma-White Anti Mould Paint.
How much paint do you need?
The first question of any painting project is how much paint do I need? Your bathroom is no different.
Again, this depends on the size of your bathroom, but if you have an average-sized bathroom (around 4 square metres) you should only need around a litre of paint. This should be enough for just over two coats. Obviously, if you have a bigger bathroom, you will need more paint.
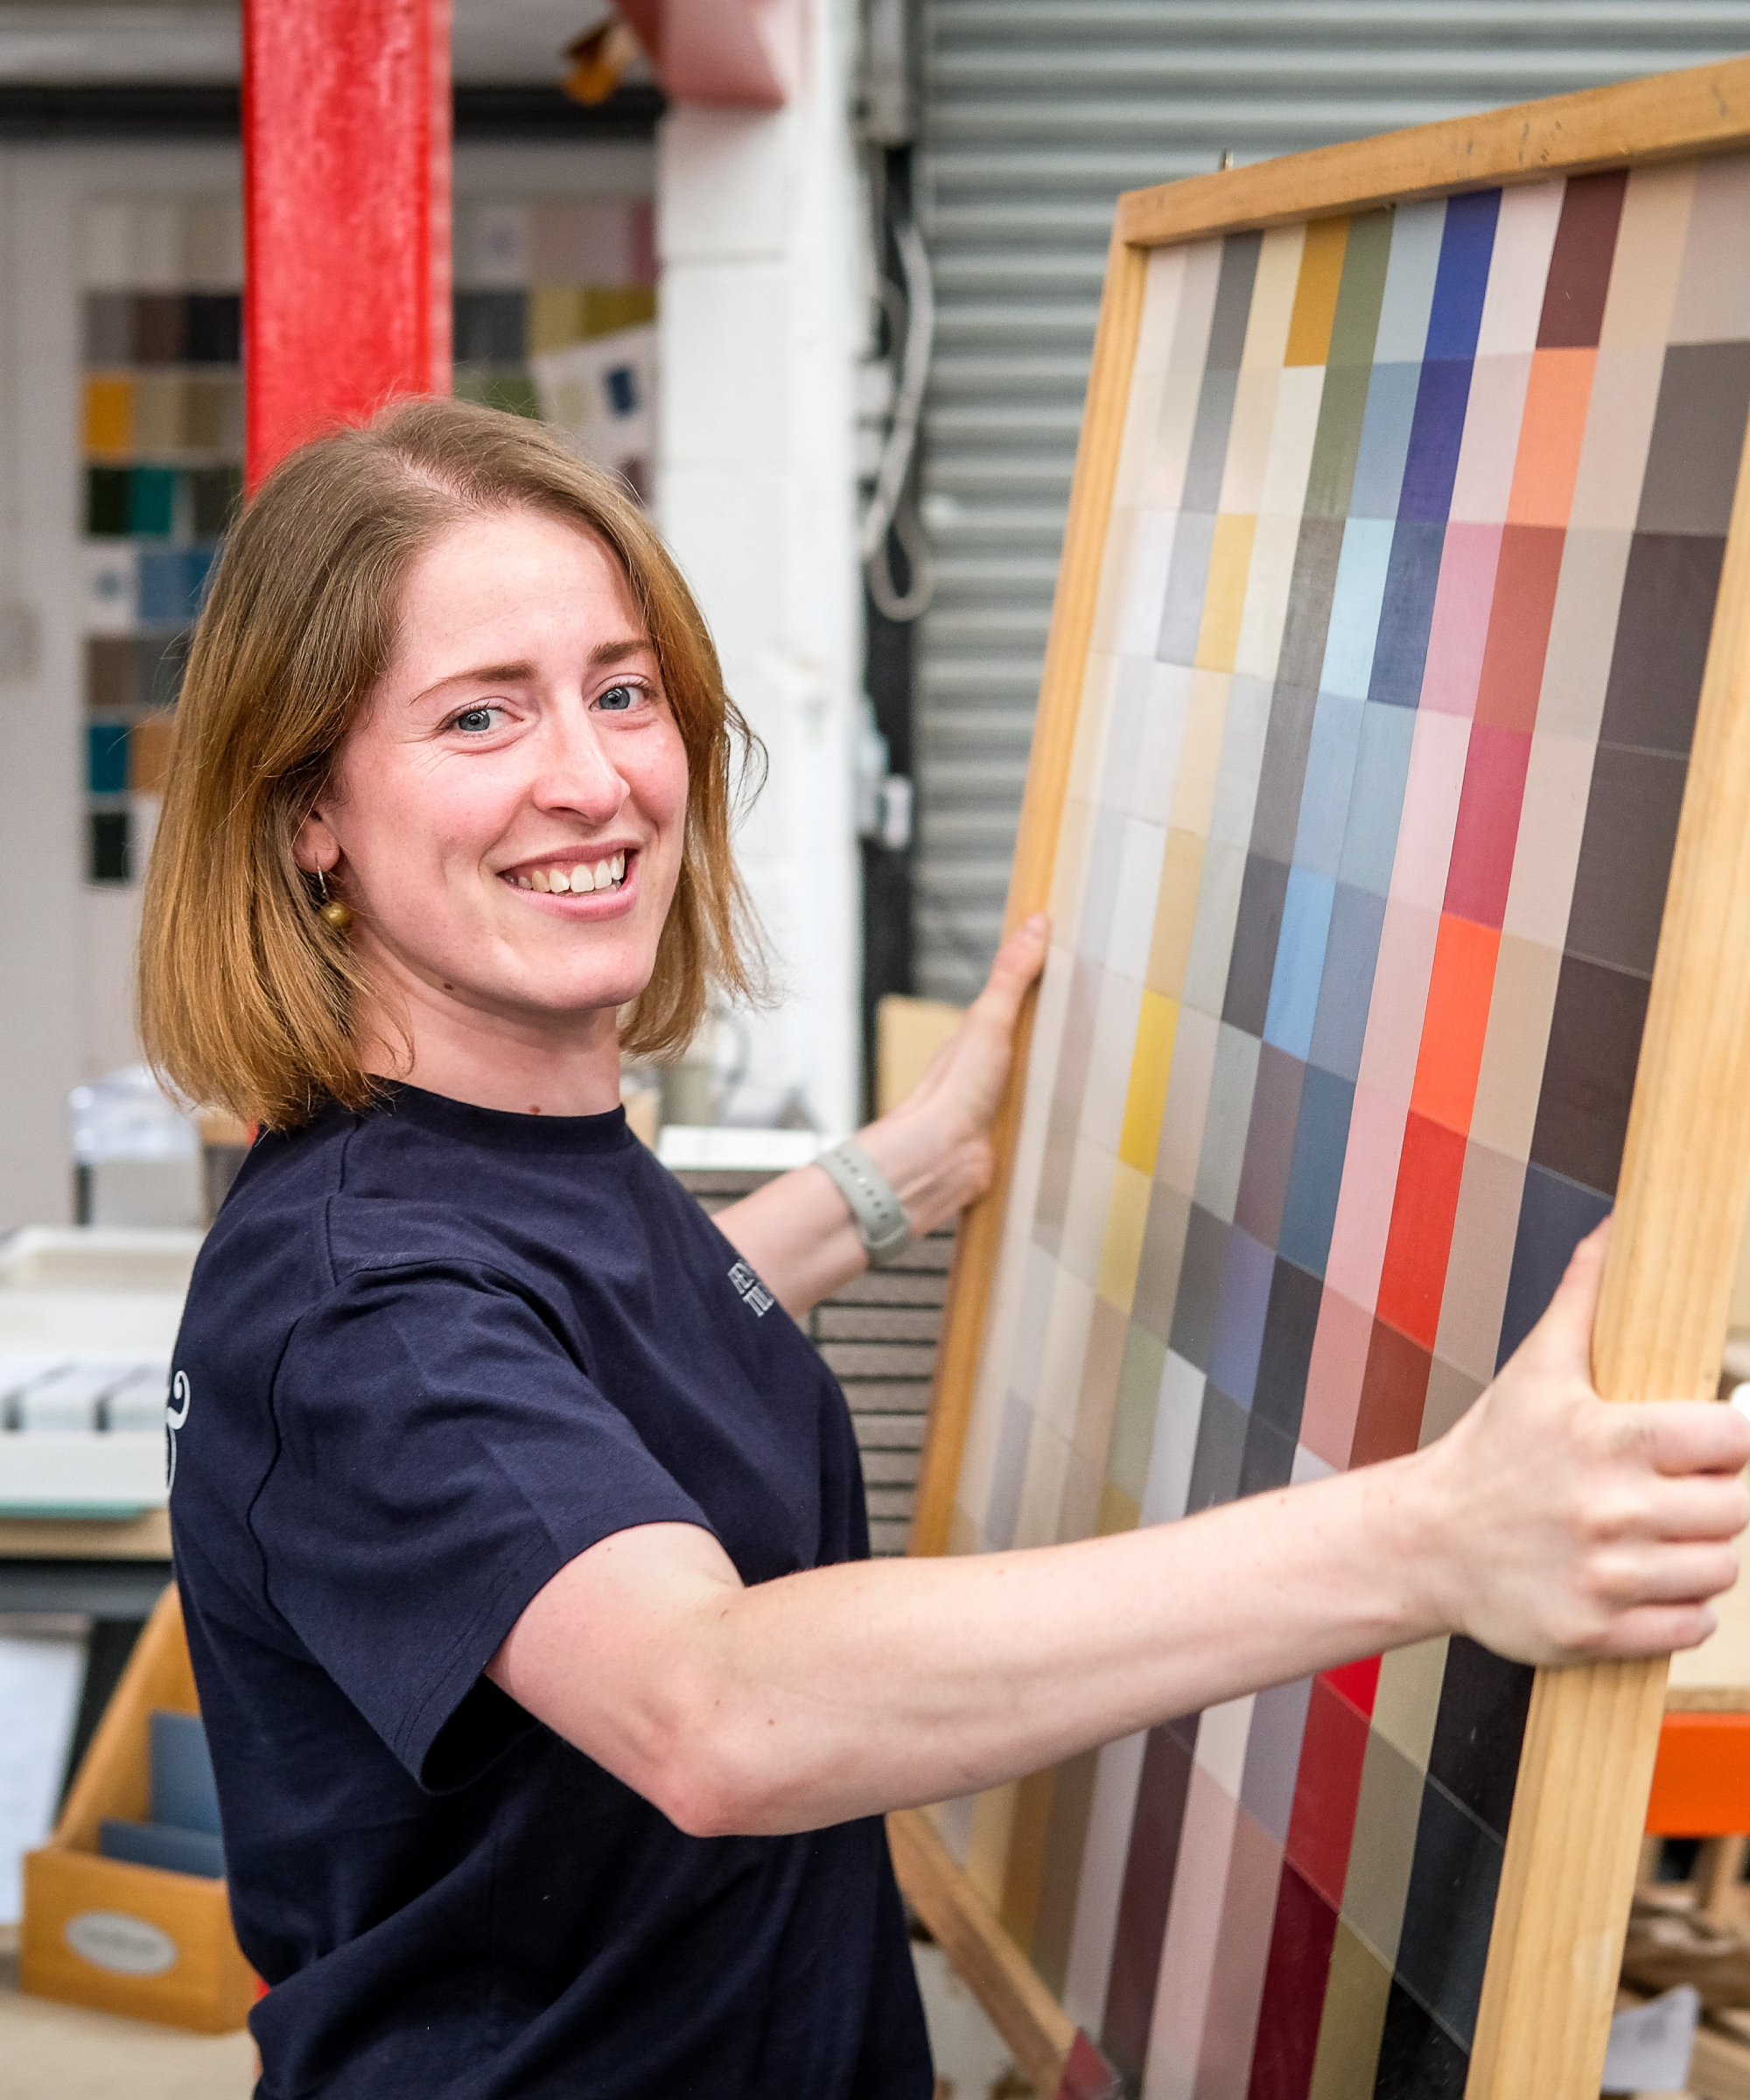
Anna returned to head up the family business after gaining valuable experience in merchandising. She now uses her creative skills and strong eye for design to help the company produce its renowned range of pigment rich paints.
A step-by step guide to painting a bathroom
Anna Hill's first and foremost tip for painting a bathroom? "Be sure the room is dry before you begin painting, and allow the paint to cure for as long as possible before getting the space steamy again – ensuring its not just touch-dry, but fully hardened for proper adhesion and long-term durability."
But painting a bathroom well is about more than just moisture management. As well as making sure you avoid using the shower or bath for 24 hours ahead of the job's commencement, follow these steps for a finish that will look, and feel professional.
1. Clear and cover
First, remove as much furniture and fittings – towel rails, mirrors, etc. – as possible from the bathroom area, so you have enough space to paint the walls.
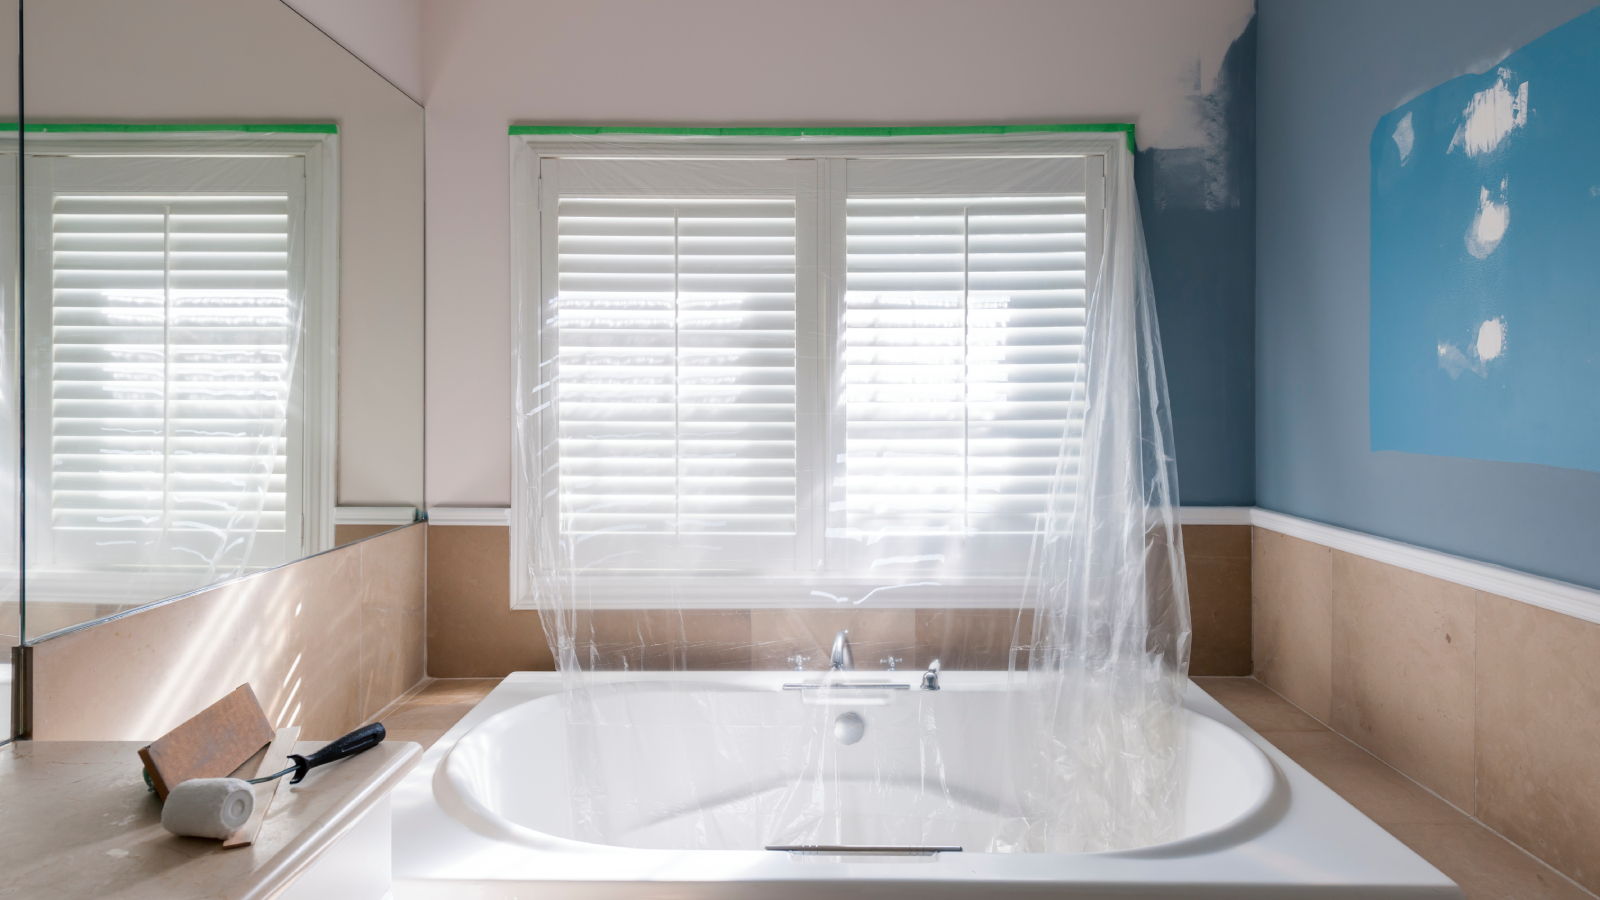
Drop dust sheets over the sink, toilet, bath and radiator, before adding masking tape to any trim you don’t want to get paint on, such as sanitaryware, light fittings and skirting boards.
2. Prep the walls
If your walls have any traces of soap, toothpaste, shampoo, etc. on them, wash down with sugar soap and then warm water to remove any sugar soap residue, before leaving to dry.
Fill any cracks, and patch plaster if areas are missing. Also remove any flaking paint with a paint scraper and rub down with 120 grit sandpaper to get a smooth surface. Next, hoover up any dust and wipe down the walls with a damp cloth.
If you have any mould on the walls, you need to deal with this before you start painting. Learning how to paint over mould effectively will also help ensure your finish is as good-looking and long-lasting as can be.
If you are painting windows or your woodwork as well as the walls, do these first, as they are comparatively less time-consuming.
3. Cut in with a paint brush
Use a two-inch brush – try a specialist cutting-in brush if not confident – to cut in round all the edges in your bathroom, i.e. wall corners, the ceiling, door frames, skirting boards, windows and fittings.
Start at the top of the room, i.e. paint the ceiling, and work down and across, typically one wall at a time, before leaving to dry.
4. Finish with a roller
Fill your roller tray with paint and load up your roller with it. Use a 4 inch or 9 inch roller and don’t overload with paint.
Start in a top corner and work in one-metre square sections going across and down. Apply using angled strokes in a V or W shape.
Finally, go back over the painted area lightly with the roller to remove any ridges.
5. Repeat and finish
Leave the paint to dry according to the manufacturer's instructions. The typical re-coat time is an hour or two.
Cut in all areas again and add a second coat of paint. Leave the paint to dry for 30-60 minutes.
When the paint is dry, look to remove all masking tape, clear away the dust sheets, tidy up and put back all fittings.

How to paint around a toilet
If you aren't replacing your toilet as part of your bathroom renovation plans, it can be one of the trickiest items to work around when painting a bathroom. Different types of toilet will give you more or less room to play with, but in general, the following tips should help you get as clean a finish as possible.
1. Painting behind the cistern
If there is enough of a gap between the cistern (sometimes known as the tank) and wall, you can use a paint pad or small roller to paint behind the cistern.
Before doing so, first, clean behind the toilet. Remove the tank lid and run a cloth or rag – make sure it's long enough for you to hold both ends – behind the cistern, moving it side to side as you go up and down. Do this a few times to ensure any dust is cleared.
Place a bin liner over the tank and pull tight — use tape to secure the excess in place, then put a dust sheet on the floor. Now, load up your paint pad or roller and start painting.
2. Painting around the cistern
If there is no gap, you can paint around or remove the toilet tank; the easier option is simply to paint around it.
Remove the tank lid and clean all edges of the tank and surrounding areas, before adding strips of painters tape to each edge. Repeat until two or three strips deep.
Next, put a dust sheet on the floor. Use a 2 or 3 inch brush to create a paint border around the tank, then paint the rest of the wall. When dry, add a second coat. Leave for 15-30 minutes and you can remove the tape.
3. Or, remove the cistern and paint behind
The ideal solution for the best finish is to remove the toilet cistern to paint behind it, but this is not always possible without the aid of a plumber. Removing the cistern is the most difficult and time-consuming option.
Switch off the water at the mains – or an isolation point if you have one – and flush until the tank is empty. Disconnect the water pipe from the tank and then unscrew from the wall.
Finally, clean and paint the wall.
Painting a bathroom: How to choose the right colour
The choice is all yours, but this will largely depend on the bathroom area. Bathrooms are typically more compact than other parts of the house, which means when it comes to choosing bathroom colour ideas, a light colour or shade is often a good choice to give a sense of space.
"In terms of colour, bathrooms are often painted in soft blues, greens, or warm neutrals to create a spa-like, serene space," agrees Anna Hill. "These tones are soothing, tranquil, and pair beautifully with white bathroom furniture.
"That said, some people see bathrooms and shower rooms as the perfect space to go bold – choosing colours they might shy away from in rooms used for longer periods of time. It’s a great opportunity to express personality with rich, unexpected hues.”
White of course is a colour that never goes out of style, and it will work with almost any existing colour suites and tiles that you already have. It naturally works well with an entirely white suite, too, and helps lend a crisp, clean look to your bathroom.
"Whatever paint colour you opt for, ensure it ties in with your floor and wall tiles," says Claire Lloyd, brand director of Homebuilding & Renovating. "Neutrals such as white and grey painted walls tend to work with most tiles, and often allow for vibrant coloured or patterned tiles."
"Grey bathroom ideas remain on trend, but colours such as dark blues and pink bathroom ideas are making an appearance in our homes – particularly in en suites and cloakrooms, where we're perhaps a little bolder with our choices."
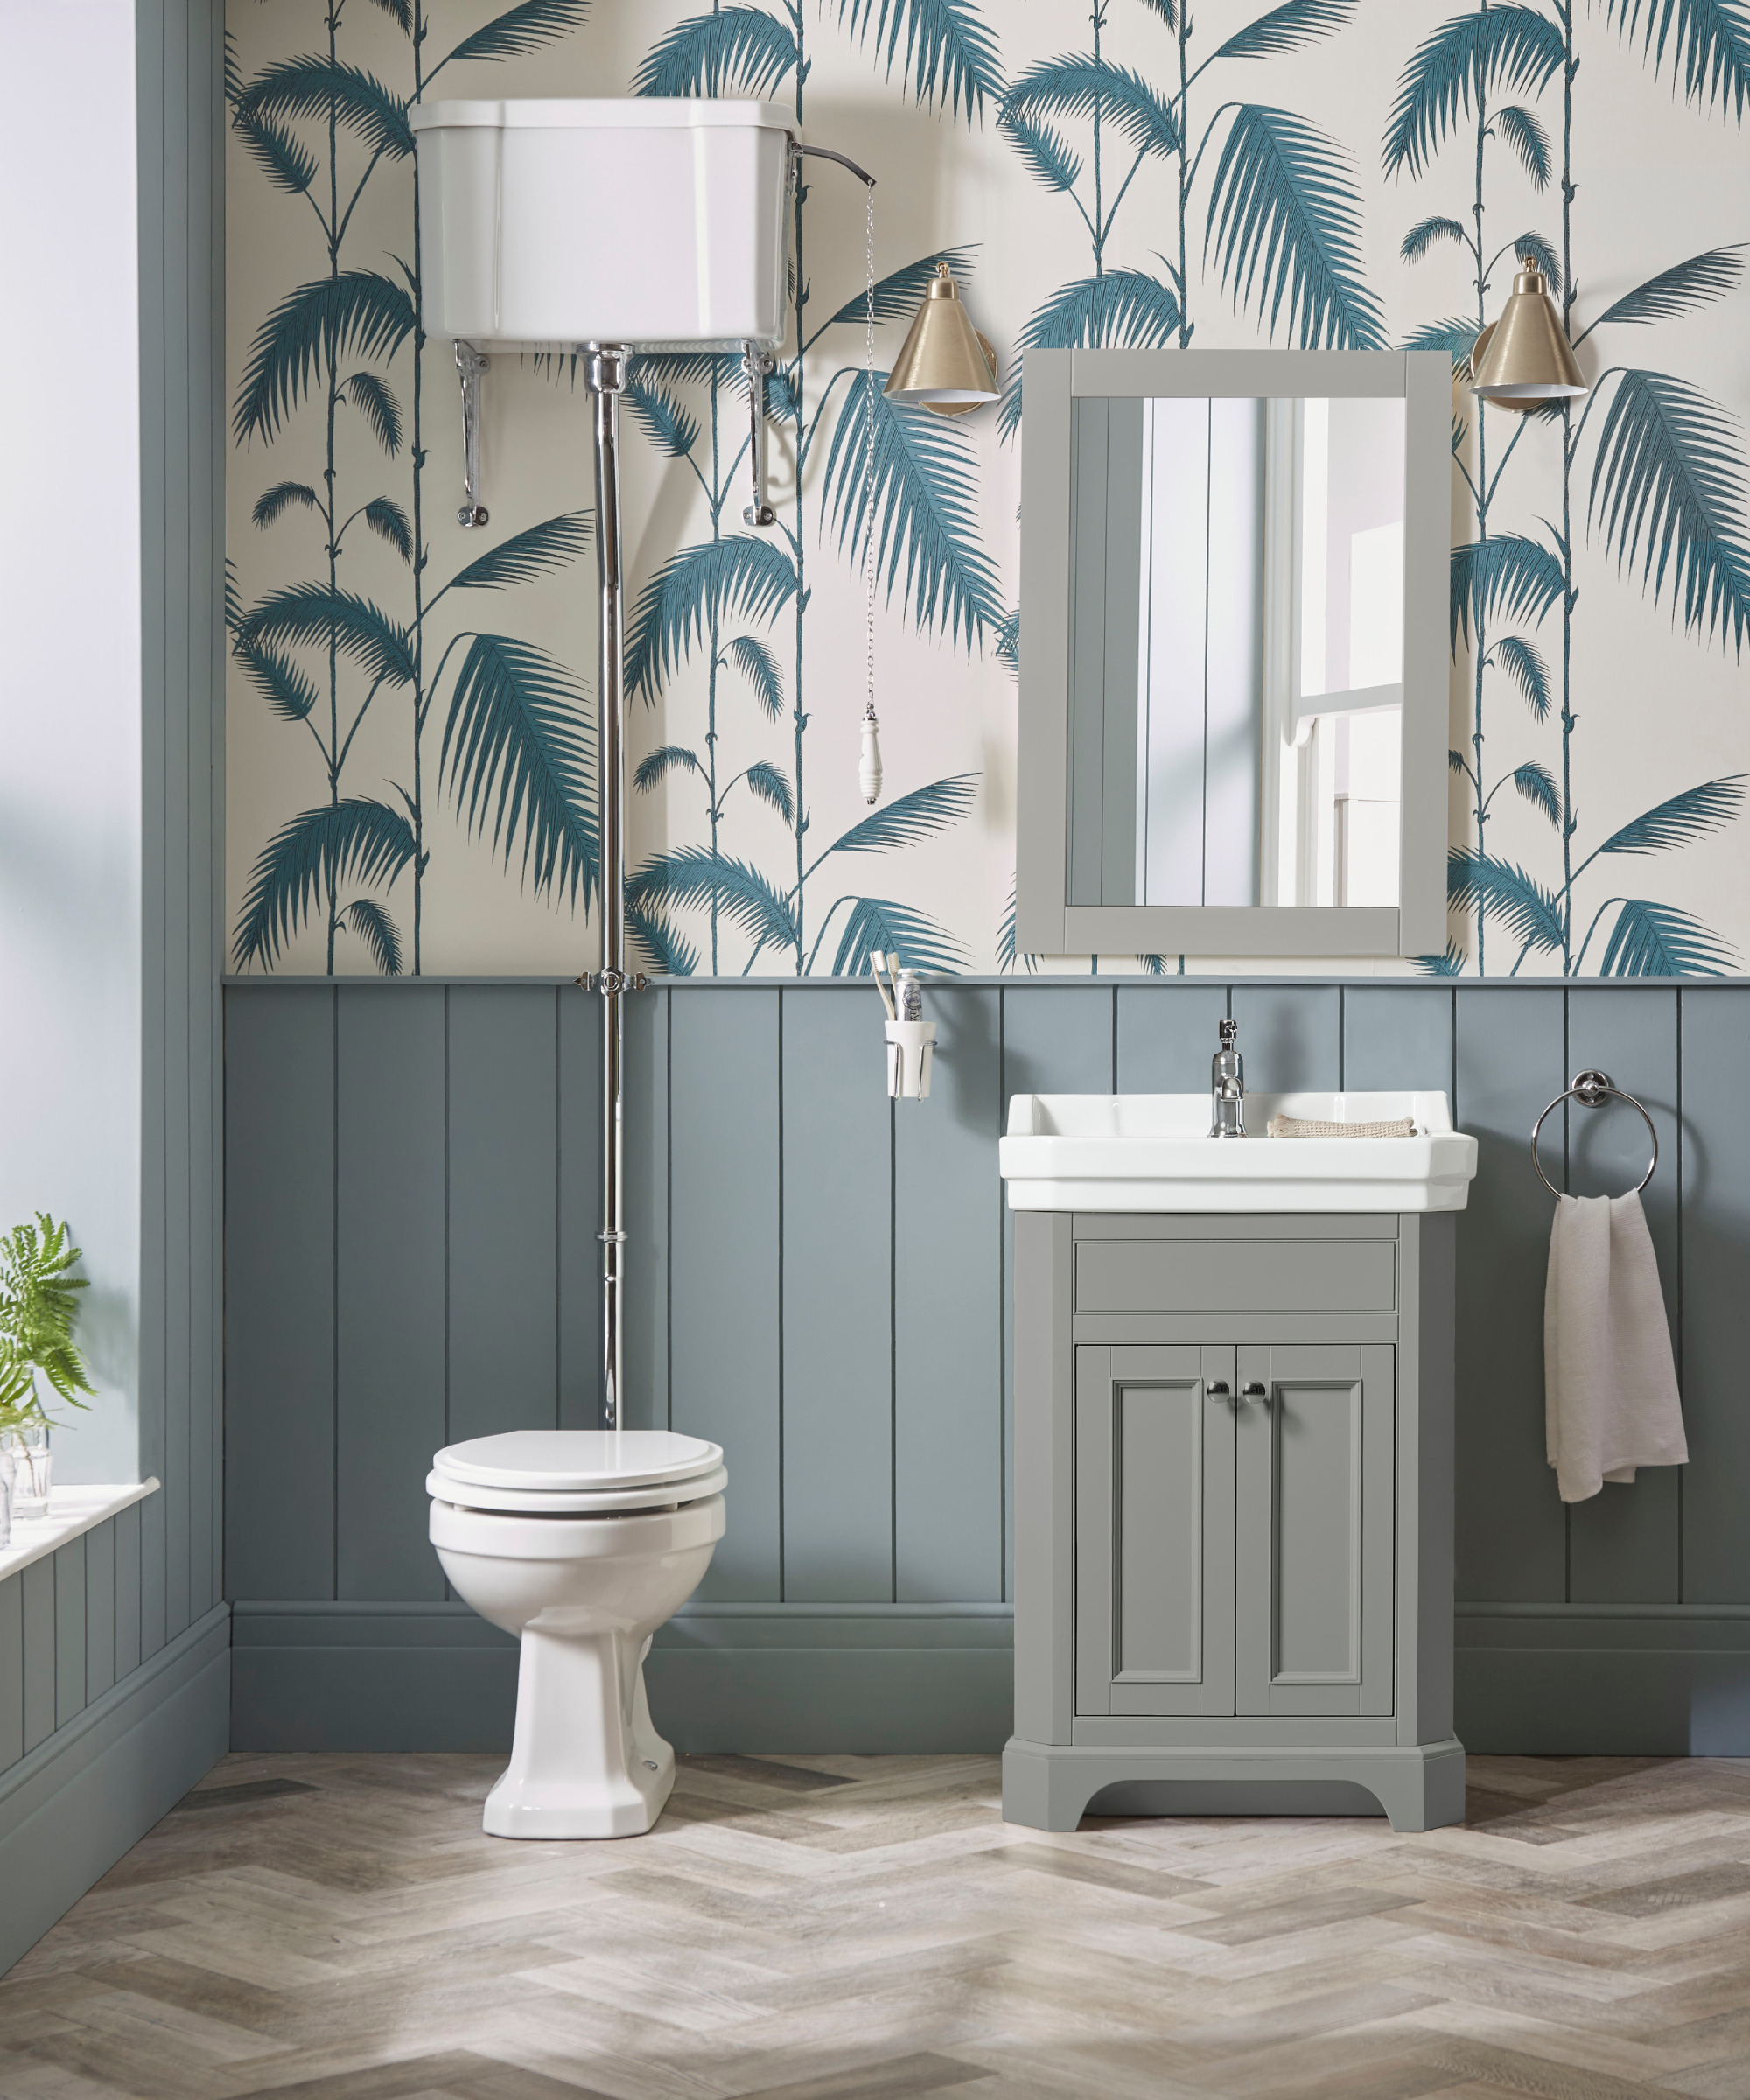
Or, for even more dramatic effect, try pairing bathroom wallpaper ideas with your preferred shade of paint for a striking and stylish finish.
FAQs
How long does painting a bathroom take?
This will depend on the size of your bathroom and how much of it needs to be painted.
Typically, parts of a bathroom will be covered by tiles or half wall panelling, a bath and/or shower and a basin, which means less walls to paint. An average-sized bathroom (around 4 square metres) should therefore only take a couple of hours to paint.
Add in prep time and a second coat of paint and you should have the whole job done in four to five hours. But when planning, don’t forget you will need to include drying time for the first coat.
Should you prime a bathroom before painting it?
This will often come down to the condition of the walls, if they have been painted with primer previously, and whether you are going from a dark colour to a light colour. If your walls have been primed previously and are in good condition, then you won't need a primer.
However, if you need to fill cracks and remove flaking paint, a primer like Bulls Eye® 1-2-3 Plus is definitely a good idea. This will provide a strong base for the top coat.
If you are painting over a dark colour, a primer (use white) will also help to cover the current colour quicker and better than a standard emulsion or bathroom paint.
Finally, if you're painting new plaster, you will need to apply a mist coat before painting the walls and ceiling with a suitable bathroom paint.
How long after painting a bathroom should I wait to shower?
Baths and showers can create a lot of moisture, so you should leave any paint to dry (cure) completely before using them again. Allow for a minimum of 24 hours, ideally 48 hours, to make sure that the paint is fully dry.
Still deliberating over which colour to choose when painting a bathroom? Check out these green bathroom ideas and bathroom tiling ideas to help you create a stylish and co-ordinated bathroom space.
Steve Jenkins is a freelance content creator with over two decades of experience working in digital and print and was previously the DIY content editor for Homebuilding & Renovating.
He is a keen DIYer with over 20 years of experience in transforming and renovating the many homes he has lived in. He specialises in painting and decorating, but has a wide range of skills gleaned from working in the building trade for around 10 years and spending time at night school learning how to plaster and plumb.
He has fitted kitchens, tiled bathrooms and kitchens, laid many floors, built partition walls, plastered walls, plumbed in bathrooms, worked on loft conversions and much more. And when he's not sure how to tackle a DIY project he has a wide network of friends – including plumbers, gas engineers, tilers, carpenters, painters and decorators, electricians and builders – in the trade to call upon.
