How to repair peeling paint for a quick makeover and a fresh new finish
Say goodbye to ugly, unwanted peeling paint with these smart tips on techniques and tools

Peeling paint is annoying; it can spoil what was once a smart-looking surface. But the good news is that it should be swift and straightforward to fix. Repairing peeling paint can quickly transform an area without the hassle of undertaking a full, all-out paint project, unless you prefer to, of course.
There’s generally a good reason why your paint is peeling. When painting a room, door, or even floorboards, and you don’t get your preparation or application right, it won’t be long before your paint starts peeling. If unlucky, it could be a damp problem or a water leak affecting the paint. Whatever the reason, here you find what you need to know to make the peeling paint disappear and get it looking like new.

Pav Wasik has 17+ years of experience in luxury decorating, specialising in refurbishments, panelling, wallpapering, and colour consultancy - renowned for quality craftsmanship and customer satisfaction.
3 reasons for peeling paint
Peeling paint is unattractive and unwanted, and there will be a reason behind it. Typically, there can be more than one reason, as Pav Wasik, founder of Uptown Interiors, explains below.
1. Poor surface preparation
Peeling paint is often the result of poor surface preparation. If a wall or surface isn’t properly cleaned, dried, and primed before painting, the paint will struggle to adhere and may start to lift or blister over time.
2. Poor application
Another common cause is poor application, which includes painting onto damp areas, skipping primer, using incompatible products, or applying paint too thickly.
3. Underlying issues
Underlying problems, such as moisture ingress or dampness, can cause paint to pull away from the surface from underneath. If you notice consistent peeling in the same areas, it’s worth investigating whether water is getting in through cracks, damaged plaster, or unsealed masonry.
The tools you’ll need to repair peeling paint
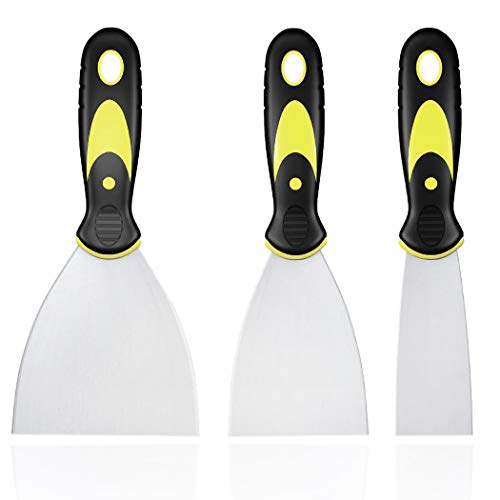
To remove old paint and repair any peeling areas, you will need a few basic tools to get the surface ready. Wasik suggests, “A paint scraper to remove any loose or flaking paint, a wire brush to clean the surface thoroughly.”
Bring your dream home to life with expert advice, how to guides and design inspiration. Sign up for our newsletter and get two free tickets to a Homebuilding & Renovating Show near you.
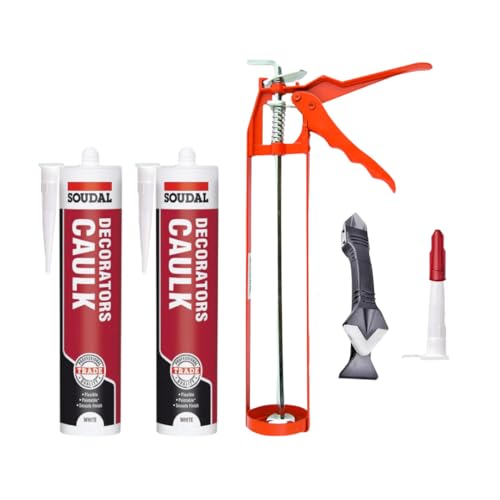
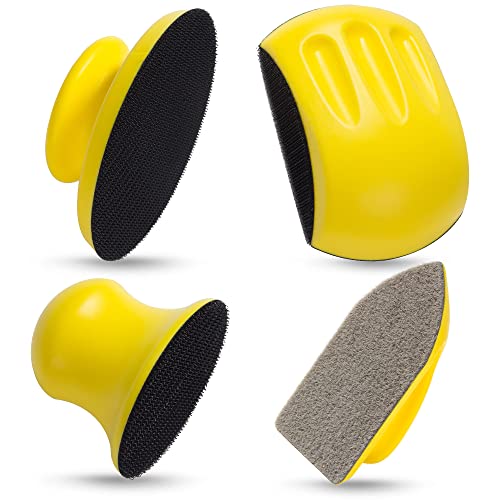
He adds, “You’ll need a hand sander or sandpaper to smooth out rough edges and feather the paint around the affected area. For cracks or holes, a filler or decorator’s caulk is essential to ensure a seamless finish.”
Try these tools to repair peeling paint
The best paint to repair peeling paint
Once a surface has been prepared, you need to choose a suitable paint to ensure your efforts are rewarded. Wasik says, “You’ll need a good-quality primer suited to the surface you’re working on. For general use, a water-based primer like Zinsser Bulls Eye 1-2-3 (available from Amazon) is ideal due to its ease of use and quick drying time.”
Jamie Beaumont, Product Manager at Zinsser, suggests one of their products, which is well-respected in the industry. “Even after the surface has been scraped and sanded, tiny cracks and gaps remain under the edges of old paint. Zinsser Peel Stop (available from Amazon) is a clear bridging sealer that seeps into these spaces and glues them down, providing a stable, sound surface for the new paint and preventing the finish coat from cracking.”
If you are repairing in a room with high humidity, Beaumont says, “For interior rooms where high humidity and cracking paint are an issue, we recommend decorating with Zinsser PermaWhite. It’s a tough, scrubbable paint, ideal for high-moisture areas like bathrooms, kitchens and laundry rooms.”
4 steps to repair peeling paint
1. Remove loose paint
The first step is to remove any loose or flaking paint. Wasik shares how, “Use a scraper to lift the edges, followed by a wire brush to ensure the surface is free from residue.”
2. Sand area
With all the loose paint removed, the next step is to sand the surface. Wasik says, “Sand the area to smooth it out and blend the edges into the existing paintwork.” A 120-220 grit fine sandpaper grade is a good choice. After sanding, you need to clean the surface, Wasik suggests, “Remove the dust with a dusting brush/damp cloth.
3. Fill and sand again
Now check to see if there are cracks that need sorting. Wasik says, “Fill these with a suitable filler and allow it to dry completely. Once dry, lightly sand the area again for a flush finish."
4. Apply primer and paint
To finish, you need to add a primer to help seal the area, ready for the subsequent coats. “Apply a primer suited to the surface type, “ says Wasik. “Once the primer is dry, you can apply an undercoat if needed, and then finish with one or two coats of your chosen paint, allowing the correct drying time between each coat.”
He finished with a easy to follow trade tip, “Do not rush the drying process between coats, patience will pay off with a longer-lasting finish.” He adds, “Also, avoid painting in high humidity or very cold conditions, as both can impact how well the paint adheres."
FAQs
Does the surface make a difference to the process?
Yes, the type of surface being treated plays a significant role in how you approach a repair. Wasik points out, “Bare plaster needs to be completely dry and typically requires a mist coat to prime the surface before applying paint.”
Wood is different, as Wasik continues, “Wood needs sanding and sealing with a dedicated primer and undercoat to prevent knots or sap from bleeding through.” He adds, “To prevent knots, we use knotting solution on bare wood before priming.”
If you are working on a previously painted surface, the preparation is easier. Wasik shares, “Areas with peeling will still need to be stripped and treated properly. Different surfaces absorb and hold paint in different ways, so choosing products designed specifically for the material you’re working on ensures a better bond and more even finish.”
He adds, “An oil-based primer such as Zinsser Cover Stain (available from Amazon) can be effective. You’ll also need an undercoat where appropriate, particularly if painting over wood or transitioning between very different colours, followed by a compatible topcoat.”
Do you prep and repair different paints differently?
The answer is yes, you do. Wasik points out, “Gloss, matt, eggshell, or satin do require slightly different approaches.” He adds, “Gloss paints, for instance, need a well-prepped and smooth surface to achieve that high-shine finish, so sanding and priming are crucial. They also tend to highlight imperfections, making proper preparation even more important.”
Lower sheen paints are more forgiving, but still require a clean, well-prepared surface to work well. And there is also the type of paint to consider, as Wasik shares, “Oil-based finishes typically need longer drying times and must be applied in thinner coats to avoid issues like wrinkling or streaking. “
He continues, “Water-based paints dry quicker and are easier to clean up, but may not be as durable in high-traffic areas. The key is to match the prep process and product selection to both the surface material and the type of finish you’re aiming for.”
Different types of paints often need different preparation. Find out what different paints have to offer with our What is eggshell paint and Satin vs matt paint guides. And don’t miss our oil vs. water-based paint guide to discover the benefits and drawbacks of both.
Steve Jenkins is a freelance content creator with over two decades of experience working in digital and print and was previously the DIY content editor for Homebuilding & Renovating.
He is a keen DIYer with over 20 years of experience in transforming and renovating the many homes he has lived in. He specialises in painting and decorating, but has a wide range of skills gleaned from working in the building trade for around 10 years and spending time at night school learning how to plaster and plumb.
He has fitted kitchens, tiled bathrooms and kitchens, laid many floors, built partition walls, plastered walls, plumbed in bathrooms, worked on loft conversions and much more. And when he's not sure how to tackle a DIY project he has a wide network of friends – including plumbers, gas engineers, tilers, carpenters, painters and decorators, electricians and builders – in the trade to call upon.
