Painting a Ceiling: A Guide to Achieving the Perfect Finish
Painting a ceiling is the first step in re-decorating a room, but it can also be one of the most awkward parts to do well. Tackle it with confidence with our step-by-step guide

Bring your dream home to life with expert advice, how to guides and design inspiration. Sign up for our newsletter and get two free tickets to a Homebuilding & Renovating Show near you.
You are now subscribed
Your newsletter sign-up was successful
Painting a ceiling is a little more tricky than painting the walls, if only because of the awkward nature of working overhead and the potential for mess and drips across the entire room.
If you do your preparation properly, and invest in the right tools, it's a job that any competent DIYer can finish to a good quality.
Painting a ceiling is the first job you should tackle when painting an entire room, ensuring that if you splash any paint elsewhere in the room, it won't ruin a new paint job on the walls and woodwork.
(MORE: How to Paint a Room)
Tool List for Painting a Ceiling
- Brushes
- Paint rollers and roller trays
- Step ladder
- Extension pole
- Paint
- Dust sheets
- Painter/Masking tape
- Cloth/Bowl
- Sugar soap
- Goggles
Preparation
What Prep Do I Need to Do Before Painting a Ceiling?
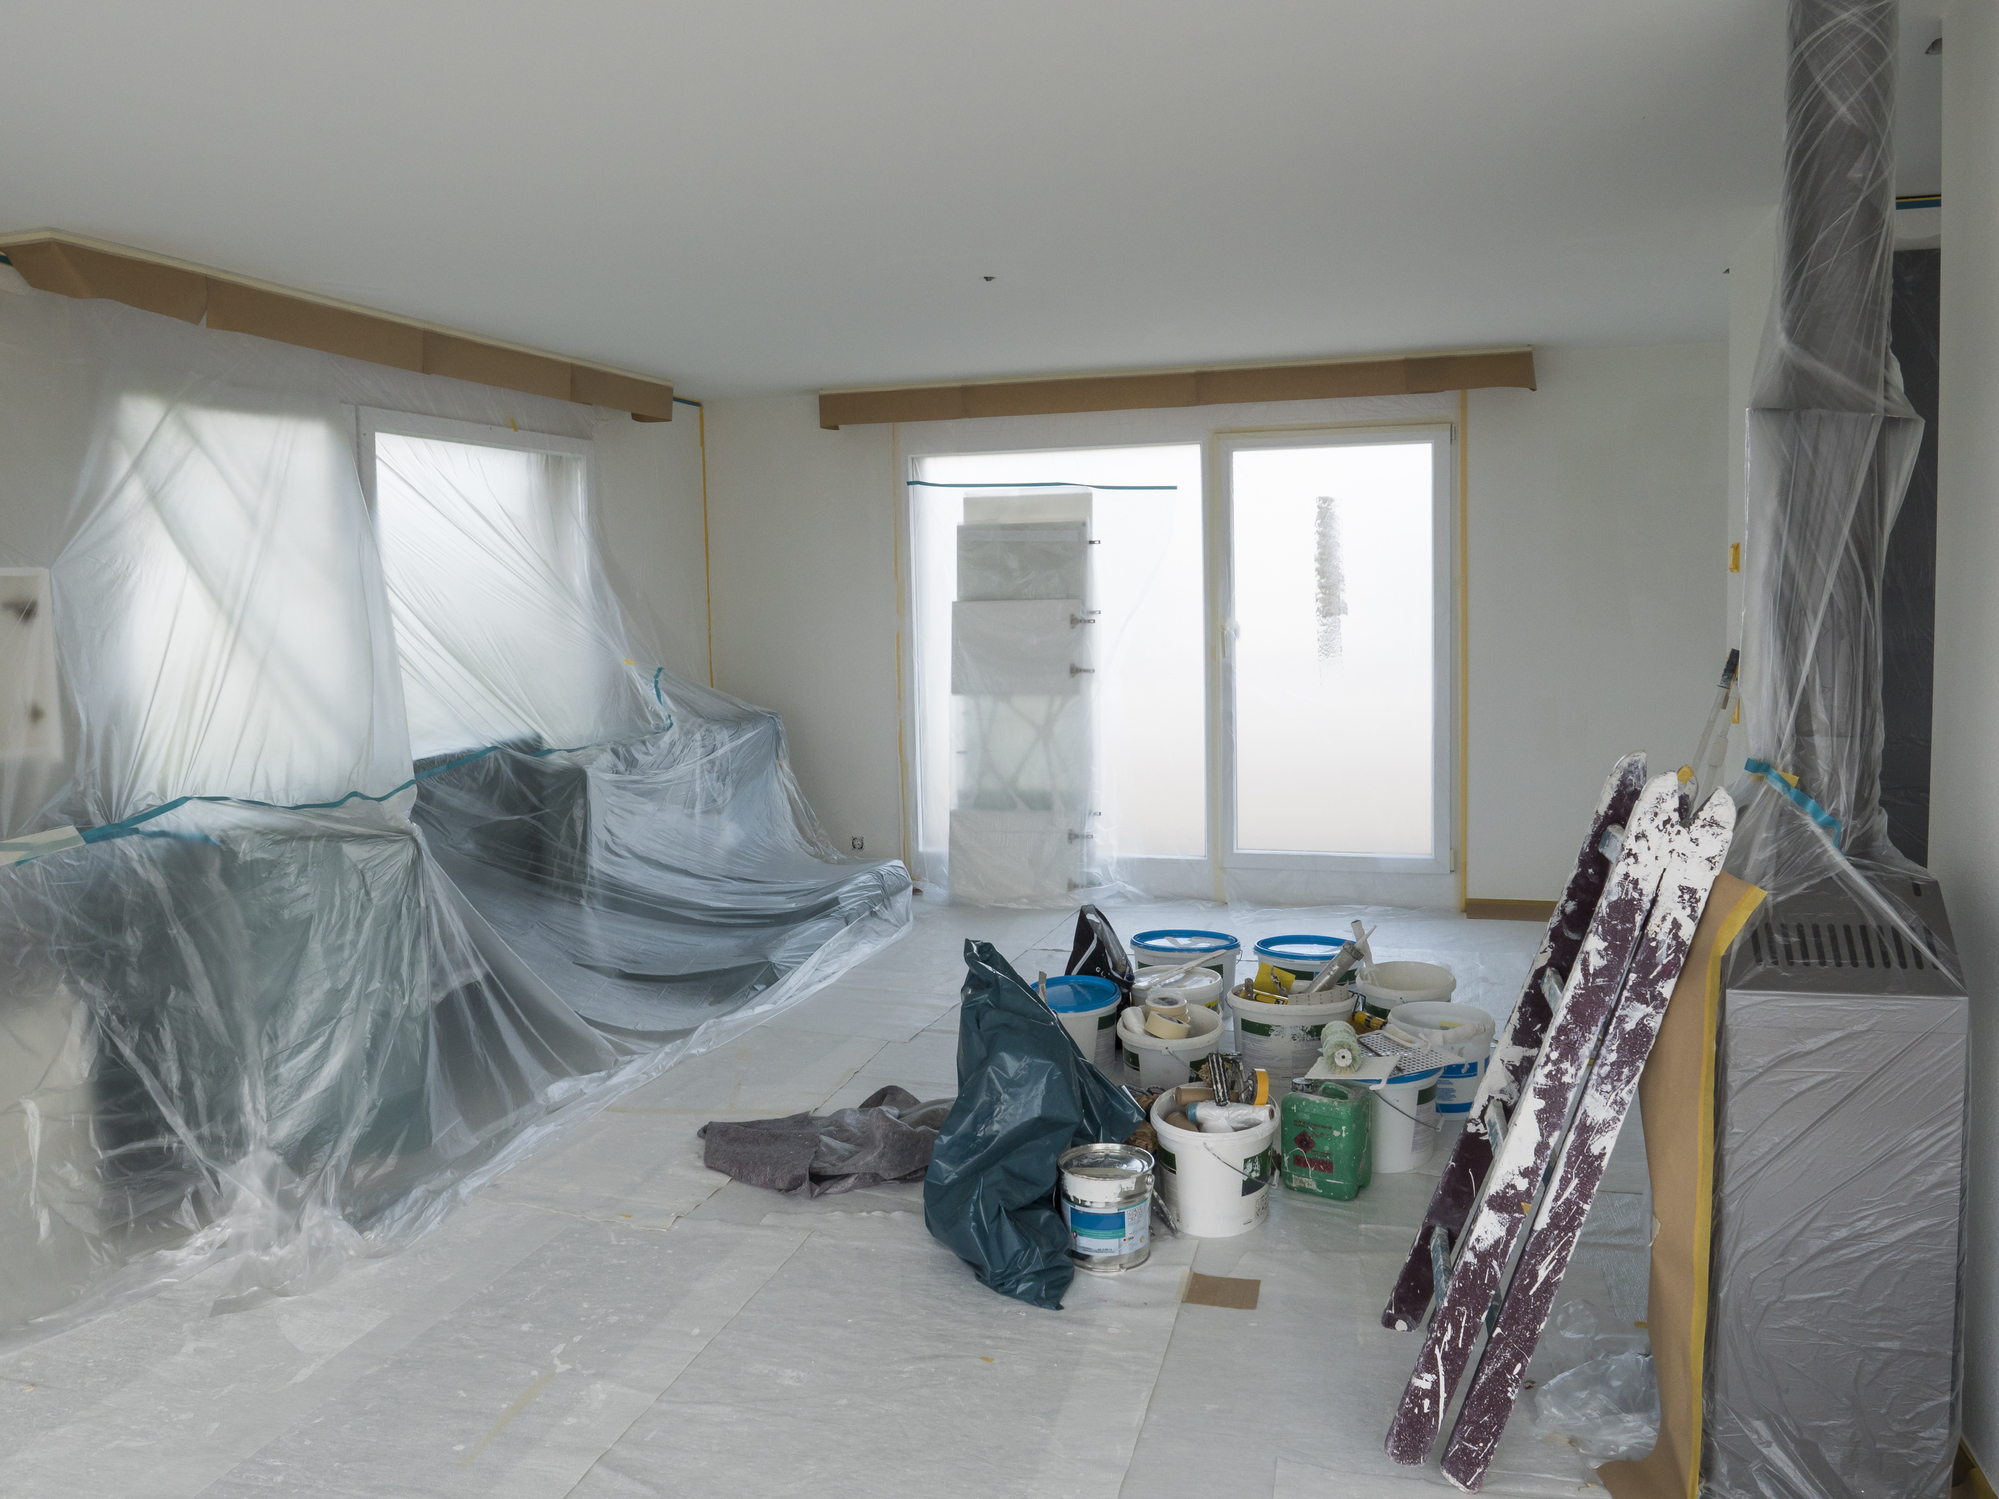
1. Clear out your room and cover to protect from splashes
In an ideal world, you'd be able to move all your furniture out of the space, protecting it from paint drips while also giving you full range of the room to paint the ceiling without it getting in the way.
Of course, this isn't always possible. In this case, move furniture to one side of the room and cover it with dust sheets. You'll need to use dust sheets or another form of floor protector to avoid paint getting on the carpet, floorboards or tiles.
Bring your dream home to life with expert advice, how to guides and design inspiration. Sign up for our newsletter and get two free tickets to a Homebuilding & Renovating Show near you.
When working overhead, protective gear such as overalls, goggles and a baseball cap are good idea to keep dust created by sanding and spray from your paint roller off your clothes and hair, and out of your eyes.
2. Clean and sand the surface
If the ceiling is smooth and only has a few coats of paint, it just needs a brush over to get rid of any debris, cobwebs and dust.
If the ceiling is dirty, something that often occurs in a kitchen for example, first wash the ceiling with sugar soap to clean and degrease. A kitchen scrubbing pad is good for this.
If the paint is uneven or peeling give it a rub down with sandpaper – you can use a sanding pole for speed. If there are any holes or hairline cracks fill with a suitable filler product and rub down when dry. This gives a smoother finish and a more adhesive surface for the paint.
(MORE: How to Patch Plaster)
Use a damp cloth or sponge to wash the ceiling to get rid of any dust from the sanding process.
3. Get rid of stains
Water-based emulsion paint won't cover watermarks or stains properly. Use specialist stain blocker beforehand to cover these.
If you are already using an oil-based undercoat or gloss, use this instead. This will create a barrier to stop any watermarks/stains seeping through and spoiling your ceiling finish.
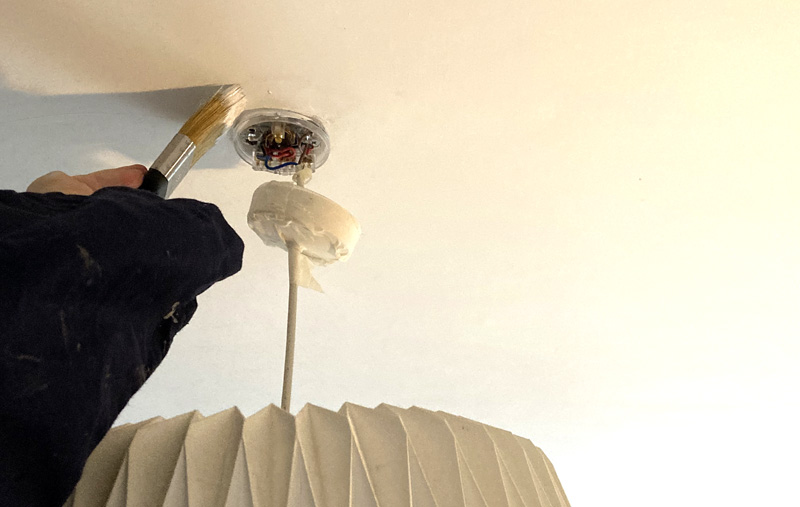
Keep your lights clean
If you have a simple ceiling rose pendant fitting, unscrew the fitting, slide down and cover.
Alternatively, use painters tape or masking tape around the edges of the light fitting nearest to the ceiling. Repeat the process to double the width of the tape and cover more of the fitting.
To be safe, switch off the electricity supply while painting if you can.
How to prepare a textured ceiling
Get a stiff brush and brush the ceiling to get rid of any debris and dirt. You can use a clean broom here so you don’t have to get up a ladder.
It is difficult to paint the edges of a textured ceiling. Tape doesn’t help, so get a small paint scraper (1-2 inches), hold at a 45° angle on the edge of the ceiling and run along the length of the ceiling. This will help create a smoother surface, making it easier to paint straight lines.
Application
What is the Best Way of Painting a Ceiling
Different ceilings require different application methods.
A smooth, previously painted ceiling is pretty straightforward. What is the best paint brush and best paint roller for these kinds of ceilings? Generally, you'll need a 2-4 inch brush to cut in and a 9-inch roller to apply the paint.
To paint a simple textured or artexed ceiling you can use a specialist segmented foam roller. This is typically a multi-slit, foam roller that provides complete coverage. Alternatively, use a block brush or a 4-inch emulsion brush to get into all the ceiling crevices.
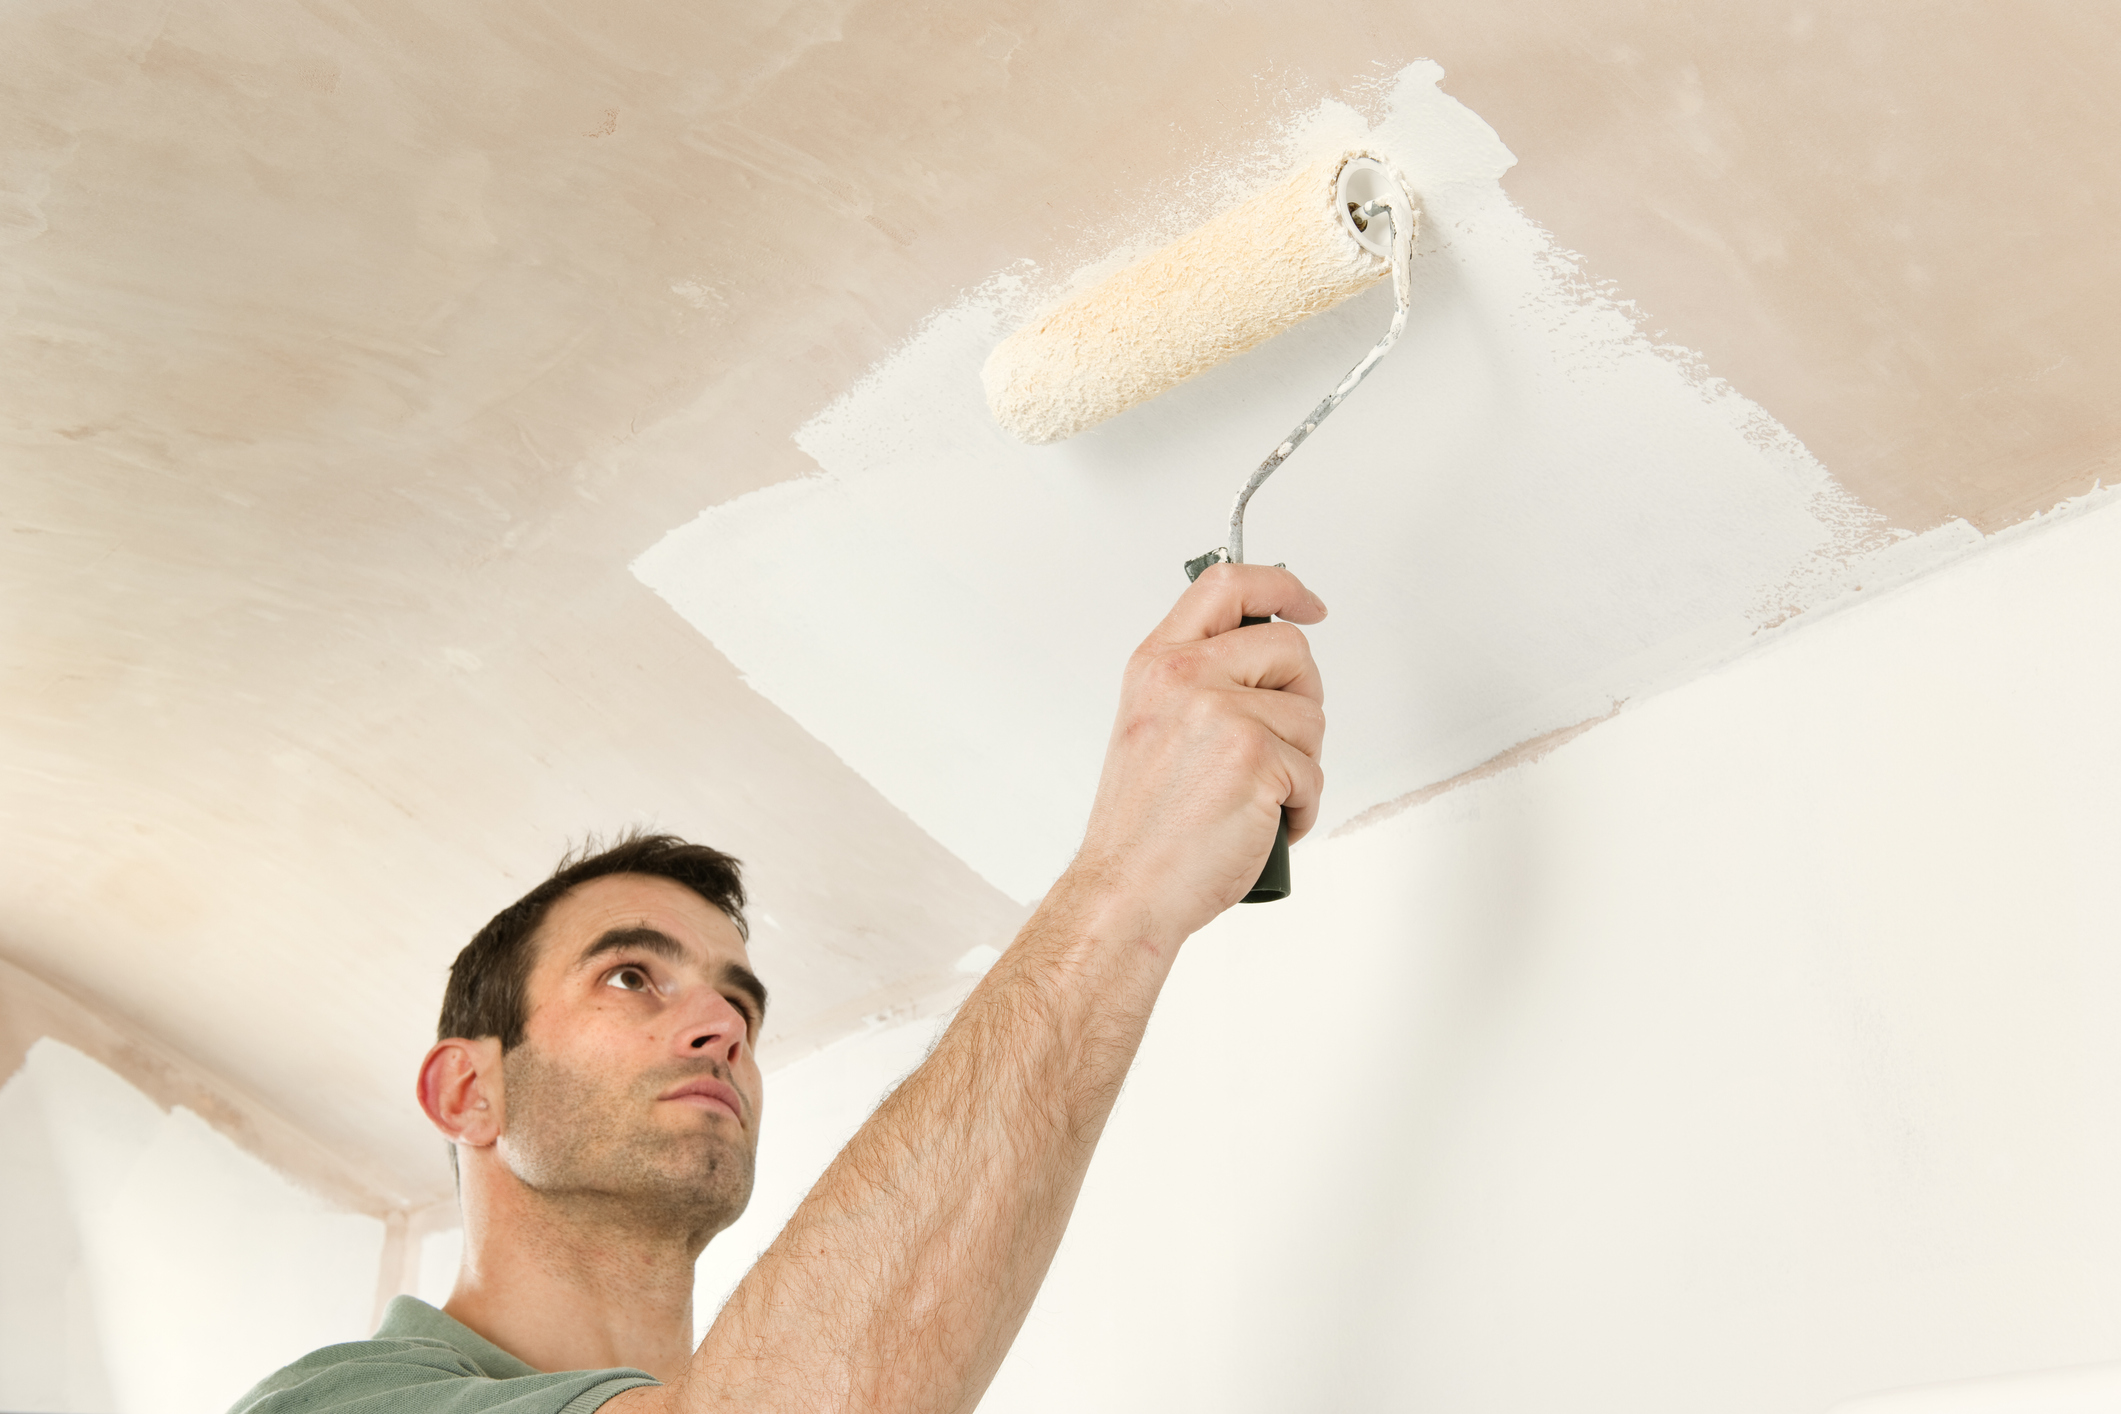
Freshly plastered ceilings are different again. They should be left for 4-6 weeks to allow them to completely dry before painting.
The first thing to do with a new plaster ceiling is a mist coast. This is effectively watered down emulsion.
Use a white emulsion — it's typically cheaper than coloured emulsion and makes a great base for all colours. As a guide mix three parts paint to one part water and apply with a roller. Watch out for runs.
Where Do You Start Painting a Ceiling?
The best place to start a ceiling is in one of the corners. It is not essential, but makes an ideal focal point.
The first thing to do is cut in the ceiling edges and around any light fittings. If you have an empty room do all four edges first before you start rollering the ceiling.
To get a more professional finish around any edges, overlap the paint as you would normally, but then use a mini roller to blend the brush strokes and finish with the big roller.
Create a border around the ceiling edge approximately the width of the brush (3-4 inches).
If you are painting the walls you won’t need to cut in. You do this when painting the walls, but make sure that you overlay ceiling paint a couple of inches onto the wall to create a base for cutting in the wall colour.
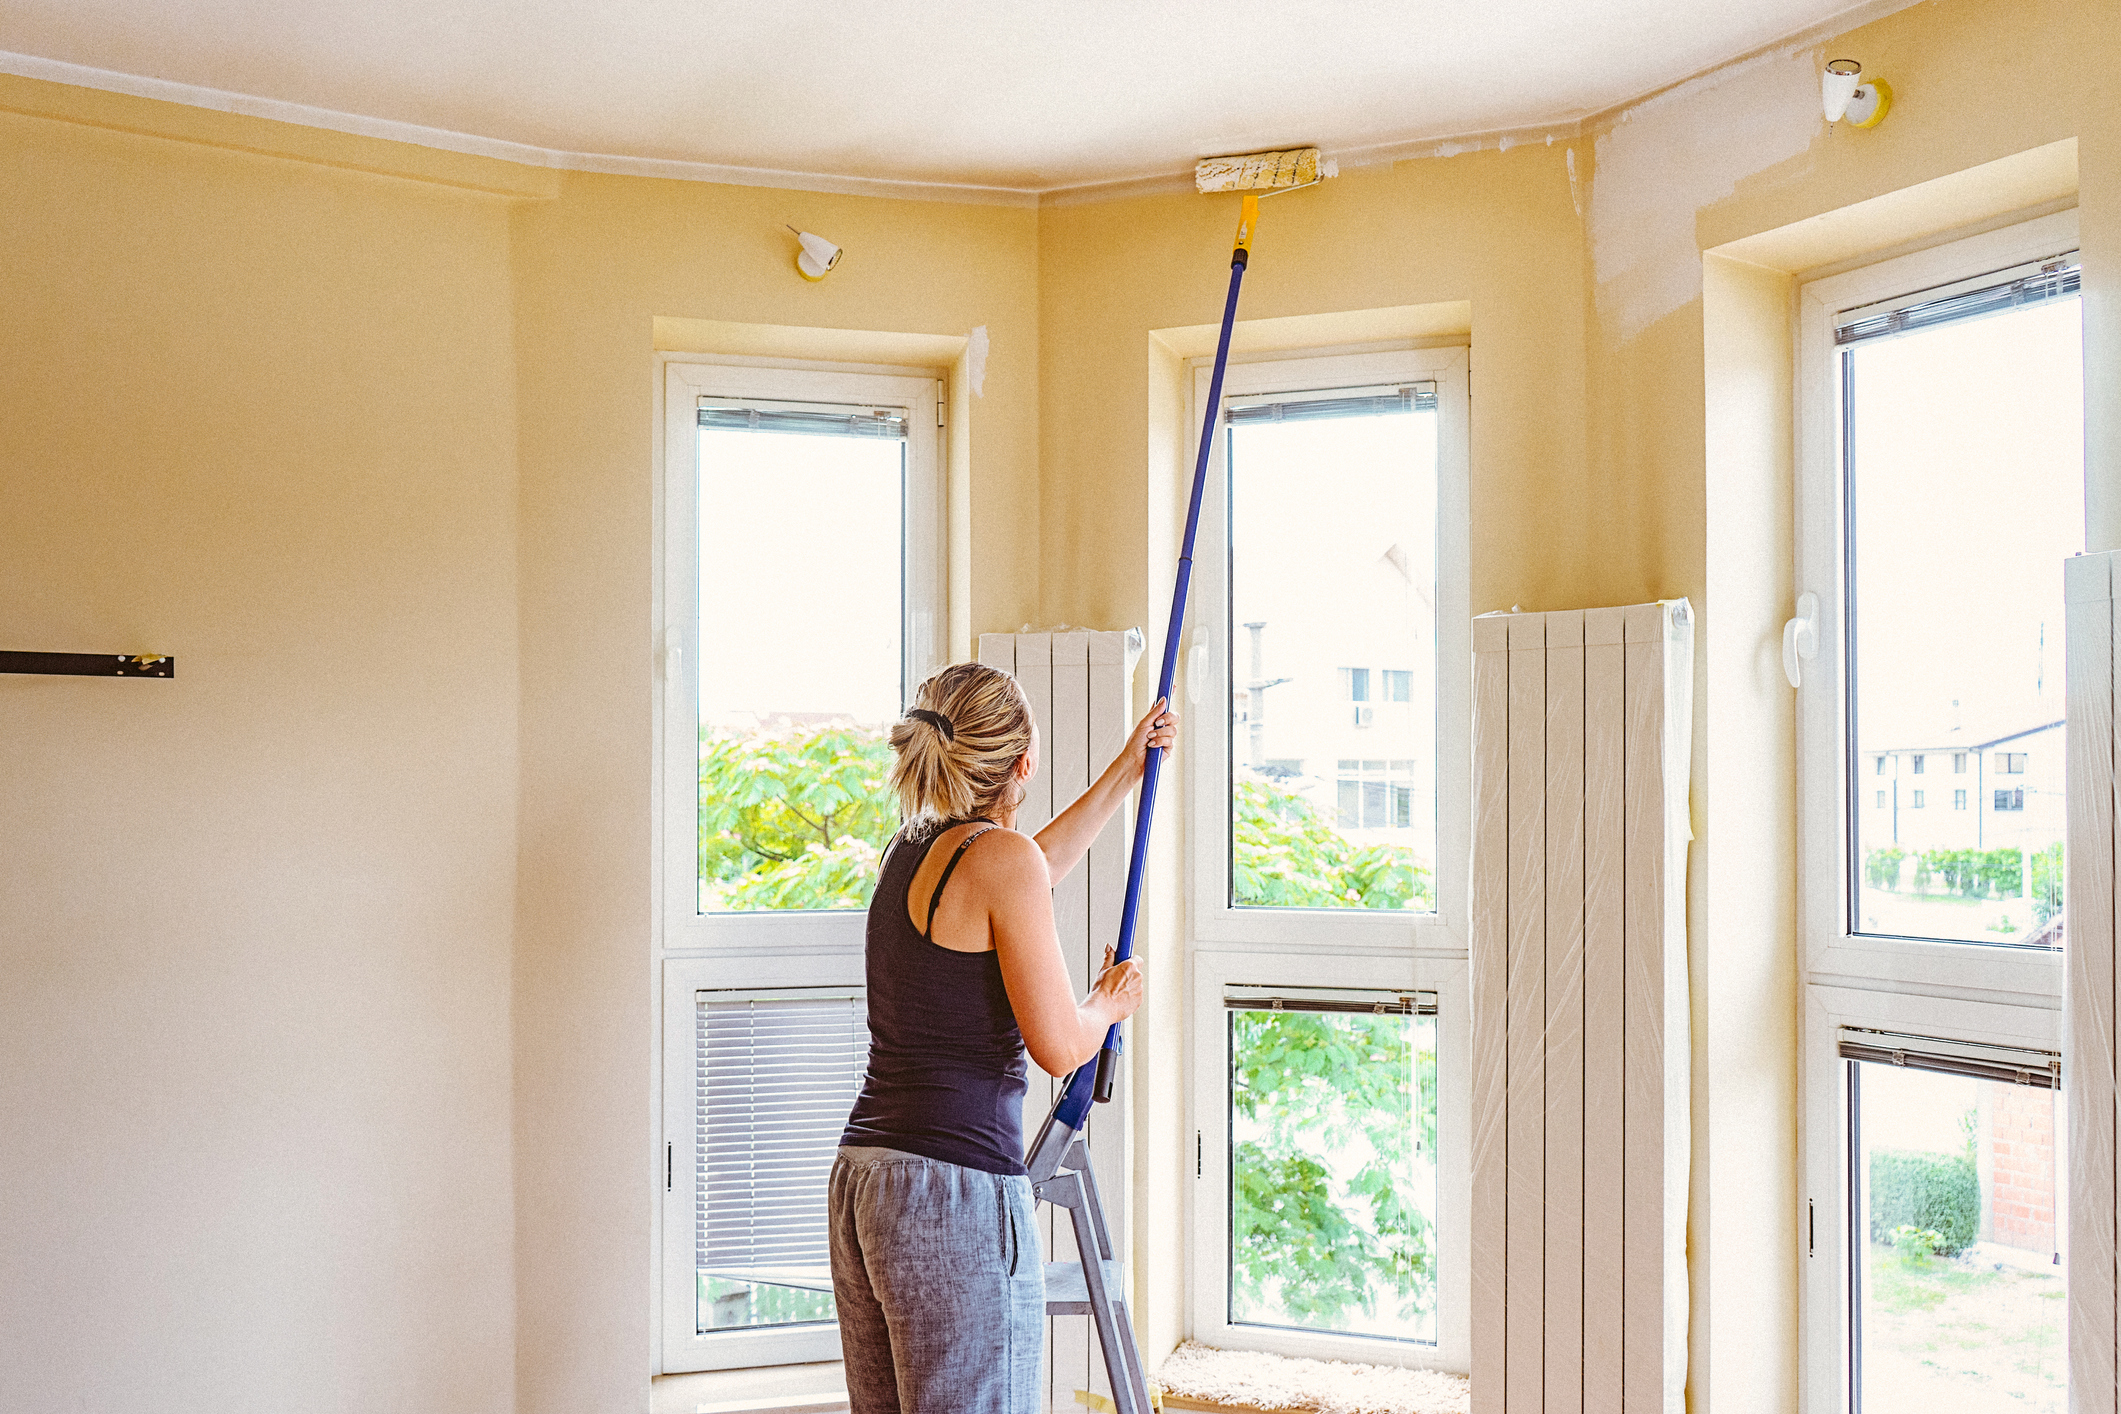
How Do You Cut In When Painting a Ceiling?
When cutting in with the first coat, you don't need to be really precise with your lines. The first coat acts as a base.
Be more accurate when you do the second coat to get the perfect finish.
‘Cutting in’ is the art of painting a straight line, on a ceiling or wall to separate two colours with just a paintbrush.
To cut in, use a 4-inch brush fully loaded with paint. Start an inch or two away from the edge with the brush parallel.
Slowly move the brush up to the edge in a semi-circular motion. Follow the line (hand as steady as possible) until the paint starts to break (not cover fully). Repeat.
In the corners, hold the brush straight up with paint on it and gently wiggle into the corner until you get to the edge. Then pull the brush down.
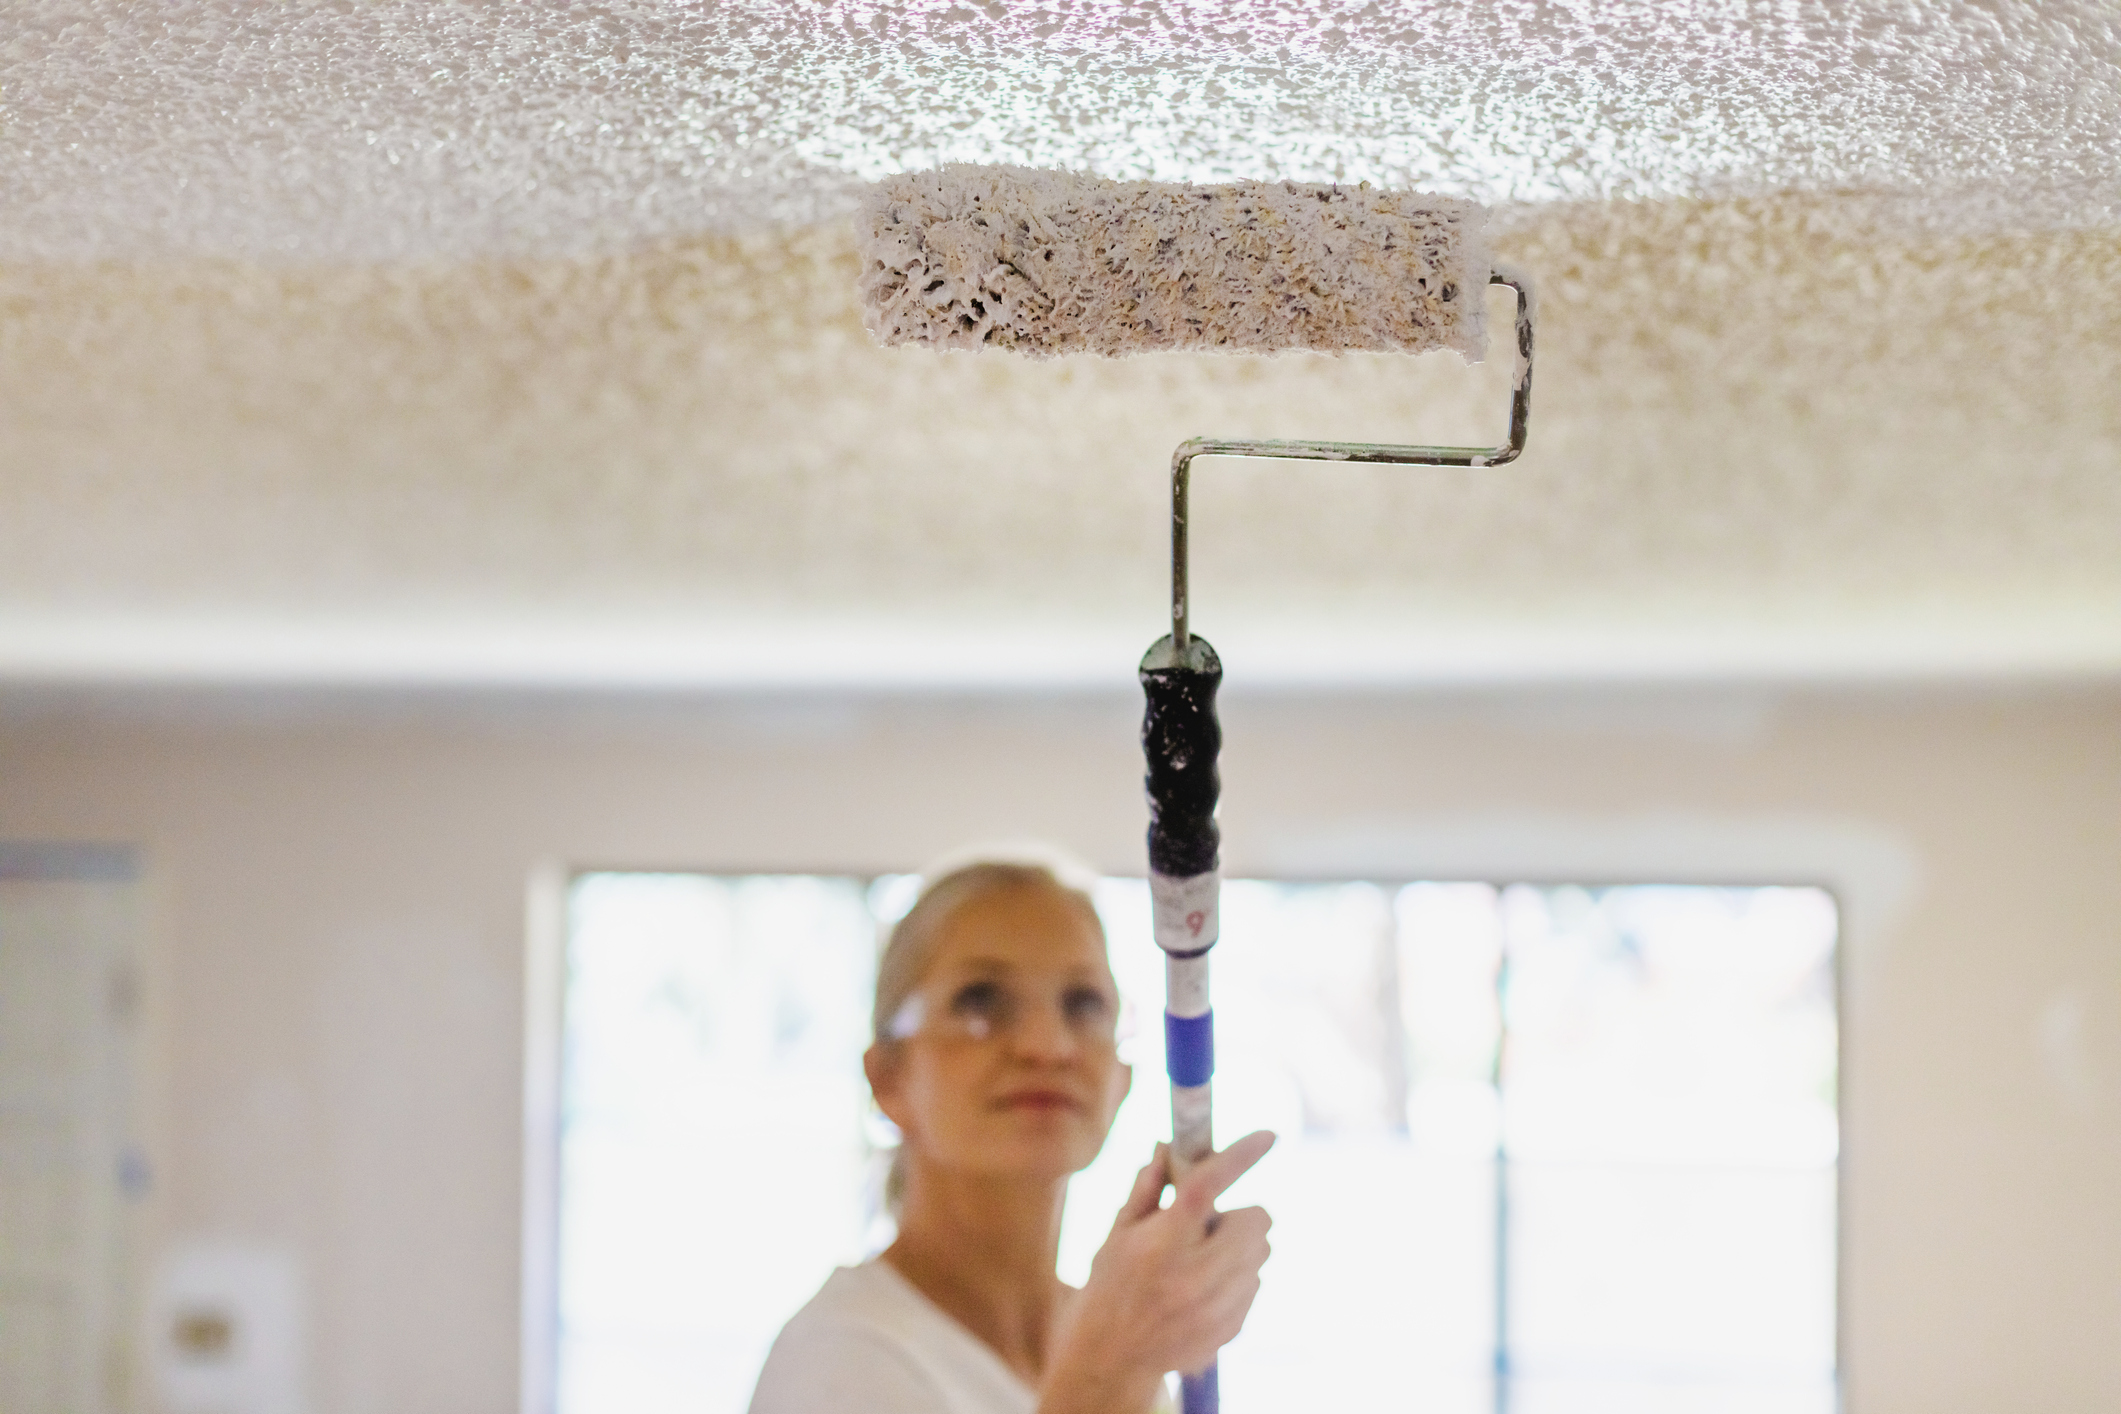
How Do You Paint a Ceiling With a Roller?
When you have a border of paint around the edges of the ceiling, the next step is to roller the rest to finish.
Fill your roller tray with paint, dab the roller in the paint and work into the roller using the tray. Repeat until you have plenty of paint on the roller.
For best results, work in one metre sections from one side of the room to the other. Roll as far into the previously brushed edges as possible. Now repeat. This helps make sure you don’t miss any areas.
If you are painting white on white you should be able to see where you have painted by stepping away and finding a position where the natural light reflects on the ceiling. You can also set up a lamp on the floor to help spot the painted sections.
How Do You Prevent Roller Marks When Painting a Ceiling?
Once you have painted a section, go back over it with the roller – with no paint but with a lighter touch. This will help get rid of any lines, drips of streaks.
Repeat until these are all gone and you have a smooth clean finish. Make sure you do this while the paint is still wet.
How Many Coats of Paint Does a Ceiling Need?
Be warned — if you use cheap paint, it will not cover as well and you may need to put on an extra coat. Check the reviews before you buy your paint.
Steve Jenkins
Typically you should only need two coats of emulsion to paint a ceiling. You may need a third if it's a newly plastered ceiling.
Drying time for emulsion is usually 2-4 hours — check your paint to make sure. This means you will have plenty of time to add a second coat on the same day. Start early and you could have your ceiling finished by lunchtime.
Top Tips
What Type of Paint is Best for a Ceiling?
Standard white emulsion is the popular choice for paint and colour. A white ceiling gives the illusion of height, ideal for a small room, but don't be afraid to try colour. A darker colour that matches the walls will make a big room feel smaller, but cosier.
Matt is the classic paint choice for most rooms as it helps hide any imperfections. Silk produces a low sheen and is easier to clean, but it doesn’t hide imperfections as well.
What is the Best Roller for Painting a Ceiling?
Paint rollers typically come in two sizes — 9-inch and 4-inch. For ceilings you need the 9-inch option. Professional painters and decorators may use 12-inch rollers, but you need to be confident using a roller to get a good finish.
Rollers sleeves (the bit where the paint goes) typically have a woven cover. The thickness of the woven cover is known as the nap or pile.
For smooth or newly plastered ceilings use a medium pile. This is the most common one you will find in your local DIY store. This reduces paint splatter and adds a little texture.
If you want a smoother finish use a roller sleeve with a short pile or a smooth foam roller. These are typically used for glossing doors.
To eliminate ladders and for quicker painting, invest in a roller extension pole or buy an extension pole with an integrated roller.
Coving and Ceiling Roses
How to Paint Coving and Ceiling Roses
If you have coving that is to be painted the same colour as the ceiling, you can paint the coving first with a brush. This allows you to overlap where the coving meets the ceiling. This makes it easier to paint the rest of the ceiling with a roller.
If you are going to paint the coving a different colour to the ceiling, use painters tape to get a neat straight line. Let the paint dry before adding a second coat (and a third if necessary.) Wait until the paint is completely dry before taking off the tape.
If you are having new coving installed, leave painting the ceiling until the installation process is complete.
For ornate ceiling roses, traditional coving and cornicing, you will need a small 1 or 2-inch brush. Dab the paint into any crevices and then brush over to spread the paint. Do not apply too much paint at once as this will cause runs.
Tips for Painting the Rest of Your Room
Check out our other painting guides for more help to achieve a quality finish to your room:
Steve Jenkins is a freelance content creator with over two decades of experience working in digital and print and was previously the DIY content editor for Homebuilding & Renovating.
He is a keen DIYer with over 20 years of experience in transforming and renovating the many homes he has lived in. He specialises in painting and decorating, but has a wide range of skills gleaned from working in the building trade for around 10 years and spending time at night school learning how to plaster and plumb.
He has fitted kitchens, tiled bathrooms and kitchens, laid many floors, built partition walls, plastered walls, plumbed in bathrooms, worked on loft conversions and much more. And when he's not sure how to tackle a DIY project he has a wide network of friends – including plumbers, gas engineers, tilers, carpenters, painters and decorators, electricians and builders – in the trade to call upon.

