Painting Windows: An Expert How-to Guide
Painting windows can help revive your home, inside and out. Give timber frames an essential makeover with these tips and tricks

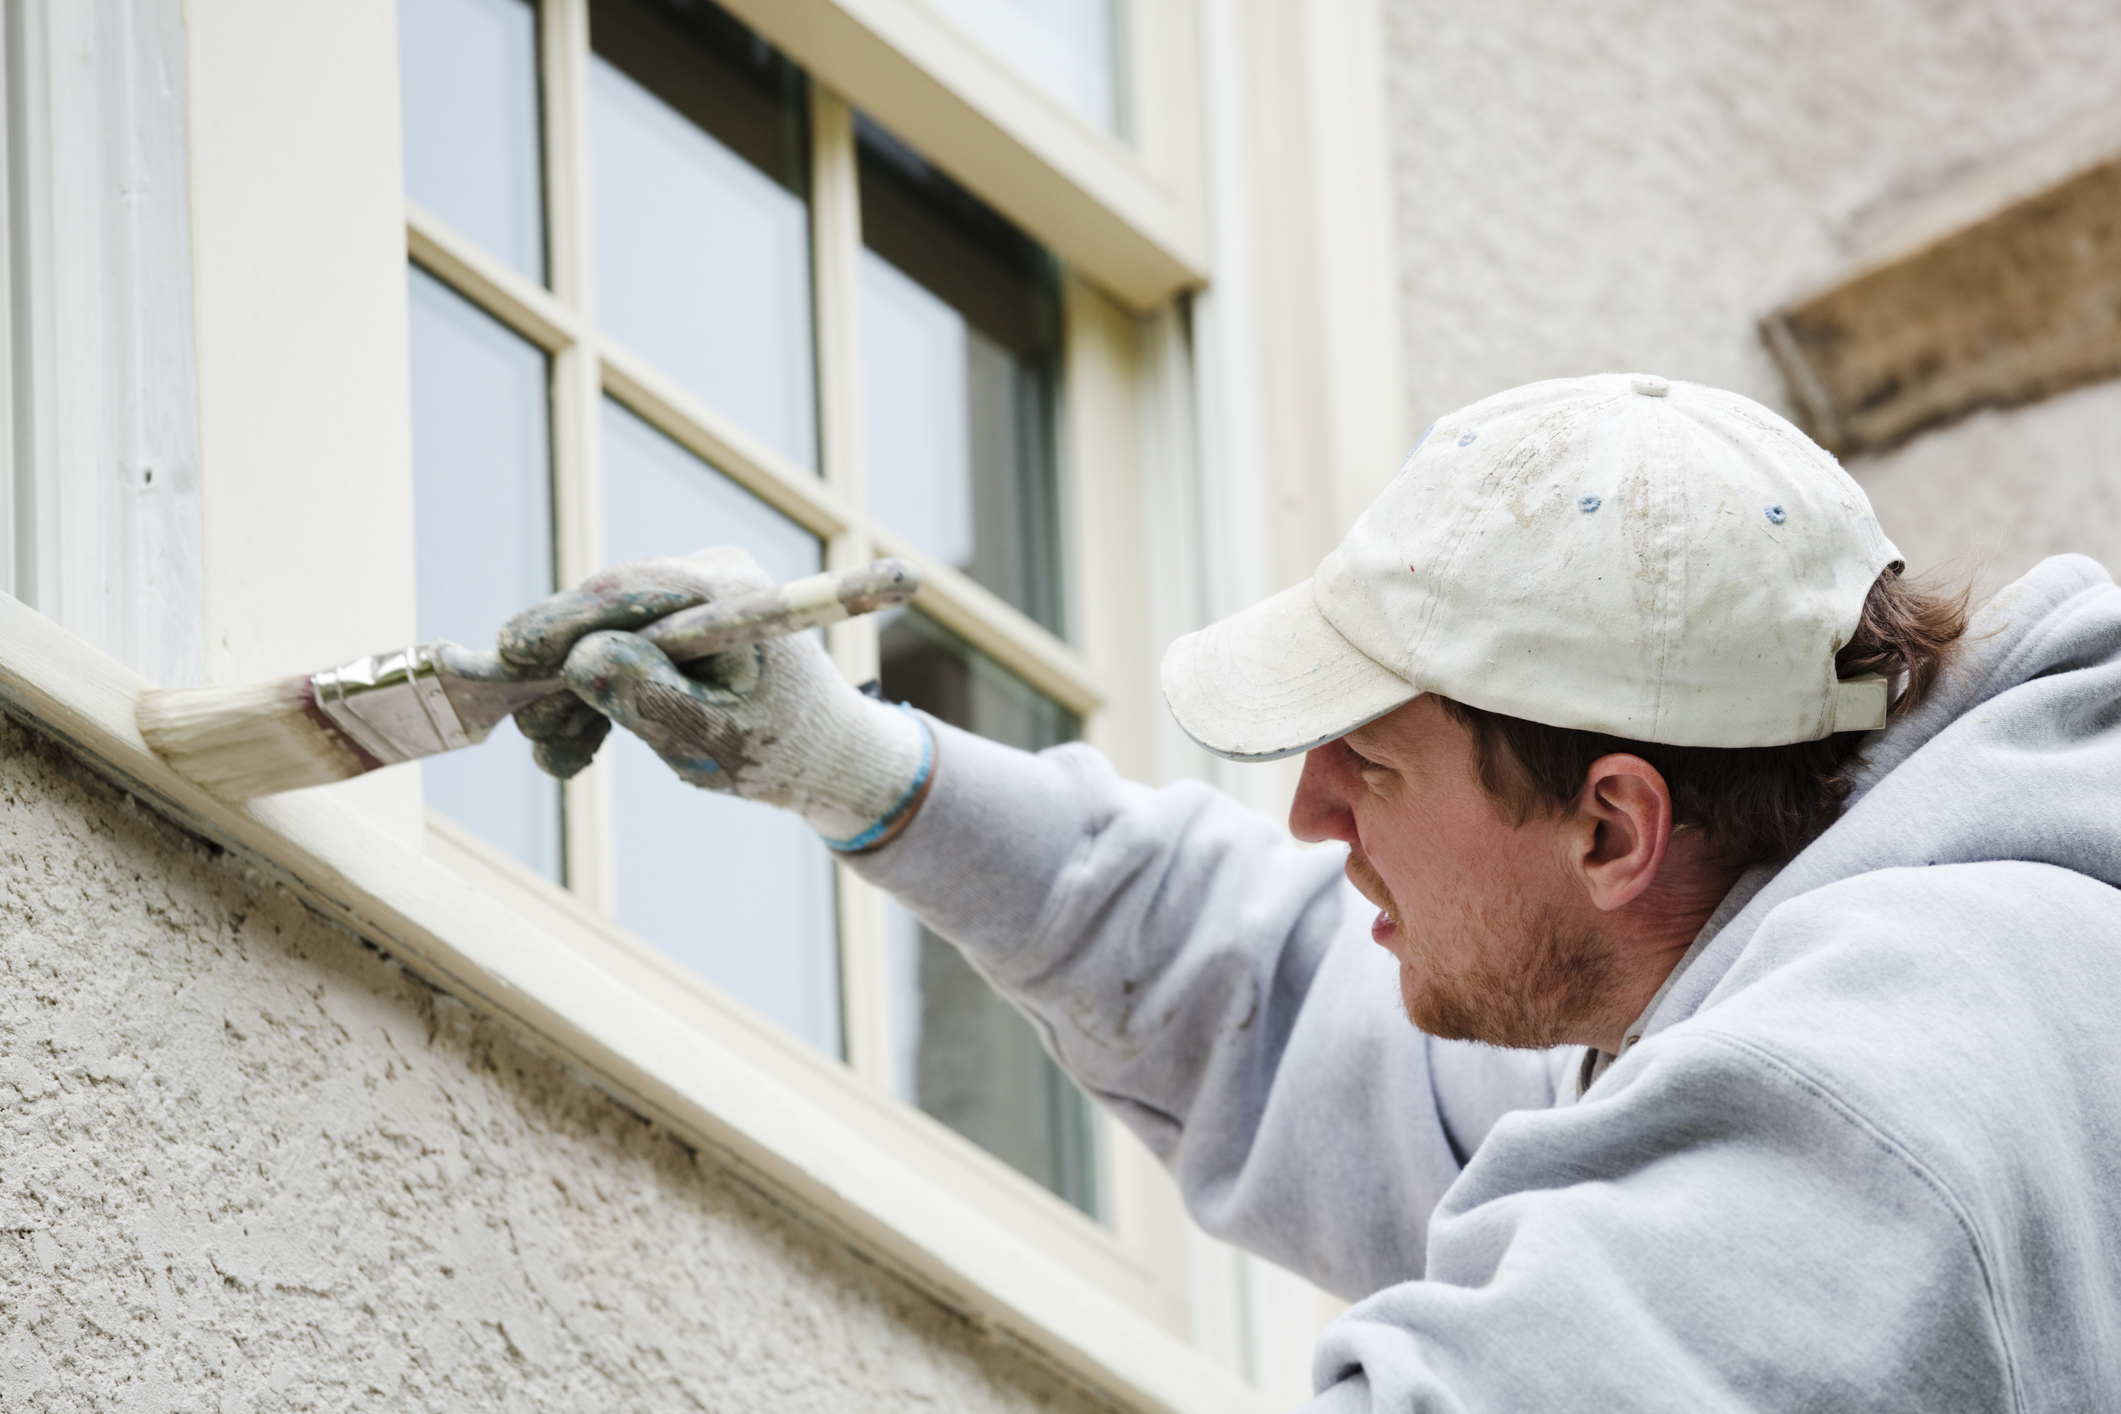
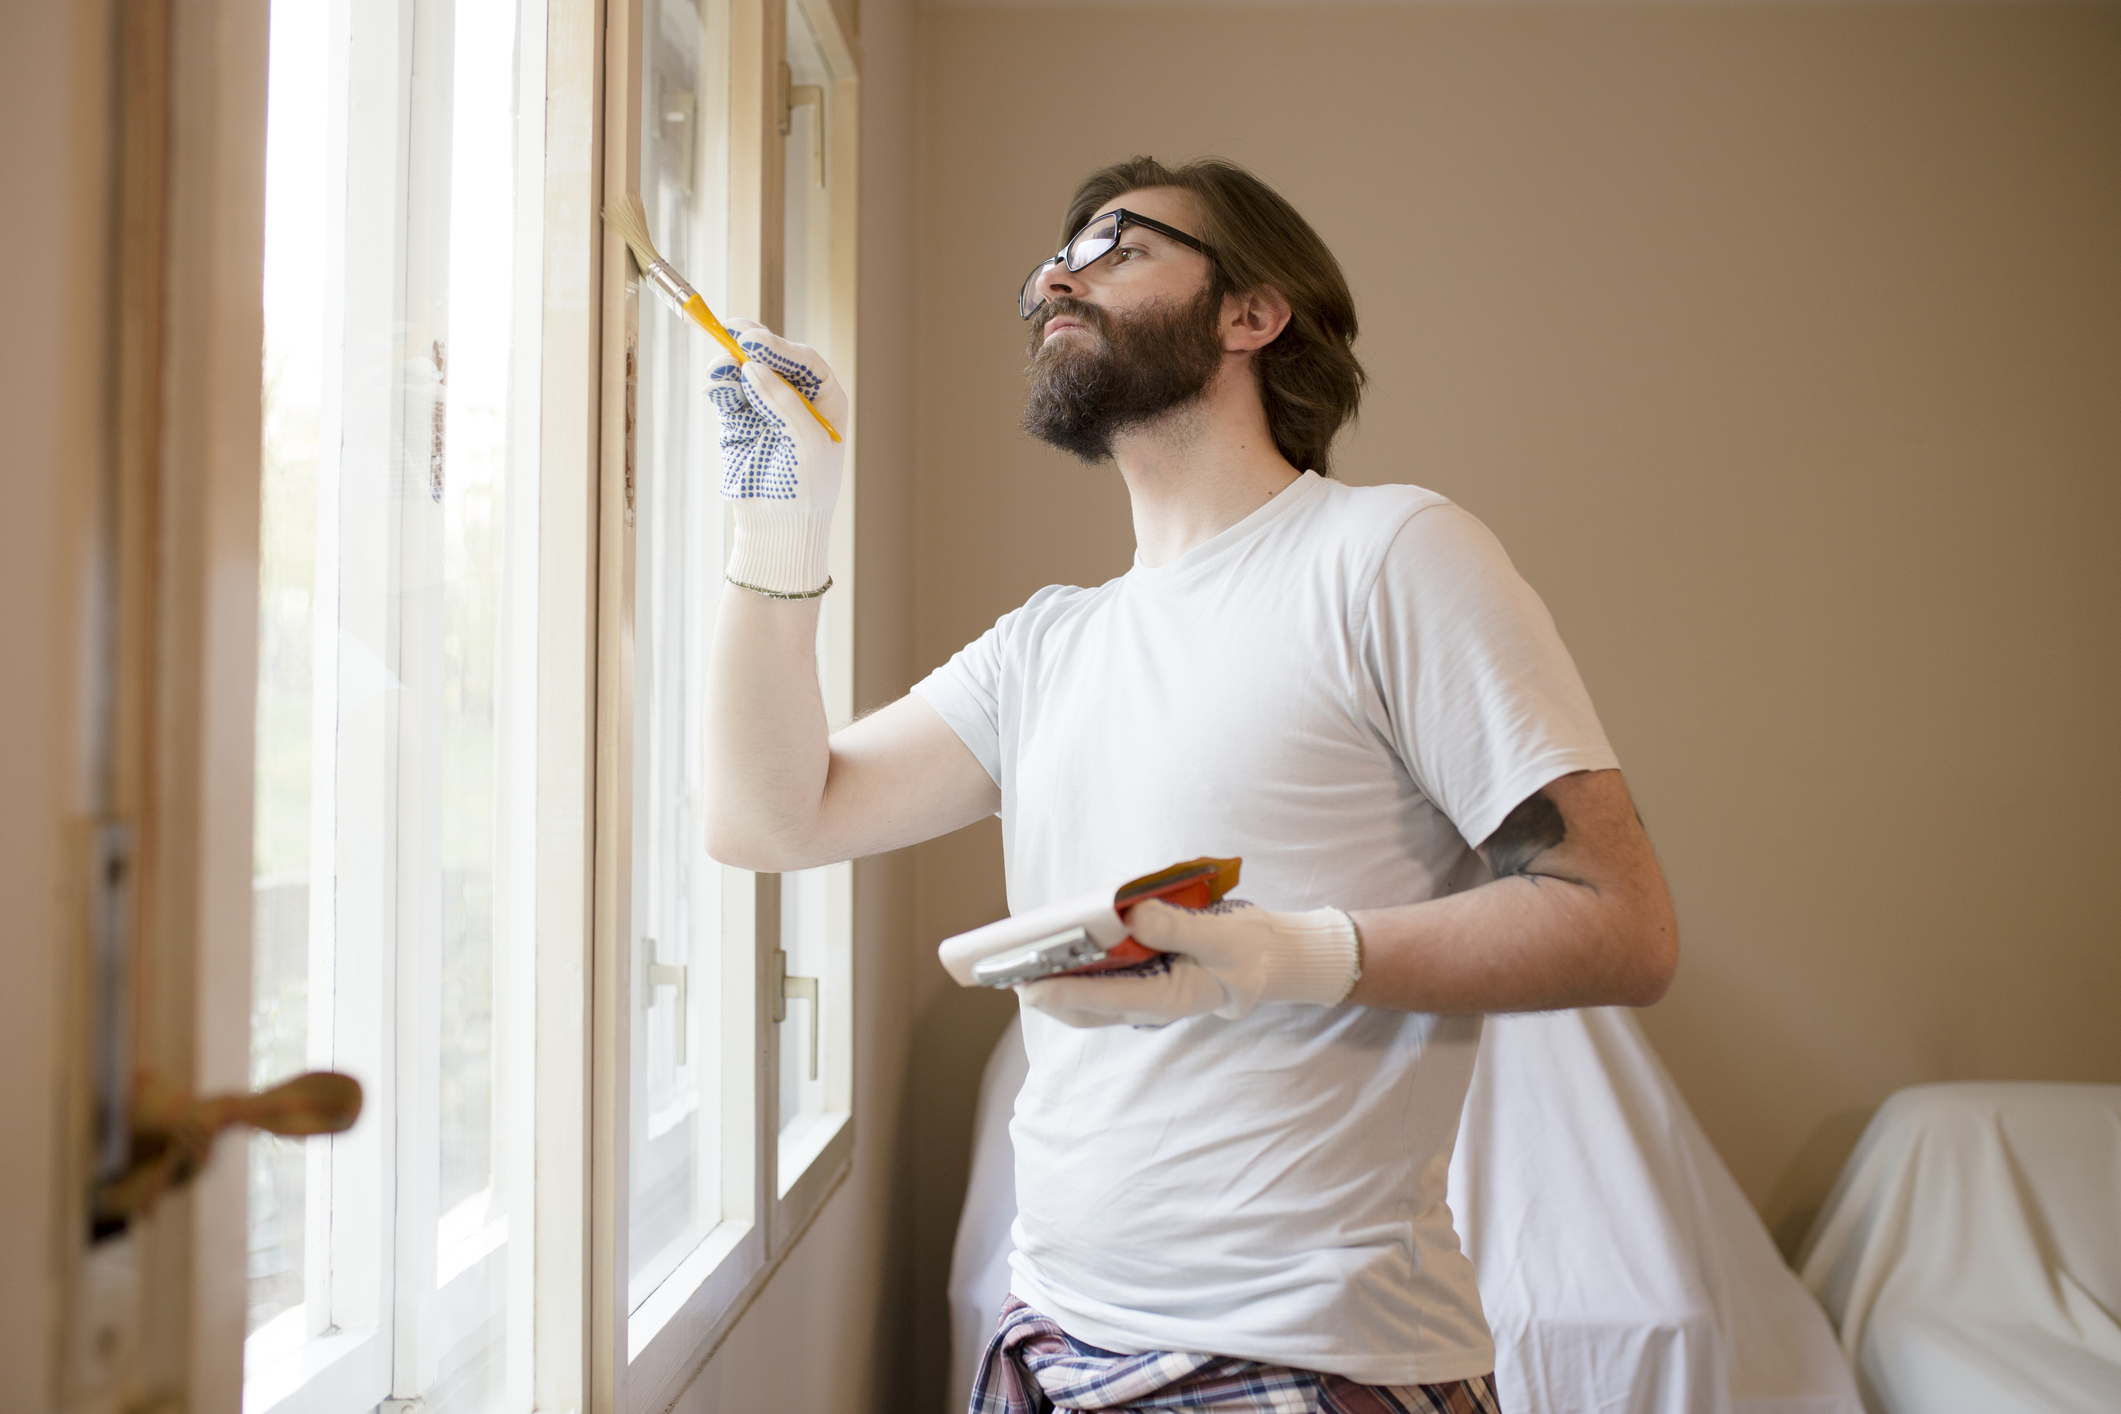
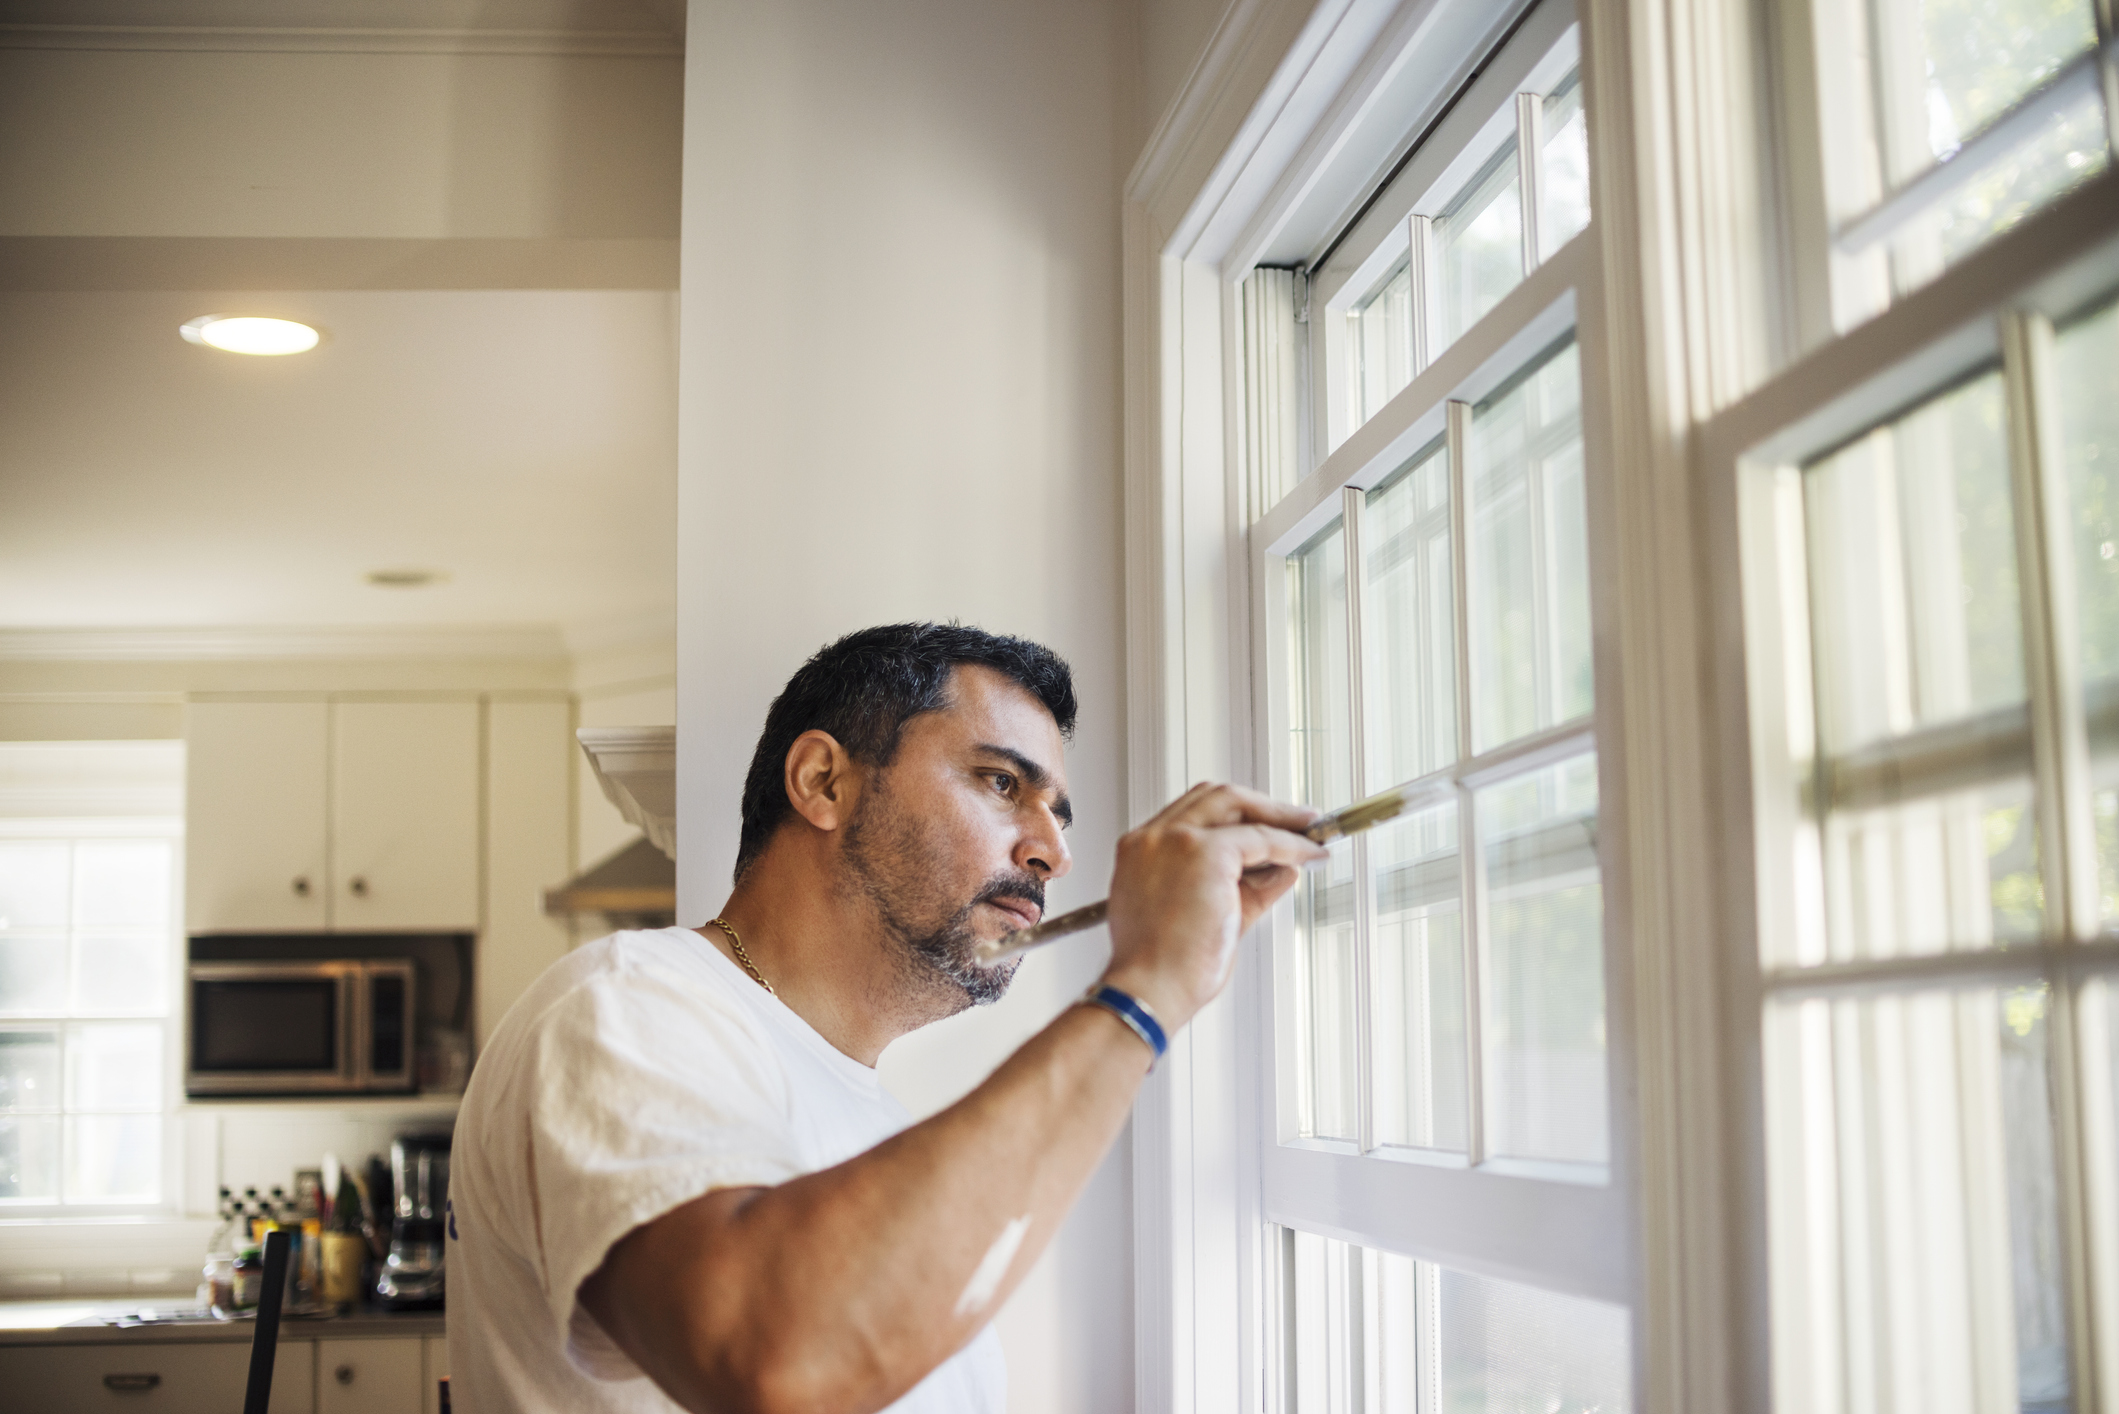
Painting windows is an essential step in the process of how to paint a room, but windows present double the challenge as you need to paint them on the exterior too. Doing this will not only improve timber frame windows' good looks, but also weatherproof them to prolong their lifespan.
In this guide you’ll find pro tips that any DIYer can follow to make timber windows look good and last for years. Find out what gear you need, the best time to paint and how you can transform your wooden casement and sash windows.
Don't have timber windows? Then check out our essential guide to painting uPVC windows.
What Will I Need for Painting Windows?
When painting windows, make sure you have the right equipment to hand to ensure the best possible finish.
- Primer/undercoat paint
- Top coat paint, either in Gloss/Satin/Matt
- 2-inch paint brush
- 1.5/2-inch cutting paint brush
- Paint kettle
- Brush cleaner
- Sandpaper
- Dust sheets
- Masking/Painters tape
- Stepladder/ladder
- Wood filler
What's the Best Paint to Use for Painting Windows?
When painting timber windows the first coat should be a primer or undercoat. Bare wood will need a primer to help seal the surface and improve adhesion. If freshening up, an undercoat will help smooth out any imperfections, block out darker colours - ideal if painting a lighter colour than the original - and again improve adhesion.
Gloss paint is a popular choice for inside and outside finishes, but other options include satin and matt. When painting the outside look for the best exterior wood paint to help get the finish you want and weatherproof the windows for a good-looking, long-lasting finish.
What Prep do you Need to do When Painting Windows?
First, you'll need to pick a day when it is warm and there’s no rain coming your way when painting a house's exterior windows. Then start by washing and cleaning the windows with warm soapy water and let dry. Next use a paint scraper to get rid of any loose paint. These steps are more specific to exterior windows, but may apply inside as well.
Bring your dream home to life with expert advice, how to guides and design inspiration. Sign up for our newsletter and get two free tickets to a Homebuilding & Renovating Show near you.
If there are any gaps between the glass and frame fill with window putty using a putty knife. Smooth with a wet finger and leave to dry. If the frame has any areas that need filling, get a good quality exterior wood filler and apply as instructed.
Now remove any window furniture such as handles and stays so the whole window can be painted. Now the windows will need to be sanded to get a smooth finish and improve adhesion. Use a 120-180 grit sandpaper and sand by hand on any intricate areas. Use an electric hand sander for larger areas.
To finish brush off any dust, vacuum up the dust and wipe the window with a damp cloth and let dry. Now add masking or painters tape where the glass/edges meet to stop getting paint on the glass and help get clean straight edges. Finally put down dust sheets to catch any paint splashes.
How to Paint Casement Windows

When adding primer and undercoat try to paint up to the edge of the window, but keep off the glass. When you add the top coat, overlap onto the glass by 1 or 2mm. This seals the frame to the glass and helps weatherproof it
1. Casement windows are effectively a window style that open via a hinge. Common combinations are a single side opening window or double side opening windows. Start outside with the window open. A standard 1.5 or 2 inch brushes are the best paint brushes for the job - or use a cutting in brush if you prefer. The first coat will be a primer/undercoat for bare wood and undercoat for previously painted wood. Typically add two coats and sand down between coats when dry. Then add two top coats.
2. Start by painting the open (casement) window. Start at the hinge edge and paint the vertical timber then move onto the top (known as the top rail) and down the other vertical timber. To finish, paint the bottom rail.
3. Now paint the inside edges — the bits you don’t see when closed. Start on the hinge edge, then onto the top and then down the leading edge and finally the bottom edge. To finish the open window, paint the inside of the window, Again start at the top and work down. Now paint any fixed windows. Leave until at least touch dry before starting the next step.
4. To finish the outside, paint the frame. Start by painting the left upright then work across the top, then any other upright, then along the bottom of the frame. To finish, paint the top of the sill and finally the underneath.
5. Make sure all outside paint is fully dry - make sure you follow the manufacturer's instructions- otherwise the windows will stick. Now you can paint the inside of the frame. Open the windows and start at the top, then the left and right uprights and finish by painting the bottom of the frame.
How to Paint Sash Windows
Before you get started there are a few points to note. If your sash windows are already tight it might be because they have enough layers of paint. If this is the case you will need to remove the windows and strip back to bare wood and start the paint process again. Get a pro to do this as part of a larger job of repairing sash windows.
A lot of sash windows have small panes. The strips of wood that hold them in place are commonly known as mullions. Paint these first. To get the best finish paint all of one side of the mullions (ie. left). Then paint all the right sides and finally the front. Start in the top left corner and work across to the right. Also make sure you let any paint dry (cure) properly before closing to stop the windows sticking.

1. Start by pushing the bottom sash as high as it will go and pull the top sash down. First paint the bottom sash window — the one pushed up. Paint the inside of the frame and then the outside — the frame facing you.
2. Now paint the frame of the top sash - the one you pulled down. Use the same method as the bottom sash. Next paint the recess, or the runners, that the sash windows sit in and let them dry as much as possible. Now you can paint the frame at your leisure.
3. Now reverse the windows - bottom back to bottom and top to top - and paint any areas that you couldn’t reach previously including the recess. Now leave to dry for as long as possible. Now you can paint the frame at your leisure.
4. When the windows are closed you can paint the exterior. Do the top sash windows first, start on the inside and then the outside of the window. Repeat the process with the bottom window. Finally, paint the frame and sill.
Steve Jenkins is a freelance content creator with over two decades of experience working in digital and print and was previously the DIY content editor for Homebuilding & Renovating.
He is a keen DIYer with over 20 years of experience in transforming and renovating the many homes he has lived in. He specialises in painting and decorating, but has a wide range of skills gleaned from working in the building trade for around 10 years and spending time at night school learning how to plaster and plumb.
He has fitted kitchens, tiled bathrooms and kitchens, laid many floors, built partition walls, plastered walls, plumbed in bathrooms, worked on loft conversions and much more. And when he's not sure how to tackle a DIY project he has a wide network of friends – including plumbers, gas engineers, tilers, carpenters, painters and decorators, electricians and builders – in the trade to call upon.

