Experts reveal their pro techniques for painting floorboards to get an attractive, long-lasting finish
Find out what you need to know to prepare, repaint and paint floorboards to give them a new lease of life
Bring your dream home to life with expert advice, how to guides and design inspiration. Sign up for our newsletter and get two free tickets to a Homebuilding & Renovating Show near you.
You are now subscribed
Your newsletter sign-up was successful
If you want to add personality to your floorboards, a fresh coat of paint is a quick and easy way to transform a room. A budget-friendly flooring choice, it will hide imperfections and provide a design aesthetic to match your desired decor.
Whatever colour you’re painting a wall, you can introduce a hue that complements or contrasts to open up a space, or make a bold statement. But to make it last, you need to make sure you prepare thoroughly and choose a hard-wearing paint to keep it looking good for longer.
Supplies needed for painting floorboards
When it come to painting floorboards, you'll not only need tools and supplies for painting, but for preparing and repairing your floorboards for a good finish.
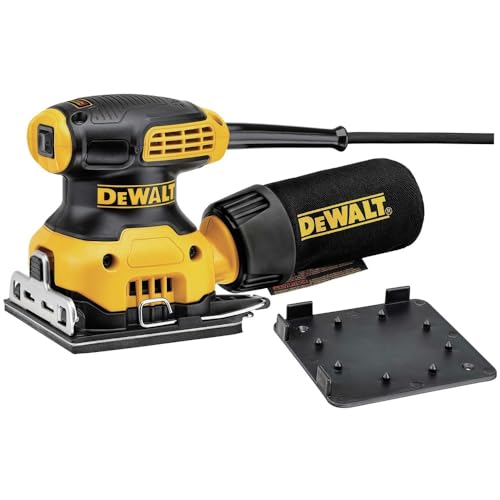
While a small hand sander or orbital sander can be useful for preparation, if you have a large space with previously painted or stained floorboards, you'll likely need to hire a drum sander for sanding floorboards properly.
- Paint
- Hand sander
- Floor sander (optional)
- Roller
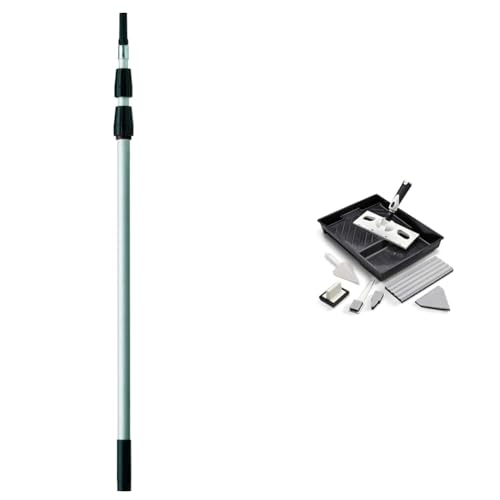
- Extension pole
- Paintbrush
- Paint pad (optional)
- Mop and bucket
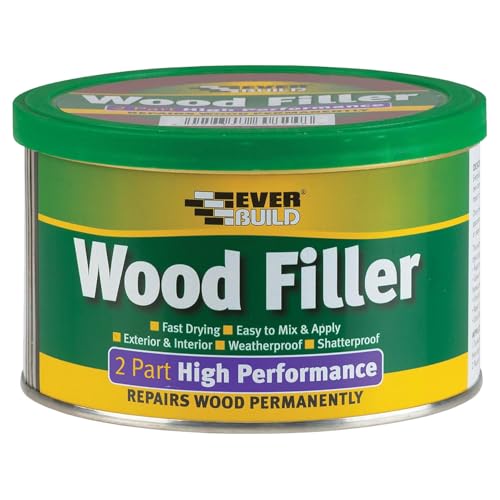
- Wood filler
- Filler knife
Try these tools to help paint floorboards

Kunal Trehan is a renowned luxury interior designer and the creative force behind Touched Interiors, a multi-award-winning design studio specialising in high-end residential and commercial spaces. He has transformed prestigious properties across the UK and beyond.
Prepare and sand floorboards for painting
1. Secure and fill floorboards
The first step is to empty the room of all furniture if at all possible. Once the room is empty check that there are no nails or staples sticking up from the floorboards. If there are, make sure to remove them or knock them into the floor with a nail punch.
Next secure any loose floorboards with 50mm countersunk screws. Check that there are no electrical cables running underneath the floorboards where you are going to secure the floorboards.
Now get a decent wood filler and fill in any small cracks, cuts and holes to help get a smooth, good-looking finish.
Bring your dream home to life with expert advice, how to guides and design inspiration. Sign up for our newsletter and get two free tickets to a Homebuilding & Renovating Show near you.
2. Sand, clean and seal the floorboards
If the floorboards have been painted previously, first remove any loose or flaking paint with a wire brush or scraper. Next, it's time to sand the floorboards, and there are several options to choose from. Kunal Trehan, Interior Designer & Founder of Touched Interiors says, “A belt sander or a floor orbital sander is ideal for large, flat surfaces to remove any existing finish and smooth rough spots.” It's a good idea to hire rather than buy, as floor sanders are expensive.
If the floorboards are in good condition, use an electric hand sander (or try one of the best orbital sanders) to prepare the surface. Thomas Oldham, Co-founder of UK Construction Blog says, “This keeps things efficient and manageable. Choose something that uses standard-sized sandpaper – like 80, 120, and 220 grit –so you can knock out rough patches, smooth the surface, and prep for paint in manageable passes.”
He warns, “Avoid overly aggressive models on older floors. Your goal is to scuff the finish, not sand to raw wood.”
After sanding Trehan suggests, “Wait a day or two before you paint, because the particles are in the air and take time to settle, and you don’t want this to happen on your freshly painted floor.”
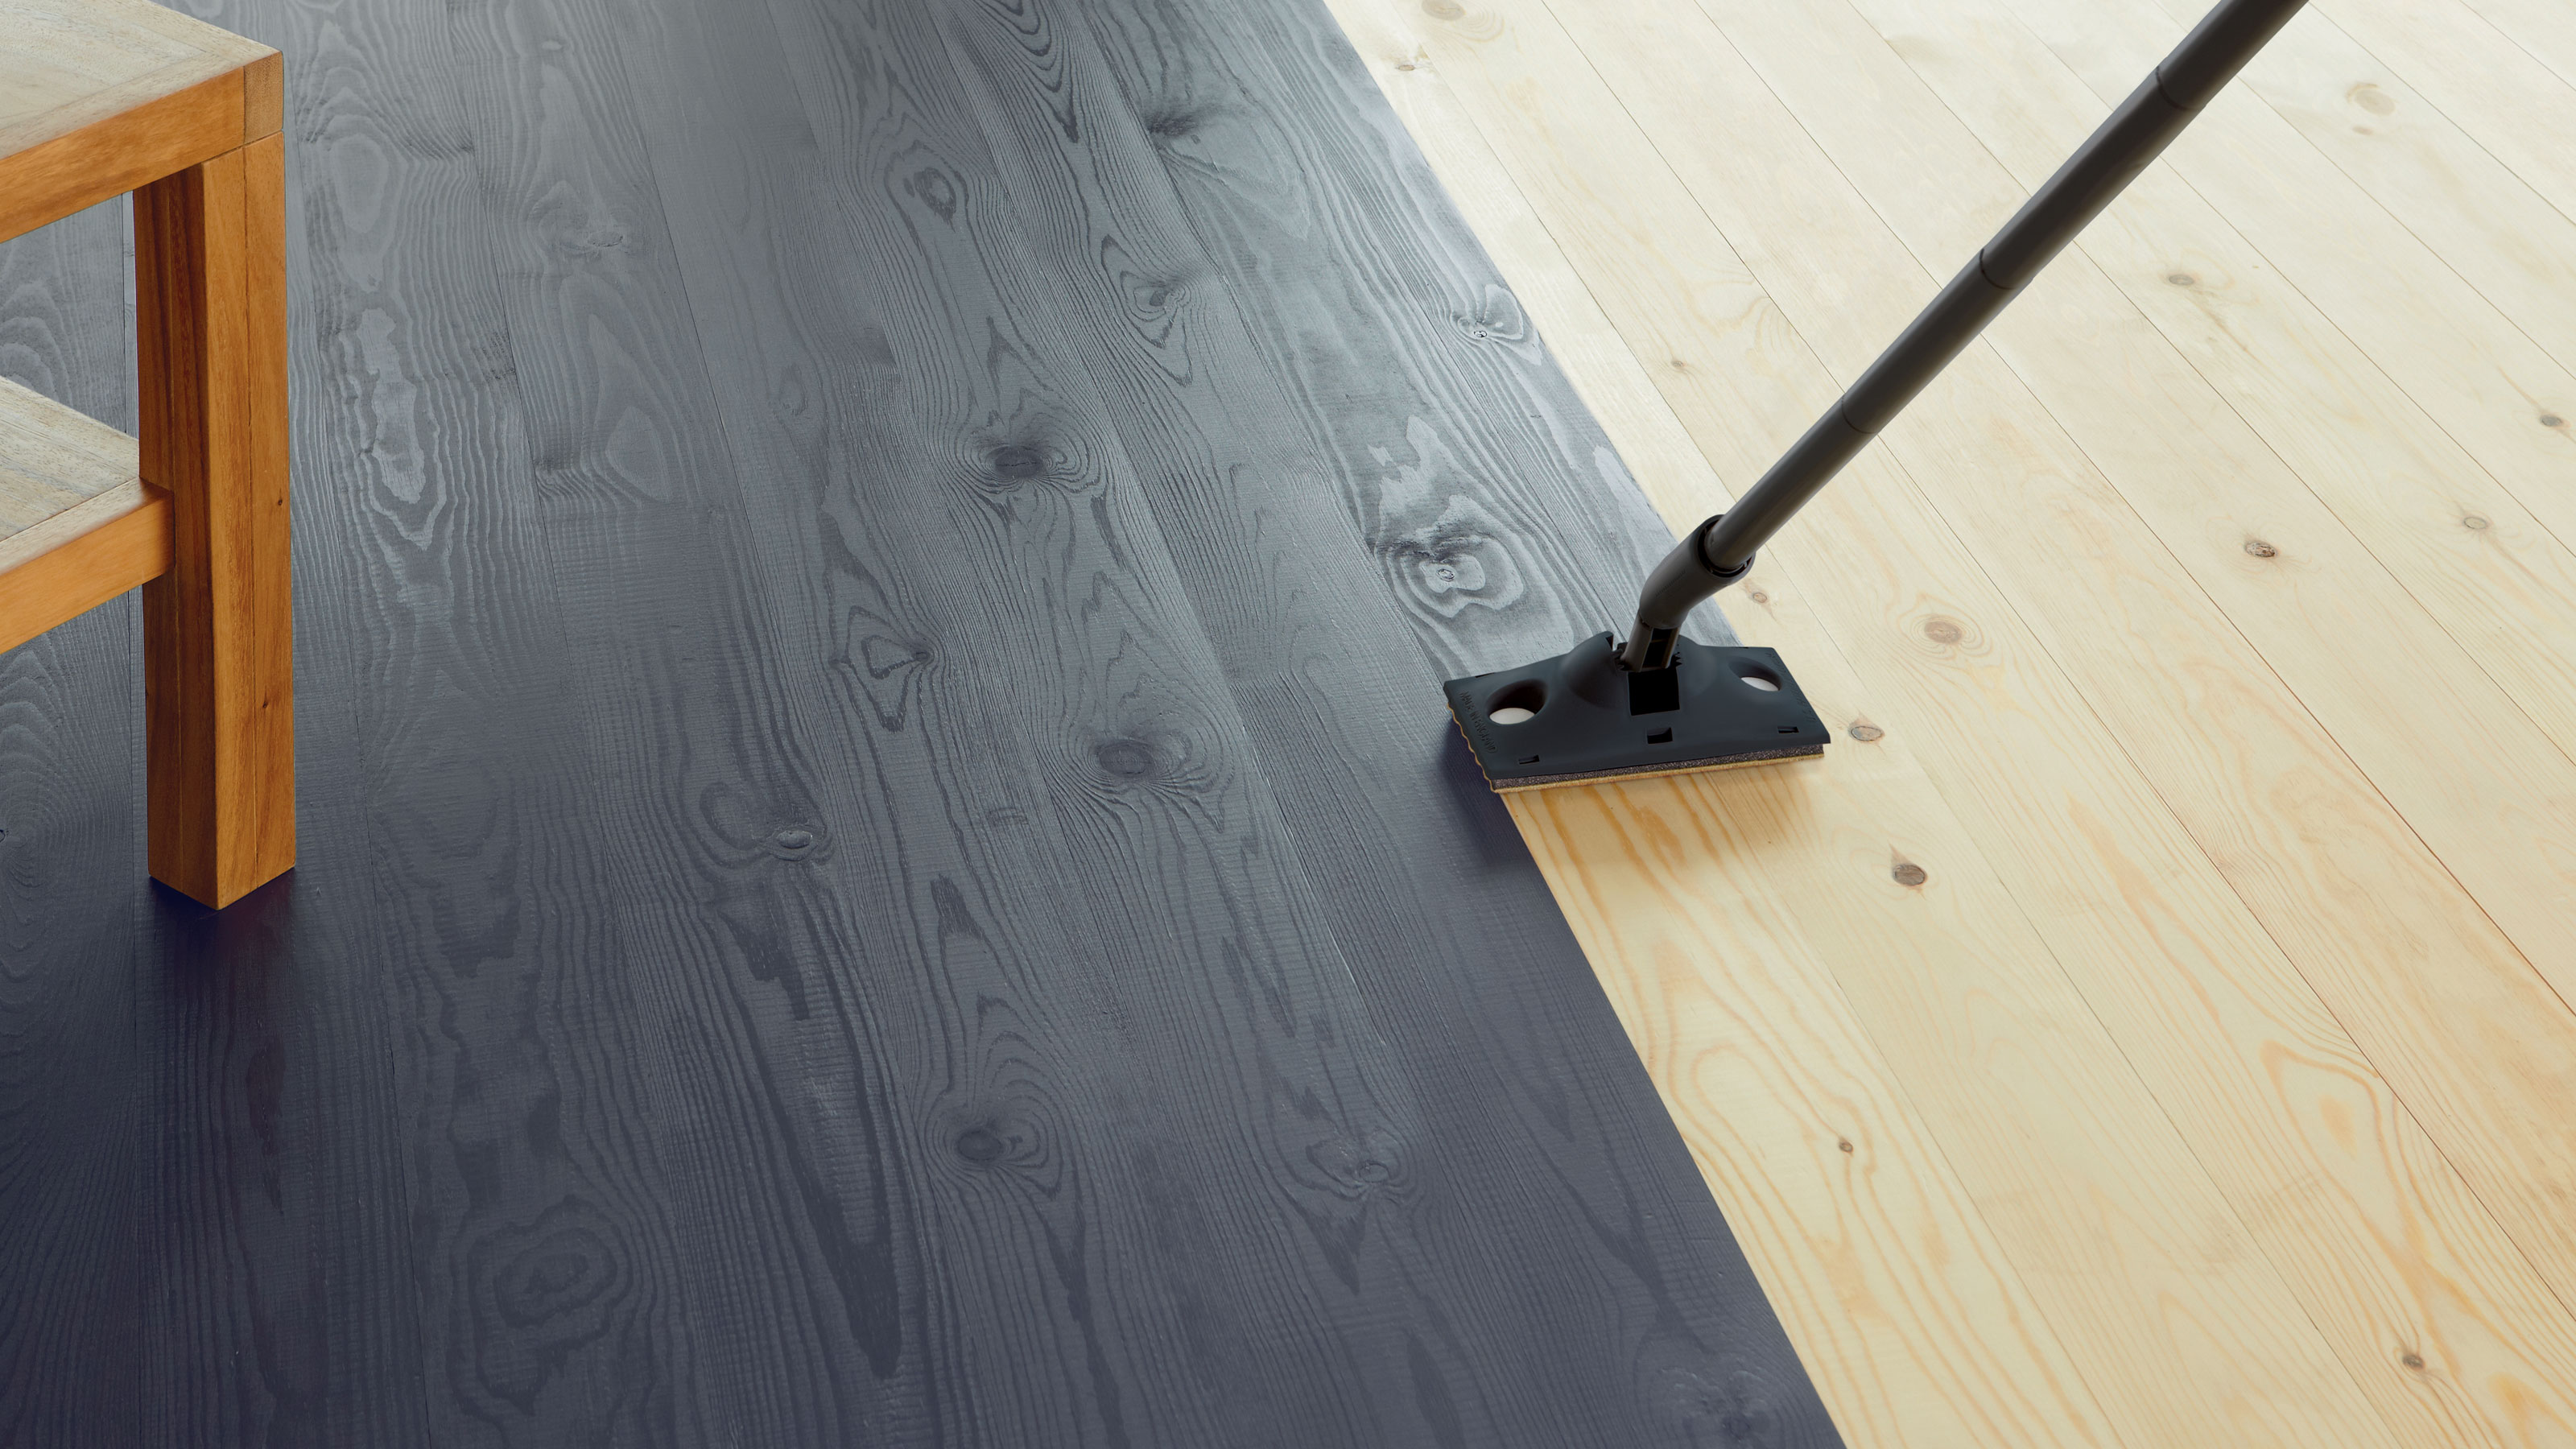
You still need to vacuum the floor to remove as much dust and debris as possible. Use a mop and liquid detergent (as instructed). Then rinse with the mop and clean warm water and leave to dry for at least 24 hours. Use a primer or specialist paint to cover any knots or stains.
After you have finished preparing your floorboards you need to think about draughts. If you can live with the draught that comes up between the gaps in your floorboards then leave. But it makes much more sense to seal the gap to stop cold draughts and keep your heating bills down.
DraughtEx, available from Amazon, is a flexible plastic floorboard gap filler that is easy to fit and will stop draughts without spoiling the look of your floorboards. You can put it in place before painting or after.

Thomas Oldham has spent the past four years using his expertise of working in the engineering and construction industry for over a decade to develop the UK Construction Blog - a leading online platform dedicated to empowering individuals and businesses in the construction industry.
Steps to paint floorboards
1. Do the edges
Before you begin, pick your starting point, Trehan says, “Start at the furthest corner of the room and work your way toward the exit, this will ensure you don’t end up trapped in a corner with wet paint beneath your feet." He adds, “It’s important to plan your route carefully so you can easily exit without disrupting your freshly painted floor”
Oldham adds, “Target a clean, smooth base using a fine-grit paper or a palm sander. Next, clean the surface well to remove dust, grease, or residue, and apply painter’s tape around edges to achieve sharp lines.”
A 2 or 3-inch paint brush is the best paint brush for this job. Cut in around the edges of the room to create a border. The floor should be the last thing to be painted in a room after painting skirting boards, so be careful not to get any paint on these. If you are not confident in painting the edges, you can cover the skirting boards with painters' tape before you start.
2. Put on the first coat
You can use a brush, roller or pad to paint the floor – the choice is yours. Trehan says, “A roller works well for smooth, even coverage over larger areas; ideally a medium nap roller that holds enough paint for an even, streak-free application.”
If you want something different, Trehan adds, “For a unique, more textured finish, consider a paint pad, which can give you a more subtle, natural look.” Oldham adds, “For tile or intricate designs, a mini roller with a ¼-inch nap is ideal.”
Paint in the same direction as the grain, do two or three boards at the same time in one metre lengths. Move across the room to the opposite wall and repeat until finished. Remember not to box yourself into a corner. When dry, give the floor a light sand and clean it, ready for the next coat.
Whatever tool you choose, Trehan says, “Make sure to apply in thin, even layers to avoid any drips or streaks.” He adds, “My top tip is that you buy high-quality tools that are renowned for limiting shedding, as shedding will not only impact the result but slow you down.”
3. Repeat and finish floorboards
Once the first coat is dry, leave to dry as instructed - typically 4-6 hours - before you apply the next coat. Repeat the previous two steps and wait to dry – again as instructed. You may well need a third coat, especially if painting on bare wood. Leave this to dry for at least 24 hours but preferably longer before moving furniture back in.
FAQs
How long will a painted floor last?
This will depend on a number of factors, including how well the floorboards were prepped, what paint was used and how much traffic the floor can expect. But a rough estimation is around two years.
Obviously, a floor that is well-prepped and painted and has low traffic will last longer. And even after a couple of years, you are unlikely to need to repaint the whole floor, just the areas that get a lot of use.
A lot of the floor will typically be under furniture or rugs, so we won’t need repainting. All you’ll need to do is repaint the areas that have worn, which is a relatively quick and easy job. However, it is worth noting that when you repaint, the new paint may not match the colour of the old.
If this is the case, then it might be worth redoing the whole floor. But if it was well-prepped and painted the first time, the job should be much quicker the second time around.
How can I make painted floorboards last longer?
One simple way to extend the lifespan of your painted floor is to make sure that the floorboards are prepped properly.
Trehan reinforces the point, "When properly applied, a painted floor can last several years, even in high-traffic areas. The key is to use high-quality, durable paint designed for floors, and ensure proper prep work beforehand." The more time spent on this part of the process, the better the end product will be.
Maintain and clean the floorboards regularly, but don’t use too strong a detergent or too much water. A light touch should be enough. Make sure that you leave the paint to fully harden before placing any furniture back in the room, and stay off the floor as much as possible during this time.
Get it right and Trehan says, "Expect to see stunning results that endure with minimal maintenance, especially if you opt for a hard-wearing finish like polyurethane or epoxy over your painted design." He adds, "It’s an elegant solution that not only elevates your space but also provides lasting beauty."
Painting floorboards is just part of painting a room, and ideally you want to be leaving this job to last if painting ceilings, walls, and doors at the same time. If painting the floor in your living room, make sure to check out our best colour for a living room guide for inspiration and ideas.
Steve Jenkins is a freelance content creator with over two decades of experience working in digital and print and was previously the DIY content editor for Homebuilding & Renovating.
He is a keen DIYer with over 20 years of experience in transforming and renovating the many homes he has lived in. He specialises in painting and decorating, but has a wide range of skills gleaned from working in the building trade for around 10 years and spending time at night school learning how to plaster and plumb.
He has fitted kitchens, tiled bathrooms and kitchens, laid many floors, built partition walls, plastered walls, plumbed in bathrooms, worked on loft conversions and much more. And when he's not sure how to tackle a DIY project he has a wide network of friends – including plumbers, gas engineers, tilers, carpenters, painters and decorators, electricians and builders – in the trade to call upon.
