How to paint a room: Pro tips and techniques for every DIYer
Learn how to paint a room properly to get a professional finish. Here we reveal the right order to paint, what tools you’ll need and how to get the best results
Bring your dream home to life with expert advice, how to guides and design inspiration. Sign up for our newsletter and get two free tickets to a Homebuilding & Renovating Show near you.
You are now subscribed
Your newsletter sign-up was successful
Knowing how to paint a room the right way will help ensure that you get the best possible finish, even if you're new to tackling paint projects. In this guide you’ll discover how to paint in the right order, use the right tools and embrace pro techniques to get results that you’ll love.
Like all DIY projects, preparation is the key starting point. To get a long lasting, good looking finish you cannot skimp on the prep. Sanding, scraping and keeping everything clean will make sure that you’ll get the best possible outcome, a paint job to be proud of.
How to paint a room: The tools you'll need
Brushes and rollers are the key tools when painting a room - though there are a whole host of other tools that will be needed as well (see Tool list). The better your brushes and rollers the better the finish. Cheap brushes don't last very long and will shed hairs. Cheap rollers often leave bits of fluff behind and won't last past more than two or three uses. So when purchasing new tools don't buy really cheap, look at mid price range (or above) tools. Check out our guides to the best paint brushes and best paint rollers buying guides for some top advice.
The full list of tools and supplies needed for painting a room include:
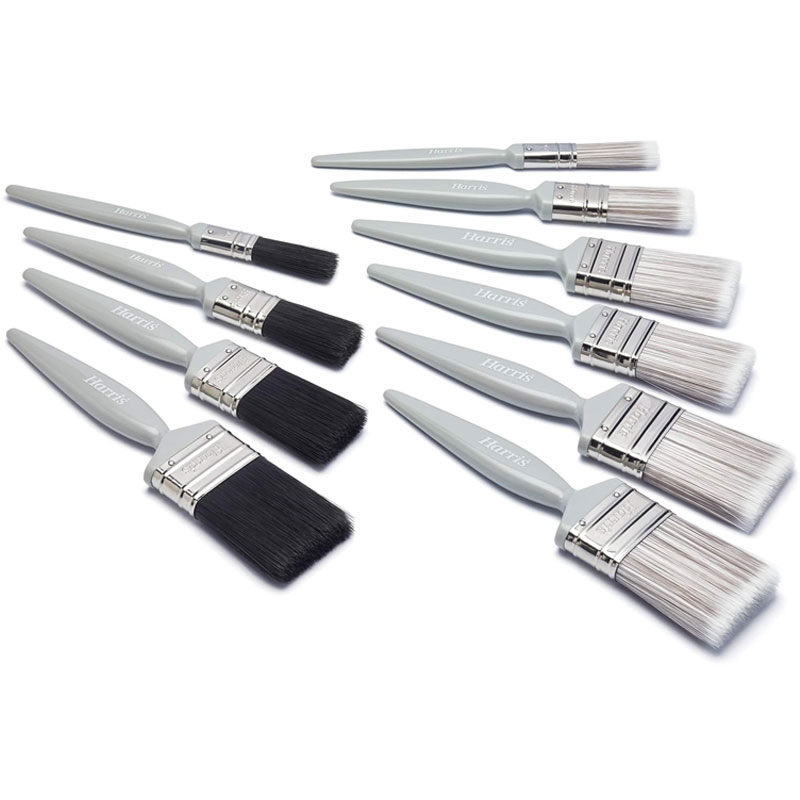
- Brushes: 4 inch, 2 inch, Cutting in brush
- Roller: Deep pile, medium pile, short pile, foam
- Roller tray
- Extension pole
- Painters tape / masking tape
- Step ladder
- Dust sheets
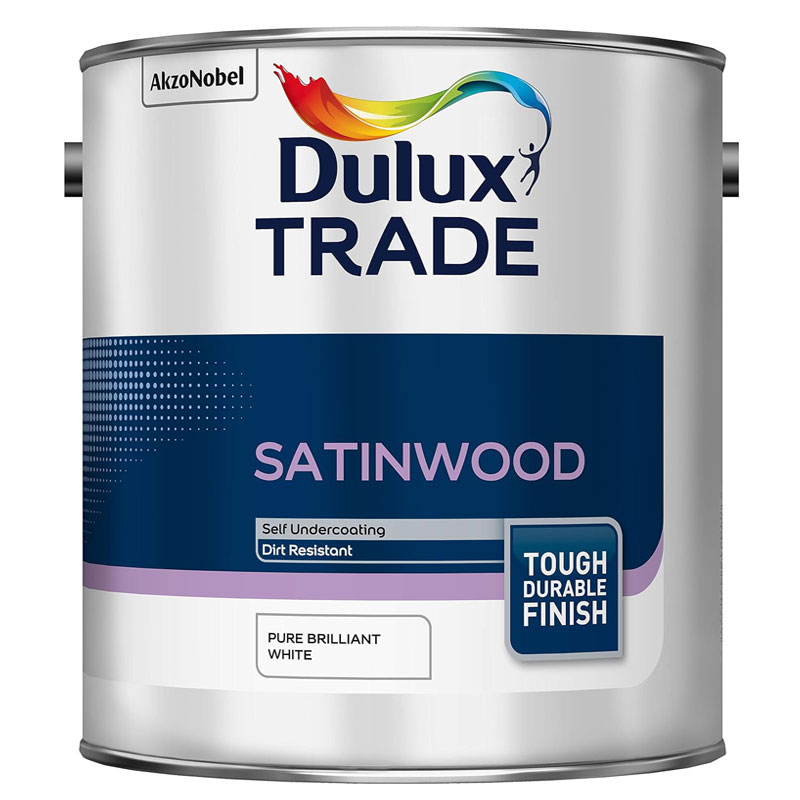
- Paint: Emulsion for walls; gloss, satin or eggshell for woodwork
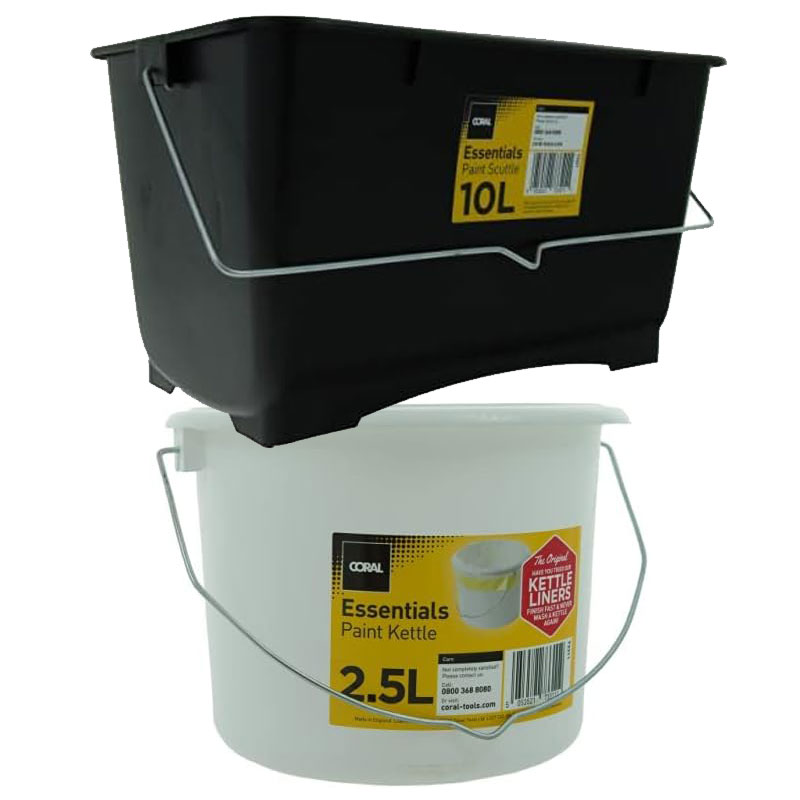
- Paint kettle
- Sugar soap
- Wallpaper scorer
What's the correct order for painting a room?
When painting a room it's essential that you do it in the right order. If you don’t you will simply be giving yourself more work to do, and it will take longer to finish. The first step is to prepare the room. Move and cover furniture and start with the ceiling.
This will make sure that any drips and drops won't land on any new paintwork. Next up is painting the skirting boards and the rest of the woodwork. This allows you to cut in around door and window frames and skirting boards when you paint the walls to create clean straight lines. And if you make a mistake it's easier to clean emulsion off gloss/satin paint than the other way round.
Preparing a room to be painted
Tape down newspaper around the edges of the floor and then cover the rest with dust sheets. Use a dust sheet with a laminated backing to stop any paint drips seeping through.
Preparation is key to a good finish so make sure you don't cut any corners at this stage. But before you start you need to prepare the room. Ideally empty the room of any furniture. If this isn’t possible, place it in the middle of the room or away from the area you are painting and cover with dust sheets. To protect flooring use painter’s tape and run along the skirting board/floor edge.
If removing wallpaper is required before painting, get a paint scorer tool and score the wallpaper. Get a bowl of warm water, apply with a sponge and leave for five minutes. Then get a paint scraper tool and start removing the paper. Ideally start at the bottom and work up. Sponge on more water if needed. When finished leave for a few hours to dry.
Bring your dream home to life with expert advice, how to guides and design inspiration. Sign up for our newsletter and get two free tickets to a Homebuilding & Renovating Show near you.
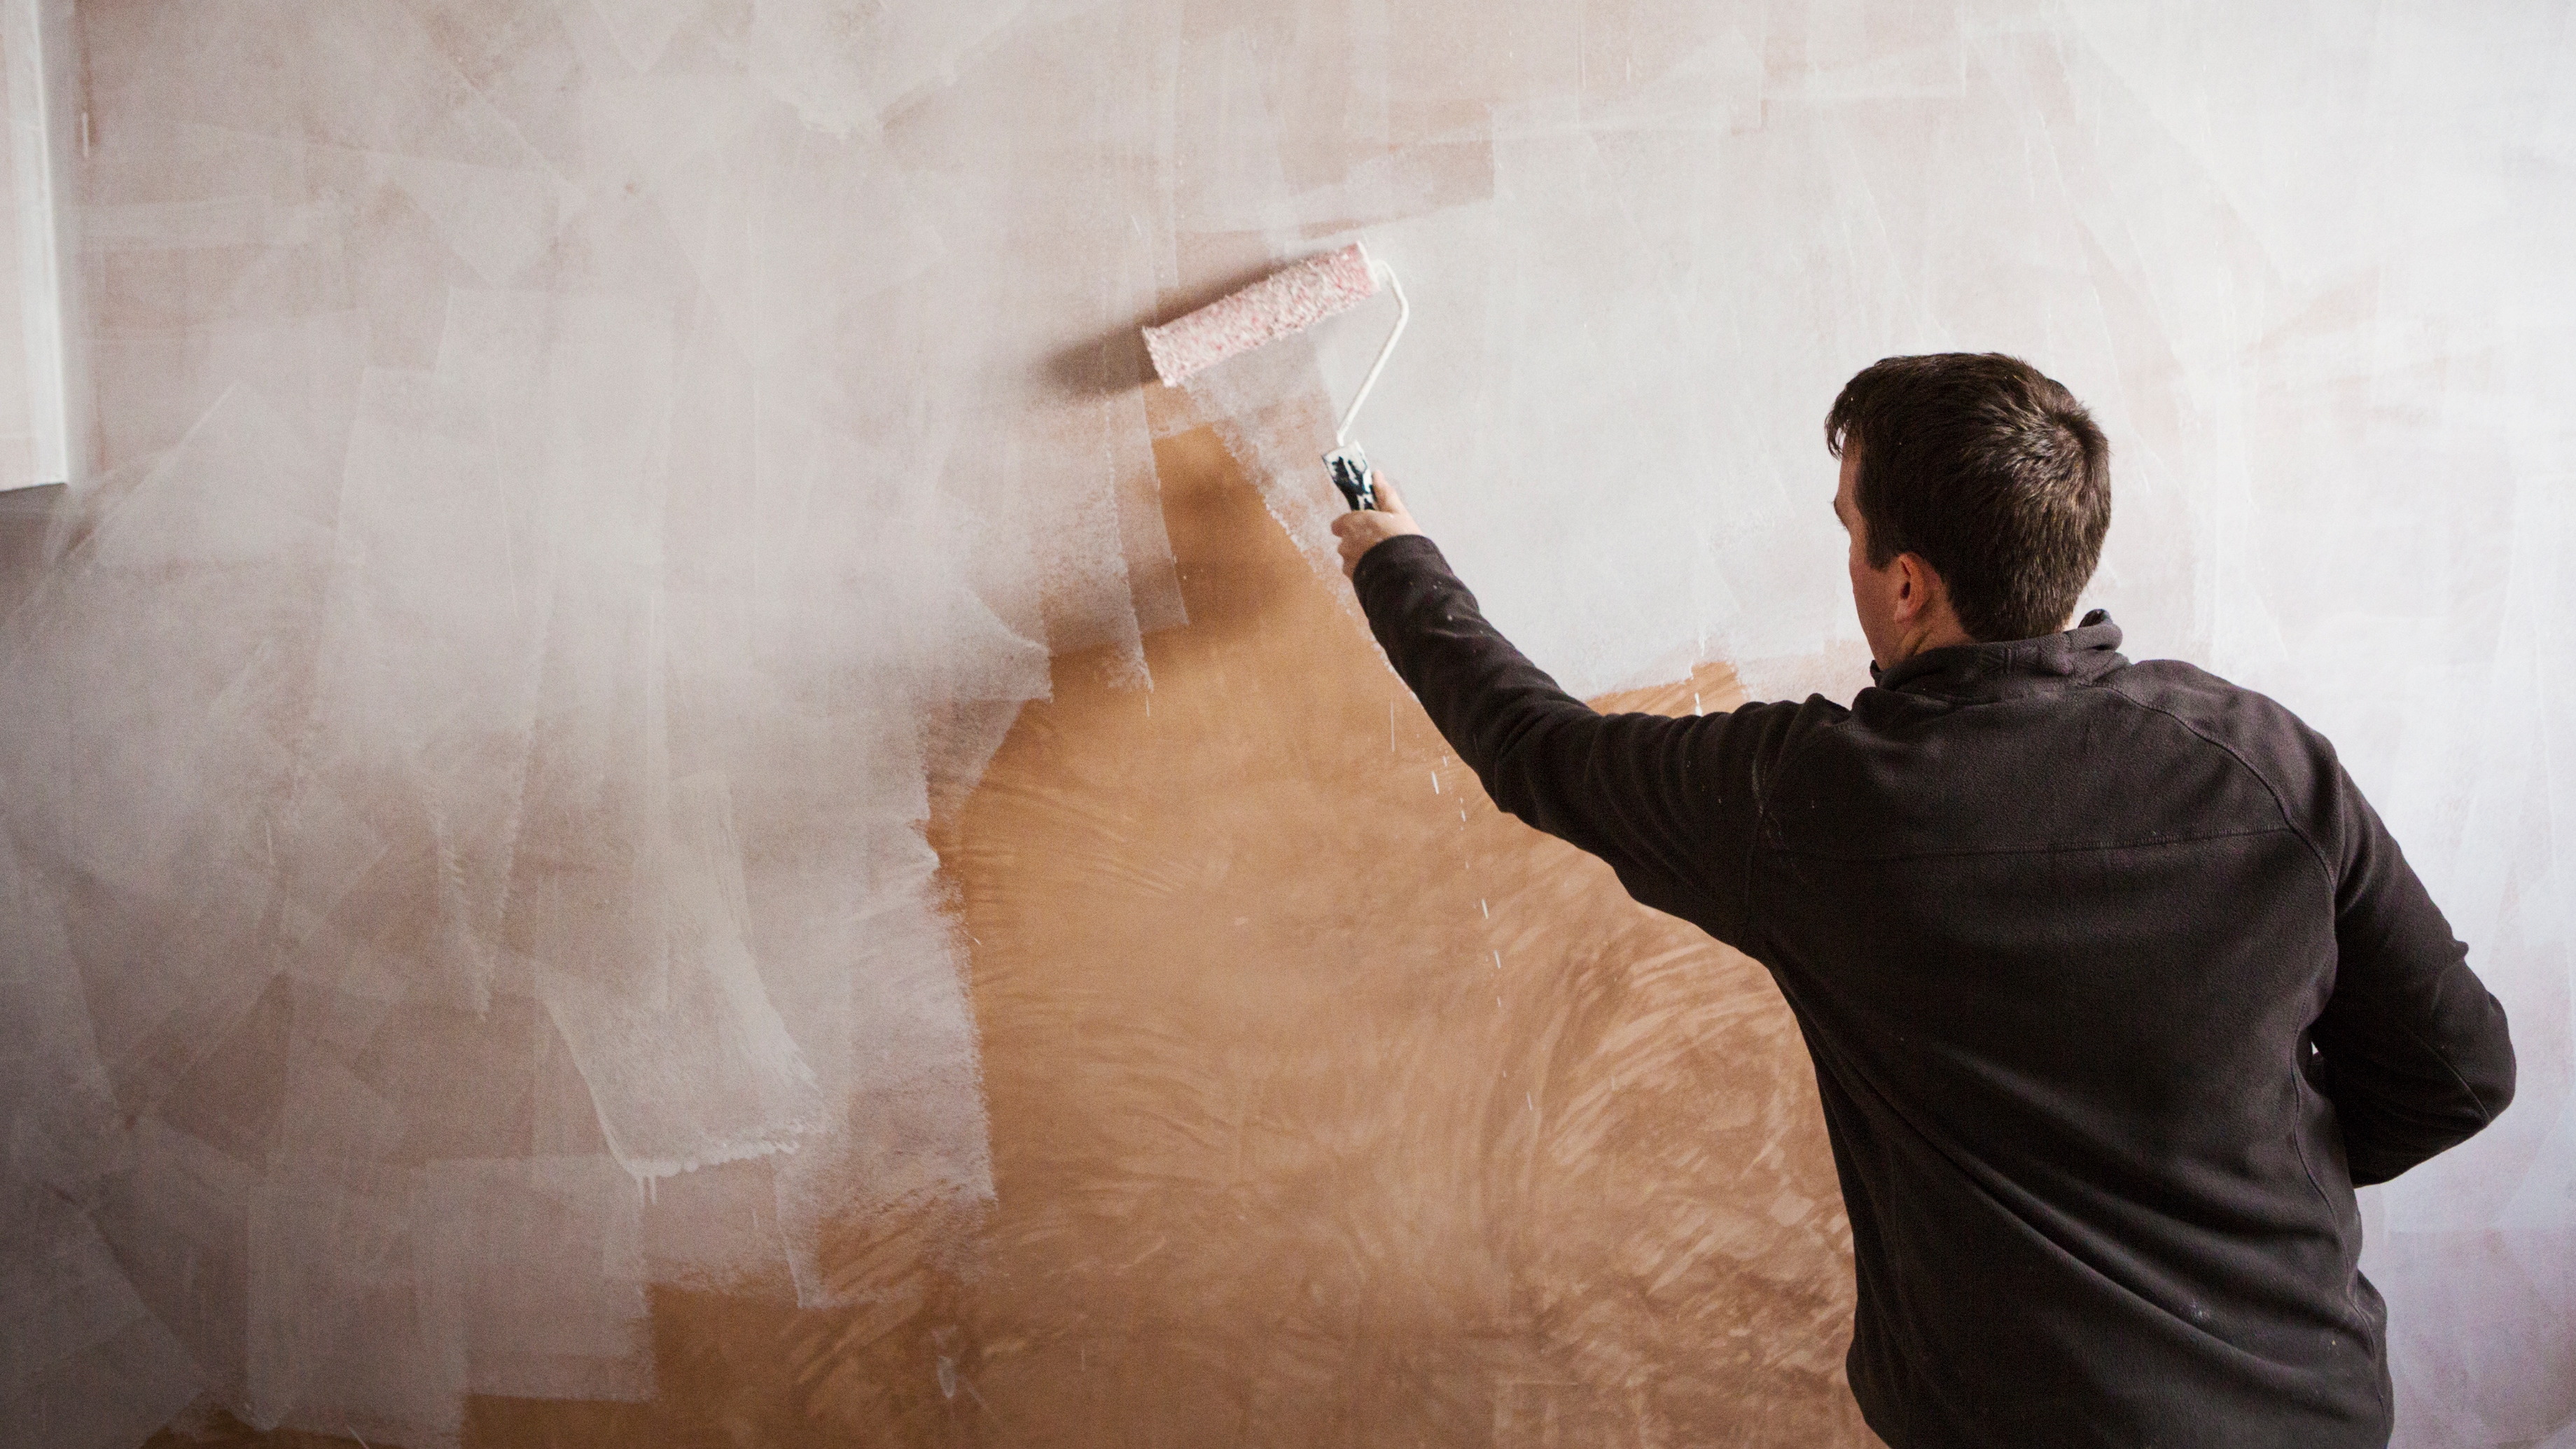
Wash the ceiling and walls with sugar soap if they are dirty or greasy. Now fill any holes in the ceiling and walls and wait for the filler to dry and sand the walls until smooth. Use an electric hand sander to get the job done quickly. If you are painting new plaster on walls, make sure they are completely dry and apply a mist coat before applying any emulsion.
To prepare skirting boards, doors and windows give them a clean with sugar soap and then use a fine grit sandpaper, around 180-220 is good, to give better adhesion for the paint. If you have any gaps between skirting boards/door frames and the wall use decorators caulk to fill the gaps to get a more professional finish.
Fixtures and fittings such as ceiling pendants and plug sockets need to be covered to keep them paint free — use painters tape. To stop any unwanted edges and get a perfect finish, unscrew the fittings so you can paint behind. Let the paint dry before putting the fixture back.
How to paint a room: Step-by-step
1. Start with the ceiling
Using a 4-inch paint brush, paint a brush width around the edges to create a border. If painting a ceiling white ,overlap the paint onto the wall about one to two inches. This helps create a clean edge when you get round to cutting in the wall paint. If painting the ceiling a darker colour than the walls you will need to cut in to create a neat straight edge. If not confident, use painters tape to help.
Use a standard 9-inch roller to finish the ceiling. Start in one corner and do a strip from one side to the other. Repeat until the ceiling is finished.
To speed up the process use an extension pole. This is much quicker and easier than getting up and down a step ladder and it's easier to spot if you have missed any parts. Wait for it to dry and add a second coat.
2. Painting the woodwork
Start with the door frames, then the window frames or doors and leave the skirting boards until last. Use painters tape / masking tape on glass to protect. Start with an undercoat. To get a good finish, do two coats. Start with a coat of primer if painting on bare wood. When working on windows, start at the glass - doing one side at a time - and work your way out.
If you are painting an internal door with panels, first paint the edge of the panel and then paint the rest of the panel, top panels first. Then work out to around halfway. Then do the bottom half, again panels first. Then do the door edges before doing the door frames. Start at the door jamb and work out. To finish, add a top coat, do two coats if needed.
3. Painting the walls
Start by cutting in at the ceiling edges, then do all corners where the walls meet from top to bottom. Finally cut in along the top of the skirting board. So you should now have a small 2-3 inch border around all the areas that are hard to paint with a roller. Don’t forget to paint around any fixtures of fittings such as plug sockets and light switches. Finally, get a 9-inch roller and paint the walls. Start in one corner and do a strip from floor to ceiling and repeat until the wall is done. Now do the same for each wall.
To speed up the process of painting a room. You can add a coat of wall paint after the ceiling. Then do the woodwork. Once the woodwork is dry you can apply the final coat of wall paint. If you do get any drips on the woodwork, wipe off with a damp cloth as soon as possible.
4. Painting doors
Doors should, ideally, be removed to paint but if you can’t do that then you should at least mask the hinges and remove the handles. There is a recognised sequence for painting a door which many professionals take:
Start with the panels or glazing beads followed by the top half centre stile, top rail, top half side stiles, bottom half centre stile, centre rail, bottom rail, bottom half side stiles and edges last.
It sounds complicated but it works really well and gives a lovely, even finish.
5. Caulk your space where necessary
Have a bowl of water and a small sponge handy when caulking and wipe and rinse as you go for a neat finish
Knowing how to use decorators' caulk is relatively straight-forward. Caulk is a filler which is used to seal around windows and gaps and is very useful if used correctly. It should be used sparingly to fill along skirting and architraves and around openings only.
Any areas in the middle of a wall or ceiling should be filled with a powder filler and sanded flat.
Essential tools and paint to paint a room
How to get the best results when painting a room
When it comes to brushes use a synthetic bristle for water based paints and a natural bristle paint for oil-based paints such as gloss. These help give a smooth even finish for both types of paint. Try an angled cutting in brush for areas around woodwork. If you are painting bare wood make sure to use a primer for the first coat.
Rollers have different pile lengths. For large areas use a 9-inch roller with a medium pile. If you have textured walls use a deep pile and for smooth walls a short pile or a foam roller for an almost texture free finish. To get a good finish make sure that the roller is loaded with paint and use a light touch to apply. Pressing hard will create unwanted ridges.
Finally when it comes to paint use a good quality paint. The big name brands such as Dulux, Johnstones, Crown, Farrow and Ball are commonly good choices. Make sure to read any reviews or talk to a professional to help make your choice.
Use a paint kettle. This is especially useful when painting woodwork. Pour in enough paint for the job you are working on. Then you can close the tin of paint so it isn’t exposed to the air constantly. This helps keep the consistency and quality of the paint. Plus, you won’t get a load of paint on the edge of the tin which makes it difficult to get the lid back on and keep the tin airtight.
Check out the best skirting board paints to ensure you get a durable, wipeable finish. Plus, get plenty more tips with our guides on how to strip paint off walls, how to paint a panel door and 9 must know sanding techniques
Steve Jenkins is a freelance content creator with over two decades of experience working in digital and print and was previously the DIY content editor for Homebuilding & Renovating.
He is a keen DIYer with over 20 years of experience in transforming and renovating the many homes he has lived in. He specialises in painting and decorating, but has a wide range of skills gleaned from working in the building trade for around 10 years and spending time at night school learning how to plaster and plumb.
He has fitted kitchens, tiled bathrooms and kitchens, laid many floors, built partition walls, plastered walls, plumbed in bathrooms, worked on loft conversions and much more. And when he's not sure how to tackle a DIY project he has a wide network of friends – including plumbers, gas engineers, tilers, carpenters, painters and decorators, electricians and builders – in the trade to call upon.
