6 ways to get straight cuts with a circular saw — including how to make your DIY guide
Getting straight cuts with a circular saw isn’t always easy. Here we reveal a host of DIY and cost-effective solutions to ensure clean straight lines
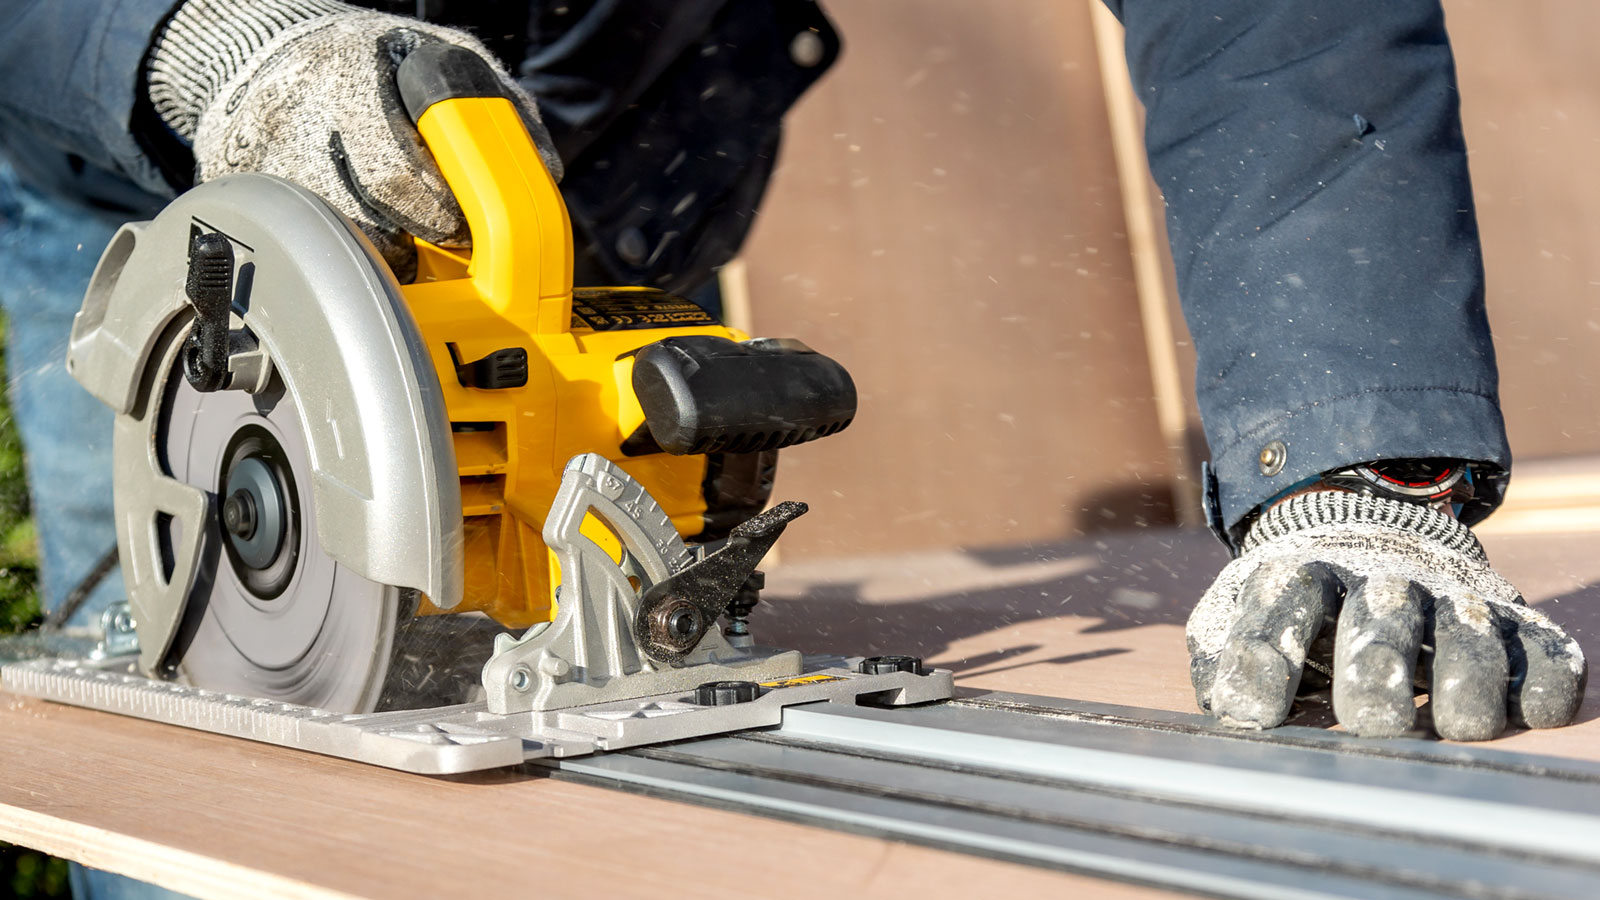
Clean, straight factory edges are not always easy to replicate when using a circular saw. And there's nothing worse than a wavy or wonky cut, leading to ugly, poor-fitting edges. But with the right saw blade and assistance from a straight edge, factory-like edges are just a cut away.
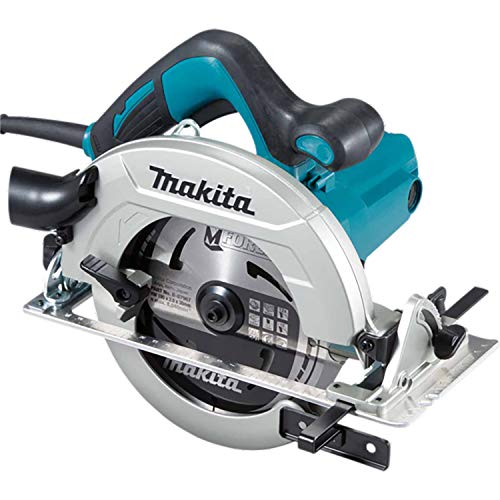
Whether you are looking to get neat cross cuts or straight cuts on long boards, you’ll need one of the best circular saws, along with the methods mentioned in this guide. Choose the right option for your needs, and follow our tips, and you’ll get the straight cuts you desire.
Try these tools to get straight circular saw cuts

Keely Smith is the lead interior designer at JD Elite Interiors. She has over 10 years of experience working with design studios, private companies, contractors and tradespeople.
1. Speed square for crisp cross cuts
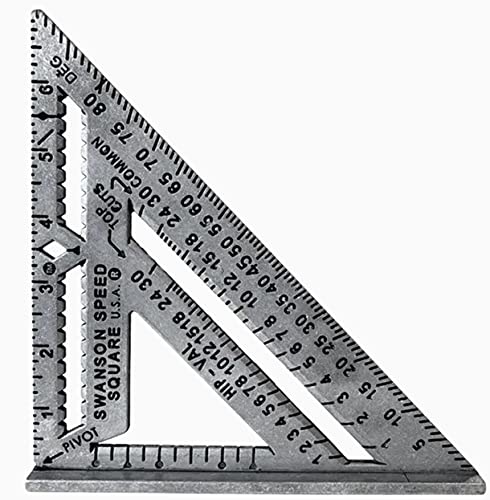
A quick and simple solution for neat and straight cross cuts is to use a speed square (also known as a carpenter's square). These are inexpensive and a tool DIYers should have in their toolkit.
Keely Smith, lead interior designer at JD Elite Interiors, reveals how to make good use of it: “I always suggest using it to mark a crisp 90-degree line right where you want to cut.” Then you need to line up the blade with the line and place the speed square up against the base plate of the saw and hold in place. Smith continues, “Let the blade spin up fully before moving forward, and don’t rush it. That steady motion really matters.”
A standard-size speed square should be sufficient for most cross-cuts. But you can invest in a larger speed square like this Senbaler 300mm Aluminium Alloy Triangle Ruler from Amazon for large cross cuts or shorter length cuts.
2. Introduce a guide rail
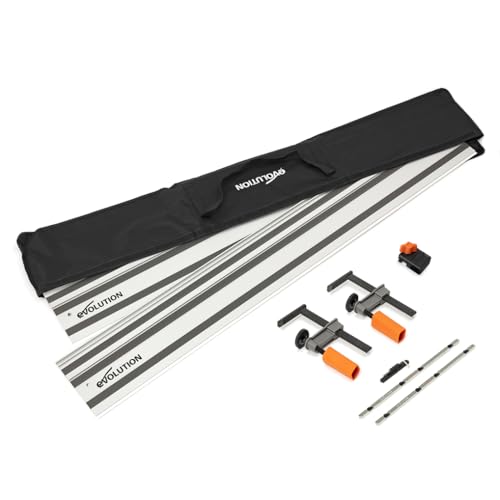
If you need a secure straight edge for long lengths of board, a guide rail (sometimes called a track saw) is an option.
These are ideal for standard-sized sheets/boards, typically 2.4m x 1.2m (or 8ft x 4ft in old money). These typically come in 1.4m lengths (like this Makita 1 Metre Guide Rail from Amazon, and can be connected to create 2.8m guides or even longer if needed.
Most models allow for bevel-edge (45-degree) cutting and often include stops to ensure the perfect length cut. Make sure to get the right size for your circular saw; most will fit.
Bring your dream home to life with expert advice, how to guides and design inspiration. Sign up for our newsletter and get two free tickets to a Homebuilding & Renovating Show near you.
3. Build a DIY saw guide
If you don’t want to invest in a guide rail, you can build your DIY saw guide, ideally with leftover scrap wood from a plywood board or part of a plywood board. This is cheaper, and relatively quick and simple to make.
Start with a sheet of 2.4m x 1.2m plywood (9mm or 12mm is ideal), like this Hardwood Plywood from B&Q, as this will have a straight, even edge to work with. Mark the factory-cut edge with a pencil and draw an arrow pointing to it so you know which edge to use later.
Now, cut the plywood to create the guide (also known as a fence). Most circular saw comes with a guide rule that fits across the front of the saw. Set this up to run along the straight edge to give you the guide piece of wood. This is approximately the width of the base plate. Don’t worry too much about the size; it doesn’t need to be a specific size, but it does need to be straight.
Finally, place the fence on top of the remaining plywood board to create a double-depth edge. Line up the freshly cut edge alongside the edge of the sheet of plywood and glue or screw it into position. If using glue, clamp into position and leave to dry for 24 hours. If using screws, make sure the length doesn’t exceed the depth of the wood.
To finish, line up your circular saw with the edge of the guide, start the saw and cut, making sure that the base plate hugs the edge of the guide all the way. This will give you the perfect-sized guide. To use, simply line up the edge of the guide with your marks and clamp it into place. Now, place your saw on the guide with the base plate against the guide and cut.
4. Scrap wood and clamps
This is a simple option for cutting straight edges, typically shorter lengths of wood. You will need scrap wood, anything with a straight factory cut edge, and a suitable length for the cut you are making will do.
To hold the scrap wood in place, you will need at least a couple of bar clamps like these Quick-Grip 5122Qc Twin Pack Bar Clamps from Amazon.
Line up your circular saw blade with your mark, and place the scrap wood against the base plate. Mark the position of the scrap wood with a pencil (in case it moves) and then clamp it into place. Now cut.
5. Use a parallel edge guide
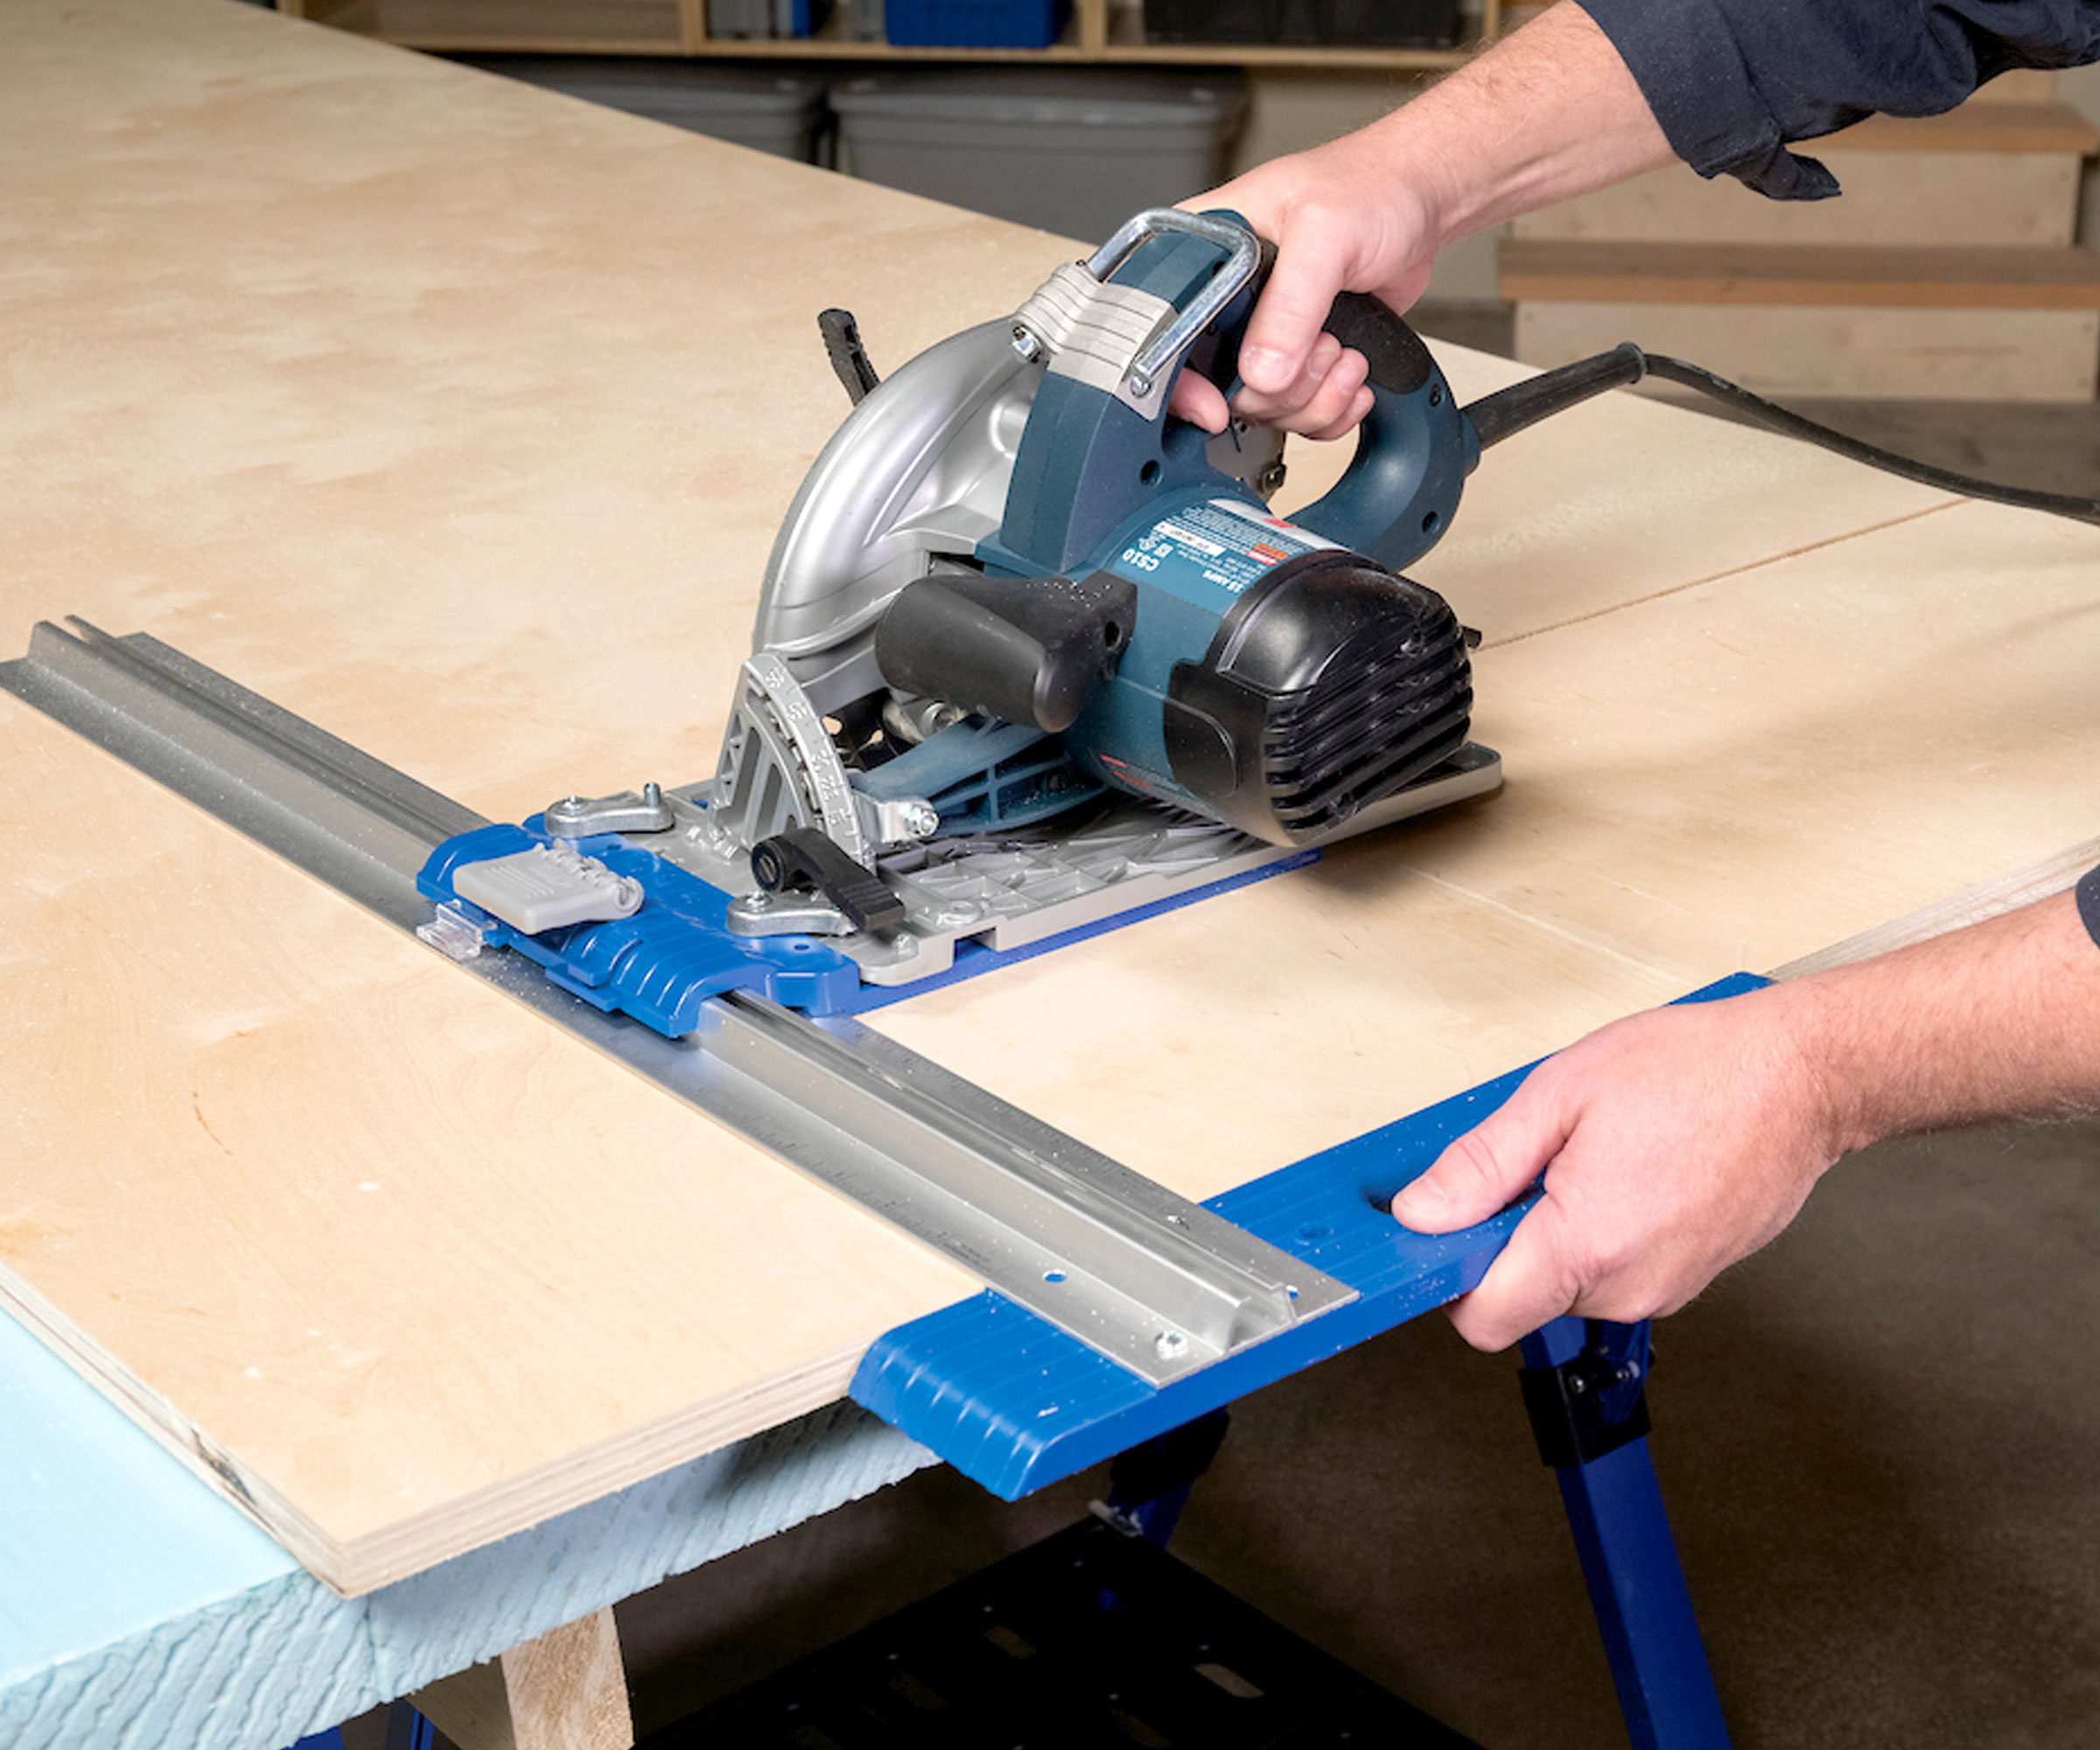
If you want a guide that offers precision and accuracy on longer lengths of wood or board, then a parallel edge guide like this Kreg Rip-Cut Precision Edge-Guided Cutting Tool from B&Q is the perfect companion. It's like a guide rail (that typically comes with a circular saw) on steroids.
The tool includes a heavy-duty guide attached to a guide rail that has what is known as a sled to attach a circular saw to. The Kreg model accommodates right and left-handed models and allows cuts up to 600mm wide. They are easy to use. Simply attach a circular saw, secure the sled, start up the saw, and hold the oversized precision edge guide against the board edge to ensure a straight cut.
6. Improvise with a makeshift guide
When you don’t have a guide or scrap wood nearby, you can improvise and use other straight-edge tools, which you might have.
Life can be a lot of difficult when using a circular saw if you don't have any guide tools, and so if you don't have a guide rail or fence, you can use a metal rule or spirit level instead.
You can line up these against where you want to cut and against the side of the saw. Then you can simply clamp it in place at either end to give straight cuts.
FAQ
How do I get a straight edge if cutting by hand?
If you don’t have a guide available, you can try cutting without a guide. But I would only recommend this for those who have used a circular saw before.
Before you start cutting, mark out exactly where you want to cut and make sure the wood is securely clamped to prevent any movement. Use a sharp saw blade so you can cut through the material smoothly without forcing the saw, which can cause the cut to go off line.
Position yourself so you can clearly see the cutting line, and consider scribing the line first with a pencil or compass to help guide the saw and maintain a straight, accurate cut.
If you own a circular saw, you can use it for a variety of DIY projects, including these shared home office ideas, loft conversion storage ideas, and building a fence. Just make sure you are using the right blade.
EDITOR’S NOTE: An earlier version of this article included a quote from a purported expert whose credentials we have not been able to verify. The quote has been removed. We regret this lapse in our verification process and have updated our internal protocols to reduce the risk of recurrence.
Steve Jenkins is a freelance content creator with over two decades of experience working in digital and print and was previously the DIY content editor for Homebuilding & Renovating.
He is a keen DIYer with over 20 years of experience in transforming and renovating the many homes he has lived in. He specialises in painting and decorating, but has a wide range of skills gleaned from working in the building trade for around 10 years and spending time at night school learning how to plaster and plumb.
He has fitted kitchens, tiled bathrooms and kitchens, laid many floors, built partition walls, plastered walls, plumbed in bathrooms, worked on loft conversions and much more. And when he's not sure how to tackle a DIY project he has a wide network of friends – including plumbers, gas engineers, tilers, carpenters, painters and decorators, electricians and builders – in the trade to call upon.
