How to paint wardrobe doors to give a fresh look to your bedroom
Get expert advice on the paint, tools and techniques you’ll need to know to paint tired wardrobe doors

If your old wardrobe doors need updating, painting them is a quick and cost-effective way to add a smart, stylish touch to a room. Choose a colour that complements the rest of the room, or go all out and redecorate the entire space so everything looks fresh, clean, and new.
To ensure your newly painted walls, wardrobe doors, and woodwork stay looking good for longer, you need the right paint, tools, and preparation. Here, you’ll find expert recommendations on paint and tools, proper preparation and application techniques, and some smart design ideas to enhance the overall finish.

Kevin has been in the construction industry for 25 years and handles everything, from the distribution and installation of portable structures to financing and manufacturing. He can speak with authority on every aspect of building.
Pick a paint to paint a wardrobe door
Before you can paint a wardrobe door, ensure you have the right paint to achieve the best finish. This can differ depending on the current finish of the wardrobe door. Kevin Keen, Owner of Keen's Buildings shares, “For a surface that stands up to everyday use and wipes clean with ease, reach for eggshell or satin. On wood, MDF, or laminate, V33 Renovation Furniture Paint (available from B&Q) often bonds straight on, no primer needed in some cases.” Find out more about eggshell paint in our What is eggshell paint guide.
If you are not using a primer, you will need to apply at least two coats. Keen continues, “However, if you’re tackling a glossy or laminate finish, begin with a bonding primer such as Zinsser Bulls Eye 1-2-3, then apply furniture or multi-surface paint over the top.” Keen adds, “Zinsser Bulls Eye 1-2-3 (available from B&Q) remains my go-to primer; it sticks to almost anything and blocks stains.”
Darren Morley, MD of The Mirror Man suggests, “Look for paints that are formulated for wood and MDF and give a smooth, wipeable finish. Dulux Quick Dry Satinwood (available from Amazon) or Frenchic Al Fresco (also available from Amazon) are good options. Both are water-based, low-odour and hardwearing.”
The tools you’ll need to paint a wardrobe door
To paint a wardrobe door, ensure you have the right tools to do a good job. This will include brushes, rollers, the right sandpaper grades, cleaner and more, as Keen reveals, “Have a 2- to 2.5-inch angled brush (like this Purdy XL Glide Nylon/Polyester Brush from Amazon) for edges and panels.” He adds, “Plus you’ll need a 4-inch high-density foam roller (like this Harris Ultimate Woodwork Mini Gloss Roller Set from Amazon) for flat sections; it delivers a smooth, even coat without brush marks.”
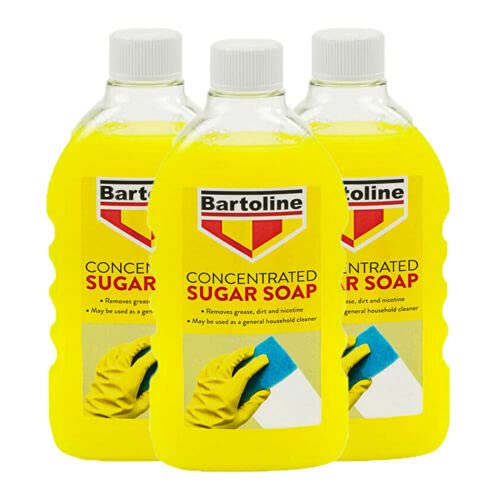
Beyond the application tools, you will need preparation tools, Keen says. “Keep sandpaper on hand: 120 to 220 grit according to the surface, but make sure to clean first with sugar soap or a degreaser.” He adds, “A couple of microfibre cloths, painter’s tape if hinges stay on, and basic PPE (mask and goggles) are essential.”
Bring your dream home to life with expert advice, how to guides and design inspiration. Sign up for our newsletter and get two free tickets to a Homebuilding & Renovating Show near you.
Morley says, “Think about a sanding block or electric sander (like this DEWALT Electric Sander from Amazon). If spraying, a paint sprayer designed for furniture will give the most even finish, but it’s not essential.”
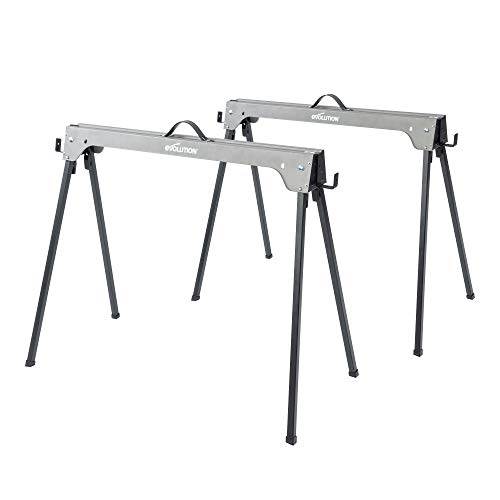
And don’t forget you’ll need a screwdriver to remove the door and handles, and a flat surface or saw horses, to paint on.
Try these tools to help paint wardrobe doors
Steps to paint wardrobe doors
To start the painting process, it is recommended to remove the doors from the wardrobe and paint them individually. Keen says, “Lay them flat on a solid surface. Wash everything with sugar soap to strip away grease and grime,” he adds, “If you sand dirt into the surface, it’ll haunt you later.”
1. Clean and sand
Once a door has been cleaned and dried, sanding the wood or laminate surface is the next step. Keen says, “Use 220 grit for laminate just to scuff, 150–220 grit for MDF, and 120–180 grit for solid wood.” Once the surface has been sanded, Keen says, “Vacuum or wipe off dust.”
To finish, use a damp microfibre cloth (like these Vileda Microfibre Cloths from Amazon) to wipe down the surface, then let it dry for five to ten minutes.
2. Lay wardrobe doors flat
There are a few options if you have removed the doors, which is recommended to get the best finish. Morley says, “Lay them flat on a pair of saw horses or a dust sheet on the floor.” However, ensure it's raised off the dust sheet by at least 50mm so you can paint the edges. Ideally a wooden block near each corner is a good choice, and make sure the door is steady.
He adds, “Take off handles and hinges. Painting over hinges can cause them to seize or flake later.”
3. Prime the surface
If painting glossy or laminate surfaces, Keen says, “Add a bonding primer such as Zinsser 1-2-3. For wood, apply a wood primer or undercoat. When that’s dry, give a quick light sand, then begin painting.” Don’t forget to wipe the surface with a damp cloth after sanding to ensure that dust doesn’t spoil the next coat of paint.
4. Paint the door
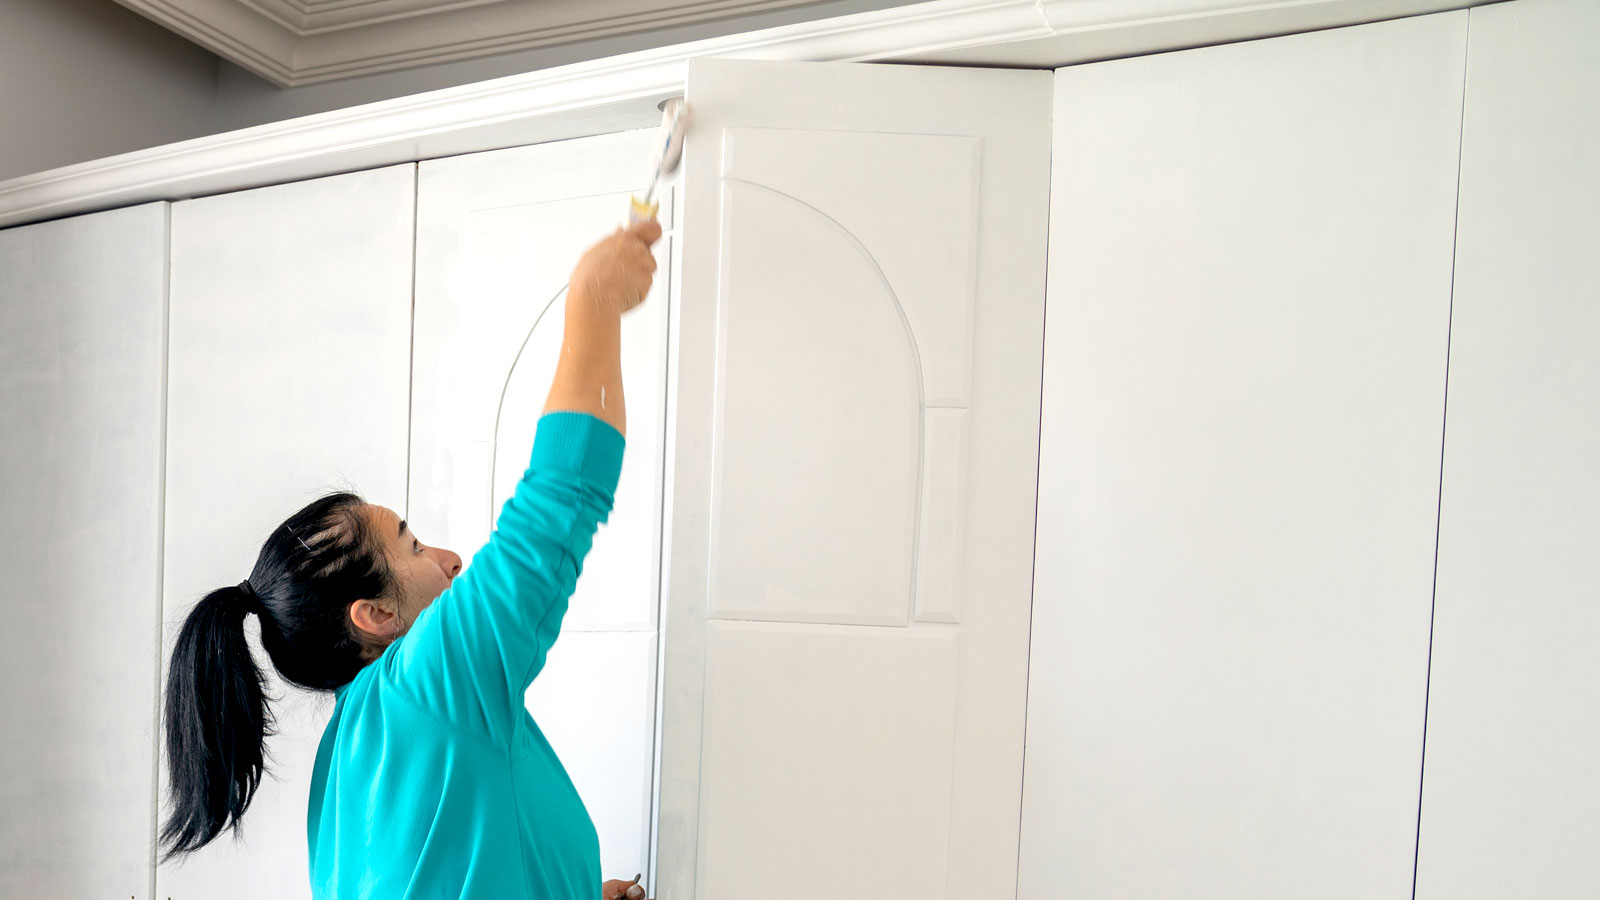
To start, paint the edges and any recesses and panels. Keen says, “Start with an angled brush on edges and detail work.” You’ll need to get the technique right to ensure a good finish: “Work slowly, feathering paint to avoid heavy lines or drips.”
Keen continues, “On recessed or raised panels, brush into corners and grooves first, then roll the flat sections. This method prevents pooling in crevices and ensures even coverage."
Finally, use the roller to finish the remaining flat sections, starting at one end and working to the other. Leave to dry as recommended, typically 2-4 hours, but refer to our 'How long does paint take to dry' guide for more information. When dry, lightly sand, clean and add another coat.
FAQs

Victoria is a Product Manager, specialising in Roman blinds and curtains. She joined Hillarys in 2013 when she designed, developed, and launched the company’s first exclusive designer Roman blind and curtain capsule collection. She is passionate about interior design trends and keeps abreast of new fashions.
What colour should I paint wardrobe doors?
Victoria Robinson, style and trend expert at Hillarys, gives some sound advice: “When deciding what colour to paint your wardrobe doors, consider both the mood you want to create and how the doors interact with the rest of your room.”
One suggestion she has is to paint the doors the same colour as the walls, “This is a wonderful way to create a seamless, understated look. This works especially well in smaller rooms or spaces where you want the wardrobes to blend in rather than stand out.” She adds, “It gives a calm, cohesive feel and can make the room appear larger.”
Alternatively, she says, “Opting for a tone lighter or darker than your wall colour adds subtle contrast and depth, without being too bold.” She also suggests another option: “Classic white or off-white doors are timeless and versatile, lending a fresh, clean look that works with any style.”
Should I paint front and back or just the front?
The choice is yours, but Keen suggests painting the entire door: “Paint both sides if the back is visible when the door opens.” But, he adds, “If only the front shows, skipping the back is fine, but doing both sides gives a more polished look.”
One scenario when you might only need to paint the front and edges is if you have sliding doors, as the back is rarely seen.
When painting wardrobe doors, it's a good opportunity to consider updating the rest of the room. Check out our guides on painting wooden doors, painting windows, and how to paint a room to complete your makeover.
Steve Jenkins is a freelance content creator with over two decades of experience working in digital and print and was previously the DIY content editor for Homebuilding & Renovating.
He is a keen DIYer with over 20 years of experience in transforming and renovating the many homes he has lived in. He specialises in painting and decorating, but has a wide range of skills gleaned from working in the building trade for around 10 years and spending time at night school learning how to plaster and plumb.
He has fitted kitchens, tiled bathrooms and kitchens, laid many floors, built partition walls, plastered walls, plumbed in bathrooms, worked on loft conversions and much more. And when he's not sure how to tackle a DIY project he has a wide network of friends – including plumbers, gas engineers, tilers, carpenters, painters and decorators, electricians and builders – in the trade to call upon.


