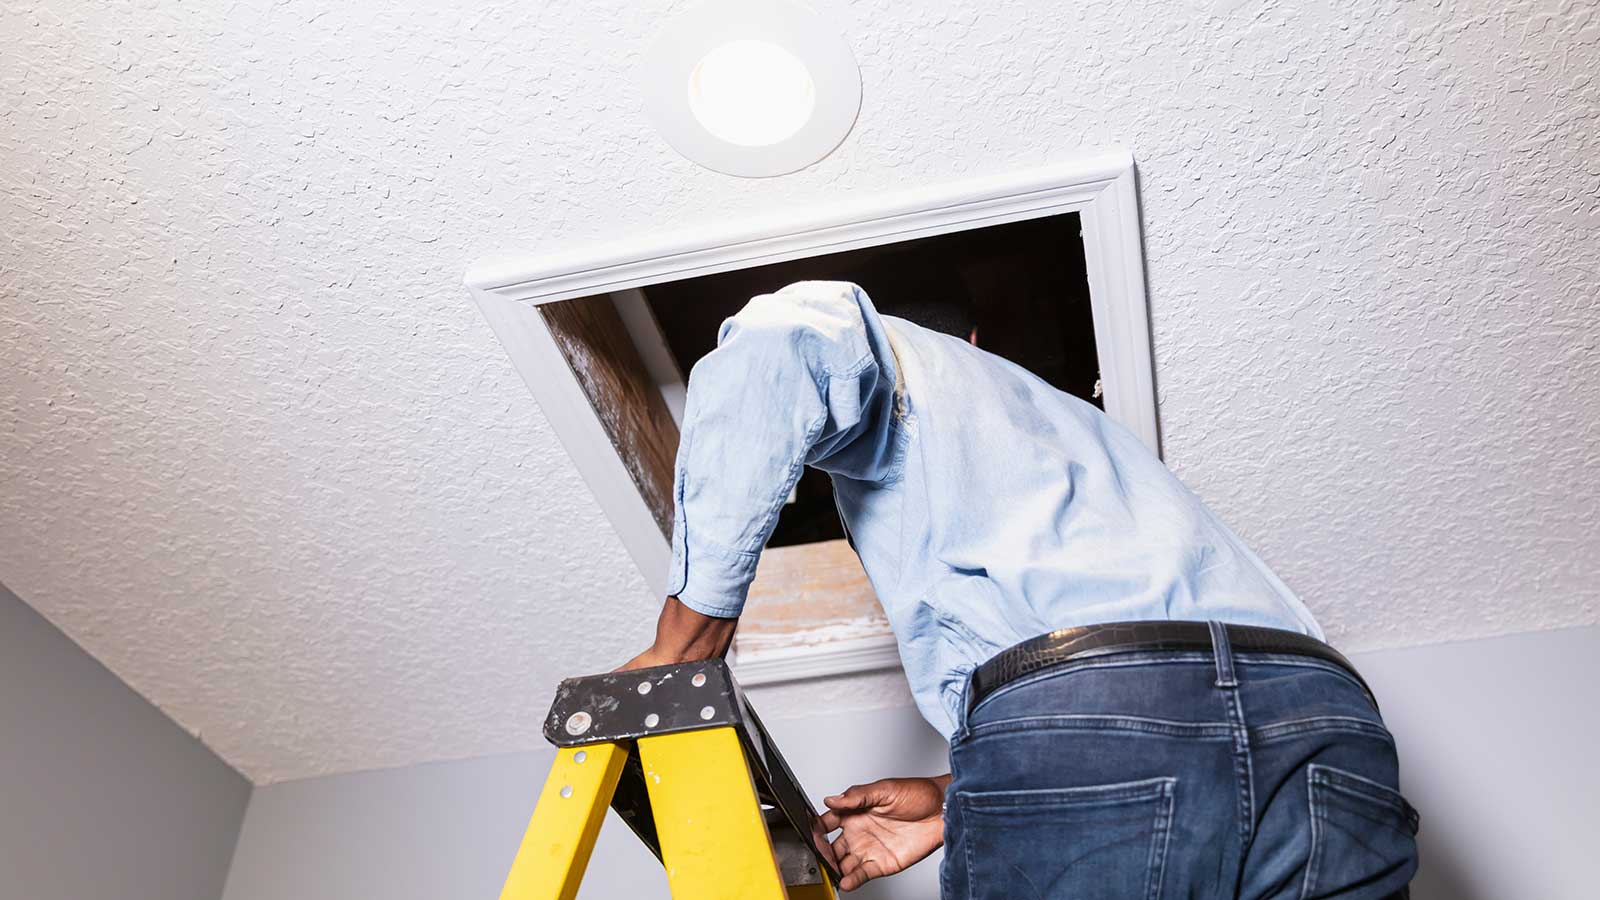
Struggling to get items up into your loft? Here's how to make a loft hatch bigger, including the essential safety steps you need to consider
Bring your dream home to life with expert advice, how to guides and design inspiration. Sign up for our newsletter and get two free tickets to a Homebuilding & Renovating Show near you.
You are now subscribed
Your newsletter sign-up was successful
Knowing how to make a loft hatch bigger can make your loft space more accessible, both for people and for bulky items such as boxes, which will be important if you want to make your smartest loft storage ideas a reality. I know this first-hand, as I’ve had my own loft hatch extended and completed parts of the project myself.
However, there are steps towards enlarging a loft hatch that shouldn’t be undertaken without input from a structural engineer or loft specialist (unless you’re an expert in your own right). The hatch mustn’t interfere with the structural integrity of the loft and roof, and this depends on factors including the accuracy of your cutting and the position of the ceiling joists within the loft.
To help you complete your loft hatch enlargement safely and successfully, we interviewed architectural designer, Chris Lawson of CK Architectural, and interiors expert, Tommy Kebbson of Kebbson & Co. They’ll take you through the planning, step-by-step process and precautions needed to make a loft hatch bigger.
Safety considerations when making a loft hatch bigger
Above all, you need to be certain that your newly enlarged loft hatch won’t compromise the structural integrity of the loft’s joists, boarding and the ceiling beneath it. We’ll explain some of the details behind this in the next section – but the bottom line is that you should consult a structural engineer, architectural firm or loft expert before you start the work.
If you’ve got the go-ahead to make your loft hatch bigger and you’re going to do some of the work yourself, there are further safety considerations to keep in mind.
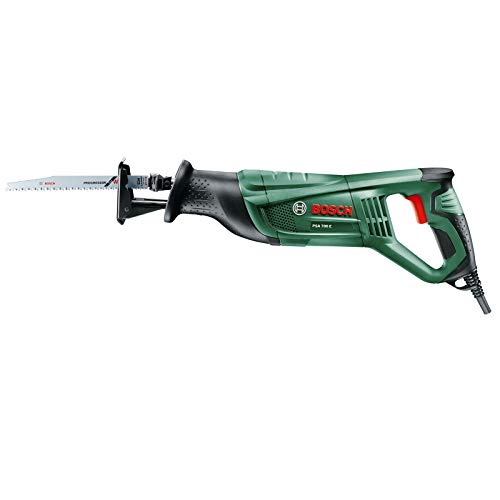
Enlarging a loft hatch means working at height, so you’ll need a good stepladder that can stand securely on the floor beneath you. It’s likely you’ll use a powerful cutting tool such as a reciprocating saw, so the ladder must provide a very secure platform that will allow you to stand stably, even if the tool ‘kicks back’.
If you’re using the tool for the first time, try it out on some scrap materials at ground level, before using it at height. Take the time to read the manufacturer’s instructions, and follow the directions closely.
Bring your dream home to life with expert advice, how to guides and design inspiration. Sign up for our newsletter and get two free tickets to a Homebuilding & Renovating Show near you.
Caution: the advice given in this article is no substitute for expert knowledge and experience. We advise readers to get professional help with any aspect of loft hatch enlargement that’s unfamiliar to them or may compromise the structural integrity of their property. Carefully consider your own skills and confidence level before undertaking any DIY work.
Planning the size of your enlarged loft hatch
First thing’s first: you’ll need to check whether your loft hatch can safely be extended. This depends largely on its position relative to the floor joists.
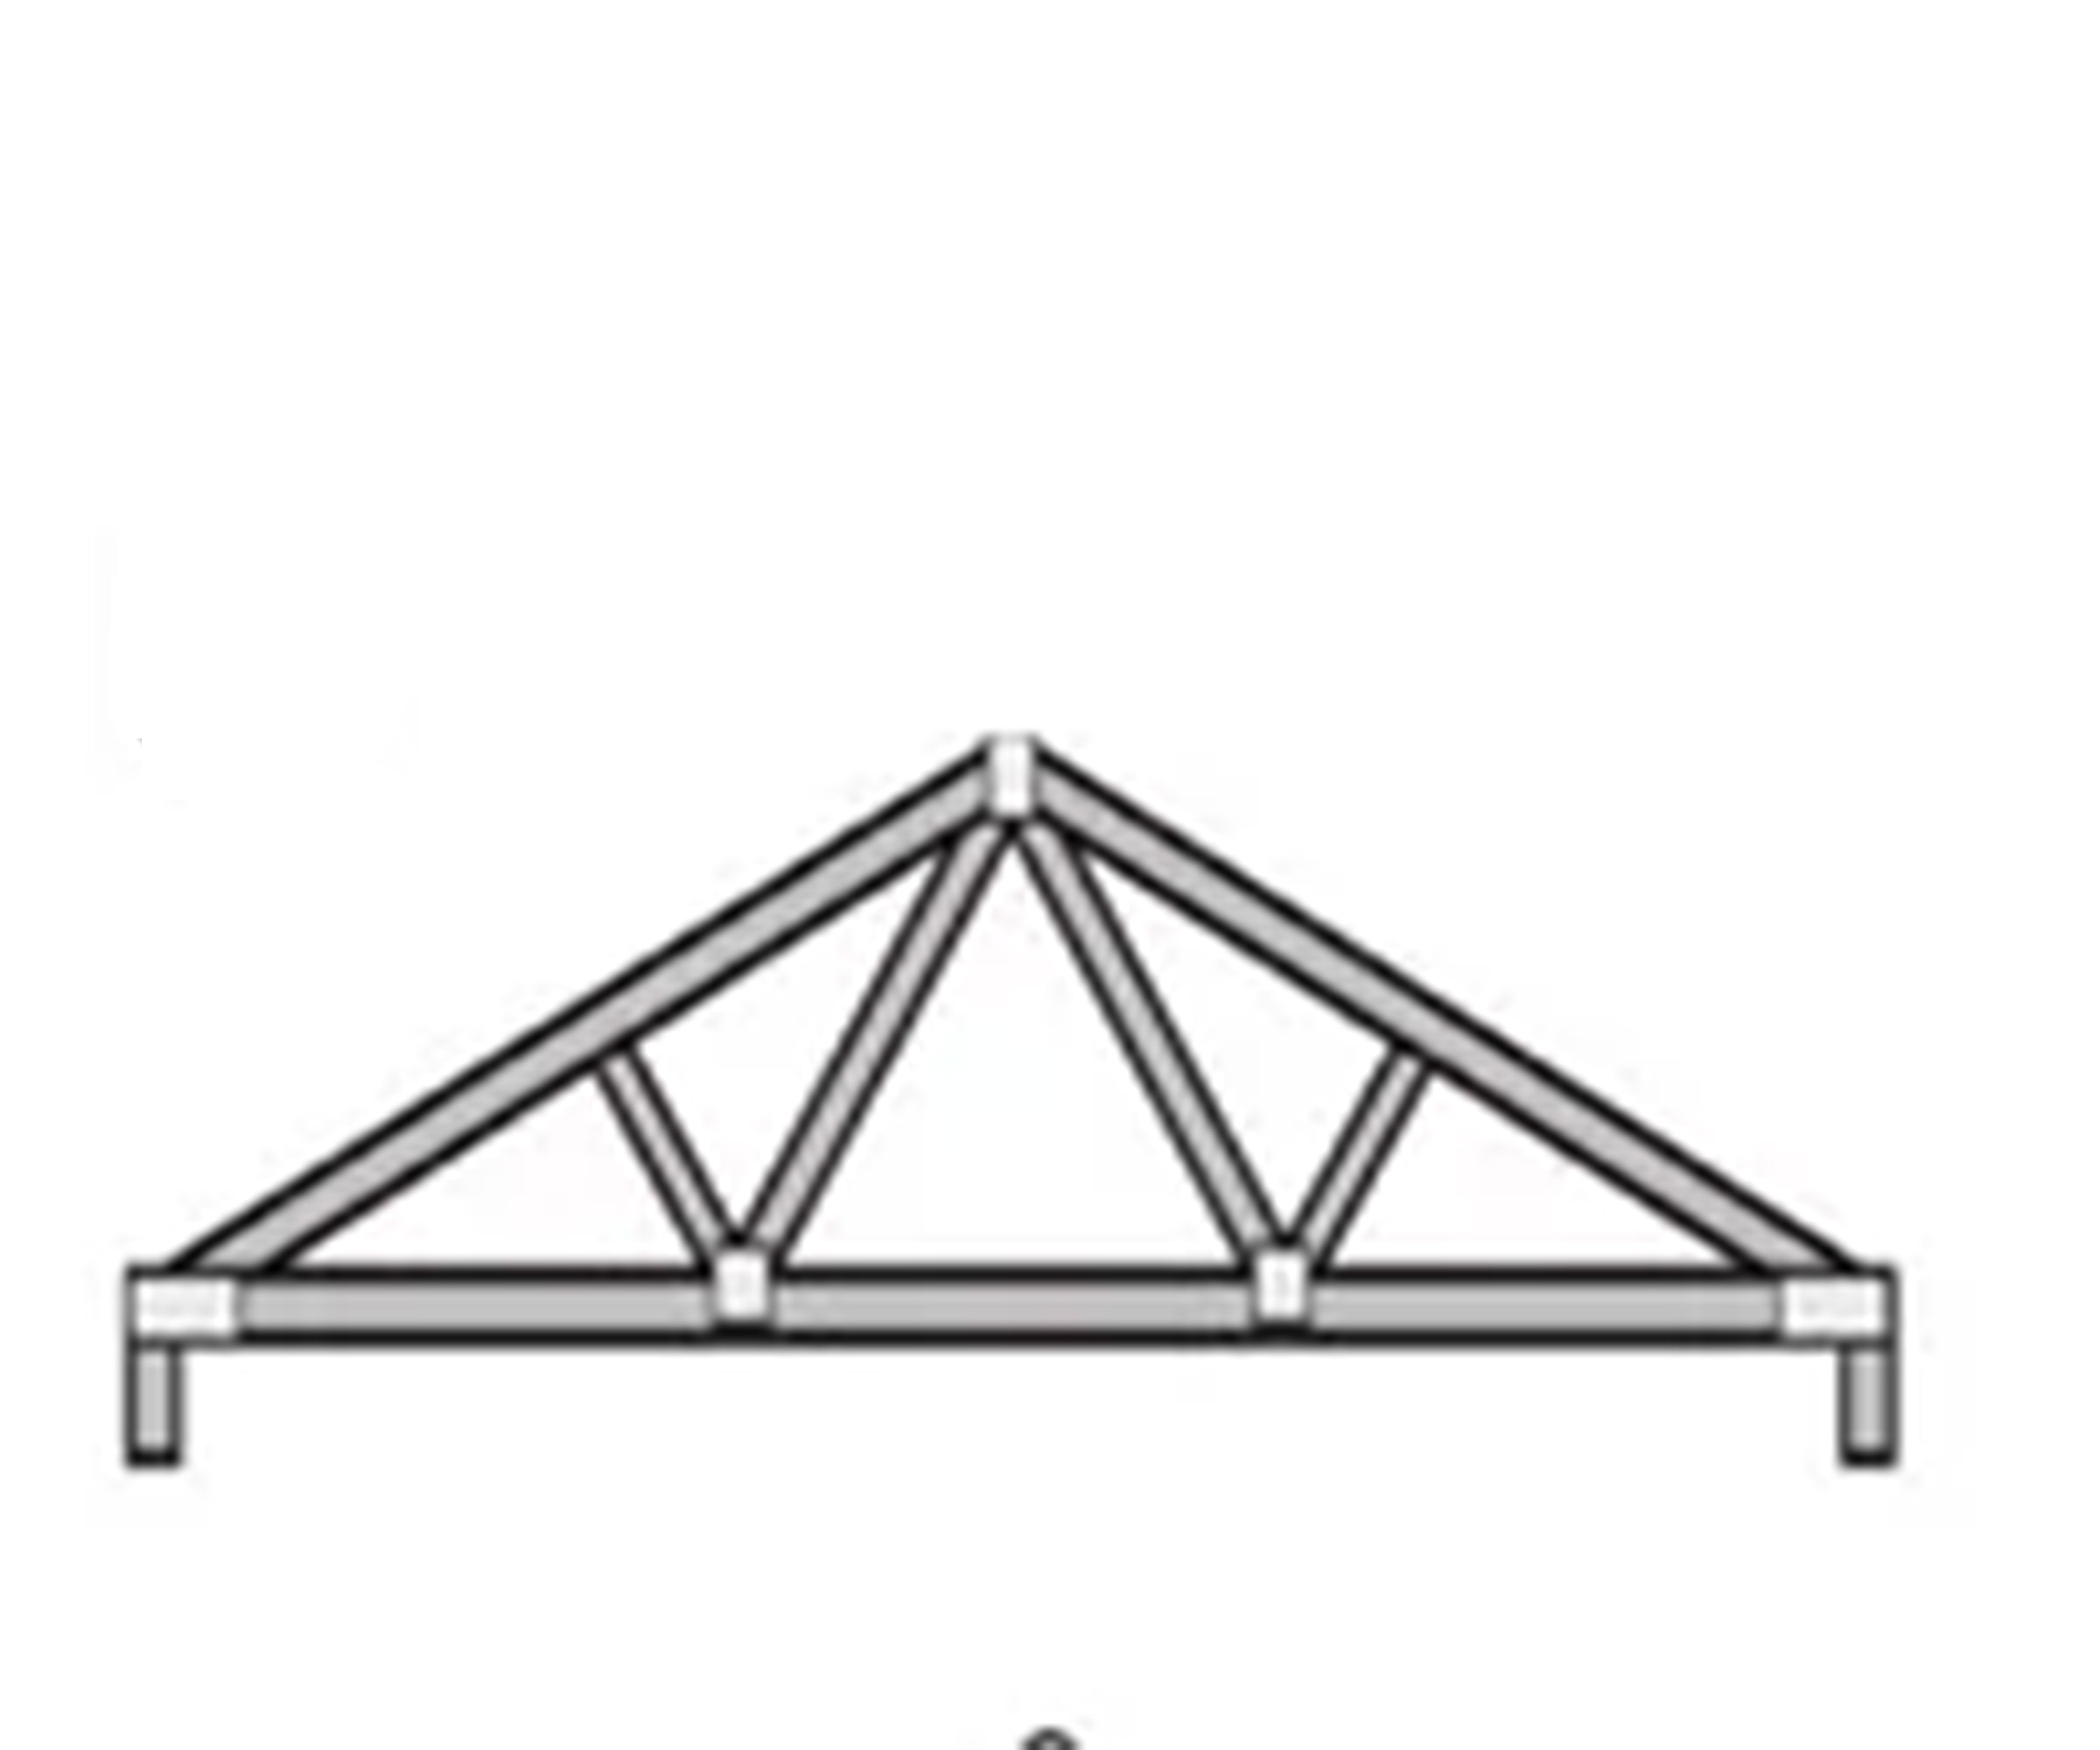
“The first thing to understand is that the loft ‘room’ in a house with a pitched roof structure is designed around joists and rafters, which form triangular trusses,” says Chris Lawson, owner of CK Architectural.
“A lot of modern trusses have 600 centres, meaning there are 60cm spaces between the joists, and the loft hatch industry has designed hatches to slot into these gaps without requiring structural changes to the truss.
“Older, Victorian properties were done on 400 centres that put a lot of weight into the purlins rather than the joist,” he adds.
So, if you live in an older property, you might be faced with choosing between a narrower loft hatch or a more complicated project.
In most cases, it's best to ensure your expanded loft hatch will occupy the space between two joists, rather than requiring one of these wooden structural components to be altered.
“If you’re going to remove a joist, you need to understand what that will do to the roof’s structural integrity – which is something only an expert can tell you,” says Lawson. “Cutting a joist out willy-nilly can cause problems, so the best option is to use existing spacing.”
Of course, your loft hatch will also need to avoid the roof beams – larger timbers supporting the trusses – and any wiring or plumbing that may be present in the loft space.
If you’re making your own loft hatch, rather than buying a ready-made loft hatch like these ones from B&Q, it’ll be your job to decide exactly how large the opening will be.
“The minimum requirement is shoulder-width, and after that it’s a case of making the opening as large as you can to suit what you want to store,” says Lawson.
“Remember that the larger it is, the more expensive the materials and the bigger the structural knock-on effects will be – but if it’s too small you won’t be able to make good use of the loft as a storage space.”
Which direction you extend your loft hatch in will depend largely on its location relative to the joists. If you have the option, it’s generally advised to work towards the apex of the roof, where you’ll have the most space for manoeuvre when you enter the loft.

Chris Lawson is the founder and managing director of CK Architectural, an architectural design company operating nationwide. Chris and his team frequently help homeowners to convert or extend their lofts.
What tools you’ll need for a DIY loft hatch enlargement
- A very good stepladder
- Hard hat
- Goggles or protective glasses
- Dust mask
- Pencil
- Tape measure
- Stud finder
- Straight edge guide
- Cordless drill-driver
- Dust sheets
- Wall plugs
- Screws
- A new loft hatch (if buying off-the-shelf)
- Loft hatch materials e.g. architrave and MDF (if making your own)
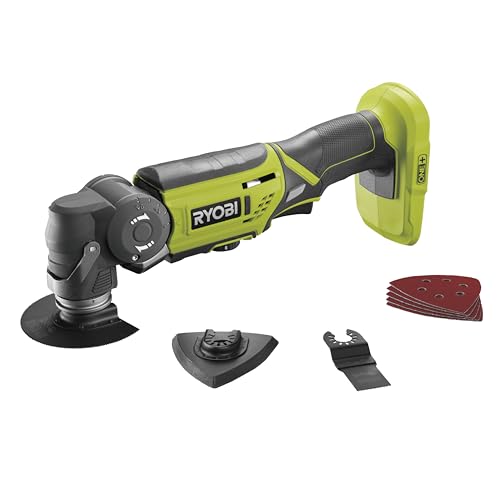
Oscillating multi-tools aren’t as quick or powerful as the other tools we’ve mentioned, but they’re often precise and beginner-friendly. I gave this Ryobi R18MT multitool 4.5 stars in my full review.
Step-by-step: how to make a loft hatch bigger
1. Mark the opening and make pilot holes
Your loft hatch probably has existing components on its lower side, such as a wooden panel and a frame. Remove and discard these, as they won’t fit the enlarged opening.
At this point you should also check for hidden obstructions that may hinder cutting.
“You can use a stud, pipe and wire detector to do this,” advises Tommy Kebbson, founder of the interior design firm Kebbson & Co.
Next, mark where the ceiling will be cut away to make the loft opening larger. Measure this carefully, multiple times, to make sure the dimensions match the new loft hatch you’re going to install. There shouldn’t be any joists, wires, pipes, beams or other obstructions above the marked area. Use a tape measure, straight edge tool and pencil to mark the lines accurately.
In the places where the enlarged loft hatch will form a new corner, drill a pilot hole inside the lines to make subsequent cutting easier.

Kebbson & Co. is a luxury design studio based in London and Buckinghamshire. The firm’s founder, Tommy Kebbson, has a wealth of experience spanning interior design and luxury property development.
2. Cut the ceiling to widen the opening
You can now use your chosen cutting tool (see our recommendations above) to cut along your pencil lines to widen the loft opening.
Remember to use a very stable ladder while working at height, and wear a hard hat, goggles and a dust mask to protect yourself against dust and falling debris. Before you start the work, remove any loft insulation from the area directly above where you’ll cut.
While cutting, take great care not to unintentionally cut any of the ceiling joists.
3. Have any cut joists strengthened (if applicable)
We advise against cutting or altering joists to enlarge your loft hatch, as this adds complexity and risk to the project. However, if this measure has been unavoidable, you’ll need to reinforce the cut joists in order to preserve the structural integrity of the roof.
This is a job for a professional, and should not be done without the required skills or knowledge. One potential solution is to rebrace the cut joist using additional timber and steel hangers – but ultimately, you’ll need to trust in a professional’s favoured solution that’s specific to your building.
Step 4: Install the new, larger hatch
Provided your loft hatch is going to be relatively simple, this should be the safest and easiest step in the loft hatch enlargement process to complete for yourself.
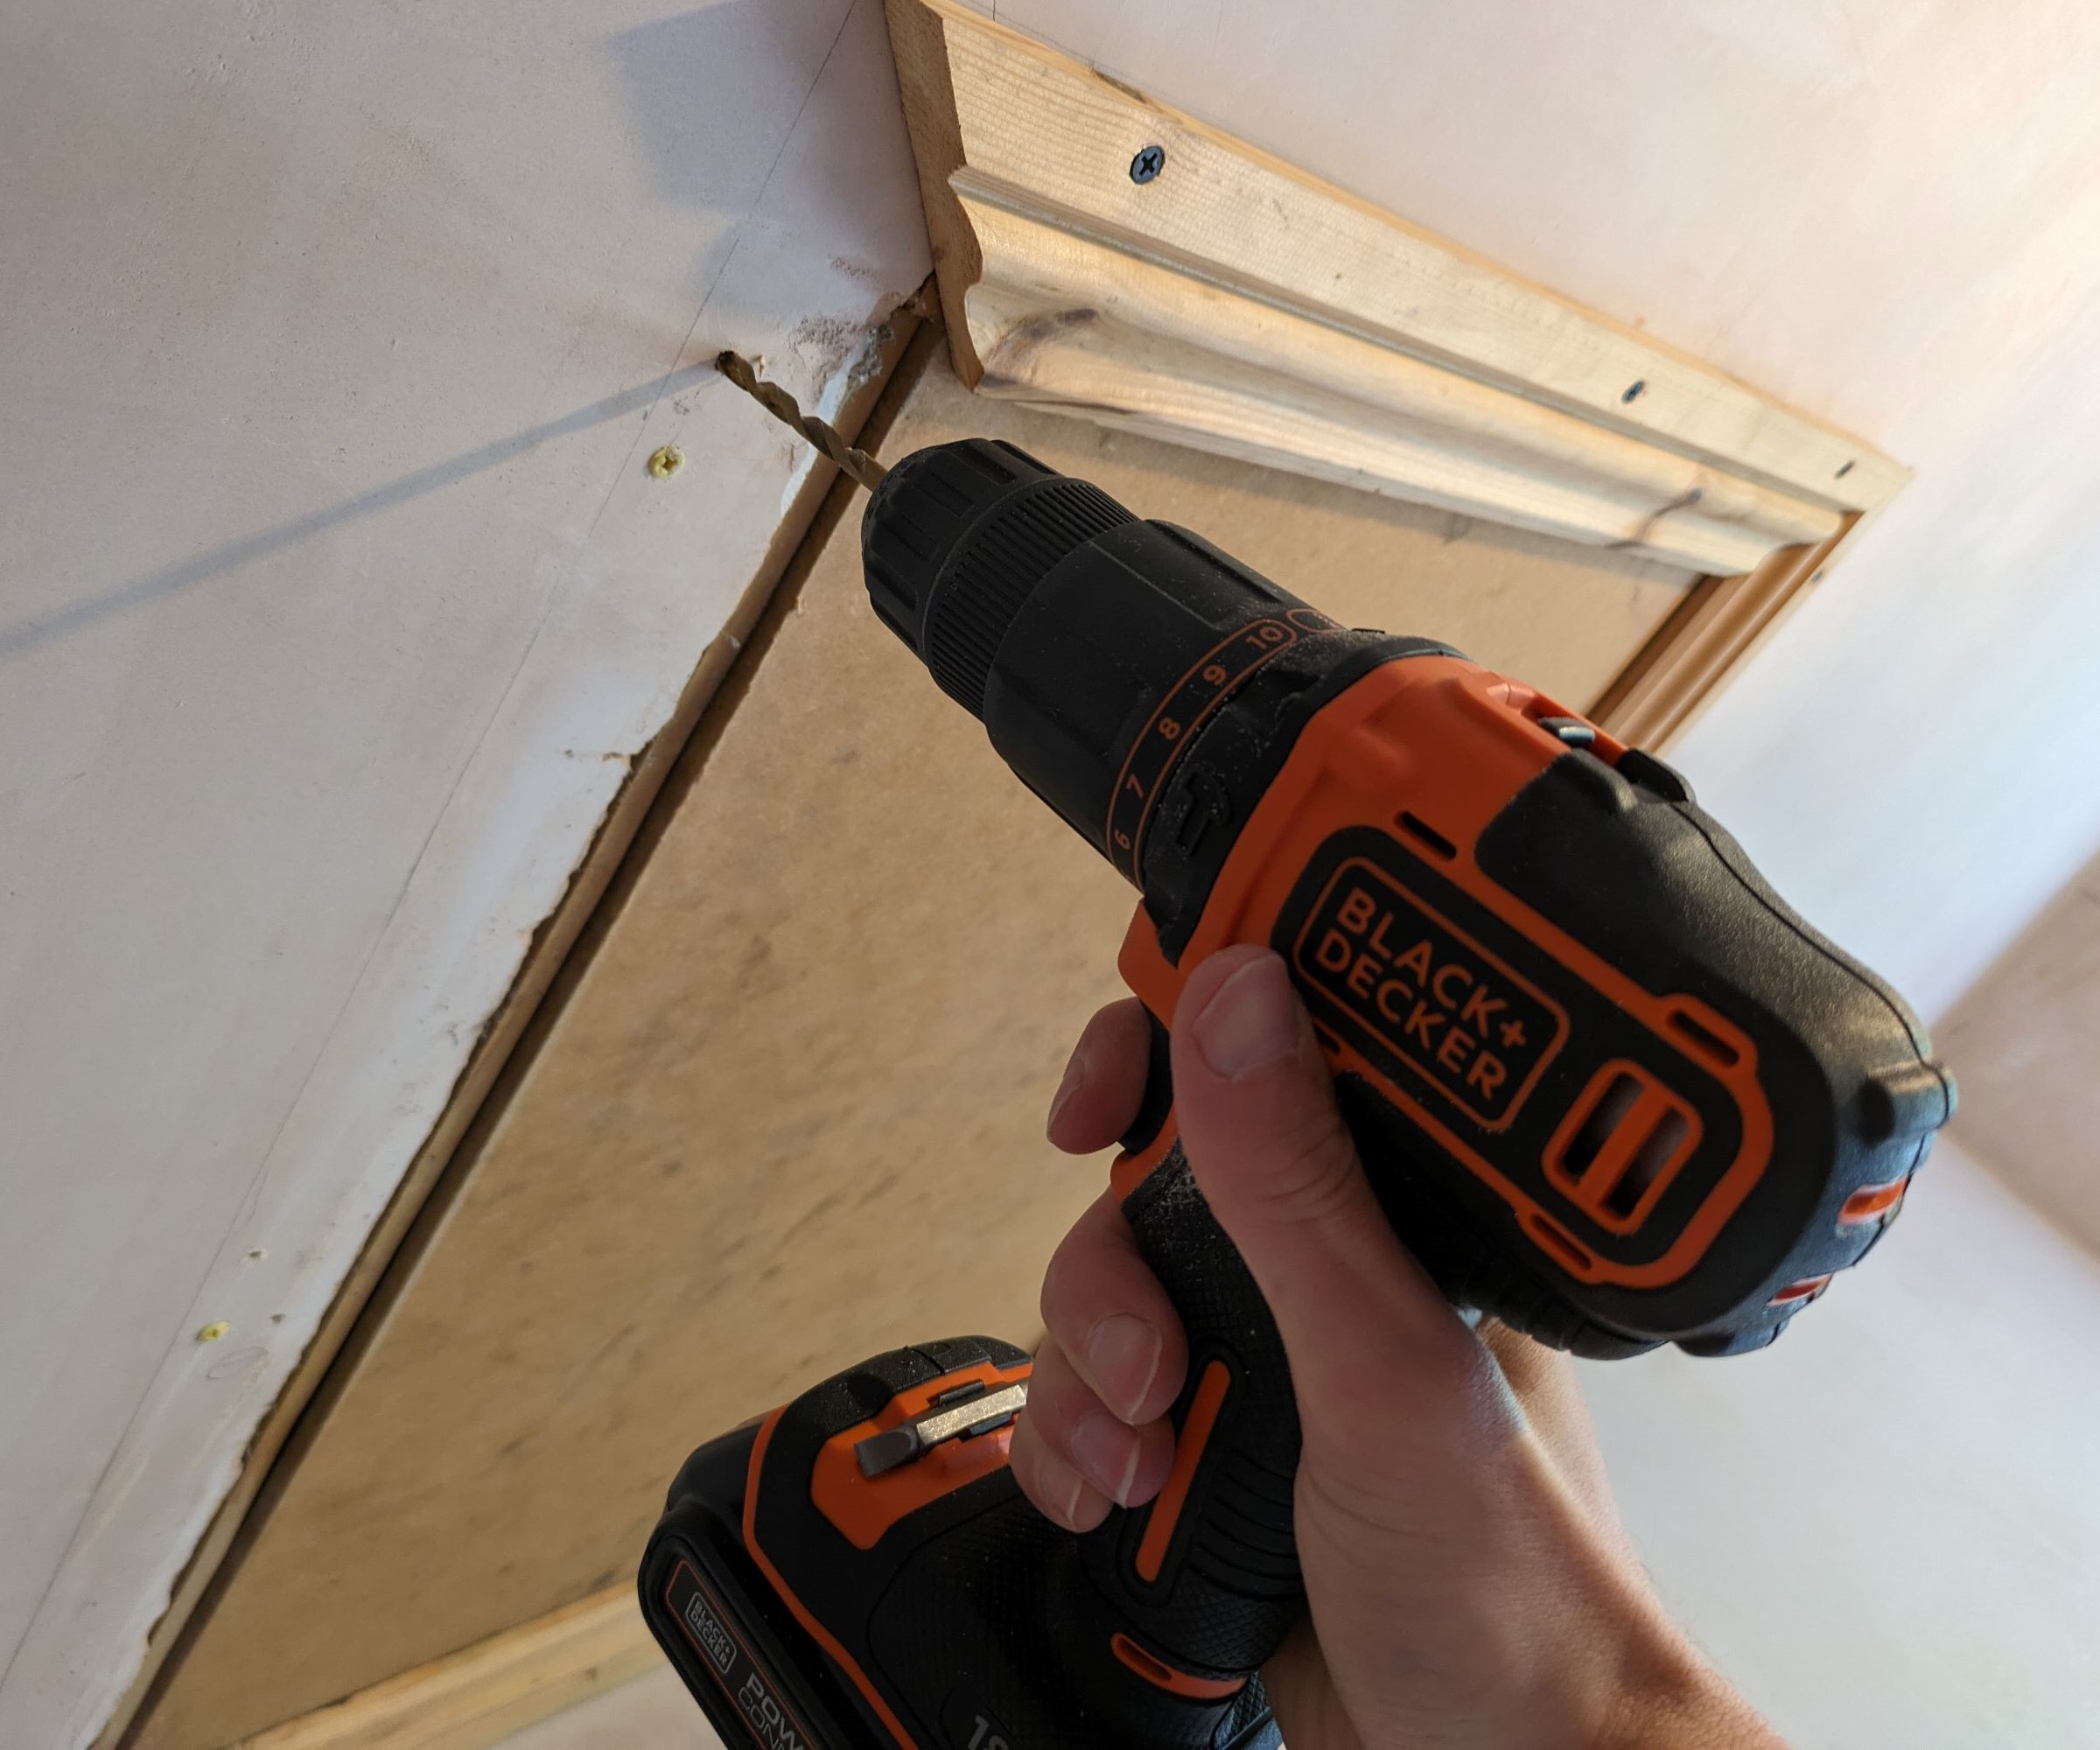
I made my DIY loft hatch frame by measuring the opening and cutting pieces of architrave to fit around it. I fixed the frame pieces into the ceiling (targeting the joists above) using wall plugs and screws, then cut a piece of board to rest inside the frame and cover the opening.
Different methods may be required to install an off-the-shelf loft hatch, depending on the model. Retailers such as B&Q tend to provide good advice, either with the product or in-store.
More sophisticated loft hatches – such as lockable, hinged ones – can be installed if you have the know-how and inclination. However, a professional installer will usually achieve a better finish than the average DIYer. Some loft hatches, such as those with an integrated ladder, are best left to the experts.
FAQs
What types of loft hatches are available?
The most important difference between loft hatches is how they open and close.
“There are hinged hatches that drop down, typically opened by pulling a handle or with a hooked pole, and these are great if you have a loft ladder attached to the door, as you can easily pull this down with a pole. However, they can also take up quite a bit of space and the opening may not be as wide as other styles,” says Tommy Kebbson of Kebbson & Co.
“A different type is the push-up hatch which lifts vertically, usually requiring a touch-catch mechanism or key. These aren’t as compatible with loft ladders, however they can maximise the opening space.”
“Above all, you need to make sure the locking mechanism is secure,” adds architectural designer Chris Lawson of CK Architectural.
“Fancy magnetic catches look great while they work, but they can fail, causing the panel to swing down and possibly hit you," he adds. "A sliding bolt lock might not be as attractive, but at least you know there’s a steel bolt keeping the panel in place.”
Lawson also recommends getting a loft hatch with an insulated panel, to reduce heat loss from living spaces below. “It’s always best to get an insulated hatch if your budget allows, as it prevents a significant cold spot in the ceiling,” he says.
“That’s especially important if you’re trying to promote efficient heating by using things like solar panels, a heat pump or underfloor heating.”
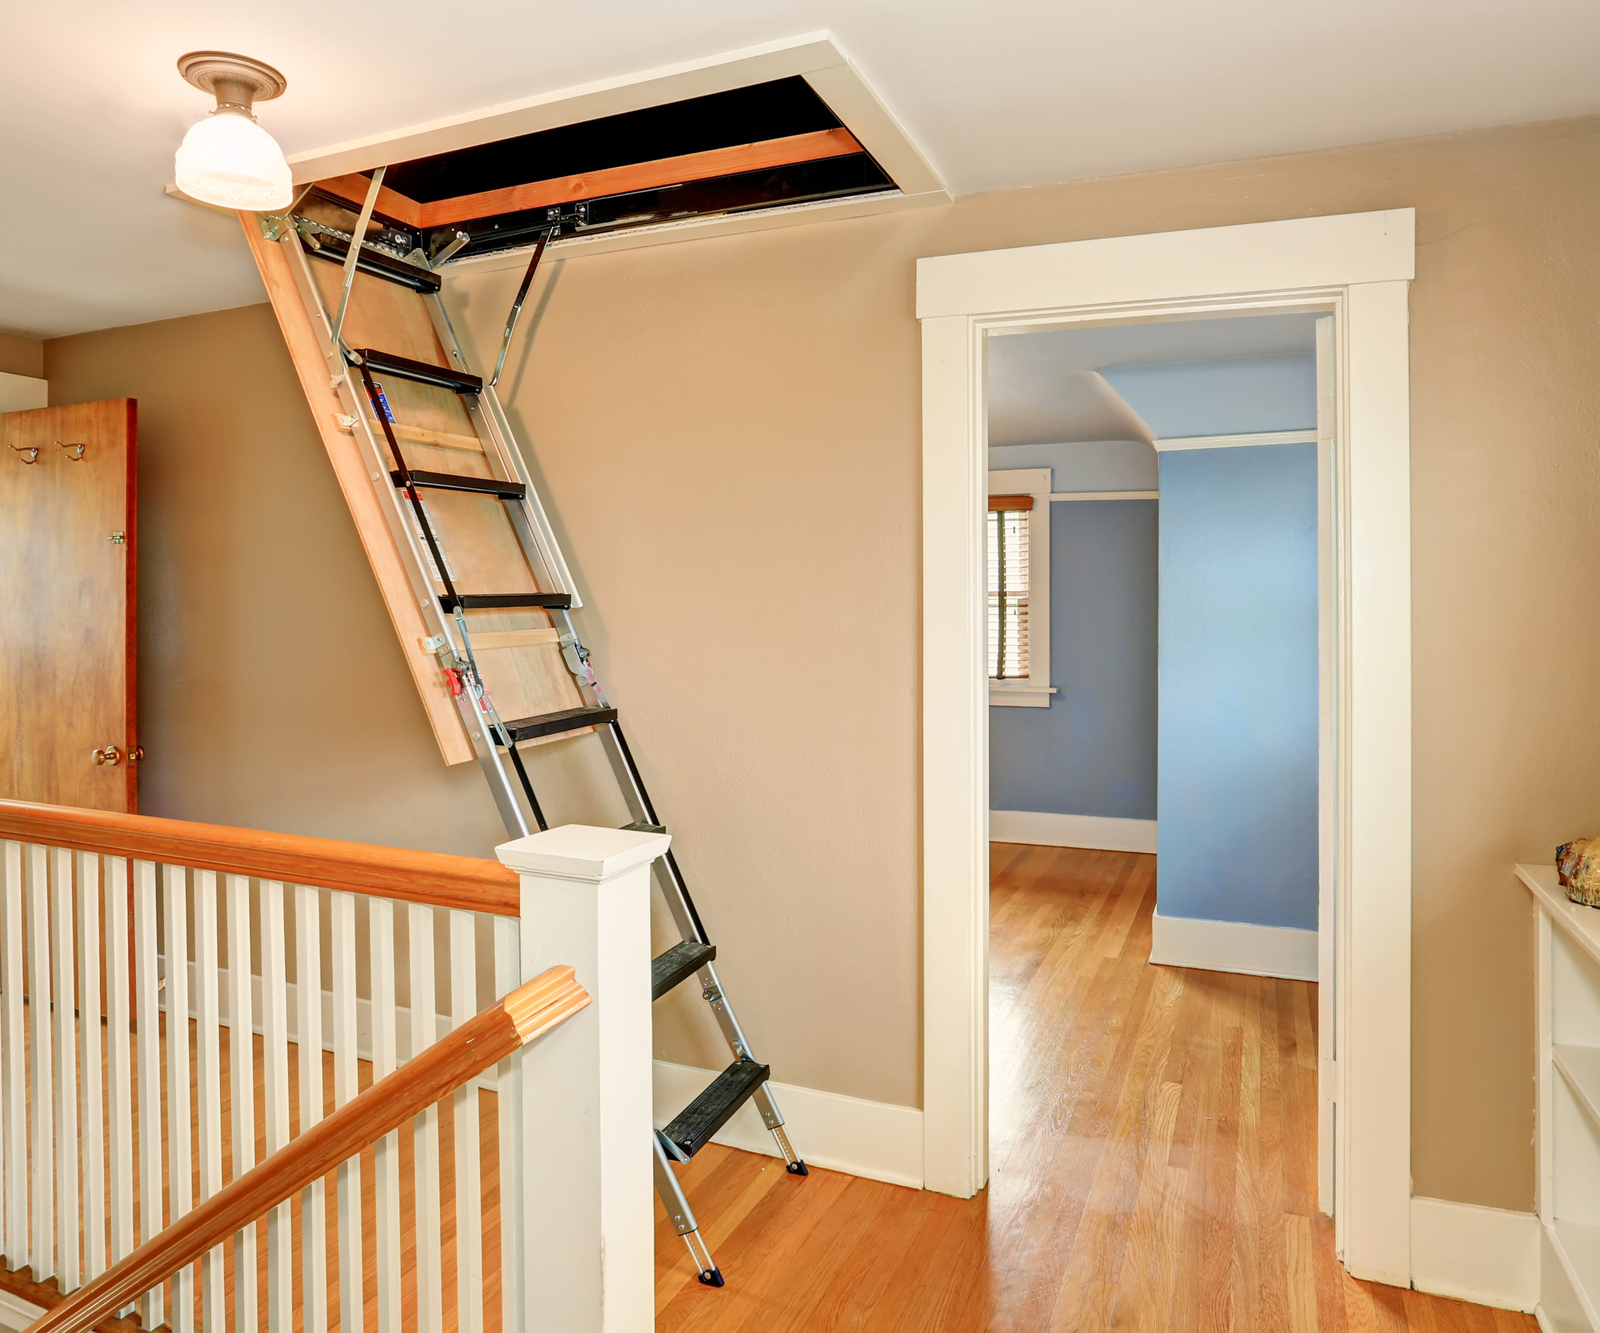
Some loft hatches have an integrated ladder, providing a safe and convenient way to access the loft. “If you’ve got the space, a fixed ladder is a lot safer than positioning a regular ladder whenever you go into the loft – and it’s especially beneficial if there’s a rail on the side to help you go up it while handling boxes,” says Lawson.
The simplest form of loft hatch panel is a piece of board rested across the hatch’s frame. It’s a slightly rough-and-ready solution, but a piece of MDF and an architrave frame will do the job for some homeowners – including the author of this article.
What are some common problems to look out for when making a loft hatch bigger?
Unfortunately, there are a few common problems that could crop up while you’re in the process of making your loft hatch bigger.
- Uneven ceiling One common problem – especially in older properties – is an uneven ceiling. This will make it difficult to fit the loft hatch neatly to the enlarged opening. The best solution might be to sand down sections of the hatch to accommodate the ceiling’s irregularity.
- Ceiling material Sometimes this might make the job trickier. “It’s harder and messier to cut through a lath or plaster ceiling, rather than plasterboard,” says Chris Lawson of CK Architectural. “Thankfully, both can be cut out neatly enough, especially if you’re using a trim like architrave that will cover up cracks.”
- Not planning enough space According to Tommy Kebbson of Kebbson & Co, another common pitfall is failure to plan in enough space to access the loft using your chosen ladder. “Something some may not think about is the compatibility with the space,” he says. “To really add value you want usable access to the loft, perhaps even a staircase of some sort. Although loft ladders are an option, they are not practical for any regularly used space. If you’re simply using the loft for storage, the hatch should at least be suitable for the size of the ladder – or you may need to get a new ladder.”
Enlarging your loft hatch will be key to getting the best possible use out of this often-underutilised space. Your next step, if you haven't done it already, will be to look into loft boarding costs.
If there's a problem with condensation in the space, you might need to install loft ventilation to protect your stored items too.
Pete Wise is a freelance writer and keen DIYer from Leeds. Pete's tool reviews have featured in titles including Homebuilding & Renovating, Ideal Home and The Independent. He also writes features and news articles for publications such as The Guardian, BBC Good Food and T3. When he isn't busy writing, Pete can often be found at libraries, pubs and live music venues. He finds tile-cutting strangely zen.
