Cracked and chipped flooring? How to replace a broken floor tile without causing damage elsewhere
Restore your floor to avoid damaged tiling becoming a hazard
Bring your dream home to life with expert advice, how to guides and design inspiration. Sign up for our newsletter and get two free tickets to a Homebuilding & Renovating Show near you.
You are now subscribed
Your newsletter sign-up was successful
There’s nothing more annoying than a cracked or broken floor tile spoiling the aesthetic of a beautifully tiled floor. You’ll notice it every time you walk into the room and wish it weren’t there. It’s not just unattractive, it can be damaging to you and the floor underneath.
If you’re lucky enough to have a spare tile from tiling a floor previously, then it won’t be long before you can bring a floor back to its former glory. All you’ll need are a few simple tools, a bit of muscle power and the help of this guide to make it happen.

Paul Kerr is a building and flooring specialist at Beatsons Building Supplies Limited, where he advises homeowners and trade professionals on durable and practical solutions.
Why replace a broken floor tile
A broken floor tile will need to be replaced, but the timing depends on its location and the severity of the break. Here we look at the common reasons and the problems that can cause.
- Aesthetic appeal Cracked or chipped floor tiles are unappealing and will spoil the aesthetic of a floor. If obvious, it will draw the eye and be hard to ignore.
- Trip hazard A broken tile can raise the profile of the tile surface, creating a potential trip hazard. When walking barefoot, it is easy to catch the edge of a tile and cut your foot.
- Subfloor issues Cracks will allow water to ingress into the subfloor beneath the tile. If left unaddressed, the issue will only worsen and could lead to damage that may be expensive to repair.
Tools you’ll need to replace a broken floor tile
There are a few tools that you'll need to make the removal process easier. Here we list what you'll need, along with some recommendations.
- Hammer (like this Magnusson Carbon Steel Claw Hammer from B&Q)
- Chisel ( like this Silverline Bolster Chisel with Guard from Amazon)
- Angle grinder (optional - like this DEWALT XR Brushless 125mm Angle Grinder from Amazon
- Notched trowel
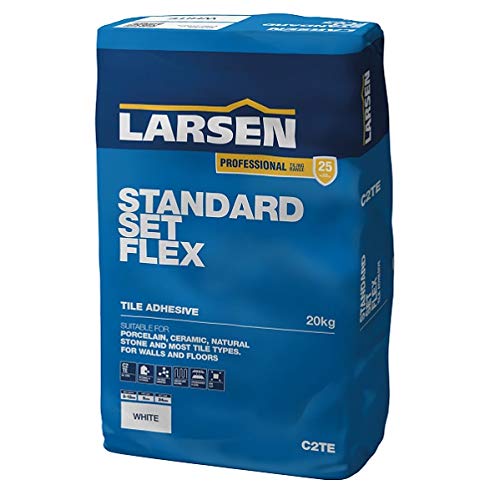
- Tile adhesive
- Tile spacers (choose the right size to match)
- Vacuum (check out our best vacuum cleaners for builders' dust guide)
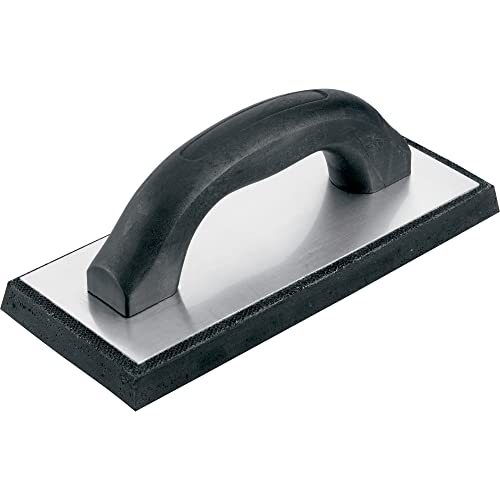
- Grout and grout float
Shop tools to replace a broken floor tile
How to replace a broken floor tile
Before you dive in and start replacing a broken floor tile, ensure you have a replacement tile or tiles. Ensure they fit in terms of width, height, and depth, and place them next to the current tiles to assess how well the colour or pattern matches.
1. Remove the old grout
Floor tiles are held in place by adhesive and grout, so the first step is to remove the grout. Paul Kerr, building specialist at Beatsons, points out, “Grout can get stronger over time and becomes brittle and difficult to remove.”
To remove the old grout, you’ll need to use a specialist tool, continues Kerr, “Use a grout rake to pull out the grout and be sure to wear eye protection as grout can spit off in any direction.” He adds, “I choose to rake the grout across the lines in a long, slow motion; it can take some time to clear grout this way.” A tip to help speed up the removal process is to use a sharp utility knife to run it along the edges of the grout before using the rake.
Bring your dream home to life with expert advice, how to guides and design inspiration. Sign up for our newsletter and get two free tickets to a Homebuilding & Renovating Show near you.
An alternative option is to use an angle grinder if you own one. Make sure that the grinding disc is not thicker than the grout; otherwise, you can start cutting into the tile. Kerr shares, “Be sure to cover your eyes and mouth as these grinders can create a lot of dust.” He adds, “A vacuum is helpful here to remove dust as you go along.”
2. Break up and remove the tile
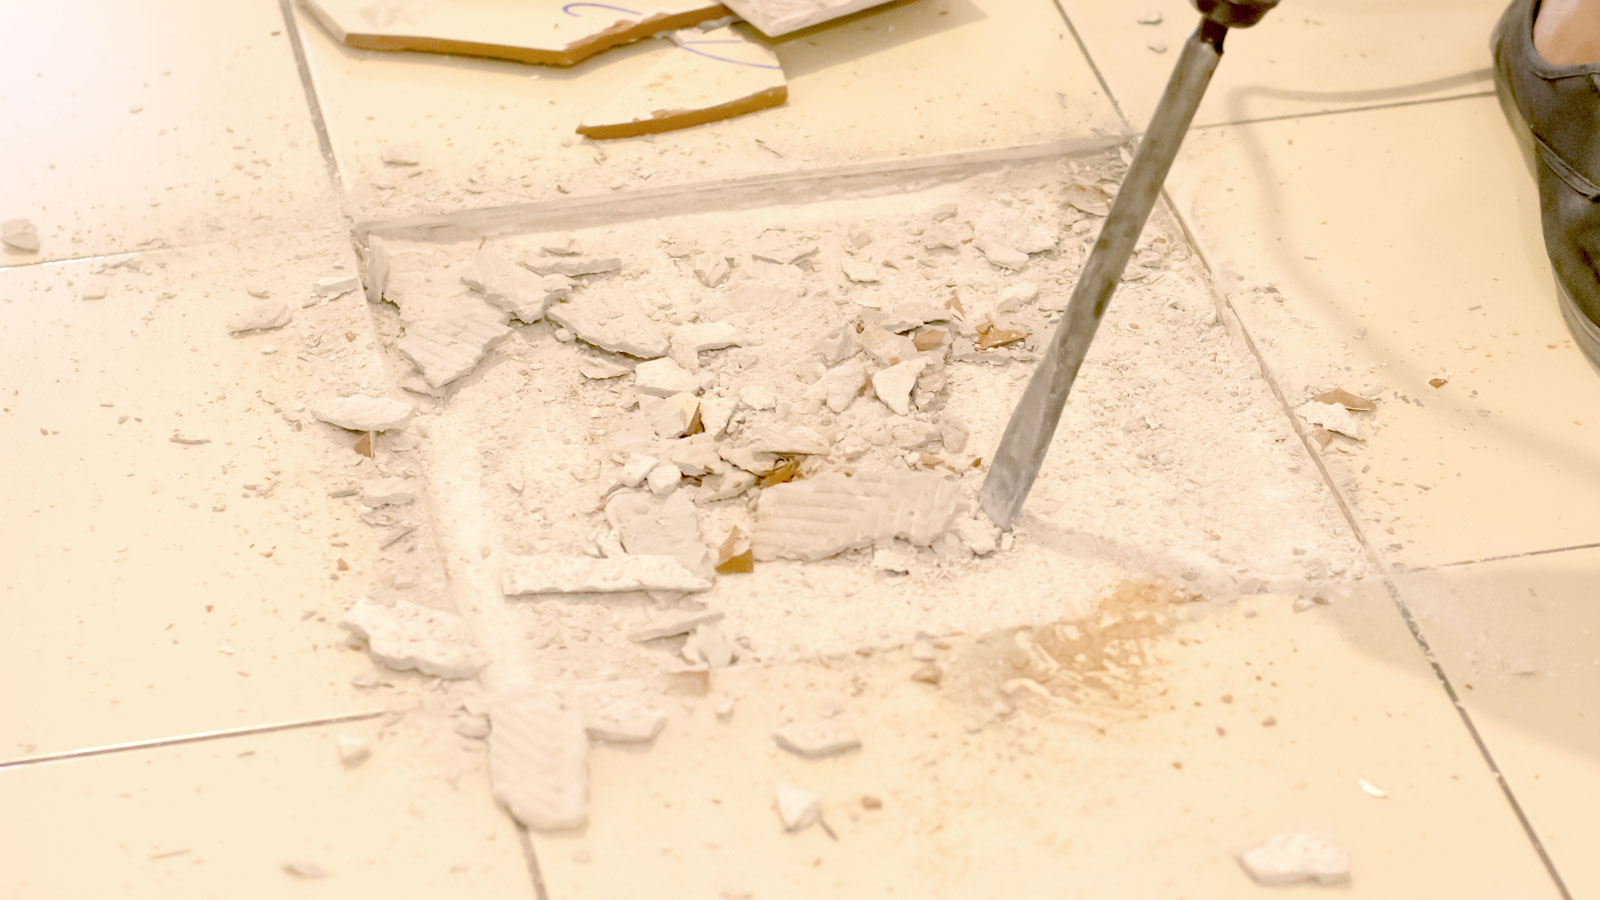
With the grout removed, the next step is to break up the tile and remove the fragments. Kerr says think safety. “Safety glasses and long sleeves are advised here.” There are several options for breaking up a tile. Kerr says, “You want to create a weak spot in the middle of the tile, you can do this by drilling into the centre of the tile, and chiselling at the hole that’s made. He adds, “If the bond is weak, it may pop up quite easily in one or two pieces.”
Thomas Oldham, co-founder, UK Construction Blog, suggests a slightly different approach: “If it’s a thinner tile, a hammer and chisel will do the job.” He adds, “Position the chisel in the centre and tap it with the hammer to crack the tile into smaller pieces. For thicker stone or porcelain, scoring it first with an angle grinder makes breaking it up easier.”
Alternatively, you can start by just tapping the middle of the tile with a hammer. To remove the broken tile, place the chisel under the tile and tap out with a hammer.

Thomas Oldham has spent the past four years using his expertise of working in the engineering and construction industry for over a decade to develop the UK Construction Blog - a leading online platform dedicated to empowering individuals and businesses in the construction industry.
3. Clean up subfloor
Once the tile has been broken up and removed, you need to clean up the area. Kerr says, “You want to chisel away the mortar so the base surface is as level as possible so the tile doesn’t appear higher than the rest.” He warns, “Be careful not to chisel too heavily close to the other tiles.” Take your time and make sure all mortar is removed.
To help the clean up process, Kerr adds, “An angle grinder is great at clearing up mortar close to the edges.” Again, take your time as you don’t want to damage the surrounding tiles. Finally, Kerr says, “Clear away the debris with a vacuum.”
4. Add new tile
Once the surface is level and clean, check that your tile fits properly. Oldham says, “Dry laying the tile before sticking it down is worth the extra time.” He adds, “This lets you check the fit, make any cuts, and line it up with the pattern around it.”
Remove the tile and prep the area. Kerr says, “You want to wet it with a damp sponge (this stops the dry base absorbing too much of the moisture out of the mortar once applied.”
He adds, “Apply a pre-mixed thin set mortar (tile adhesive) into the space, go round all the edges to ensure the mortar is evenly spread, don’t use too much mortar as you need your tile to remain level with the rest of the floor.” Use spacers to get even and consistent gaps around the tile.
Press the tile into the mortar and use a level to make sure that it’s level with the surrounding tiles. Remove any excess tile adhesive to ensure you have room for the grout.
5. Add finishing touches
Leave the tile to set, check the manufacturer's instructions, but 24 hours should be sufficient. Choose a grout colour that matches your current grout and begin regrouting the tiles. Use a grout float to work in the grout around the tile (or tiles). To finish, Kerr says, “Wipe away any extra grout with a damp sponge.” Make sure to rinse out the sponge regularly in clean water. Leave the grout to dry. This will leave a film on the tile. Use a dry cloth to polish off.
Finally, if you’re laying a porous tile, you’ll need to apply a sealer to protect against damage and make it easier to clean.
FAQ
How do I match tiles?
The ideal situation is a spare tile, as Oldham points out, “If you have a spare tile left over from the original installation, that’s perfect because it means a guaranteed match.” But if you don’t have a spare, the first step is to see if the tile is still being manufactured. Start by trying the store where you originally bought the tiles. If unavailable, do an online search.
If you can’t find a perfect match, then think outside the box. Oldham says, “Think about replacing a small section to create a feature instead.” Choose a complementary colour or use an abstract pattern to create something different.
If you are on the lookout for new floor tiles, make sure to check out our Where to buy bathroom floor tiles guide. If looking for new tile ideas and inspiration, make sure to check our Bathroom floor tile ideas and Kitchen floor tile ideas.
Steve Jenkins is a freelance content creator with over two decades of experience working in digital and print and was previously the DIY content editor for Homebuilding & Renovating.
He is a keen DIYer with over 20 years of experience in transforming and renovating the many homes he has lived in. He specialises in painting and decorating, but has a wide range of skills gleaned from working in the building trade for around 10 years and spending time at night school learning how to plaster and plumb.
He has fitted kitchens, tiled bathrooms and kitchens, laid many floors, built partition walls, plastered walls, plumbed in bathrooms, worked on loft conversions and much more. And when he's not sure how to tackle a DIY project he has a wide network of friends – including plumbers, gas engineers, tilers, carpenters, painters and decorators, electricians and builders – in the trade to call upon.
