Insulating a Dormer Bungalow: Maintain Home Comfort Levels
Insulating a dormer bungalow can help ensure optimal temperatures in every room. Find out where you should insulate and how best to go about it with our guide

Bring your dream home to life with expert advice, how to guides and design inspiration. Sign up for our newsletter and get two free tickets to a Homebuilding & Renovating Show near you.
You are now subscribed
Your newsletter sign-up was successful
Insulating a dormer bungalow is essential to creating a comfortable, inviting environment throughout your entire property.
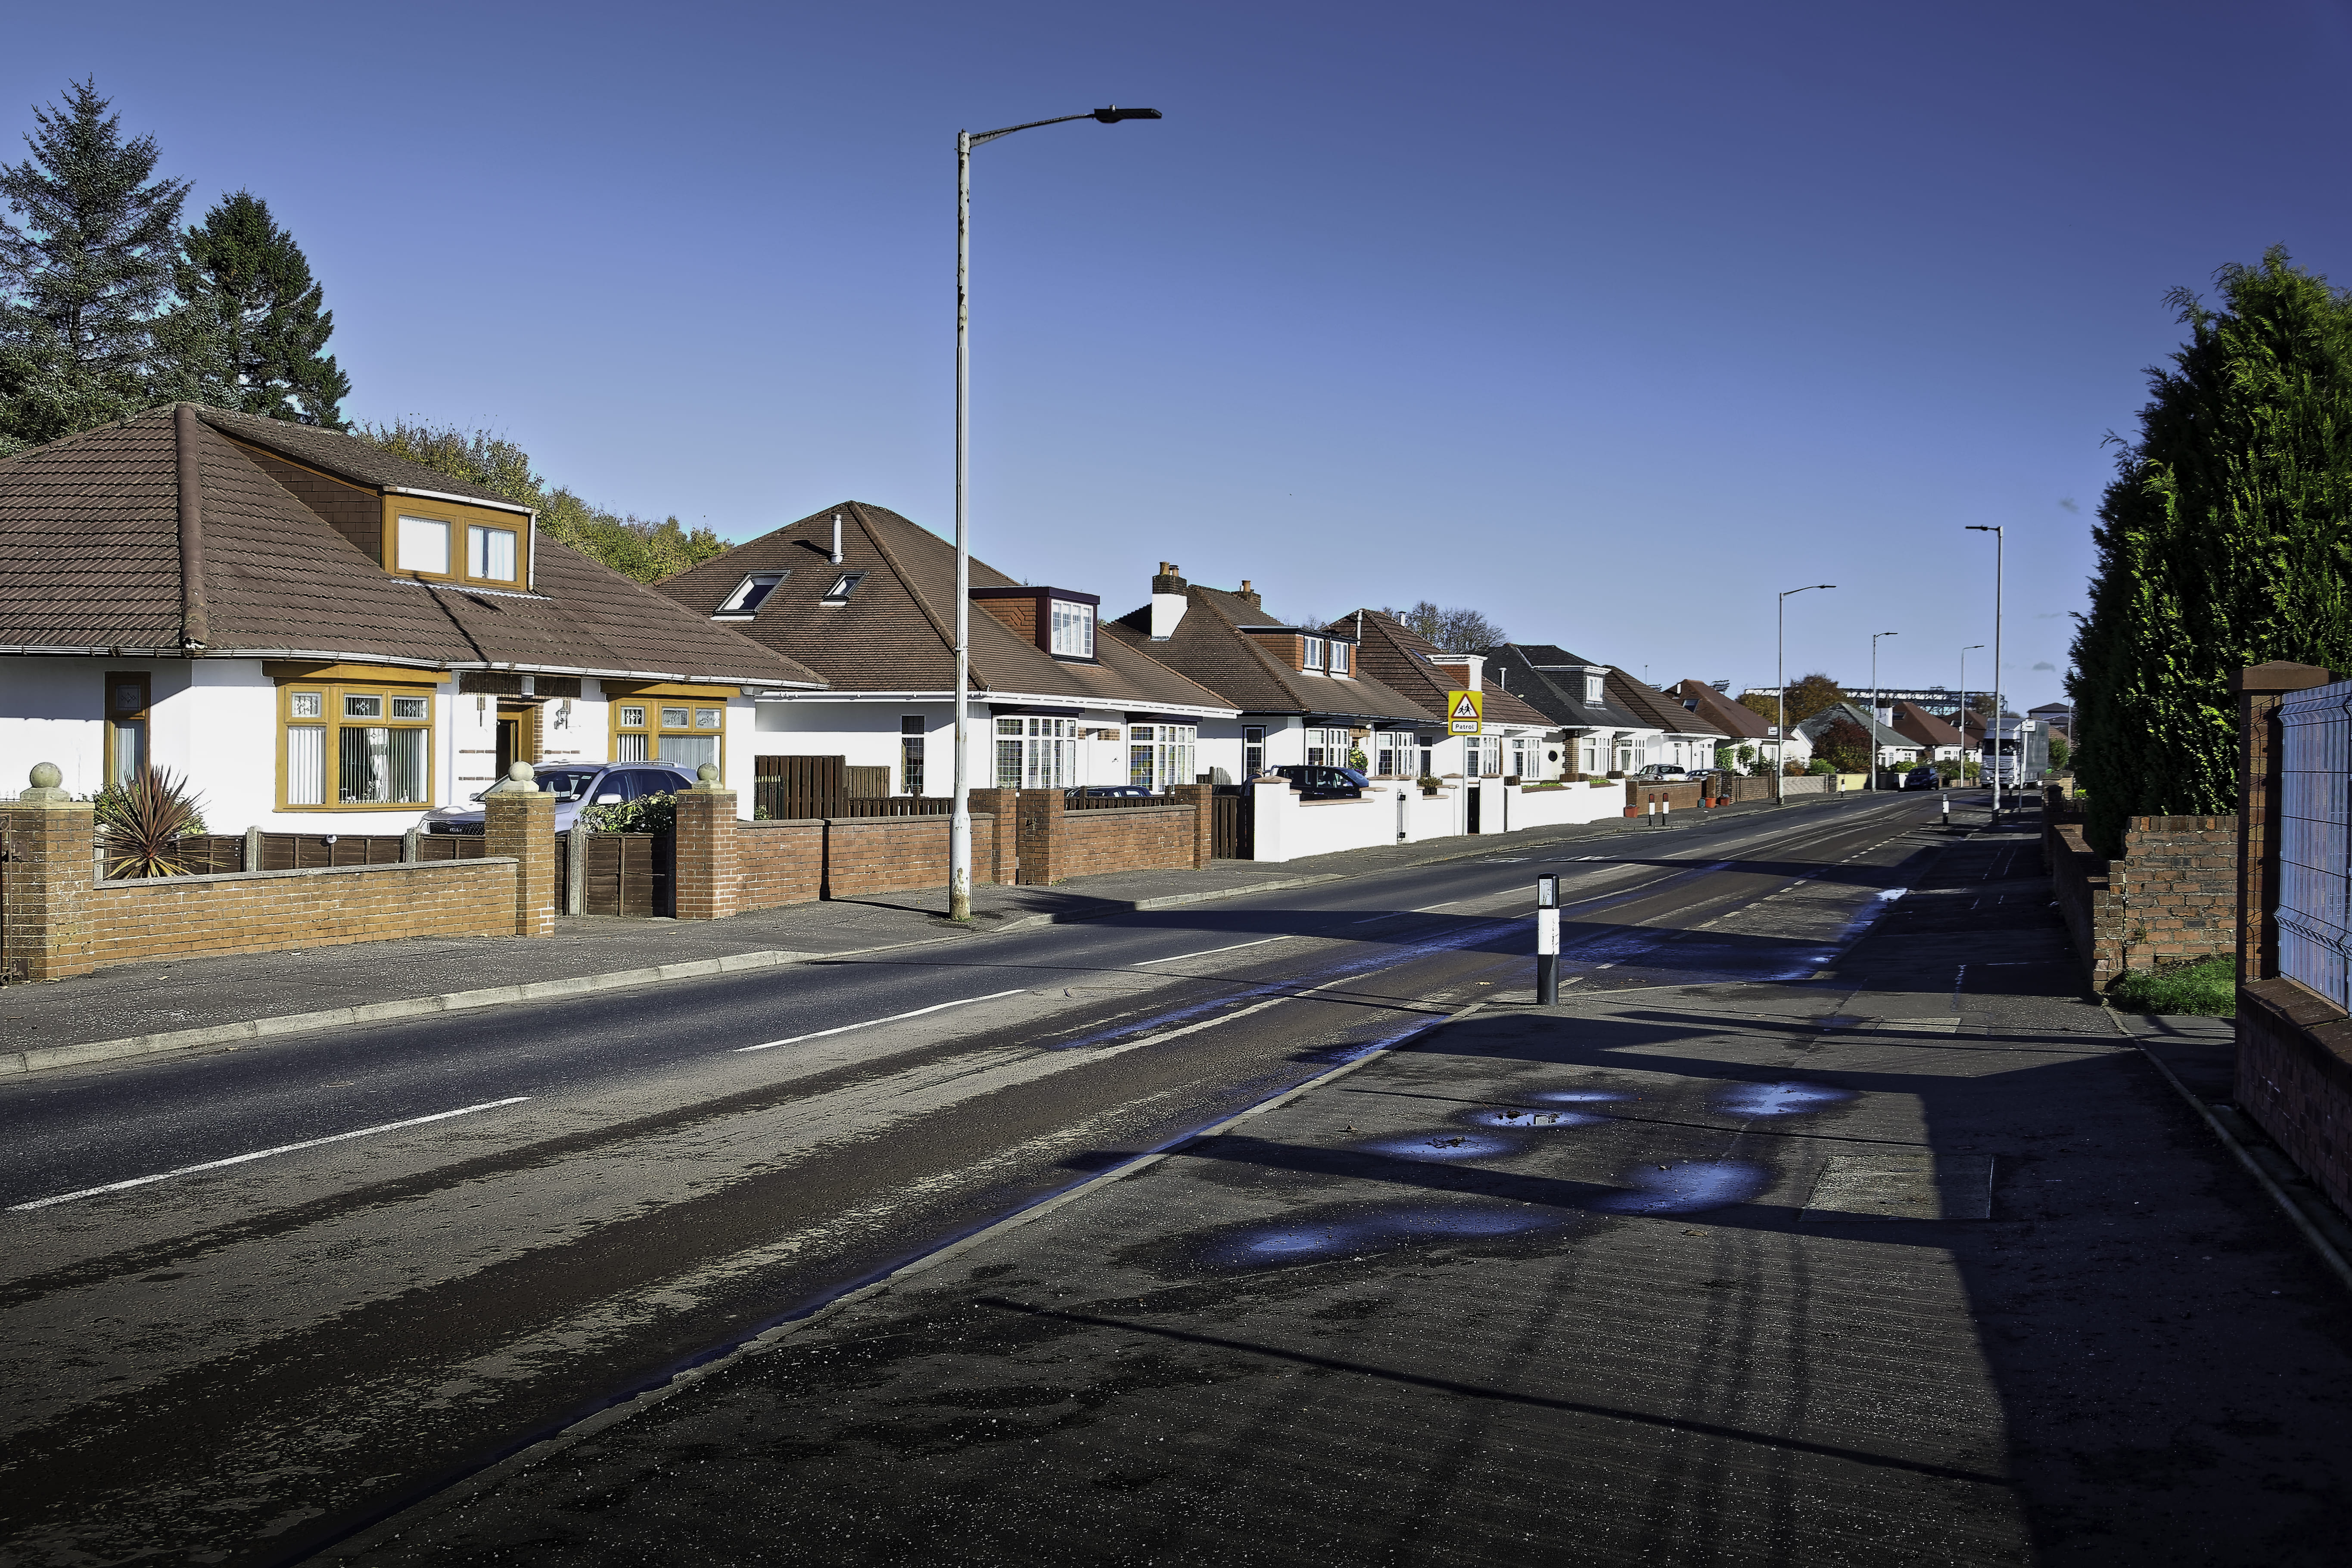
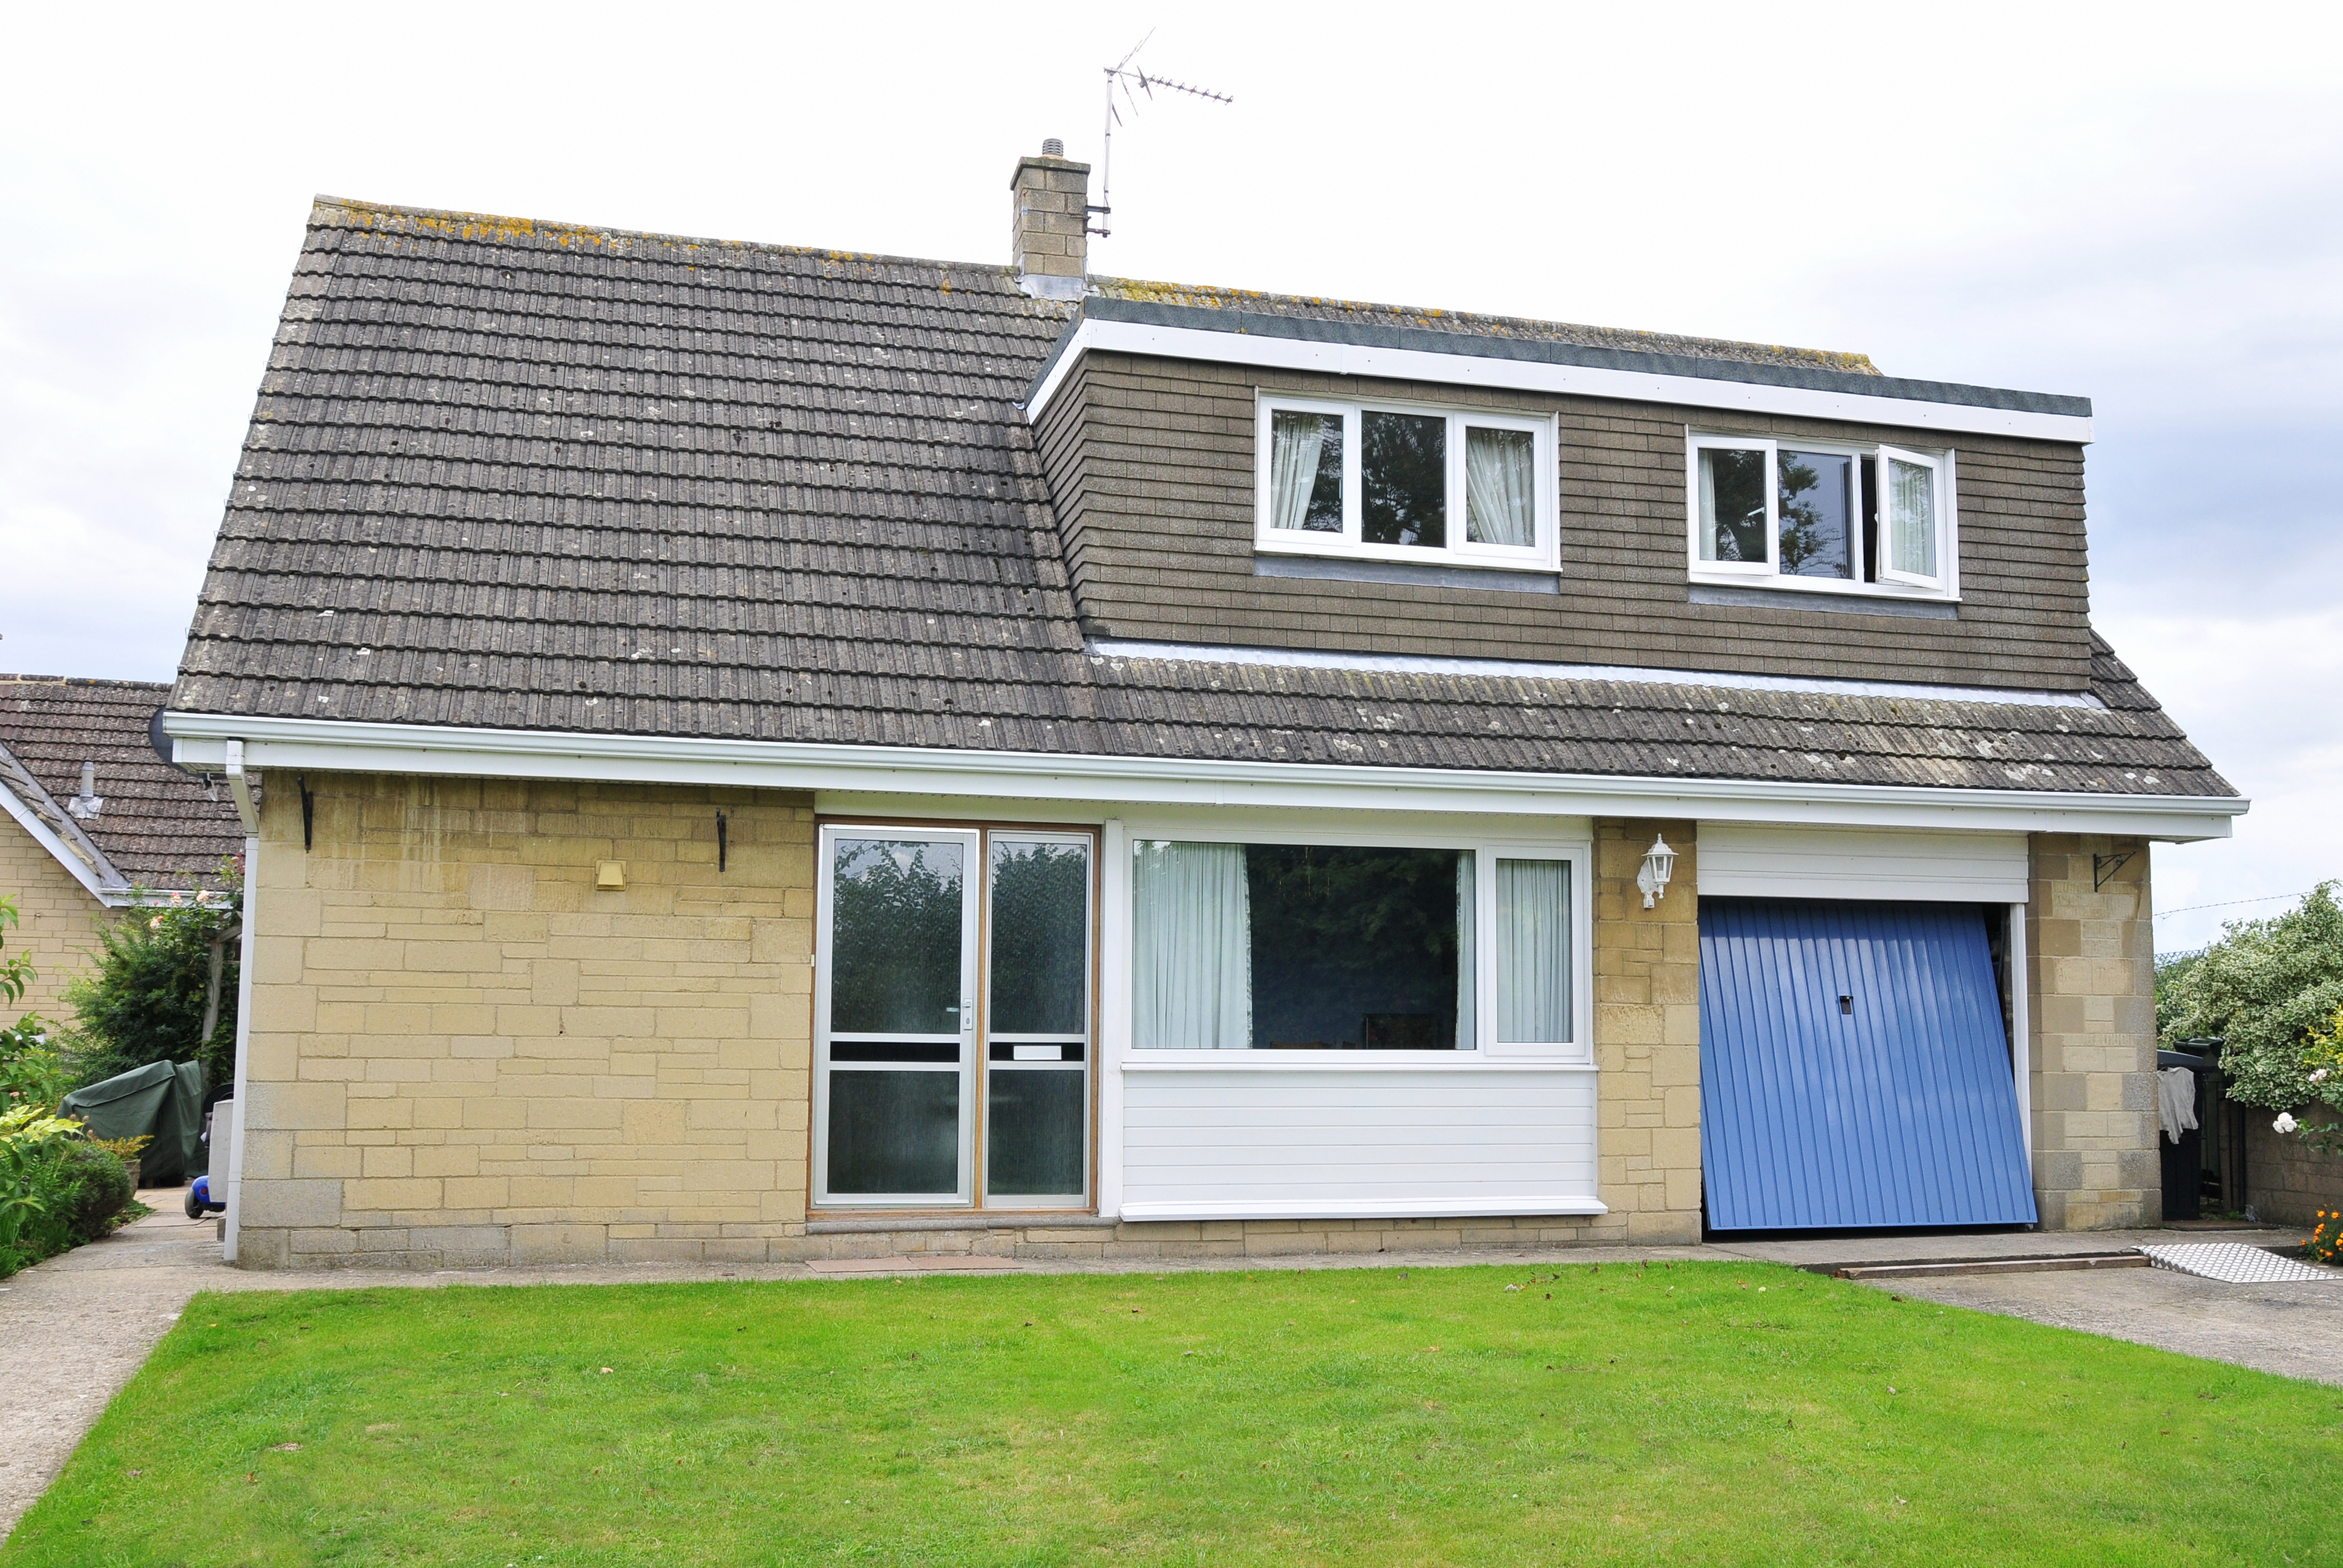
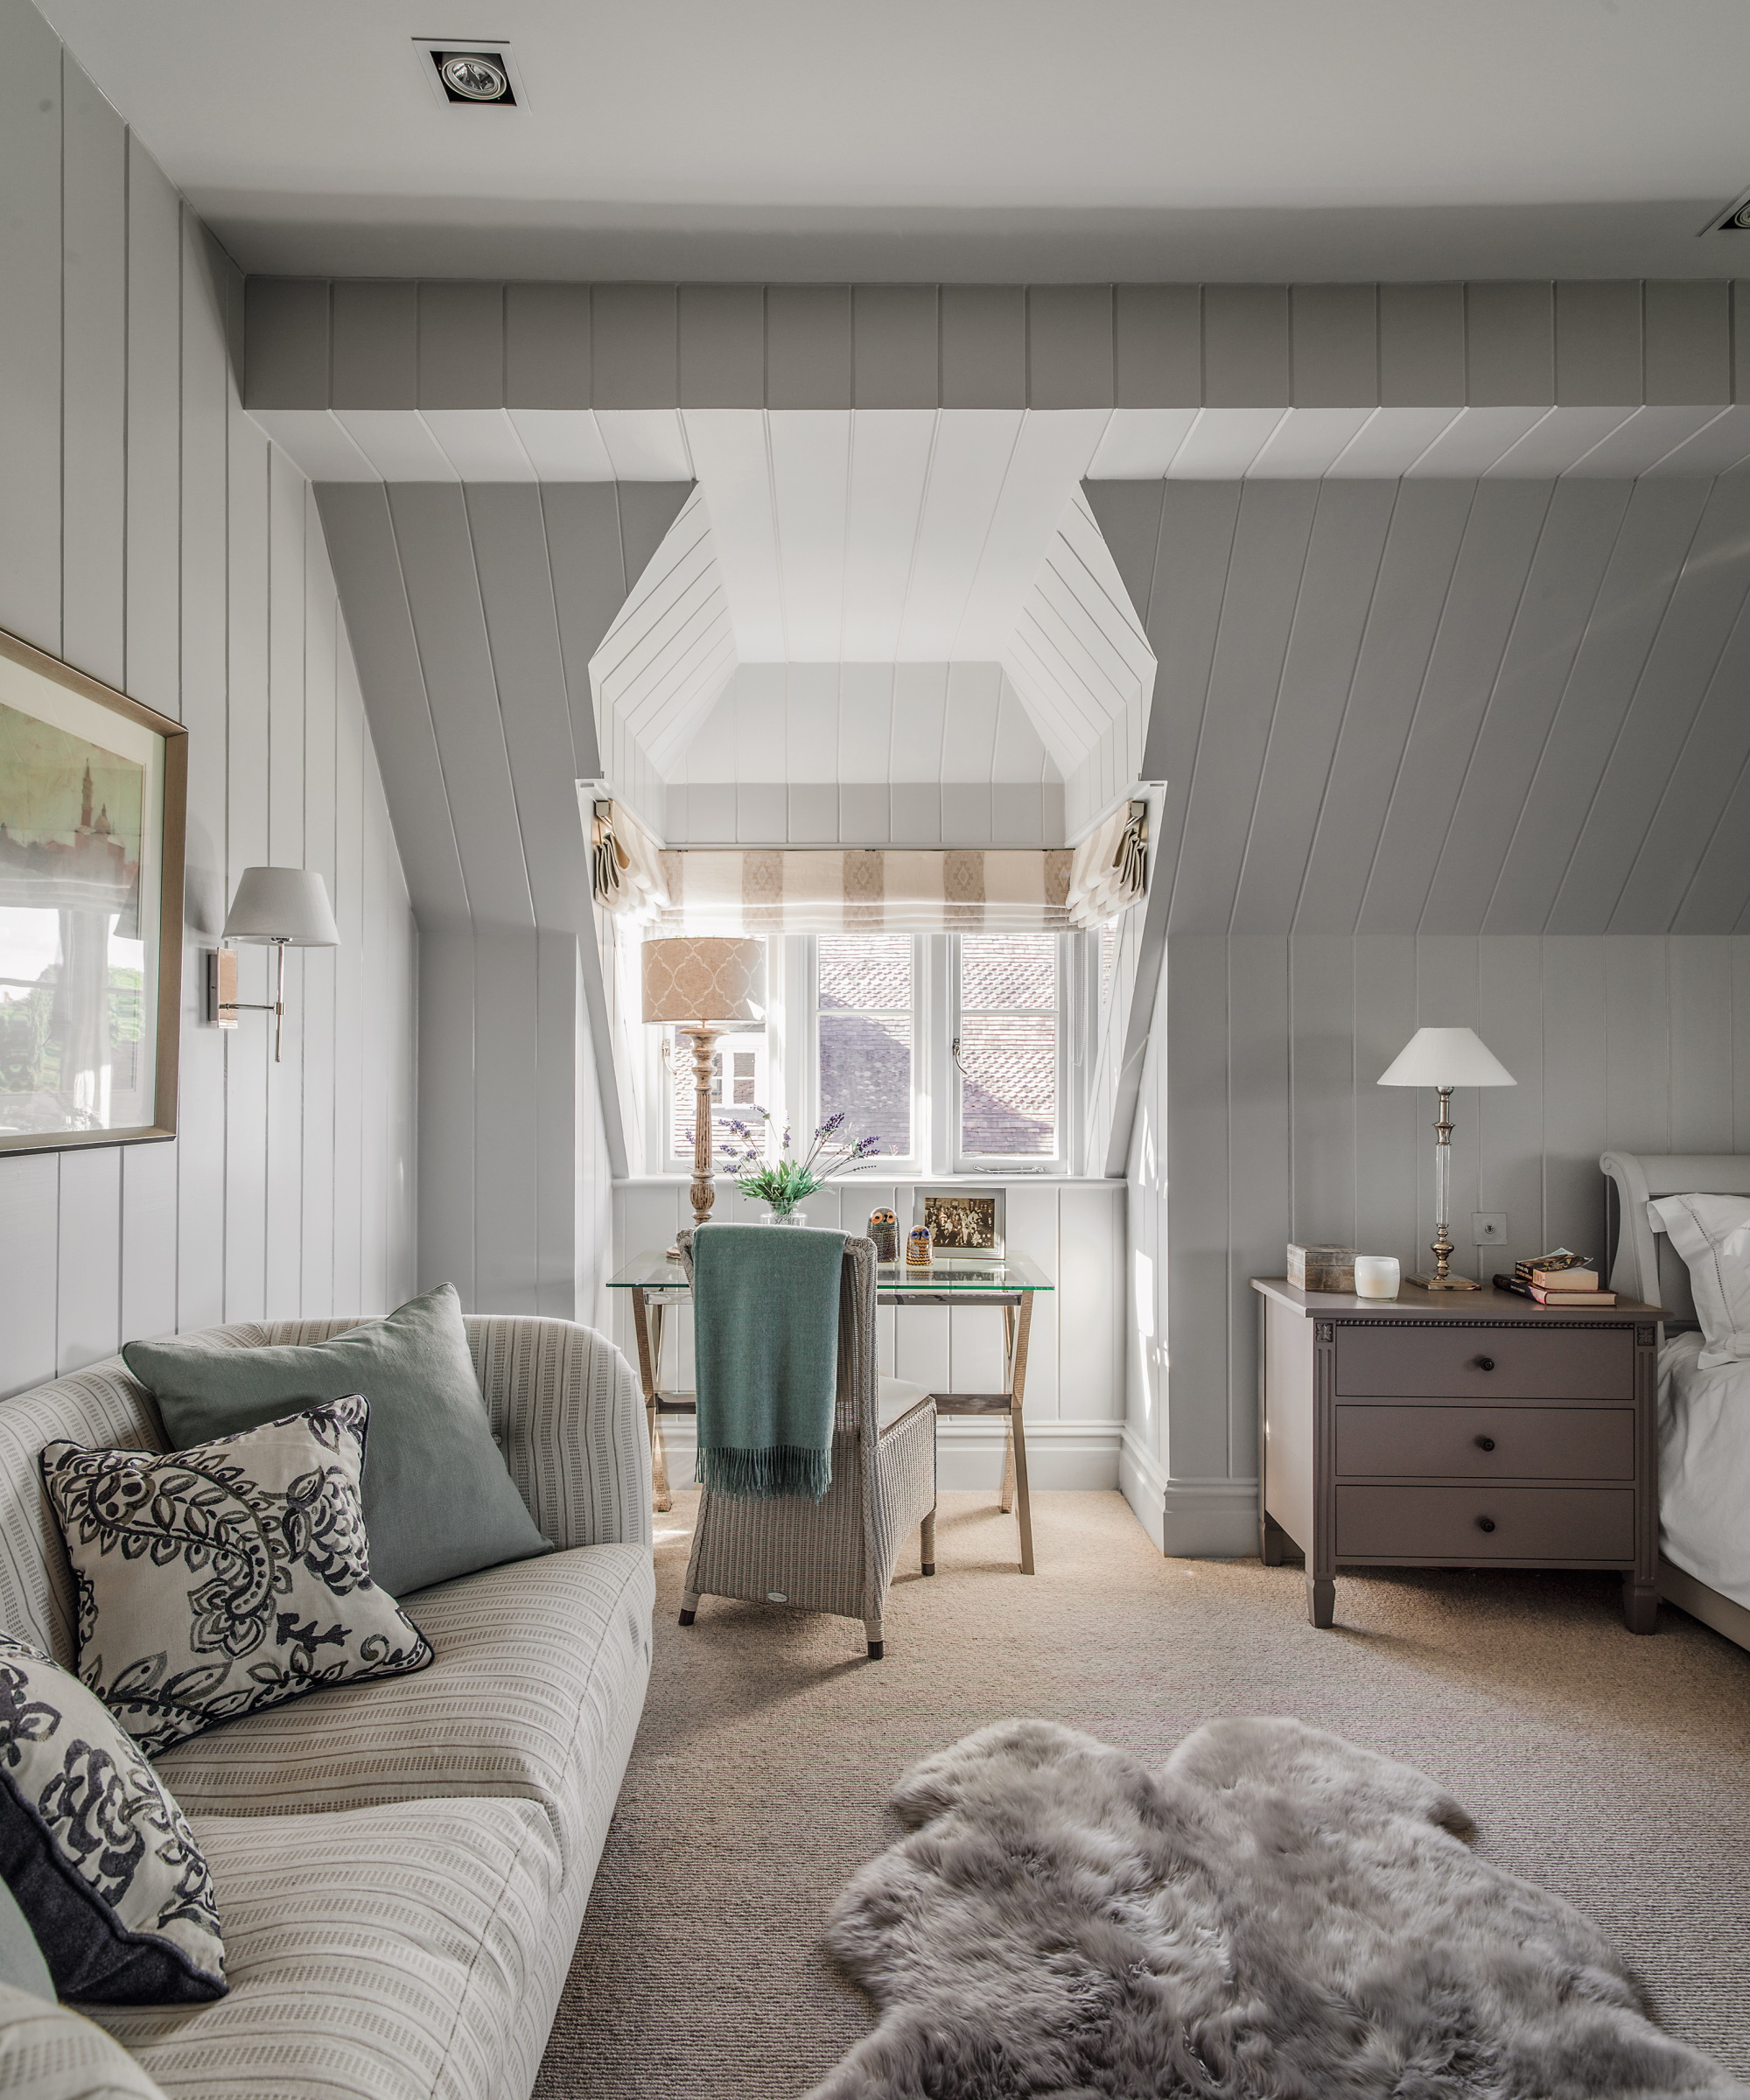
Bungalows are typically single storey, but dormer bungalows feature a first floor with 'rooms in the roof'. Whilst dormer bungalows can provide great accommodation, one particular complaint, typically for those built in the mid-20th century, is that they can be hot in the summer and cold in winter. Insulation is therefore key to ensuing temperatures remain well balanced inside your home all year round.
In this guide, we look at what insulating a dormer bungalow involves, where best to place the insulation, the various practicalities, and how to overcome any issues along the way.
Insulating a Dormer Bungalow: Where to Start
When insulating a dormer bungalow, your main focus should be adding insulation to key structural elements within the house. This will help achieve an even layer of insulation across your bungalow renovation, and give a greater chance of keeping temperatures optimal throughout the year.
The areas you should prioritise when insulating a dormer bungalow are as follows:
- Roof/ceiling
- Windows (specifically dormer windows)
- Floors
How to Insulate a Dormer Bungalow Roof
It is very easy to confuse the ceiling with the roof in a dormer bungalow, or the walls come to think of it. What constitutes the wall or ceiling will be determined by the architecture. For instance, in some cases there will be a flat ceiling, leading to a sloping ceiling/roof, which then leads to a vertical wall or directly to the floor.
Whatever the case, the rule is that every surface needs to be insulated, including the gable ends. In a new build dormer, it is a simple case of insulating walls, floors and so on to at least current Building Regulations standards as the build progresses. But it is a bit more complex with a retrofit.
Bring your dream home to life with expert advice, how to guides and design inspiration. Sign up for our newsletter and get two free tickets to a Homebuilding & Renovating Show near you.
The first step is to find out how much (if any) insulation is already in place. Where there are vertical walls, it is quite often the case that there will be a small doorway allowing access to the space behind. This will also provide the opportunity to see if any insulation is installed, and if so how much.
It is quite possible that there will not be sufficient space to install a good amount of insulation – around 150mm of rigid foam – in which case, it is a matter of doing the best you can with what you have. This typically gives you two main options:
Option 1: Take Down the Existing Ceiling
This is the most expensive and messy option, but also the best way to insulate. (It's good to consider this option alongside an extensive renovation or bungalow extension ideas.)
The process involves:
- Removing existing plasterboards from the ceiling
- Removing any existing insulation (likely to be old mineral wool and of little value)
- Installing rigid foam insulation between rafters. (Roughly 50mm thick to leave a 50mm gap between the insulation and the underside of the roof to ensure proper ventilation)
- Installing insulated plasterboard, such as Tekwarm, then fixing this to the rafters. (Thickness will vary with the headroom available, but you're aiming for as thick as possible)
- Finishing with skim plaster coat or lining paper
Option 2: Insulate on Top of the Existing Ceiling
This is cheaper, easier and quicker, but can be less effective. It involves fixing insulated plasterboard, by screwing through the existing plasterboard and into the rafters. Again, skimming plaster or finishing with lining paper afterwards.
The problem is that this option is likely to allow less insulation to be installed, due to head height restrictions. However, there is usually room to reduce the head height by 50mm, and even that would make a significant improvement.
As a note, if there is a vertical wall, there will be a space behind it, the floor of which is the ceiling to the room below. It is likely that the roof there will be exposed and uninsulated. To protect the thermal efficiency of the room below, this area needs to be insulated between and over the rafters and/or on the floor.

Insulating Dormer Windows
A dormer window in any build is often the worst culprit in terms of overheating and overcooling, and the trickiest area to properly insulate. The thickness of the cheeks (the walls) of the dormer tends to be limited and are difficult to access, exacerbated by the window itself that also limits how much insulation can be installed.
If the dormer can be accessed from the outside the process is:
- Carefully remove the old cladding
- Remove any roofing felt
- Remove ply boards to gain access to space between vertical supports
- Install insulation ensuring a tight fit around all edges
- Re-cover with plywood boards (sealing all joints with either airtight tape or mastic)
- Cover with breathable membrane
- Fix new cladding
Where access is gained from the inside, the process is largely the same:
- Carefully remove plasterboard
- Remove any plyboards to gain access to space between vertical supports
- Install insulation, ensuring a tight fit around all edges
- Seal all edges with airtight tape or mastic
- Fit new plasterboards and skim plaster finish
In all cases, the best insulation for a dormer bungalow would be rigid foam, such as Kingspan or Celotex, both of which provide products with a vapour barrier.
Attention to detail is important as well, to ensure all the awkward junctions and corners are properly insulated and airtight.

How to Insulate the Floors of a Bungalow
Insulating the ground floor of a bungalow can be tricky, very disruptive and expensive. But insulating floors is important, especially where there is a suspended timber floor, as that can be draughty.
A simple solution would be to lay Sempaflor, or similar, on top of the existing floor. This is a flexible material, 4mm to 10mm thick, that is glued to the existing floor. It is not a particularly good insulator, but it does cut out the draughts and helps give the floor a warmer feel.
For the first floor, in terms of comfort, insulating it would make little difference. In terms of the thermal efficiency of the house as a whole, it could make a marginal difference by allowing the ground and first floor to maintain the same temperature, when a temperature difference for the bedrooms is preferred.
The short answer is that if it is at all tricky or involves any significant cost, it is probably not worth doing.
What Are the Potential Issues When Insulating a Dormer Bungalow?
One of the biggest effects of all this work will be to reduce the air movement in your rooms. This in turn could lead to condensation problems further down the line.
Adequate home ventilation is key to helping prevent this. For instance, if one or more of the rooms on your first floor is a bathroom, they will need an extractor fan, and that would help ventilate the other rooms as well.
If you don't have a bathroom on your first floor, then trickle vents in the windows will be needed.
Is it Worth Insulating a Dormer Bungalow?
One thing that must be accepted when insulating a dormer bungalow is that retrofitting insulation to this type of property is trickier and more expensive than insulating a conventional house.
The issue is the proximity of occupied rooms to the roof, and the affect the weather has on the comfort of those rooms. This also means that insulating a dormer bungalow is essential and possibly even more important.
Tim was an expert in sustainable building methods and energy efficiency in residential homes and wrote on the subject for magazines and national newspapers. He is the author of The Sustainable Building Bible, Simply Sustainable Homes and Anaerobic Digestion - Making Biogas - Making Energy: The Earthscan Expert Guide.
Tim's interest in renewable energy was first inspired by visits to the Royal Festival Hall heat pump and the Edmonton heat-from-waste projects. Moving to a small-holding in South Wales fanned his enthusiasm for sustainability. He went on to install renewable technology at the property, including biomass boiler and wind turbine.
He formally ran energy-efficiency consultancy WeatherWorks and was a speaker and expert at the Homebuilding & Renovating Shows across the country.

