Bring your dream home to life with expert advice, how to guides and design inspiration. Sign up for our newsletter and get two free tickets to a Homebuilding & Renovating Show near you.
You are now subscribed
Your newsletter sign-up was successful
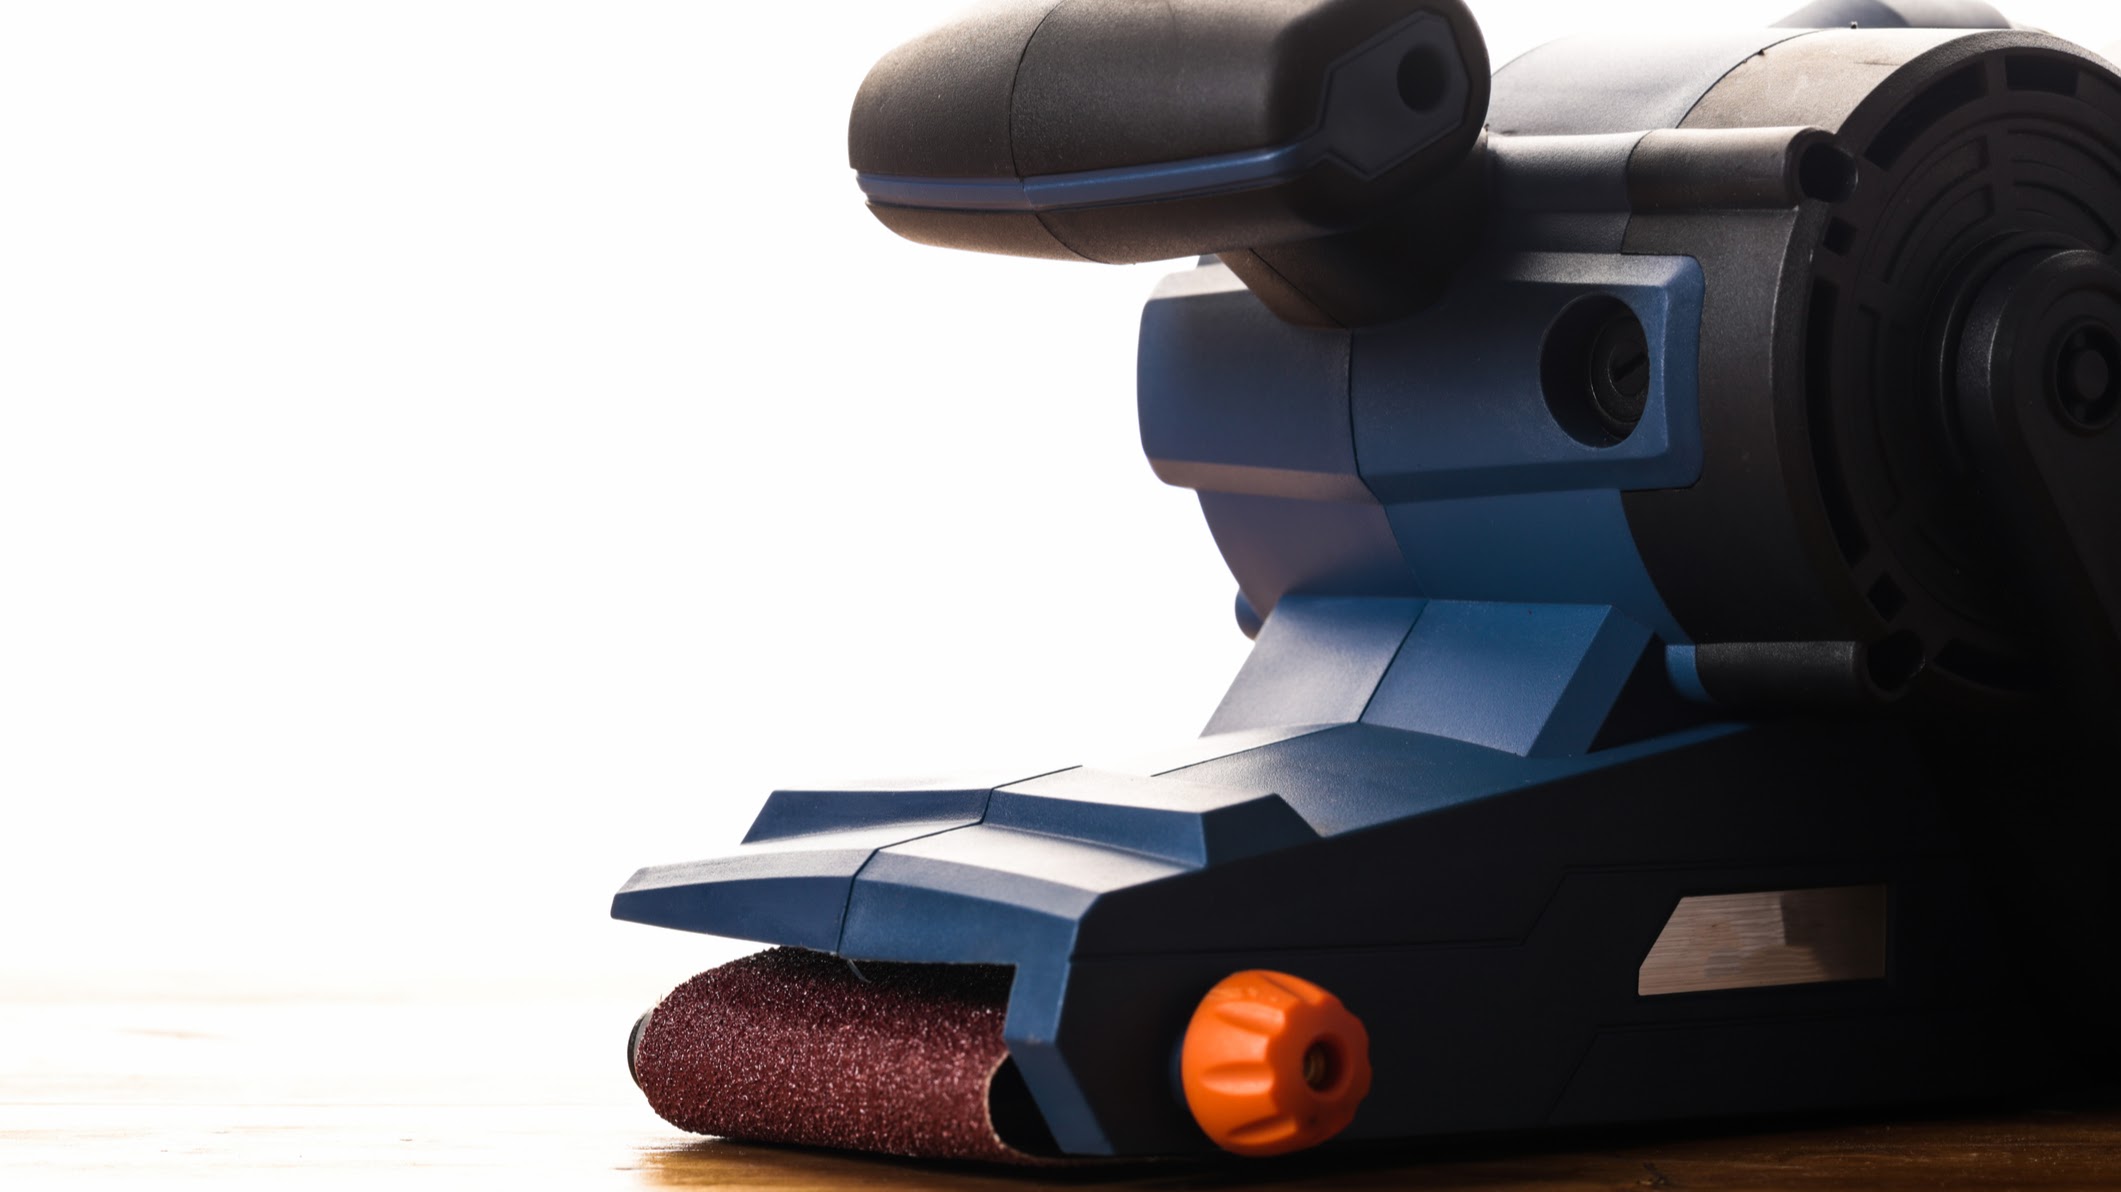
If you’ve ever sanded wood at home, there’s a decent chance you own a belt sander – and you might be wondering if the tool can be used to sand your floor.
“These powerful tools use a continuous loop of abrasive sandpaper to remove material quickly and evenly,” says Nick Ee, Product and Training Manager at Black + Decker.
“They’re designed for aggressive sanding on large, flat surfaces, making them a favourite for preparing wood floors, tabletops, and other broad areas for finishing.”
Here what you need to know about sanding floors with this type of sander.

As Product and Training Manager at tool brand, Black + Decker, Nick Ee has a comprehensive knowledge of DIY power tools such as belt sanders, and how to make best use of them in a home renovation project.
According to Ee, belt sanders are ideal for heavy stock removal tasks where material is sanded off a surface, such as stripping old finishes, levelling uneven boards or tackling high spots in a hardwood floor.
“If you need speed and consistent results across a large area, a belt sander will outperform orbital sanders or detail sanders, which are better suited for finishing work or edges,” he says.
The power and efficiency of belt sanders make these tools a popular pick for various floor sanding applications. Read on to learn how to use one to sand your floor – and when you might need to use a different tool instead.
Bring your dream home to life with expert advice, how to guides and design inspiration. Sign up for our newsletter and get two free tickets to a Homebuilding & Renovating Show near you.
When to use a belt sander vs other tools
Various sanding tools are used for floor sanding – so you might be confused over which type to use for your project.
“A belt sander comes into its own when you’re dealing with a timber floor that’s in need of a repair – with deep scratches, stubborn paint, uneven patches, or heavy varnish that needs shifting,” says Clive Holland, property expert and Fix Radio presenter.
“They’re designed for removing a lot of material quickly, so if your floorboards are in rough condition or you need to level them out before refinishing, it’s a very useful piece of kit.
“It’s less about gentle polishing and more about getting the surface back to a good, workable base.”

Clive Holland is the former host of Cowboy Trap on the BBC. Now a broadcaster on Fix Radio, the UK’s only national radio station for builders and tradespeople, Holland is one of the UK’s leading property and DIY experts.
While belt sanders are a relatively quick and efficient choice for floor sanding, they’re not always the best option.
“Belt sanders can’t get right into corners or along edges, so you’ll need an edge sander or detail sander to finish those spots,” says Holland.
“They’re also not ideal for light touch-ups. Because they remove so much material, they can quickly take off more than you intended if you’re not careful.
“And if your floor has thin veneer or engineered boards, you might not have enough depth of wood to attempt aggressive belt-sanding without damaging the surface.”
Other tools to consider for your floor sanding project include orbital sanders, which are less powerful but are good for touching up details or creating a very smooth finish in smaller areas; and professional floor sanders (most of which are ‘drum sanders’), which are even more powerful and efficient than a belt sander.
Pre-sanding checklist:
- Clear the room. Sanding a floor creates a lot of dust, so remove furniture and other possessions to ensure nothing gets ruined. This is also necessary for allowing access to the floor.
- Seal the room. Close the door(s) and put up a plastic dust door (£12.95, Amazon) on one side of it (or them) to trap dust inside the room.
- Secure loose floorboards. It’s important to fix down loose floorboards before sanding, as this process affects their height and the level of the floor.
- Equip yourself with the right PPE. You’ll definitely need a very good respirator like this one from Screwfix or dust mask, and well-fitting safety goggles, again from Screwfix.
- Set up a dust extraction system. For example, use a dust vacuum that will attach to your belt sander. Any dust you don’t extract will need to be laboriously cleaned up later.
“There should be safety measures put in place before using any power tool, but when handling a belt sander you should always wear eye protection, ear defenders, and a dusk mask,” Ee stresses.
“It’s also recommended to secure loose clothing and tie hair back as a belt sander is unforgiving if something gets caught.”

Step-by-step guide to floor sanding with a belt sander
1. Set up your belt sander
According to Ee, the first step is to fit your belt sander with a low-grit sanding belt.
“Start with a coarse grit for heavy removal, and you can later move progressively finer as the sander gets to work,” he says.
“Make sure to unplug the tool before fitting the sanding belt, ensuring it’s centred and tensioned correctly.”
A low grit such as 40 or 60 will be a suitable starting point.
Holland suggests trying out the sander on a test patch of floor, before using it across the whole area.
“Doing a quick pass in an inconspicuous spot before you tackle the whole room will help you to get a feel for the tool’s weight and speed,” he says.
2. Start sanding
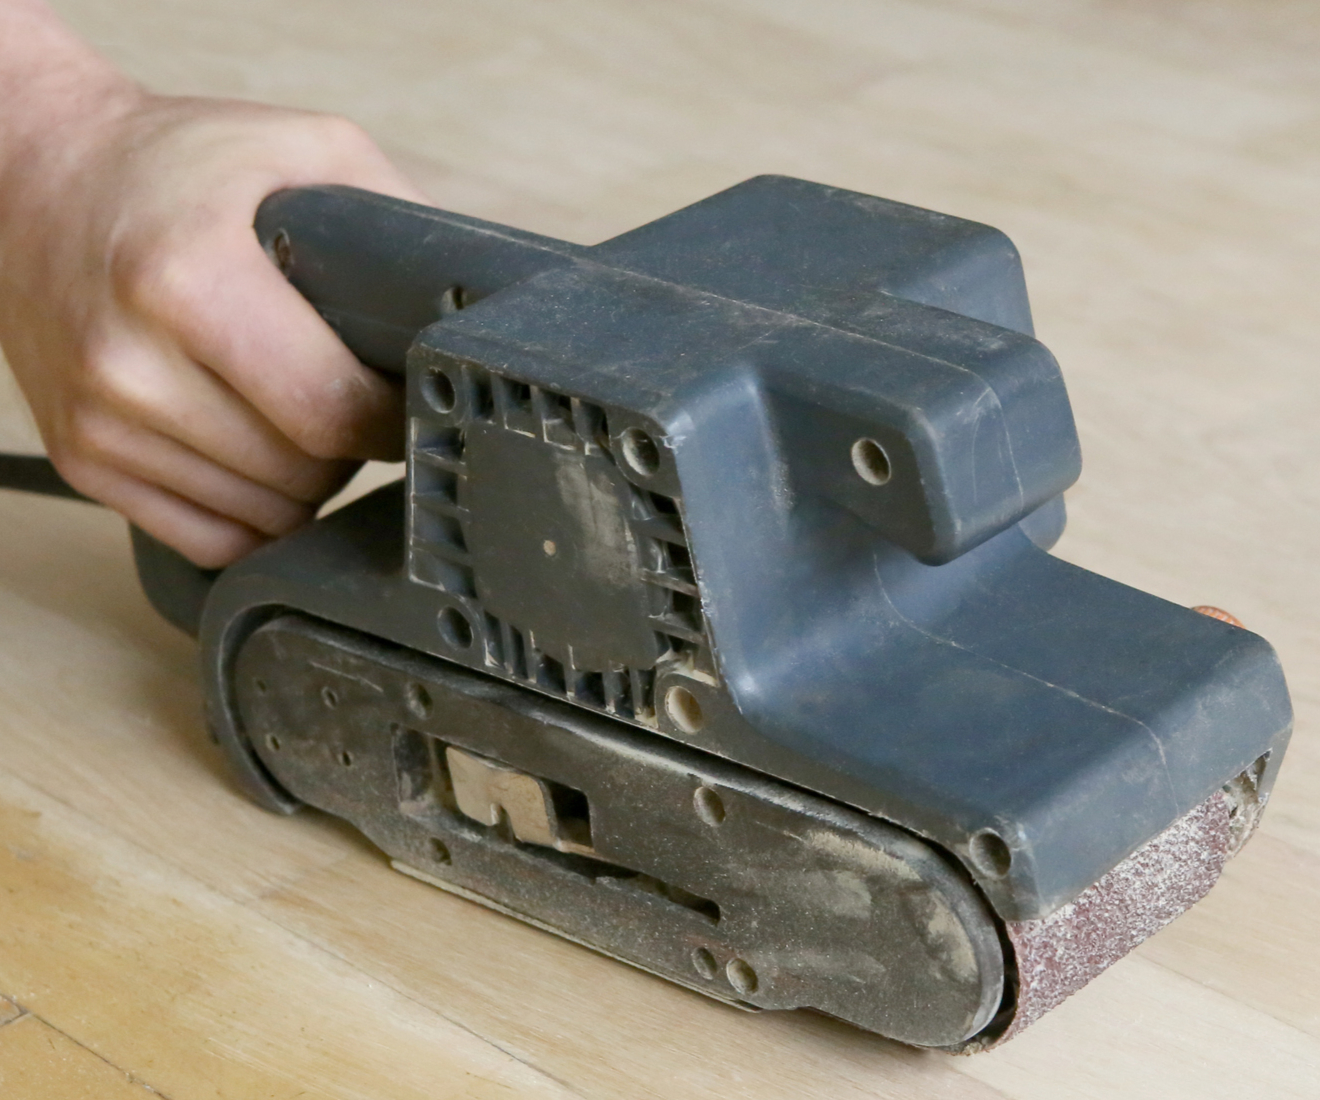
Position the sander close to one corner of the area being sanded, so that it’s pointing in the same direction as the grain of the wood.
Keep the sander moving across the floor in a steady motion, as this reduces the risk of excessively sanding certain spots and creating dips in the floor. (If you’re sanding down any high points, you may need to do extra passes over these sections.)
Work up and down the floor with slightly overlapping passes to ensure the entire area is sanded.
“Apply steady, light pressure and let the machine’s weight do the work,” says Ee.
3. Stop the sander correctly
“Stop when you’ve removed the desired material or reached the next grit stage,” Ee advises.
Your technique when stopping the sander can affect the floor’s finish. Lift it away from the floor before deactivating it, as the abrupt motions of turning the sander off could cause gouges or scratches in the surface.
4. Repeat with finer grits (or using a gentler sander)
After completing a first pass over the desired area of floor, refit your belt sander with a finer sanding belt (e.g. 80 grit) and repeat the sanding process.
“Fit the new belt securely and make sure it’s tracking straight before sanding,” says Holland.
Repeat the process multiple times, using a finer grit at each pass, until you’re happy with the smoothness of the finish. You might benefit from using more delicate sanding tools such as a detail sander (for the room edges) and an orbital sander for the final pass.
You might also need to use a detail sander to sand around the edges of the flooring (which should be a short distance away from the walls, to allow an expansion gap for the wood).
“As you go, empty the dust bag or container regularly to keep performance up,” Holland advises.
5. Clear the room of dust
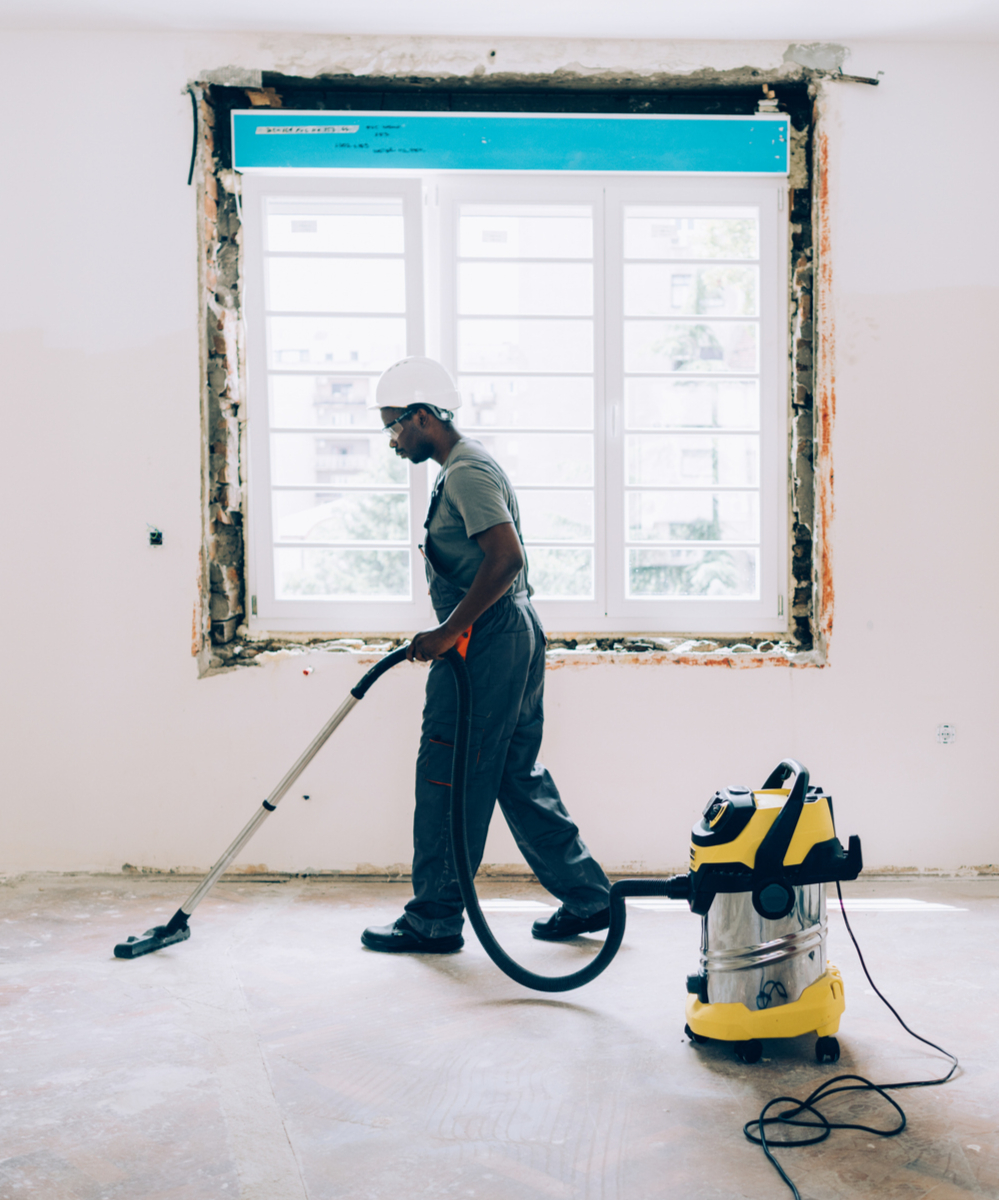
“When you’re done, vacuum the floor thoroughly to remove any remaining dust before sealing or staining,” says Holland.
You’ll need to wipe down the walls and other surfaces too. Speaking from personal experience, the dust from sanding a floor gets everywhere.

Tips for getting the best results
“My advice for achieving a smooth finish is to avoid rushing the grit sequence,” says Ee.
“Skipping too far from one pass to the next can cause scratches that only show up after staining. It’s best to work methodically from coarse to fine, making sure to vacuum and wipe the surface clean between grits.”
According to Holland, the key is to let the sander do the hard work for you, and not to force it.
“Keep it moving in smooth, even strokes along the grain to avoid gouging the timber,” he says.
“Rushing can leave you with uneven patches that are tricky to fix later.”
FAQs
How should I choose the best belt sander for floor sanding?
If you’ve decided to use a belt sander to sand your floor, look for a model with:
A fairly wide belt. This makes sanding more efficient.
Corded power. Floor sanding is energy-intensive, and you won’t want to keep switching batteries during the project.
Accessible design. DIY tool brand belt sanders are usually more appropriate for home users than professional sanders, which often require greater focus and skill.
Black+Decker’s Nick Ee recommends the KA88-GB 720W 75mm x 533mm Belt Sander from Black and Decker' website from the brand’s range. Unusually, this incorporates a smaller front roller that lets you sand right up to the edges of the floor.
“Look for a sander that’s robust, comfortable to handle, and has variable speed control – that way you can adjust your approach depending on the wood’s condition,” says Holland.
“Brands like Makita, Bosch, and DeWalt have good reputations for reliability and performance. If you’re hiring rather than buying, check that the tool has been well-maintained and that the belts are in good condition before you start.”
Are there ways to reduce the dust from sanding a floor?
Whether you’re removing a layer of paint or sanding a floor down further to level its surface, a lot of dust will be created by each pass of the belt sander. Thankfully, you do have some options to limit the mess.
According to Holland, choosing a belt sander with a dust collection system is a must.
“These tools can churn out an impressive amount of sawdust, so anything that keeps the mess down will make your life easier,” he says.
Consumer-grade belt sanders often have their own dust collection bag fitted at the rear of the tool, which must be emptied from time to time during sanding. A more thorough option is to attach an industrial vacuum cleaner to a compatible port (where present) on the belt sander. This tends to offer far superior dust collection.
Sanding your wood floor is one of several options to revitalise this foundational component of your interior. For further inspiration, see our guides to laying a parquet floor, wood floor reviving and floorboard painting techniques.
Pete Wise is a freelance writer and keen DIYer from Leeds. Pete's tool reviews have featured in titles including Homebuilding & Renovating, Ideal Home and The Independent. He also writes features and news articles for publications such as The Guardian, BBC Good Food and T3. When he isn't busy writing, Pete can often be found at libraries, pubs and live music venues. He finds tile-cutting strangely zen.

