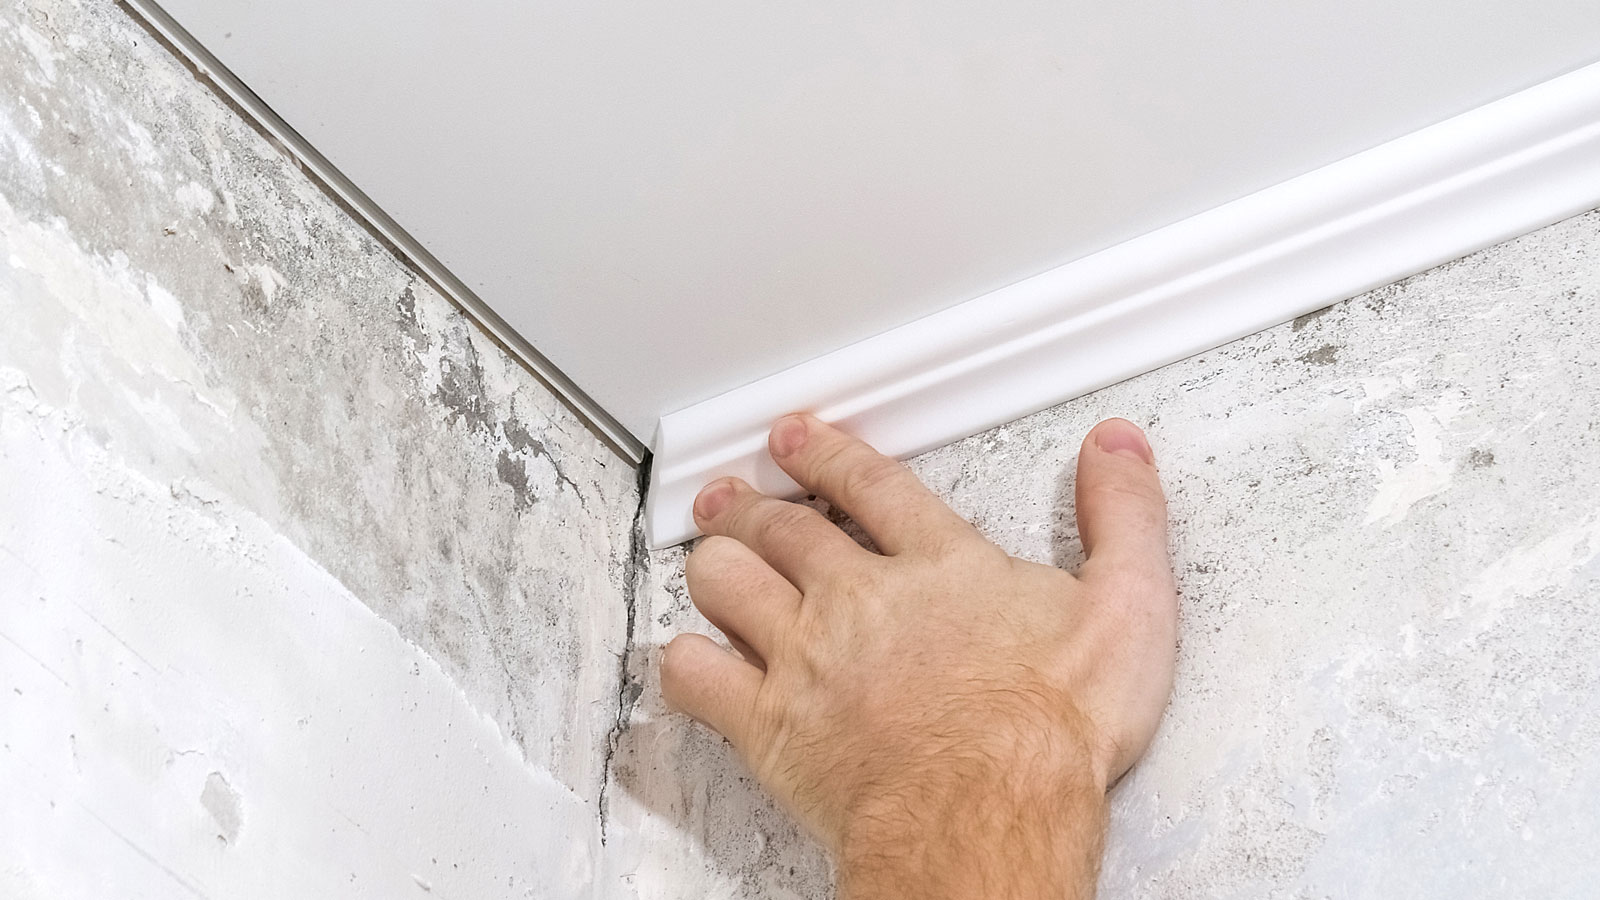
Get expert advice on how to install coving to either soften the junction between ceiling and wall, or add a touch of period charm to your home
Installing coving isn’t as difficult as you may think. Learn the steps to follow and the tools you‘ll need for a professional looking result

Bring your dream home to life with expert advice, how to guides and design inspiration. Sign up for our newsletter and get two free tickets to a Homebuilding & Renovating Show near you.
You are now subscribed
Your newsletter sign-up was successful
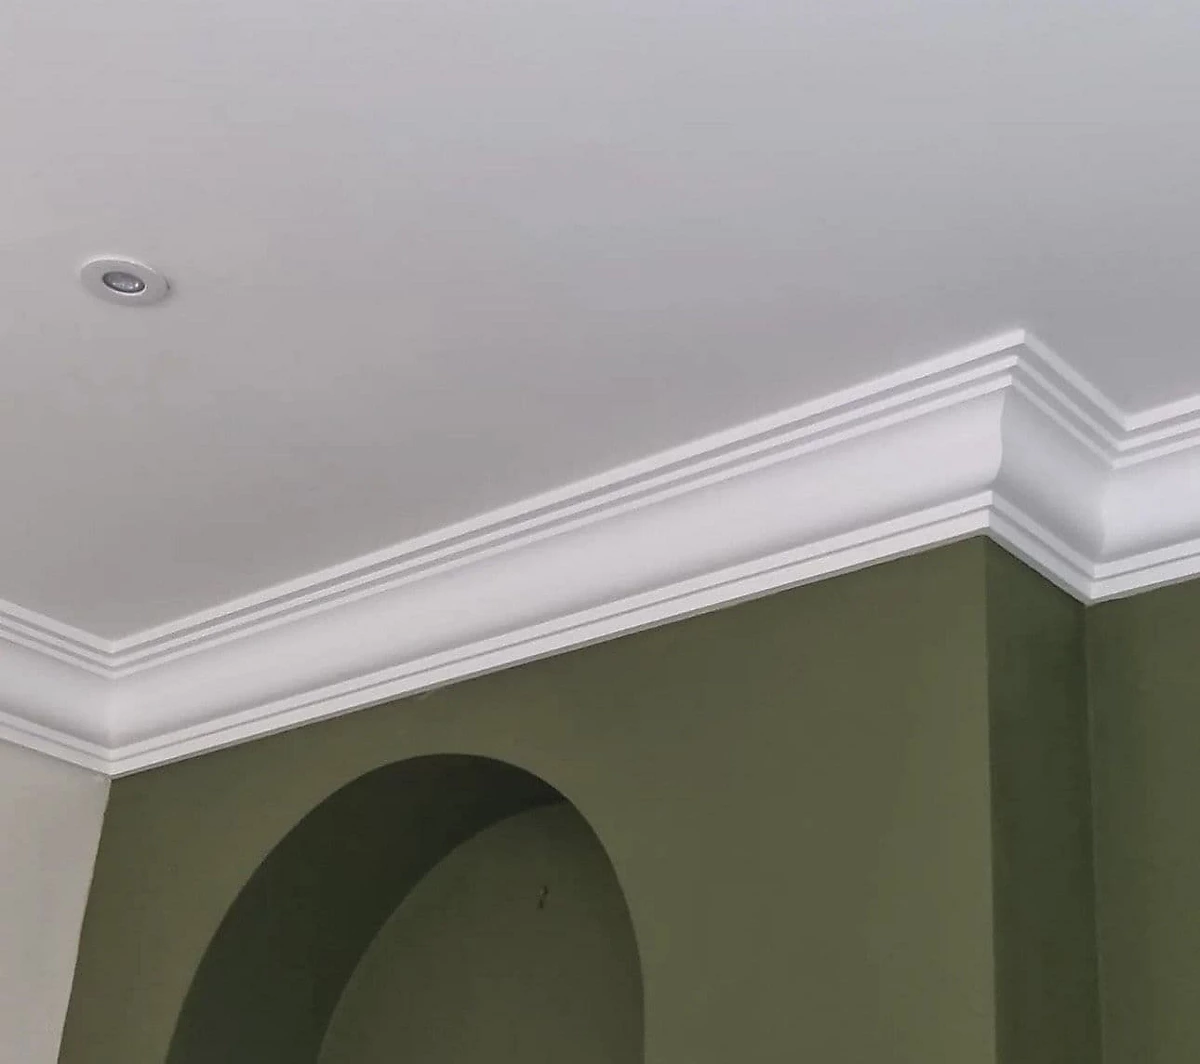
Adding coving is a clever, subtle, and straightforward way to add character to a room. It softens the harsh straight edges where a wall meets the ceiling and introduces curves, depth, and definition.
It also comes in a variety of styles and finishes. You can choose a simple, classic curved shape for modern homes, or add more decorative detail to evoke the charm of a period property.
The beauty of coving is that it can fit almost anywhere in the home, and it can enhance different types of ceilings and rooms. Whether it's to complete a formal dining room or enhance your living room, the best part is, with the help of this guide, you can even do it yourself.
Tools to install coving
As with any DIY project, you need the right tools to achieve the best finish. To install coving, you'll need a few basic tools that most DIY enthusiasts already have, as well as a few you might not.
- Measuring tape
- Mitre box – like this Clamping Mitre Box (with saw) from Amazon
- Fine tooth saw – try this Irwin XP3055-300 Jack Tenon Saw from Amazon
- Spirit level
- Caulking gun – try the Volden heavy-duty sealant gun from B&Q
- Adhesive - such as Everbuild EVBCOVE 310 ml Coving Adhesive from Amazon
- Scraper
- Filler
- Mitre saw (optional) - try the Makita 216mm Slide Compound Saw from Amazon
How to install coving
The good news is, learning how to install coving won't take too long. There are just three steps from start to finish.
1. Measure up
“To start, measure the perimeter of your room using a tape measure to identify the length of every wall,” advises Mark Irving, building expert at Build & Plumb. This is important for accurate cuts. Now check the manufacturer's instructions to see how far the coving edges should be fixed from the wall.
Paul Kerr, building expert at Beatsons Building Supplies agrees, adding, "don't forget to buy an extra 10% of coving on top of this measurement for cutting or mistakes.”
Bring your dream home to life with expert advice, how to guides and design inspiration. Sign up for our newsletter and get two free tickets to a Homebuilding & Renovating Show near you.
Next, “mark this measurement regularly along the wall using a tape measure and pencil," says Mark. "Then join these marks together with a spirit level in order to create a guide for installing your coving around the room."
2. Cut coving
For the cutting process, “first, take a pencil and mark out the length of the coving for each wall on the underside of the coving, making sure to be precise,” says Mark Irving.
Then, start cutting. “Place your coving on your workbench in a mitre box and use a fine-tooth saw to cut the coving at a 45-degree angle.”
3. Install coving
Don’t dive straight in with installation, warns Mark Irving. "Instead, first hold your coving up against the wall to check that it’s a good fit. Then wipe the area with a damp cloth to remove any dust or debris.”
The next step is to add adhesive and install the coving.
“Take your caulking gun and apply a generous line of adhesive to the top and bottom edge of your coving and firmly press it into position on the wall,” says Mark.
His top tip for ensuring it stays in place? “Whilst it’s drying, you can hammer some pins under the coving at 600mm intervals, and remove them when the adhesive has dried.”
The final step before painting is to fill any gaps with a suitable filler. Make sure to remove any excess, then wipe with a damp cloth to achieve a smooth finish.

Paul Kerr is an experienced branch manager with a demonstrated history of working in the retail and merchanting industry and offer homebuilding advice. Through Beatsons, he has seen everything from outdoor patio organisation to full rebuilds.

Mark Irving has over 20 years of experience in the building sector and led Build & Plumb’s expansion into online marketplaces, supplying top-quality products for DIYers, renovators, and trade professionals. He has a wealth of knowledge surrounding building and renovating that he enjoys sharing with others.
Types of coving
Coving comes in a variety of materials and styles, each with its own pros and cons.
“There are four main types of coving," shares Paul Kerr. "Polystyrene, polyurethane, MDF/wood, and plaster."
Here we take a look at the different options and what they offer.
Polystyrene coving
Polystyrene coving is typically the most affordable option and easy to install, but it’s not perfect, says Mark Irving. “It’s easy to install due to its lightweight nature. However, its lightweight nature means it’s not as long-lasting or durable as other types of coving.
“It can also dent more than other materials and typically isn't as aesthetically pleasing as other options," he adds.
Polyurethane coving
Polyurethane coving is made from a polymer, which is essentially a type of plastic.
“Polyurethane coving is a more mid-range option that offers good durability and high moisture resistance," says Paul Kerr. "However, polyurethane coving is still less durable than plaster coving.”
In terms of price, it will be around twice the price of polystyrene coving.
Plaster coving
Plaster coving is the traditional material commonly associated with coving and cornices, and is more likely to be the best choice when renovating a house.
“Plaster is the most durable and typically comes in more ornate designs, yet is the heaviest and usually is best left to a professional to fit," advises Paul Kerr.
However, "plaster coving is highly durable and strong, so once it’s installed, it can last for decades with minimal maintenance," adds Mark Irving.
MDF/wood coving
This is less commonly used for coving, although, “MDF or wood is good for basic square edge designs, and is usually the best to paint over,” says Paul Kerr. "But it's not as durable as other options, he continues, "and can bow or bend if exposed to moisture.”
If you do choose this option, make sure you understand how to paint MDF so that you don't end up with problems once the coving is installed.
Try these coving options to decorate your home

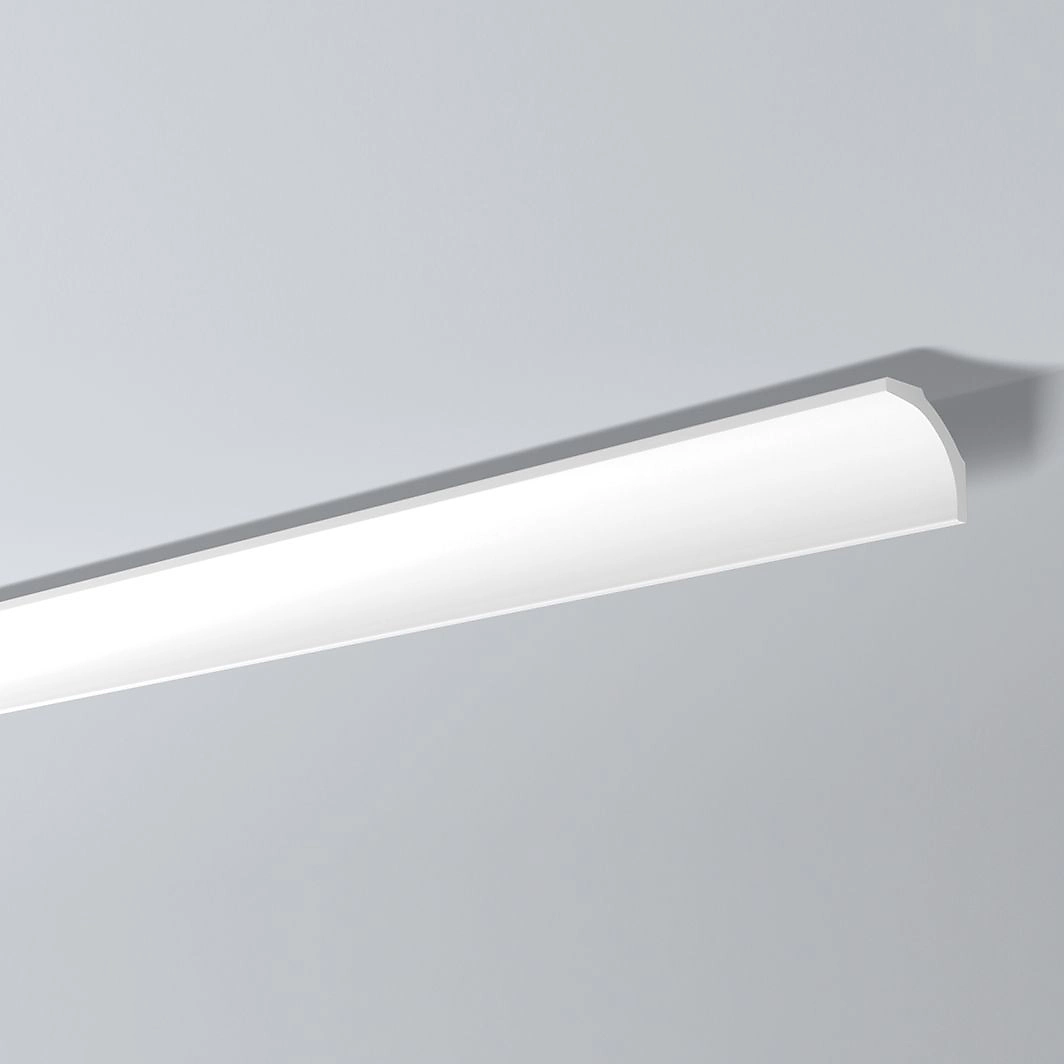
A basic, plain C-shaped polystyrene coving, paper wrapped to match plasterboard finish. Affordable, easy to install and fully paintable with no need to prime.

This plain Ogee plaster coving is made from real Gypsum plaster to give it durability and longevity. It is supplied in 20 lengths of 2.4m, giving 48m of coving.

A high-density and easy-to-fit lightweight XPS-Polystyrene coving that is specifically moulded to allow the fitting of LED lighting strips to create contemporary uplighting.
Costs to install coving
If you don’t have the time, tools or skills to install coving, you can call in a professional, but the price for this may vary.
“The cost of installing coving can vary based on the material of the coving, the size of the room and your regional location,” explains Mark Irving.
However, as a general guideline, “to install standard coving you can expect to pay around £150 to £300 per day," says Mark. "But, to install more expensive and intricate styles of coving in a larger room, you can expect to pay as much as £800 per day”.
For a more precise figure, “you can expect labourers to charge around £6 - £12/m installed, so for a 5 x 5m room can expect a cost of around £400 - £500 when fitting a plaster coving,” says Paul Kerr.
If installing coving yourself, you can expect to pay around £2 - £3/m for basic polystyrene coving. Polyurethane coving prices start at around £5 - £6/m for plain styling, while more decorative styles can cost £10 - £25/m.
Plain plaster coving can be bought for as little as £4/m, but for traditional decorative styles, expect to pay at least £10/m. Shop around to find special offers and deals.
Can I install coving myself?
A competent DIYer can install coving, but will need the right tools to ensure a good finish.
“Installing coving is a fairly straightforward process that requires accurately cutting the coving to size, applying adhesive, pressing the coving into place and completing the look by sanding and painting the coving," agrees Mark Irving.
But, you might need more than one person for the job advises Paul Kerr.
“Heavy plaster-based coving usually requires more than one set of hands, but there are a variety of lightweight options that are very DIY friendly, easy to cut and glue down.”
FAQs
What is the difference between coving and cornices?
Cornice and coving perform the same function and are often used interchangeably.
But, to try end explain the difference, “a cornice is a general term used to describe a moulding that conceals the joint between a ceiling and wall,” says Mark Irving
"It is also usually only available in plaster format and is more for aesthetic purposes," adds Paul Kerr, "with more variation on decoration and design.” It's something you're more likely to come across when renovating a Georgian house, for example.
"Coving on the other hand can be described is a type of cornice that has a more plain design, typically in a standard C-shape,” shares Mark.
What colour should coving be painted?
Colour is subjective, but white is a popular choice for trim in a room, and it's a popular choice for coving too.
“White or a variation of white is the most common colour for coving," confirms Mark Irving. "Typically it's painted white to blend with ceilings for a more timeless look, and can also create a contrast between the wall colour, to highlight the architecture of the room
“However, you can paint yours any colour you like," he adds. "For example, if your ceiling is being painted, it makes sense to pair the coving collaboratively. Or, in a small room, it can be beneficial to paint your coving the same colour as your walls to elongate the room's height.” Techniques such as colour drenching, a popular paint trend, and colour capping are all ways in which coving can be integrated into your overall interior design ideas.
Alongside colour, it's also a smart idea to consider the type of paint you use, says Mark. “Matt paint finishes are beneficial for coving, as they helps hide imperfections, unlike high-gloss finishes.”
An alternative is a mid-sheen finish, or a vinyl matt paint. “A satin finish can provide a sleek appearance and be helpful in improving durability," notes Mark.
If you're adding coving and cornices, make sure you also think about how else you can elevate a room. You may consider looking at the different types of skirting available and using a similar profile to marry up the junctions between floor, ceiling and walls.
Alternatively, in the same way as LED skirting board has proved popular in contemporary homes, consider whether LED coving could add a final flourish to your lighting design and bring a new dimension to your ceilings.
Steve Jenkins is a freelance content creator with over two decades of experience working in digital and print and was previously the DIY content editor for Homebuilding & Renovating.
He is a keen DIYer with over 20 years of experience in transforming and renovating the many homes he has lived in. He specialises in painting and decorating, but has a wide range of skills gleaned from working in the building trade for around 10 years and spending time at night school learning how to plaster and plumb.
He has fitted kitchens, tiled bathrooms and kitchens, laid many floors, built partition walls, plastered walls, plumbed in bathrooms, worked on loft conversions and much more. And when he's not sure how to tackle a DIY project he has a wide network of friends – including plumbers, gas engineers, tilers, carpenters, painters and decorators, electricians and builders – in the trade to call upon.

