
MDF is a cost-effective, versatile material that can be a great choice for a wide range of DIY projects. Cuts aside, the surface of MDF comes with a smooth, consistent finish that is ideal for painting. However, you need to use the right techniques to keep it looking good.
The best MDF paints will seal and protect the surface, preventing swelling and warping. Once sealed, it's time to unveil your inner interior designer and start choosing the best paint and colour schemes to match your design. Here you’ll find all the info you need for a successful paint project.

With The Paint Shed having evolved from painting contractors to retailers, Michael has years of experience within the painting industry, using this expertise to influence his own DIY projects using the best possible tools and materials.

Nick began his time with Harris in 1988, and throughout the decades has worked in various departments. His experience and product understanding informs the evolution of all Harris products, from benchmarking to insight, research and development.
1. The tools you'll need to paint MDF
- Paint
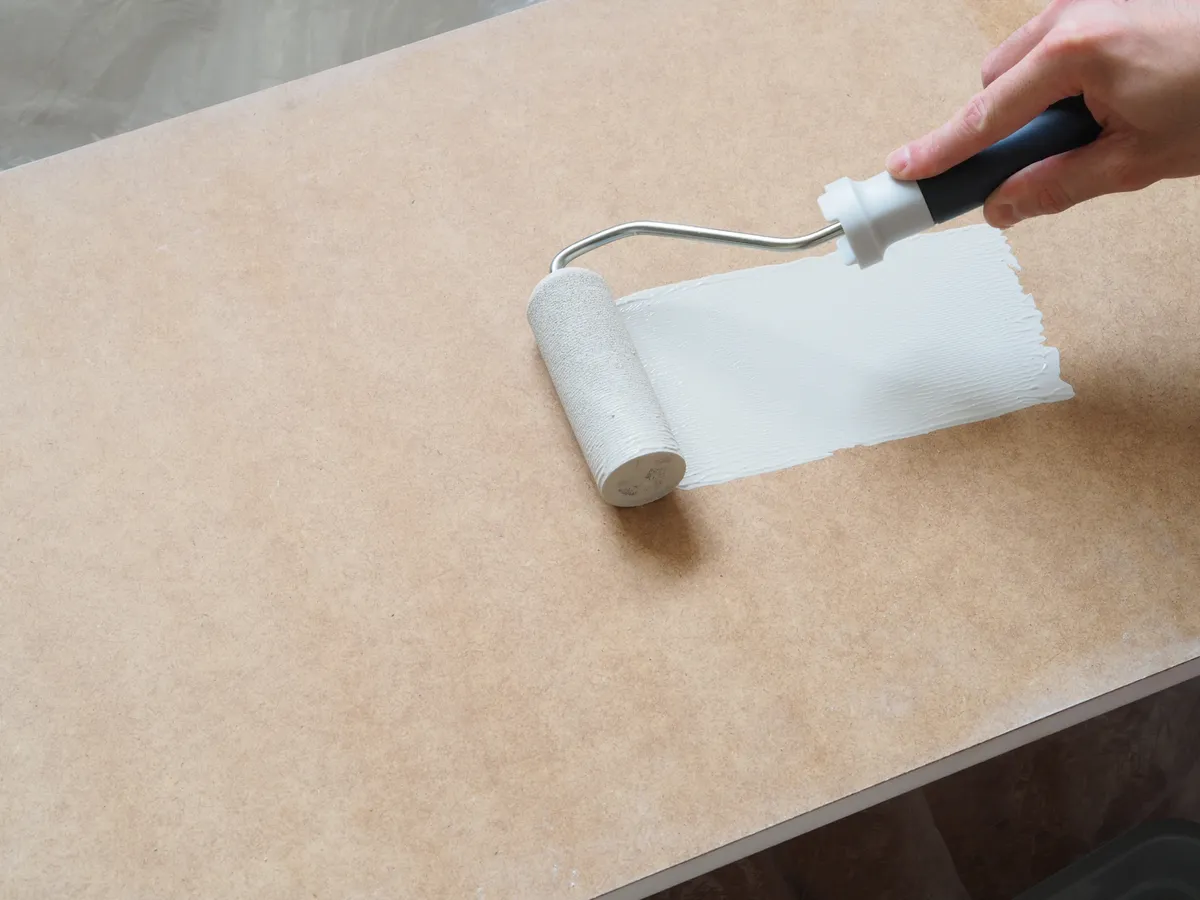
- Mini roller
- Paint brush - like this Purdy Monarch Pro from Amazon
- Dust sheets - like this VicMore Clear Plastic Drop Cloth from Amazon
- Sandpaper
- Electric sander
- Face mask - like these VIROSA Extra VALUE 3 Layer Face Masks from Amazon
Shop these tools to paint and finish MDF

This edging strip is ideal for MDF edges. It's made from responsibly manufactured paper-based melamine, sourced from recycled material. Easy to fit and available in various sizes.

A budget-friendly corner detail sander that's ideal for flat surfaces, edges and getting into recesses. Includes a dust collector and 15 sandpaper pads so you can start sanding straight away.

A value for money four-inch mini roller set. Ideal for getting a smooth finish on MDF. Includes a single-roller tray, a mini roller frame, and two mini foam roller sleeves. Handy to always have one ready to use when cleaning the other.
2. Prepping MDF for painting
There is very little prep needed on MDF. The board is already sanded down to a smooth finish, but lightly sand with fine-grade sandpaper (120-180 grit) to improve adhesion.

Pay attention to the edges (more on that below), as they are rougher than the board's faces. MDF chucks up a lot of dust, so make sure to wear a face mask and open the windows to help clear it out.

3. Getting MDF cut edges ready for painting

Need more advice or inspiration for your project? Get two free tickets to the Homebuilding & Renovating Show.
There are a few options for prepping MDF edges before applying paint. The option you use depends on how smooth a finish you want.
For basic projects where the edges won’t be seen or it doesn’t matter, Michael Rolland, MD, and paint expert at The Paint Shed, says, “When prepping cut edges of MDF, sand it down carefully with medium grit sandpaper and wipe away any dust or debris. Gloves and protective goggles are important for this step.”
He adds, “Sand the surface and the corners to make sure the paint won't get caught on any small fragments.”
However, if the edges are going to be seen, he suggests another option: “If the edges of the board will be displayed, apply some wood filler to them and, once dry, smooth it down with fine-grit sanding paper."
Nick Parsons, Technical Manager at Harris, has a couple of other options that work well: “Sand with fine sandpaper, then apply a thin layer of PVA glue (diluted).” This helps seal the edge.
He adds, “Use a dedicated MDF primer, applying two coats to the edges and sanding lightly between each coat.”

4. Priming MDF before painting
While MDF is versatile and easy to work with, it doesn’t like moisture. Parsons says, “Yes, absolutely, you should prime MDF. If you skip the primer and go straight to emulsion, the water in the paint will cause the wood fibres to swell, leaving you with a rough surface that’s impossible to fix.”
To help ensure this doesn’t happen, Rolland suggests using the following: “Zinsser's Bulls Eye and BIN primers are well-suited, as they create a strong layer between the material and the paint.” He adds, “Once the 1-2 coats of primer have dried, the MDF will be ready for the next step."
5. Choosing the best paint for MDF
Once you have applied a primer and sealed the MDF, your choices are almost unlimited. Parsons says, “You don’t actually need a specialist MDF topcoat, but you do need a durable one.”
He recommends, “Leyland Trade MDF Primer is a fantastic budget-friendly start. For the topcoat, Johnstone’s Aqua Guard provides a tough, spray-like finish that resists scratches and scuffs.”
Rolland has a few other suggestions: “A few different options can be used in terms of paint. Farrow & Ball's Modern Eggshell is a very versatile option with some sophisticated colourways. For something a little more resistant to wear and tear, Dulux Trade's Diamond Satinwood also works."
6. Applying paint to MDF
When to use a roller and when to use a paintbrush
“For most DIYers, a roller and brush combo is better than a spray gun, which is messy and requires a lot of masking,” shares Nick Parsons. A point reinforced by Rolland, “When painting MDF, use either a brush or a foam roller.”
For flat areas, Parsons says, “Use a short pile roller for primers and water-based topcoat.” He adds, “Use a mini roller (foam) for a final gloss or satin coat.” To best the best finish, Rolland says, “It's best to work in multiple thin coats, as the texture of the paint will remain smoothest this way.”
He adds, “For smaller surfaces and corners, a brush is usually easier to use.”
If you are painting MDF with decorative detail (e.g., furniture), I use a 1- or 2-inch brush to achieve a good finish. Dab paint into the detail and then brush out for a thin, even coat. Repeat to finish. Don’t forget to lightly sand between coats.
One, two or three coats for MDF?
MDF is quite an absorbent material and typically you will need to apply at least two coats of primer. You may need to apply a third, especially on the edges.
After the second coat, rub down lightly with a fine-grade sandpaper -180 grit will do. Make a judgment call on whether you need a third coat or not. If the paint is patchy across the board you need another coat. Ideally, you want to paint both sides of the MDF. But if one side will never be seen it can be left.
Once you have finished with the primer, rubbed down and wiped down with a damp cloth, leave it to dry, you can apply the top coat. How many coats will depend on the paint chosen but, to get a durable good-looking finish, two will probably be needed. If you do apply two coats remember to lightly sand between coats and wipe down to get rid of the dust. The more prep you do the better the finish.
FAQ
Do I need to apply a sealant?
No. The paint you choose (or any of the recommended paints in this article) will give you the finish you want. Just remember to use a primer to get a good finish.
However, if you want to add a final protective coat to protect the paint, you can apply a clear coat. Try using Hemway Clear Matt Lacquer.
Before you paint MDF, you may need to think about sanding MDF, especially the edges. To get the best finish on MDF, check out our guides on painting wood furniture and painting skirting boards.

