Fix crumbling mortar fast with this easy-to-follow repointing brickwork step-by-step guide
Repointing brickwork will help protect your home from water ingress and maintain its appearance. Find out how to do it yourself
Bring your dream home to life with expert advice, how to guides and design inspiration. Sign up for our newsletter and get two free tickets to a Homebuilding & Renovating Show near you.
You are now subscribed
Your newsletter sign-up was successful
When the mortar between bricks starts to fail, more significant problems will begin to emerge. Water will have an easier passage into the structure of your home, leading to unwanted damp issues. Repointing brickwork goes a long way toward warding off water, and the outside of your home will get a cosmetic makeover at the same time.
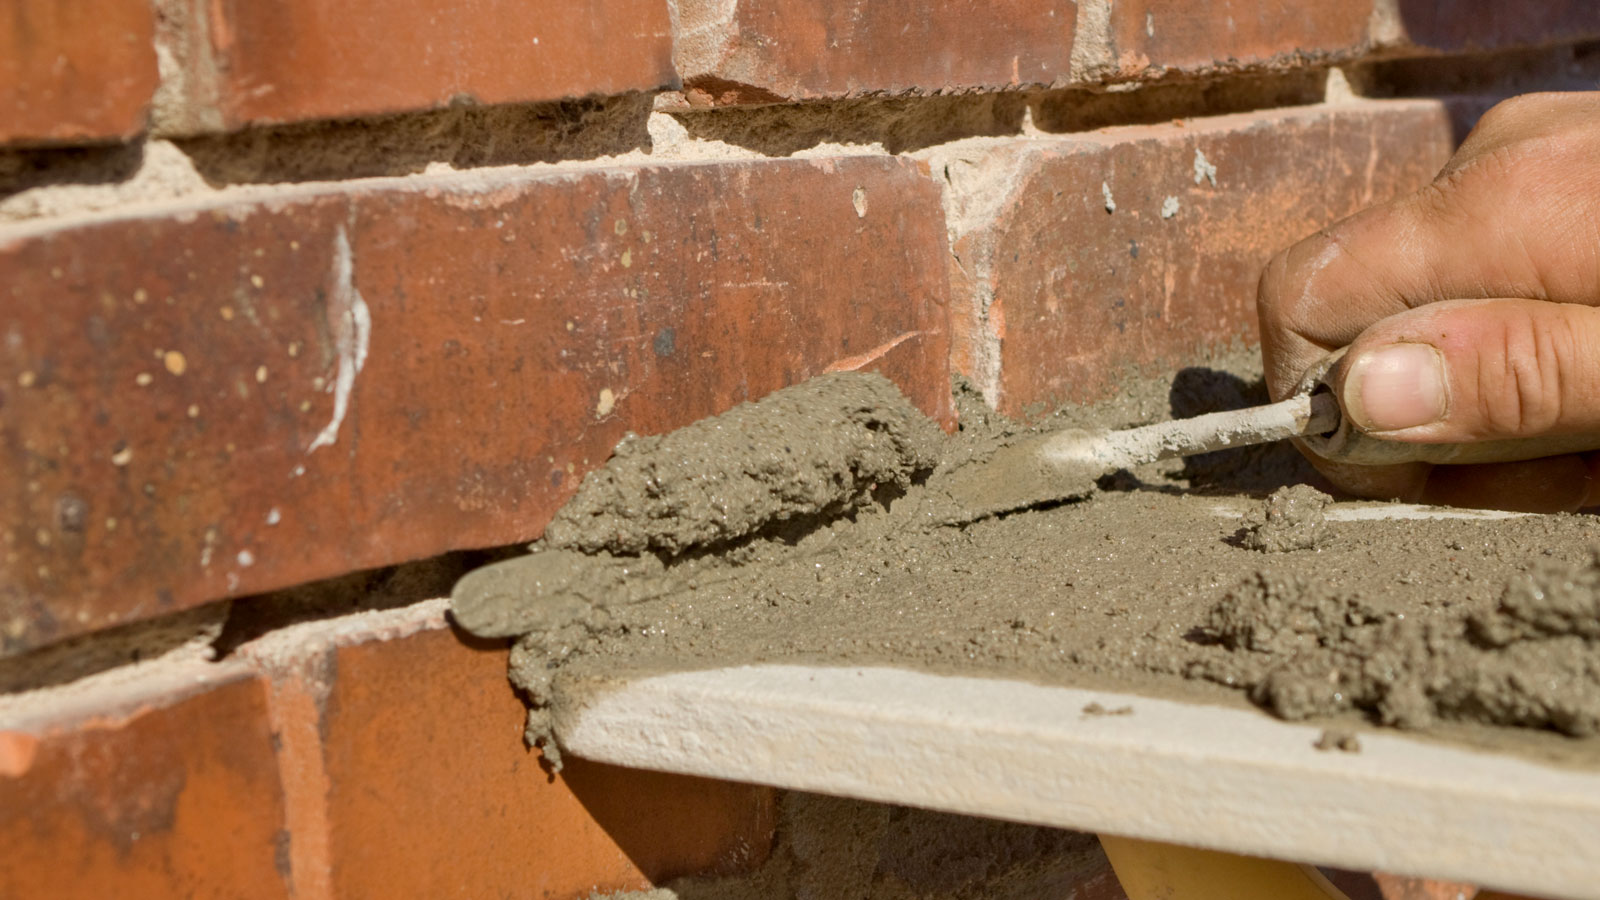
Repointing is all about removing old mortar and replacing it with a fresh new mortar mix. Packing in the new mortar will fill any gaps that have appeared over time. Here you’ll discover the tools and skills you need to tackle the task yourself.
Why you need to repoint brickwork
For even more advice, information and inspiration delivered straight to your door, subscribe to Homebuilding & Renovating magazine.
Repointing brickwork is the process of renewing the outer portion of the mortar joint that connects the bricks. If you can easily see open joints around the mortar bed, then it is time to think about repointing.
Mortar is key and it’s the substance that separates individual masonry units (such as bricks or stone blocks) from one another.
It protects the building from water ingress and is also used to fill any irregularities on the bedding faces of the bricks or blocks (the bedding is the mortar used to bind the bricks to one another.)
Mortar can be made up of a variety of different materials. It is softer than bricks and stone so at some point in the life of a building, it will start to deteriorate – and this is the way things are supposed to happen.
If the mortar mix was harder than the bricks, the bricks themselves would take the brunt of weathering, causing them to erode and fail – and replacing brickwork is far more expensive and disruptive than repointing brickwork.
Bring your dream home to life with expert advice, how to guides and design inspiration. Sign up for our newsletter and get two free tickets to a Homebuilding & Renovating Show near you.
Try these tools to help with repointing brickwork
The cost of repointing brickwork
Repointing is a straightforward job, and the materials required are not expensive; however, the cost of labour involved in brickwork repointing can be quite high.
It can also be hard to find a builder willing to take on small repointing jobs, which is why many people choose to carry out repointing on a DIY basis. Don’t forget, though, that DIY repointing will usually require scaffolding hire.
According to Price Your Job, you should budget around £20-£30/m² for brickwork repointing, with their estimate for a three-bedroom semi-detached house coming in at around £3,000 once scaffold hire, materials and labour are factored in.
However, as costs will also be determined by the type of mortar you need to use, read our guide to repointing costs for more details.

Darren Morley has extensive experience in home improvement, stemming from his work as a home design entrepreneur and founder of The Mirror Man. He possesses practical knowledge and expertise in home maintenance and DIY projects.
Choosing the right mortar
An extensive range of textures and colours can be achieved when mixing mortar. Most houses built up to and including the Victorian era used lime mortar, and if your home falls into this category, then this is most certainly the mix you should use.
The use of cement in repointing mixes tends to be a drawback in old houses (although it is still frequently employed), as it causes decay to occur earlier than with lime mixes, and damp is more likely to develop.
Cement mortars are harder, more brittle, and less porous than lime mortars and will weather more slowly than the bricks themselves. Mortars containing cement tend to be more susceptible to salt and sulphate attack. In contrast, mortars containing only lime (putty or hydraulic) and sand are not vulnerable to this kind of damage.
Lime mortars are more expensive than cement, but in the long run, they can save money, as putting right problems caused by inappropriate cement mixes can be costly.
Darren Morley, MD at The Mirror Man, the different mixes to consider, "For most modern brickwork, the standard repointing mix is one part cement to four or five parts soft sand, sometimes with a touch of lime to improve flexibility and workability. That gives a strong, weather-resistant finish that suits most properties built after the 1920s."
However this isn't always the best option as Morley continues, "For older homes, particularly anything built before the 1920s, you’ll want to use a lime mortar instead." He adds, "These buildings were often constructed with softer bricks and need a more breathable mix. A common ratio is one part lime to three parts sand, but the exact mix can vary depending on the building and exposure.
Using a hard cement mortar can cause problems. "On old brick, hard cement can actually do more harm than good by trapping moisture and causing damage over time.
If you need to call in a professional, make sure to check out our Find a Bricklayer guide
Step-by-step guide to repointing brickwork
You will need:
- Chisel
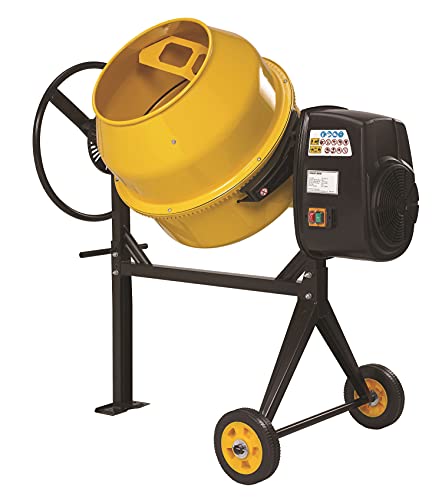
- Cement mixer
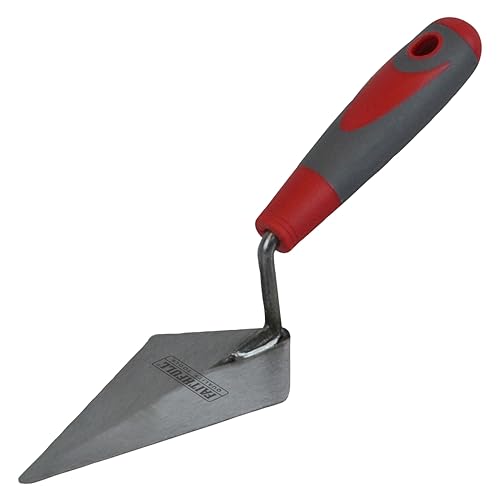
- Pointing trowel
- Mortar board (like this QOTSTEOS Mortar Board Holder from Amazon)
- Scaffolding
- Soft brush
- Wire brush (like this Forney Wire Scratch Brush from Amazon)
- Lime
- Sand
- White cement
1. Clear the wall area
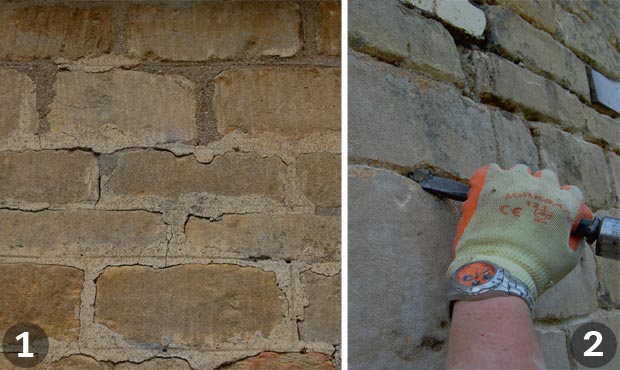
Repointing brickwork is clearly high priority on this wall. Not only is there a mixture of materials, but the profile of the pointing ranges from semi-recessed to plastered-on-top-of, which is not good.
As with many renovation projects, plants have been growing up against the walls so these should be pinned back and then tethered into place before any work can start.
Repointing brickwork is a messy job so plastic sheets should be laid over flower beds, new paving and areas of grass.
2. Remove old mortar
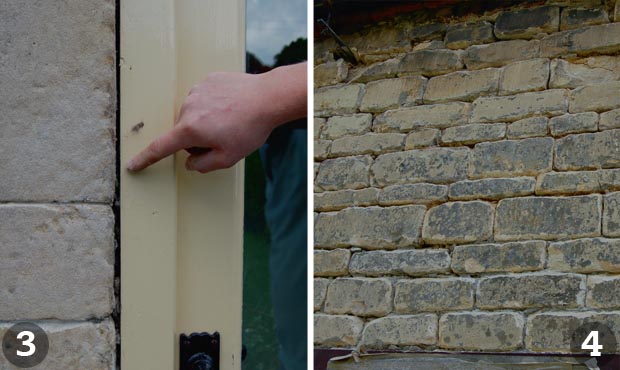
The old pointing is removed with a hammer and chisel, with particular care taken near the areas shown in the following four steps. Disturbing old mortar around windows can affect the way they fit (and open). The chisel is used on its own to chip out only the loose material.
Alternatively, Moore says, "Use a mortar raking tool or angle grinder with a diamond blade for larger areas. Just be careful not to damage the bricks – that’s especially important with older properties."
3. Focus on doorways
Power cables for external lighting are often run inside the pointing so take care.
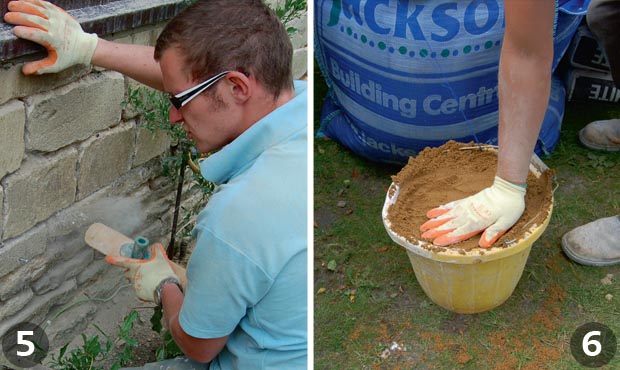
If mortar gets pushed into the gap between the wall and the frame it can cause the door frame to move and make the door hard to open and close.
Loose mortar should be raked out gently with a narrow chisel. Metal gutter brackets are prone to falling out if they are disturbed during the chopping-out phase so work carefully.
4. Expose the brick edges
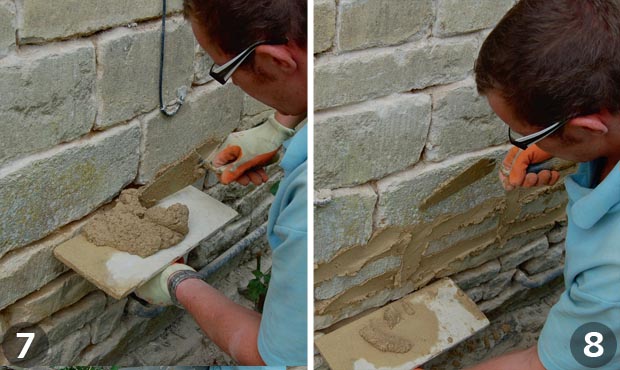
The ‘brick edges’ is what's left after the old mortar has been removed. The edge of the stone is revealed all round and there is now a gap wide enough to take (and hold) the fresh mortar which will soon be applied to the wall.
5. Remove excess dust
Plenty of dust is left in the gaps between the stones afterwards. This should be brushed out gently before repointing begins.
6. Mix the mortar
To keep the colour of the mortar consistent for the whole job, the mix should be carefully measured out. In this case, three buckets of yellow building sand, one bucket of lime and a quarter bucket of white cement.
Each full bucket is levelled off at the top while the quarter-full bucket of white cement is measured off to a line drawn inside the bucket.
7. Work from the top down
Repointing is generally done from the top of the wall downwards. However, the first half metre of a solid wall without a damp-proof course (as here) holds a lot of moisture so this section is done first — giving it more time to dry.
The mortar is pushed in firmly, working from right to left.
8. Fill the vertical joints
Once two or three courses have been repointed, the vertical joins between are filled too. Notice that the mortar is allowed to overlap all the joints and no attempt is made at this point to neaten it up.
With the bottom half metre of the wall complete, the top section is started. Within five hours, a team of two complete this stage on this 24m2 wall.
The mortar is left until nearly dry. How long the drying process takes depends on the weather and the position of the house in relation to the sun. In this case, the mortar is ready in just a couple of hours.
9. Remove any excess mortar
A wire brush should be used to take off the excess mortar and leave a face joint that is only just recessed from the face of the wall. In other areas of the country, a deeper joint or one that is flush with the wall may be more appropriate.
The wire brush also cleans up the stonework as it moves over the surface.
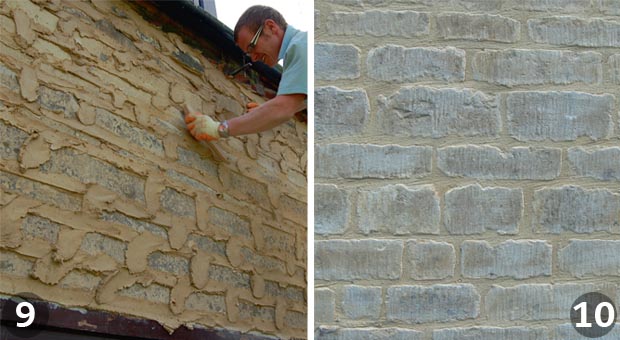
10. Check the finished look
A close-up of the finished job. With the face joints now clearly defining the stones, the wall not only looks great, it is ready to withstand years of weathering.
7 Top tips for repointing brickwork yourself
- Using a narrow chisel around windows and doors minimises the risk of pushing loose pieces further in around the frames
- The use of an angle grinder should really be avoided - it is easy to slip and damage the face of the brickwork or stone and is unnecessary with most traditional lime-based mortars
- When you have a space large enough to take the new mortar, stop raking out and brush the joints down. Then give the joints a spray with water - this helps the new mortar dry out evenly. Wait for the water to dry off before repointing
- Aim to replicate the colour, texture and durability of the existing mortar. Carefully measure each component of your mortar and make a note of the quantities used to ensure each bucket load matches the last
- Begin from the top down (in order to keep any dust and water spray away from freshly repointed joints)
- A slightly open final texture tends to look more attractive than a very smooth one. An easy way to achieve this is to gently rub the filled joint with a stick or rubber, and then to softly brush it over before it dries
- To avoid the new mortar drying out too quickly, spray the joints lightly with water from time to time.
Repointing brickwork helps prevent water ingress, but you should also consider removing a brick from a wall if it's in poor condition. Check out our guide to cheap bricks to save money. Read our guide on the brick slips, a smart alternative to traditional bricks, where your repointing skills will still come in handy.
Natasha was Homebuilding & Renovating’s Associate Content Editor and was a member of the Homebuilding team for over two decades. In her role on Homebuilding & Renovating she imparted her knowledge on a wide range of renovation topics, from window condensation to renovating bathrooms, to removing walls and adding an extension. She continues to write for Homebuilding on these topics, and more. An experienced journalist and renovation expert, she also writes for a number of other homes titles, including Homes & Gardens and Ideal Homes. Over the years Natasha has renovated and carried out a side extension to a Victorian terrace. She is currently living in the rural Edwardian cottage she renovated and extended on a largely DIY basis, living on site for the duration of the project.

