How much does repointing cost? What you can expect to pay
Repointing costs can vary depending on what your house is built from, the mortar type and if it's a job for the professionals

Bring your dream home to life with expert advice, how to guides and design inspiration. Sign up for our newsletter and get two free tickets to a Homebuilding & Renovating Show near you.
You are now subscribed
Your newsletter sign-up was successful
If you're renovating a house, getting a repointing cost for your brick or stonework may well be included on your list of jobs - particularly if it's a large job that needs tackling by the professionals.
Although pointing isn't what holds the bricks or stones fully in place and instead refers to the mortar that sits in between the joints of your bricks or stonework, it's essential for filling the open joint created during the process of laying.
While filling the joint naturally connects the sides of each brick or stone to the next one, it's most practical purpose is to prevent water ingress.
But, just what's involved in repointing and how much can you expect to pay?
Brick vs stone will result in a different repointing cost
As well as protecting your home against problems such as damp, repointing brickwork or stonework can invigorate the external appearance of your home leaving it with a fresh, updated finish.
And although there are a number of variables involved in determining your repointing cost, one of the biggest factors is whether your building is constructed from bricks or stone.
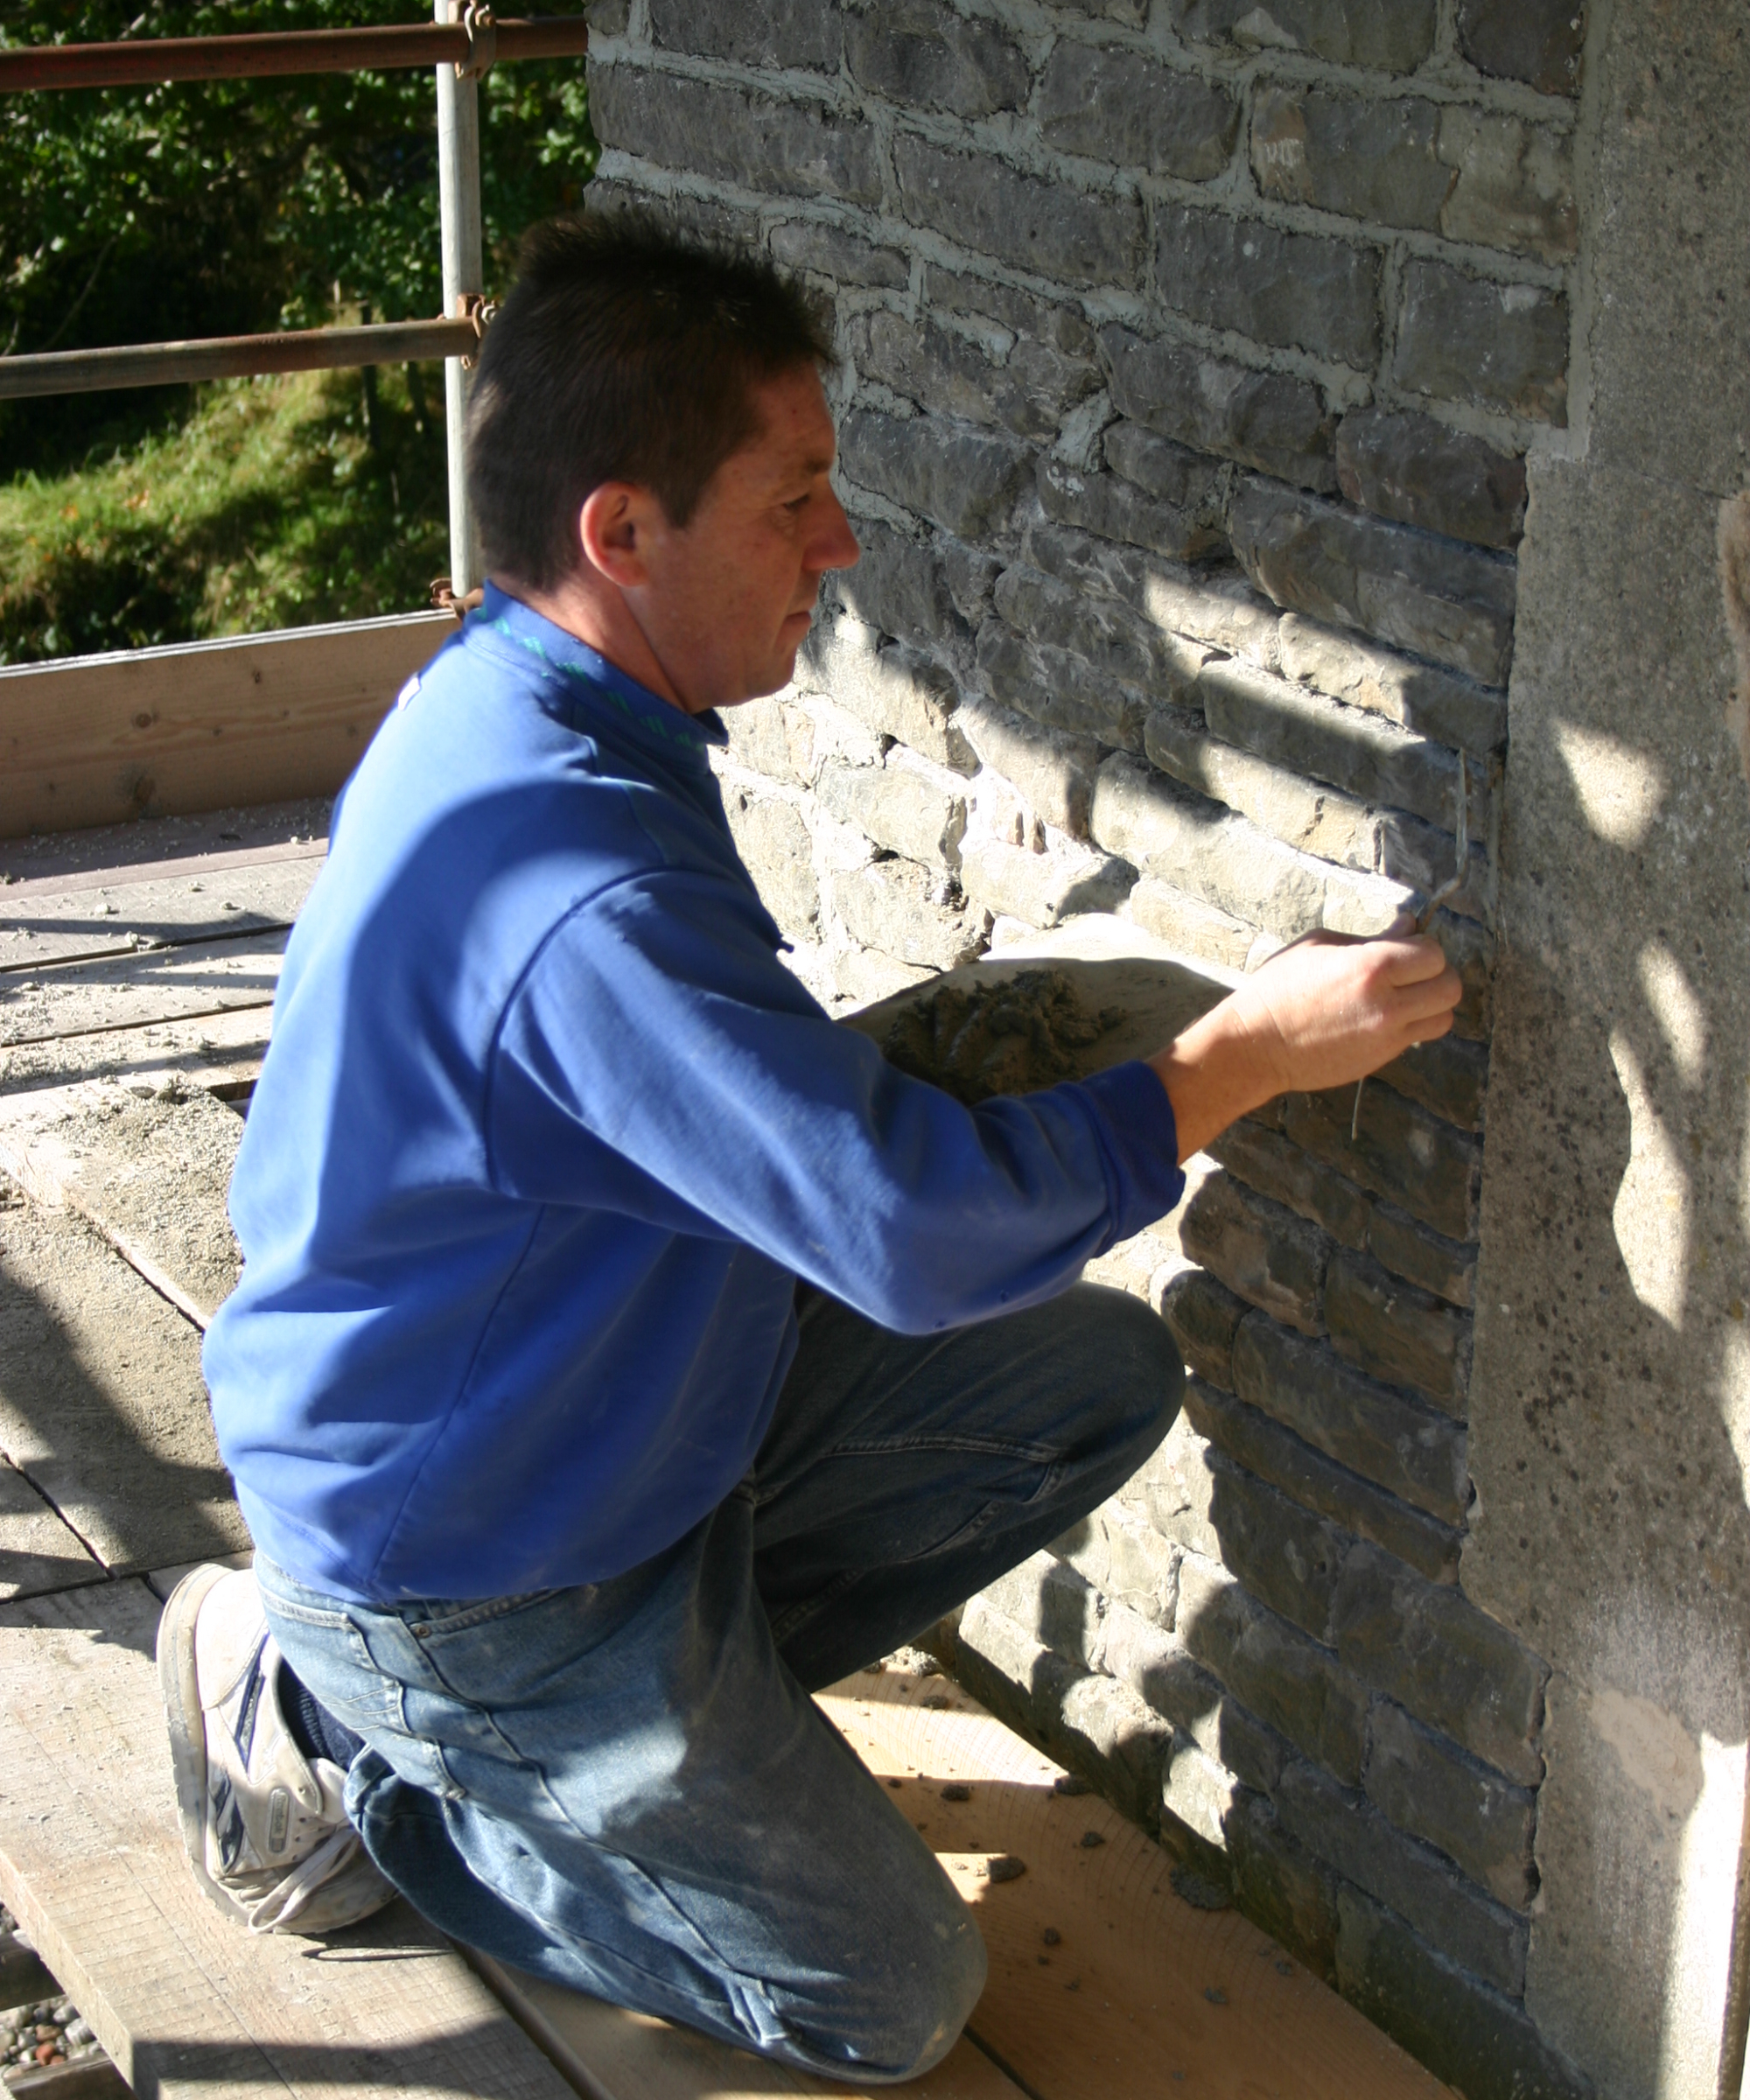
Bricks are more likely to be of a uniform size and laid in a more regular pattern, thereby in theory making most types of brick easier to repoint. Stone on the other hand is often more organic in shape, leading to different size joints and an irregular surface to work on.
Bring your dream home to life with expert advice, how to guides and design inspiration. Sign up for our newsletter and get two free tickets to a Homebuilding & Renovating Show near you.
Cement mortar vs lime mortar
There are two main types of mortar mix used for repointing. Cement based mortar and lime mortar. Which product you choose will be influenced by the age of your building. Phil Brown, managing director of Cornish Lime explains why.
"In the UK, traditional masonry buildings constructed prior to 1920 with stone, brick, or cob were often built with lime mortar. Unlike cavity wall construction, which features an outer layer and air gap designed to keep out moisture, solid-walled buildings require breathable materials to manage the moisture in the building fabric.
"This concept is often simplified to 'letting the walls breathe'," says Phil. "By using lime mortar to allow the moisture to move in and out, it can help prevent common issues such as damp, mould, or decay, which arise when walls become saturated by trapped moisture."

Differences in cost
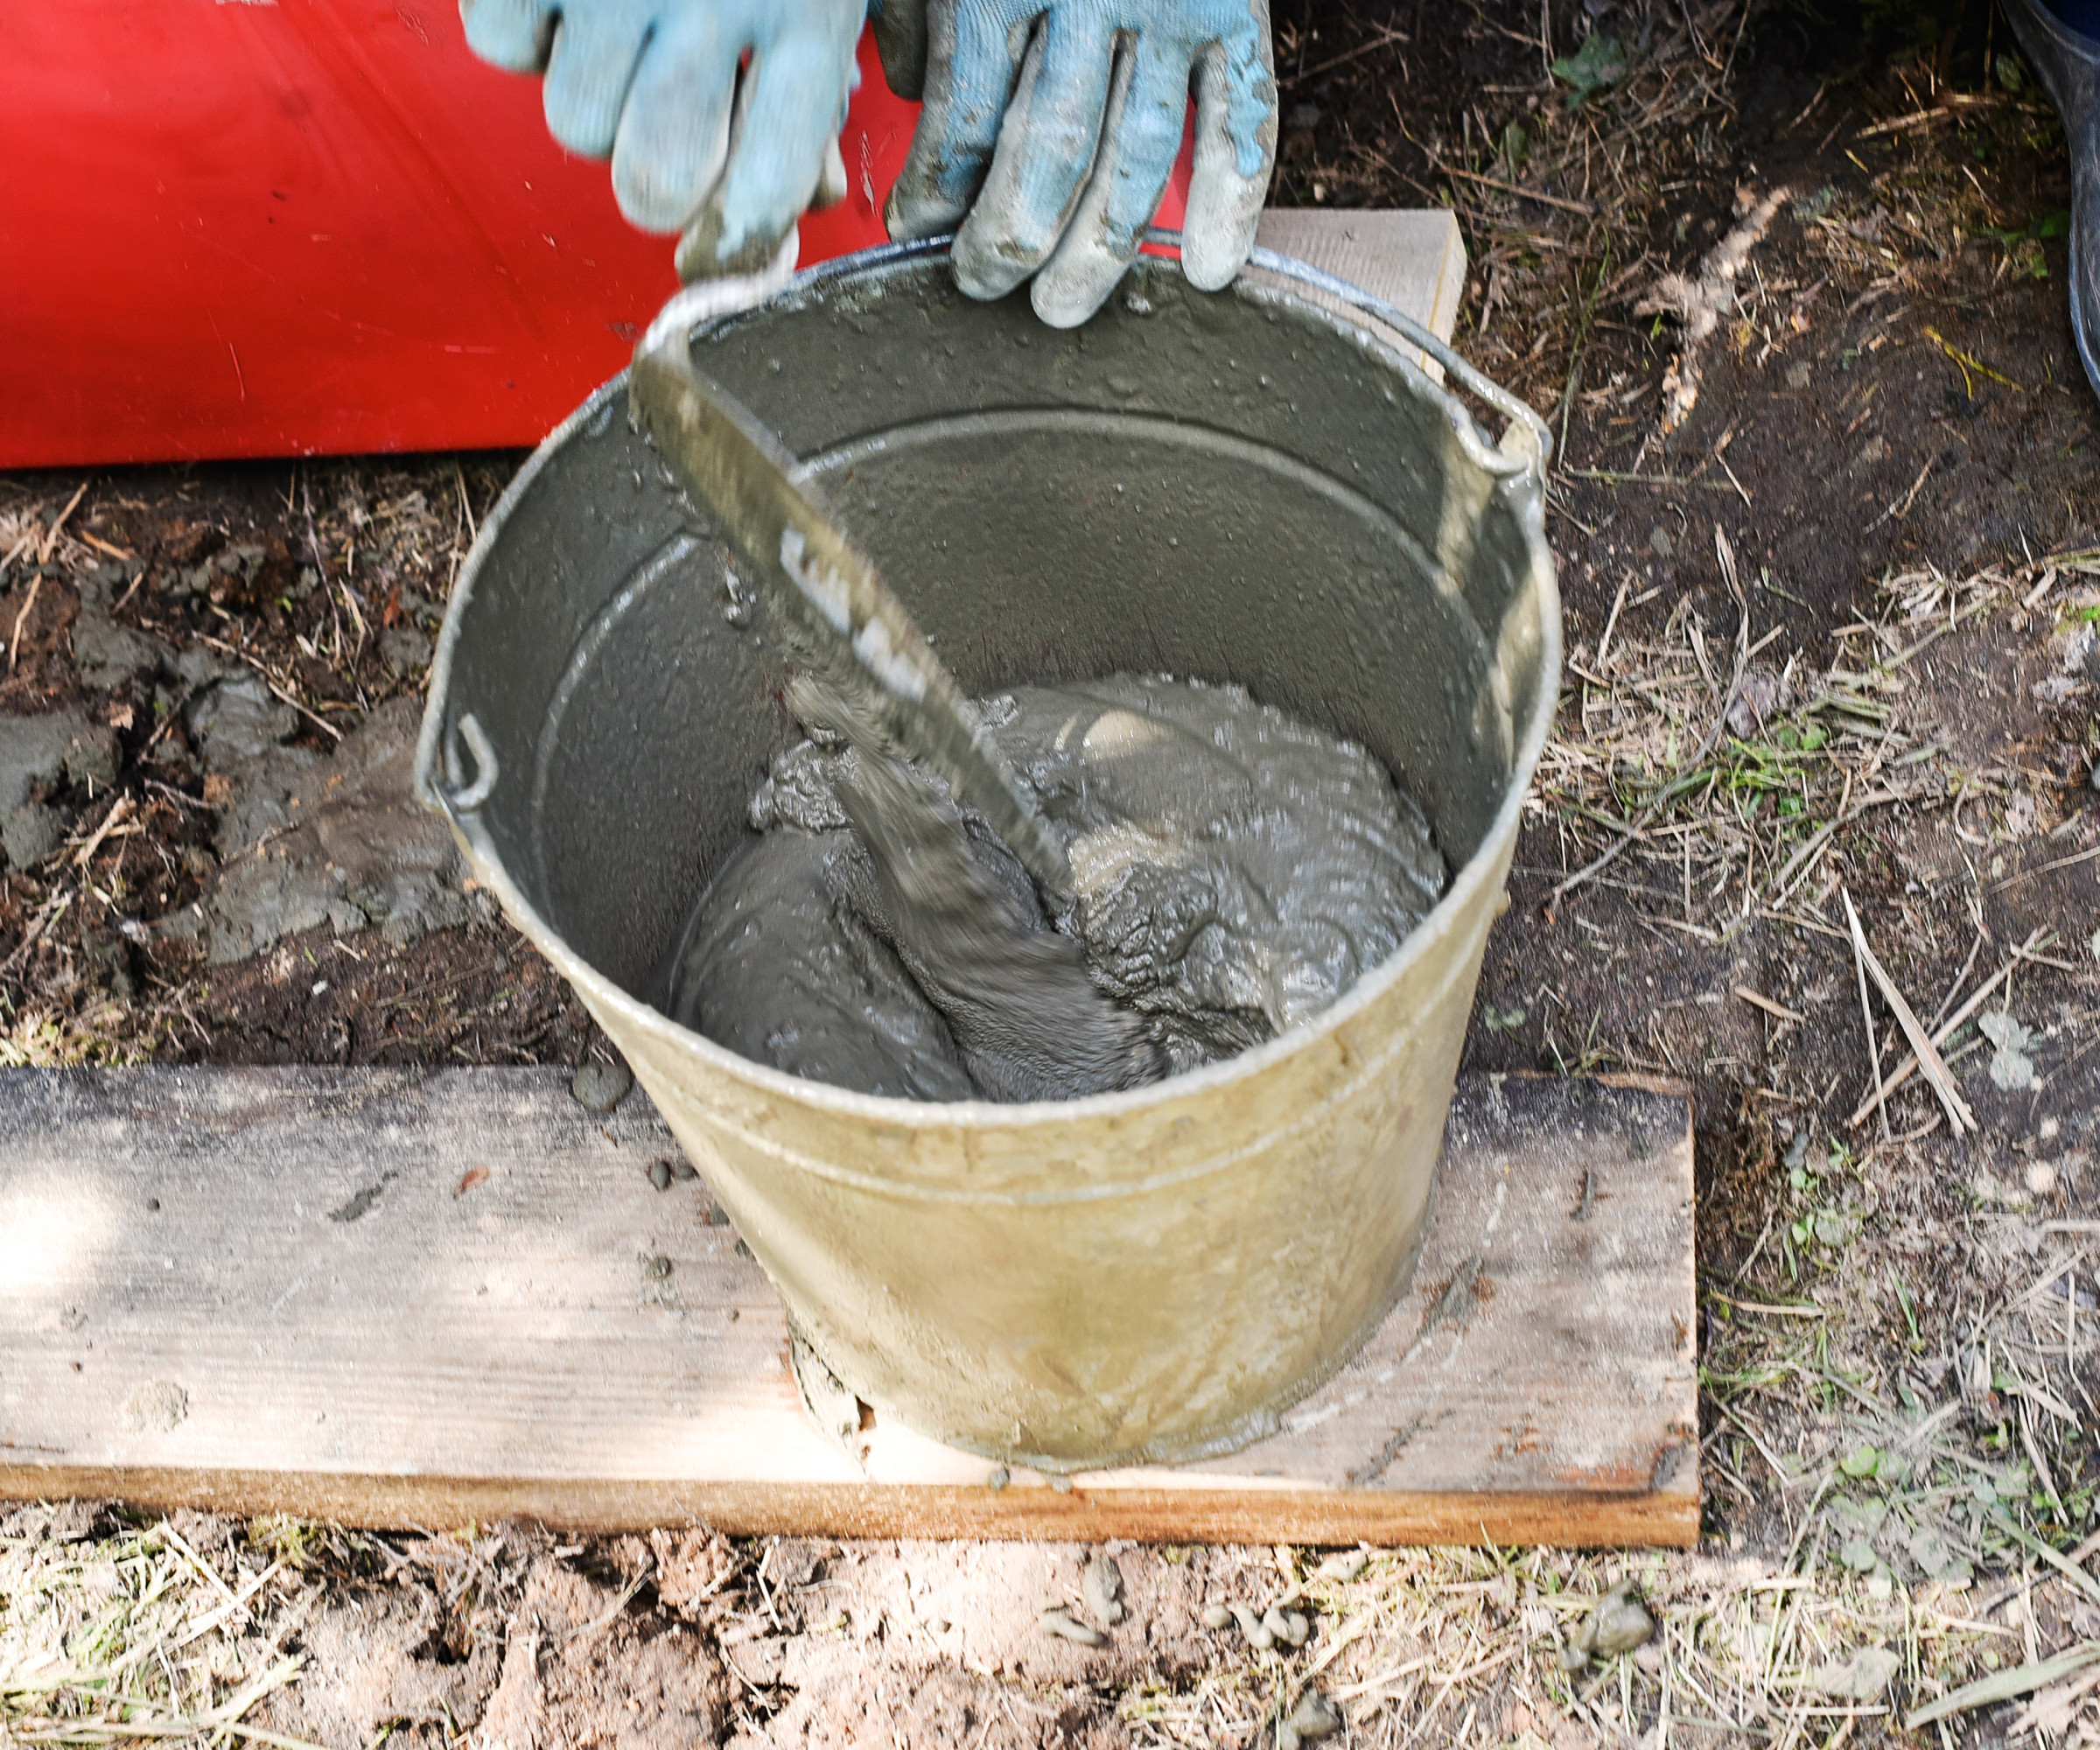
When it comes to the differences in cost, both types of mortar can be mixed by hand or purchased pre-made. Mixing by hand for both options will be the more cost-effective choice, but comes at a risk.
"The most traditional approach to purchasing lime mortar," says Phil Brown, "is determining the lime and sand required for your project and mixing it onsite. This method is more budget-friendly and gives you the most control over the lime and sand used.
"However, this also means that the performance, workability, and consistency of mortar will depend on the chosen materials and your skill in mixing them. The alternative, albeit less traditional, would be to use premixed mortar specifically engineered for pointing and designed to help reduce inconsistencies in performance and colour variation."
If you choose to mix by hand, advice on the B&Q website suggests using a bucket, rather than shovel as your measuring tool in order to ensure consistency in colour. Their top tip?
"Draw a line on the inside of a bucket with a felt-tip marker indicating one unit of the mix. Shovel the ingredients in turn into the bucket, making sure each measure is level with the line."
To estimate how much lime mortar you might need, there's a handy calculator available on the Conserv website.
Pre-mix mortar | Price | Row 0 - Cell 2 |
Lime mortar | From £11.80 for a 20kg tub | Row 1 - Cell 2 |
Concrete mortar | From £12 for a 20kg bag | Row 2 - Cell 2 |
Should you chose to mix by hand, costs for individual elements will also be priced by weight, with lime, sand and white cement all available from £0.45p per kg.

Phil Brown is the founder and Managing Director of Cornish Lime, with over 40 years of experience within the construction industry and the manufacture and use of lime-based materials.
Raking out costs
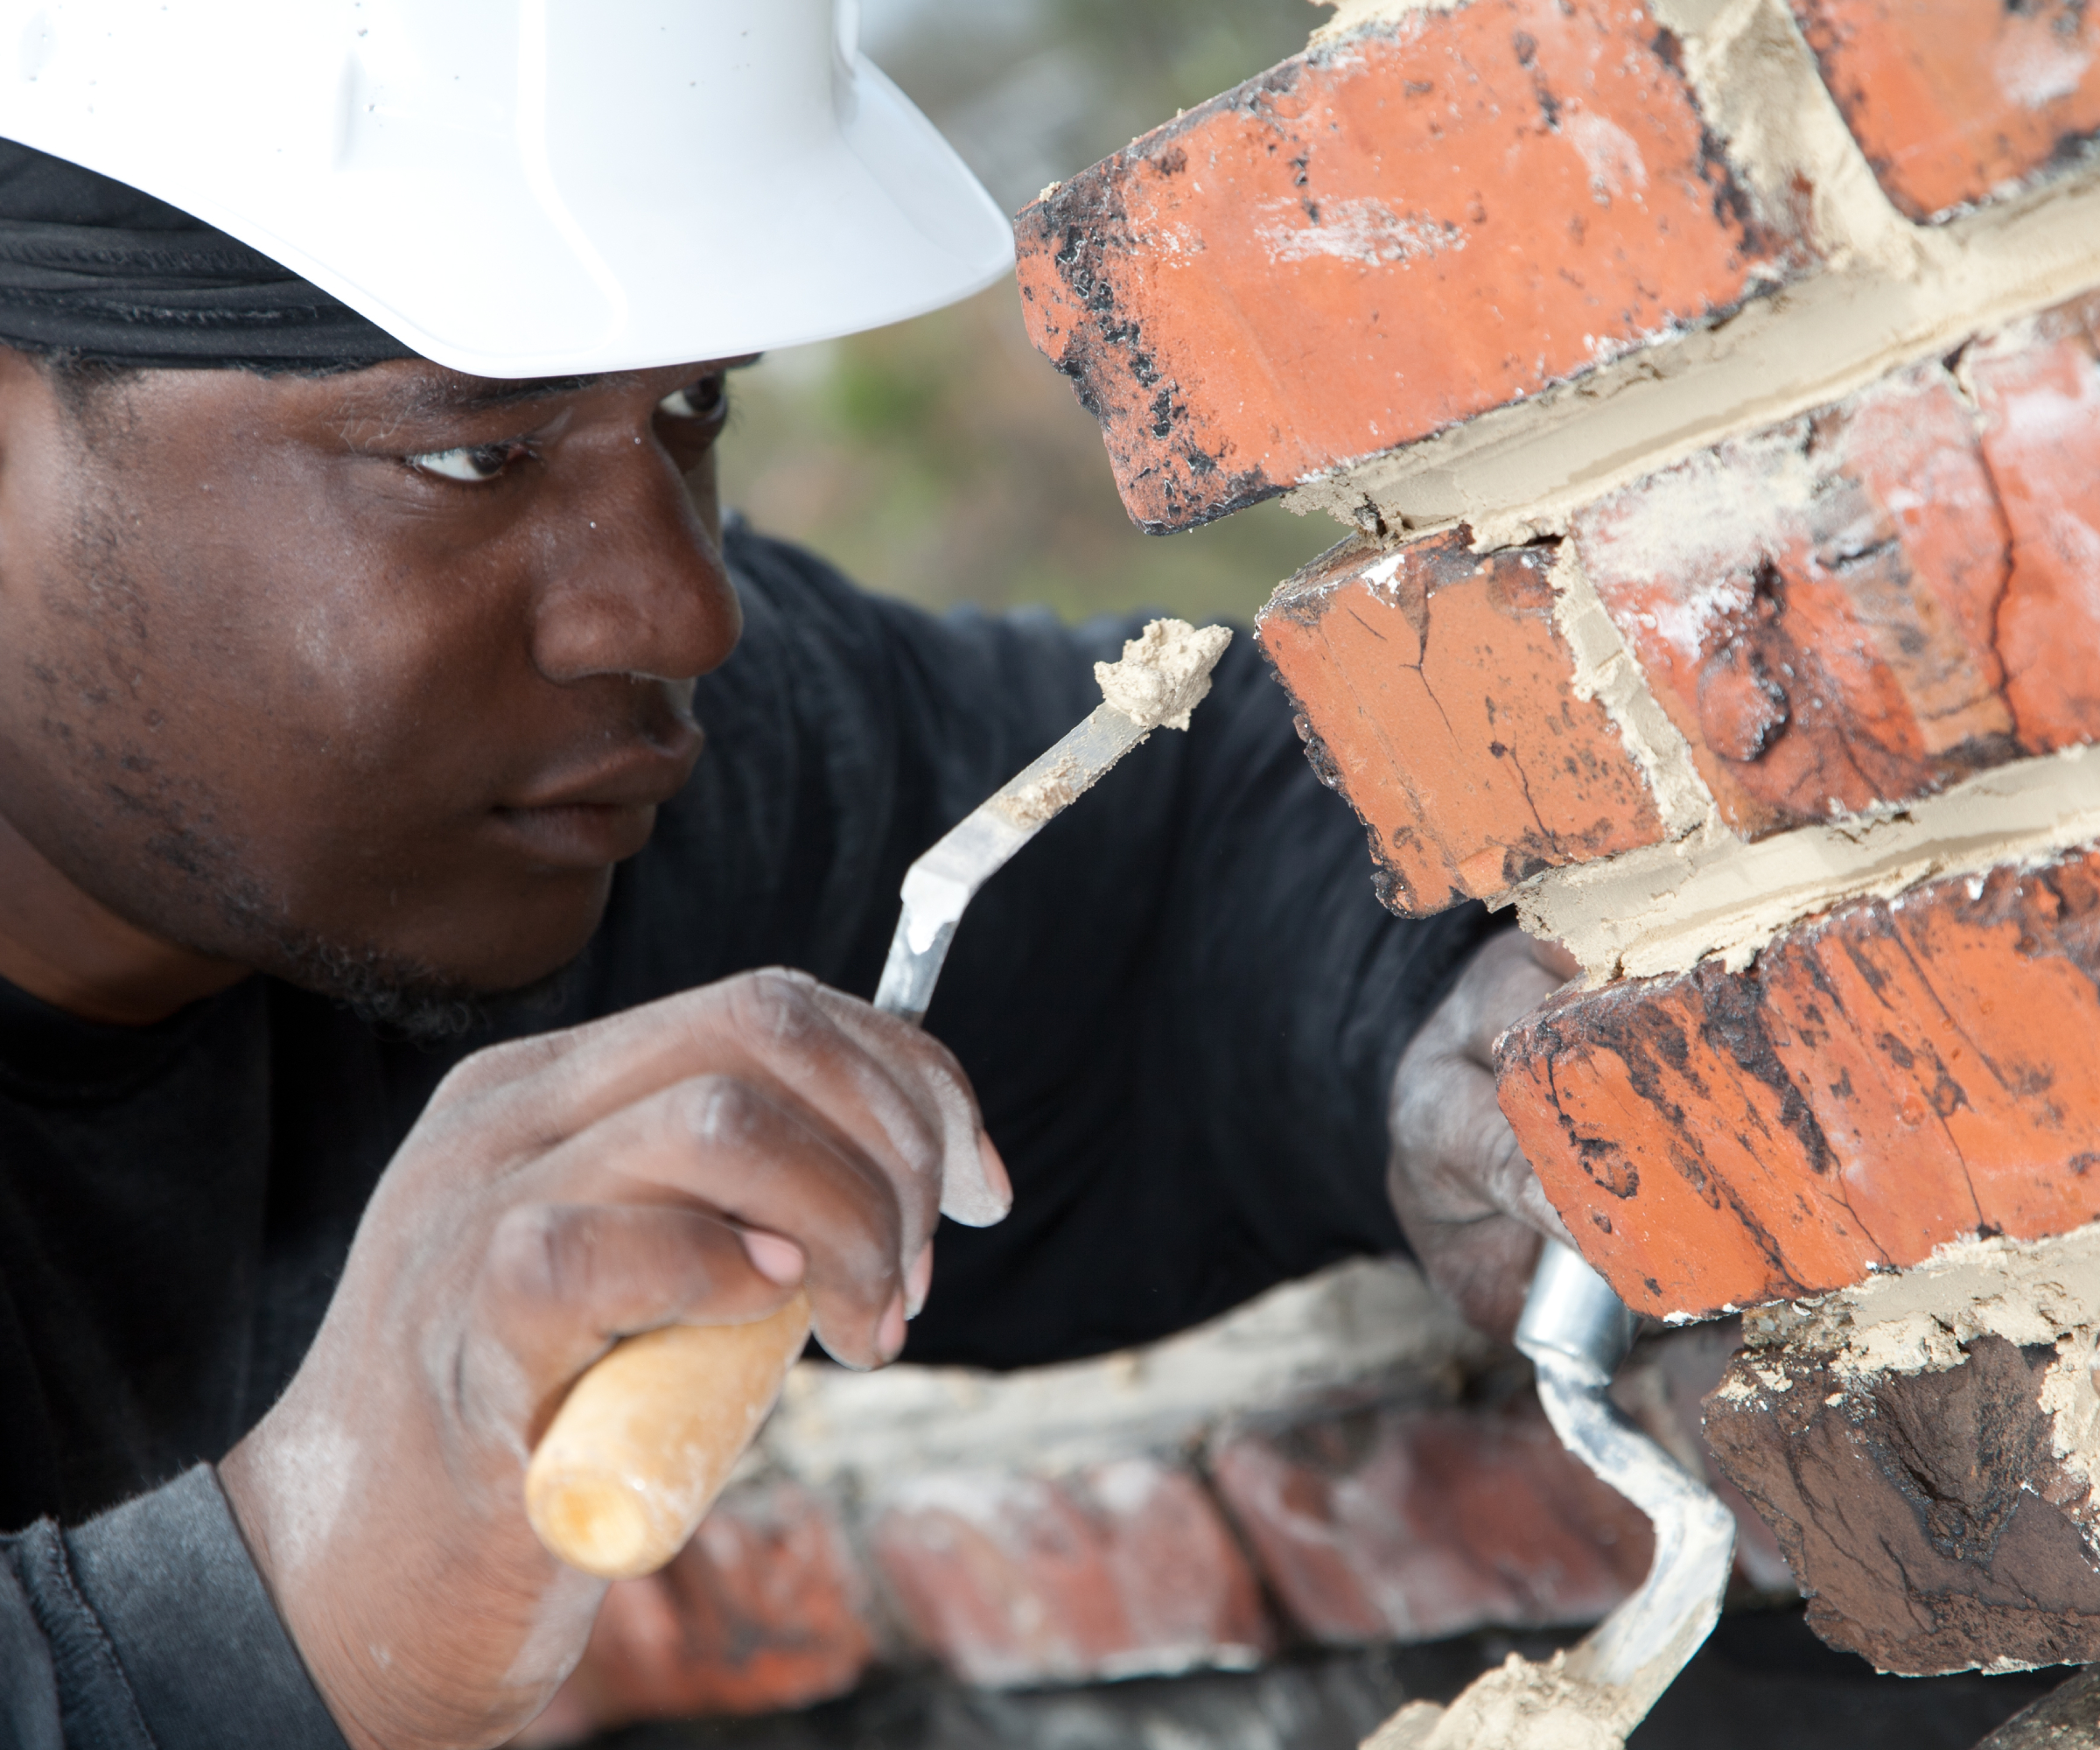
Whether your repointing cost relates to bricks or stone, the first stage of the process will be raking out the joints to remove any residual damaged mortar. This can be carried out in one of two ways – by hand using a chisel and hammer, or other appropriate tools.
Undertaking this by hand is naturally a more time intensive task but is likely to be the only option if you are repointing an older, or listed building, as extra care will need to be taken to prevent further damage.
In new homes, using power tools such the best angle grinder may be an option. This can also assist in making sure the joint is raked out to a uniform depth. Once the process is complete, the joints will then need to be brushed out to ensure all debris is removed prior to repointing.
However, if you are renovating a house or building where cement mortar was previously used and you want to replace this with lime mortar, Phil Brown recommends taking extra care.

"Typically, we suggest removing any previously used cement mortars and avoiding the addition of cement into the lime mortar you intend to point with," says Phil Brown.
"Cement mortars are hard and impervious, which means moisture, which is inevitably within the building fabric, will either stay trapped or try to force its way out.
"Without a permeable mortar within the joint, the water will move through the softer stone or brick, accelerating masonry decay," he warns. "For moisture that stays trapped, the walls can become saturated and cause further damp and decay."
For just raking out, as with most occasions when you hire professionals, costs will vary depending on location. Expect to pay anything from £25 – £45 depending on the condition of your walls.
Labour costs
Regardless of mortar choice, "the most significant element that will define the budget and amount of material required will be the size of the area and the joint width that needs repointing," says Phil Brown.
Nonetheless, with brickwork in general having a more uniform structure, labour costs for repointing tend to be lower than stonework.
Extra delays can also happen with stonework, as once the joint is raked out, you may find deeper recesses that need extra mortar or stone. Curing time will also vary with lime mortar taking longer to dry out fully.
It's something I have first hand knowledge of having employed stonemasons to repoint a listed building. The original lime mortar had been patched up with cement mortar prior to the building being listed. This meant we had to remove the cement and then replace it with lime mortar. The whole process took around 10 months to complete and was both costly and time-consuming.
Checkatrade suggests you can expect to pay the following labour costs for repointing, including clean up:
Repointing brickwork | £55 per m2 |
Repointing stonework | £80 per m2 |
Repointing a chimney | £750 |

Other costs
As well as the labour and materials needed to repoint your home, there are other considerations to bear in mind.
Scaffolding
Scaffolding costs can range from £500 for scaffolding to access your chimney to £2,500 for a full house wrap. However, you may find your local scaffolding company charge a day or week rate or one based on meterage.
Either way, it's also important to establish if you will need any permits from your local council to erect the scaffolding as these will also need to be included in your final costs.
Hessian wrap or polythene
If you are using lime mortar for repointing, you may also need to cover it with hessian or polythene while it dries.
During the winter you can apply dry hessian, while in the summer you may need to spray it with water prior to applying it. This will help prevent the mortar from drying out too quickly. Polythene should only be applied in the winter to prevent frost cracking.
Allow £46.80 incl vat per 146m roll of hessian wrap.
FAQs
Who should I hire to do the work?
Again, this will depend on what type of structure you are repointing. Even if you use a local builder, make sure they use someone with a recognised qualification in bricklaying such as the Level 3 Advanced Technical Diploma in Bricklaying. They don't necessarily need to be just a bricklayer, but do need to have experience.
However, if you are repointing stone, particularly when renovating listed buildings, you may be advised, or find it better to to hire a qualified stonemason with experience of working with lime mortar.
How can I save money?
As with all quotes for repairs or renovations, make sure you get a series of quotes from trusted professionals. Going for the cheapest quote won't always be the best option so be sure to ask around for recommendations and when getting quotes, ask to see their previous work.
If repointing brickwork, you may feel you have the necessary skills to tackle small jobs yourself to save costs.
Although the overall expense may mount up and have an impact on your budget' bottom line, it's still a job that's worth doing well first time to avoid a repeat performance says Phil Brown.
"While cutting corners on your budget might be tempting, investing in quality materials that are sympathetic to the existing building fabric is the smart way to avoid time-consuming, expensive or difficult repairs later down the line."
"Repointing with appropriate materials the first time is far more cost-efficient than digging out inappropriate materials later," says Phil, "or, even worse, replacing damaged stone or brick."
If you are considering undertaking the work yourself, you can find expert advice in our guide to repointing a chimney. Or, if the problem is at ground level, find out all you need to know about pointing patios.
EDITOR’S NOTE: An earlier version of this article included a quote from a purported expert whose credentials we have not been able to verify. The quote has been removed. We regret this lapse in our verification process and have updated our internal protocols to reduce the risk of recurrence.

Sarah is Homebuilding & Renovating’s Assistant Editor and joined the team in 2024. An established homes and interiors writer, Sarah has renovated and extended a number of properties, including a listing building and renovation project that featured on Grand Designs. Although she said she would never buy a listed property again, she has recently purchased a Grade II listed apartment. As it had already been professionally renovated, she has instead set her sights on tackling some changes to improve the building’s energy efficiency, as well as adding some personal touches to the interior.
