Tiling a Fireplace: Practical Advice for how to Tile a Hearth
Tiling a fireplace shouldn't be the biggest challenge for a competent DIYer. We look at the how it's done and the key things you need to know
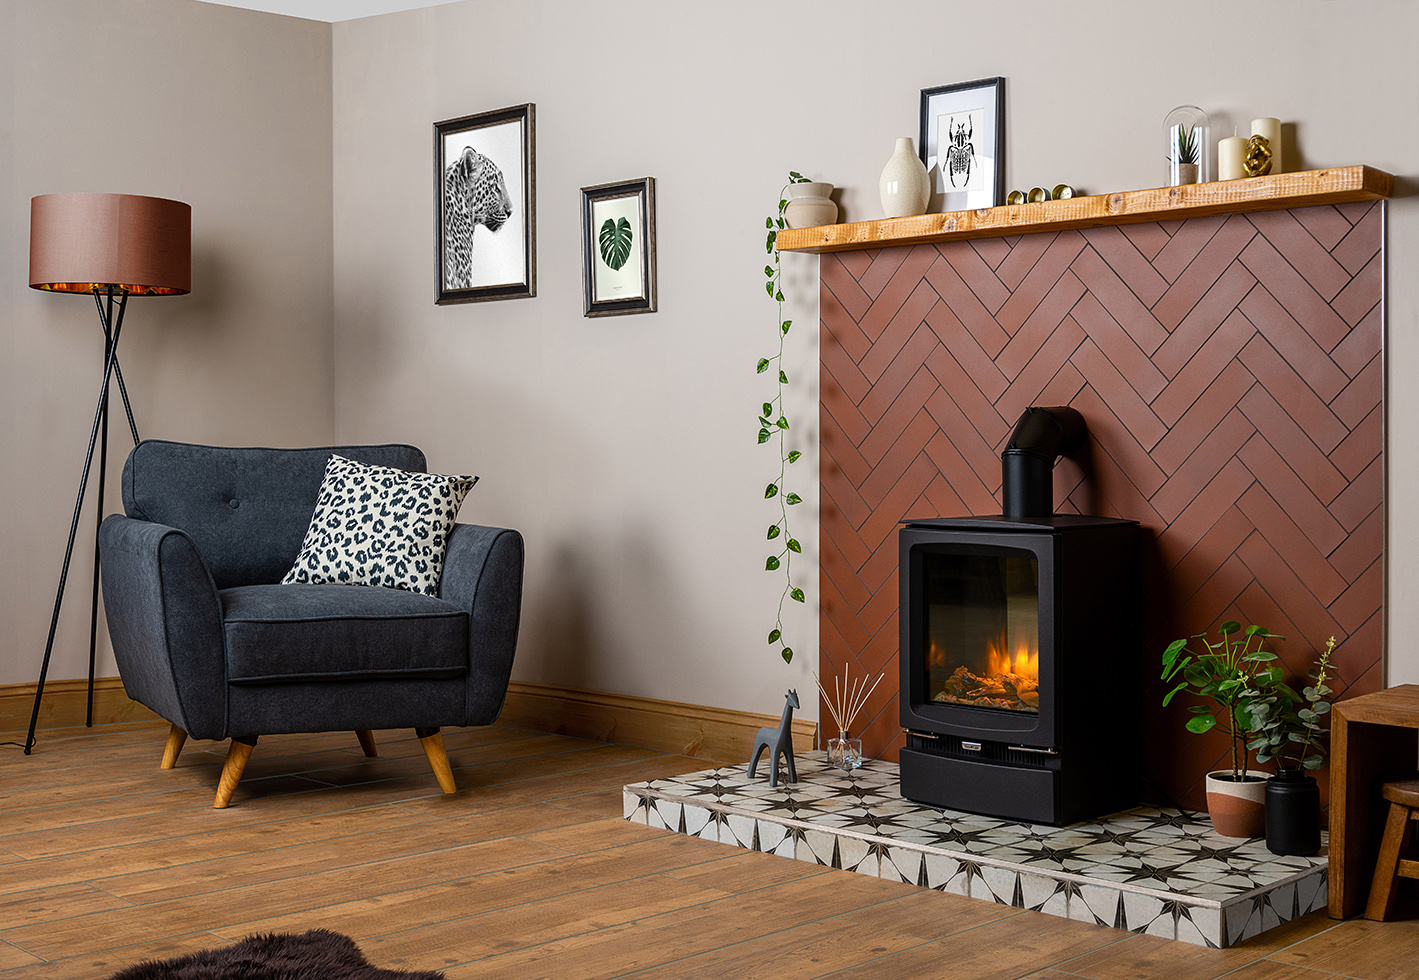
Tiling a fireplace can be relatively simple job that a DIYer can undertake — however, this does depend on what your fireplace looks like. Fireplace surrounds with intricate bases might mean some tricky cutting using tools that aren't necessarily known for their fine detail work.
Regardless of if you're doing it yourself or getting in a professional tiler, changing up your tiles will transform the look of your room and mean that you've got a hearth that fits in with the rest of your scheme.
But how do you tile a fireplace hearth? What with? And when in the process should it be done to work alongside your other fireplace ideas? Here's some practical advice and a quick step-by-step guide that you can adapt to any sort of fireplace.
What Tiles are Best for Tiling a Fireplace?
The big question: does it matter what kind of tiles you use for tiling a fireplace? The answer, sort of. When pitting porcelain vs ceramic tiles against each other for use on a fireplace hearth, porcelain wins out. It's dense nature from being fired at a higher temperature means it absorbs heat better, so is better suited in a fireplace with either an open fire or a log burner. Natural stone tiles are equally as effective, so could also be considered.
Should ceramic tiles not be used for fireplace hearths then? Ceramic tiles can withstand heat to a certain degree, but should perhaps just be used more cautiously in this area.
To be fair, even porcelain tiles shouldn't be put in direct contact with the heat source, so whatever tile you use for your tiled fireplace idea, you should be mindful of the space between a heat source and your tiled hearth, says Jon Butterworth, Director at Arada Stoves.
"We would suggest a gap of at least 100mm is maintained from the stove body to any non-combustible materials to aid the convection of heat out of any fireplace," he explains. "Squeezing too large a stove into a small opening is an often repeated mistake and should be avoided"
Bring your dream home to life with expert advice, how to guides and design inspiration. Sign up for our newsletter and get two free tickets to a Homebuilding & Renovating Show near you.
What Building Regulations Apply to a Fireplace Hearth?
There are specific Building Regulations for chimneys, stoves and fireplaces, which may have an impact on tiling a fireplace if it contains a stove. This includes a minimum thickness for the hearth, depending on the appliance.
The hearth should be at least 50mm from the stove sides and 300mm from the front of a stove in a fireplace recess.
HETAS has some useful information on fireplace hearth boundaries that it's worthwhile familiarising yourself with, especially if tiling a new fireplace hearth.
What Tools and Materials do I Need for Tiling a Fireplace?
- Tiles
- An electric tile cutter (if you're hearth is a simple square, you may be able to use a manual tile cutter)
- Heat resistant adhesive
- Grout
- A notched adhesive comb or trowel
- A grout float
- Grout sponge
- Self levelling compound (optional)
- Protective eyewear, gloves and clothing for operating the cutter
- Mixing bucket
- Drill
- Mixing paddle
"When installing your tiles remember that the adhesive you use needs to be suitable for use near a heat source," says Lincoln Evans, Buyer at Tile Mountain. "We always recommend Mapei Keraquick, which is suited to pretty much all substrates and is heat resistant up to 90°C. In terms of grout Mapei Ultracolour is suitable and available in a wide selection of colours."
Manual tile cutters only let you cut in a straight line, while electric tile cutters give you a little more freedom with your cuts, allowing you to cut more intricate shapes for around the fireplace surround. Wet tile cutters are great for harder materials, including porcelain and stone.
How do I Tile a Fireplace?
There are two main types of fireplace hearth you can tile:
- A recessed fireplace hearth: this is a hearth that's level with the floor in the room
- A raised fireplace hearth: this is a hearth that's raised above the fireplace floor
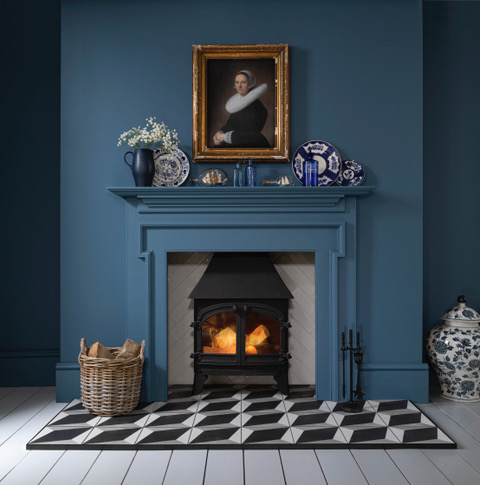
It's easier to replace the tiles on a raised fireplace hearth, as you don't need to worry about getting the floor level, but in a small room, a raised hearth can get in the way of furniture and rugs and even create a bit of a trip hazard.
The tiling process is pretty much the same for both (only you'll need to figure out if you're going to use a trim for the corner of a raised hearth), however the prep is a little different.
For a recessed hearth, you may need to not only take up the existing tiles, but potentially dig out some of the concrete of the hearth in order to fit new tiles if they're thicker, or if the existing hearth was raised.
If the hearth is uneven, there's a few tricks for how to level a floor. In a recessed hearth, you could use a self levelling compound, however, this may raised the level slightly. If your issue is left over adhesive from previous tiles, try this grit rub block from Amazon to smooth it out.
You can also use board as a substrate for your fireplace hearth if you don't have a concrete base. "If you are looking to tile the internal part of a fireplace, the internal part can be done using a 12mm construction board which has an A1 fire rating, and then easily tiled over the top with a tile of your choice," explains Mike Head, Director at Atlas Ceramics.
Once you're hearth is level, you can start to tile.
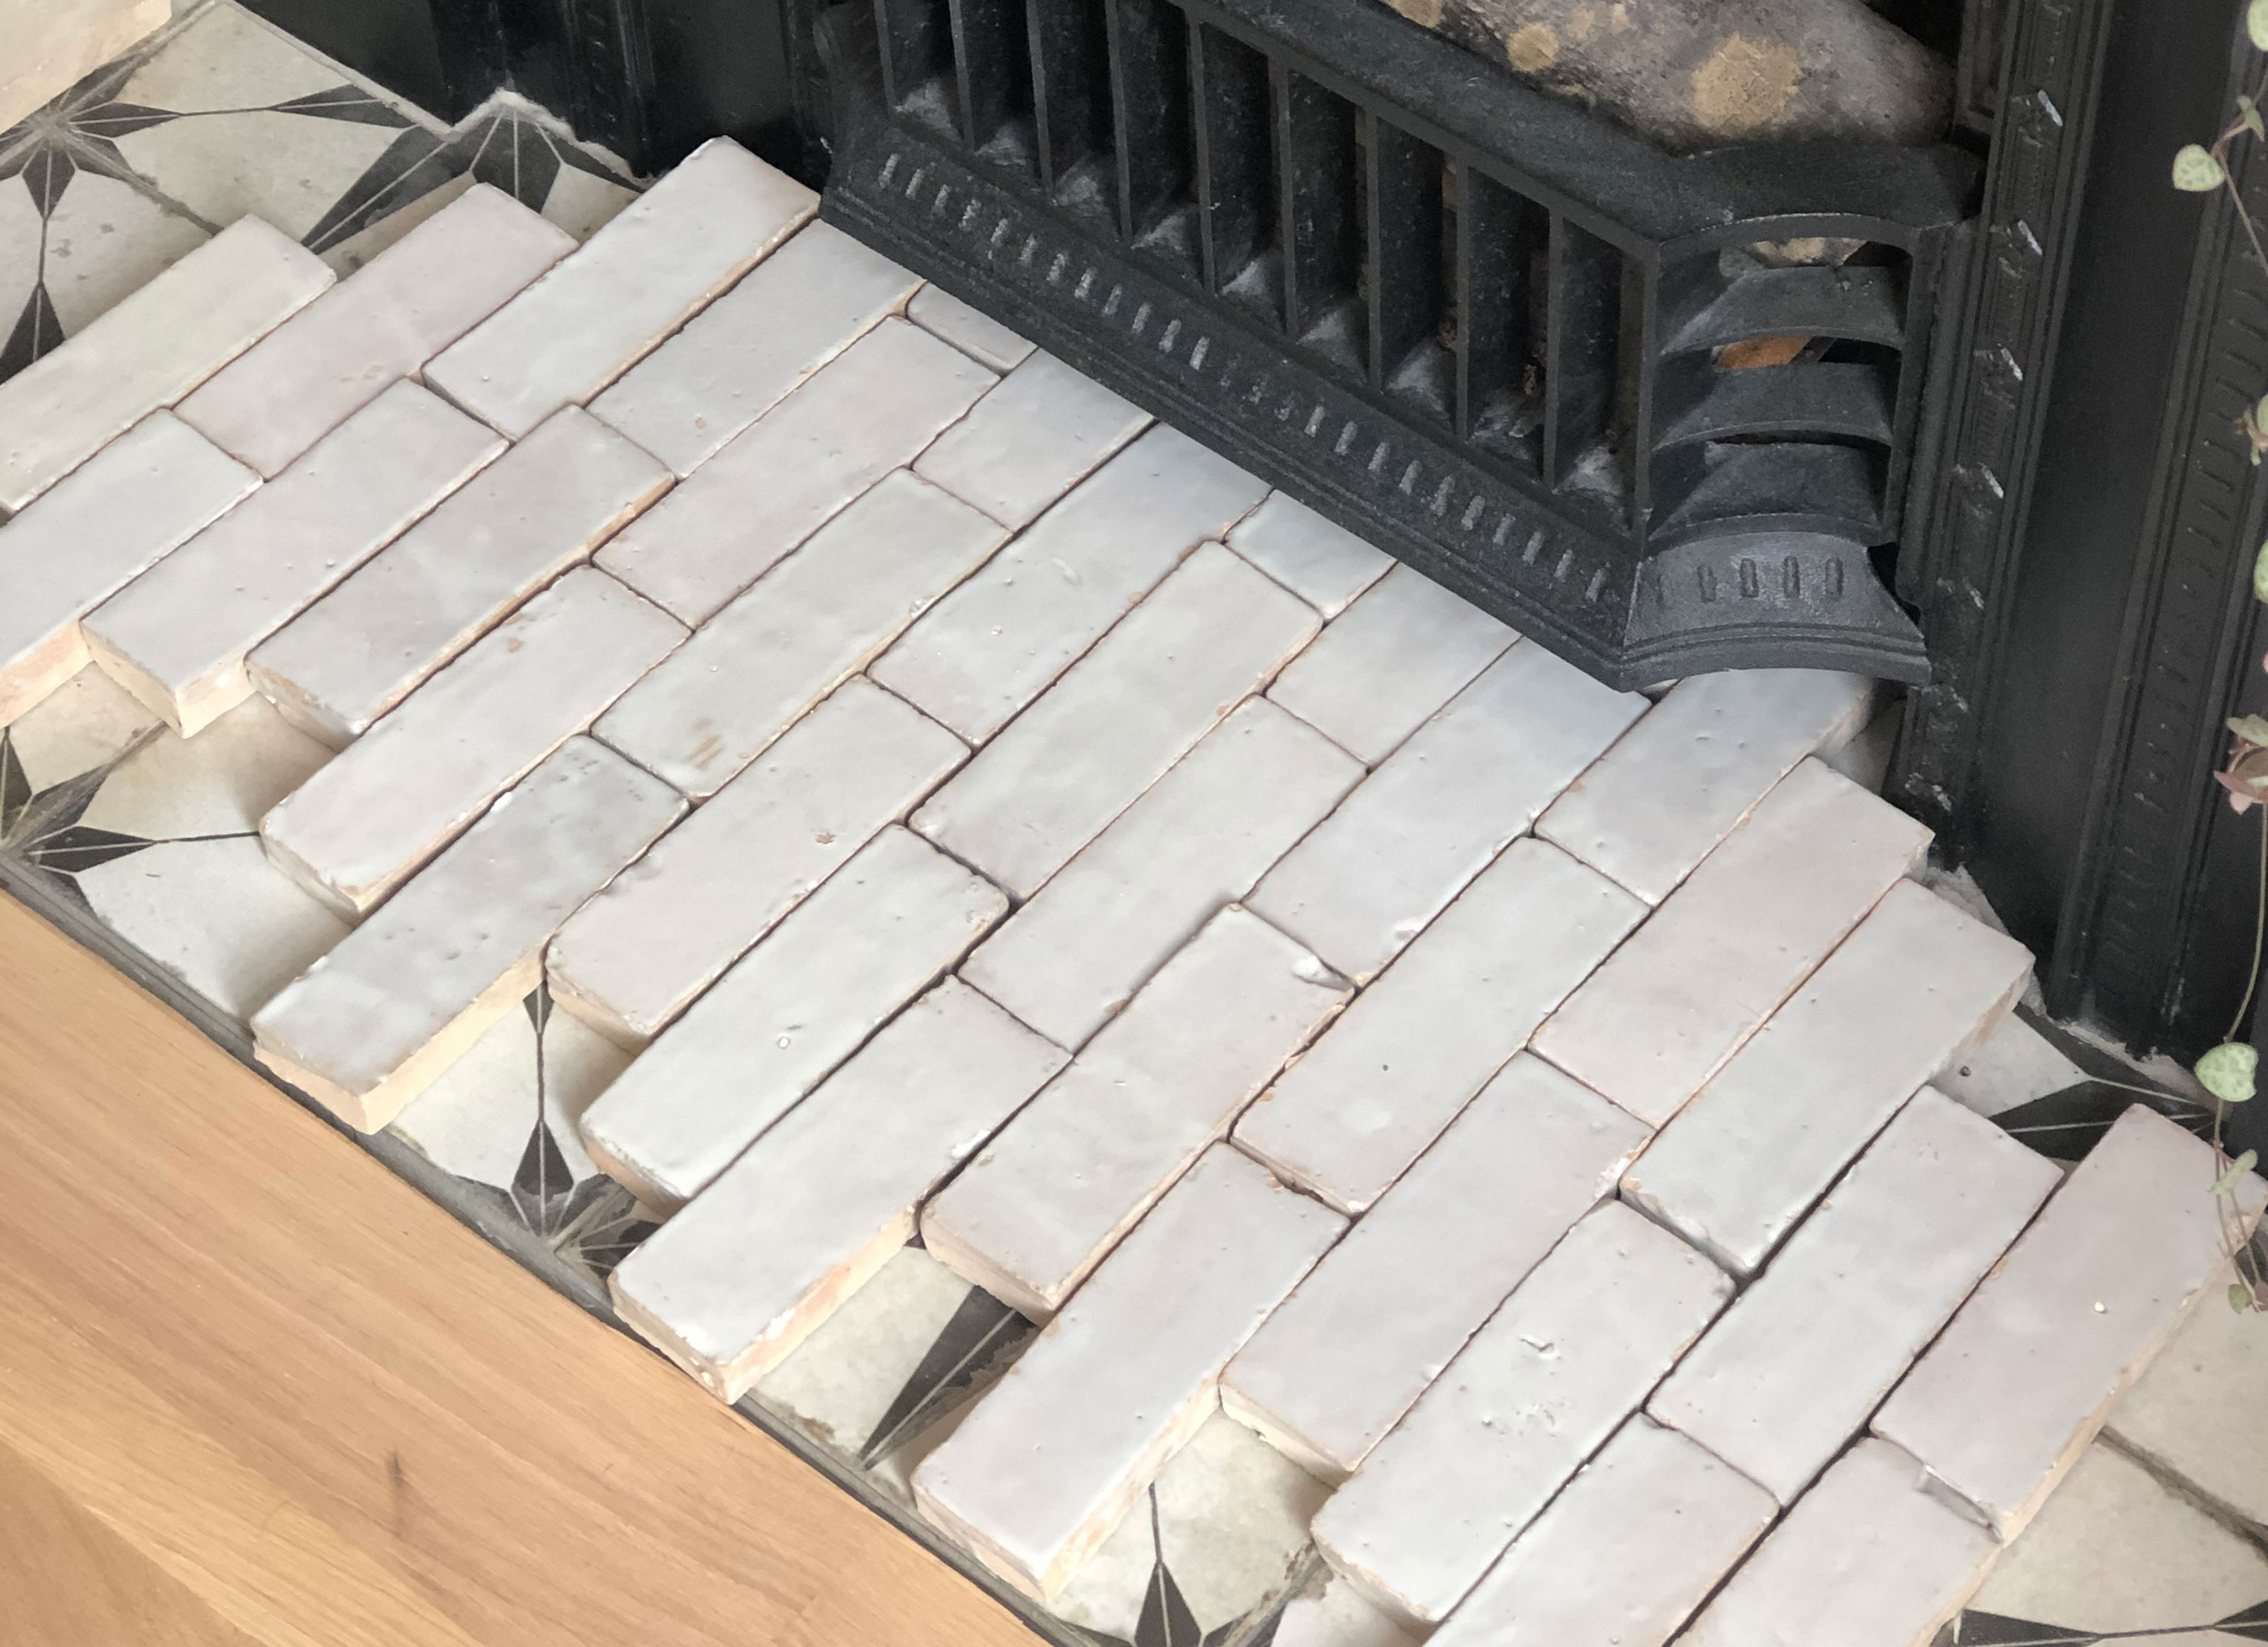
1. Fit the tiles dry
Laying out your tiles is an important first step to see how they'll fit and avoid any issues, such as having to cut small slivers that are not only difficult to achieve, but also look odd. Start from the centre out for a symmetrical look.
2. Cut tiles to fit the edges and around the surround
Once you've dry fit your tiles you can start to cut the pieces you need to square off the hearth. If using a wet tile cutter, do it outside and protect your flooring, clothes, eyes and hands. It can be a messy job.
3. Apply the adhesive in small amounts
You'll need to apply your heat-resistant adhesive in small areas so that it doesn't dry too much before you can fix your tiles in place. If you have powdered adhesive, you'll need to mix it with your drill and mixing paddle before you can use it. Once mixed, apply with the notched trowel, creating ridges so that the air can escape when you push the tile down into the adhesive.
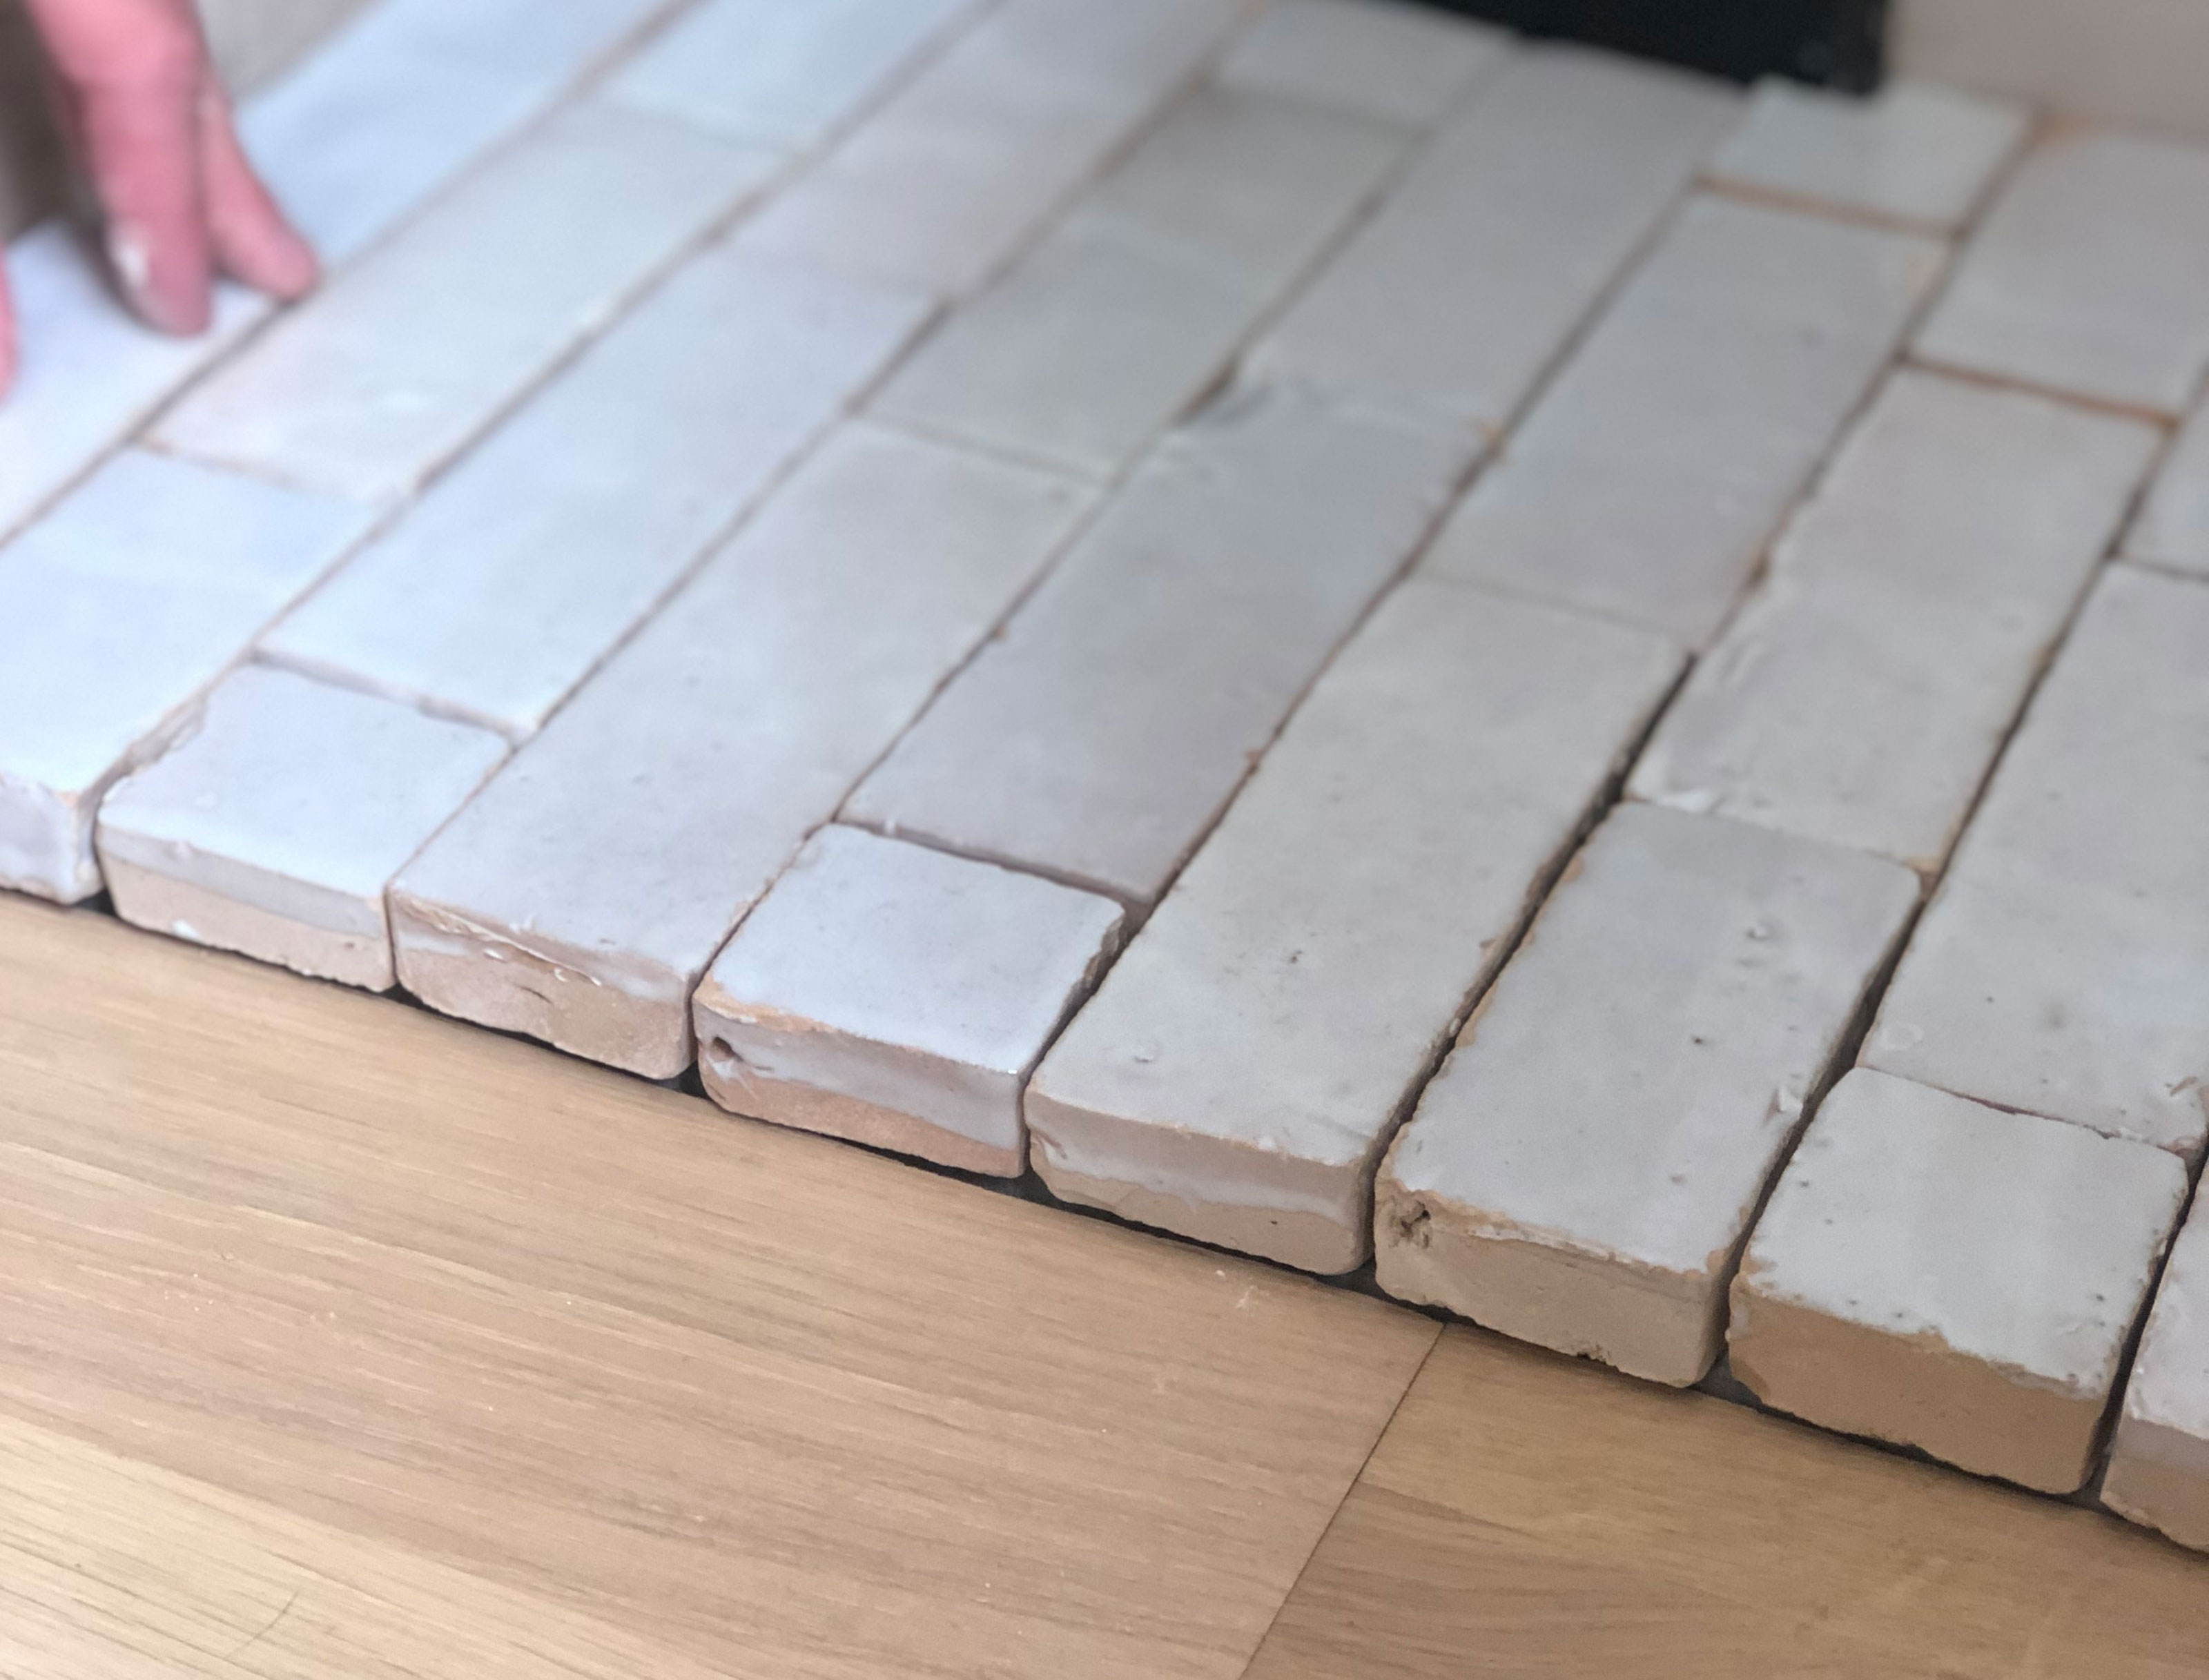
4. Fix the tiles with spacers
Start laying your tiles as previously set out into the first patch of adhesive. Push down firmly in to place. Use tile spacers between each tile so that your gap is consistent.
5. Repeat steps 3 and 4
6. Apply the grout
You should apply the grout with a grout float, pushing it into the gaps between each tile. If you're finding it difficult to apply with the float alone, buy a grouting bag (sort of like a big icing bag) to apply it directly into the gaps before smoothing out with the float.
7. Sponge clean
Once applied, use a damp grout sponge and a bucket of clean water to wipe over the top of the tiles to remove the excess grout. This should help flatten the grout in the gaps and remove the white haze from the top of the tiles.
8. If necessary, seal your tiles
Some tiles, such as stone or terracotta, need sealing after they're laid. You can do this before you lay the tiles, but it's a good idea to do this after they're laid when the grout is in place too.
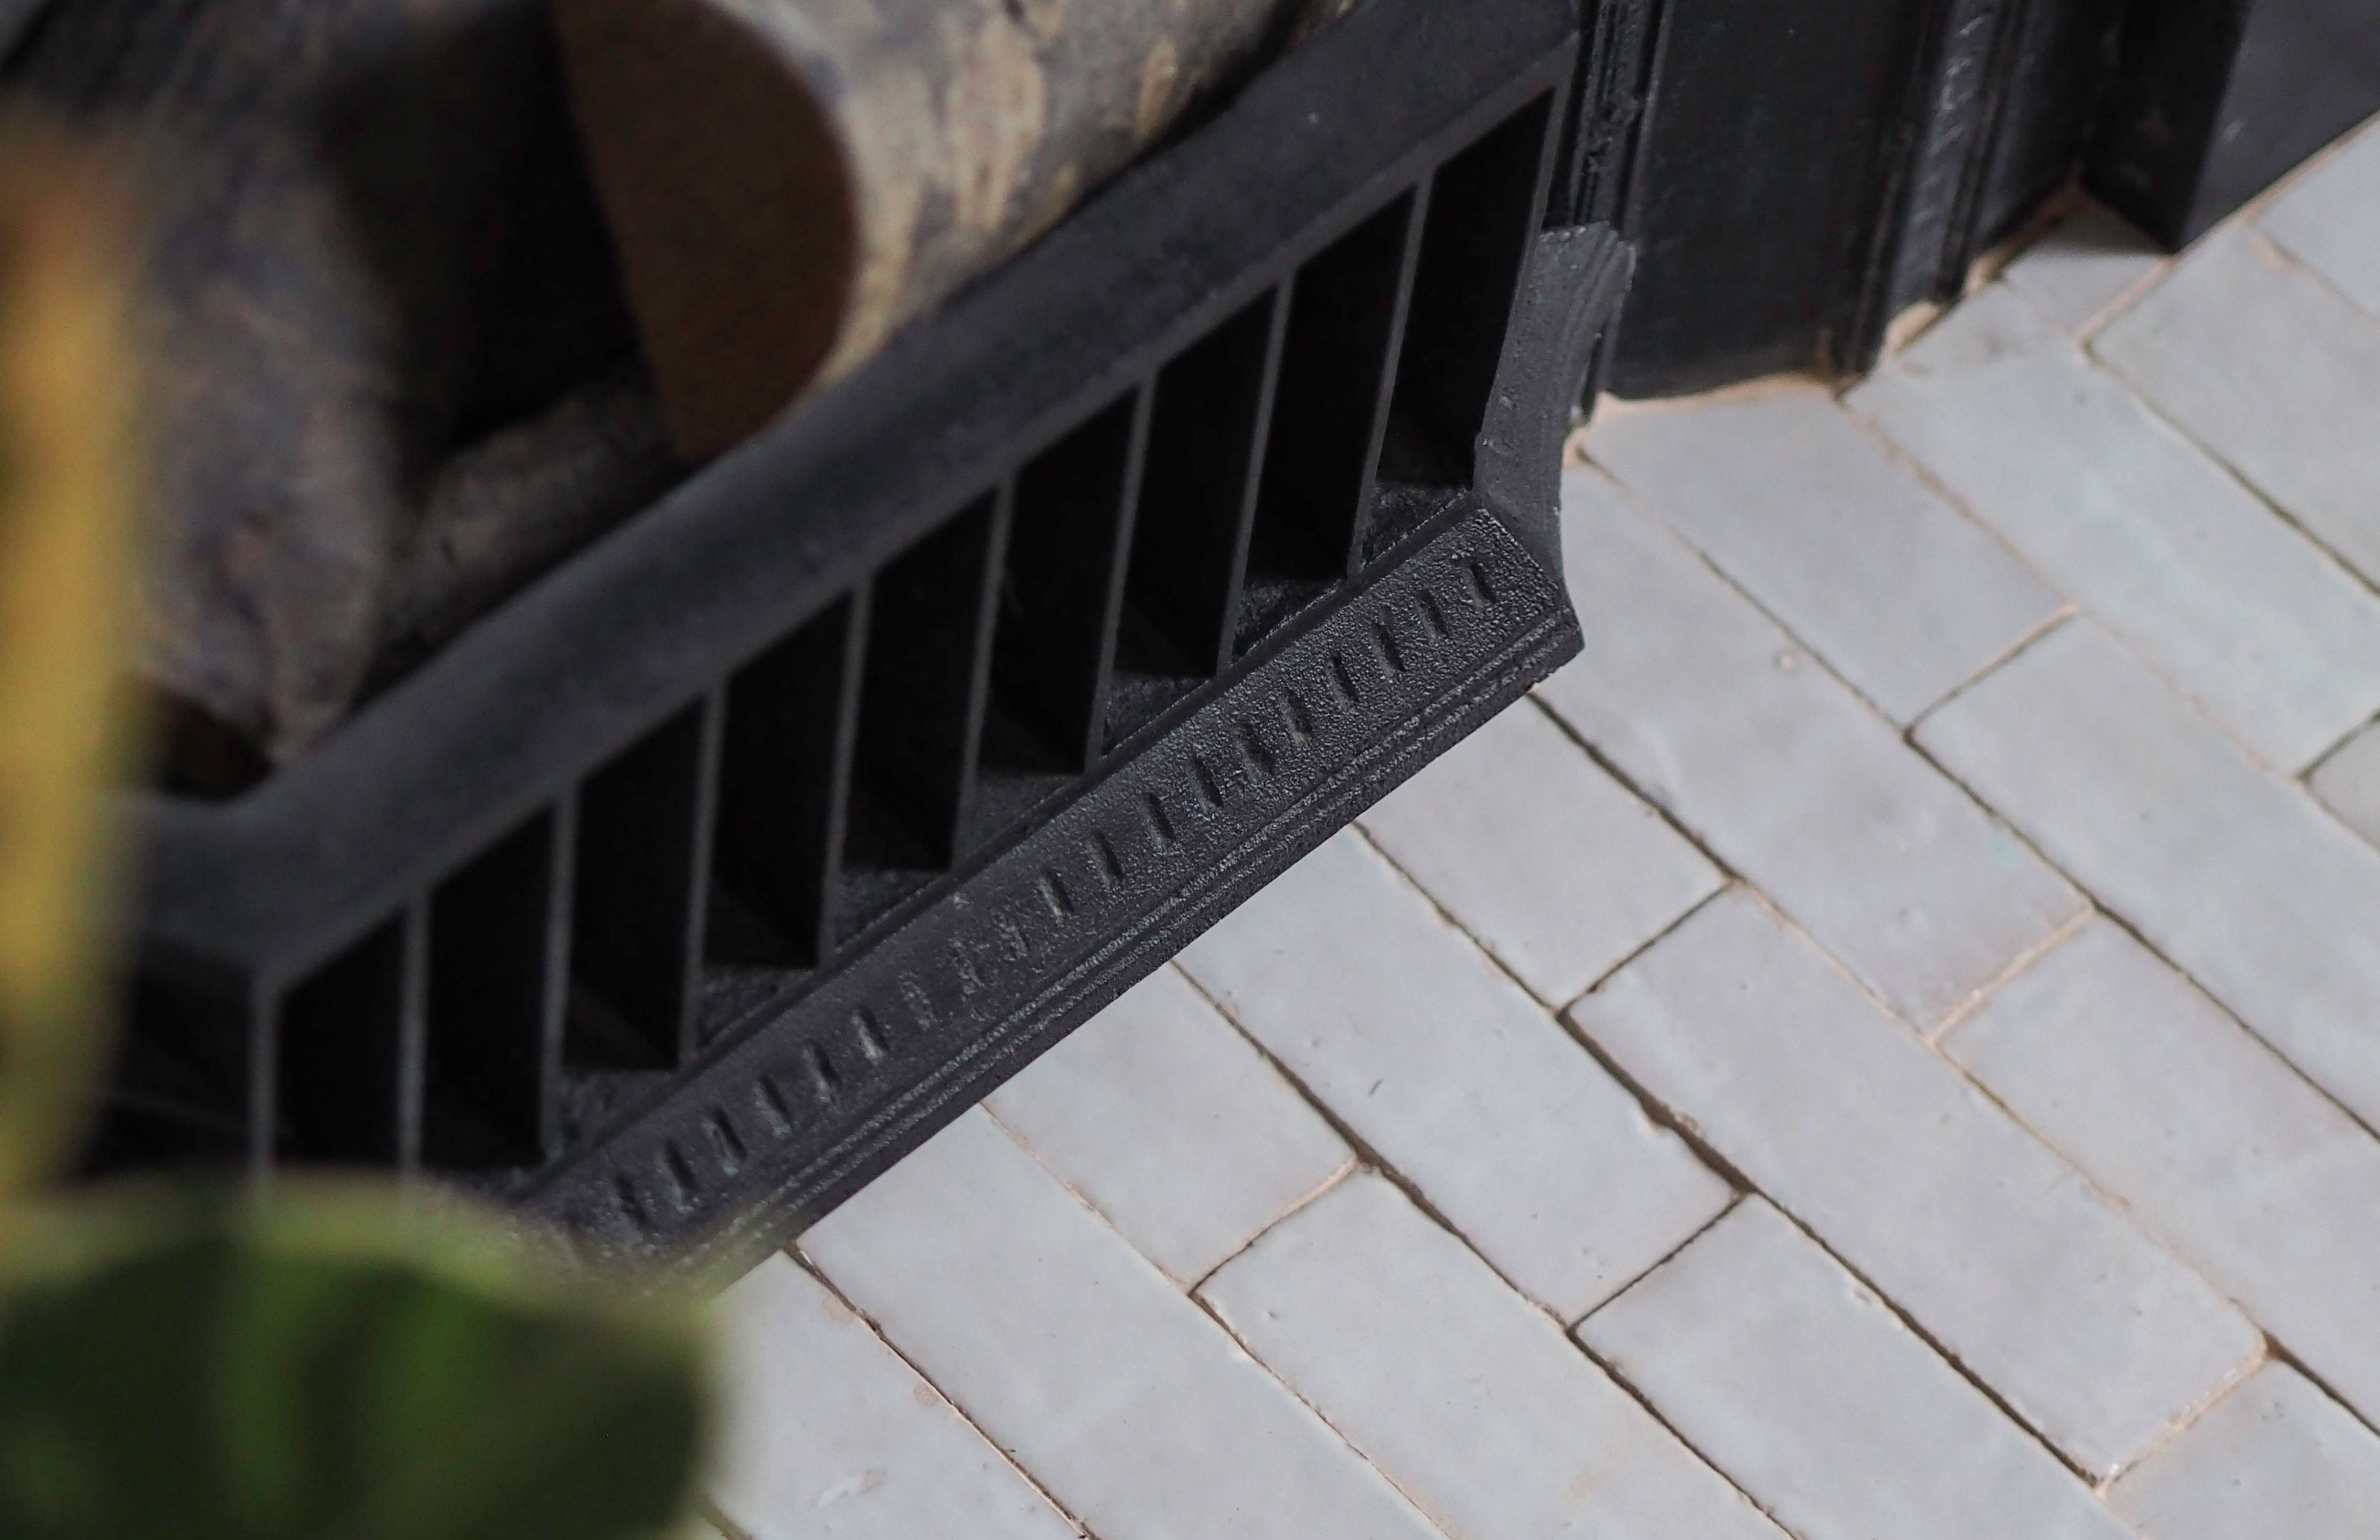
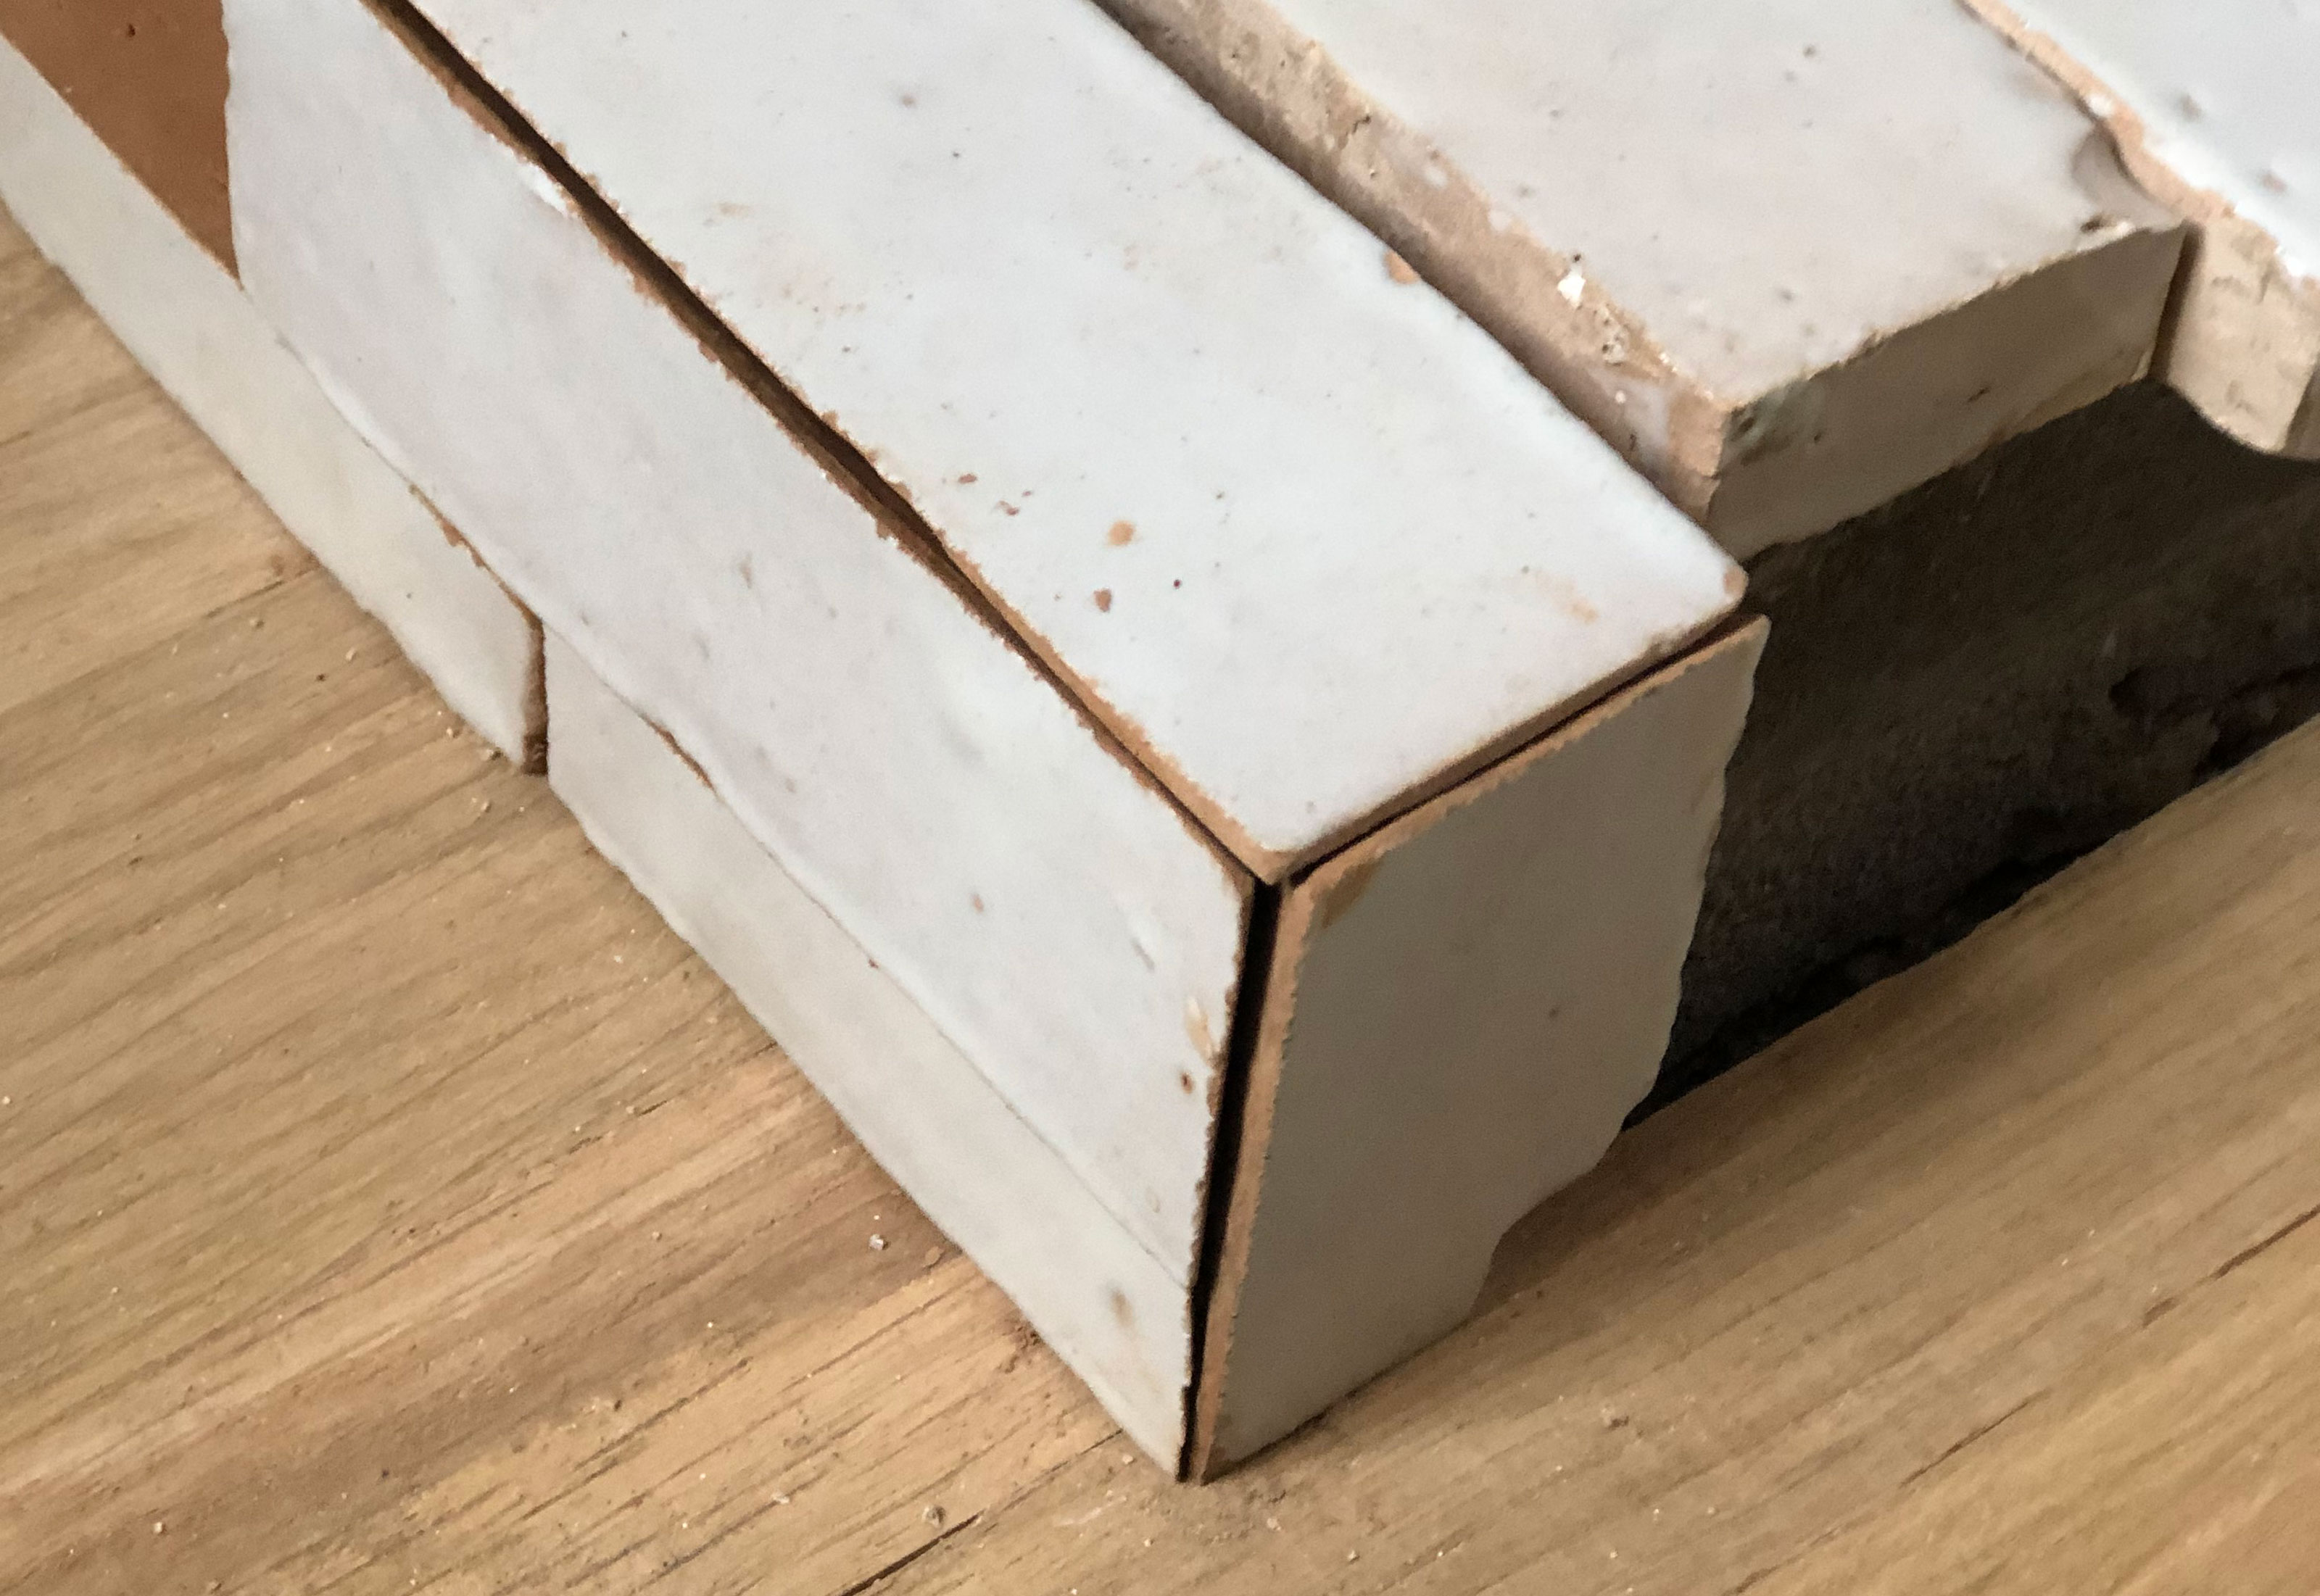
If tiling a raised hearth, you may need to apply a tile trim on the corners before tiling these areas. Alternatively, try out this fireplace hearth idea for a mitred corner - however, this is likely only possible with softer ceramic tiles.
Luke Arthur Wells is an award-winning interiors blogger and stylist. His blog has been one of Vuelio's top 10 interior blogs for four years running, and he recently won the Best Creative Skill category at the Amara Interior Blog Awards. Luke has worked with some of the UK's biggest brands, from John Lewis and Made to Farrow & Ball and B&Q. He's a big DIYer, and loves coming up with creative woodwork projects for his home, a Victorian terrace renovation in Essex.

