Check out these expert tiling an uneven floor tips to make sure you get a flat and level surface
Find out how to get rid of high points and low points on an uneven concrete or wooden floor to get it ready for tiling
Tiling an uneven floor is a challenge, so it's essential to ensure that your subfloor is as flat and level as possible before laying any floor tiles. Leave any high points or low points across a floor and you could be heading for trouble. You’ll get uneven grout lines, raised tile edges and subtle dips in the floor.
A floor doesn't need to be perfectly level, but it does need to be very close when tiling a floor. Regulations allow for slight variation, but the closer a floor is to flat and level, the better the finish. Here, the pros reveal the maximum slope allowed, the tools to get a flat floor and how to prep a surface ready for tiling.

Paul Hambidge has 35 years of flooring industry experience from an installation, manufacturing, maintenance and design perspective. He has worked with some of the largest producers of wood flooring, vinyl flooring, LVT, SPC, and laminate floors.
Check floor is flat and level
Paul Hambidge, Managing Director at Factory Direct Flooring, points out that before laying a new floor, it's essential to check the subfloor first. "No matter what type of flooring you're about to lay, it's very important that your subfloor is flat and level.” He adds, “This ensures no sagging and gaps in your new floor.”
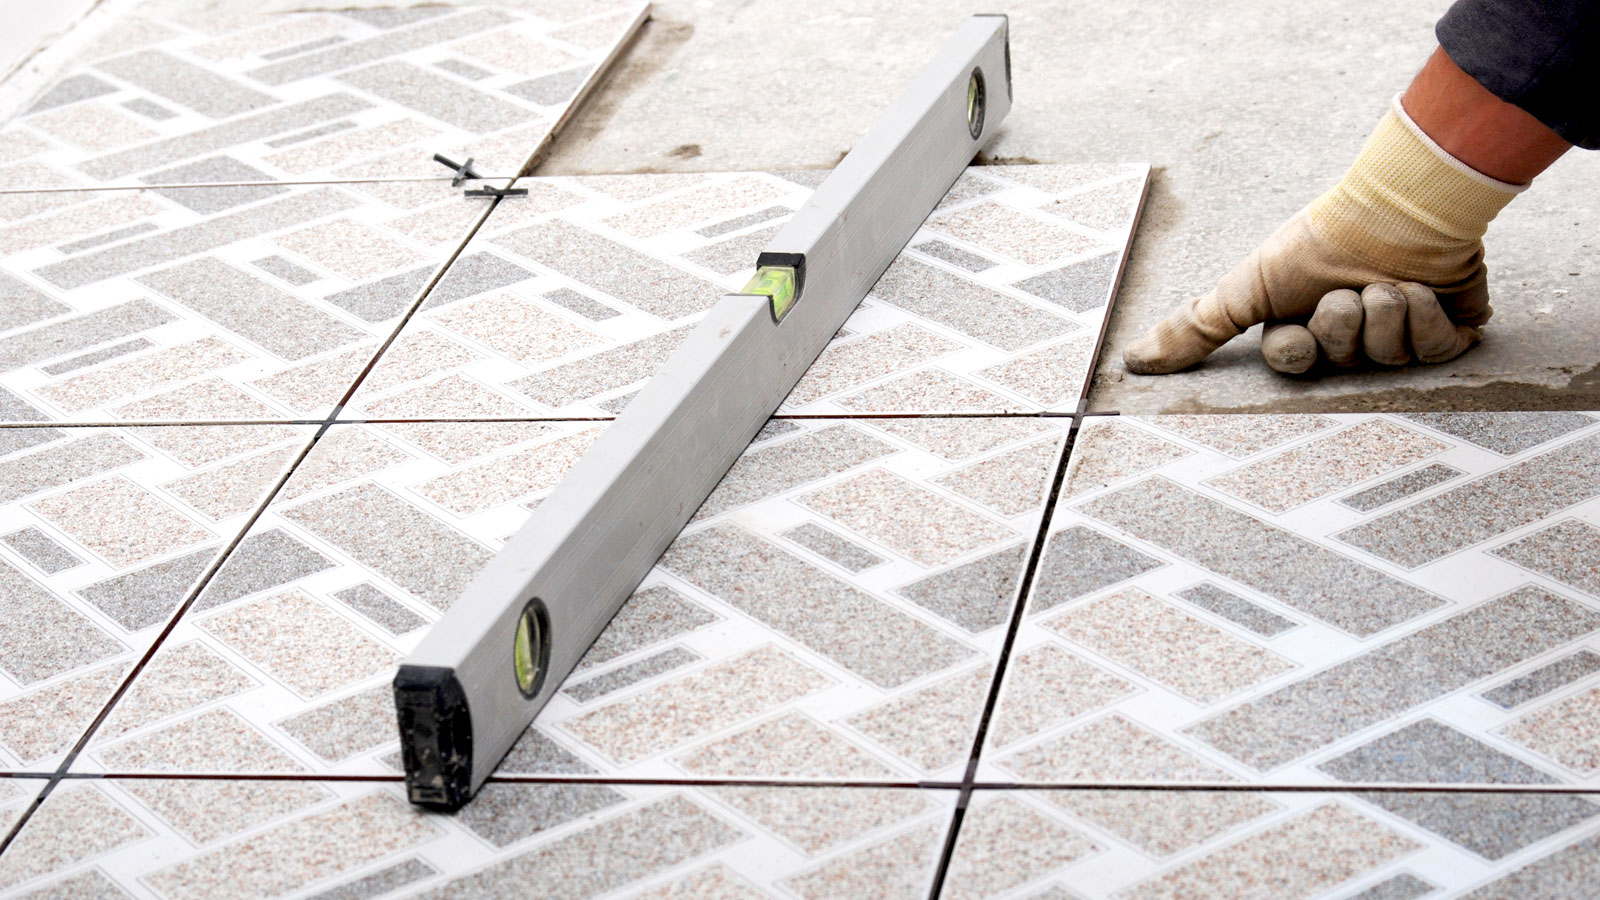
To check if the floor is level, Hambidge suggests, “Use a carpenter's level (typically longer than a spirit level), marking out any uneven areas with chalk. You can then measure how uneven it is by lifting one end of the level until the bubble is central, then measuring the difference between the lifted end and the floor.”
But a floor doesn’t need to be perfectly level, but close, continues Hambidge, “The standard for a level surface is no more than 3mm variation over a straight edge of two metres.” He adds, “The extra length you get with a carpenter's level (like this Spear & Jackson SL2000 Spirit Level) will be helpful here."
Try these tools to help tile an uneven floor
Preparing an uneven concrete floor
The preparation of a subfloor will depend on the state of the floor. If you have just a few low spots across the floor, you can address them by hand. However, if the entire floor need levelling, you’ll need to use a self-levelling compound.
Hambidge goes into more detail about the process, “To level a concrete subfloor, remove all the furniture and clean the surface by scraping and vacuuming away all debris and dust.” With the floor clean, Hambidge says, “Check your floor's moisture levels to check whether you need a moisture barrier (like this Damp Proof Epoxy Resin Water Based Paint from Amazon) before anything else. He adds, “A good way to check your floor's moisture level is with a moisture measuring meter, and you're looking for less than 75% humidity." Apply if needed.
Start by filling any large cracks with concrete and leave to dry completely before continuing. Hambidge adds, “Mark any uneven areas with chalk, then use a concrete grinder to file down the high spots, before vacuuming away all the dust.” Alternatively, a concrete grinding disc (like this SHDIATOOL Diamond Grinding Cup Wheel from Amazon) on an angle grinder is a cheaper option.
Bring your dream home to life with expert advice, how to guides and design inspiration. Sign up for our newsletter and get two free tickets to a Homebuilding & Renovating Show near you.
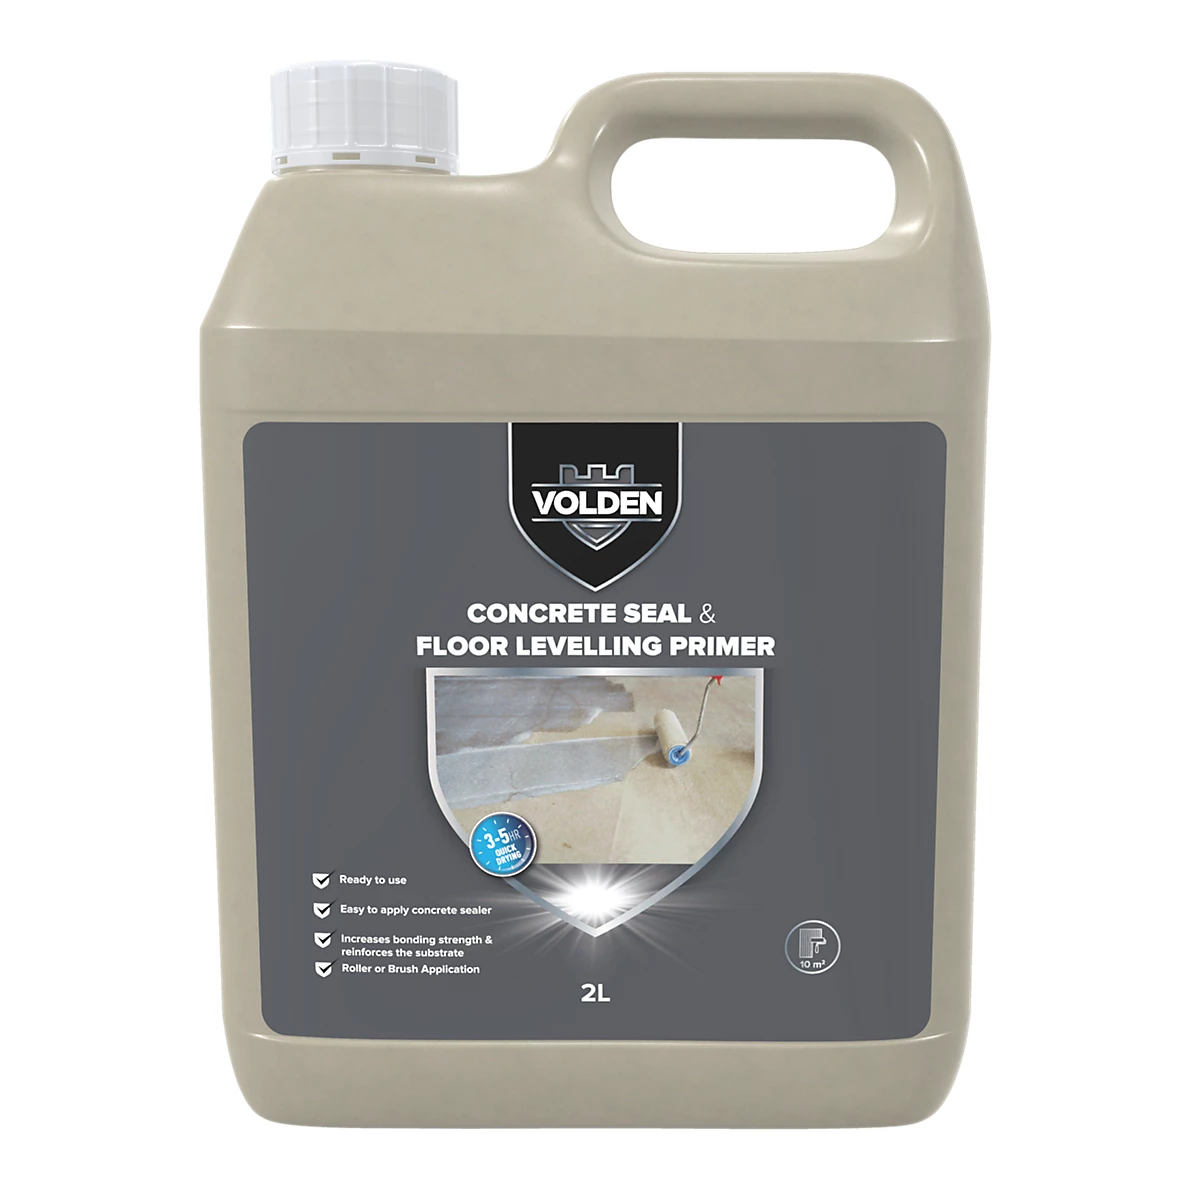
With a flat and level floor, the next step is to prime it with a primer, such as Palace SBR Bond from Amazon, which will seal the floor. Hambidge points out how to apply, “It should be applied with a soft roller, applying pressure to work it into the floor and evening out any puddles.” He adds, “Once dry, apply a second coat in the opposite direction. Drying time will vary between three and 24 hours depending on the climate.”
The final step is to use a levelling compound, such as Ultra Level IT 2 Self Levelling Compound, available on Amazon. Hambidge says, “It should be mixed with water as per the instructions on the tub, and mixed thoroughly.” He adds, “Do this in small batches, because it will only take 15-30 mins before it becomes unpourable.”
Once mixed, Hambidge adds, “The compound should be spread evenly and pushed right into the corners and edges with a spiked roller (like this 10-inch Spiked Floor Roller from Amazon) or squeegee. Let this dry completely according to the packet's instructions.” He finishes by saying, “Once dry, your new flooring is ready to lay."
Preparing an uneven wooden floor
If you have an uneven wooden floor the first step is to secure every board. Keen says, “Replace anything rotten and drive in screws where planks squeak.” He continues, “Plane or sand down crowns, and skim coat little dips with patching compound.” Use an orbital sander like this SKIL 5” Random Orbital Sander from Amazon, with a coarse sandpaper grade, 40-60 grit is good.
If you are still having issues Keen suggests, “Screw down a cement backerboard (like this HardieBacker 6mm Backerboard from B&Q) to give a rigid, even platform for tiles."

Kevin has been in the construction industry for 25 years and handles everything, from the distribution and installation of portable structures to financing and manufacturing. He can speak with authority on every aspect of building.
FAQs
Do you need to prime a newly prepared floor?
“In most cases, yes,” shares Keen. Adding a primer will help with a host of issues and ensure the longevity of a newly tiled floor. He adds, “Primer keeps thirsty substrates from stealing water out of the mix. Always read the manufacturer’s label, but skipping primer is a common cause of bond failure.”
It is essential to seal porous concrete surfaces and screeds to prevent further issues from arising. The same principle applies to wooden floors, but a different type of primer will be needed. Ensure the floor is clean, free from dust, and secure before priming.
Can I put floor tiles over floor tiles?
Yes, you can lay floor tiles over floor tiles, but a lot will depend on the current state of the floor. If it's in poor condition and requires extensive repair work, then it makes no sense to tile on top of it. However, if the floor is solid and only has superficial damage, it can be a good choice. But Hambidge adds a word of warning, “A lot depends on what your tiles underneath are made of.”
He adds, “For example, I wouldn't recommend laying vinyl tiles on top of old tiles that are also made of vinyl – that's because it will 'sweat'.” Instead, you should remove the old tiles and prepare your subfloor before installing the new tiles."
Is there a floor tile pattern that helps hide an uneven floor?
While it makes sense to get a floor as flat and level as possible, there are a few tricks that you can use to help counteract any subtle dips and troughs. Keen suggests a staggered brick or running bond design. “These help hide small waves better than grid lines that are precisely straight.”
He adds, “Avoid tiles that are too big and grout joints that are too thin, as they make flaws stand out.” To finish, he says, “When the substrate isn't ideal, smaller sizes or mosaics (like these Ashford Hexagon Black & White Mosaic Tile Sheets from Victorian Plumbing) can bend and hide small highs and lows.”
Unsure about which floor tile to choose for your flooring project? Check out our bathroom flooring ideas, best flooring for kitchens and where to buy bathroom floor tiles guide for insight and inspiration.
Steve Jenkins is a freelance content creator with over two decades of experience working in digital and print and was previously the DIY content editor for Homebuilding & Renovating.
He is a keen DIYer with over 20 years of experience in transforming and renovating the many homes he has lived in. He specialises in painting and decorating, but has a wide range of skills gleaned from working in the building trade for around 10 years and spending time at night school learning how to plaster and plumb.
He has fitted kitchens, tiled bathrooms and kitchens, laid many floors, built partition walls, plastered walls, plumbed in bathrooms, worked on loft conversions and much more. And when he's not sure how to tackle a DIY project he has a wide network of friends – including plumbers, gas engineers, tilers, carpenters, painters and decorators, electricians and builders – in the trade to call upon.
