The secrets of successfully bricking up a window as revealed by experts
If you have a window that needs bricking up making sure you read our experts' tips for a seamless finish first

There are lots of different reasons why bricking up a window might make sense when renovating a house. In some cases, it might be down to a matter of privacy, while in other instances the need to brick up a window is down to layout reconfigurations that mean natural light is no longer needed in a particular position.
"We close up windows for many different reasons," picks up Farook Member, home improvement specialist and director of QS Supplies. "Sometimes it is to install something such as an appliance or cabinet in front of it, or to just make the room slightly more private. Other times it is simply due to a new trend, or due to the planners requiring it."
Whatever your reasons are for bricking up a window, our expert-led guide is here to help, with advice on everything, from how to tie the new brickwork in with the old to how to find matching bricks.

Farook Member is the director of QS Supplies and a seasoned expert in the home improvement and bathroom industry. With over three decades of experience, Farook has been at the forefront of innovation and quality since founding QS Supplies in 1990.
Will bricking up a window always look obvious?
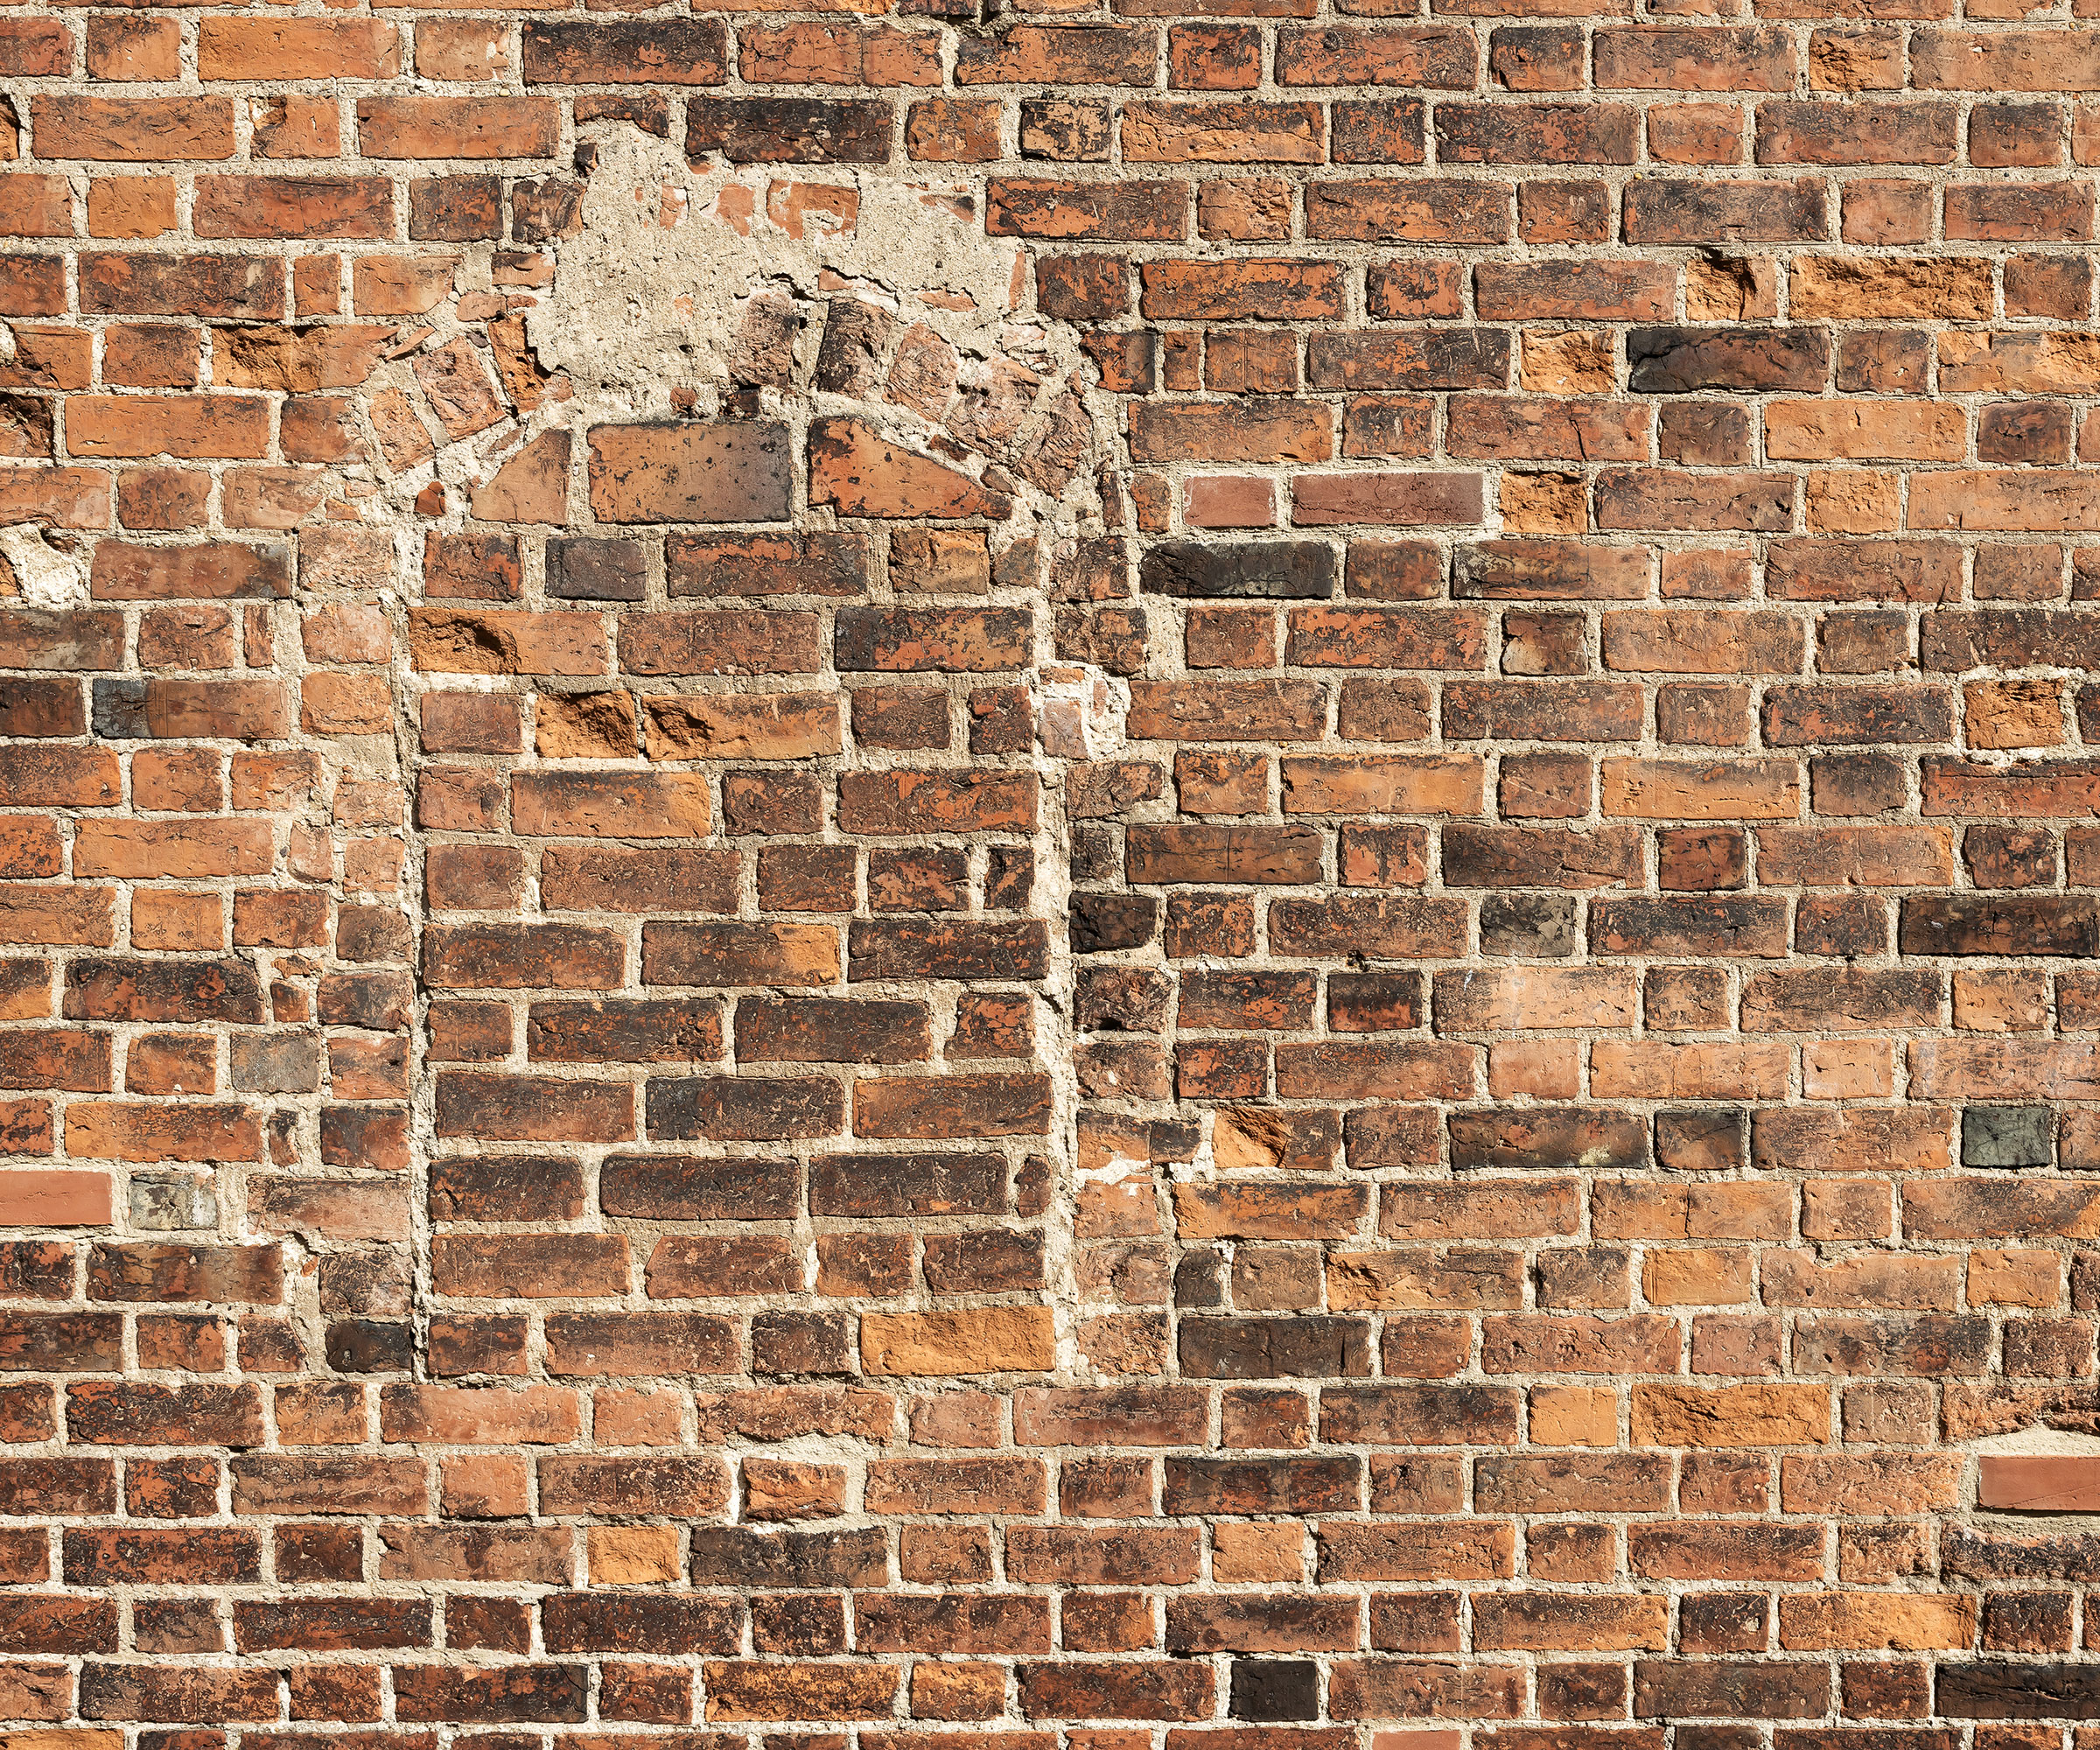
The concern many people have when it comes to bricking up a window is that it will always look glaringly obvious that there was once an opening there. Thankfully, though, this need not be the case – and much of this comes down to the types of bricks you use.
"Bricking up a window to make it appear as though it never existed is all about how close you can make it match the exterior brickwork," picks up Farook Member. "Bricks, mortar, design – the lot. As close to original as you can get, the better. You're going to want to use bricks of the same size and colour and make the joints on the new section the same as on the older part."
The following tips will all help ensure no-one will ever know that a window once existed in your beautiful brickwork.

1. Do everything you can to track down matching bricks
While using bricks that match those used on the surrounding wall is the most obvious way to ensure a seamless finish, what happens if you just can't find any?
Bring your dream home to life with expert advice, how to guides and design inspiration. Sign up for our newsletter and get two free tickets to a Homebuilding & Renovating Show near you.
"If you are struggling to match bricks, check if other houses on the street are having building works done," suggests architect Tina Patel, director at Architect Your Home. "You may be able to reuse any that they are discarding which could be a bonus as they will be pre-weathered."
"If the matching bricks are hard to locate, try looking for some reclaimed bricks among local salvage yards," adds Farook Member. "They usually have a good stock of older bricks. Otherwise, you could consider taking whatever you can from an out-of-sight part of your property."

Tina Patel is a RIBA-chartered architect and director at Architect Your Home, with over 15 years' experience helping families transform their homes through thoughtful, stress-free design. She specialises in homeowner-led renovations, making the process of extending, refurbishing, or reconfiguring a home simpler and more empowering. Having worked on over 200 projects, Tina is passionate about creating happy, harmonious homes that add real value to family life. She's an expert voice on planning system challenges, permitted development, and the realities of renovating in the UK today – especially from a homeowner’s perspective.
2. Pay attention to the brick bond
Even if you are successful in finding matching bricks, bad brickwork or laying them in a totally different pattern to those within the existing wall, will mean the whole thing is going to look wrong.
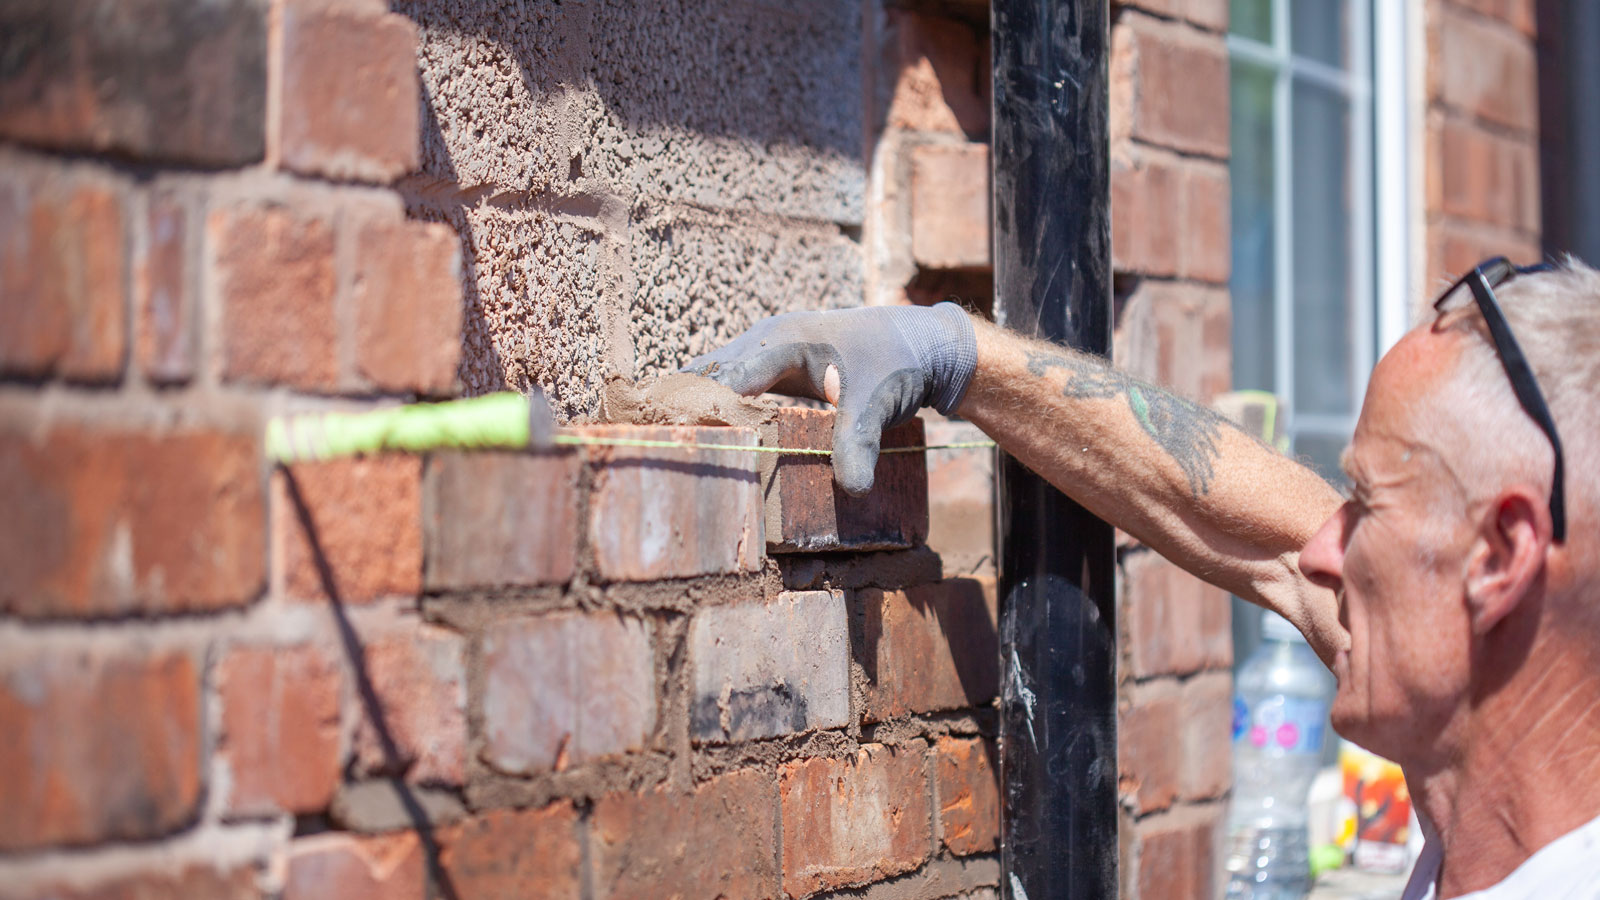
"Make sure bricks are keyed in too," says Tina Patel. "This essentially means that the bricklayer will remove any surrounding bricks to allow for the brick bond to continue in the same pattern – as opposed to leaving the old cut or half bricks around the opening."
"Removing a few of the bricks around the window in a staggered manner so that the new bricks can blend in with the older bricks is a good trick," agrees Farook Member. "It requires a spot of patience, but it does work."
"Ensure you have removed any old brick arches or soldier coursing (the vertical bricks above a window opening) and followed the adjacent brick pattern through," adds Tina Patel.
3. Use tricks to make new bricks look old
You might well be patting yourself on the back for hunting down bricks to match the originals, but they are still going to look a little different to the old bricks if they are newer.
"Spend some time colour matching the brick – if you use a new brick against an old one, even if you have got a good match, one will be a lot less weathered," explains Tina Patel. "To overcome this look into brick tinting. You can apply a brick weathering tint to the wall which should make the bricks blend seamlessly."
"You can also touch them up using limewash or masonry tint to tone them down," adds Farook Member.
4. Be sure to repoint the whole wall
While you can go to great effort to use the same mixture to point the brickwork where the window once sat, to get a totally seamless finish, it is better when repointing brickwork to do so to the entire wall.
"Re-point the wall so it all looks fresh and aligned in same way," advises Tina Patel.
If the rest of the house has lime mortar within the brickwork pointing, don't be tempted to use anything else for the newly bricked up section as doing so could result in problems with damp later down the line.

5. Avoid rendering over the entire wall
It can be tempting to just cover the whole wall with new render, but this is something to be avoided if at all possible.
"Unless the existing wall is in really bad condition, we would not normally suggest rendering a brick wall," picks up Tina Patel.
"If you do consider this route, be mindful that brick walls work in a certain way relative to rain and moisture and you will want to seek advice in order not to compromise the integrity of this by covering it up with a render," continues Tina. "Rendering it up may also draw attention to your wall being different to your adjacent neighbours – plus render generally requires more regular maintenance."
That said, Farook Member feels that unless a perfect match can be achieved, render can be the best route.
"If you can't locate a match, render the whole wall and don't try to cover over an ugly, mismatched section," he says. "Smooth render looks neater and more contemporary, while a textured finish covers up flaws well."
6. Don't forget the other side of the wall
Finally, the interior of the wall, where the window was once positioned, will also require your attention.
If you are dealing with a cavity wall, you will be able to add insulation to the inside of your new brickwork before blocking up the opening internally and having it plastered over.
However, if yours is a solid wall, you will need a double thickness of bricks in order for the levels to match up.
Bricking up a window: Step-by-step
It is useful to know the basic steps that go into bricking up a window, whether you plan on doing it yourself or if it is just a case of wanting to know what's involved.
- Take out the old window. Timber frames are usually pretty simple while some double-glazed units can be tricker.
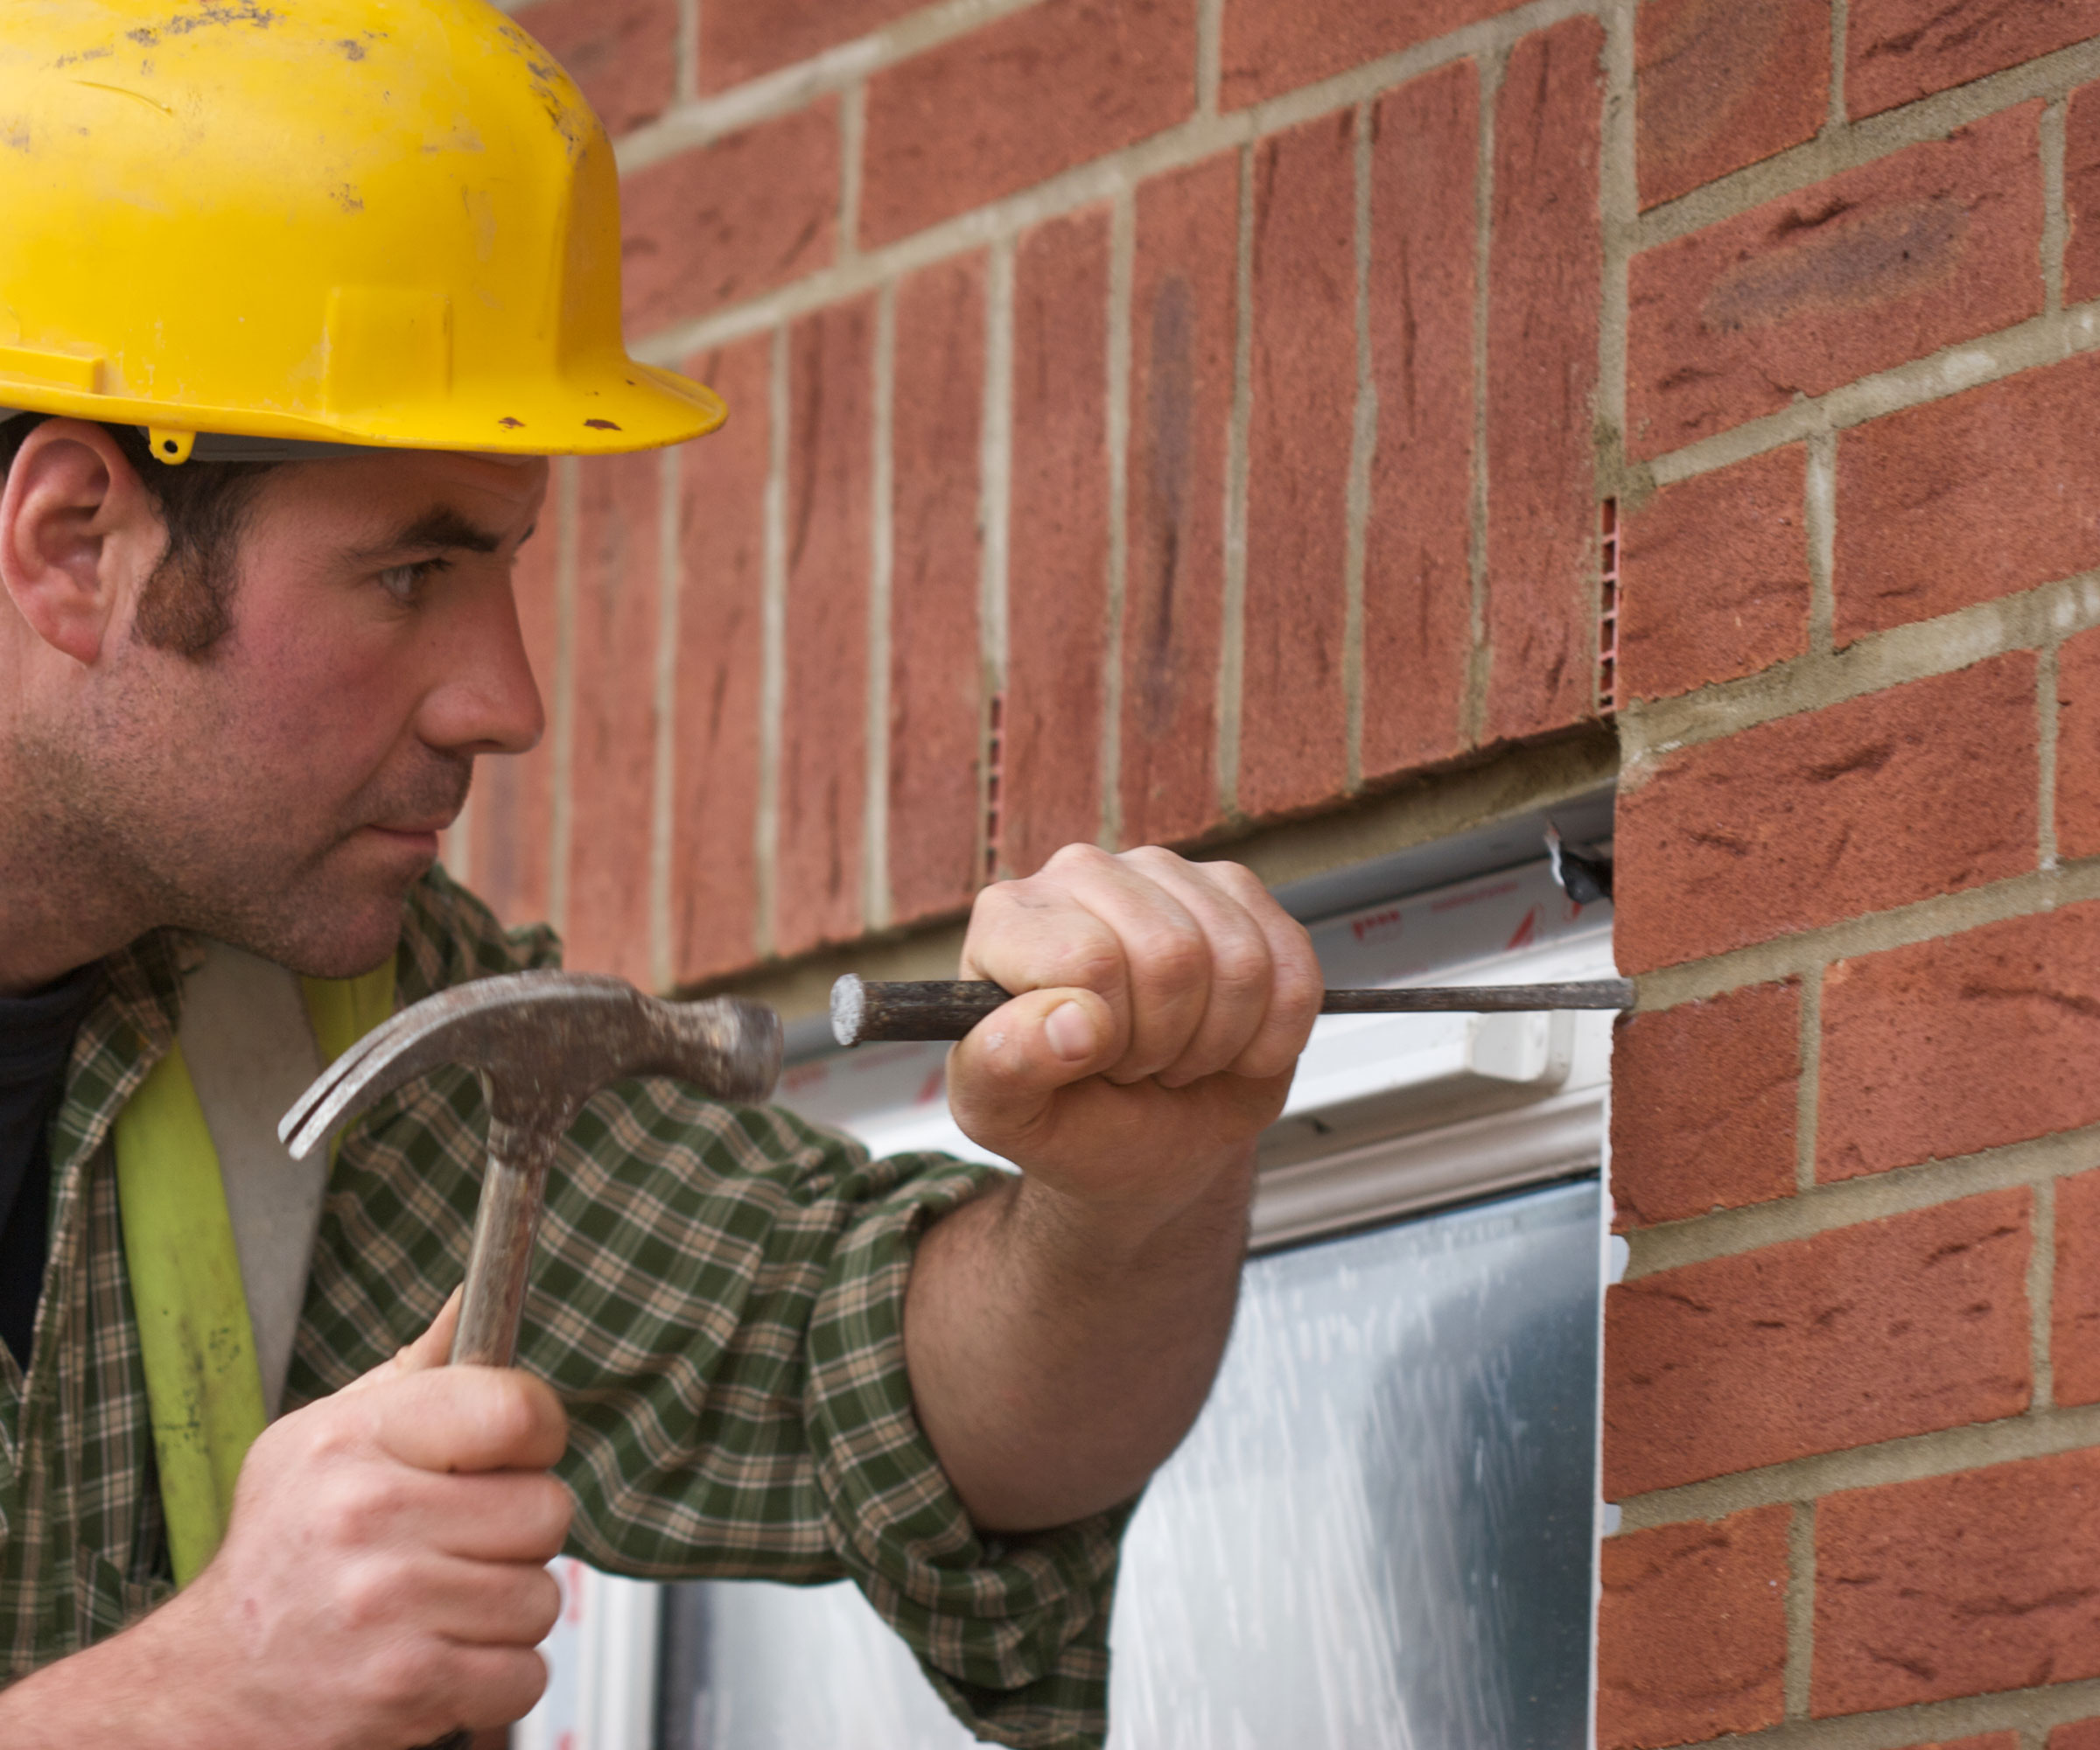
- Clean up the opening. Remove any mortar, and the brick cill if present, to give to a clean opening.
- In order to tie the new bricks in and ensure they follow the same pattern as the old, it might be necessary to cut out sections of the existing opening surrounds to set the new brickwork in so that the bricks bond.
- The new bricks can now be laid into place and pointed.
- After the external bricks have been laid, the inside of the window can be bricked or blocked up.
FAQs
Do I need planning permission to brick up a window?
In the majority of cases, planning permission will not be required to brick up a window. That said, if you live in a listed building or within a conservation area you might well need consent.
If in any doubt check with your local planning department.
While bricking up a window is not too much of an issue, you will need to think very carefully when the time comes for replacement windows. Everything from their size to the frame material you op for and the type of glazing you choose will have a huge effect on how your home looks and performs.
Natasha was Homebuilding & Renovating’s Associate Content Editor and was a member of the Homebuilding team for over two decades. In her role on Homebuilding & Renovating she imparted her knowledge on a wide range of renovation topics, from window condensation to renovating bathrooms, to removing walls and adding an extension. She continues to write for Homebuilding on these topics, and more. An experienced journalist and renovation expert, she also writes for a number of other homes titles, including Homes & Gardens and Ideal Homes. Over the years Natasha has renovated and carried out a side extension to a Victorian terrace. She is currently living in the rural Edwardian cottage she renovated and extended on a largely DIY basis, living on site for the duration of the project.


