How to Revive Wood Floors
Bring your dream home to life with expert advice, how to guides and design inspiration. Sign up for our newsletter and get two free tickets to a Homebuilding & Renovating Show near you.
You are now subscribed
Your newsletter sign-up was successful
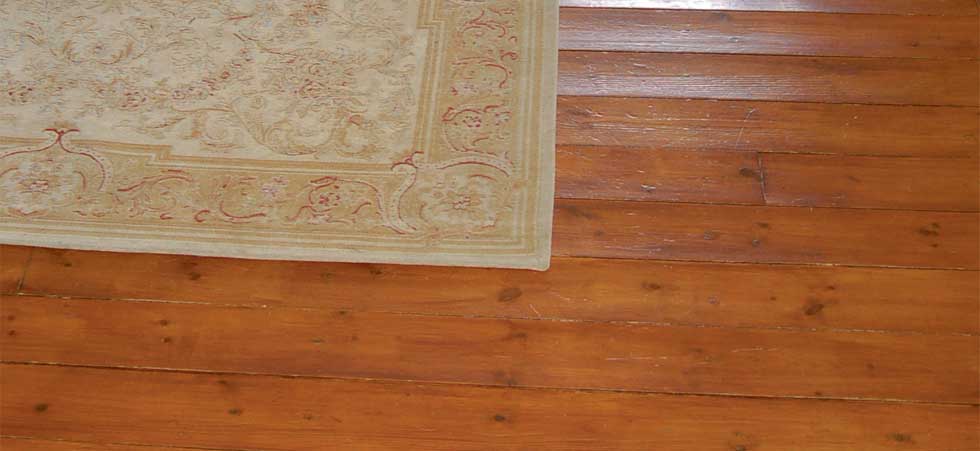
Varnished wooden floors are great in a busy family home: they’re attractive, easy to keep clean and pretty tough, too. Exposing the floorboards in older houses is still a popular alternative to carpet. The result, after a heavy-duty floor sander has been used, is a startling improvement and floors are often varnished without further work being done to the boards.
But floorboards were designed to be covered with a heavy layer of carpet and underlay, so draughts, squeaks and unsightly gaps are a common side effect of going back to basics. In this feature we’ll show you how to deal with these problems.
Heels, pets and toys mean scratches are inevitable in softwood floors, and while a little patina adds character to a wooden floor finish, it all starts looking rather ugly if the varnish peels away. This is particularly true if a coloured varnish comes off to reveal bright pine beneath. The simple solution is to daub some more varnish on top, but with a bit more preparation you can create a much longer-lasting finish. Overleaf, we’ll describe a proven procedure.
Talking of finishes, running a mop over your wooden floor may give the surface a temporary shine, but use a dedicated cleaning fluid followed up with a quality floor polish (try Bona or Stikatak) and you’ll get a finish so good, you’ll always remember why you chose wood.
FAQs
How Long Will it Take? It depends on the floor area, but for a standard 16² room you should be able to do this in a weekend Where Should I Buy Varnish? The market leader in top-end varnishes is Bonakemi (available through online dealers) — it’s water based and leaves the wood as close to natural as possible. A 4.5-litre bottle, which will be enough for two coats, each covering 16m², will cost you around £100
How Long Will it Last? It depends on the usage of the floor in question. A busy hallway might last five years in top-quality condition, a bedroom nearer ten. You’ll be able to extend the life of your wooden floor with regular cleaning, as the dust and grit wears down the varnish and gets into the gaps
How Much Will DIY Save Me? Professionals will charge in the region of £20-35/², meaning a typical 16² dining room might cost in the region of £400 (without the top-of-the-range varnish we mentioned above). If you have the tools (see below) you should be able to do this job for £150.
Bring your dream home to life with expert advice, how to guides and design inspiration. Sign up for our newsletter and get two free tickets to a Homebuilding & Renovating Show near you.
Tools & Materials Needed
- Wood plane
- Electric sander
- Brushes
- Hammer and nails
- Screwdriver and screws
- Wet and dry sandpaper
- Gapseal (0800 088 7311)
- Strips of wood for filling
- Replacement floorboards
- Wood dye
- Varnish
- Drill and bits
- Wood filler
- White spirit and cleaner polish
Step-by-Step Guide
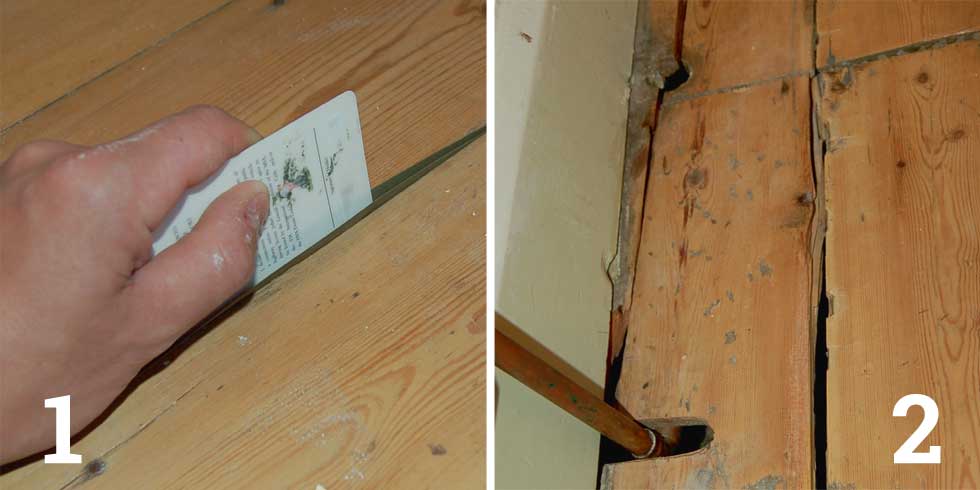
1. Make good simple gaps. Gaps between floorboards allow draughts and dirt through. The traditional solution is to force papier mâché into the gaps. This is fine, and particularly effective if you mix some wood stain into the papier mâché so it matches the colour of the boards. The modern solution is to use a product like Gapseal. Position it over the gap and then push in with an object like a credit card, forming a V-shaped barrier between the boards.
2. Fill in bigger gaps with new wood. Coat both sides of a suitably sized piece of wood with wood glue and then tap it in between the two boards. Once the glue has dried, plane the top off so it comes flush with the board before sanding and treating with varnish. If any of the boards look like this, you’re much better off…
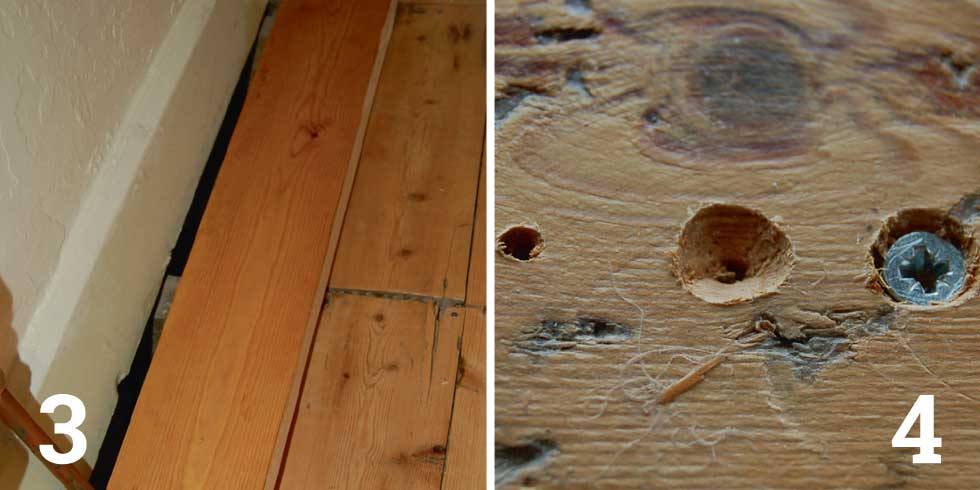
3. …cutting a new board section from scratch and replacing the worn-out piece entirely. You’ll find that a new piece of board will differ in colour from even a recently stripped board coated in clear varnish. Dye to match.
4. Eliminate squeaks. One reason that they may have developed is that the old floor covering would have helped to both hold down loose boards and deaden the sound of any that did start moving. Before sanding the floor you probably knocked down the nail heads a bit with a punch to stop them tearing the sanding sheets to shreds. This sometimes loosens the grip of the nail, the board gets loose and the squeaking starts. The obvious solution is to bang in another nail or two to secure the board but you’ll get a much more secure (squeakproof) fixing by drilling a small pilot hole through the board and into the joist and following this up with a screw. If you countersink the pilot hole with a larger drill first, the screw head will disappear below the surface when it is tightened up.
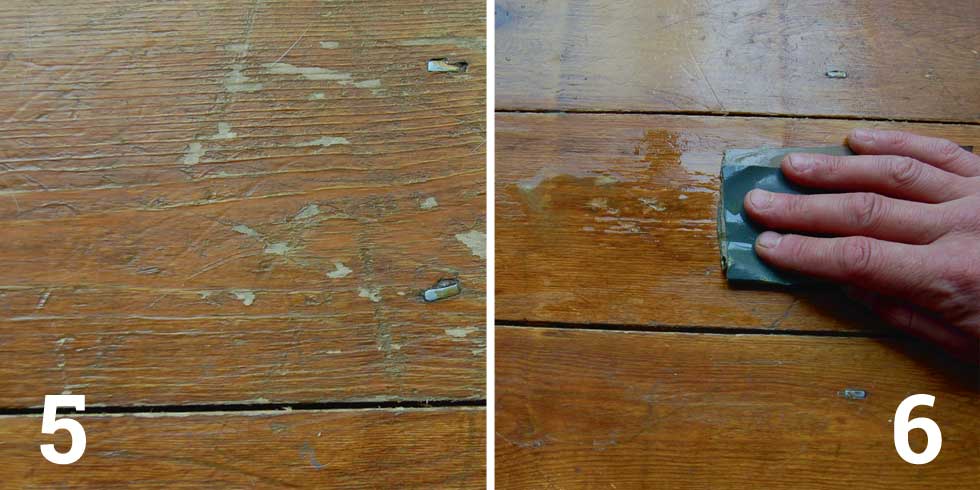
5. Repair varnishes. They do provide a tough finish, but over time the constant battering from shoes, toys and scrabbling pet claws causes this sort of damage.
6. To repair, start by rubbing down the area with 400-grade wet and dry sandpaper (used wet) until the edges of the scratches have feathered out and the area feels smooth. Wipe away the residue and clean with white spirit.
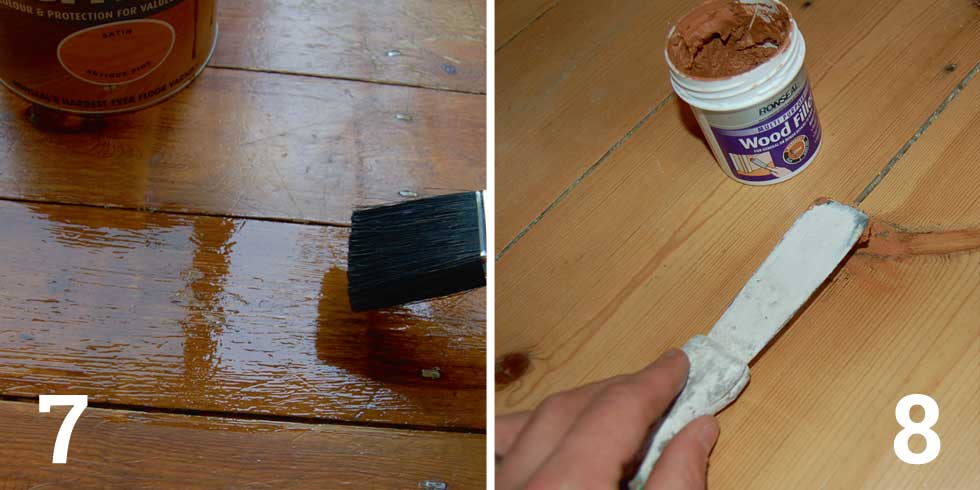
7. Brush a coat of floor varnish onto the damaged area, lifting the brush gradually away from the surface as you meet the undamaged section of the board. This helps to blend the repair in. If you are using a coloured varnish, compare the colour of the repaired section with the rest of the floor once it is dry. It’s tempting to add extra coats, but a coloured varnish will get darker with every coat, so you’re better off going over the repair with a couple of coats of clear varnish.
8. Deal with scratches. Deeper ones in the wood should be filled with a little wood filler before being rubbed down and treated as in the previous step.
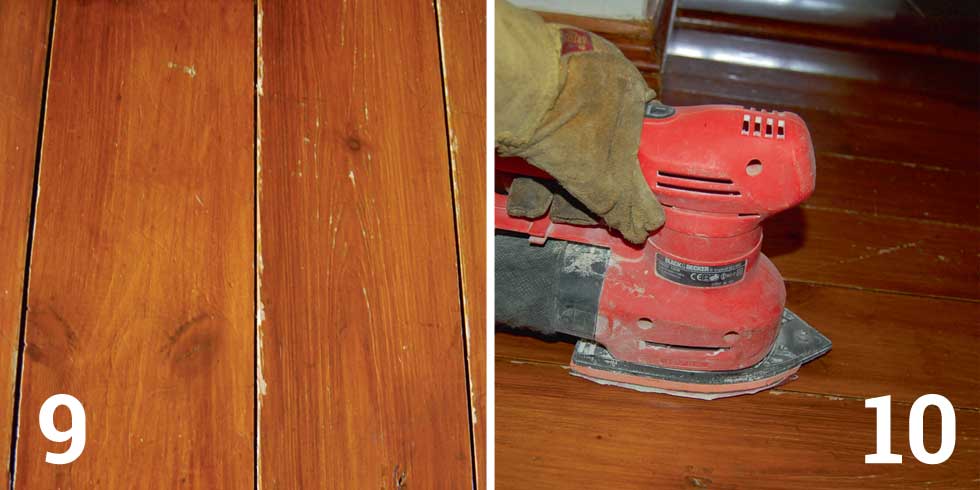
9. Make good any ‘cupped’ edges. Softwood floorboards that were designed to be exposed from the outset probably won’t have had the attention of a floor sander and are likely to have developed a small amount of curvature across the width of the board. This ‘cupping’ is attractive and adds character, but it does expose the edges of the floorboard to extra wear. Damage like this will usually occur in busy areas. Just treat these areas, as shown in the next step, rather than the whole of a cupped floor.
10. Use a sanding block or an electric sander to take the high point off the edges of a cupped board that’s showing wear. In some cases the edges of cupped boards begin to splinter, so wearing gloves is a sensible precaution. You’ll only need to do a couple of passes with your sanding method of choice to bring the edges down. After that, finish off the board as described in step 7.
Ben is a writer and a keen DIYer, and has undertaken a multiple of tasks from installing loft insulation, tiling, painting windows to fitting garden fences and reviving period fireplaces. He has also converted his loft on a DIY basis.
