Drilling into walls should never be attempted until you read this – expert tips that don't just come from TikTok
Discover what tools, tricks and techniques you need for successfully drilling into walls without causing unnecessary damage you then need to repair
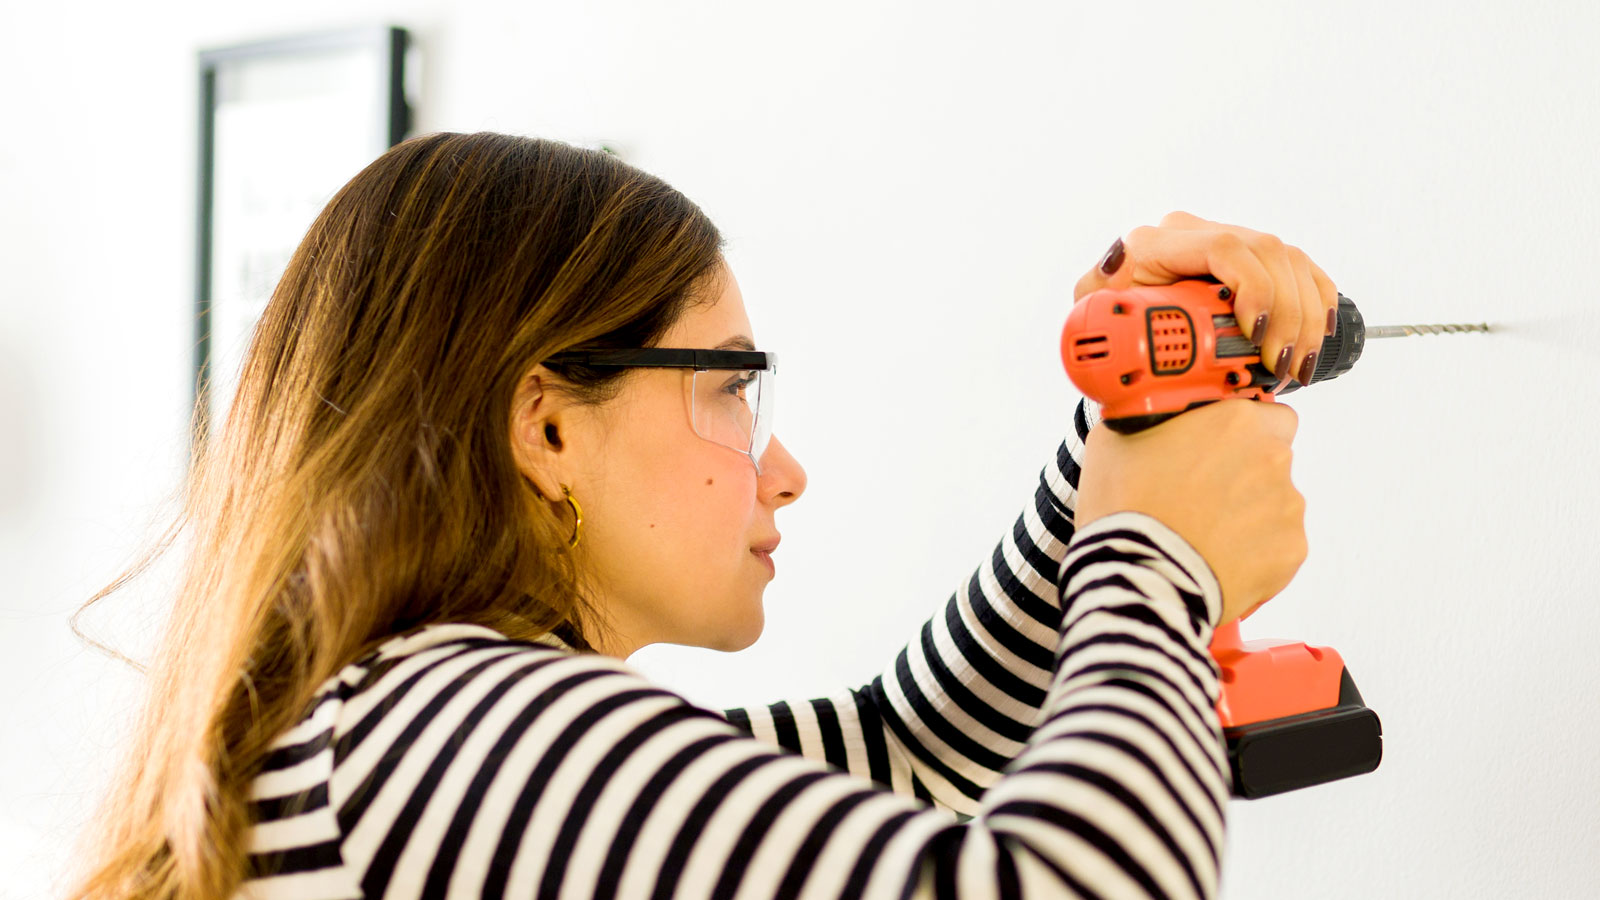
Drilling into walls is a skill that all DIYers need in their arsenal. Thankfully, it’s a straightforward task, but one that requires precision. You don’t want to mount a shelf or hang a TV, only to see it unexpectedly fall.
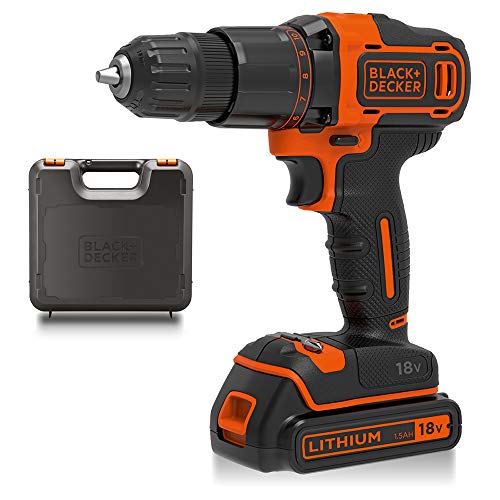
To achieve a neat, clean hole and a secure fix, you'll need ensure you use the right gear and techniques. The best cordless drill is a good start, but, having all the gear and no idea is never a good place to start from.
Here we we outline the best tools, tips and tricks along with a step-by-step expert guide to drilling into walls so you can be safe in the knowledge you have everything you need to confidently complete the job.
How to assess the wall before drilling
Before you start any drilling, you need to know what type of wall you are dealing with as there isn't one rule fits all when it comes to drilling into walls.
“Before you drill into any wall, you need to identify what you're working with," says Tyler Mullen, manager at Pro-Tools. "Plasterboard is very different to brick or concrete, and each one needs a different approach.”
“I always start by tapping the wall lightly to get a sense of whether it’s hollow or solid, then confirm that with a detector,” says Tyler. If there is a hollow sound, this typically suggests that you are working with a timber stud wall covered in plasterboard.
However, it's not just the construction of the wall that you need to establish. There are certain areas of a wall you need to avoid when drilling or you could land yourself with more mess and disruption than you planned for.
Bring your dream home to life with expert advice, how to guides and design inspiration. Sign up for our newsletter and get two free tickets to a Homebuilding & Renovating Show near you.
Robert Quniton, Construction expert for Construction Megastore Building Materials explains.
“Certain areas can hide electrical wires, pipes, or key structural components. Be careful when working near plumbing fixtures such as sinks and toilets, as well as around spots where mains water or gas pipes might be located, as these can burst and cause major water leakages," he warns.
Besides water issues, you also need to be cautious about the location of electrical wiring. To avoid serious problems, Robert advises the following. “Avoid drilling directly above, below, or beside plug sockets and light switches. You should also steer clear of the top 150mm of a wall and the 150mm zone running along corners.”
Of course, simply tapping the wall won't ever establish where these items are located, and this is where a good detector comes in.
“You should never drill blind," says Tyler. "Use a decent digital detector (like this Bosch Truvo detector from Amazon) to check for pipes, cables, and studs, especially near sockets or light switches. It’s never worth the risk of drilling into walls without checking first.”
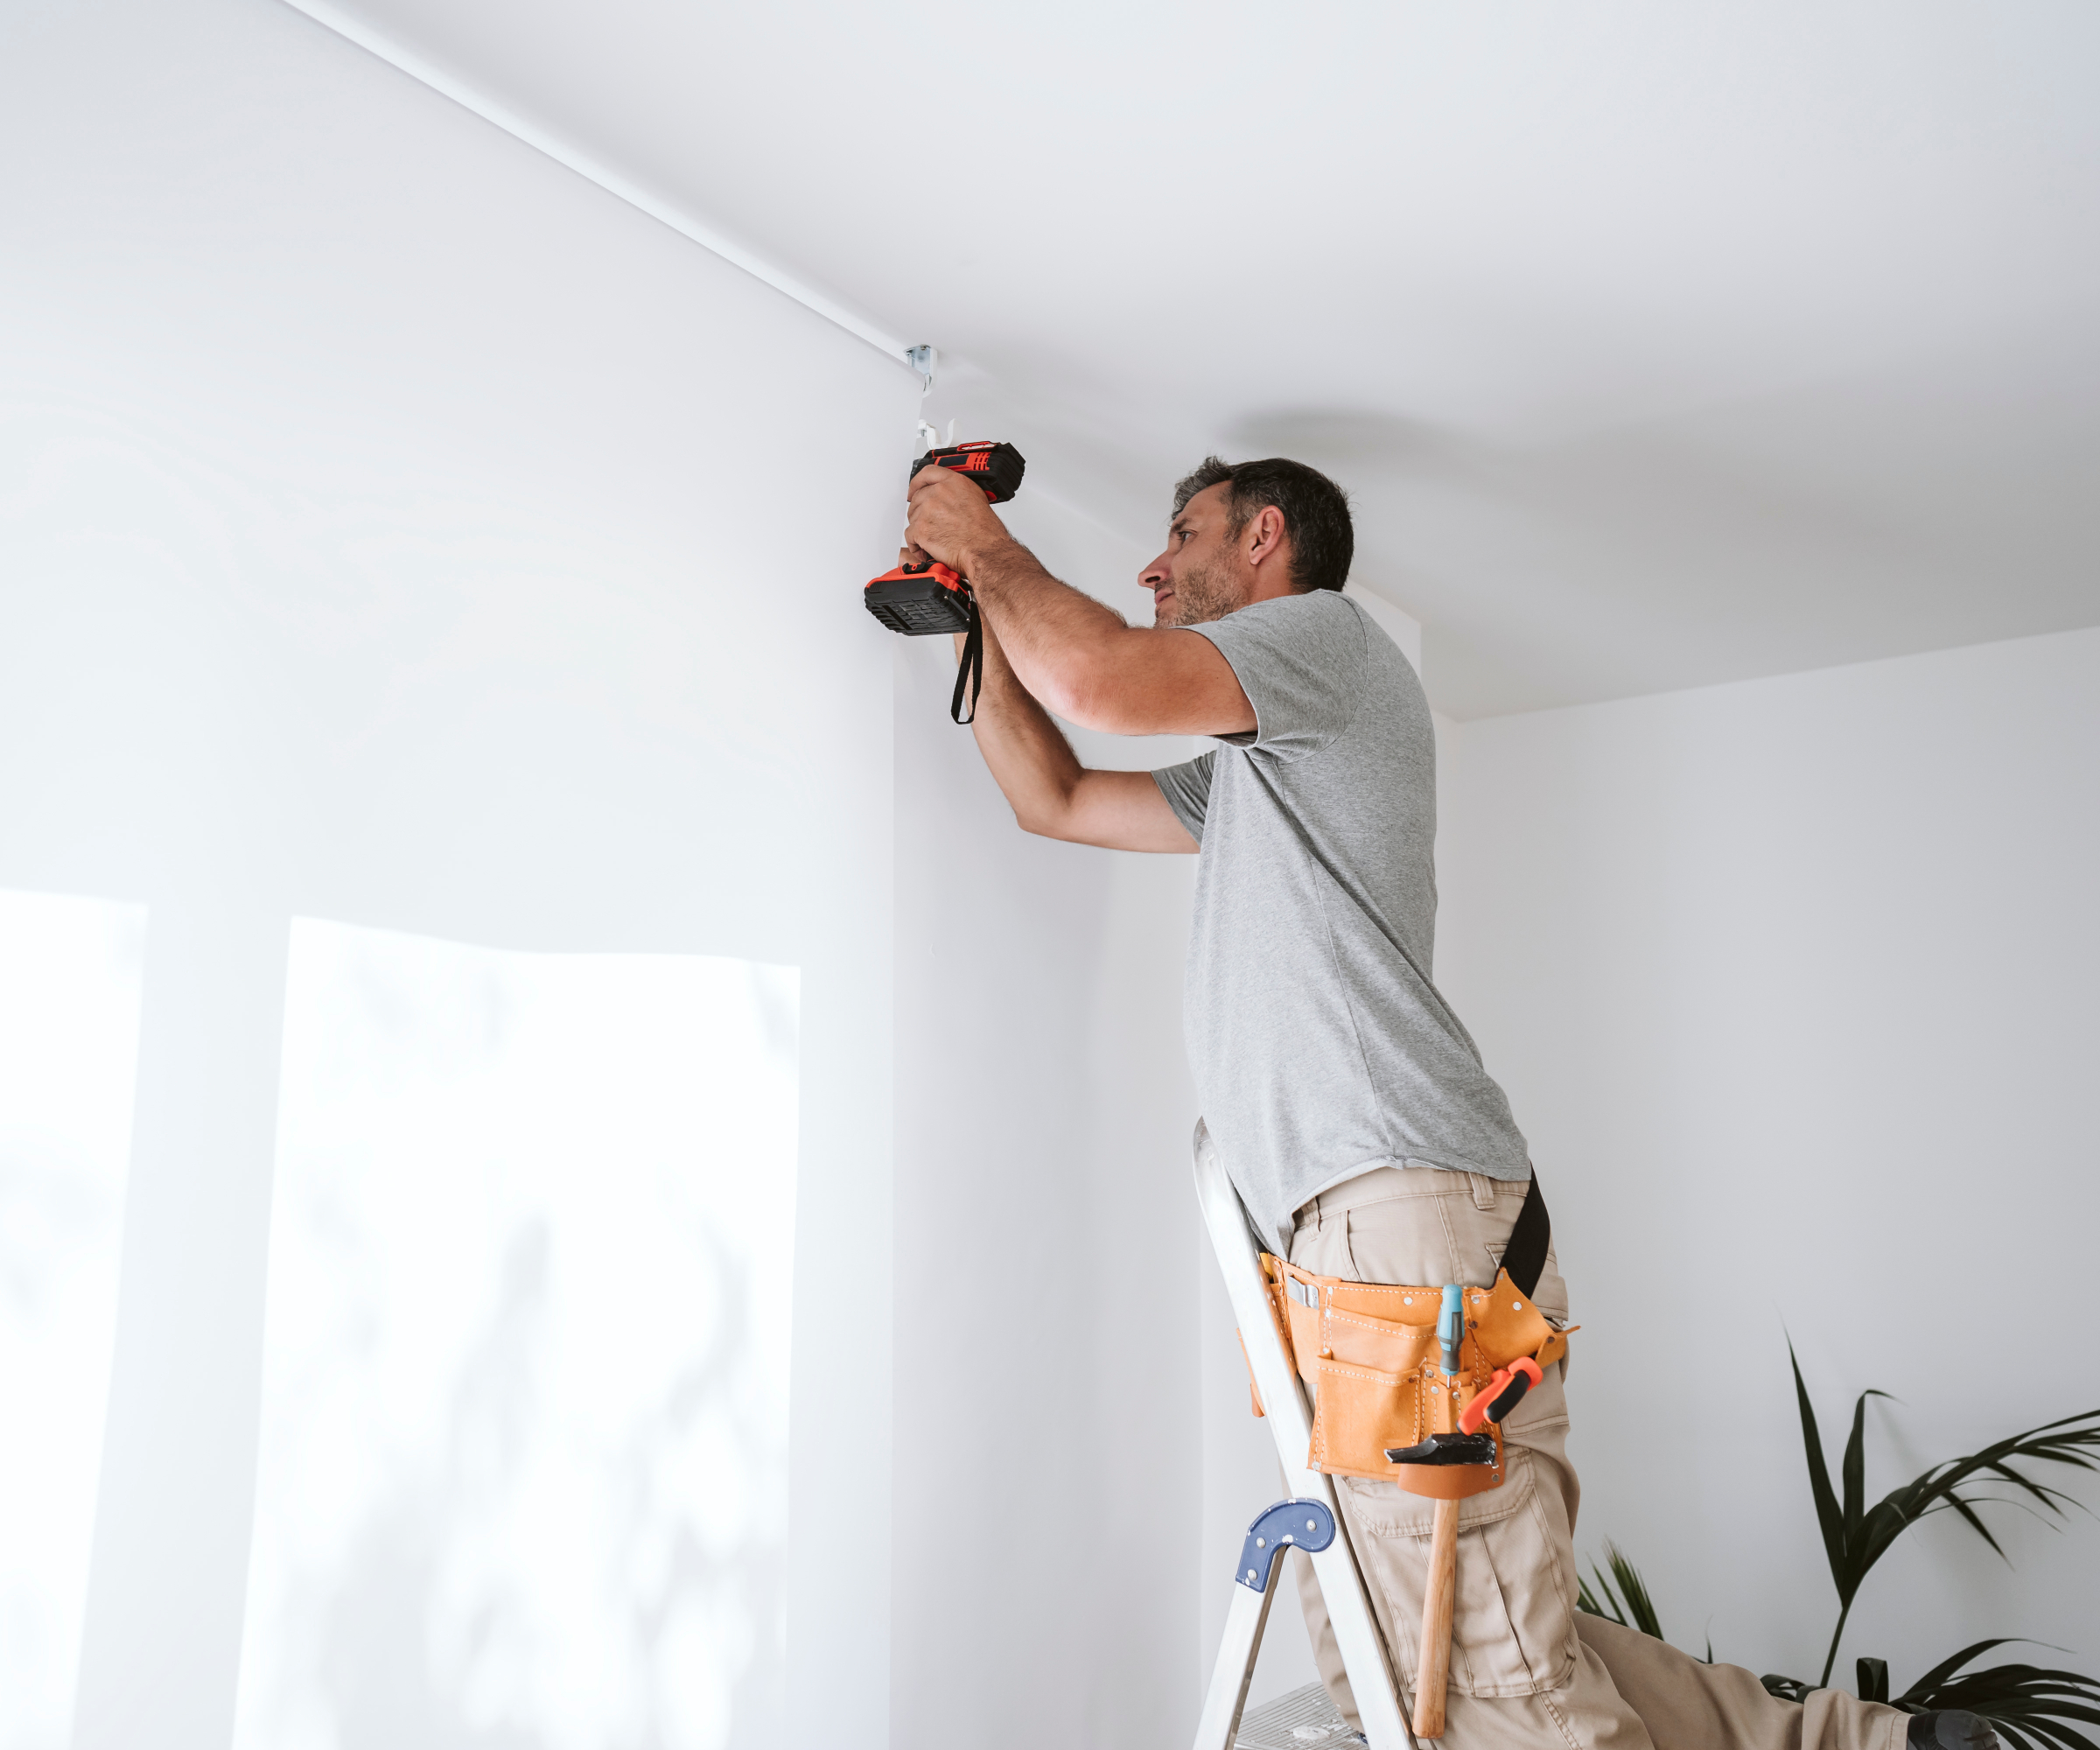

Tyler Mullen possesses extensive expertise in DIY, home improvement, and construction. His deep tool knowledge and hands-on experience in custom builds make him well-suited to offer guidance on drilling into walls, emphasising precision and quality in craftsmanship.

Robert Quinton is the owner and director of Construction Megastore Building Materials, one of the largest multi-foil manufacturers in the UK and distributor of insulation, roofing and building products.
The tool kit you’ll need for drilling into a wall
Once you know what type of wall you are working with, you then need to choose the right tools.
“A standard hammer drill works for brick, but for drilling into concrete, you’ll want an SDS drill (like this Makita HR2630 SDS Plus Rotary Hammer Drill from Amazon,” says Tyler Mullen.
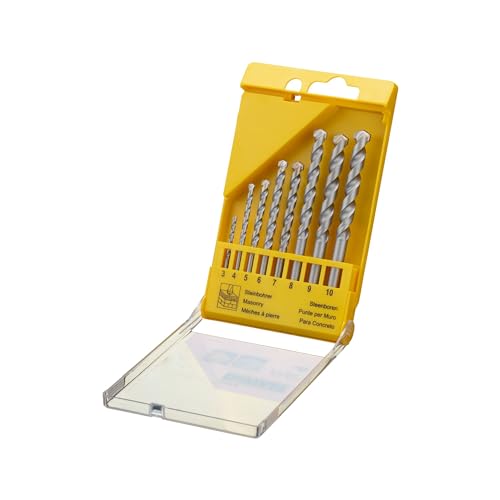
If you're drilling into plasterboard a standard drill will do the job, but you need choose the right bit for your drill. "You'll need a masonry bit for solid walls, wood or metal bits for others – and make sure they're sharp," adds Tyler Mullen.
When choosing a bit size, pick one with a diameter that closely matches that of your screw or Rawl plug.
Also, don’t forget your safety gear. It's not essential to wear safety goggles for basic drilling, but it is advised. If you are undertaking heavier-duty drilling, it’s recommended that you wear safety glasses like these Mustbau Clear Safety Glasses from Amazon.
Try the tools for drilling into walls
Steps for drilling into a wall
After you have assessed what type of wall and checked for any pipes or cables you can start drilling safely, following these expert approved steps.
1. Mark drill point
Before you start drilling, measure and mark your drill hole. “Use a pencil to mark where you want to drill and for extra precision, press the drill bit lightly into the wall first to make a small guide mark – this helps stop the bit from slipping,” says Robert Quinton.
If marking more than one drill point, double check any measurements and make sure they are level if needed.
2. Drill slow and steady
Before you start drilling, place the point of the drill on its mark, keep it level and start up the drill. Tyler Mullen says, “go slow and steady, especially at first. Let the drill do the work – don’t force it.”
“And don’t forget to stop now and then to clear the dust, especially on deeper holes," he adds. "It sounds simple, but rushing it is where most people go wrong.”
Not sure how deep you need to drill? “To control the depth, measure your drill bit against the Rawl plug and mark it with masking tape,” suggests Robert Quinton.
3. Clean and test
When you have finished drilling, Robert Quinton says to, “vacuum out any remaining dust to ensure a clean fit for the plug and screw and push the rawl plug into the hole. If it is a tight fit, tap it in gently with a hammer or mallet. Now you’re ready to insert and drive in your screw.”
If the fit is slightly loose you can either drill another hole, or add a match to the hole to create a tight, secure fit.
FAQ
What size Rawl plug do I need?
Choosing the right size Rawl plug is essential to ensure that whatever you're fixing to the wall will be secure, and the success you've had drilling into the wall isn't wasted.
It’s worth noting from the off, that Rawl plugs are not suitable for drilling into plasterboard, instead, you need the best plasterboard fixings instead.
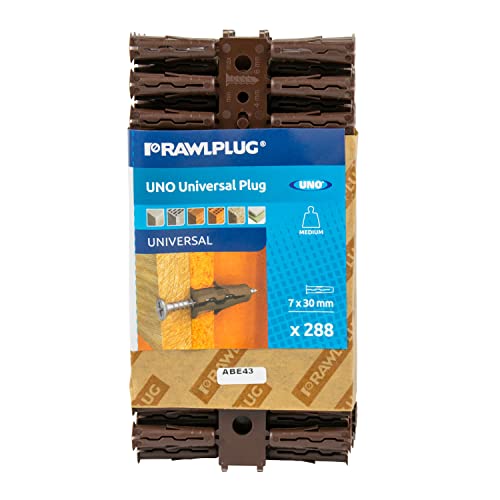
To make sure you are choosing the appropriate size Rawl plug, think about the weight of the object you want to support. For loads of up to 20kg, you typically need a 3-5.5mm diameter Rawl plug. For heavier loads, a 6-8mm Rawl plug is usually adequate. For loads over 50kg, try a 10mm Rawl plug.
The length is also important; ideally, pick the longest plug for the chosen diameter. The longer the plug, the more secure it will be. Ensure that you choose a screw that is slightly shorter than the length of the Rawl plug for a secure fit.
If, however, you do damage a Rawl plug trying to insert it into a wall, follow the advice in how to get Rawl plugs out of a wall to cause as little damage as possible.
Put your newly found drilling into walls knowledge to good use by tackling some easy shelving projects to get you started. Check out our bathroom shelf ideas, radiator shelf ideas and utility room shelving ideas to help spruce up your home using your new found DIY skills.
EDITOR’S NOTE: An earlier version of this article included a quote from a purported expert whose credentials we have not been able to verify. The quote has been removed. We regret this lapse in our verification process and have updated our internal protocols to reduce the risk of recurrence.
Steve Jenkins is a freelance content creator with over two decades of experience working in digital and print and was previously the DIY content editor for Homebuilding & Renovating.
He is a keen DIYer with over 20 years of experience in transforming and renovating the many homes he has lived in. He specialises in painting and decorating, but has a wide range of skills gleaned from working in the building trade for around 10 years and spending time at night school learning how to plaster and plumb.
He has fitted kitchens, tiled bathrooms and kitchens, laid many floors, built partition walls, plastered walls, plumbed in bathrooms, worked on loft conversions and much more. And when he's not sure how to tackle a DIY project he has a wide network of friends – including plumbers, gas engineers, tilers, carpenters, painters and decorators, electricians and builders – in the trade to call upon.
