What are the unknowns behind successfully painting varnished wood? Experts share their tips for a smart, smooth, long-lasting finish
Find out how to prep old varnished wood and get it ready for a fresh coat of paint

Painting over varnished wood is a quick, simple and cost-effective way to restore wood. It can bring a new aesthetic, hide unwanted imperfections and give it a new lease of life. A new splash of colour can make it blend with your latest design ideas without spending big.
However, you need to ensure you get your prep right, so that exquisite new colour you’ve added stays looking good for longer. When painting wood, poor preparation and paint choice will soon reveal what lies beneath. But follow the tips in this guide, and you'll get it right the first time.

Paul Kerr is an experienced branch manager with a demonstrated history of working in the retail and merchanting industry. Skilled in Management, Retail, Sales, and home building advice.
Can I paint directly over varnished wood?
You can paint onto varnished wood, but, like all paint projects, you will need to do some preparation to ensure a good finish, explains Paul Kerr, Building specialist at Beatsons. "Technically, yes, you can paint directly onto varnished wood. However, it is difficult to keep paint adhering to the glossy surface as varnish seals off the wood underneath.”
He adds, “The key to painting on varnish is to prepare the surface for adhesion, making sure the paint can stick and hold to it."
Try these tools for painting varnished wood

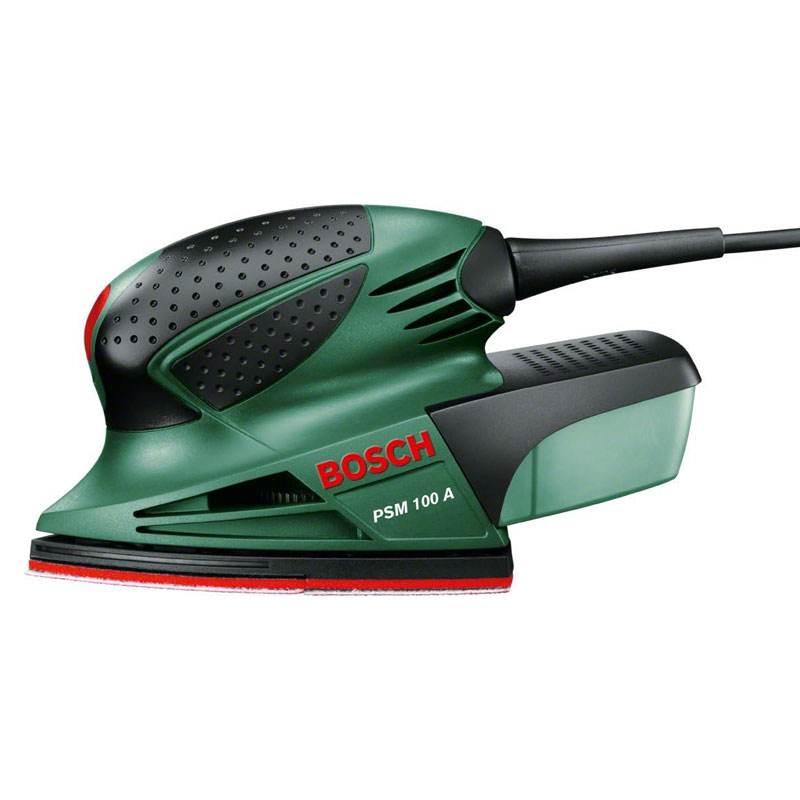
A powerful, compact detail sander designed to reach all areas. Includes built-in dust extraction and a two-part hook and loop sanding plate for easy replacement of sandpaper.

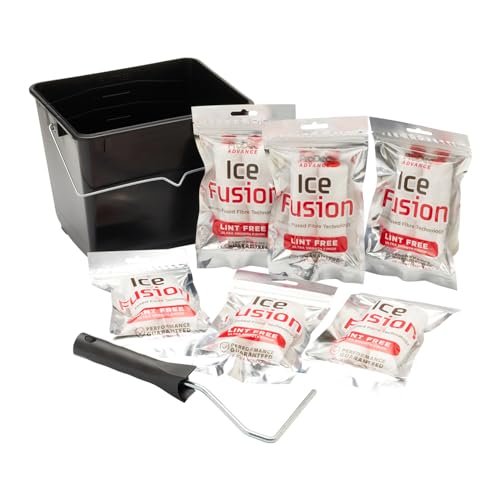
This 14-piece Mini Paint Roller Set from Pro Dec includes 12 x Ice Fusion four-inch roller sleeves for super smooth finishes, a mini roller frame and a mini paint scuttle.

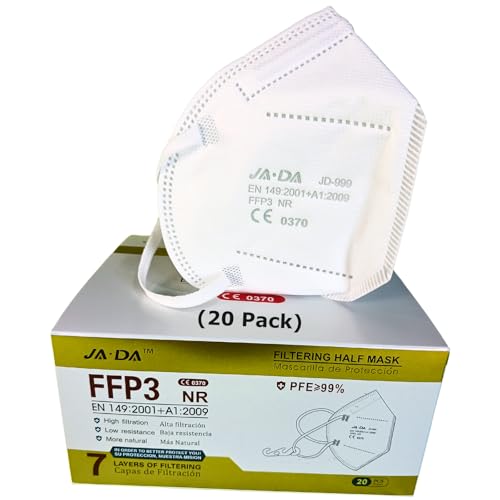
A pack of 20 face masks offering FFP3 protection, filtering out 99% of airborne particles, ideal for sanding. Has an adjustable nose clip and soft inner lining for a sealed, comfortable fit.
Tools to paint over varnished wood
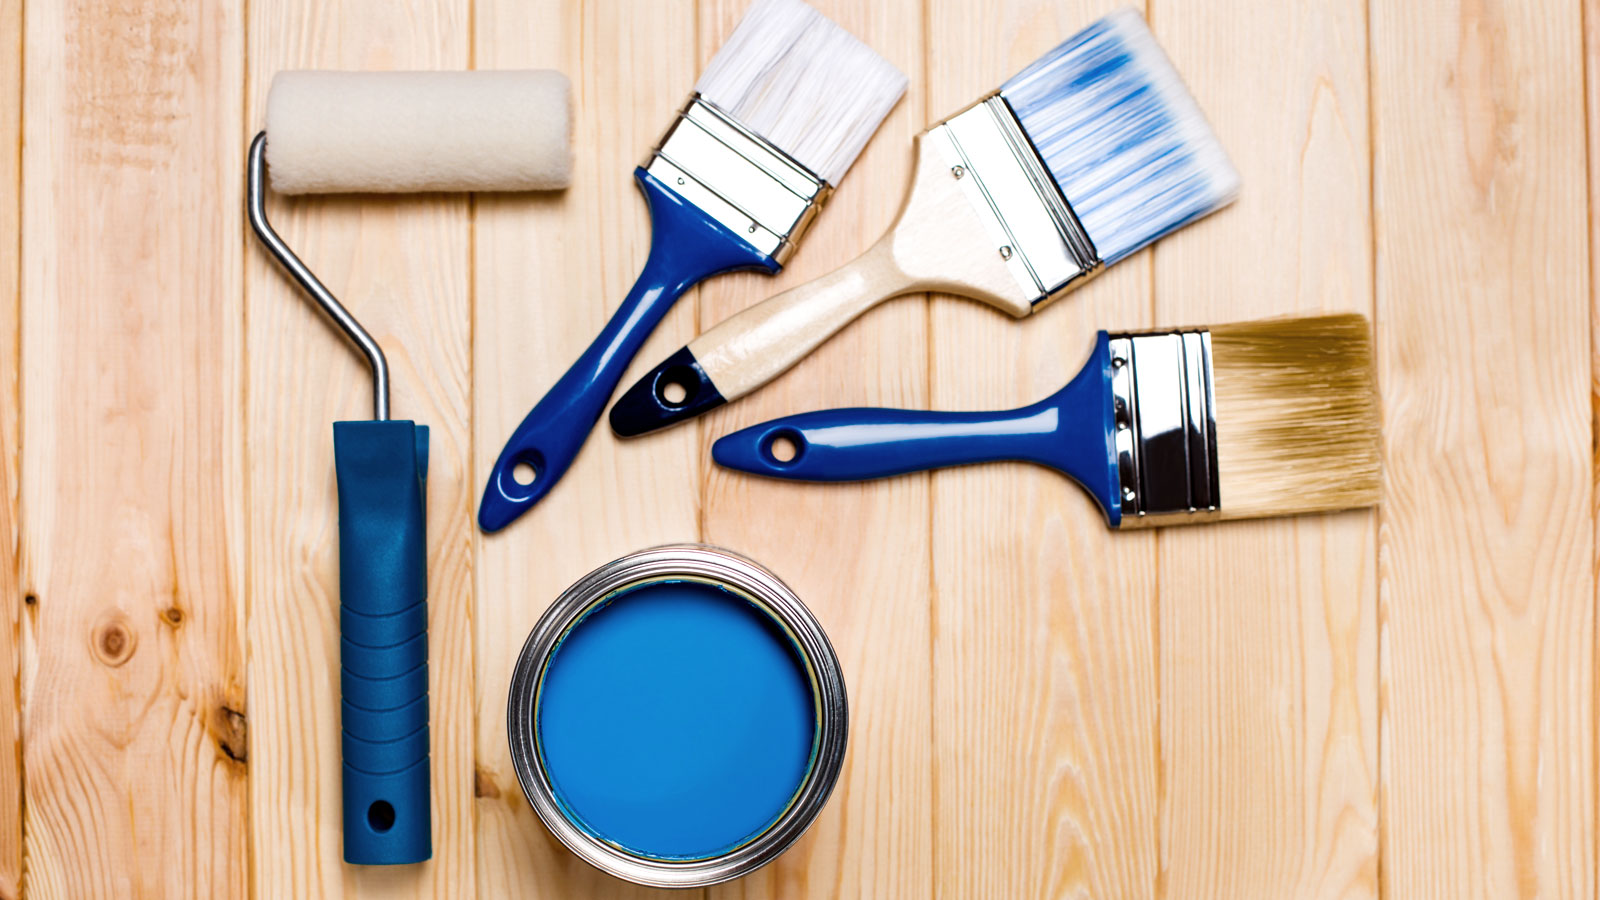
To paint varnished wood, you will need a few basic painting supplies:
- Medium grit sandpaper
- Microfibre cloth - like these Scrub Daddy Microfibre Cleaning Cloths from Amazon
- Paint brushes - like these Harris Trade brushes from Amazon
- Paint roller
- Paint tray
- Dust sheets
- Protective eye wear and dust mask
Jonathan Bromell, Director of Wood Flooring Kent, details what sandpaper is best for the job: “When sanding varnished wood, use a medium grit sandpaper between 120 to 150 grit and a sanding block.” He adds, “A medium grit will smooth the surface whilst removing imperfections, without damaging the surface of the wood.”

Jonathan Bromell has over 20 years of experience in the industry and is an expert in producing and caring for flooring, panelling, and decking to ensure their longevity.
Paints to paint over varnished wood
With careful preparation, the key paint component is a primer (like this Zinsser BIN Primer from Amazon). Kerr says, “A bonding primer is essential when painting onto a glossy surface such as varnish, ideally one that isn't oil-based, as this can take longer to dry on.”
Bring your dream home to life with expert advice, how to guides and design inspiration. Sign up for our newsletter and get two free tickets to a Homebuilding & Renovating Show near you.
Bromell agrees, “A water-based acrylic paint is recommended for painting varnished wood as it is easier to apply and offers great durability.
However, if you are using an oil-based top coat like this Dulux Trade High Gloss from B&Q, Bromell says, “This must be used alongside an oil-based primer.”
Kerr suggests an alternative that can work well: “For stronger adhesion, take a look at chalk paints. Chalk paint (like this Frenchic Furniture Paint from Amazon) has a matte finish and sticks really well, so it can be a good choice for varnished wood."
Painting varnished wood
1. Clean the surface
Before you start any painting, you need to check the surface. Remove any flaking varnish with a scraper, brush away any debris and clean. Bromell shares how, “Take a microfibre cloth and a mixture of warm soapy water and gently wipe the surface of the wood.” Leave the surface to dry before continuing.
2. Prep and sand
Next, it's time to sand the surface. Bromell says, “Using a medium grit sandpaper will remove the gloss on the varnished surface to allow for better adhesion.” Kerr adds, “A light sanding is essential as you don't want to strip the surface back too far.”
When finished sanding, brush off any dust. To finish, Bromell says, “Take a damp cloth and wipe the wood to remove any leftover dust.” Leave to dry, and you will have a surface ready to paint.
3. Prime and paint
Before applying a top coat, it's time to apply a primer. Kerr says, “Now you want to add a layer of primer to help strengthen the paint's grip on the wood.” He continues, “When dry, sand again with a slightly coarser paper. You can now apply the paint; a couple of thin layers normally do the trick.”
Between coats, use fine sandpaper, grade 240 grit is good, to smooth the surface. Wipe clean with a damp cloth and leave to dry before adding the next coat.
Bromell adds, “If using an oil-based paint, it must be used alongside an oil-based primer for the best finish and durability”.
Removing old varnish from wood
There are several options for removing varnish, all of which do a good job. Bromell says, “It’s best to use a heat gun or solvents to soften the varnish; this way it can be gently scraped off the surface of the wood using a scraper.” He adds, “This must be done with caution to avoid damaging the wood”.
Kerr suggests that a heat gun is best used on flat surfaces: “I'd advise sticking to flat surfaces when using a gun, and be careful not to scorch the wood.” When using a heat gun, remember to keep it moving and do not leave it in one spot for more than a few seconds. As soon as the varnish starts to bubble, it will be soft enough to remove. Do this in stages before moving on to the next area.
Sanding is also a viable option, but it typically needs more effort. Kerr shares how to use: “Use an orbital sander with a grit of around 80-120 for bulk removal, moving to a finer grit to smooth the surface out afterwards."
FAQs
Is it better to remove all varnish and start from scratch?
Removing varnish from wood is typically a better choice, explains Bromell, “Although with the correct preparation, varnished wood can effectively be painted, removing the varnish prior to painting can allow for better adhesion.” He adds, “Varnish provides a glossy film, so without adequate preparation, the paint may fail to fully adhere to the surface of the wood."
Kerr reinforces the benefits of varnish removal, "It may take a little more time, but having a bare/raw wood surface will allow for the best chances of paint adhesion. He adds, “This is definitely the case with already flaky varnished surfaces; getting rid of the loose leafy flakes will benefit the paint bond."
What happens if you don’t use a primer on varnished wood?
Not using a primer is not advised, as this can cause problems with the paint's finish, shares Bromell. “If you don’t use primer or prepare the surface of the varnished wood correctly before painting, then the paint won’t adhere properly to the surface of the wood.”
Kerr explains why, “If you don't use a primer, the paint will just sit directly atop the varnish, which not only makes the paintwork look uneven, but can lead to chipping/flaking within the space of a couple of weeks.” He adds, “A properly layered primer will extend the paint job's longevity, helping it last years as opposed to weeks."
If you have varnished wood that you want to transform with paint, then be sure to check out our guides for loft bedroom decorating ideas, utility room ideas, and modern bathroom ideas for insight and inspiration.
Steve Jenkins is a freelance content creator with over two decades of experience working in digital and print and was previously the DIY content editor for Homebuilding & Renovating.
He is a keen DIYer with over 20 years of experience in transforming and renovating the many homes he has lived in. He specialises in painting and decorating, but has a wide range of skills gleaned from working in the building trade for around 10 years and spending time at night school learning how to plaster and plumb.
He has fitted kitchens, tiled bathrooms and kitchens, laid many floors, built partition walls, plastered walls, plumbed in bathrooms, worked on loft conversions and much more. And when he's not sure how to tackle a DIY project he has a wide network of friends – including plumbers, gas engineers, tilers, carpenters, painters and decorators, electricians and builders – in the trade to call upon.

