
Grouting mistakes are common, especially for novice DIY enthusiasts. Although it may seem like a simple finishing task, errors can lead to poor appearance and, more importantly, water ingress, which can cause costly and unwanted problems.
Knowing how to grout tiles correctly is a skill that doesn’t take long to learn, but one crucial element is patience. Whenever working with grout, rushing the job can be a major factor in the failure of a successful finish. So, make sure to take your time and avoid the mistakes outlined in this guide.

With over 20 years of experience in the building sector and working for Build & Plumb Mark has developed a wealth of knowledge surrounding building and renovating that he enjoys sharing with others who are looking to complete their own building projects.
1. Not mixing correctly
Before you start grouting tiles, ensure that the grout is mixed correctly. It’s not a difficult process, but getting it wrong will cause problems as Mark Irving, Building expert from Build & Plumb shares, “It’s important to achieve the correct consistency when applying grout to tiles, as if the grout is too thick or too thin, it can be difficult to spread.

To achieve the correct consistency, you must use the appropriate amount of water.” He adds, “If your mixture is too thick, you can add small amounts of water or add more dry mixture if it’s too watery. The correct consistency for grout should be smooth and spreadable."
Be sure to read the manufacturer’s instructions and consider using a paddle mixer, such as the Toolty Helix Mixing Paddle from Amazon, to achieve a smooth consistency.
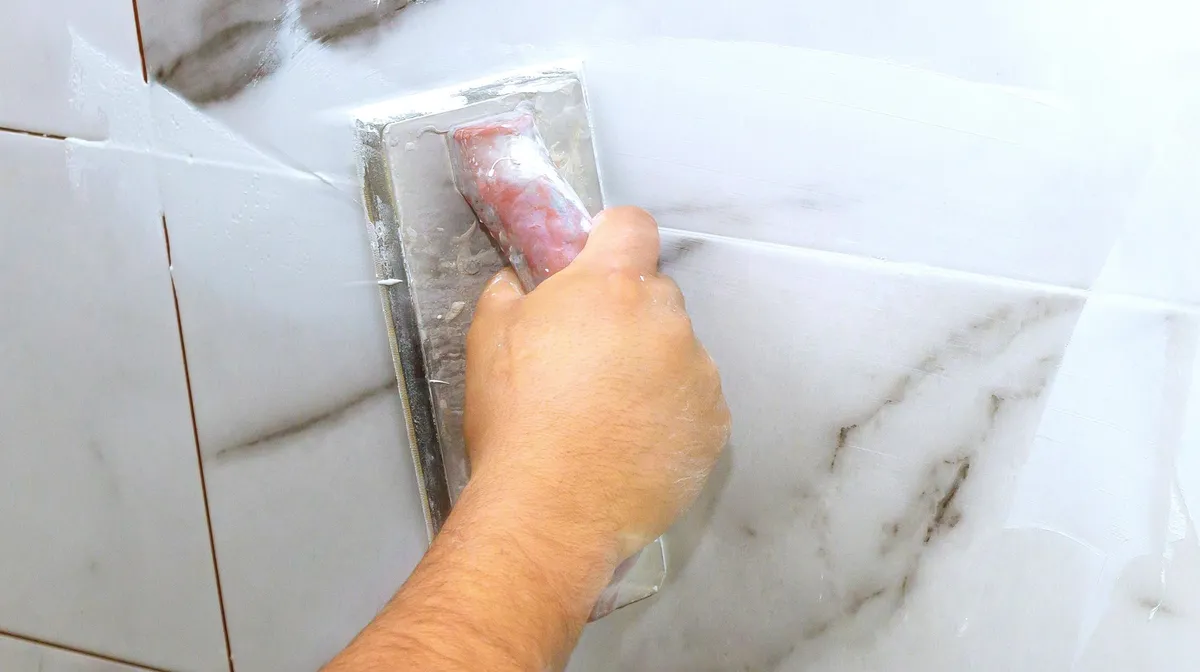
Try these to help avoid grouting mistakes

This grout float is the perfect tool for smoothly applying grout to joints. It features an aluminium back plate for durability, has bevelled sides for a smooth application and a contoured handle.

A cement-based, water-resistant grout that comes in a multitude of colours. Ideal for all types of ceramic tiles on walls and floors. Fast-setting and drying, this grout is suitable for joints ranging from 2 to 20 mm.

These large car wash sponges are the ideal choice for wiping away excess grout. The giant bone shape makes it easy to hold, and its large surface helps speed up the grout removal process.
2. Grouting too soon
Knowing how long tile adhesive takes to dry is key when applying grout. Apply the grout before the tile adhesive is dry, and you’ll be trapping moisture behind the tiles, which will only lead to trouble, shares Irving. “Grouting too soon before the adhesive has dried can cause the tiles to shift and move around. Furthermore, this has the potential to become a hazard as tiles may become dislodged and even fall off the wall.”
He adds, “To grout the tiles effectively, you need to have a stable base to work with, so it’s important to leave tiles enough time to dry”. The duration will depend on the adhesive used and the environmental conditions. Make sure to check the manufacturer's instructions, but as a general guideline, 24 hours is good.
3. Poorly applied grout
Applying grout consistently is essential to succeed. It is typically applied with a grout float. Irving explains the process, “Spreading the grout over the tile in the wrong direction can lead to gaps in the joints between tiles, as they are not adequately filled. This happens when using a grout float tool to apply grout. When the grout float is moved in the same direction as the grout lines, it can remove grout from the joints.”
Thankfully, there’s a simple solution, as Irving explains, “When using a grout float, it’s best to apply grout diagonally to the grout joints so that the grout can fill the joints”.
4. Not letting the grout cure properly
This is a common issue, as Gary Tidman from Only Lifts explains, “Grout may feel firm on the surface within a few hours, but it hasn't reached its full strength yet.”
This can be a significant problem, particularly on floor tiles, he adds, “Walking on newly grouted floors or using a freshly tiled shower too soon introduces movement and moisture before the material has set, leading to cracks, crumbling joints, or water ingress beneath the tiles.”
Tidman recommends reading the manufacturer's manual: “Every manufacturer sets out curing times for a reason, and depending on the product, that can mean anywhere from 24 to 72 hours.”

Gary Tidman is a seasoned home improvement and construction expert with over 35 years of hands-on experience across the UK, Europe, and the Middle East. He has tackled everything from bespoke residential builds to complex retrofits in heritage and modern properties.
5. Leaving grout clean-up for too long
After applying grout, there is a process to clean the tiles, but a common mistake is leaving it too long. Tidman explains, “Grout haze, the cloudy film left behind on the tile surface, can set within minutes and is far more difficult to remove once it's dried.”
If too much grout is left on the tiles and left to set, it will be difficult to remove. Tidman says, “People assume they can wipe it off later, but by then it requires aggressive scrubbing or even chemical removers, which risks scratching the tiles, especially more delicate tiles.”
The solution is straightforward: “The best approach is to clean as you go, working in small sections, wiping diagonally across the joints with a damp sponge, rinsing frequently, and never allowing excess grout to sit on the surface for an extended period. This keeps the lines crisp and avoids the frustration of battling residue later.”
It’s important to rinse the sponge and ideally refresh the water regularly to remove as much grout as possible from the tile, as this will help achieve a clean finish. Even then, you can be left with a light film after finishing, but this can be wiped away with a dry microfibre cloth (like these Scrub Daddy Microfibre Cleaning Cloths from Amazon).
6. Not cleaning joints
When grouting exterior tiles (or slabs), it's essential that any dirt and debris are removed from the joints. Irving shares why, “Exterior patios are exposed to the elements, they can gather a lot of dirt, this dirt and debris can get stuck in the grout and lead to weak joints. This can weaken the structure of the patio and cause it to degrade at a quicker rate.”
Use a small trowel and stiff brush to ensure all dirt or debris is removed from the joints. To finish, lightly mist with water to complete cleaning the joints.
7. Wrong weather conditions
When grouting outside, it's more important to choose the ideal conditions than inside. Irving says, “It’s a big mistake to grout a patio during poor weather conditions, especially rain or extreme heat.”
He adds, “This can prevent the grout from curing properly and result in weak joints.”
8. Not compacting grout
Whether using a traditional sand and cement mix or a specialist grout to grout or point a patio, the mix and consistency need to be right before adding to a joint. Add enough mix to the joint so that it's slightly above the level of the tile or slab.
Then press down with a small pointing trowel (like this OX Pro Pointing Trowel from Amazon) until compacted. Finally, you can finish the mix with a brick jointer (like this Marshalltown 81 Brick Jointer from Amazon) to give a smooth, smart finish.
9. Choosing the wrong colour
Traditionally, white grout has been the colour of choice indoors, which works well with any colour tile. Grey is a popular choice, especially when paired with white tiles. But with a whole host of colours now available, you can mix and match.
However, there are a few points worth noting when using a coloured grout. Some simply do not complement a tile. Typically, a grout colour that is either a complete contrast or shares the same hue usually works well. But colour choices are subjective, so it could be said that any colour grout is acceptable.
On a more practical level, coloured grout needs to be mixed correctly to ensure colour consistency. And if you choose a contrasting colour, be aware that it will highlight any inconsistencies in the installation, such as uneven spacing.
Now you know how to avoid common grouting mistakes, it's time to think about some smart new tile ideas. Check out our bathroom tiling ideas, bathroom floor tile ideas and kitchen floor tile ideas for inspiration

