What you need to do before tiling on wood to ensure your tiles stick and stay looking good
Get your preparation right for tiling on wood, and you won't be coming back to fix any time soon

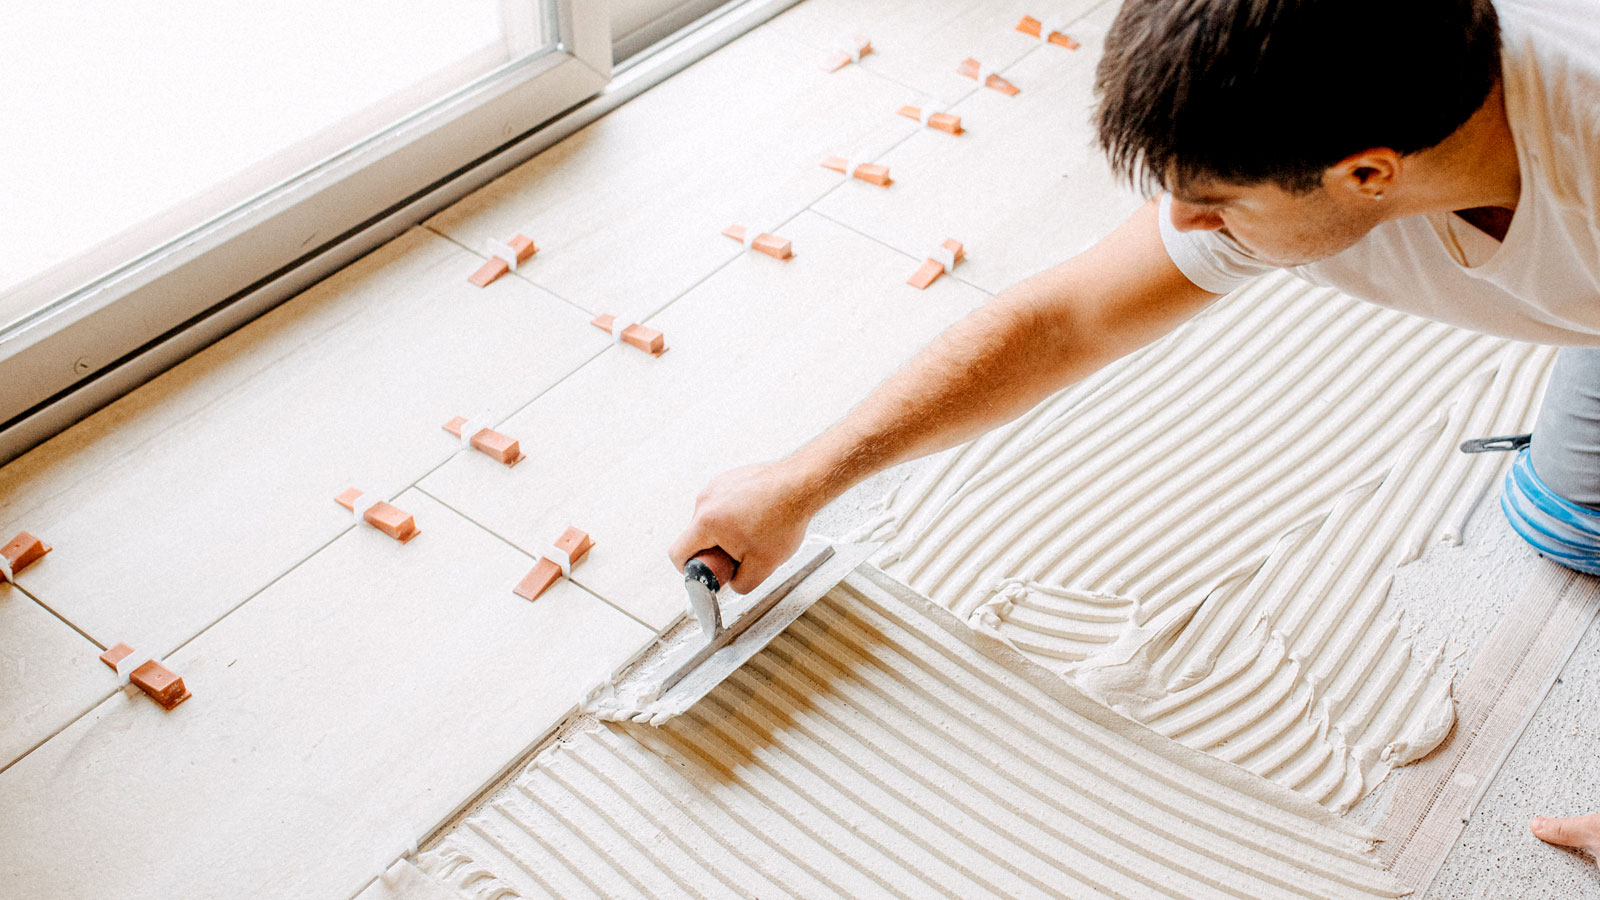
You might think that tiling on wooden floors is as simple as sticking tiles straight onto the timber. But we can assure it isn’t that straightforward. Wood expands and contracts, so it needs to be prepared properly, using the right materials, for a successful and long-lasting finish.
If you don’t prepare a wooden floor or wall correctly, the tiles can crack and lift, meaning you’ll be tiling a floor much sooner than you wanted. Here you’ll find out how to prep floorboards, treat plywood and discover what type of board you could need to ensure your tiles stay where they are meant to.

With over 20 years of experience in the building sector, Mark led Build & Plumb’s expansion into online marketplaces. Over the years working for Build & Plumb Mark has developed a wealth of knowledge surrounding building and renovating.
Check your wooden floor
If you have a wooden floor that you want to tile, there are a few checks you will need to make first. Laying tiles directly onto floorboards is a no-no, says Mark Irving, Building expert Mark Irving, from Build & Plumb, “You can’t lay tiles directly onto wooden floorboards as the individual floorboards are susceptible to movement, which can result in the cracking of the tiles and grout.”
If you have hardwood or MDF over the floorboards, these are not ideal choices as they absorb water, which can lead to issues later on. You can tile onto plywood, but it requires a minimum depth of 18mm and must be securely fastened to joists or the subfloor. You’ll need to check that there is no movement.
Additionally, plywood will need to be primed with a suitable primer, such as the BAL APD Primer, available on Amazon. Any joints will also need to be filled with a silicone sealant to prevent tile adhesive from seeping into the gaps.
Irving suggests an alternative to wood that will work well “Prior to tiling a wooden floor, it’s important to install a cement backer board between the tiles and the wooden flooring. This will provide a stable and flat surface for the tiles to sit on, preventing cracks from forming in the grout.”
Try these tools to help tile on wooden floors

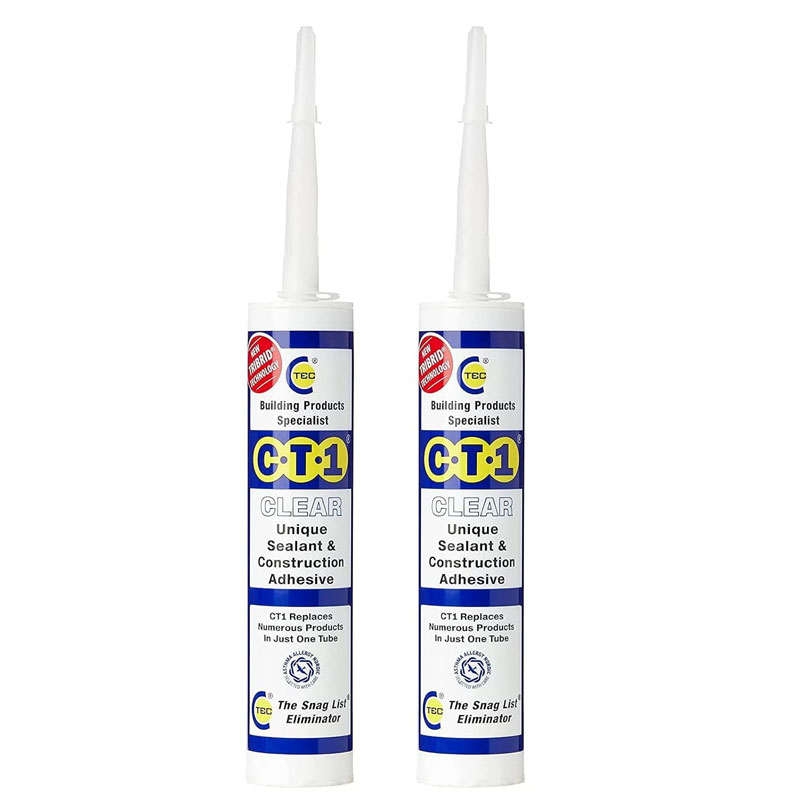
This super-strong, clear sealant provides an all-in-one solution for sealing and bonding in both exterior and interior settings. It works well in wet or dry conditions and is an ideal choice for sealing wooden floors.

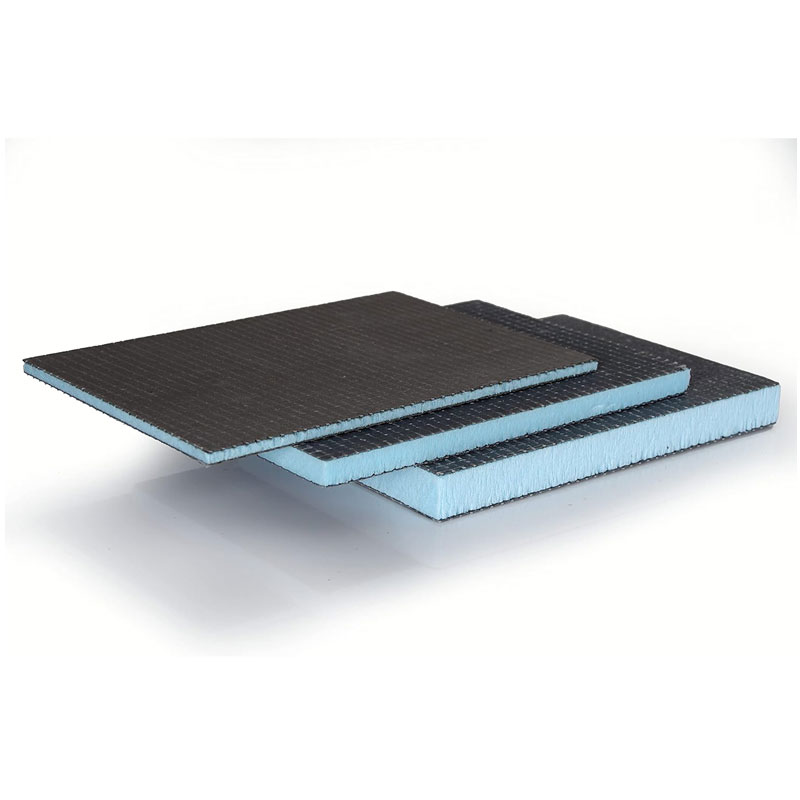
Tiling backer board helps provide a flat, level, secure, and moisture-resistant subfloor ideal for tiles, offering excellent insulation qualities. Choose from 6mm, 10mm and 12mm boards to suit your needs.

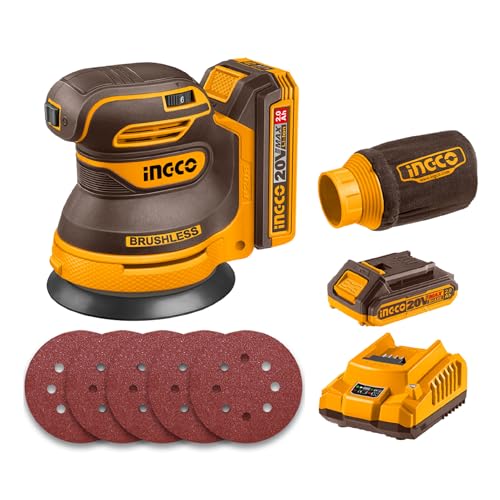
When working with wooden floors, they need to be level before tiling. This cordless random orbit sander features six variable speeds, enabling you to quickly remove unwanted ridges on wooden floors or walls.
Level the floor
The first step is to ensure that you have a level floor before introducing a subfloor or board. There is no point adding a subfloor to an uneven floor, as this will cause issues later on. Floorboards are usually the biggest culprit.
Bring your dream home to life with expert advice, how to guides and design inspiration. Sign up for our newsletter and get two free tickets to a Homebuilding & Renovating Show near you.
Irving explains how to level out as best as possible, “To level a wooden floor before tiling it’s important to identify any loose floorboards.” He adds, “To do this, walk carefully over your flooring and identify movement or creaking boards. Mark the creaking floorboards using a pencil and carefully nail the floorboards down to secure them.”
Check the floor with a two metre (or longer) straight edge to ensure that there are no high ridges. A floor should be no more than plus or minus 3mm to ensure tiles stick properly. If there are any ridges, these can be flattened out with an electric sander or, if needed, an electric plane (like this DNTI-500w Electric Hand Wood Planer from Amazon). If there are any dips, use a suitable filler or levelling compound suitable for wood.
How to prepare a wooden floor for tiling
Before you start tiling, ensure you have enough tiles to cover the entire floor. Measure the square meterage and remember to add ten percent for wastage
1. Secure floorboards
Before any tiles or subfloor is laid, Irving says, “Secure any loose floorboards to provide a smooth and even surface for your tiles. Walk over your floorboards and identify any that move or creak. Nail or screw down any loose floorboards to prevent further movement. Ensure that you identify any pipes or wiring before proceeding to avoid costly mistakes.”
2. Add subfloor
There are several options for a subfloor, but Irving recommends cement backer board. “Next, it's time to choose your overboard that you will place over the wooden floorboards as a base for your tiles.” He adds, “A cement backer board is a good choice.”
However, before you lay the backer board, Irving says, “Prior to laying your overboard, make sure to give your wooden floorboards a deep clean. Then install your overboard using screws and adhesive, and avoid any gaps, as over time this can cause movement.”
One tip when installing cement backer board is to use a mesh tape (like this Gorilla Filler Plasterboard & Drywall Mesh Tape from Amazon) over any gaps to help the adhesive work properly.
3. Prime floor
To finish the preparation, Irving recommends adding a primer, “Prime your overboard using a Styrene-Butadiene Rubber (SBR) primer, as this will improve the durability of the tiles by offering good adhesion. Leave the primer to fully dry before laying the tiles”
If using plywood, a primer will definitely be needed. However, you may not need to prime the backer board. Check the manufacturer's recommendations. This typically indicates whether the board requires priming, depending on the type of adhesive being used.
Tile adhesive to use
This will depend on what type of subfloor you have installed. If you have a wooden floor, such as plywood, then you need to use a flexible tile adhesive like Mapei Super Flexible Grey Tile Adhesive from B&Q. This helps mitigate any movement in the subfloor. If cement backer board has been used to cover a wooden floor, you can use a standard tile adhesive suitable for floors.
FAQs
Can you tile wood walls?
The same principle applies to wooden walls as to wooden floors. If you have plywood on walls, it needs to be flat, primed and securely fitted; otherwise, you will encounter problems, as Irving points out, “Tiling straight onto wooden walls should be avoided as the tiles can move and crack as the wood expands and contracts”.
If tiling onto wooden walls, Irving says, “A cement backer board should be used on wooden walls to provide a durable, rigid and moisture-resistant base before tiling.”
Do you need to waterproof wooden floors/walls if tiling in a bathroom?
When tiling in an area with high moisture content, such as a bathroom or wet room, any wooden floors or walls need to be protected. Irving says, “Prior to tiling a bathroom, it’s important to ensure that walls and floors are waterproof, as tiles and grout alone will not protect your walls and floor from water damage and wood rot.”
One option is to use tile backer boards, but you need to check if they are waterproof. Irving says, “Although tiling backer boards can provide moisture protection, not all cement backer boards are fully waterproof; some are only water resistant.” He adds, “If this is the case, then tanking your walls and floors will be necessary to prevent moisture damage.”
A fully waterproof backer board is typically more expensive than standard backer board, so using a paint-on waterproofing system (like this Everbuild Aquaseal Waterproof Tanking Membrane from Amazon) is an alternative option. You simply need to apply it on top of the backer board, along with tanking tape (like this Nassboards Waterproof Tanking Tape from Amazon) on joints.
If you are looking to tile your bathroom or kitchen, make sure to check out kitchen floor tile ideas and bathroom tiling ideas. Also, read our Where to buy bathroom floor tiles guide to help you get what you want at the price you want.
Steve Jenkins is a freelance content creator with over two decades of experience working in digital and print and was previously the DIY content editor for Homebuilding & Renovating.
He is a keen DIYer with over 20 years of experience in transforming and renovating the many homes he has lived in. He specialises in painting and decorating, but has a wide range of skills gleaned from working in the building trade for around 10 years and spending time at night school learning how to plaster and plumb.
He has fitted kitchens, tiled bathrooms and kitchens, laid many floors, built partition walls, plastered walls, plumbed in bathrooms, worked on loft conversions and much more. And when he's not sure how to tackle a DIY project he has a wide network of friends – including plumbers, gas engineers, tilers, carpenters, painters and decorators, electricians and builders – in the trade to call upon.

