Discover the art of sanding metal with these expert tips from the pros
Learn what tools, sandpaper, grits and techniques you need to sand metal successfully

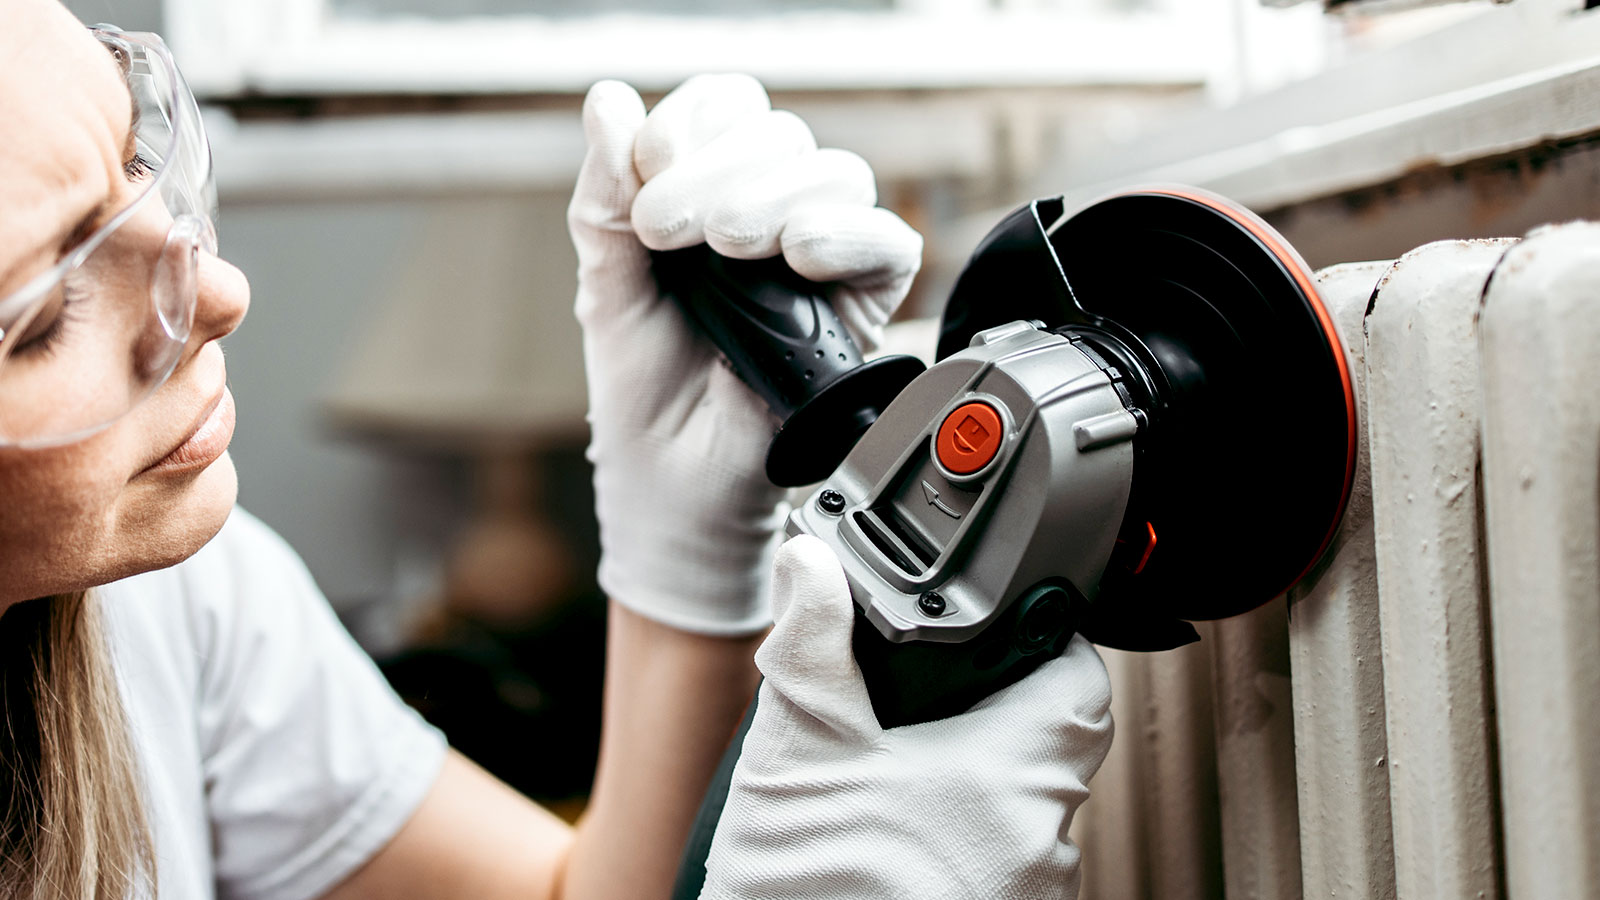
Sanding metal is a crucial part of the preparation process when restoring radiators, preparing garden furniture for painting, and freshening up a front gate. It's also a great way to remove rust by cleaning affected surfaces.
However, when sanding metal, it's essential to select the right tools, choose the appropriate sandpaper grits, and employ the correct techniques to achieve the smooth, clean finish you need. Get it wrong and you could be doubling your workload or be left with a less-than-satisfactory surface. Here, you’ll find all you need to know to ensure that doesn’t happen.

Paul started his career with a small, independent stainless-steel stockholder over 35 years ago. He then worked for Delta Metals plc before spotting an opportunity to develop and build metals4U as a powerhouse for the online supply of metals. He took the chance and has never looked back.
Commonly sanded metals
Sanding metal is a common process for a variety of reasons, as Paul McFadyen, metal expert and chairman at metals4U, explains: “Whether it’s for a DIY project, restoration, or prep for painting, there are various metal items that commonly need sanding.”
He continues, “Steel and wrought iron are typically used for gates, railings, garden furniture, and radiators, and are usually sanded to remove any rust and peeling paint before repainting.”
McFadyen mentions other popular options “Similarly, aluminium items like car parts and bodywork, cookware, and certain tools and machinery, will benefit from sanding to restore shine and improve the adhesion of any finishes. Sanding aluminium can smooth over any scratches and prepare these items for paint and polish.”

Leigh Start joined The Metal Store in 2015 and was appointed Managing Director in 2023. With nearly a decade of experience in the metal supply industry, Leigh has played a key role in driving the company’s growth and expanding its service offering.
Protective equipment you'll need
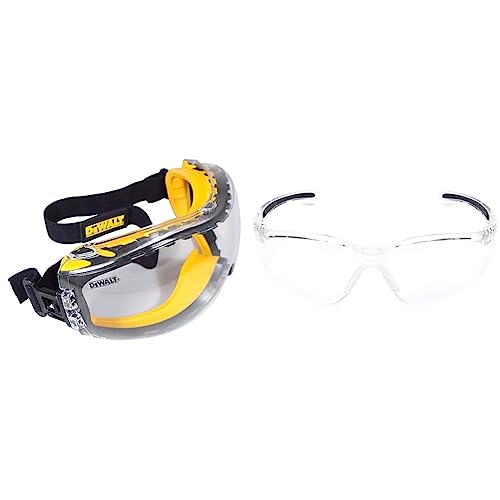
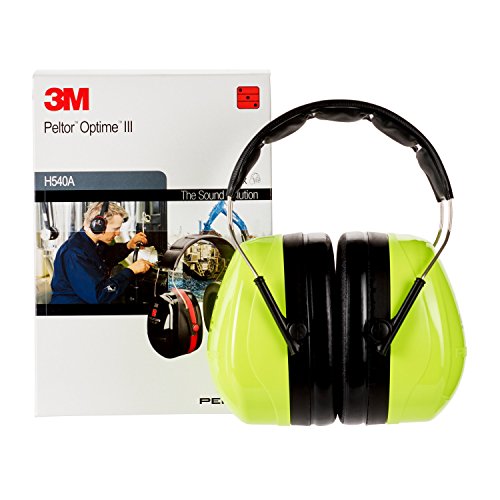
When working with metal, it's essential that you have the right safety gear to protect yourself. Leigh Start, managing director at The Metal Store, says, “Safety should never be overlooked.” He recommends that you always wear the following:
- Protective gloves to prevent cuts from sharp metal edges.
- Safety goggles to shield against dust and particles.
- A dust mask or respirator to avoid inhaling fine metal dust.
- Ear protection if using power tools.
Try these tools for sanding metal
Tools you’ll need to sand metal
What tools you’ll need to sand metal will depend on what type of sanding job you are tackling. Here Start lists the common options:
- Orbital sander for larger jobs.
- Wire brush or flap wheel attachments for removing rust.
- Sanding blocks for hand sanding.
- Detail sanders or sanding sponges for hard-to-reach areas.
Best ways to sand metal
Before any sanding is performed, McFadyen advises that it needs cleaning first: “The first step is to always clean the metal surface to remove any dirt or grease that could interfere with the sanding process. Make sure the metal is fully dry before sanding.”
Bring your dream home to life with expert advice, how to guides and design inspiration. Sign up for our newsletter and get two free tickets to a Homebuilding & Renovating Show near you.
McFadyen offers one essential tip to follow: “Start with a coarser grit and move to a finer one as you progress. A coarse grit will help to remove rust and paint before further sanding, whereas a fine grit will give a smoother finish.” Once the metal is dry and you can use one of the following methods.
Using a power sander
Using a power sander can help speed up the sanding process, but it must be used correctly. McFadyen says, “Make sure to keep the tool moving to avoid creating deep scratches and heat spots.”
He points out, “A common mistake people make when sanding is pressing too hard, which can create uneven surfaces and scratches.” He adds, “Excessive force can damage the metal, so stick to a moderate pressure. If you find yourself needing to press harder for an effective job, you should switch to a coarser grit.”
A power sander (like a random orbital sander) is the preferred choice for larger flat areas. However, for more detailed/intricate areas and edges, switching to hand sanding is the best choice.
Sanding by hand
For general hand sanding, Start says, “Hand sanding involves using a sheet of sandpaper (often wrapped around a sanding block) and working in smooth, even strokes across the surface. The key is patience and consistency.” He adds, “Avoid pressing too hard, which can leave gouges or an uneven finish.”
For more intricate areas where a sanding block won’t work, you can use the sandpaper directly in your hand. Alternatively, you can use a sanding sponge (like these Sanding Sponges from Amazon). These will fit the shape of the metal being sanded.
Sanding mistakes to avoid
It's easy to make mistakes when sanding. Here Start offers four tips to help ensure the sanding process goes smoothly.
- Using sandpaper that’s too coarse, which can scratch the metal beyond repair.
- Skipping grits - moving from very coarse straight to fine leaves visible marks.
- Applying uneven pressure, which causes dips in the surface.
- Forgetting to clean the metal before and after sanding, leading to debris being trapped under paint or coatings.
Best sandpaper for sanding metal
Start recommends the following sandpapers for sanding metal, “Aluminium oxide sandpaper is the go-to for most metalwork thanks to its durability. For stainless steel, silicon carbide papers are better as they cut cleaner and faster.” Both of these can be easily found online or at your local hardware store.
McFadyen explains what grits to use, “For heavy rust and paint removal, you’ll likely want to choose a coarse 40-80 grit sandpaper. For smoothing rough surfaces, progress to 120-180 grit sandpaper. Finally, 220-240 grit sandpaper will give your metal a polished finish."
He adds, “Steel is typically stronger than aluminium and can handle coarser grits, whereas wet sanding with a medium grit is more effective for aluminium to prevent warping. Copper and brass are much softer, so you’ll need to choose a finer grit and use gentle pressure to prevent scratching.”
FAQs
What is the best way to clean metal after sanding?
After sanding metal, it's recommended to clean the metal before moving on to the next stage. Start says, “Once sanding is complete, wipe the surface down with a clean cloth and a solvent such as acetone or white spirit.” He adds, “This removes fine dust and grease, ensuring the surface is completely ready for paint, primer or sealant.”
Should I use water when sanding metal?
Water is sometimes suggested to be used when sanding metal but Start suggests you don’t. “Avoid using water when sanding most metals. Moisture encourages flash rusting, which can undo all your hard work. Instead, keep the area dry and clean as you go.”
He adds, “Wet sanding is sometimes used in specialist applications such as car bodywork, but for most home and garden metal projects, keeping the process dry is safer and more effective.”
If you’re looking to update your radiators, you’ll need to sand and prep before you start. To get the finish you want, check out our guides How to paint a radiator and How to paint behind a radiator. Alternatively, if you don’t want to paint your radiators, try our radiator cover ideas for inspiration.
Steve Jenkins is a freelance content creator with over two decades of experience working in digital and print and was previously the DIY content editor for Homebuilding & Renovating.
He is a keen DIYer with over 20 years of experience in transforming and renovating the many homes he has lived in. He specialises in painting and decorating, but has a wide range of skills gleaned from working in the building trade for around 10 years and spending time at night school learning how to plaster and plumb.
He has fitted kitchens, tiled bathrooms and kitchens, laid many floors, built partition walls, plastered walls, plumbed in bathrooms, worked on loft conversions and much more. And when he's not sure how to tackle a DIY project he has a wide network of friends – including plumbers, gas engineers, tilers, carpenters, painters and decorators, electricians and builders – in the trade to call upon.


