Learn how to isolate a radiator the right way, ready for removal, replacement and redecoration
Get expert advice on isolating a radiator to ensure you don’t suffer unwanted water spillage
Bring your dream home to life with expert advice, how to guides and design inspiration. Sign up for our newsletter and get two free tickets to a Homebuilding & Renovating Show near you.
You are now subscribed
Your newsletter sign-up was successful
When it's time for maintenance, repairs, or upgrades to your heating system, you’ll need to isolate a radiator to stop water from spilling everywhere and ruining your carpet or flooring. It's a straightforward process that prevents water from flowing through a radiator.
However, you’ll need to be careful, especially when removing a radiator from the wall. You’ll need to make sure that you have buckets and towels at the ready to catch any water. Here, you’ll find out what tools you need, what the valves on a radiator do, and how to switch them off correctly.

Nicholas Auckland is a heating, cooling and energy expert with over 20 years of experience in the industry, as well as the Managing Director of Trade Radiators. Nicholas is dedicated to finding the best heating and cooling solutions for every need, as well as optimising energy usage, reducing costs and helping others live with lower-cost energy bills.
How to isolate a radiator: Tools you’ll need
You will only need a few tools, but make sure that you have them ready before you start. You'll need:
- Adjustable spanner
- Bucket/container
- Water pump pliers
- Bleed key (optional)
Try these tools to isolate a radiator
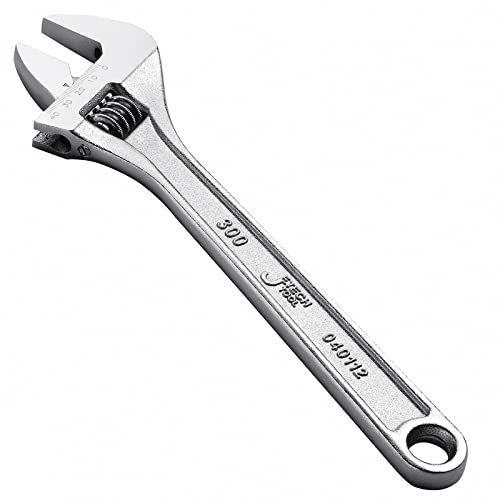
A 300mm (12-inch) adjustable spanner with a wide 40mm jaw opening, making it ideal for radiator nuts and other DIY projects. Made from vanadium steel for strength and durability.
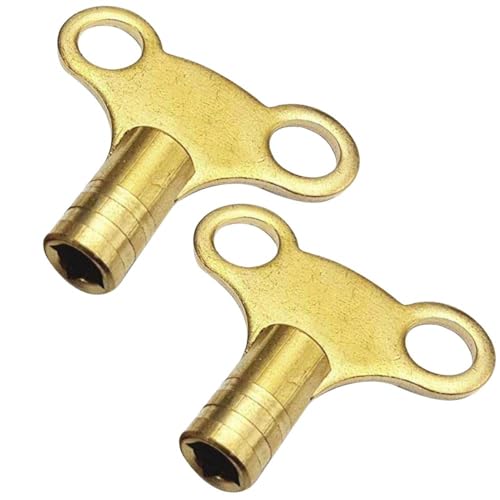
A pack of two brass butterfly design radiator keys offers strength and durability, and ease of use. It features a square opening that is compatible with most radiators in the UK.
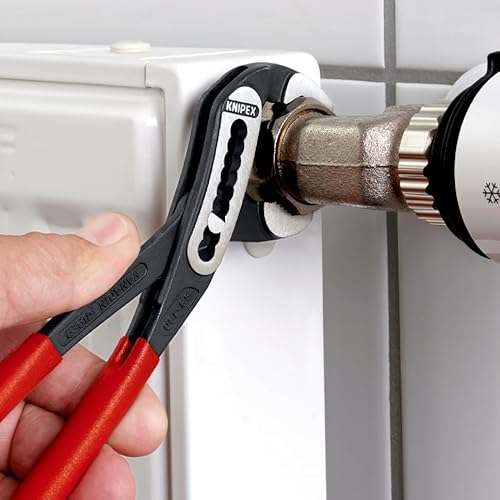
These professional-grade water pump pliers feature self-locking jaws, strong gripping power, ergonomic comfort, and nine adjustable positions. Ideal for gripping pipes when unlocking a nut.
Identify valves on radiator
There are many types of radiators, but they typically have one thing in common — two valves, as Nicholas Auckland, heating, cooling and energy expert at Trade Radiators," shares, "Most radiators in our homes will have two valves, one at each end. These valves regulate the flow of hot water entering and leaving the radiator."
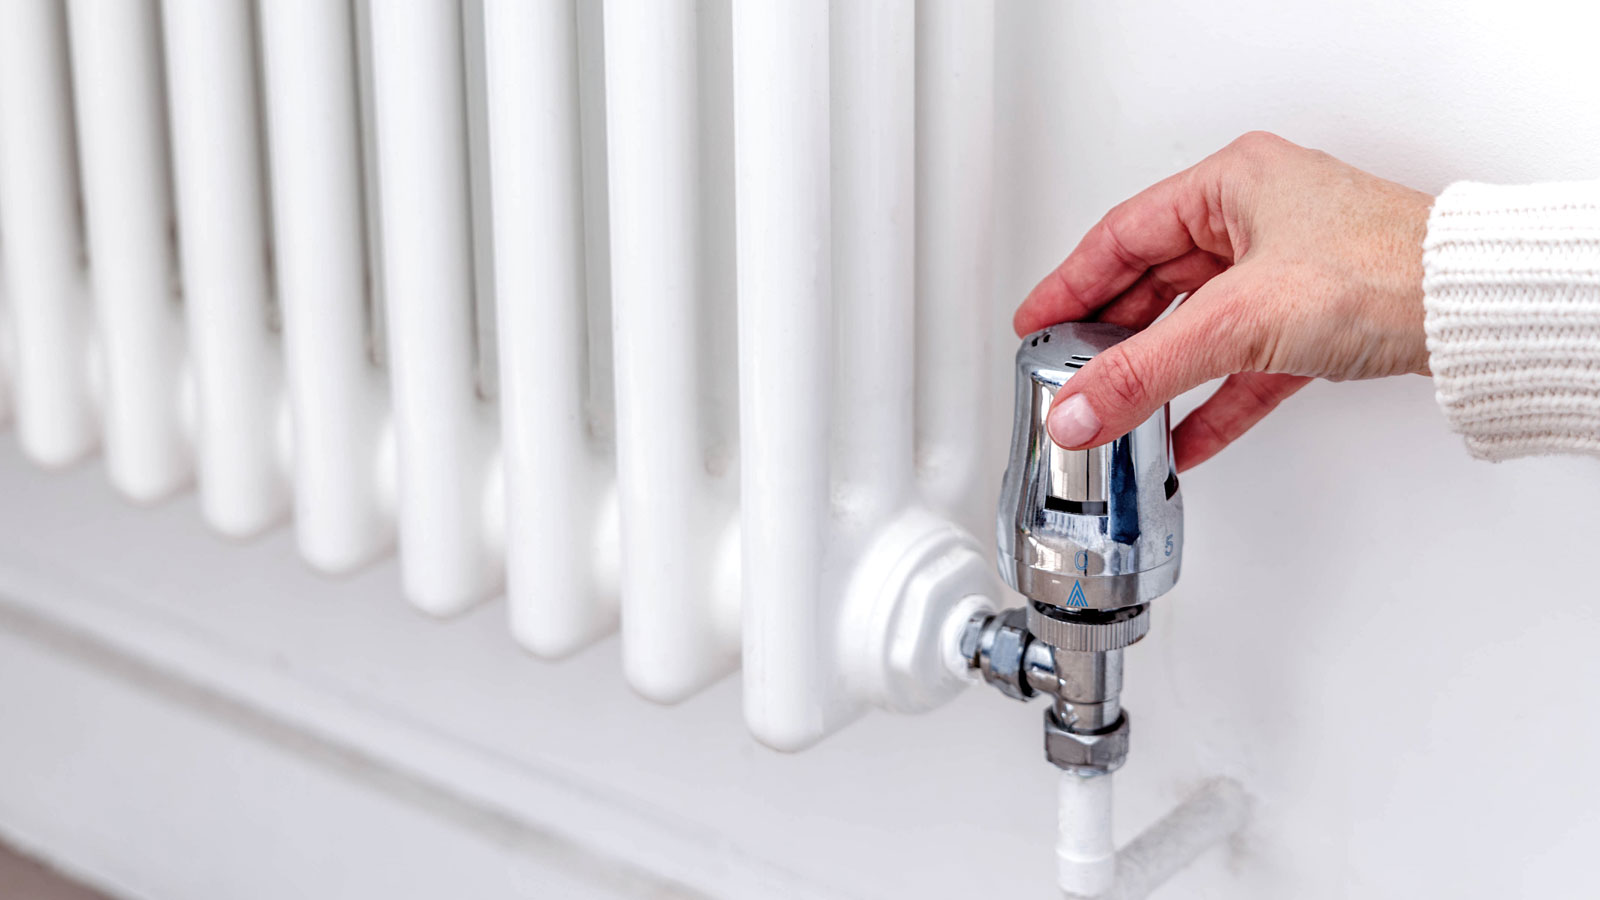
Auckland points out that one side will typically be a TRV or manual valve. “This is the control side, and the one you usually adjust.” He adds, “A TRV (thermostatic radiator valve) lets you set the radiator to a chosen temperature, which will usually be displayed as a number on the valve itself."
"The two perform the same task but operate slightly differently, points out Auckland, “A TRV automatically regulates the flow of hot water to maintain a comfortable room temperature. On the other hand, a manual valve is a simple on/off valve. You either open or close it by hand to let water into the radiator or keep it out. A TRV is recommended for the highest efficiency."
The other side is known as a lockshield valve. Auckland explains what it does, “This is the balancing side, and is usually covered with a plastic cap because it’s not something that you need to adjust every day."
Bring your dream home to life with expert advice, how to guides and design inspiration. Sign up for our newsletter and get two free tickets to a Homebuilding & Renovating Show near you.
He adds, "It's set up by radiator/heating installers to balance the system, making sure that every radiator gets its fair share of hot water. You realistically shouldn't need to do anything with this valve unless you want to isolate your radiator".
Steps to isolate a radiator
1. Be prepared
They might not be needed, but have a couple of containers and towels ready if you are going to remove the radiator after isolation. Wrap the towels around the water pipes and place the bowls under the valves.
2. Isolate the water supply
This is a straightforward process. If you have a thermostatic valve, turn it to zero. If you have a manual valve, remove the plastic cap and use a pair of pliers or grips to turn clockwise until the valve is closed. Then, do the same with the lockshield valve and ensure it is also closed. Job done. Now you can begin the process of removing the radiator.
Check radiator is isolated
Once you have closed the two valves, the water supply to the radiator will stop. The thermostatic or manual valve, which controls the temperature, should be set to zero. This means that the radiator will cool down and remain cold, as no water will be able to reach it.
The lockshield valve by default is left open to let the water flow through the radiator. The lockshield valve is part of the process for balancing radiators to achieve an even temperature throughout a home. Turn this clockwise until closed to stop the water flow.

Thomas Halpin has worked as a heating engineer and boiler installer for over 20 years. Thomas also provides expert advice on heating systems on behalf of PriceYourJob.co.uk
FAQs
Does isolating a radiator stop it leaking?
Yes and no – knowing how to fix a leaky radiator will stop the water supply from the pipes, but isolating the radiator may not stop the leak. It very much depends on where the leak is located.
If the leak is located on the radiator itself – this typically applies to old and rusting radiators that have been painted – then isolating the radiator won’t help. You will need to remove the radiator and replace.
However, if the leak is in one of the valves it will depend on what part of the valve. For example, if the olive on the water pipe joint is worn the leak won't stop when the valve is turned off.
Can you remove a radiator and still use the central heating?
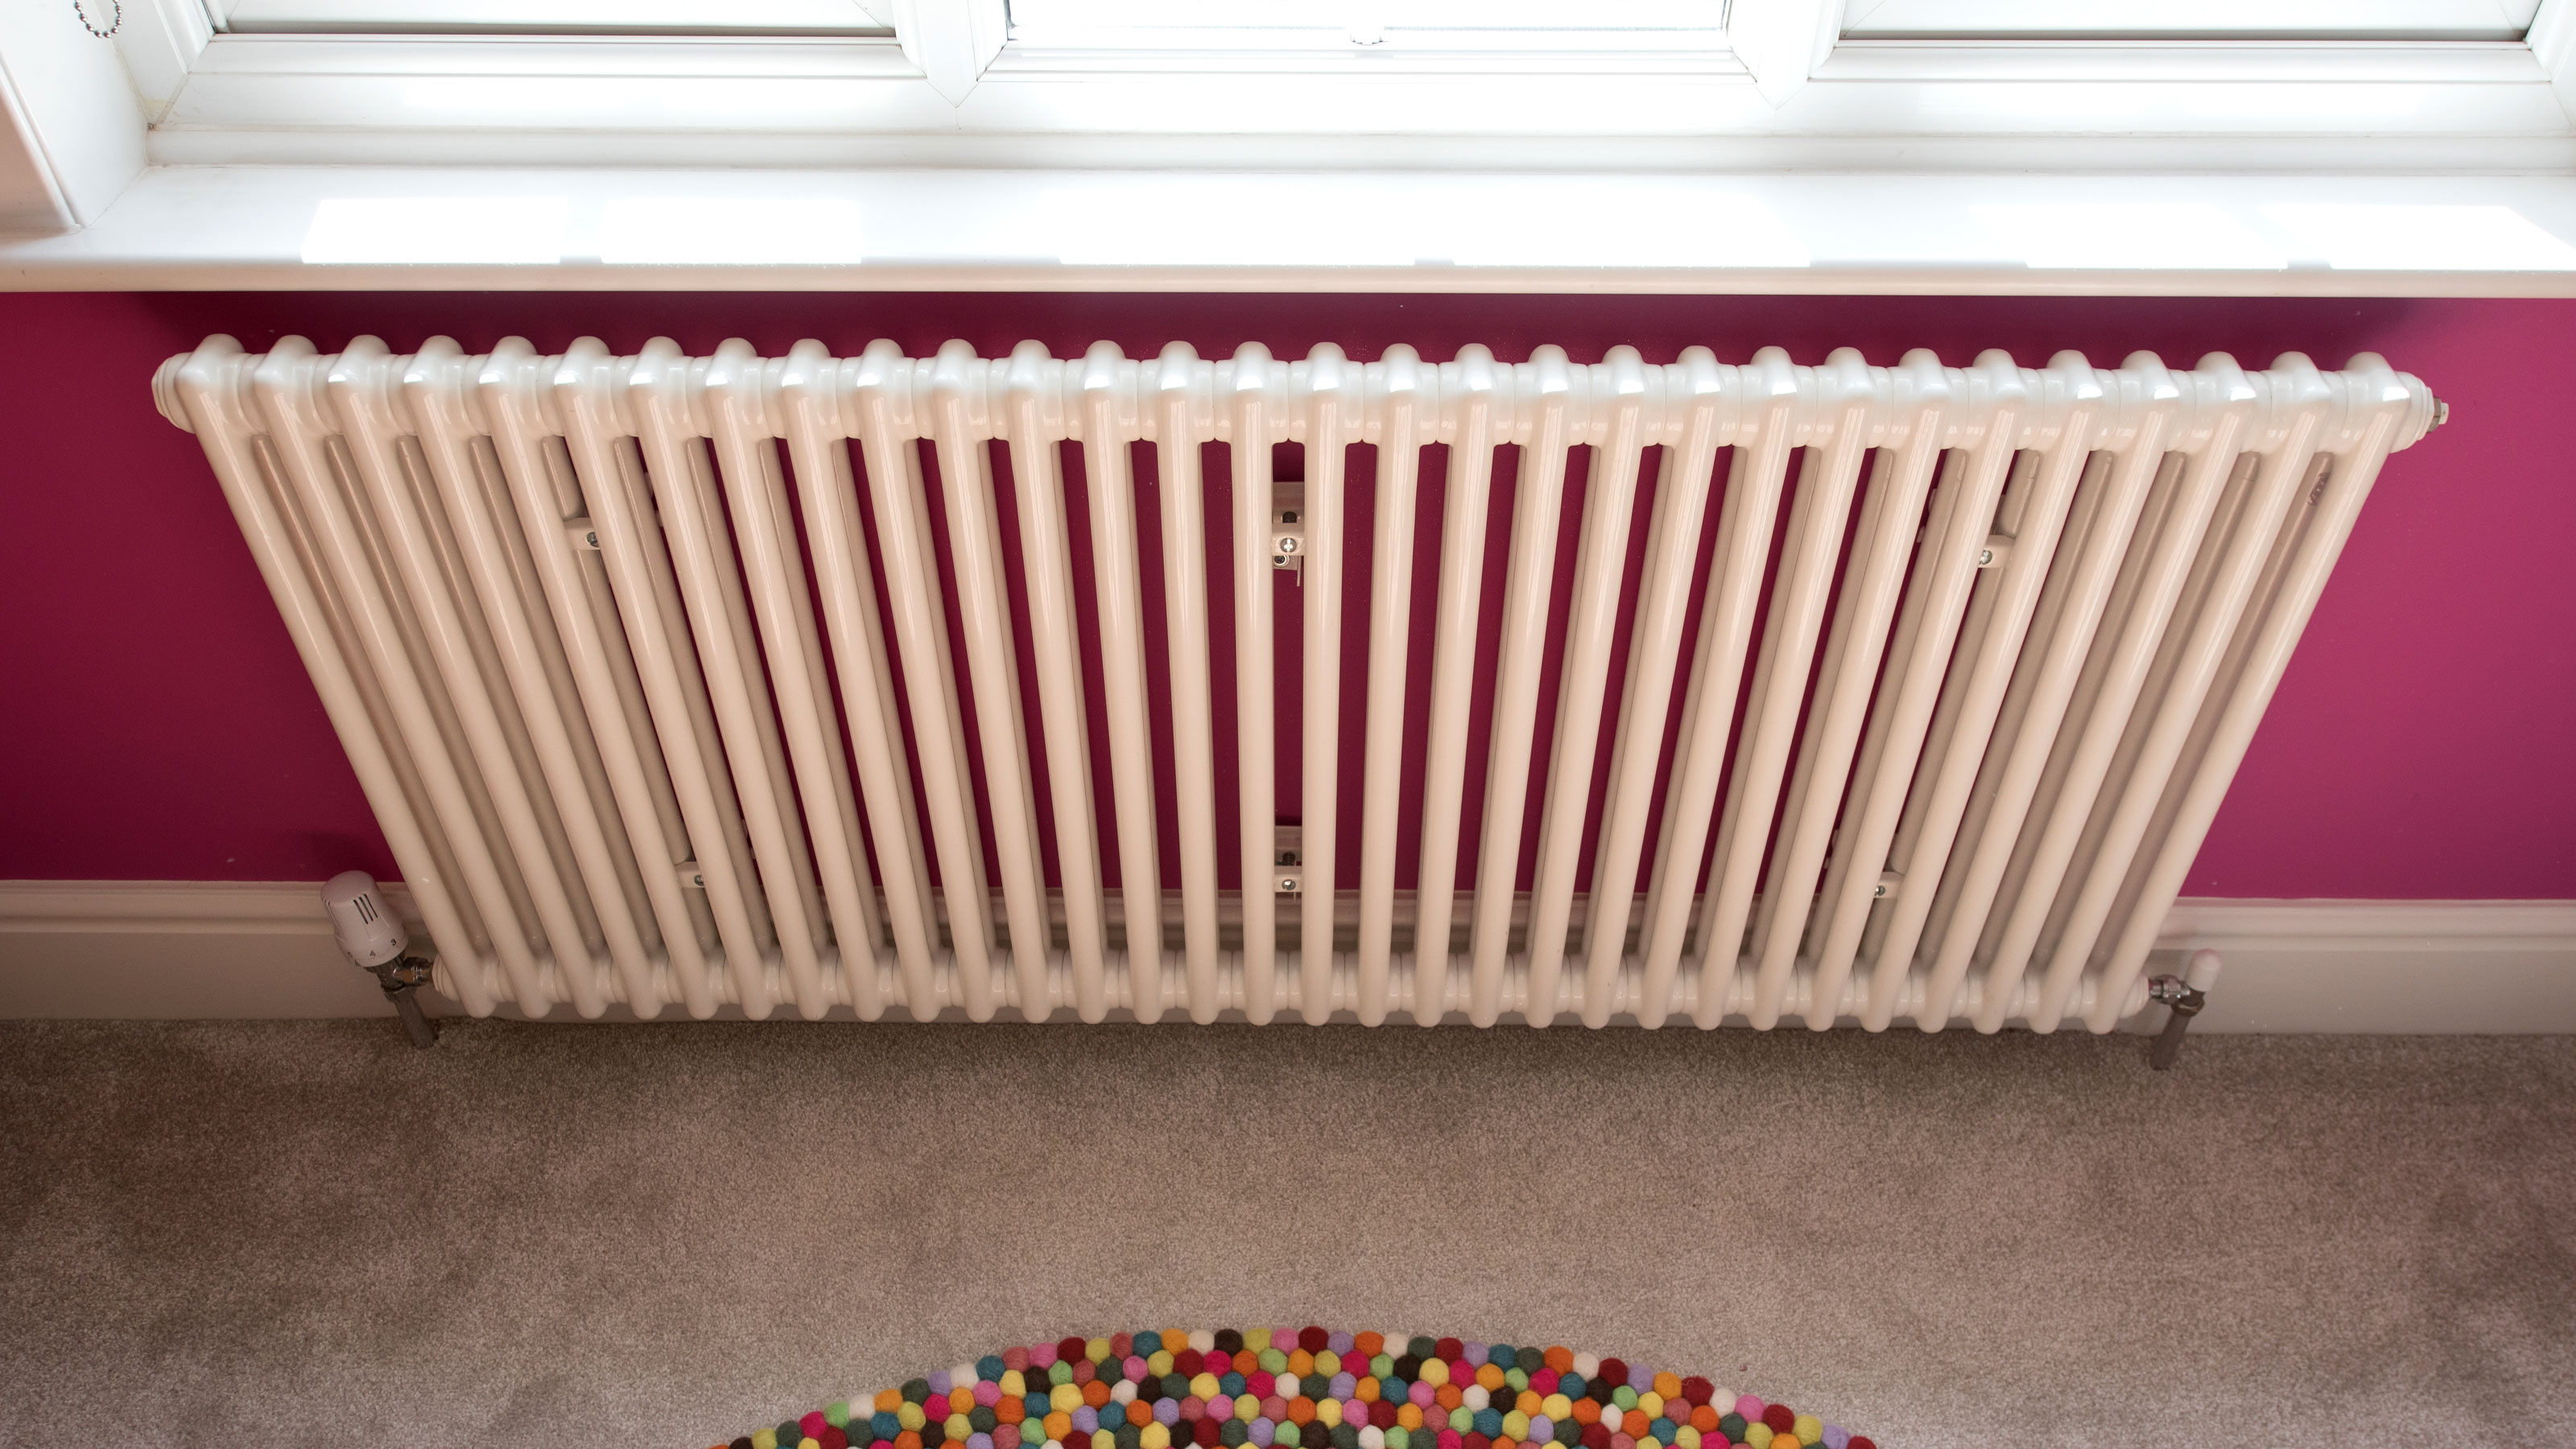
Yes you can. If you are looking to paint behind a radiator or replace an old radiator with a new one you first need to make sure that both valves are turned off. The water will then bypass the radiator and flow through to the next radiator in the central heating system.
Ideally you should only remove one radiator at a time. Two is OK, but it is best not to remove any more at any one time. This can cause the pressure to go up which can damage the heating system.
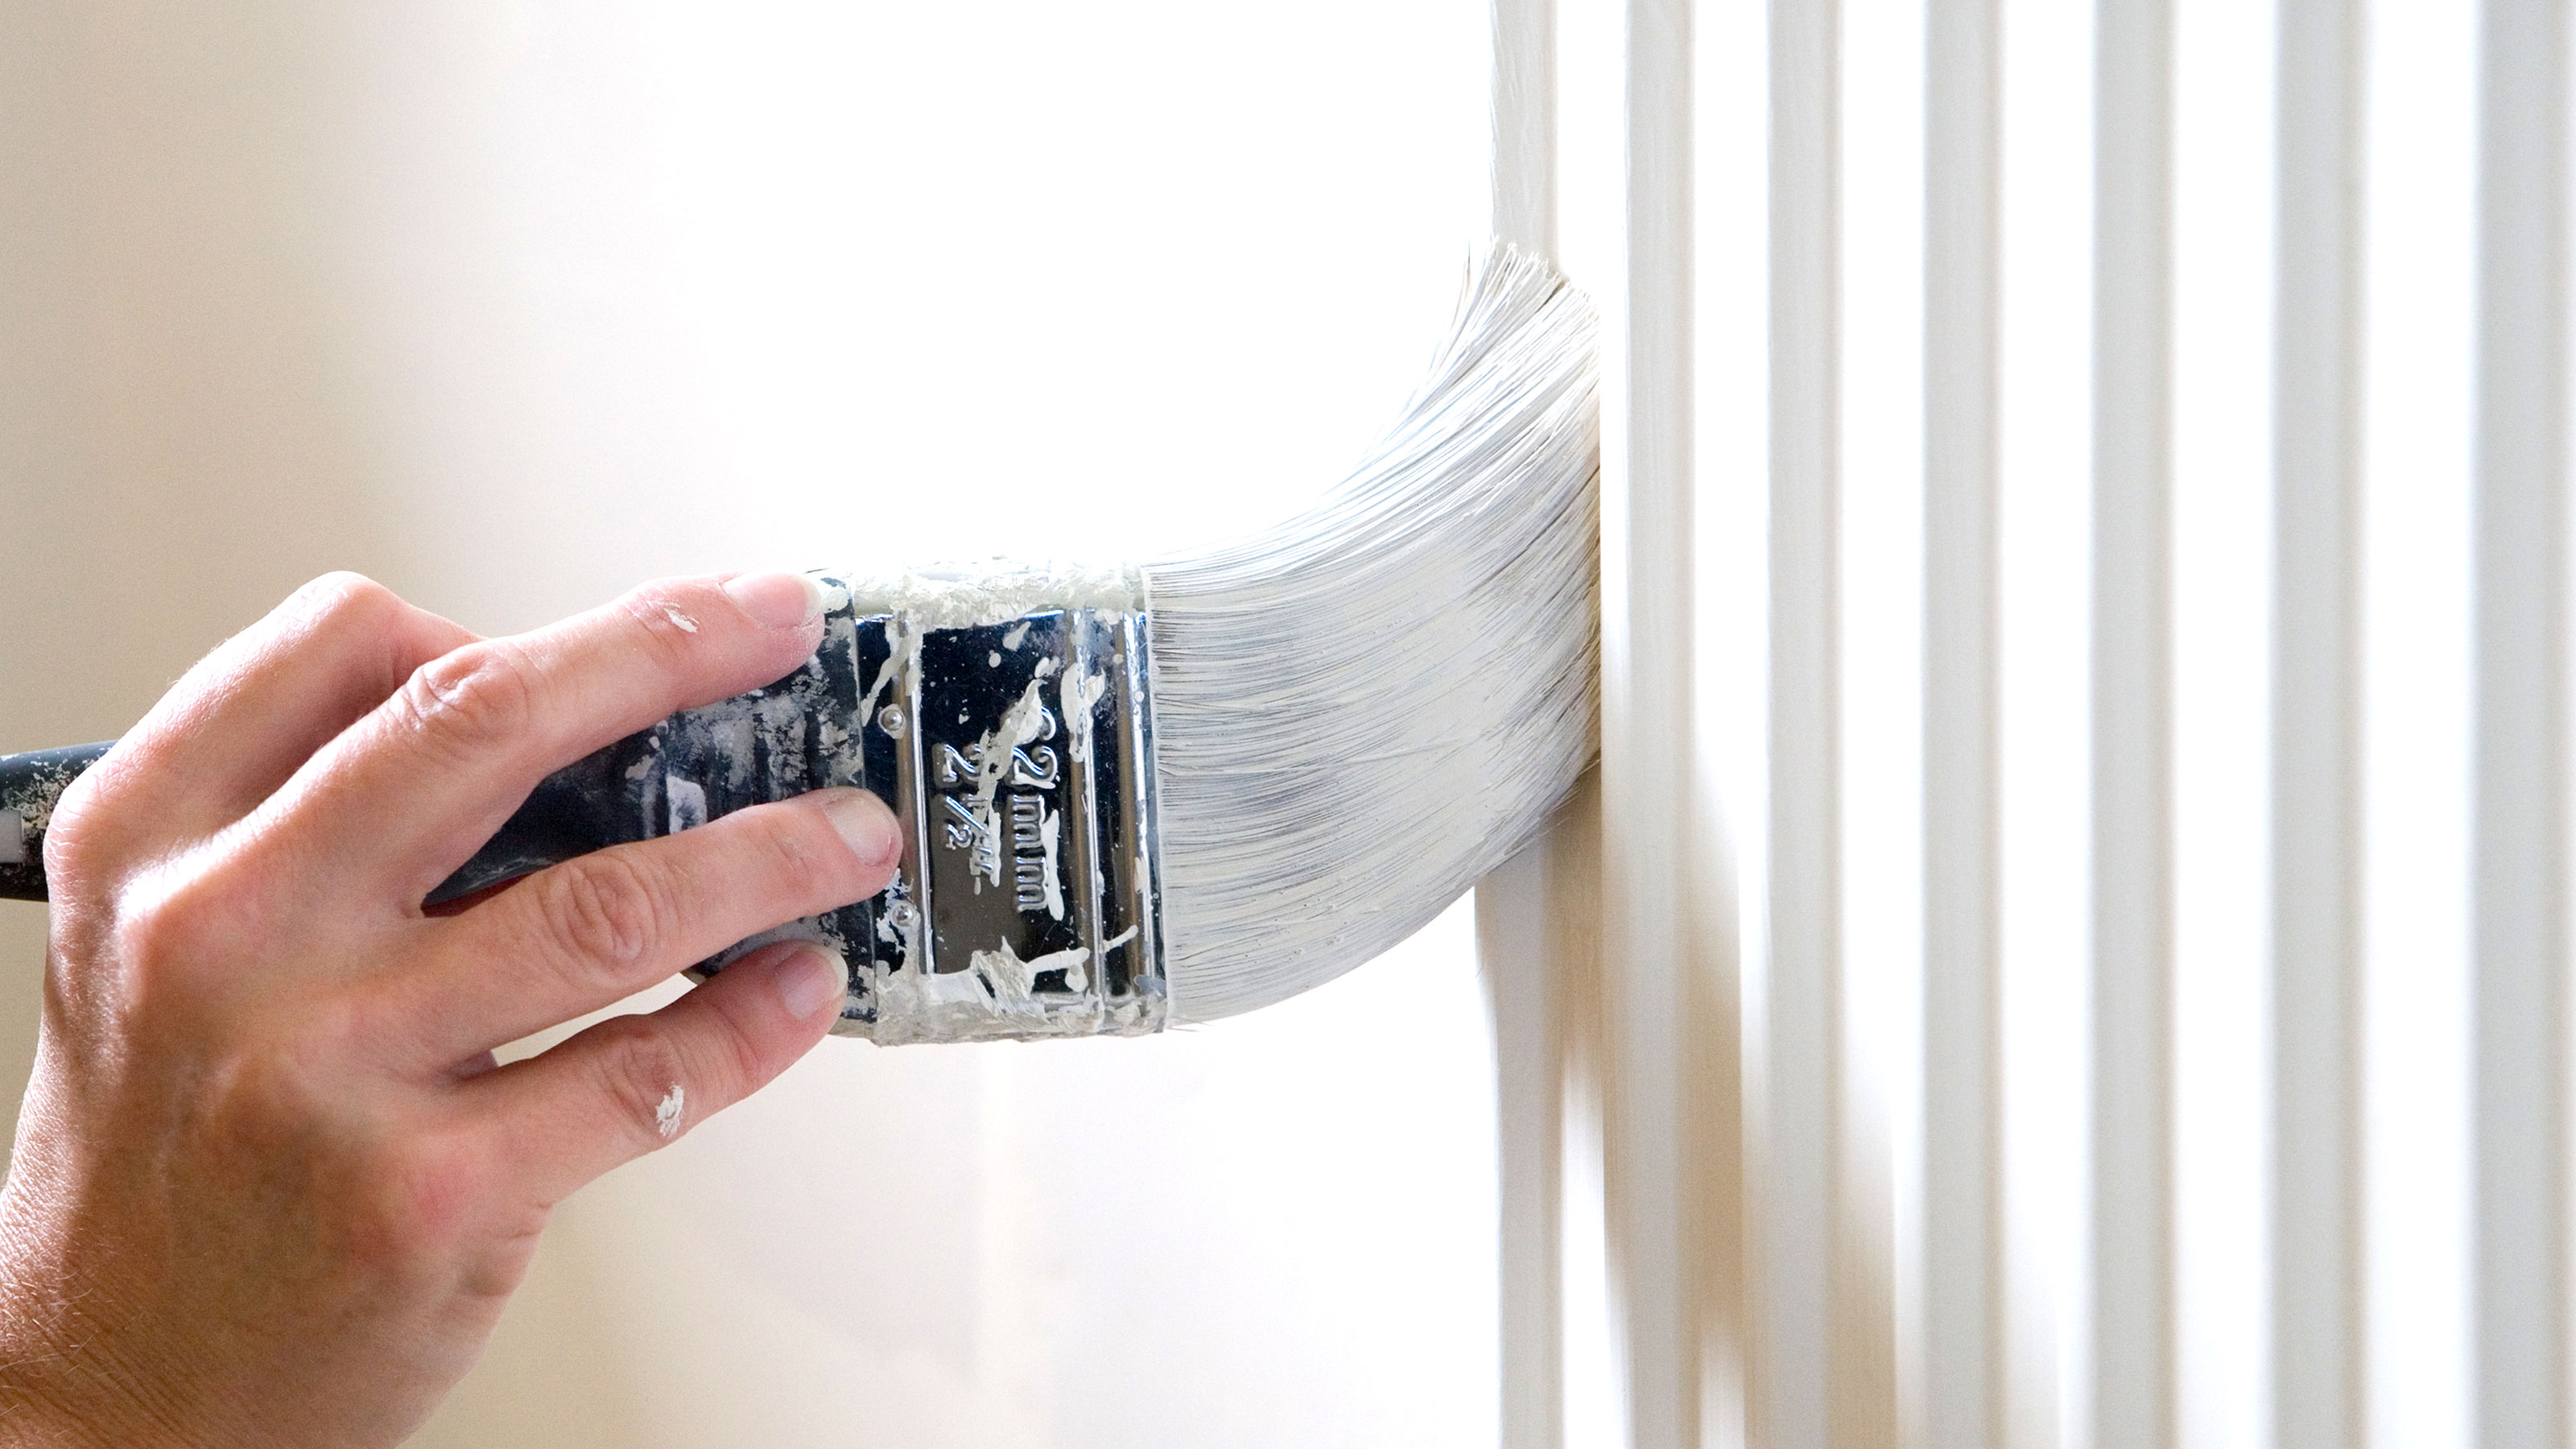
Radiators are designed to heat every room in your home, but are they the best option for loft conversion heating? You might want to consider underfloor heating. If you decide to stick with your radiators but don’t like their look, consider these radiator cover ideas to get the look you want.
Steve Jenkins is a freelance content creator with over two decades of experience working in digital and print and was previously the DIY content editor for Homebuilding & Renovating.
He is a keen DIYer with over 20 years of experience in transforming and renovating the many homes he has lived in. He specialises in painting and decorating, but has a wide range of skills gleaned from working in the building trade for around 10 years and spending time at night school learning how to plaster and plumb.
He has fitted kitchens, tiled bathrooms and kitchens, laid many floors, built partition walls, plastered walls, plumbed in bathrooms, worked on loft conversions and much more. And when he's not sure how to tackle a DIY project he has a wide network of friends – including plumbers, gas engineers, tilers, carpenters, painters and decorators, electricians and builders – in the trade to call upon.

