Painting wood: Pro tips on how to prep and paint
Painting wood is a skill that every DIYer needs in their arsenal. Here we tell you how to prep and apply paint the right way to help get a flawless finish

Bring your dream home to life with expert advice, how to guides and design inspiration. Sign up for our newsletter and get two free tickets to a Homebuilding & Renovating Show near you.
You are now subscribed
Your newsletter sign-up was successful
The finishing touch to many DIY tasks around the home is often painting wood. Doors, windows, skirting boards, stairs, kitchen cabinets, fireplaces, floors and furniture often need a lick of paint to get them looking their best.
In the garden there's a good chance you 'll have a wooden shed, wooden fence and wooden furniture that'll need painting too, or perhaps you're looking for tips for painting exterior window sills. Either way, knowing how to paint wood is a key skill for most budding DIYers to save on paying someone else to do it for you.
Here we take a look at the basic principles you can apply to any wood painting project.
Painting wood: How do you prep it for painting?
Prepping wood ready for painting is just as important as painting the wood itself. Get your preparation wrong or do a poor job and you will be starting with a distinct disadvantage before you even add a coat of paint. There’s two options when prepping, bare wood and painted wood. Here we take a look at both.
1. Prepping bare wood
If you have a new wooden door, windows frame, skirting boards etc, you will need to prime before you paint. But before you prime, you will need to fill any dents or unwanted holes with a suitable wood filler such as Everbuild Multi-Purpose Wood Filler.
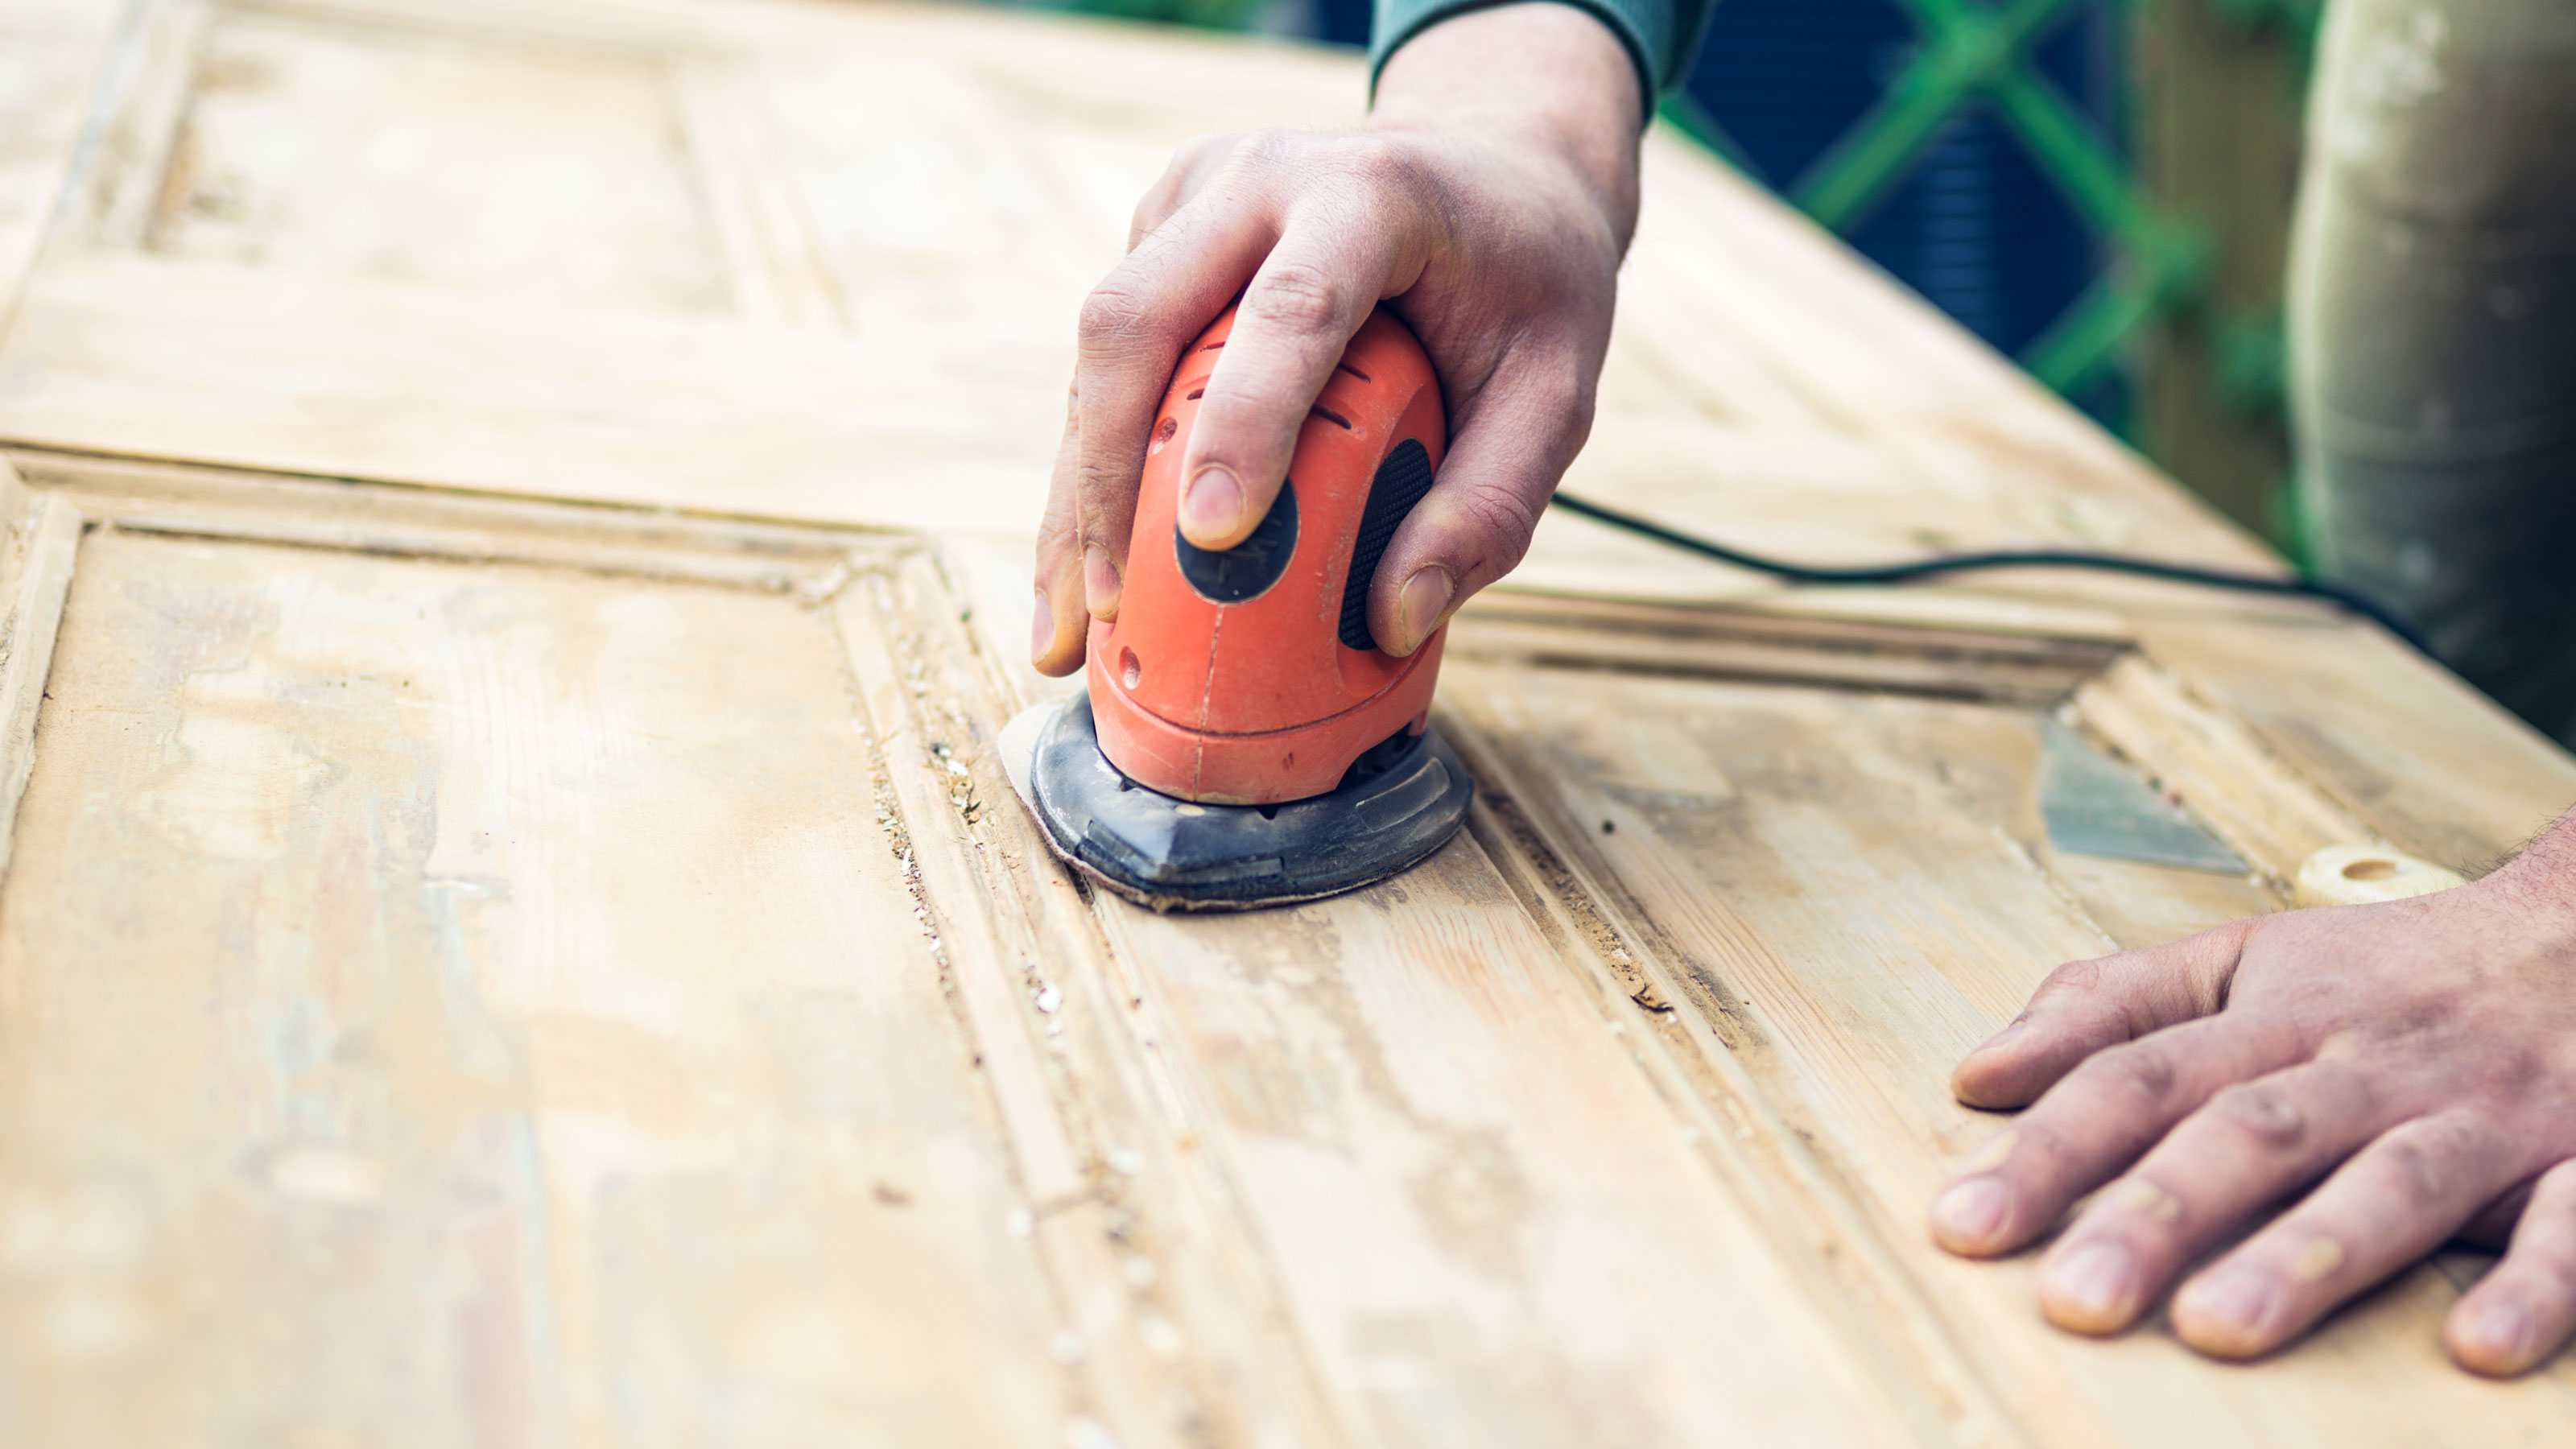
Rub down the filler when dry with a fine grade sandpaper — 180 grit will do the job. Now brush or vacuum the wood to get rid of as much dust as possible. Finish by wiping with a damp cloth. Leave to dry and apply a coat of primer with a paintbrush.
If needed, add another coat of primer, leave to dry and finish by giving in a light sanding with a fine 220 grit sandpaper.
For rough sawn timber such as fence panels you just need to brush with a stiff brush to get rid of any dirt and debris to make sure that you get a clean, durable finish.
2. Prepping painted wood
The process is very similar to prepping bare wood, but first get a scraper to remove any loose paint. However, if you are painting skirting boards, for example, and the paint is in poor condition you may be better off getting a heat gun and going back to bare wood.
Bring your dream home to life with expert advice, how to guides and design inspiration. Sign up for our newsletter and get two free tickets to a Homebuilding & Renovating Show near you.
This is also a good idea if you have multiple layers of paint and want to give your woodwork a fresh, as new, look.
If the paint is in decent condition you simply need to rub down with a 120 grit sandpaper and remove the dust before adding an undercoat. Typically, you will need to add two coats of undercoat. If it has a few dents or knocks fill first.

How to paint wood
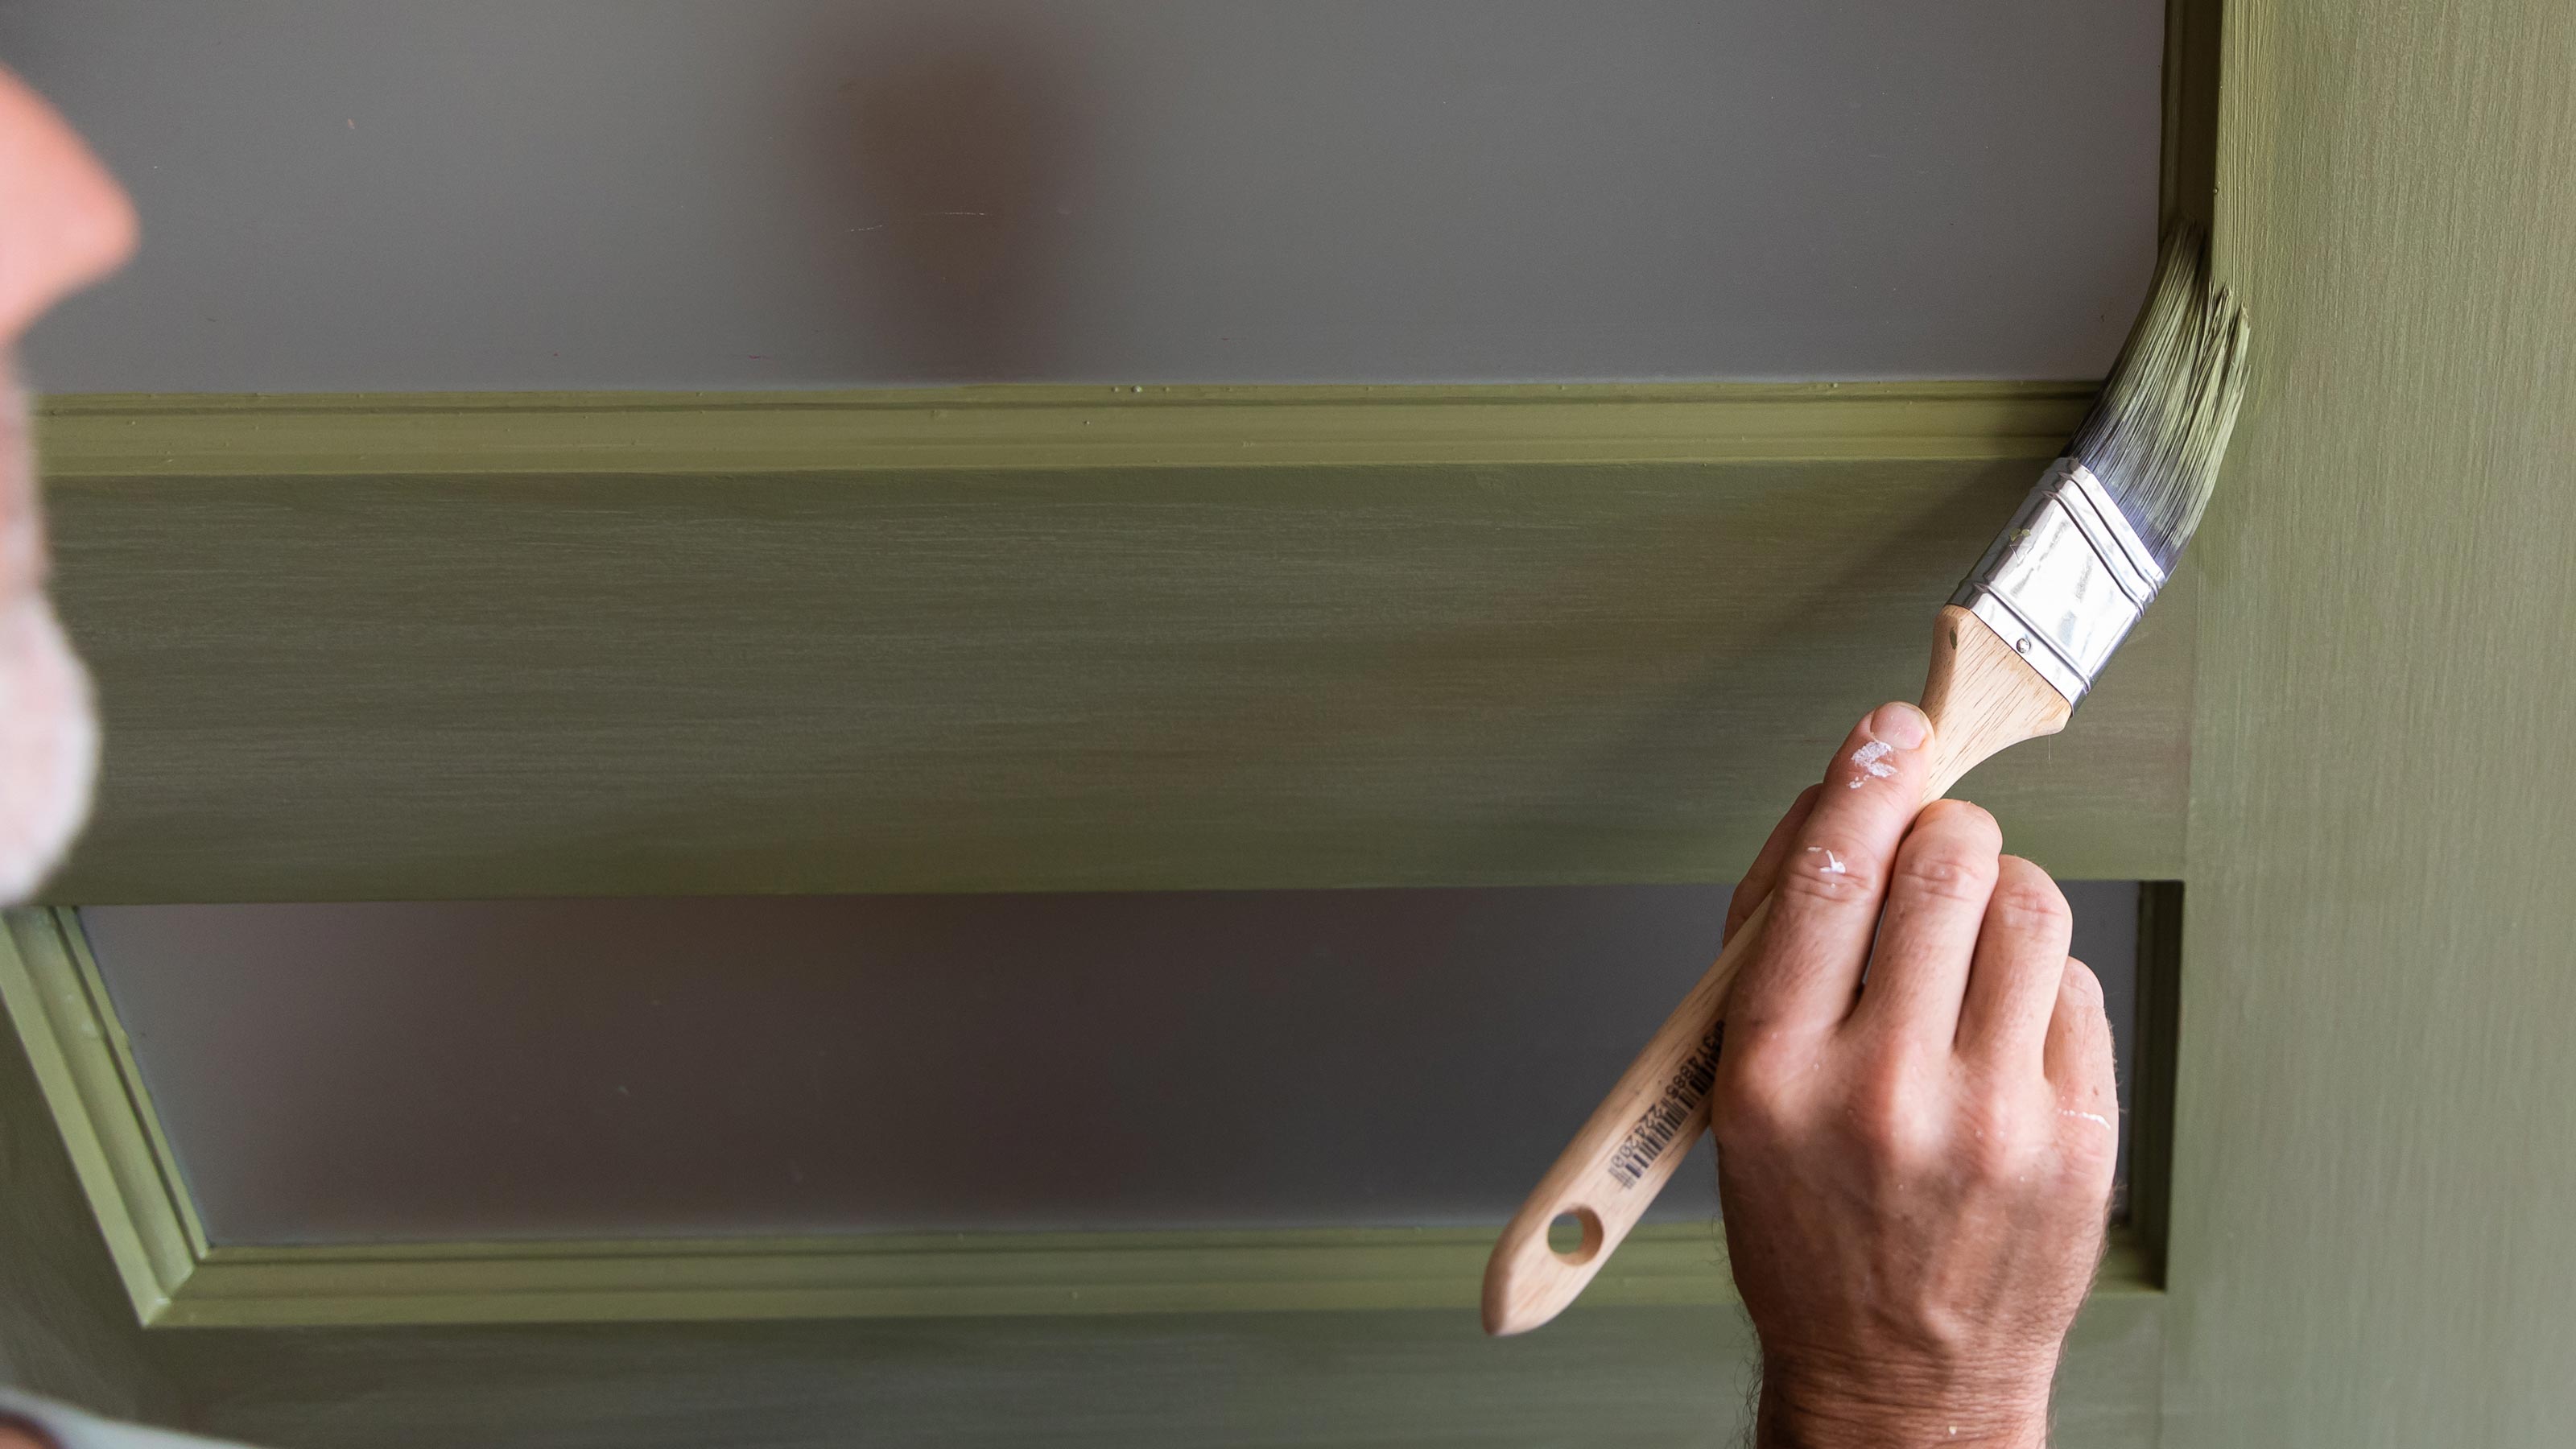
Once you have prepped your wood the next step is painting. Typically for interior jobs such as painting windows you will need an undercoat and a top coat such as satin or gloss. To apply you will typically use a 2-3 inch paint brush. If painting a door that has a flat surface you can use a 4-inch roller to get a smooth, even finish.
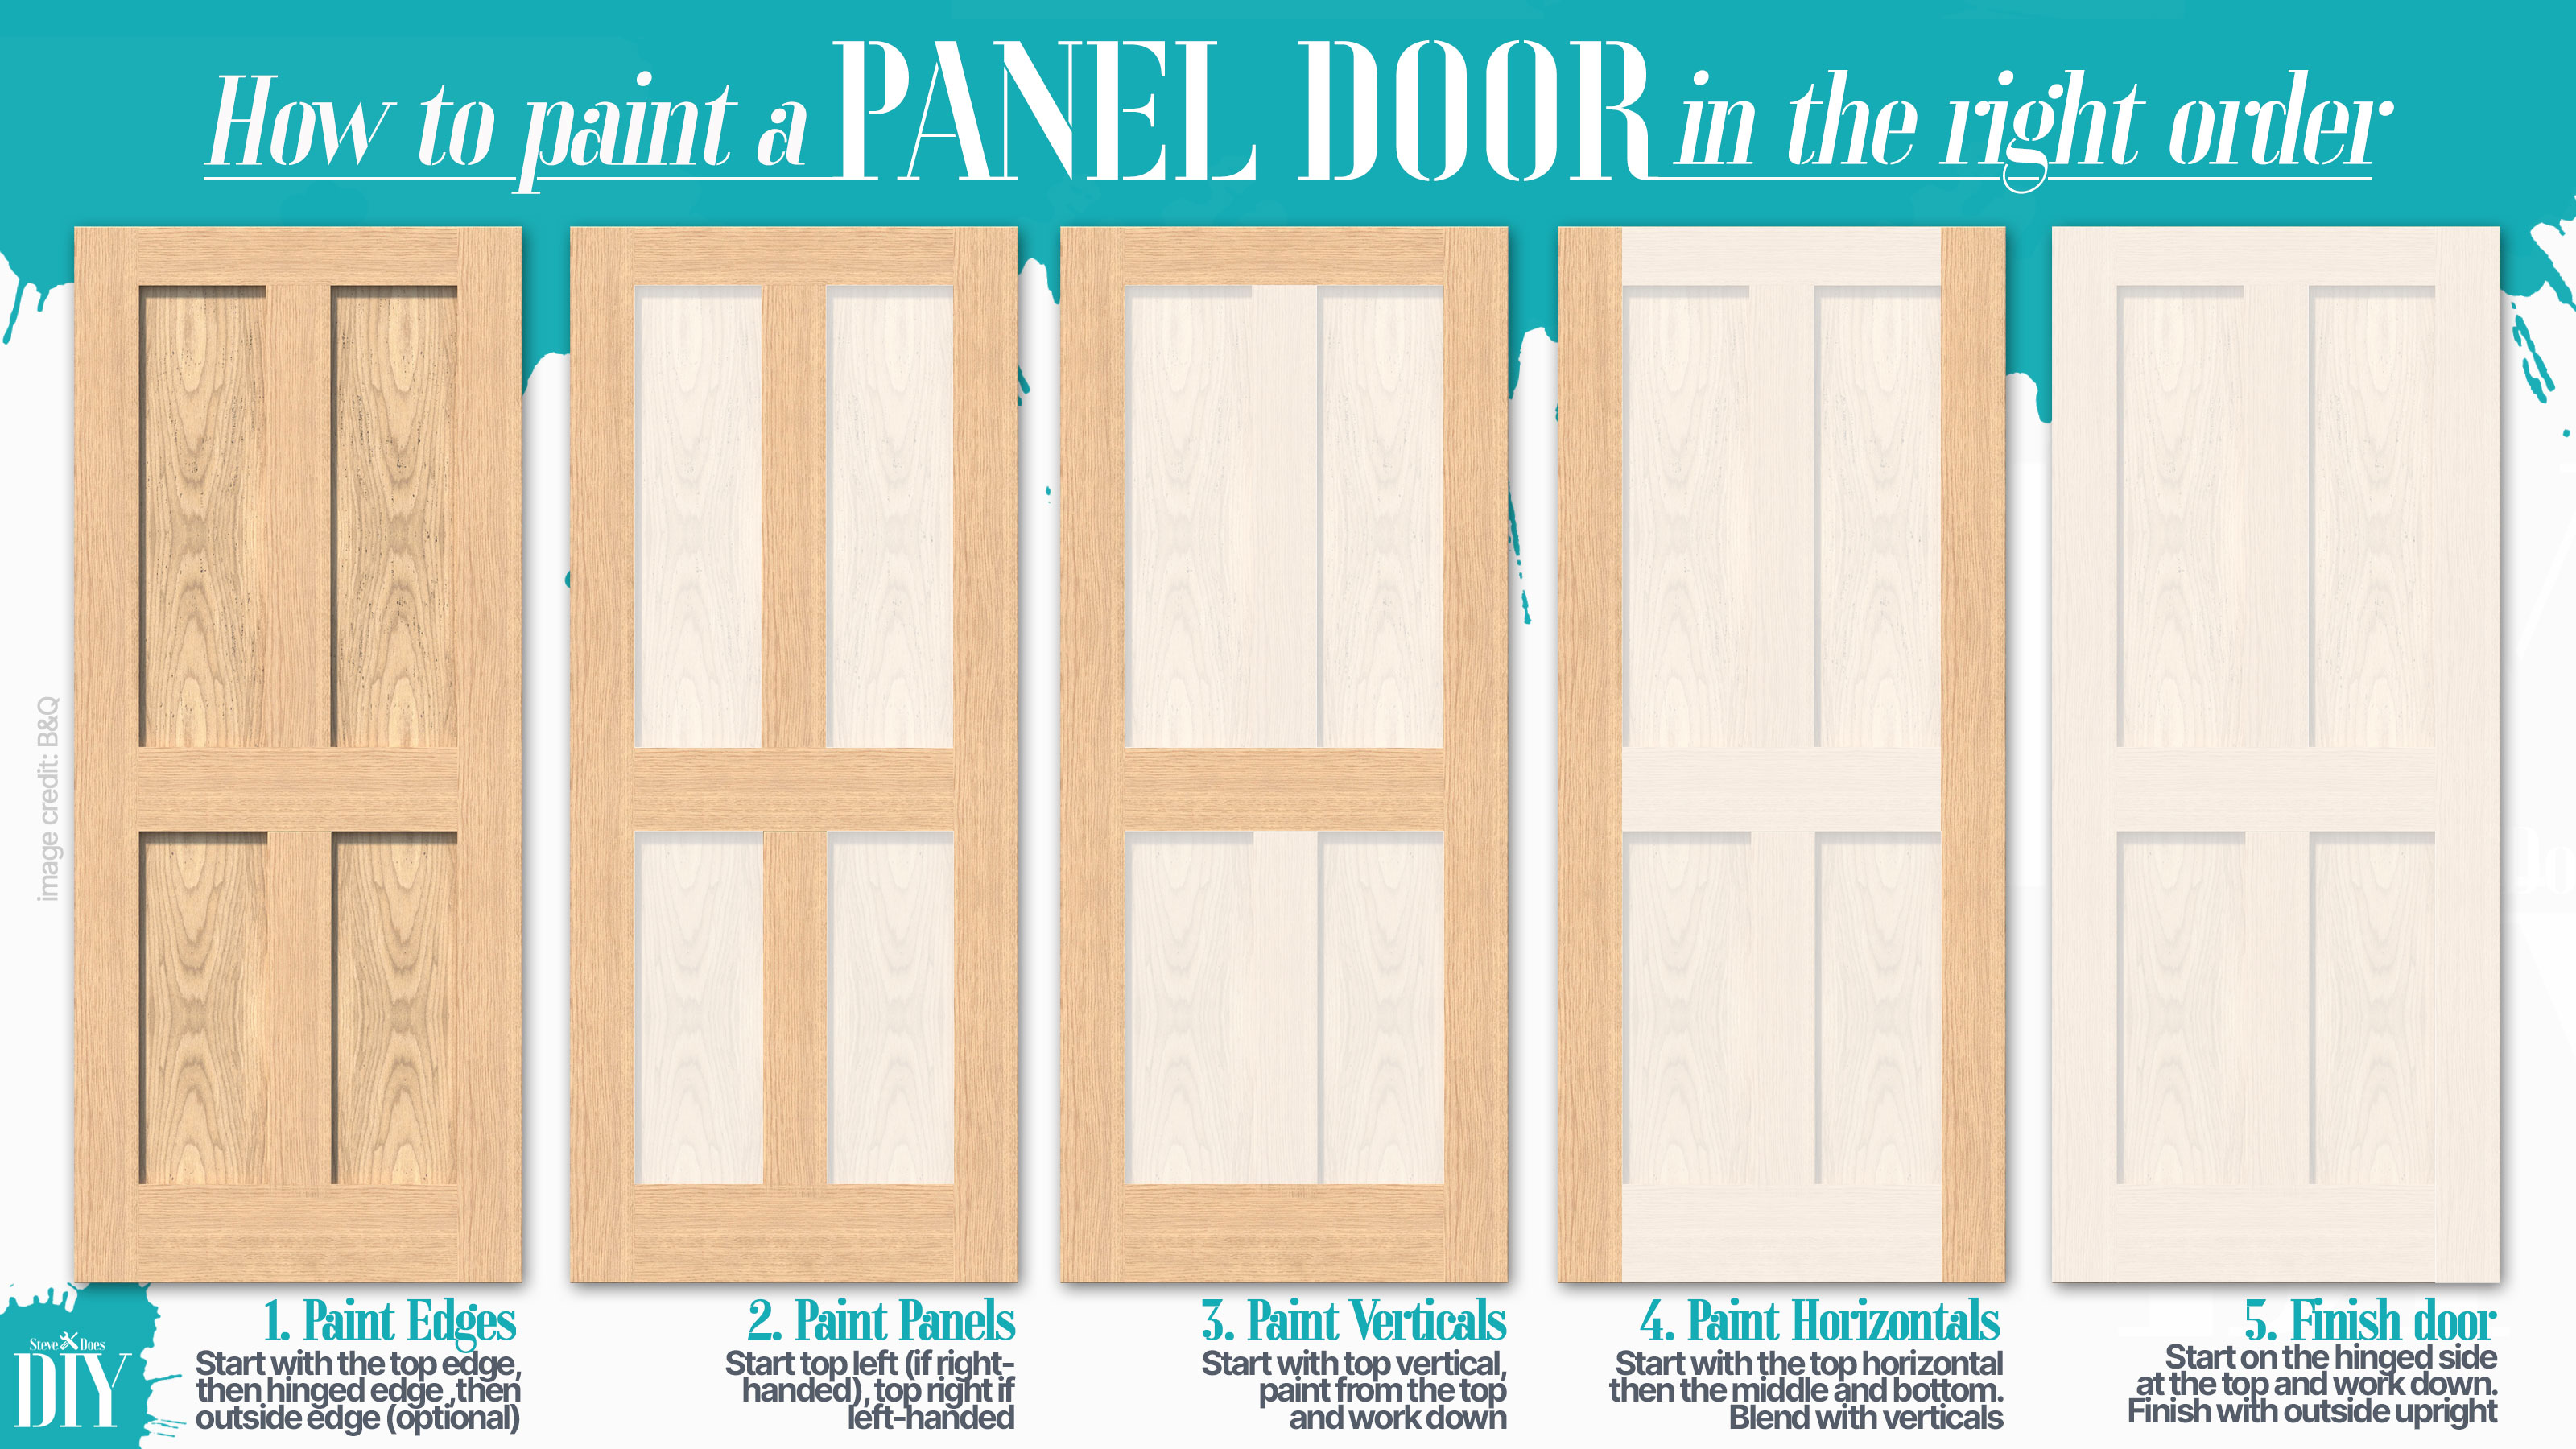
If you have a door with flat and detailed areas such as a panel door you can use a paintbrush and roller to get a good looking finish.
Another important factor when painting wood is to make sure that you choose a good quality paint brush and the best paint rollers you can afford. If using a water based paint use a paintbrush with synthetic hair. If using an oil based paint use a brush with natural hair.

What paint should I use on wood?
This depends very much on what type of wood you are painting and where. For most interior jobs such as painting windows you will need an undercoat and a top coat, which is typically a toss up between satin vs gloss.
However, if you are painting a brand new wood such as a door you will need a primer as the first coat to seal the wood ready for the undercoat. There are primer/undercoat paints that act as both, such as Dulux Trade Quick Drying Primer Undercoat that is ideal for a base layer or two on bare wood.
If you are painting wood outside what paint you need will depend on what you are painting. But whatever you are painting you will need an exterior paint specifically tailored for outdoor use. If painting doors or windows use an exterior wood paint. If painting a fence look then look for the best fence paint to add weatherproofing and longevity to your fence.
Is undercoat the same as a primer?
Primers and undercoat makeup are very similar but they are different enough to be used on different parts of the painting process. Primer is formulated to stabilise the surface of the wood for further coats. If you are painting a front door that is bare wood, it will seal the grain of the wood and stop further coats being absorbed by the wood grain.
Undercoat is typically used on previously painted wood to create a flat even surface that the top coat will adhere to. You may need an extra coat of undercoat if you paint a dark coloured door a lighter colour.
Why does paint peel off wood?
The most common reason why paint peels off wood is moisture getting into the wood. When this happens the bond between the paint and the wood is compromised and causes the paint to life, crack and peel.
This can be because the wood wasn’t painted properly in the first place, the wrong paint was used or the moisture is coming from a hidden source, such as a leak. Try and identify the cause — it could be condensation seeping in through an area that needs caulking. Once identified and sorted, repaint. You can find more advice in our piece on how to fix peeling paint too.
Can you paint plywood?
Yes is the simple answer. However, plywood comes in different grades so some need more preparation than others. If you have the finest grade there’s very little prep needed so you can start painting plywood almost straight away.
For coarser grades you will have to fill and sand the surface before you can add a wood primer/undercoat and top coats to finish. If you are going to varnish the plywood get the finest grade plywood.
Steve Jenkins is a freelance content creator with over two decades of experience working in digital and print and was previously the DIY content editor for Homebuilding & Renovating.
He is a keen DIYer with over 20 years of experience in transforming and renovating the many homes he has lived in. He specialises in painting and decorating, but has a wide range of skills gleaned from working in the building trade for around 10 years and spending time at night school learning how to plaster and plumb.
He has fitted kitchens, tiled bathrooms and kitchens, laid many floors, built partition walls, plastered walls, plumbed in bathrooms, worked on loft conversions and much more. And when he's not sure how to tackle a DIY project he has a wide network of friends – including plumbers, gas engineers, tilers, carpenters, painters and decorators, electricians and builders – in the trade to call upon.

