Sanding wood needs the right sandpaper and tools. We tell you what you need to know
Sanding wood may seem straightforward, but here we reveal the subtle tips and techniques that make a difference

Bring your dream home to life with expert advice, how to guides and design inspiration. Sign up for our newsletter and get two free tickets to a Homebuilding & Renovating Show near you.
You are now subscribed
Your newsletter sign-up was successful
There’s an art to sanding wood to get a smooth, professional finish. Whether you're painting doors, varnishing floorboards or staining decking, preparation is the key to getting the best finish. Poor preparation is a quick path to a poor finish.
To ensure you get your preparation right, you need to choose the right tools, the appropriate sandpaper grade, and employ the correct sanding method. Get this combination wrong, and you won’t get the finish that your wood deserves. But, don’t panic, here we tell you how to choose the right tools and how to use them.

Mark has over 20 years of experience in the building sector and currently oversees Build & Plumb’s multi-million-pound operation. They supply top-quality products for DIYers, renovators, and trade professionals.
Sanding wood: Which sandpaper should I use?
When looking to sand wood, there are a couple of considerations to think about. First, consider the type of sandpaper to use. The common choice, and typically the only choice you need for most DIY wood projects, is Aluminium oxide. When looking to purchase sandpaper, you’ll notice that this is the popular choice and can be identified by its typically dark brown colour.
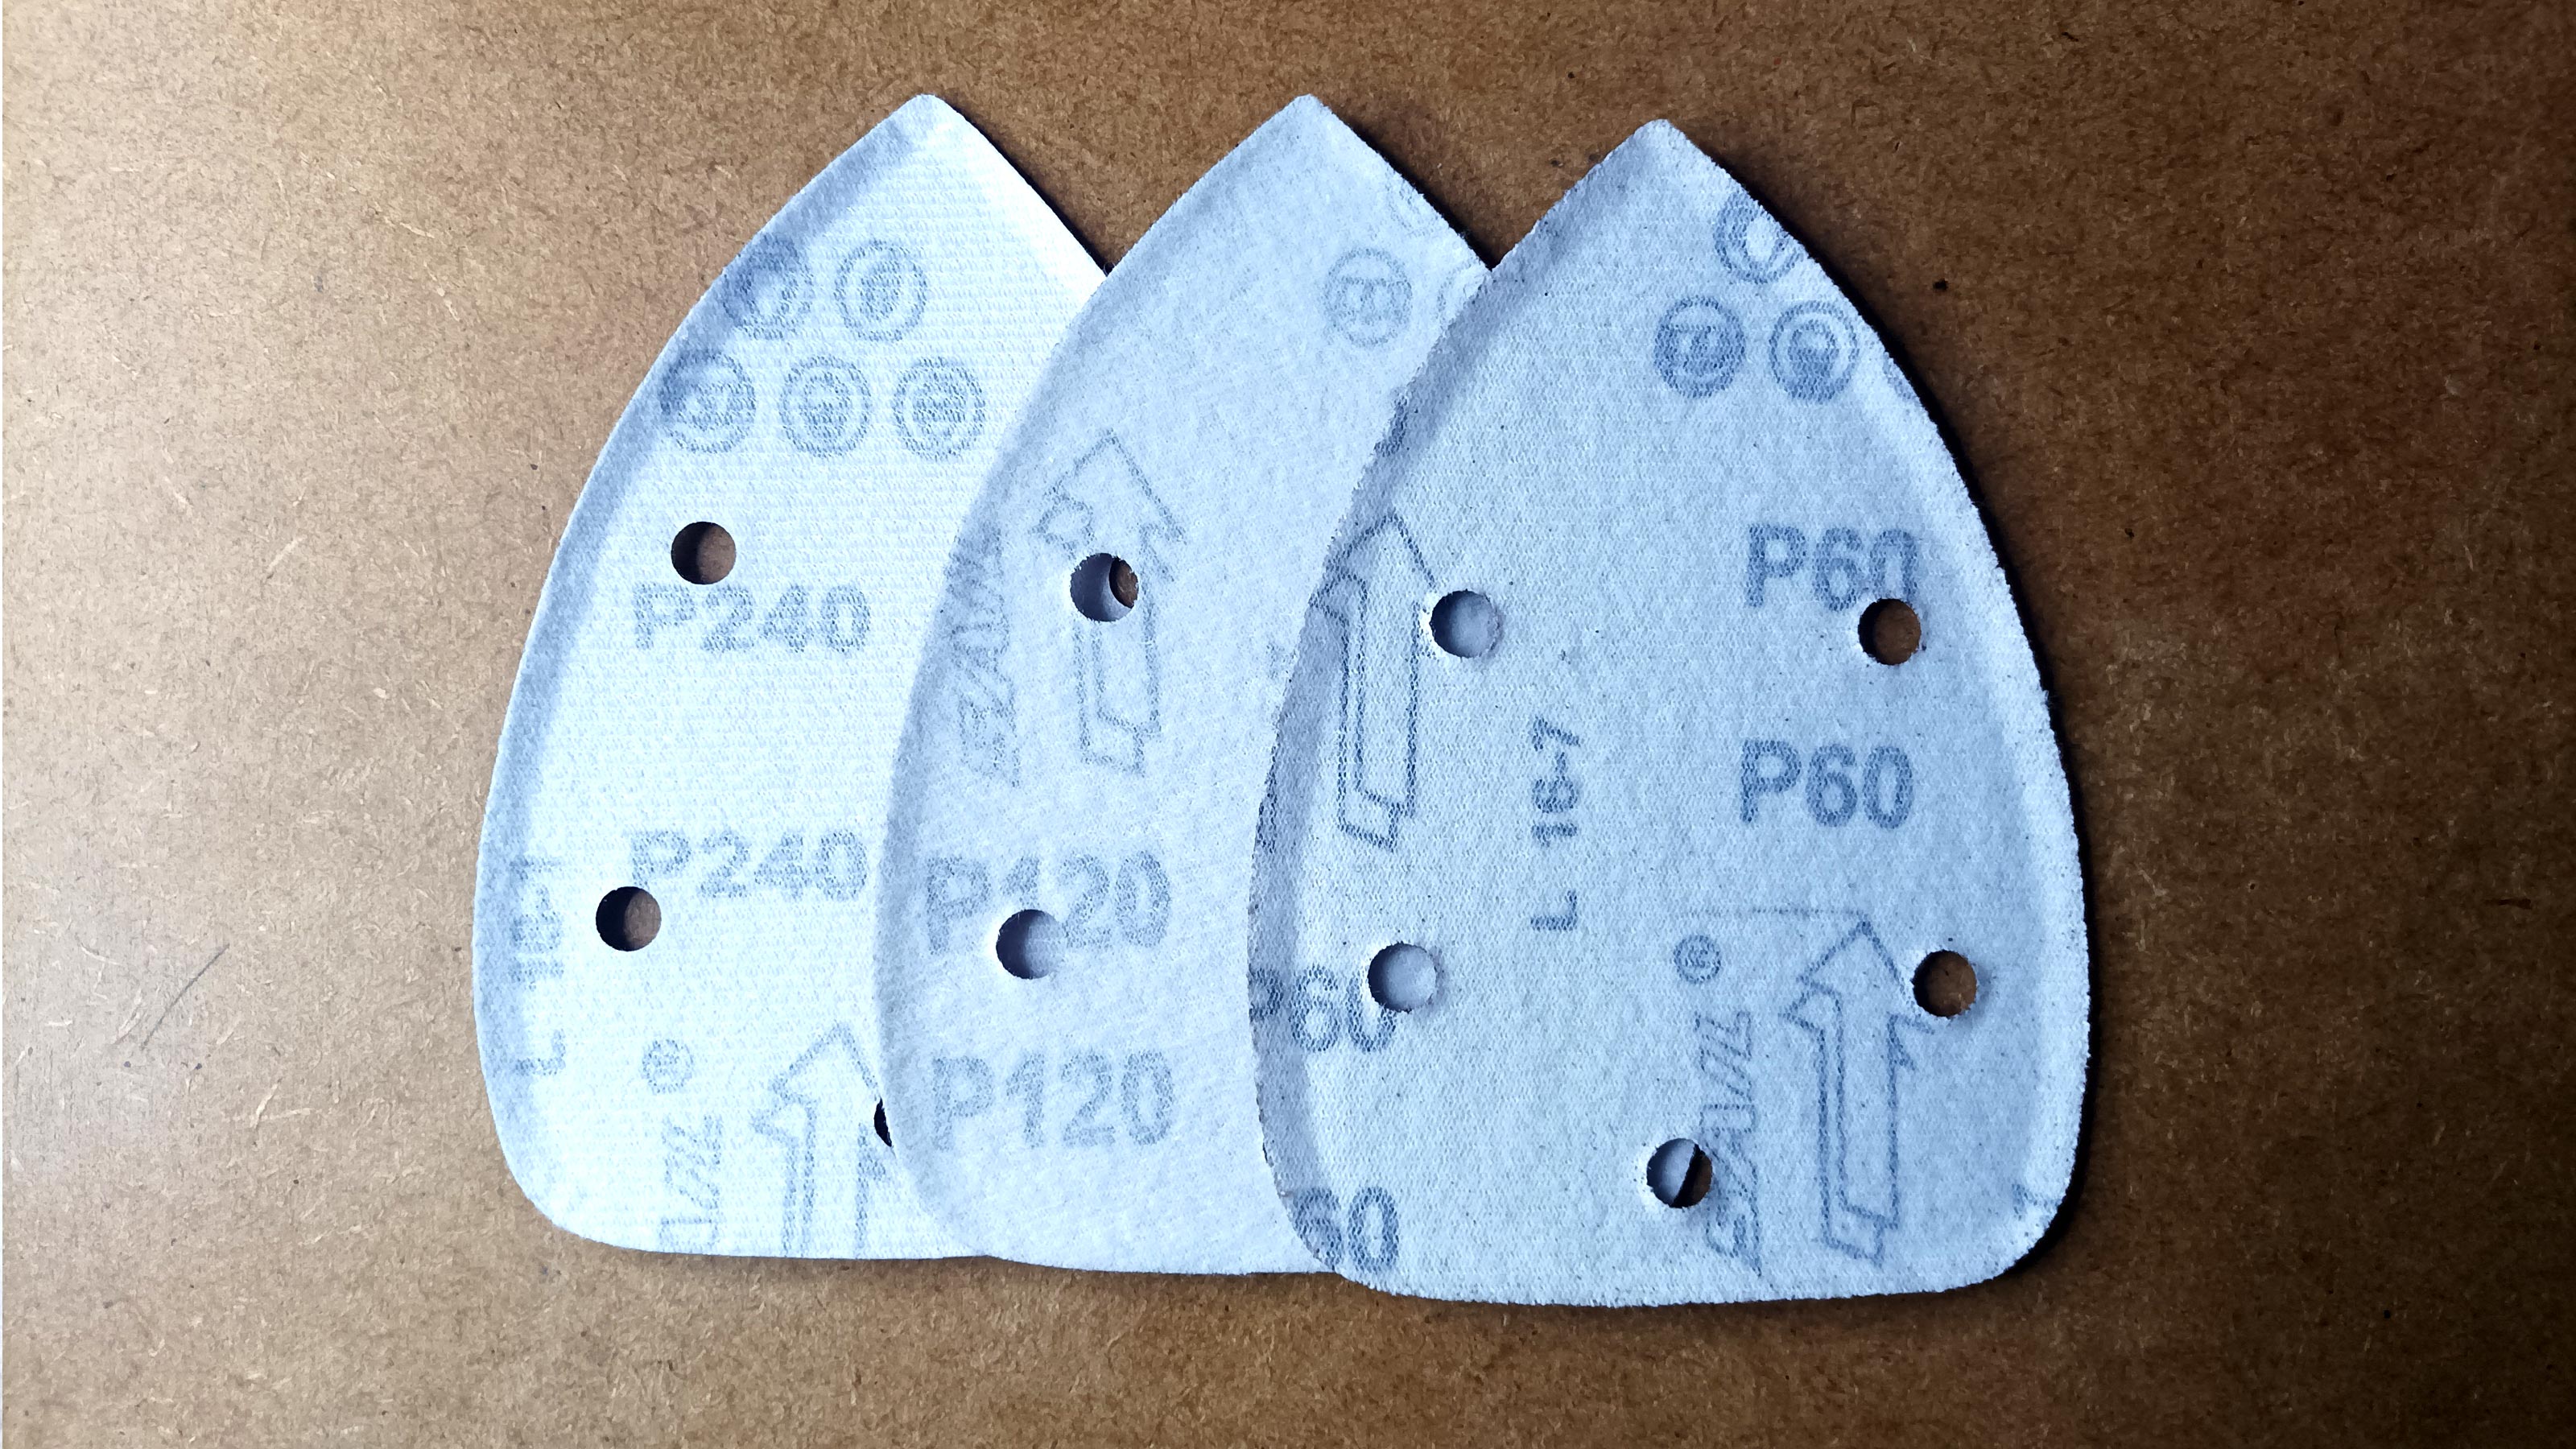
The more important consideration is the sandpaper grade or grit required for a sanding job. Choosing the right one is crucial to achieving the desired finish. Sandpaper is divided into grades, which encompass a collection of different grits. This is the number that you see on the back of the sandpaper.
As a general rule, coarse sandpaper grades or grits are used to remove paint from wood or smooth out rough surfaces, while medium and fine grades are used for finishing, making the surface ready for a top coat such as paint, stain, or wax.
If looking to choose a general-purpose sandpaper grit, Mark Irving, building expert at Build & Plumb, says, "100 to 120 grit is typically the best all-round sandpaper grit for completing most DIY jobs." He adds, "This is a versatile grit that is ideal for finer sanding jobs like removing small imperfections and finishing surfaces, but it can also be used for more general purposes like smoothing surfaces and removing paint”.
Here are the different sandpaper grades and grits to help you choose the right one for your DIY project:

Paul Kerr is an experienced home building advisor for Beatsons Building Supplies with a demonstrated history of working in the retail and merchanting industry. Through Beatsons he has seen everything from outdoor patio organisation to rebuilds.
1. Coarse sandpaper - up to 60 grit
Coarse-grade paper has several different purposes. Paul Kerr, building specialist at Beatsons, points out its common use, "Coarse-grade is useful when removing finishes like paint and varnish, as it can quickly strip away multiple layers to get to the base." Using the best orbital sanders will speed up the process.
Bring your dream home to life with expert advice, how to guides and design inspiration. Sign up for our newsletter and get two free tickets to a Homebuilding & Renovating Show near you.
"Sanding of rough wood to shape it before finer sandpapers can be applied for smoothing, is another use," adds Kerr. "Coarse paper is also used to create a certain texture in the wood, as a purely aesthetic choice."
2. Medium sandpaper - 60-100/120 grit
This is a good choice for bare wood finishes such as coarse cut timber, wood that has been stripped and needs to get rid of leftover paint, and rubbing down previously painted woodwork ready for painting.
3. Fine sandpaper - 120-220 grit
This is a commonly used grade in many home DIY projects, especially painting projects such as painting skirting boards, windows, and doors. A 120-180 grit is ideal for sanding down previously painted surfaces that require minimal work.
It eliminates minor imperfections and enhances adhesion for new paint. 220 grit is often a good choice to finish up wood ready for varnish or stain, and rubbing down filler on walls.
Uses for extra fine and coarse sandpaper
Extra fine and extra coarse grits are only used for more specialist jobs and typically you will rarely need them. Grits above 240 can be used between coats of paint to help get a super smooth finish. Extra fine grits like 400 are used to get a really fine finish on wood for waxing and polishing. Grits below 40 only need to be used on wood that has a lot of paint or varnish to be removed.

Sand by hand or with a power sander?
This depends very much on what wood you are sanding and what project you are working on. Below we explain the situations when you might sand wood by hand versus picking up the power tools.
1. Sanding wood by hand
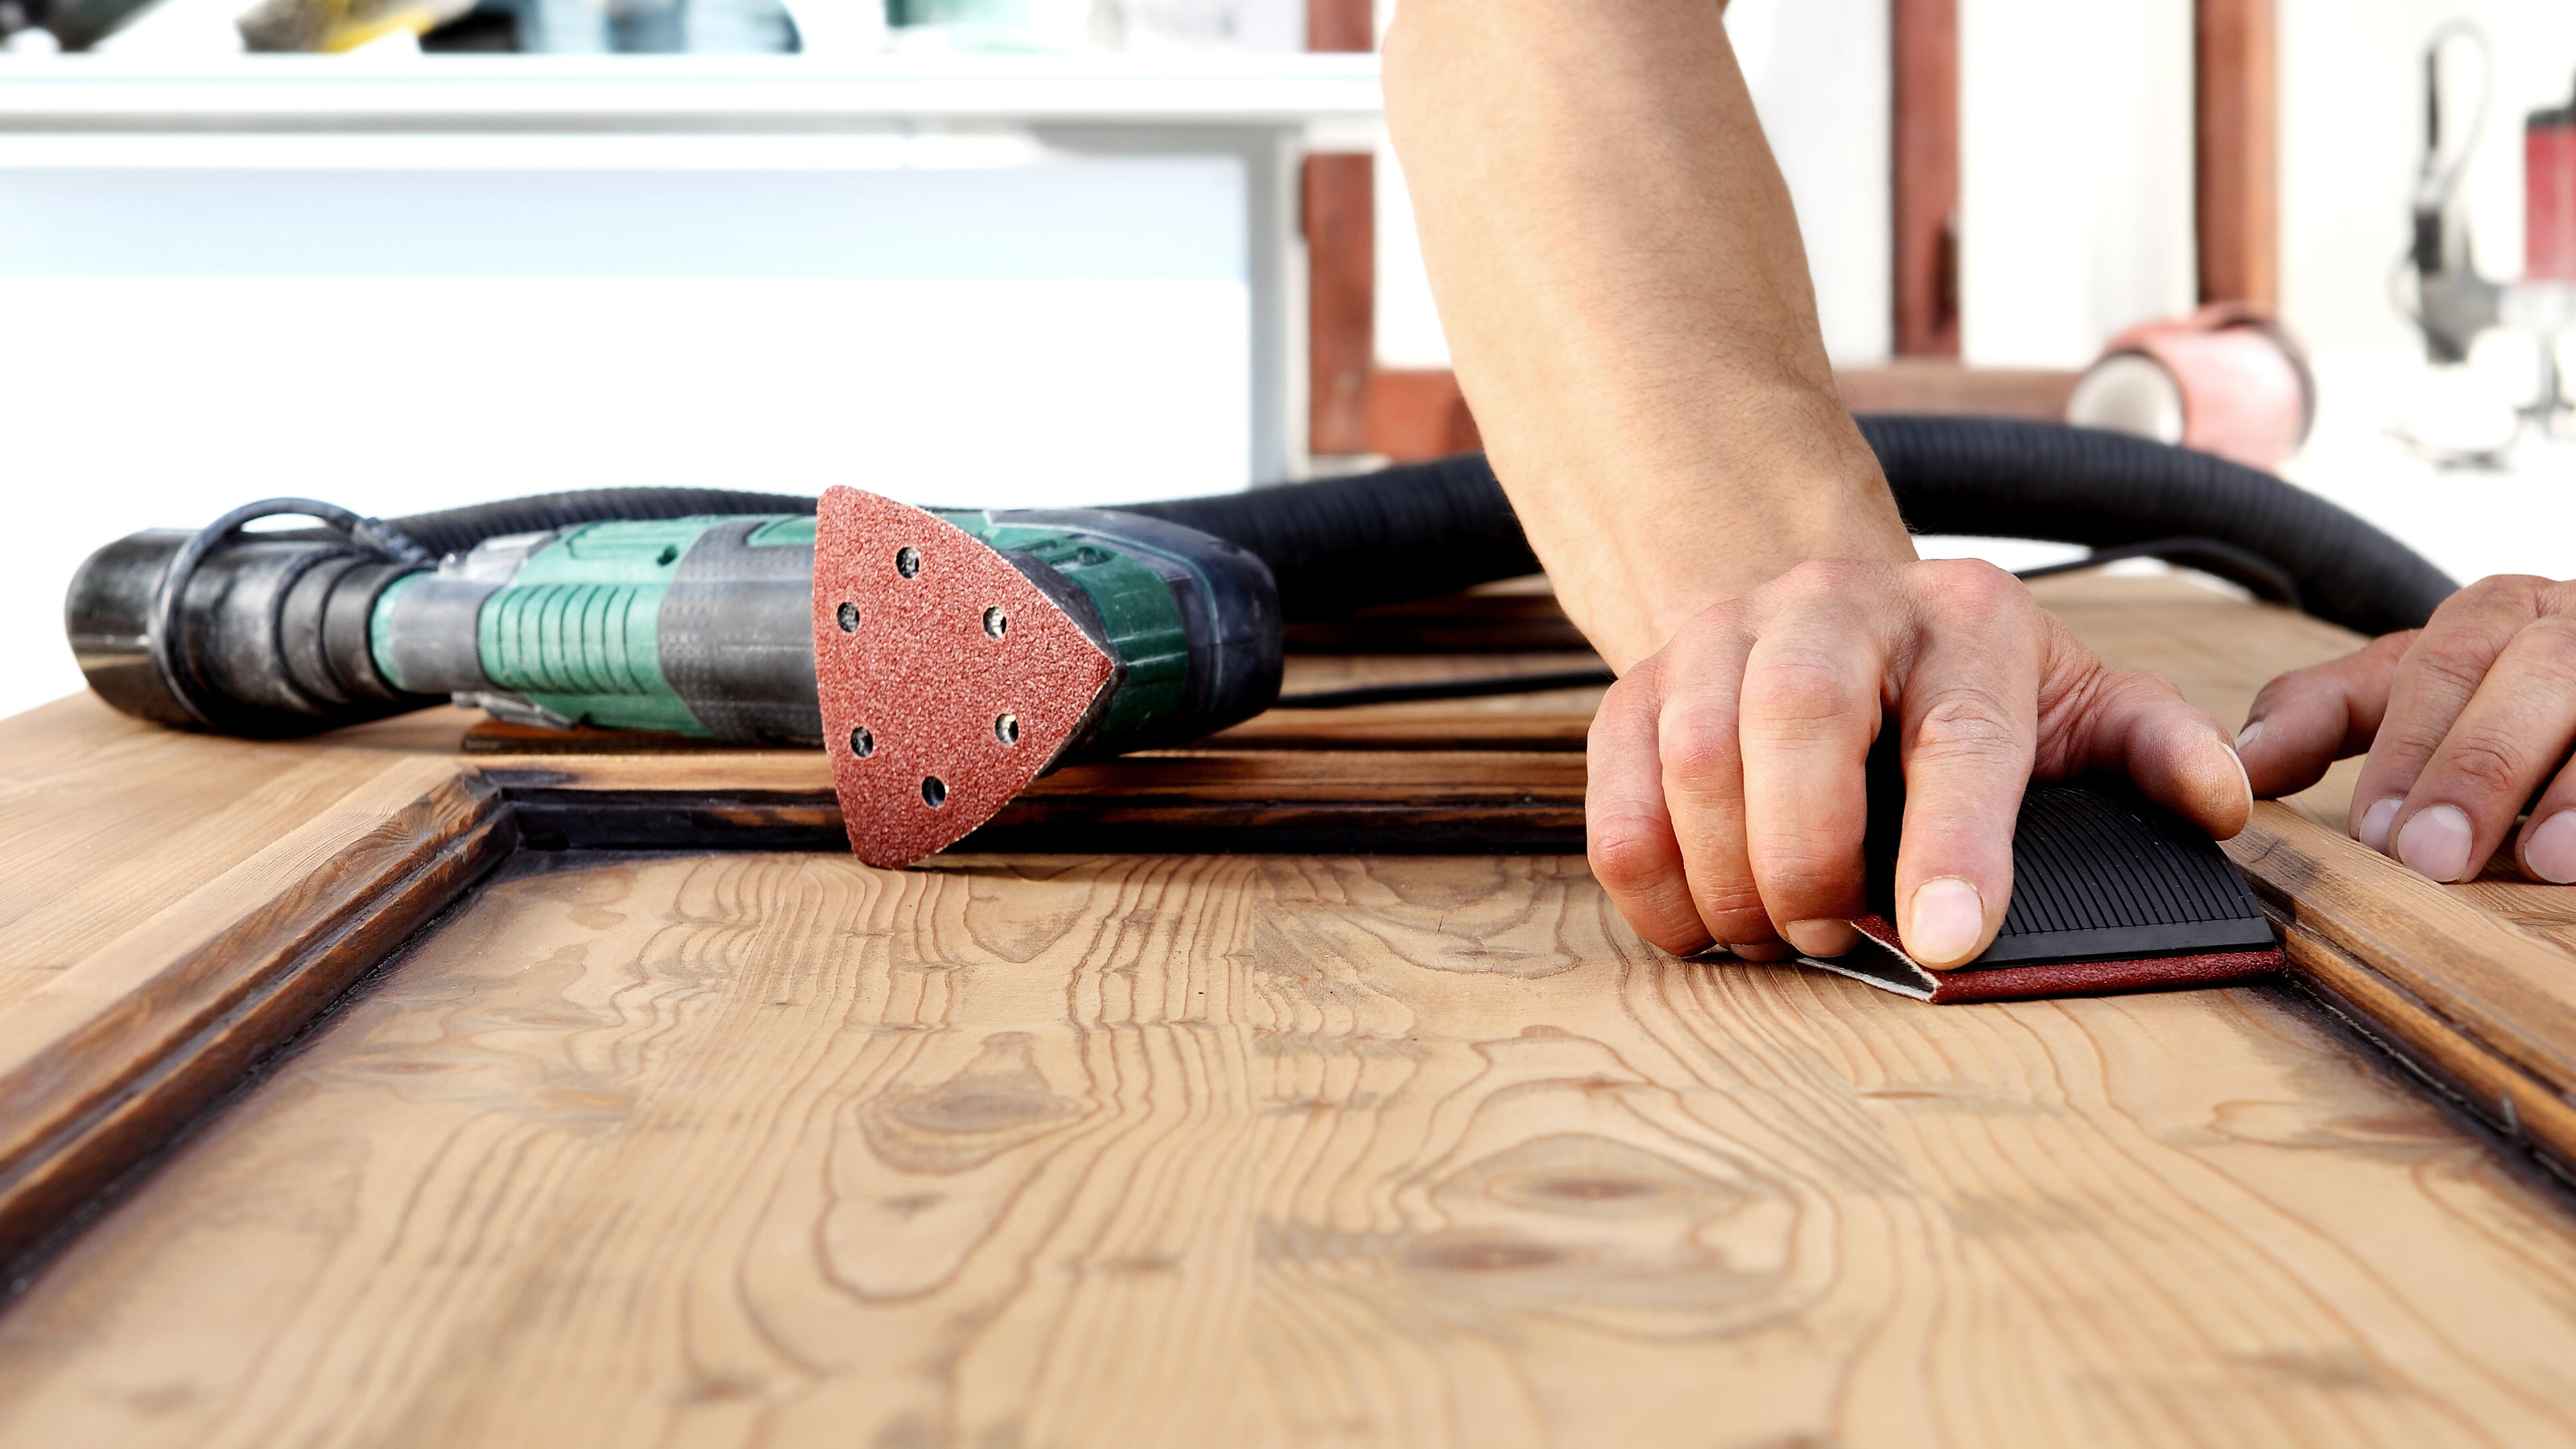
Sanding wood by hand gives you fine control over the sanding process for a more precise and refined finish. It's good for sanding large flat areas if you have the help of the right tools such as a hand sander, a sanding block like the SATC Hand Sanding Block from Amazon or a piece of the right size scrap wood to wrap the sandpaper around. This helps keep the sandpaper flat on the surface and allows you to apply more or less pressure.
For harder to reach areas such as mouldings or architrave sanding by hand is your only real option. Sanding sponges are a good choice for this type of work as they mould to the shape of the wood. Check out our Sanding wood by hand guide for more insight.
2. Sanding wood with a power sander
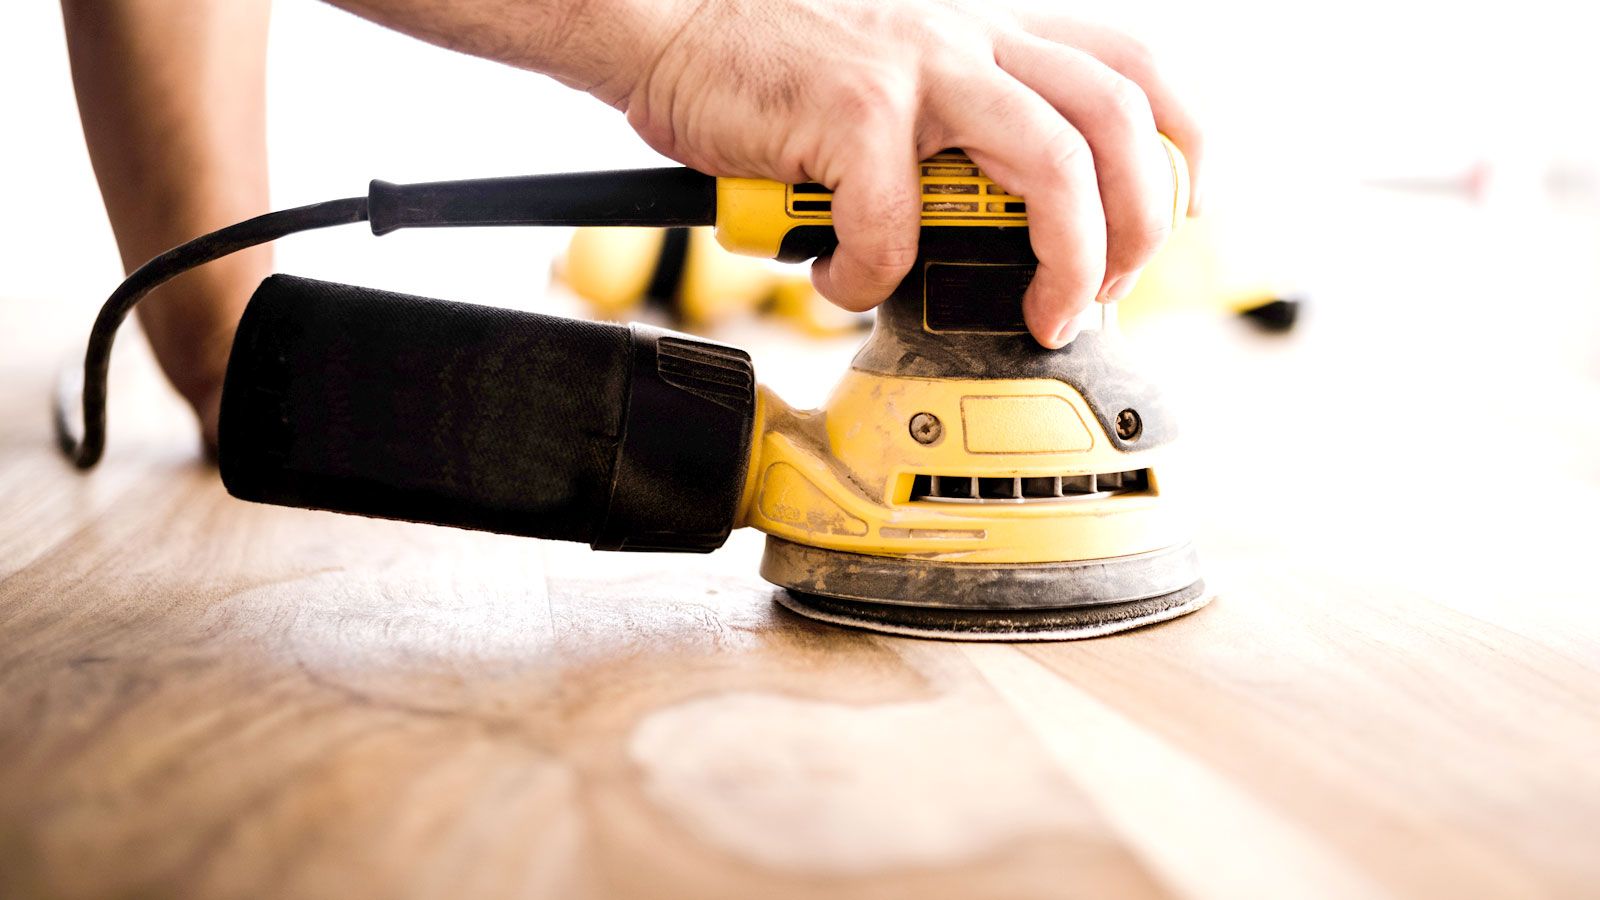
Using a power sander on wood is a quick and effective way to get the smooth surface you want on a project. They are great at getting rid of unwanted layers of paint and varnish and giving a silky smooth finish ready for painting, varnishing or staining. There are different types of sanders for different projects with orbital sanders being a popular choice due to their versatility and ability to get a good finish. Check out our guide on how to use an orbital sander to get the best from one.
One downside is their round sanding pad which makes them a poor choice for corners. A detail sander like the BLACK+DECKER Detail Mouse Electric Sander from Amazon is an ideal choice for corners thanks to its triangular sanding pad. But these can still leave sanding marks, so for fine finishes it's still a good idea to finish sanding by hand.
Order to sand wood
This depends on the state of the wood you are sanding but as a general rule you should start out with a coarse grade sandpaper before progressing to a fine grade sandpaper to finish. This helps sand out any marks left by the larger grits.
For example, if you are sanding doors that have a lot of old paint on them you want to start out with a 60 grit to remove most of the paint, before progressing to a 120 grit sandpaper and finishing off with a 180 grit. This progression will vary depending on the original state of the wood and the finish you are looking for.

FAQ
How can I tell if the wood is sanded enough?
There are a few tips and techniques you can use to help you decide whether or not you have sanded your wood enough. Irving says, "Gently run your fingers across the surface of the wood, if it’s smooth to the touch then this indicates that it has been properly sanded."
Kerr adds, "Using light helps, as bright light shone on the angled surface can reveal any imperfections you may have left behind."
To ensure that you are sanding the surface flat, gently draw pencil marks across the whole surface. When the marks are gone, move to the next section and repeat until all the pencil marks are gone.
Finally, while the surface of your wood may look smooth and scratch-free, it may be hiding some unseen marks. Get a damp cloth and wet the wood to see if any marks appear on the surface.
If you’re looking to update your wooden floors or floorboards, make sure to check out our guides on sanding wood floors, sanding floorboards and painting floorboards to get the finish your floor deserves.
Steve Jenkins is a freelance content creator with over two decades of experience working in digital and print and was previously the DIY content editor for Homebuilding & Renovating.
He is a keen DIYer with over 20 years of experience in transforming and renovating the many homes he has lived in. He specialises in painting and decorating, but has a wide range of skills gleaned from working in the building trade for around 10 years and spending time at night school learning how to plaster and plumb.
He has fitted kitchens, tiled bathrooms and kitchens, laid many floors, built partition walls, plastered walls, plumbed in bathrooms, worked on loft conversions and much more. And when he's not sure how to tackle a DIY project he has a wide network of friends – including plumbers, gas engineers, tilers, carpenters, painters and decorators, electricians and builders – in the trade to call upon.

