Painting Plywood: A How-to Guide to Getting a Great Finish
Want to know the best technique for painting plywood? Follow our step-by-step guide. Plus, discover the best paint to use and how to get smooth edges

Bring your dream home to life with expert advice, how to guides and design inspiration. Sign up for our newsletter and get two free tickets to a Homebuilding & Renovating Show near you.
You are now subscribed
Your newsletter sign-up was successful
Painting plywood gives it a satisfying smooth finish that can blend it into any room in the home. Plywood is versatile, cost-effective and a great choice for a whole host of DIY projects.
It can be used as flooring, the basis for roofing, as a wall cladding material (depending on the grade), building your own furniture and cabinets and pretty much any other project you might be working on.
Its versatility makes it a good alternative to MDF and even plasterboard. If you are building a partition wall you can use plywood to create the wall panels. When you start painting a wall – the right way – you will be able to get a good–looking, long–lasting finish that is hard to beat.
Follow our step–by–step guide and check out our commonly asked questions to make sure your plywood will look the best it can.
Painting Plywood: The Tools You Will Need
- Wood filler
- Filler knife
- Primer
- Paint
- Roller
- Roller tray
- Paintbrush
- Sandpaper/Sander
A Step-By-Step Guide to Painting Plywood
Like a lot of paint projects, preparation and using the right tools is key to a durable good–looking finish.
1. Prepare The Plywood
Start by filling any dents, imperfections, knot holes and nail and screw holes with a decent wood filler such as Everbuild Multi-Purpose Wood Filler. If the edges are going to be seen, paint the edges, fill and rub down.
Bring your dream home to life with expert advice, how to guides and design inspiration. Sign up for our newsletter and get two free tickets to a Homebuilding & Renovating Show near you.
When the filler is dry – as per manufacturer's instructions – rub down the whole sheet including the filler and edges to get a smooth surface to paint. Get a damp cloth to get rid of any dust on the sheet. Use a vacuum to remove any dust from nearby areas.
2. Paint With Primer
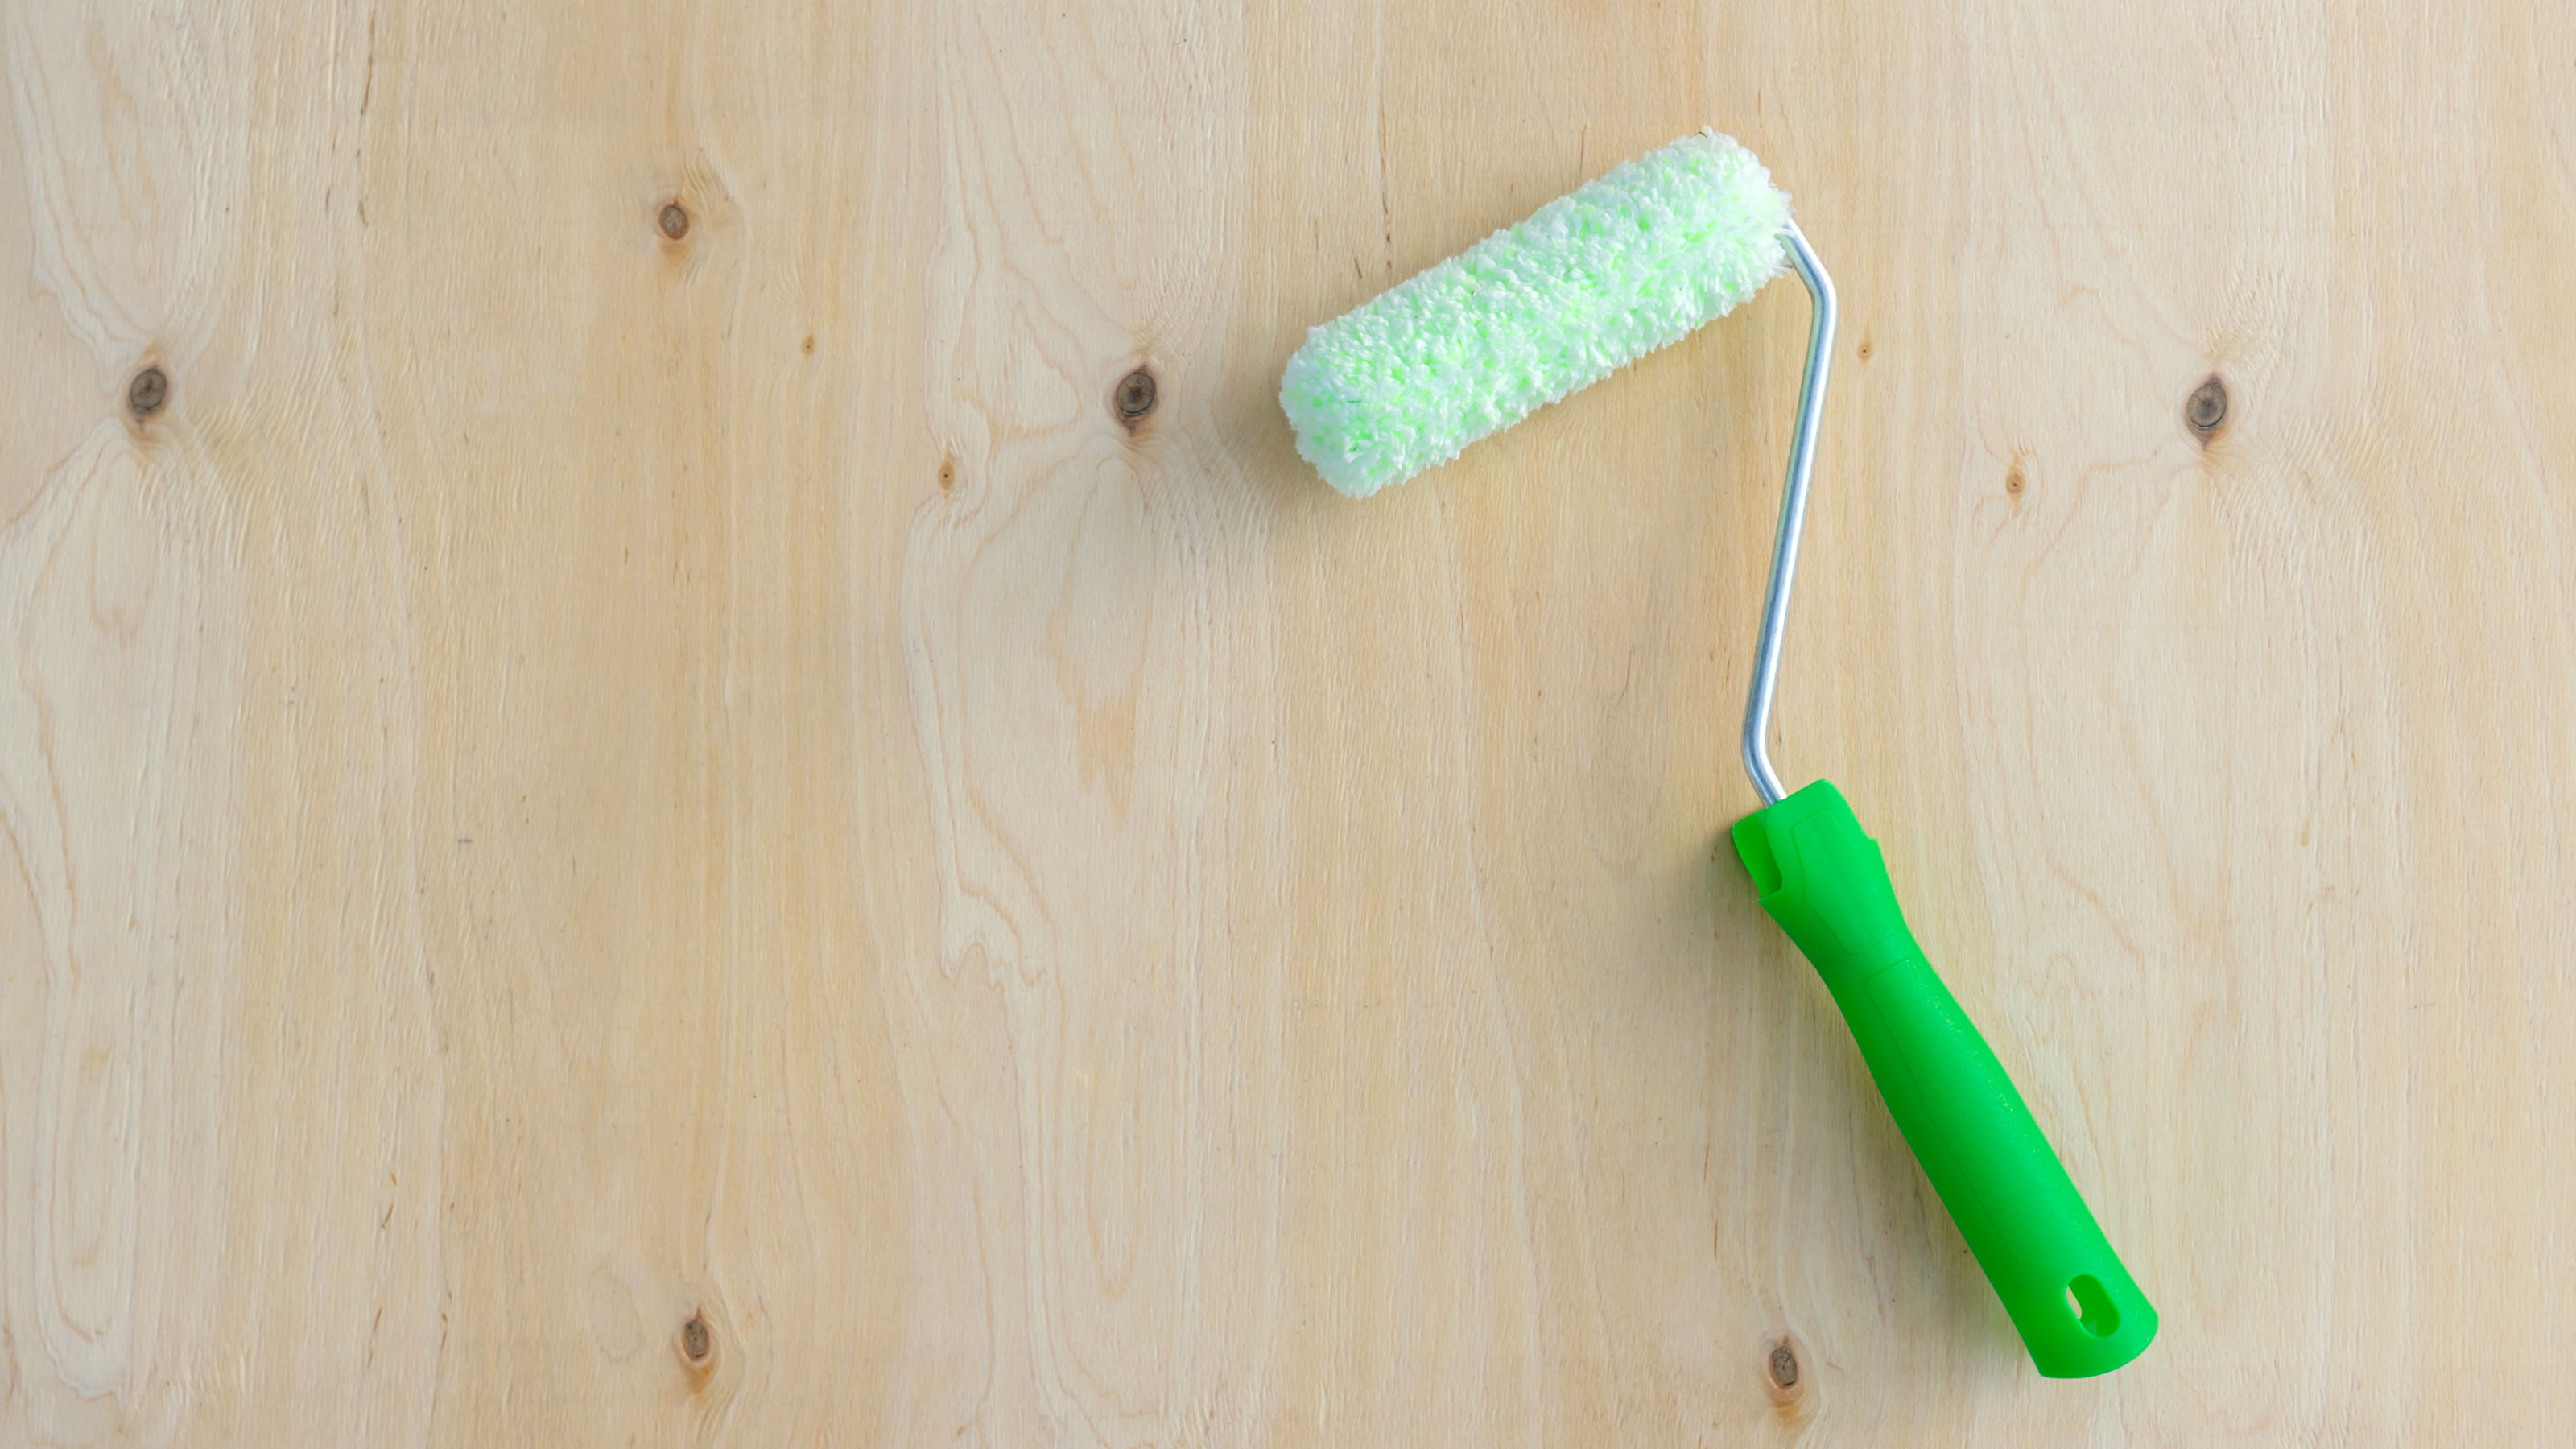
Now you need to seal the plywood with a primer. You will need a 2–inch paint brush and a roller. A mini roller (4-inch) is ideal for edges and smaller areas. Use a bigger 9–inch roller for larger areas.
Apply in a V or W shape to get an even spread of paint. Use the brush to even out paint on the edges or any areas where paint has accumulated. When the primer is dry, rub down with a fine grit (180-220) sandpaper and wipe clean with a damp cloth. You may need another coat of primer. Follow the same process as the first coat.
3. Add Undercoat and Top Coat
To get ready for the top coat you first need to add an undercoat. Again, apply in the same way as the primer. Leave to dry and rub down and clean. You will probably need two coats to get a smooth, even, durable finish.
Rub down and wipe away any dust in between coats. Finally, add the top and leave to dry according to the manufacturer's instructions.
Do I Need to Sand Plywood Before Painting?
Yes you will — typically a 120-180 grit sandpaper will do the job and the best orbital sanders will help you get the job done in double quick time.
But plywood comes in different surface grades so how much sanding will depend on what grade plywood you purchase. Grade AB plywood is the highest quality and provides a consistent colour and tiny or no knots. This is ideal if you want to varnish rather than paint.
Grade B has changes in colour and smooth knots while Grade BB might have knots and holes that might need filling, so more sanding is required. Check the surface of the plywood when purchasing and choose the best for your needs.
What is the Best Paint For Painting Plywood?
If your plywood is situated indoors you will need a good primer, undercoat and top coat. Effectively the same paint you will use on most interior wood projects. Zinnser B.I.N is a good primer, but you can use a primer/undercoat like Dulux Trade Quick Drying Wood Primer Undercoat.
The top coat is typically a toss up between satin vs gloss. Both do a good job but if going for a satin finish try Dulux Quick Drying Satinwood. For gloss, Johnstone’s Trade Aqua Gloss or Dulux Trade High Gloss are good choices.
For furniture you can try a Frenchic paint and if painting outdoors make sure that you choose a good exterior wood paint such as Dulux Weather Shield.
Is Painted Plywood Waterproof?
Painting plywood with standard paint such as primer, undercoat and gloss will make it water resistant rather than waterproof. If your plywood is to be exposed to water on a regular basis, i.e. if it’s outdoors, then a sealer such as varnish is a good choice. But this doesn’t provide colour. You can try KILZ exterior paint, but again there is a lack of colours.
If you want colour make sure to prime and undercoat properly and use the best exterior wood paint to give a good finish. Expect to repaint every three to five years.
What is the Best Way To Paint Plywood Edges?
There are a couple of options for getting the best looking edges. Rub down with a fine 120 grit sandpaper, add a coat of primer and leave to dry. Now apply a thin layer of wood filler and leave to dry. Rub down again with fine grit sandpaper and add an undercoat. You might need to do two.
Rub down again and add a top coat. Make a judgement call here. If it's not quite smooth enough or you think it needs another top coat, rub down with 220 grit sandpaper, add the final top coat and leave to dry. You should now have lovely smooth, good-looking edges.
Think about using a mini 4-inch roller to do the edges, a foam roller will give an almost smooth finish. Don’t forget you’ll need to know how to clean paint rollers to keep them in tip top condition and ready for the next job.
The alternative is to use an iron–on wood veneer. Cut this a couple of inches longer than the plywood edge, place neatly on the edge and use a household iron to apply. Finally, trim up with a Stanley blade, sand to get rid of rough edges and paint
Steve Jenkins is a freelance content creator with over two decades of experience working in digital and print and was previously the DIY content editor for Homebuilding & Renovating.
He is a keen DIYer with over 20 years of experience in transforming and renovating the many homes he has lived in. He specialises in painting and decorating, but has a wide range of skills gleaned from working in the building trade for around 10 years and spending time at night school learning how to plaster and plumb.
He has fitted kitchens, tiled bathrooms and kitchens, laid many floors, built partition walls, plastered walls, plumbed in bathrooms, worked on loft conversions and much more. And when he's not sure how to tackle a DIY project he has a wide network of friends – including plumbers, gas engineers, tilers, carpenters, painters and decorators, electricians and builders – in the trade to call upon.

