Own a stairway to hell? Transform it into a stairway to heaven with our DIY guide to sanding stairs
Prep your stairs to perfection with our guide to sanding stairs so you can transform them with a fresh new coat of stain, varnish or paint

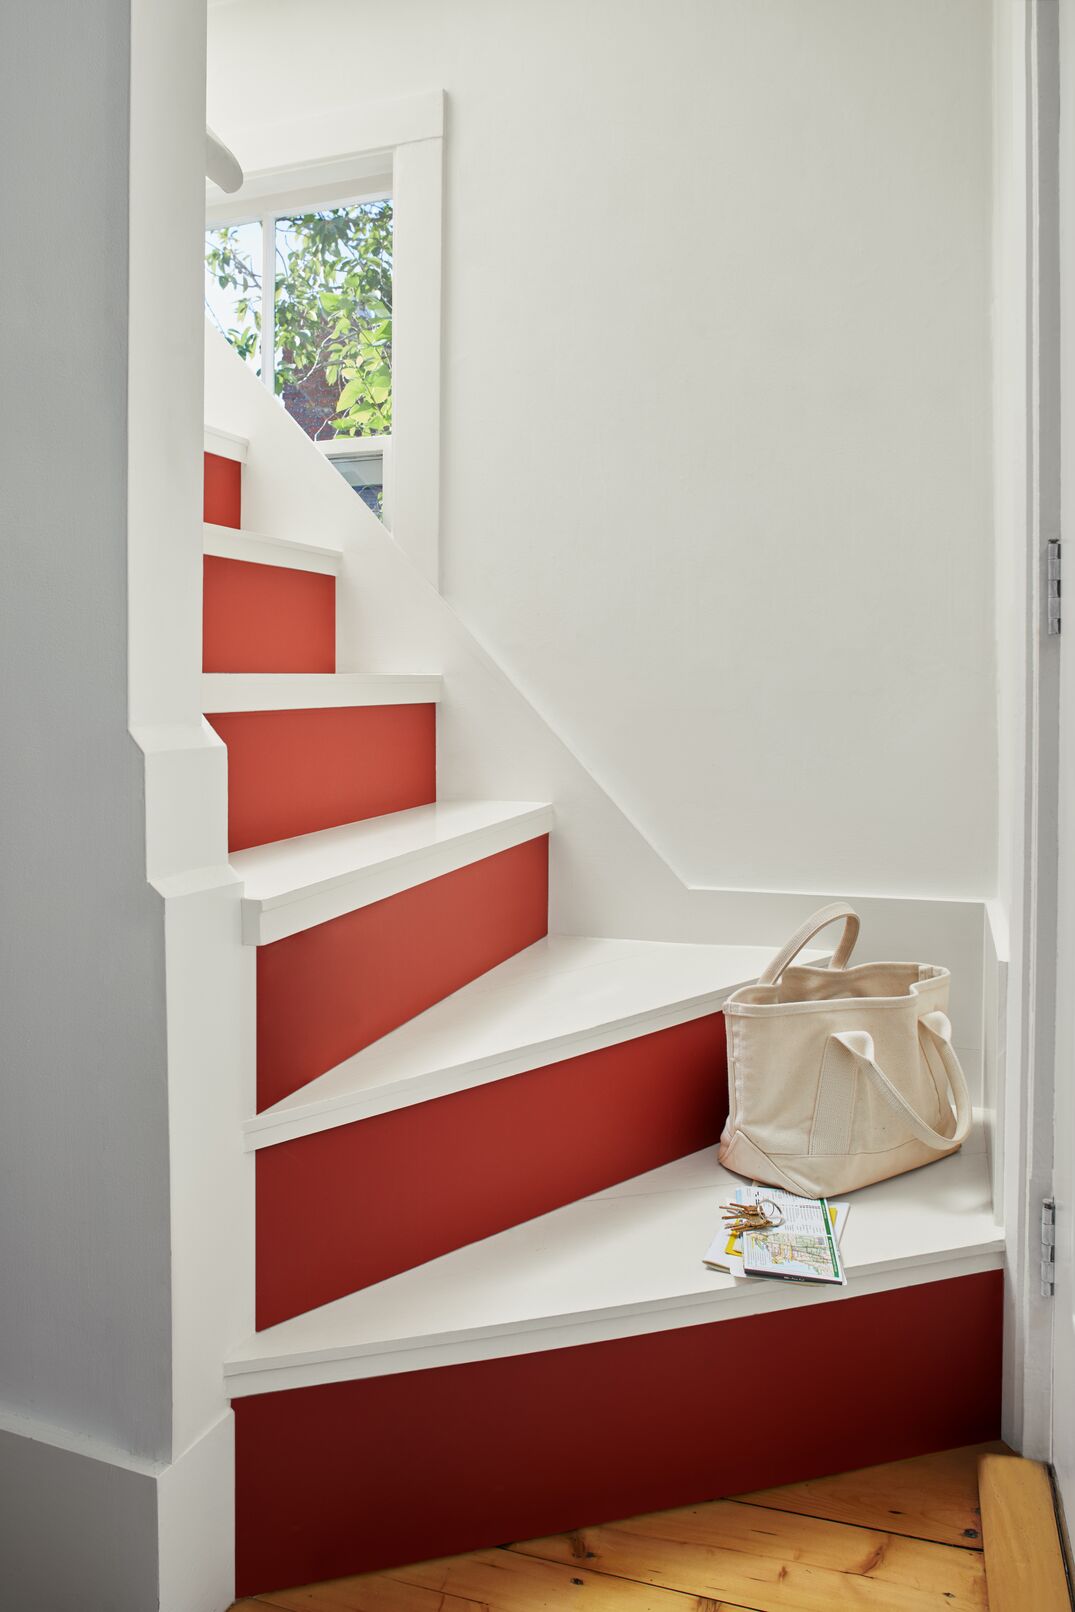
If your stairs require a refresh, a new coat of paint or varnish is a simple and effective way to make them look good. Pair with a contemporary coloured carpet, and you can easily create a grand statement leading to the upstairs.
But, as with most DIY jobs, whatever smart modern staircase ideas you have in mind, you need to get your preparation spot on, and trying to save time at the sanding stage is a poor decision.
The finish will be sub-standard, and the paint will be more prone to damage. To ensure you get it right, follow the professional tips and techniques in this guide.
The tools you'll need for sanding stairs
Before you get stuck into sanding your staircase, you will need to get your hands on the following tools:
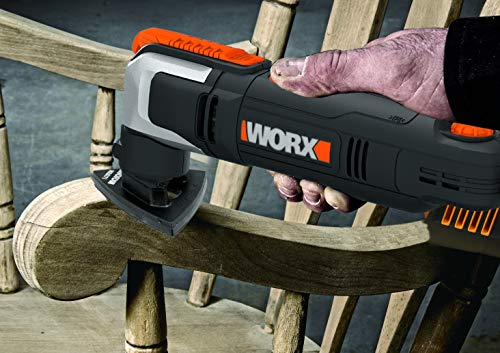
- Sanders: You might need 3 types of sander for sanding stairs (A random orbit sander, a finishing sander and a triangular detail sander).
- Sandpaper / Sanding discs: 60 and 100 grit for prep, then 120 grit when painting.
- Steel wool
- Dust masks/sheets: (like these PRIMES DIY Laminated Twill Professional Quality Dust Sheet from B&Q)
- Paint stripper
- Personal Protection Equipment (PPE)
- Wood filler
- Nail removing pliers: (like this ValueMax 3-Piece End Cutting Pliers and Nail Pullers Set from Amazon)
- A hammer
- Nail punch
- A ladder: to reach trickier areas.
Try these tools to sand stairs
How to sand a staircase: A step by step guide

1. Do your research
Before you start, try to identify how old your stairs are and how they were constructed (in case you need to repair any bits), and what wood they are made of so that you can plan the finish.
You may want different colours in different areas, and if you want to expose the wood grain, especially on the treads (often referred to as the ‘going’), then you need to be sure that all the treads are in good enough condition.
2. Prepare the stairs
You will need to clear the area around and under the stairs and place dust sheets down. PPE is your friend when it comes to DIY sanding projects. Just like you would if you were sanding floorboards or sanding doors, pop on a mask to prevent breathing in dust particles. It's also a good idea to open windows and doors to keep the area well ventilated.
Bring your dream home to life with expert advice, how to guides and design inspiration. Sign up for our newsletter and get two free tickets to a Homebuilding & Renovating Show near you.
If the stairs have ever been carpeted, then there will inevitably be many nails and staples, especially at the edges. These need to be removed first. Do not hammer these in as they could still catch the sandpaper and rip it. If nails have been hammered fully in, then use a hammer (like this Magnusson Carbon steel Claw Hammer from B&Q) and nail punch to sink them below the surface.
3. Strip off the old finish
If the stairs have multiple layers of paint or varnish, it is worth using a good paint stripper to remove as much as possible. Paint strippers can be a liquid that is applied, left to react with the paint, and then removed with a scraper, wire brush, steel wool, scourer, or a coarse cloth.
Stuart Murray, founder of Retrovintage says, “make sure you use one that’s safe for indoor use and follow the instructions carefully, including proper ventilation.”
Alternatively, a heat gun (like this VonHaus Heat Gun from B&Q), can be used, but adds Steve, “heat guns work well for softening old paint so you can scrape it off, but you have to be careful not to scorch the wood or create fumes."
Also, wear gloves when using paint stripper, and always wear any other PPE as described by the manufacturer.
4. Sand the surface
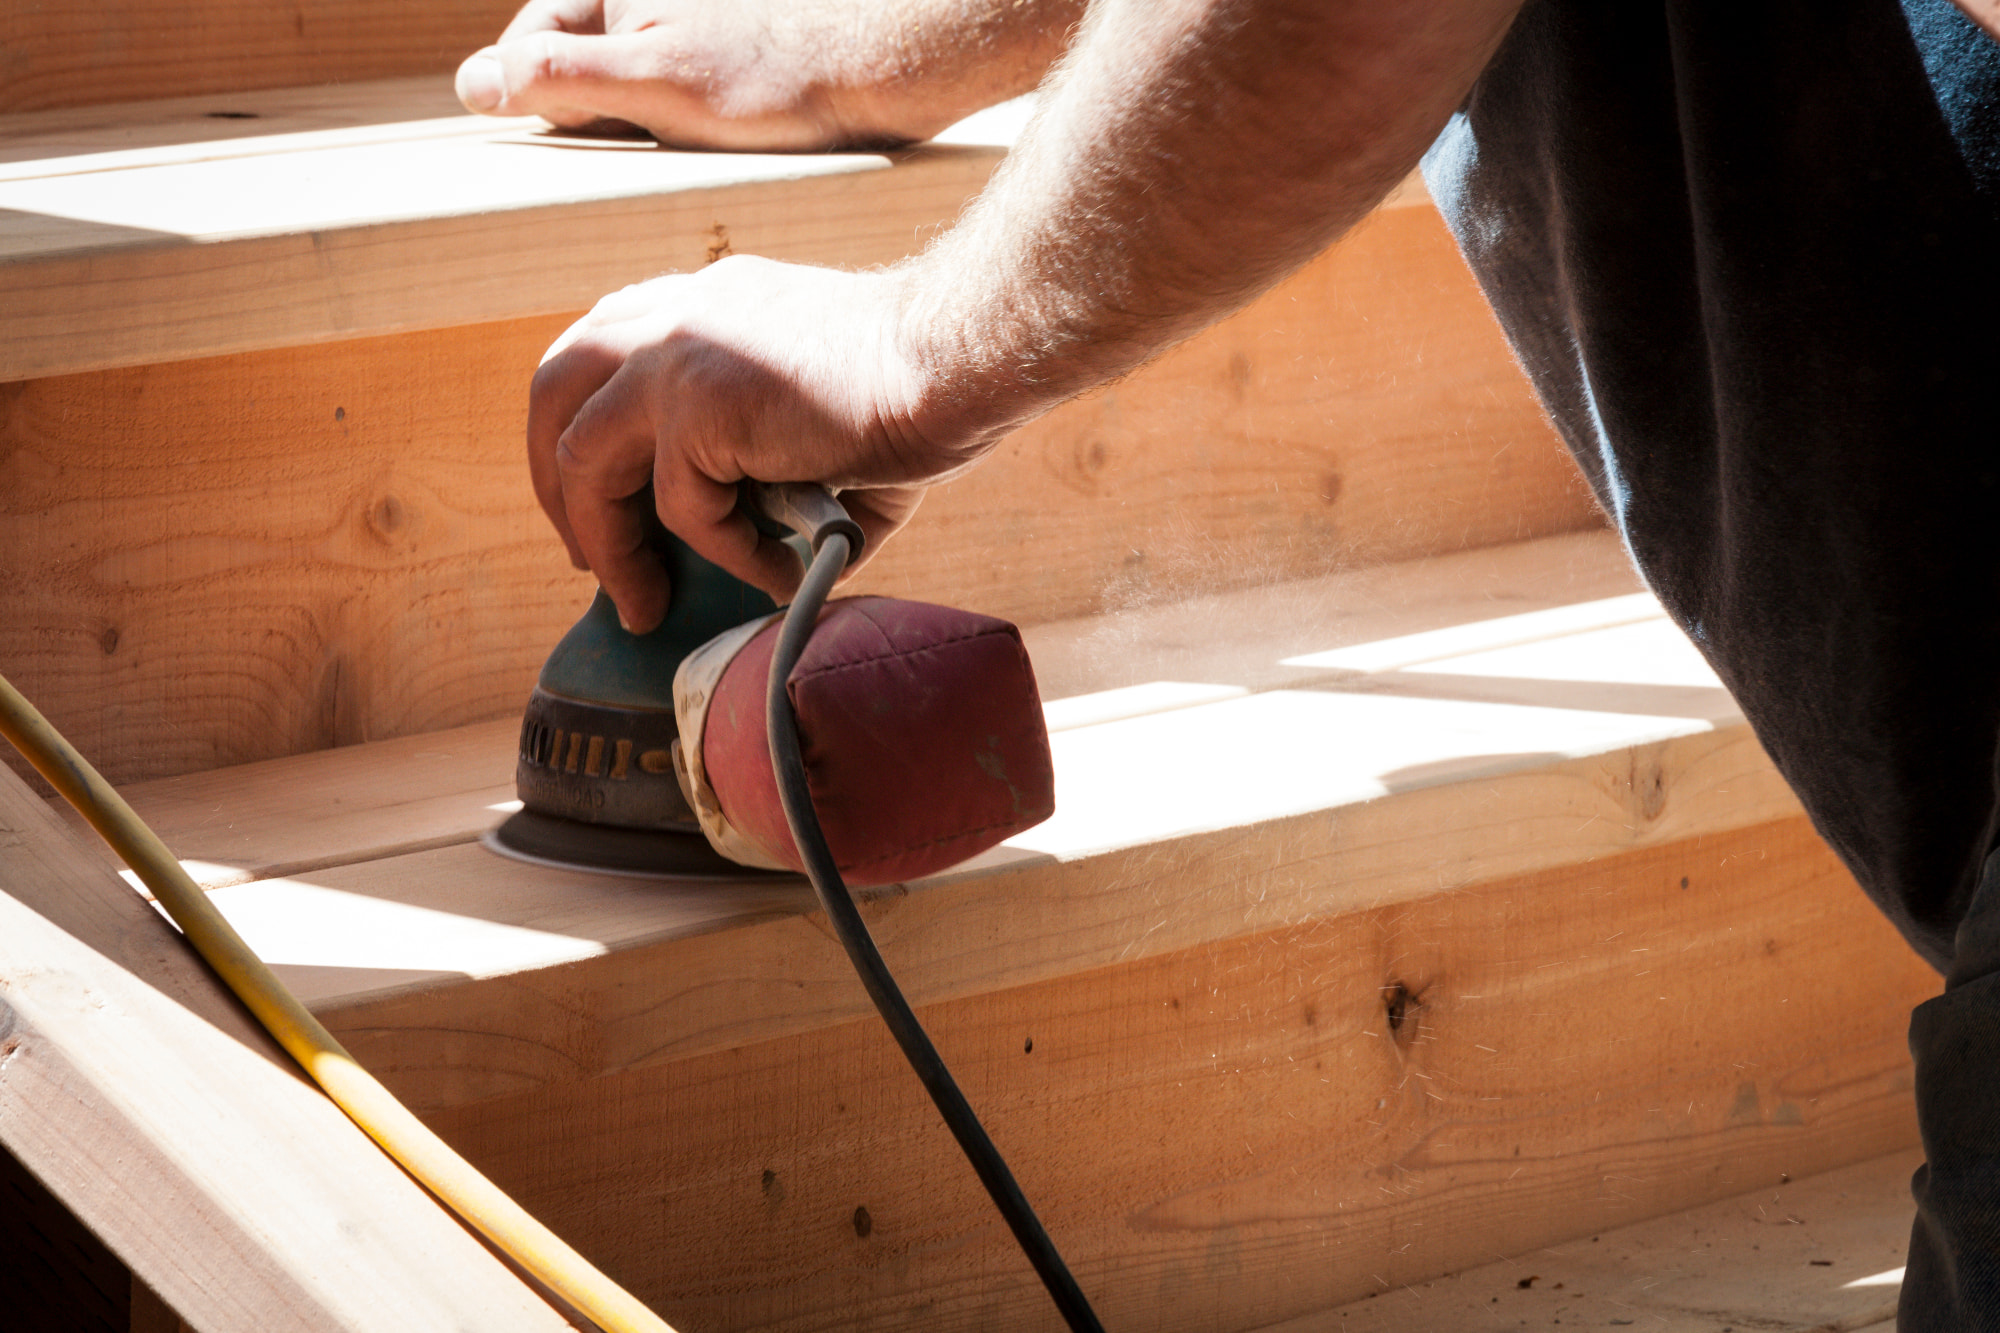
Using a coarse grit paper or disc (60 grit), sand the flat open surfaces to remove loose materials and remaining paint/varnish/blemishes. A random orbit sander may be useful for flat areas, but a finishing sander can be more useful for the steps and the larger areas on the posts and runners.
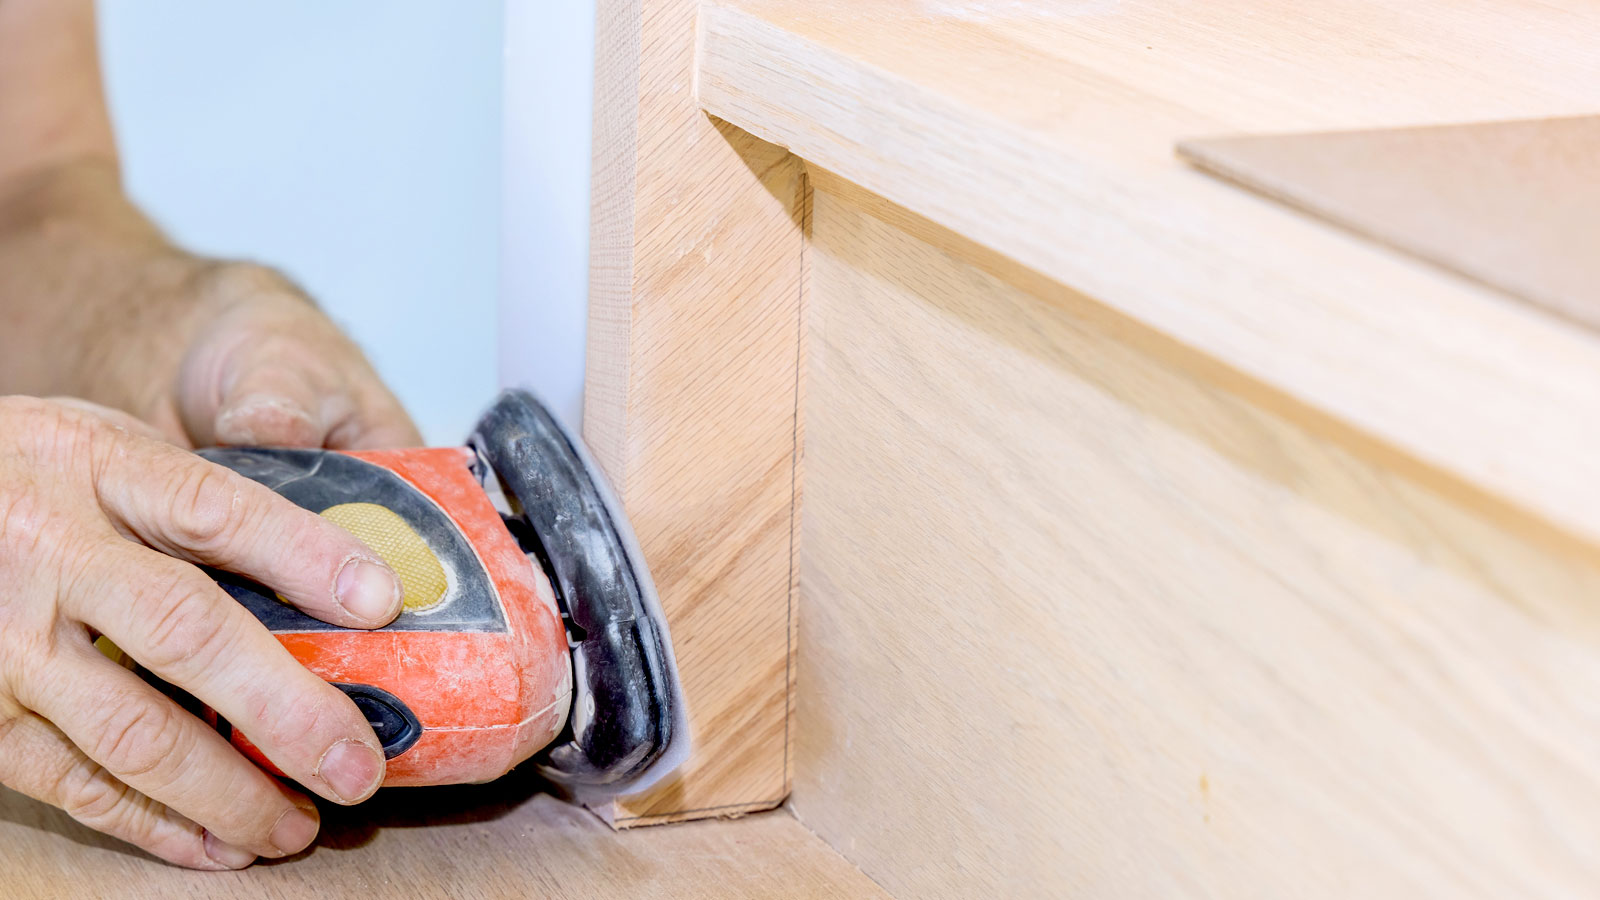
The square-shaped sanding pad on a finishing sander can get into corners. For the spindles and the handrail detailing, you may find that sanding wood by hand (with steel wool) is the best approach.
5. Repair the stairs
Once the stairs have been coarsely sanded, repair any loose spindles and riser boards that have been kicked out of place over the years. They may need glueing or renailing/screwing in place. Many staircases are fixed from underneath, so this is the place to start.
6. Fill holes and gaps
Once the stairs are reparied, fill any holes with wood filler (like this Ronseal High Performance Natural Ready Mixed Wood Filler from B&Q). If you are painting or varnishing the stairs, be careful to only fill the necessary gaps in order to avoid any unnecessary blemishes.
On varnished surfaces – where you will be showing the wood grain – it's sometimes best to leave small holes and dents unfilled for a more natural look.
7. Apply final sanding
Using a fine sandpaper (such as 100 grit), go over the sanded area to get a scratch-free finish. Do not make it too smooth on hardwood as the paint may not grip, or the stairs may become slippery.
Remove the dust with a vacuum cleaner and a damp cloth, and you are now ready to start preparing for painting.


Stuart Murray has a deep knowledge of design trends, craftsmanship, and material authenticity. His experience in restoration can provide valuable insights into sanding techniques and the preservation of aesthetic integrity in staircases.
FAQs
How long does it take to sand stairs?
A standard staircase of around 12 to 13 steps should take 1-2 days to sand and prepare for painting.
Can I sand the stairs myself or do I need a professional?
Sanding stairs takes time, patience and attention to detail. If you have some reasonable DIY skills and know your way around the tools, then you can tackle the task yourself.
What kind of sander should I use for stairs?
Stairs may require several different sanders for the runners, treads, spindles, and handrail. Murray points out the sanders you'll need for the sanding stairs, "A detail or palm sander is great for getting into corners and tight spots, while a random orbital sander can cover larger flat areas quickly and leave a smooth finish."
He adds, "If you have really rough patches or thick paint, starting with a coarse grit and working your way to finer grits will give the best results. Avoid belt sanders as they can be too aggressive and damage the edges of the stairs."
Read our guide to the best orbital sanders to find the right model of sander for your project.
What grit sandpaper should I use for sanding stairs?
When it comes to sandpaper grades for sanding stairs, use a rough grit, such as 40 or 60, to remove old paint and level off blemishes. Then, slowly use finer paper, such as 100 grit, for the smooth finish. Sanding pads are often more durable than normal sandpaper sheets, so sanding pads may need to be even finer, such as 120.
What is the best paint to use on stairs?
There are specialist stair and floor paints and varnishes available at all good builders' merchants and DIY stores, which should be used for the hard-wearing areas of staircases, such as the treads and the handrail.
For the rest of the stairs, you can use standard wood paint such as Dulux Trade Pure Satinwood, which looks good, is durable and washable.
A neatly sanded staircase will need protection. To retain the natural finish of the wood, varnish is a good choice. Alternatively, learn how to paint stairs to complement the surrounding décor. If you're adding carpet, make sure to check out our guide on how to measure carpet for stairs and explore stair carpet ideas for an attractive finish.
Steve Jenkins is a freelance content creator with over two decades of experience working in digital and print and was previously the DIY content editor for Homebuilding & Renovating.
He is a keen DIYer with over 20 years of experience in transforming and renovating the many homes he has lived in. He specialises in painting and decorating, but has a wide range of skills gleaned from working in the building trade for around 10 years and spending time at night school learning how to plaster and plumb.
He has fitted kitchens, tiled bathrooms and kitchens, laid many floors, built partition walls, plastered walls, plumbed in bathrooms, worked on loft conversions and much more. And when he's not sure how to tackle a DIY project he has a wide network of friends – including plumbers, gas engineers, tilers, carpenters, painters and decorators, electricians and builders – in the trade to call upon.
- Gabriella DysonInteriors journalist and contributing editor


