
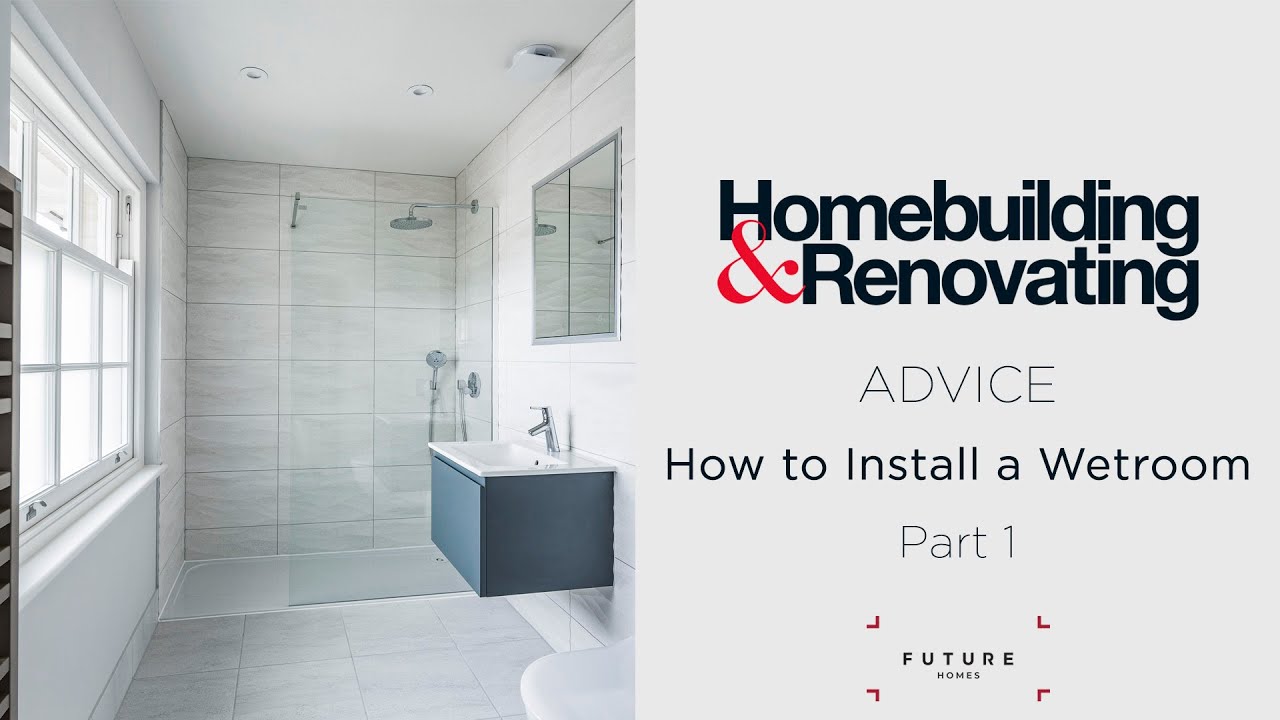
While it may not seem like a DIY job, it's possible to learn how to install a wet room and take much of the expense out of this stylish, but technically challenging element of your project.
With flush floors, seamless floor-to-wall tiling and (often) frameless shower panels, clever wet room ideas can offer the right solution for any size bathroom. Whether it’s a large family bathroom with room for a separate shower, or an unusually shaped en-suite crammed into a loft, a wet room offers flexible design options that can optimise the use of space.
Of course wet rooms are, by their very nature, wet, which means there are a few things to consider when planning one to make sure it doesn’t end up being slippery, leaky or cold. Below, you'll find our step-by-step guide on how to install a wet room that's both watertight and wonderful.

Prepping the room and floor
1. Rip out the old bathroom
When removing the existing bath/shower suite, all your water outlets should be turned off. Typically there should be valves cut into the pipework that supplies the hot and cold feeds to the sanitaryware.
These simply need turning off so that you can remove the items without water going everywhere. However, you will more than likely need to turn the water off to remove the shower valve if it is surface-mounted or chased into the wall.
When the floor covering (tiles, vinyl, etc.) is removed, it is worth closely inspecting the existing subfloor. For suspended floors, this subfloor may be ply, chipboard, OSB or floorboards. The quality of the existing subfloor will determine if it needs replacing. Remember your finished floor – and wet room – will only be as good as the subfloor beneath it.


Andy Stevens is a multiple award-winning builder who manages Surrey-based building company Eclipse Property Solutions.
2. Prepare the subfloor in a wet room
One of the most important things when prepping a wet room is to ensure the floor is level. If you have ripped out the subfloor, you can cut packers/firings or blocks to bring the low spots up to create a level floor. You will then lay your new subfloor on top of this.
If there is any ‘bounce’ in the timber floor you will need to strengthen the floor, either with noggins or doubling up on the floor joists (especially if they are old and thin). Ideally you should introduce a good quality marine ply on top of the floor joists.
This can soon add up on a big floor. There are alternatives, but do not go with the budget options as the layers can separate. You could also use a ¾ green chipboard. Another option, which is again expensive but very good, is a cement board.

This premium plywood is certified marine grade and is suitable for high-moisture environments, such as wet rooms.

Image credit: Future
Ensure the flooring is nice and level

Image credit: Future
You will need to strengthen the floor if there is any bounce
3. Use self-levelling compounds
When the walls and ceiling of your bathroom or wet room are plastered, if you have already put down your subfloor, make sure you cover it up as you don’t want this covered in bonding and plaster.
If you’re not ripping up the existing subfloor, you can use a self-levelling compound. This usually comes in 20kg or 25kg bags that you mix with approximately five litres of water. (Always check the bag as different manufacturers will provide different guidelines.)
It is vital that you don’t add extra water to try and get the compound to go further; this will result in it not mixing correctly and becoming watery in areas.
If your existing floor is level but has an inferior wood quality, such as floorboards, anti-fracture matting or a decoupling membrane can be used to pull the whole subfloor together.
One product I have used many times is Schlüter®-DITRA. As it’s a high-end product, it’s not particularly cheap but does save you money as you won’t have to rip up your existing subfloor and replace it.
Also, if you’re tiling the floor (regardless of whether you have a timber or concrete subfloor), then you should be using a decoupling membrane; it will absorb any floor movement, thus preventing the tiles laid on top breaking and/or cracking.
While the subfloor is up, this is the stage to install your pipes and cables as part of first fix electrics and plumbing.

With waterproof properties and a high water vapour diffusion seal, this matting will protect your substructure from moisture-related damage.
Getting drainage right
4. Install the wet room tray
Now you'll be ready to install a wet room tray (wet room floor former) if using one. They’re great as they can be tanked and tiled over, but provide a fall to allow water to drain towards the drainage outlet. Alternatively, products such as Unidrain can be installed against the wall, thus only requiring one slope to be created.
To drain water away successfully central drains are common but avoid placing one where you’ll stand under the shower. There are other types available to suit the space, such as long channel drains set at the front or back of the shower, corner drains for a neat subtle design or sleek drainage grids.

Tanking your wet room
5. Tank your wet room
Tanking – or waterproofing – a wet room is one of the most important areas to get right. Your subfloor will have a bearing on the product you use. With concrete floors, you only typically need a thin membrane to prevent any leaks; these are generally thin self-adhesive products.
For timber floors, a thicker membrane is required to prevent leaks and incorporate decoupling properties. These too are self-adhesive so you can start tiling as soon as you finish laying it.
Before you begin, make sure that the subfloor and walls offer flat, even surfaces to work on and ensure the wet room area is clean, dry and dust free.
You will then prime the whole area. Next you should apply the reinforcing tape over all joints, the corners of the walls, around the drain and where the floor meets the walls. Then the tanking layer can finally be applied.

Tiling your wet room
6. Lay the right tiles
“When it comes to choosing floor tiles for your wet room, choose those with a slip rating of R12 or above to avoid injury due to slippery surfaces," suggests says Amanda Telford from CTD Tiles.
Once the tanking layer has been installed and has fully dried out (in the case of roll-on/paint-on solutions), you can begin tiling.
It is worth taking advice from your tile supplier as to what adhesive they recommend. Don’t just grab the first one you see or the cheapest; there will be a specific adhesive and grout for the type of tiles you are using, the subfloor, etc.
For example, a different adhesive will be needed for natural stone tiles as compared to porcelain tiles and ceramic tiles. I can’t emphasise enough to seek advice from an experienced stockist to avoid a grouting mistake.
Cost of installing a wet room
“Generally, in the UK, only the active wet showering area is tanked so your costs will be dictated by the size of the wet area you go for,” says David Osborne, CEO of Roman Showers. “This means there is huge variation in cost, but a £2,000 budget for a small 5m2 space is an optimistic starting point.”
A wet room offers the ideal mix of form and function when it comes to a bathroom design. They’re sleek, contemporary and evocative of boutique hotel luxury, but also offer practical benefits like easy cleaning and great accessibility for children or those with limited mobility.
If you're still undecided on your bathroom design, read our comparison of wet rooms vs bathrooms and wet rooms vs walk-in showers.
