Underfloor Heating Installation: How-to Lay Wet UFH Yourself
If you're confident underfloor heating installation is a task you can successfully do yourself – here's our step-by-step guide
Bring your dream home to life with expert advice, how to guides and design inspiration. Sign up for our newsletter and get two free tickets to a Homebuilding & Renovating Show near you.
You are now subscribed
Your newsletter sign-up was successful
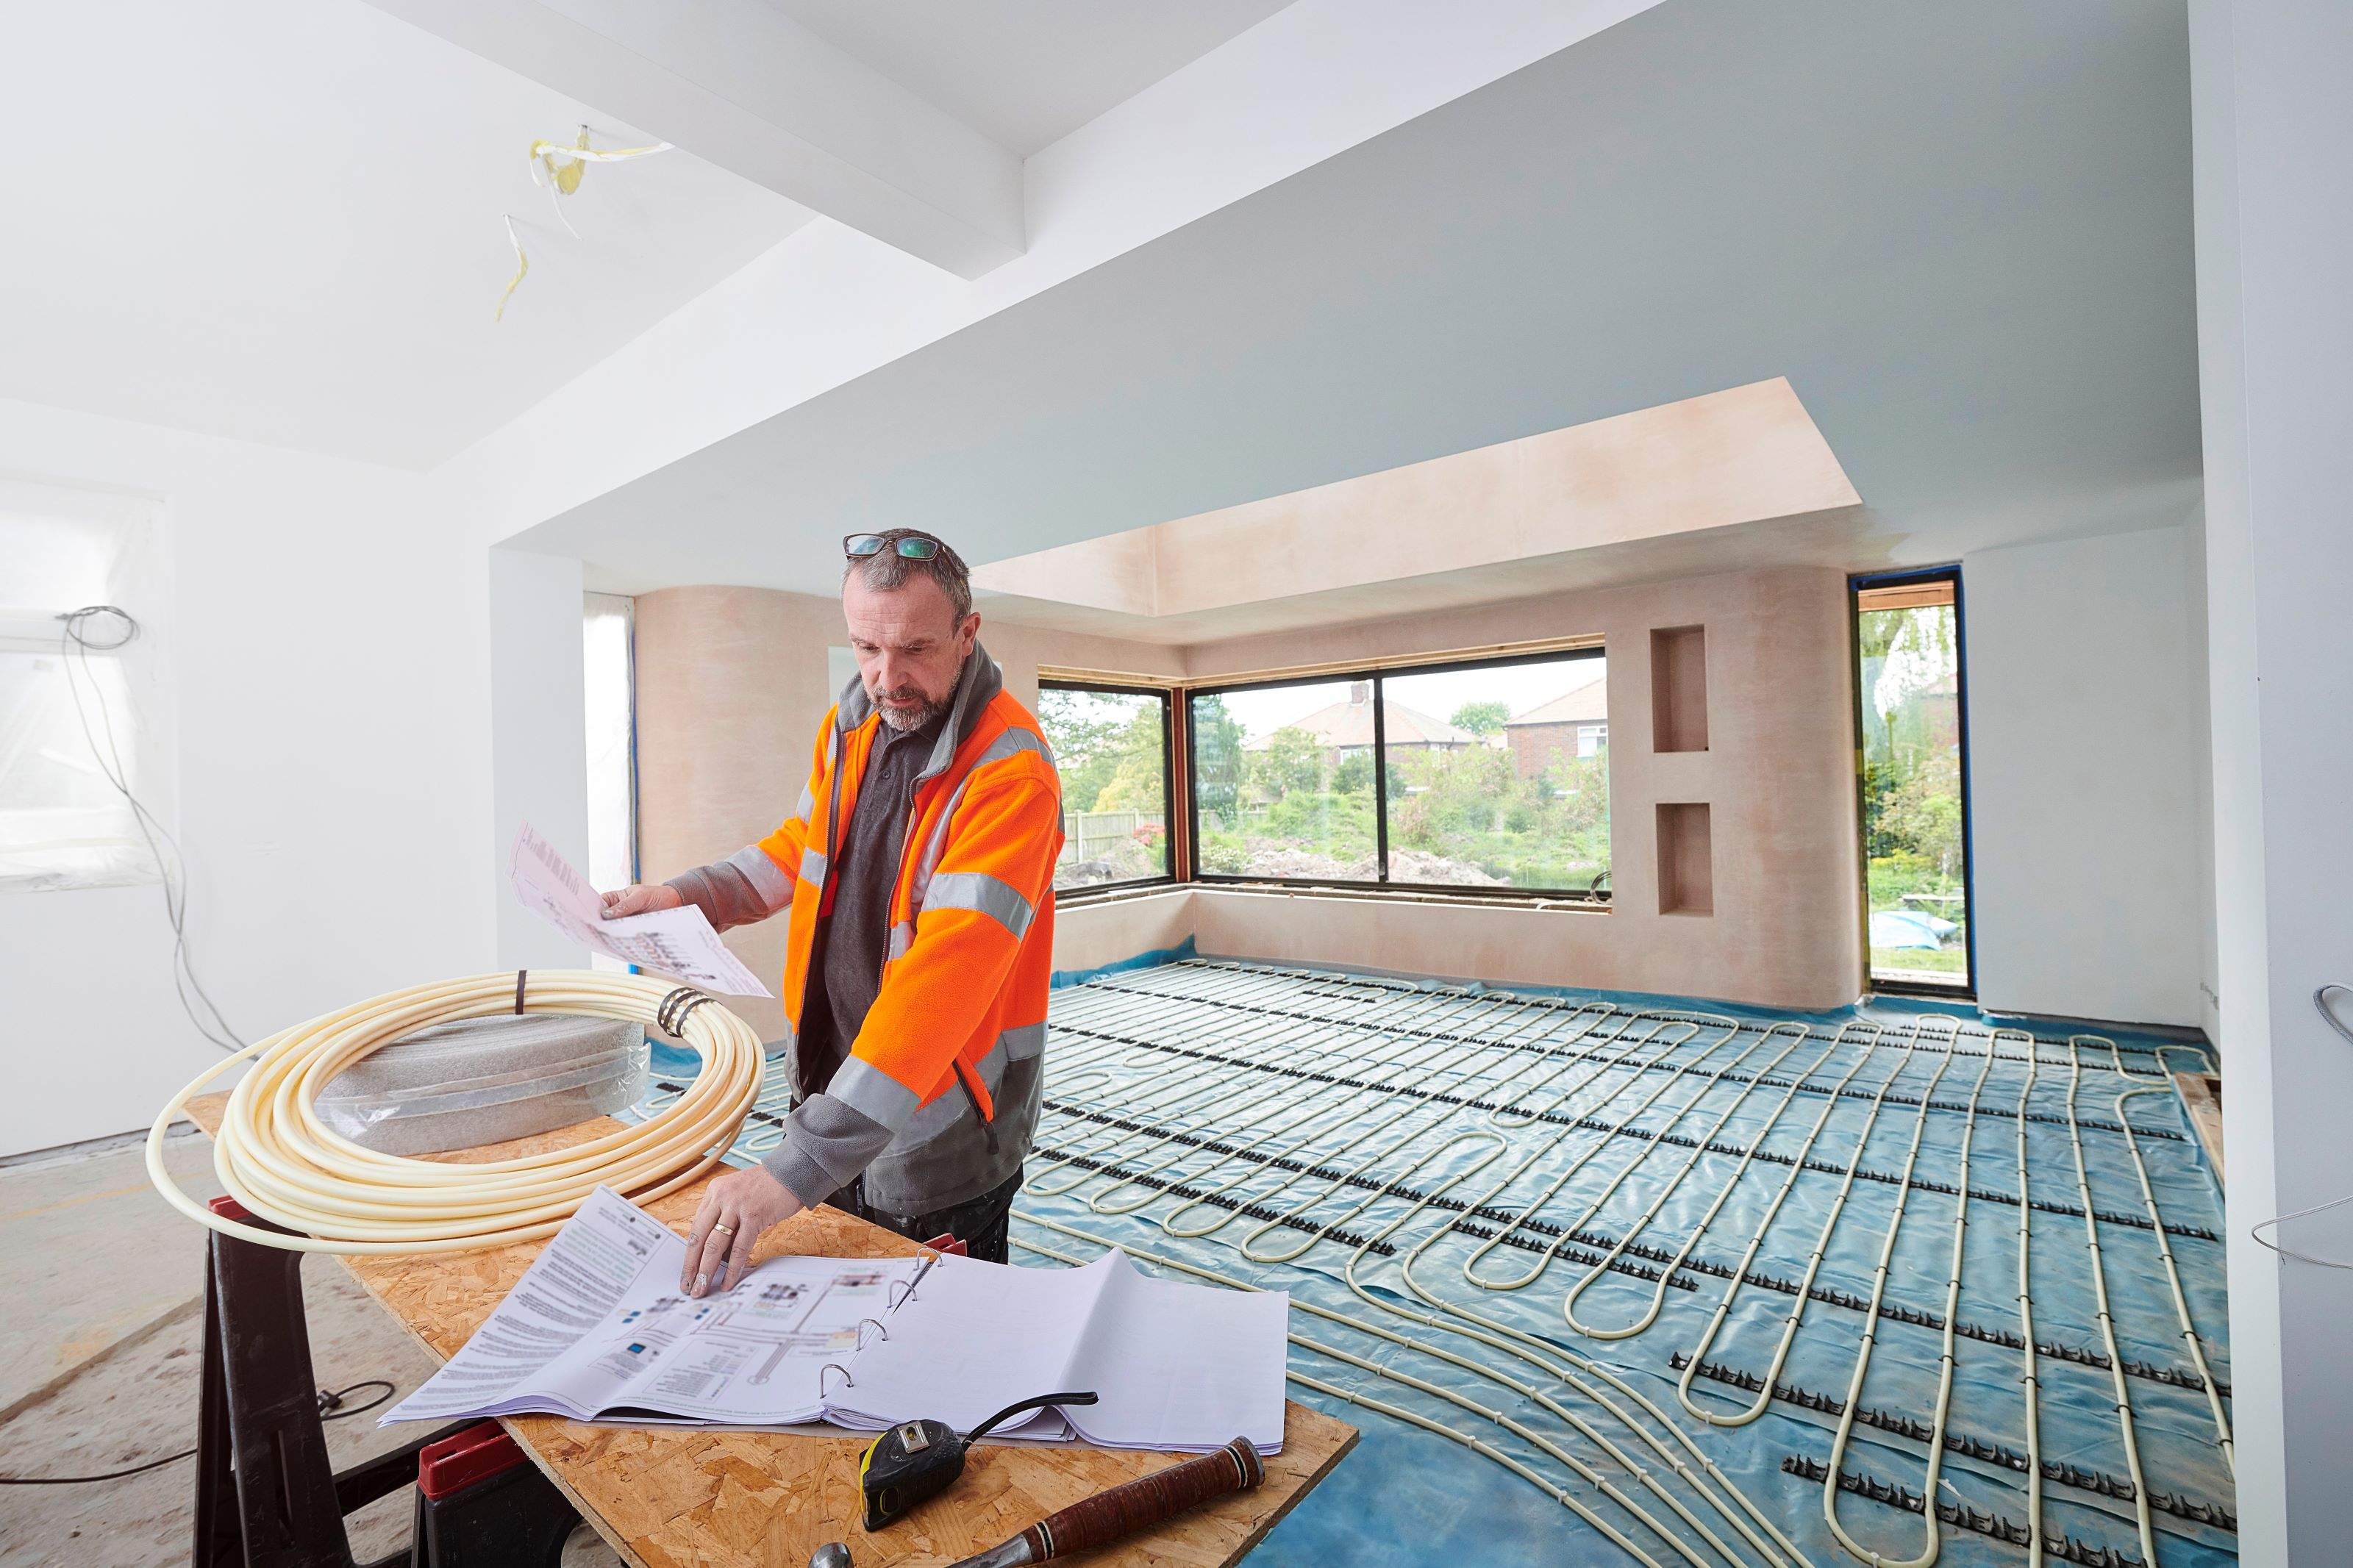
Underfloor heating installation is not an easy task but for a competent DIYer it is one that could save you money on your project – if you have the right skills.
While a lot of the underfloor heating installation can be carried out yourself, there are some aspects that are notifiable. These elements will therefore need to be completed by a qualified professional. The key ones being installing a new underfloor heating manifold for a wet system or connecting up a power source for electric underfloor heating.
Whether you are planning to lay your underfloor heating as a DIY project, or you simply want to understand the process, our sustainable building expert Tim Pullen explains how in this step-by-step guide for wet underfloor heating.
Of course, it's important to remember that you should only take on DIY projects that are within your capabilities. If you make a mistake, it can cost you more to rectify than the initial cost saving in the first place.
How do I install wet underfloor heating?
Before starting, it's worth having a plan about where your pipes are going to sit as well as having all the equipment and tool you need ready to use.
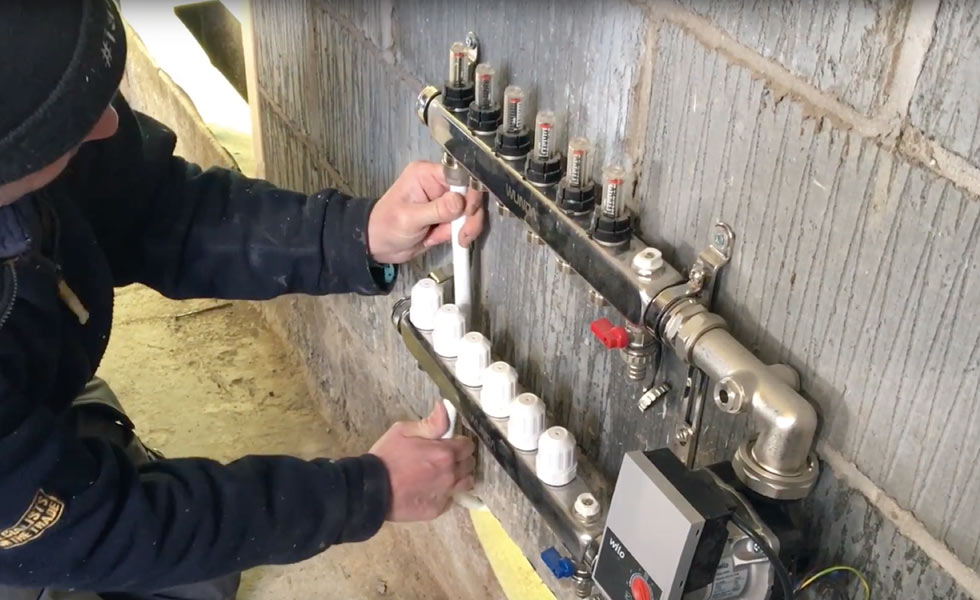
1. Connect the pipe to the manifold
The first step is to connect the floor heating pipe to the underfloor heating manifolds. The manifold will have already been installed by a professional and you shouldn't undertake this on a DIY basis.
Bring your dream home to life with expert advice, how to guides and design inspiration. Sign up for our newsletter and get two free tickets to a Homebuilding & Renovating Show near you.
2. Lay underfloor heating insulation
After laying your insulation, you will need to begin to lay the pipe. This is an important element, and shouldn't be overlooked — laying insulation under underfloor heating will improve the efficiency by resisting the heat from going downwards
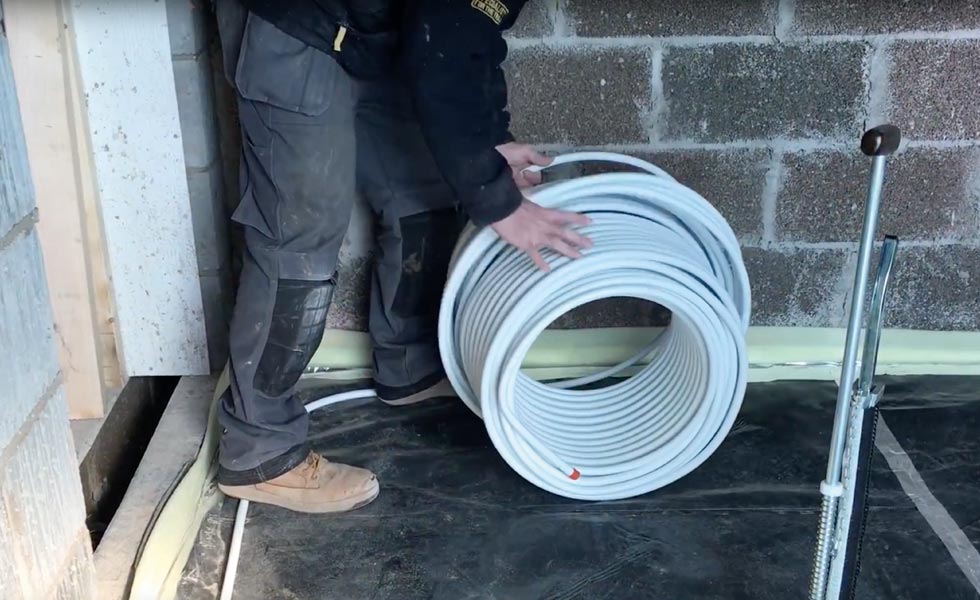
3. Begin to lay the pipe
After laying your insulation, you will need to begin to lay the pipe. Make sure to clear the subfloor before laying out the pipes to ensure there's nothing that will damaged the pipes.
4. Fix the underfloor heating pipes
Secure the pipe to the insulation as you go using pipe staples. Ensure you fix the pipe with the correct spacing to ensure optimal heat distribution.
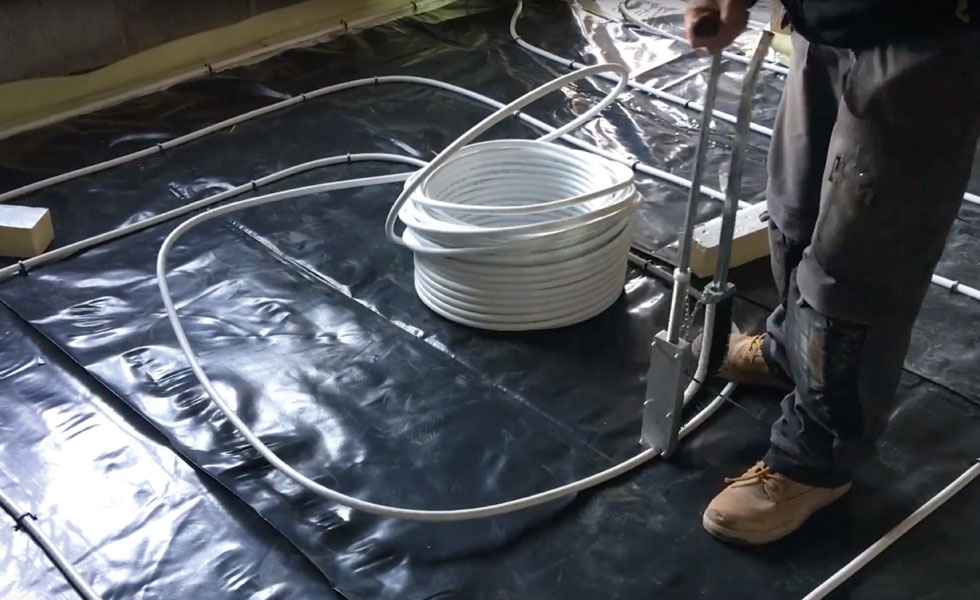

5. Install across the whole floor
Loop the pipe across the whole floor area, using multiple loops for large spaces.
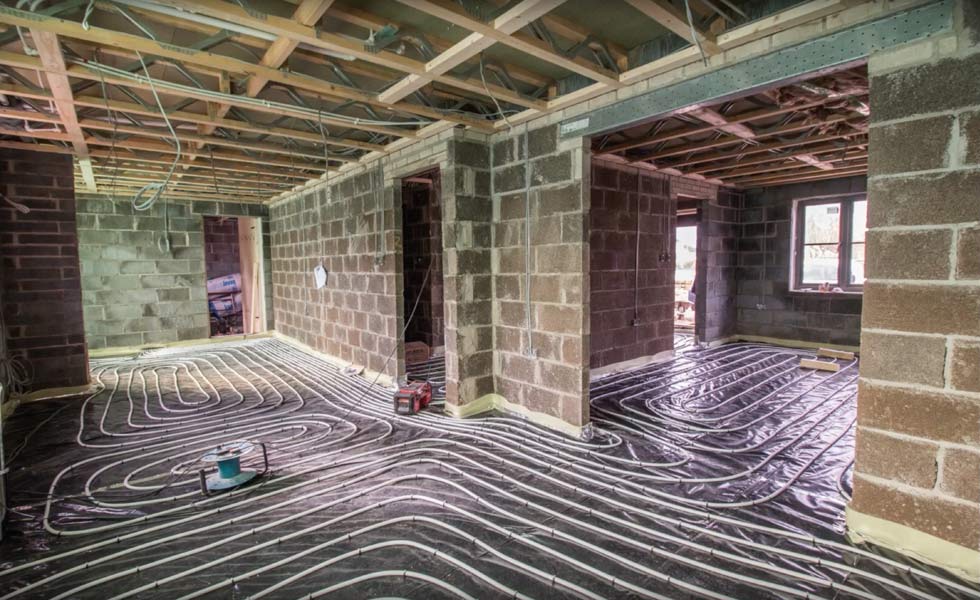
6. Prepare the screed
Mix the screed or opt for a ready-mixed version. The pipes must always be pressure tested before the floor screed is laid. Equally important is to ensure the pipes are full of water while the screed is being laid so that if there is any damage it will be immediately obvious and can fixed before the screed laying is finished.
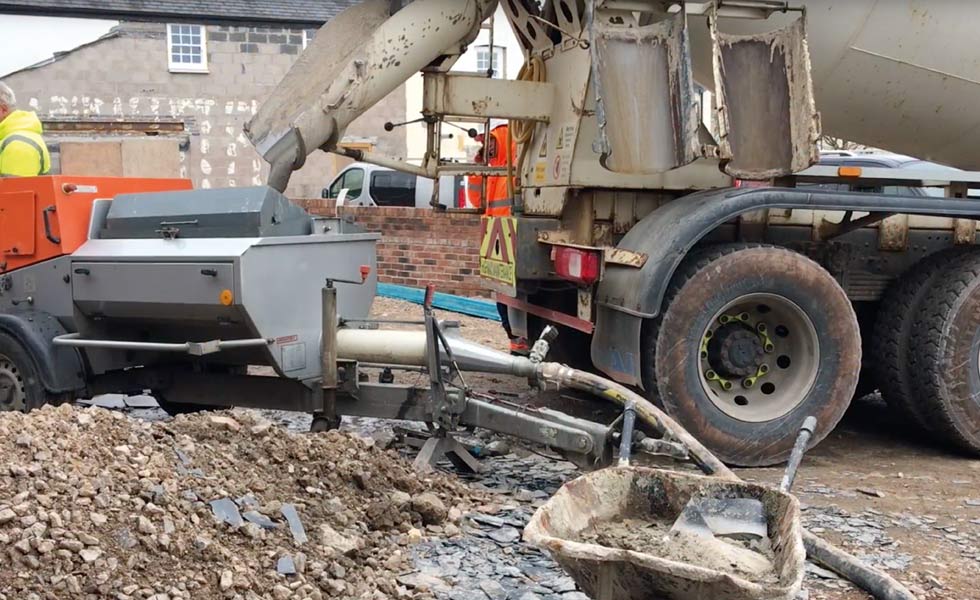
7. Pour the screed
Carefully pour the self-levelling screed over the pipework, ensuring that the pipes are securely fastened and the insulation is sitting flat.
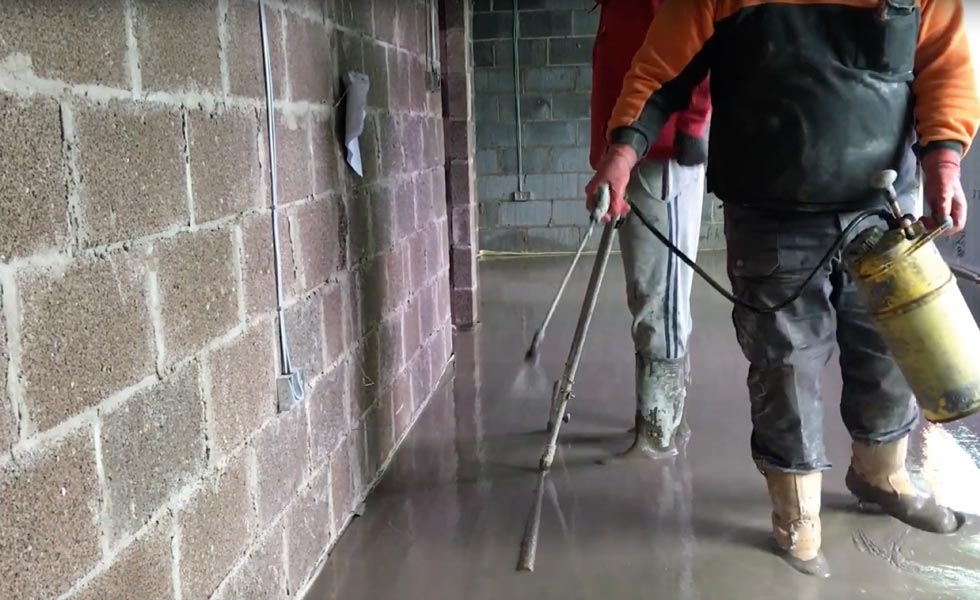
The screed is stabilise with a chemical spray, before being finally tamped for a smooth finish.
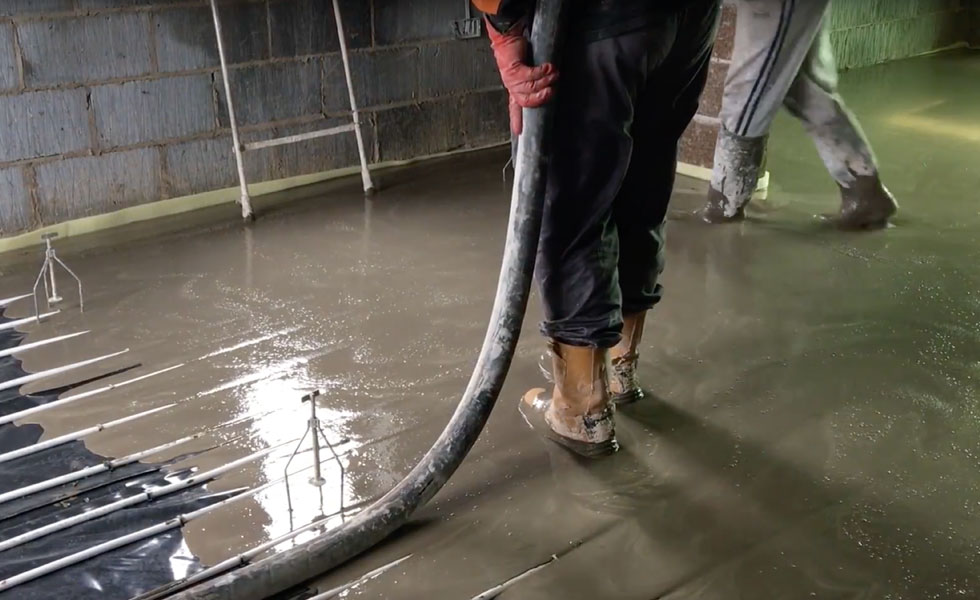
8. Leave to dry
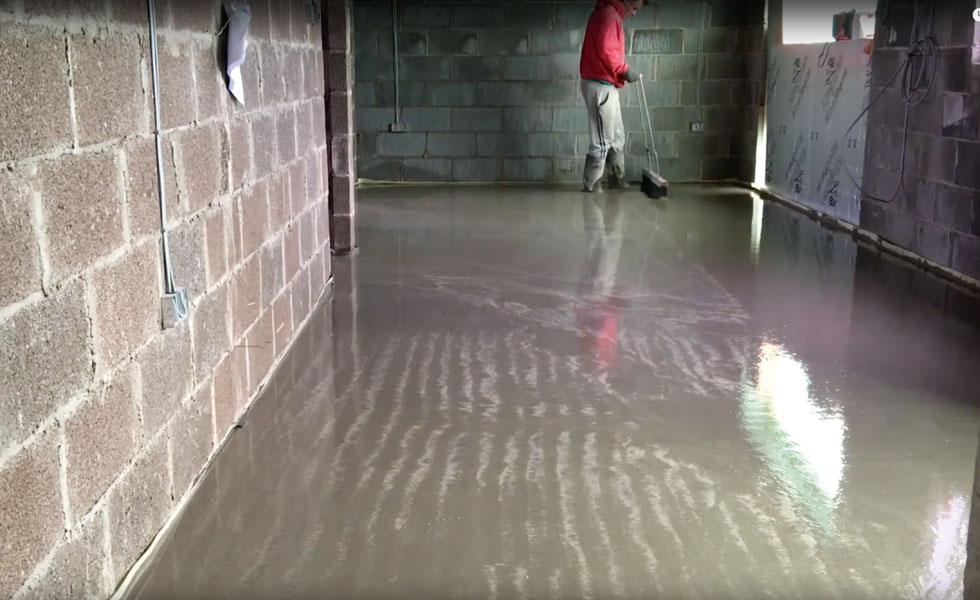
Leave the screed for at least 7 days to dry before turning on the underfloor heating. At this point, turn the underfloor heating at the lowest temperature, gradually increasing it over a number of days.
Tim was an expert in sustainable building methods and energy efficiency in residential homes and wrote on the subject for magazines and national newspapers. He is the author of The Sustainable Building Bible, Simply Sustainable Homes and Anaerobic Digestion - Making Biogas - Making Energy: The Earthscan Expert Guide.
Tim's interest in renewable energy was first inspired by visits to the Royal Festival Hall heat pump and the Edmonton heat-from-waste projects. Moving to a small-holding in South Wales fanned his enthusiasm for sustainability. He went on to install renewable technology at the property, including biomass boiler and wind turbine.
He formally ran energy-efficiency consultancy WeatherWorks and was a speaker and expert at the Homebuilding & Renovating Shows across the country.
- Amy WillisWeb Editor

