Microcement and underfloor heating — everything you need to know before you install
From prep to installation, discover how to combine microcement and underfloor heating for a smooth, long lasting finish

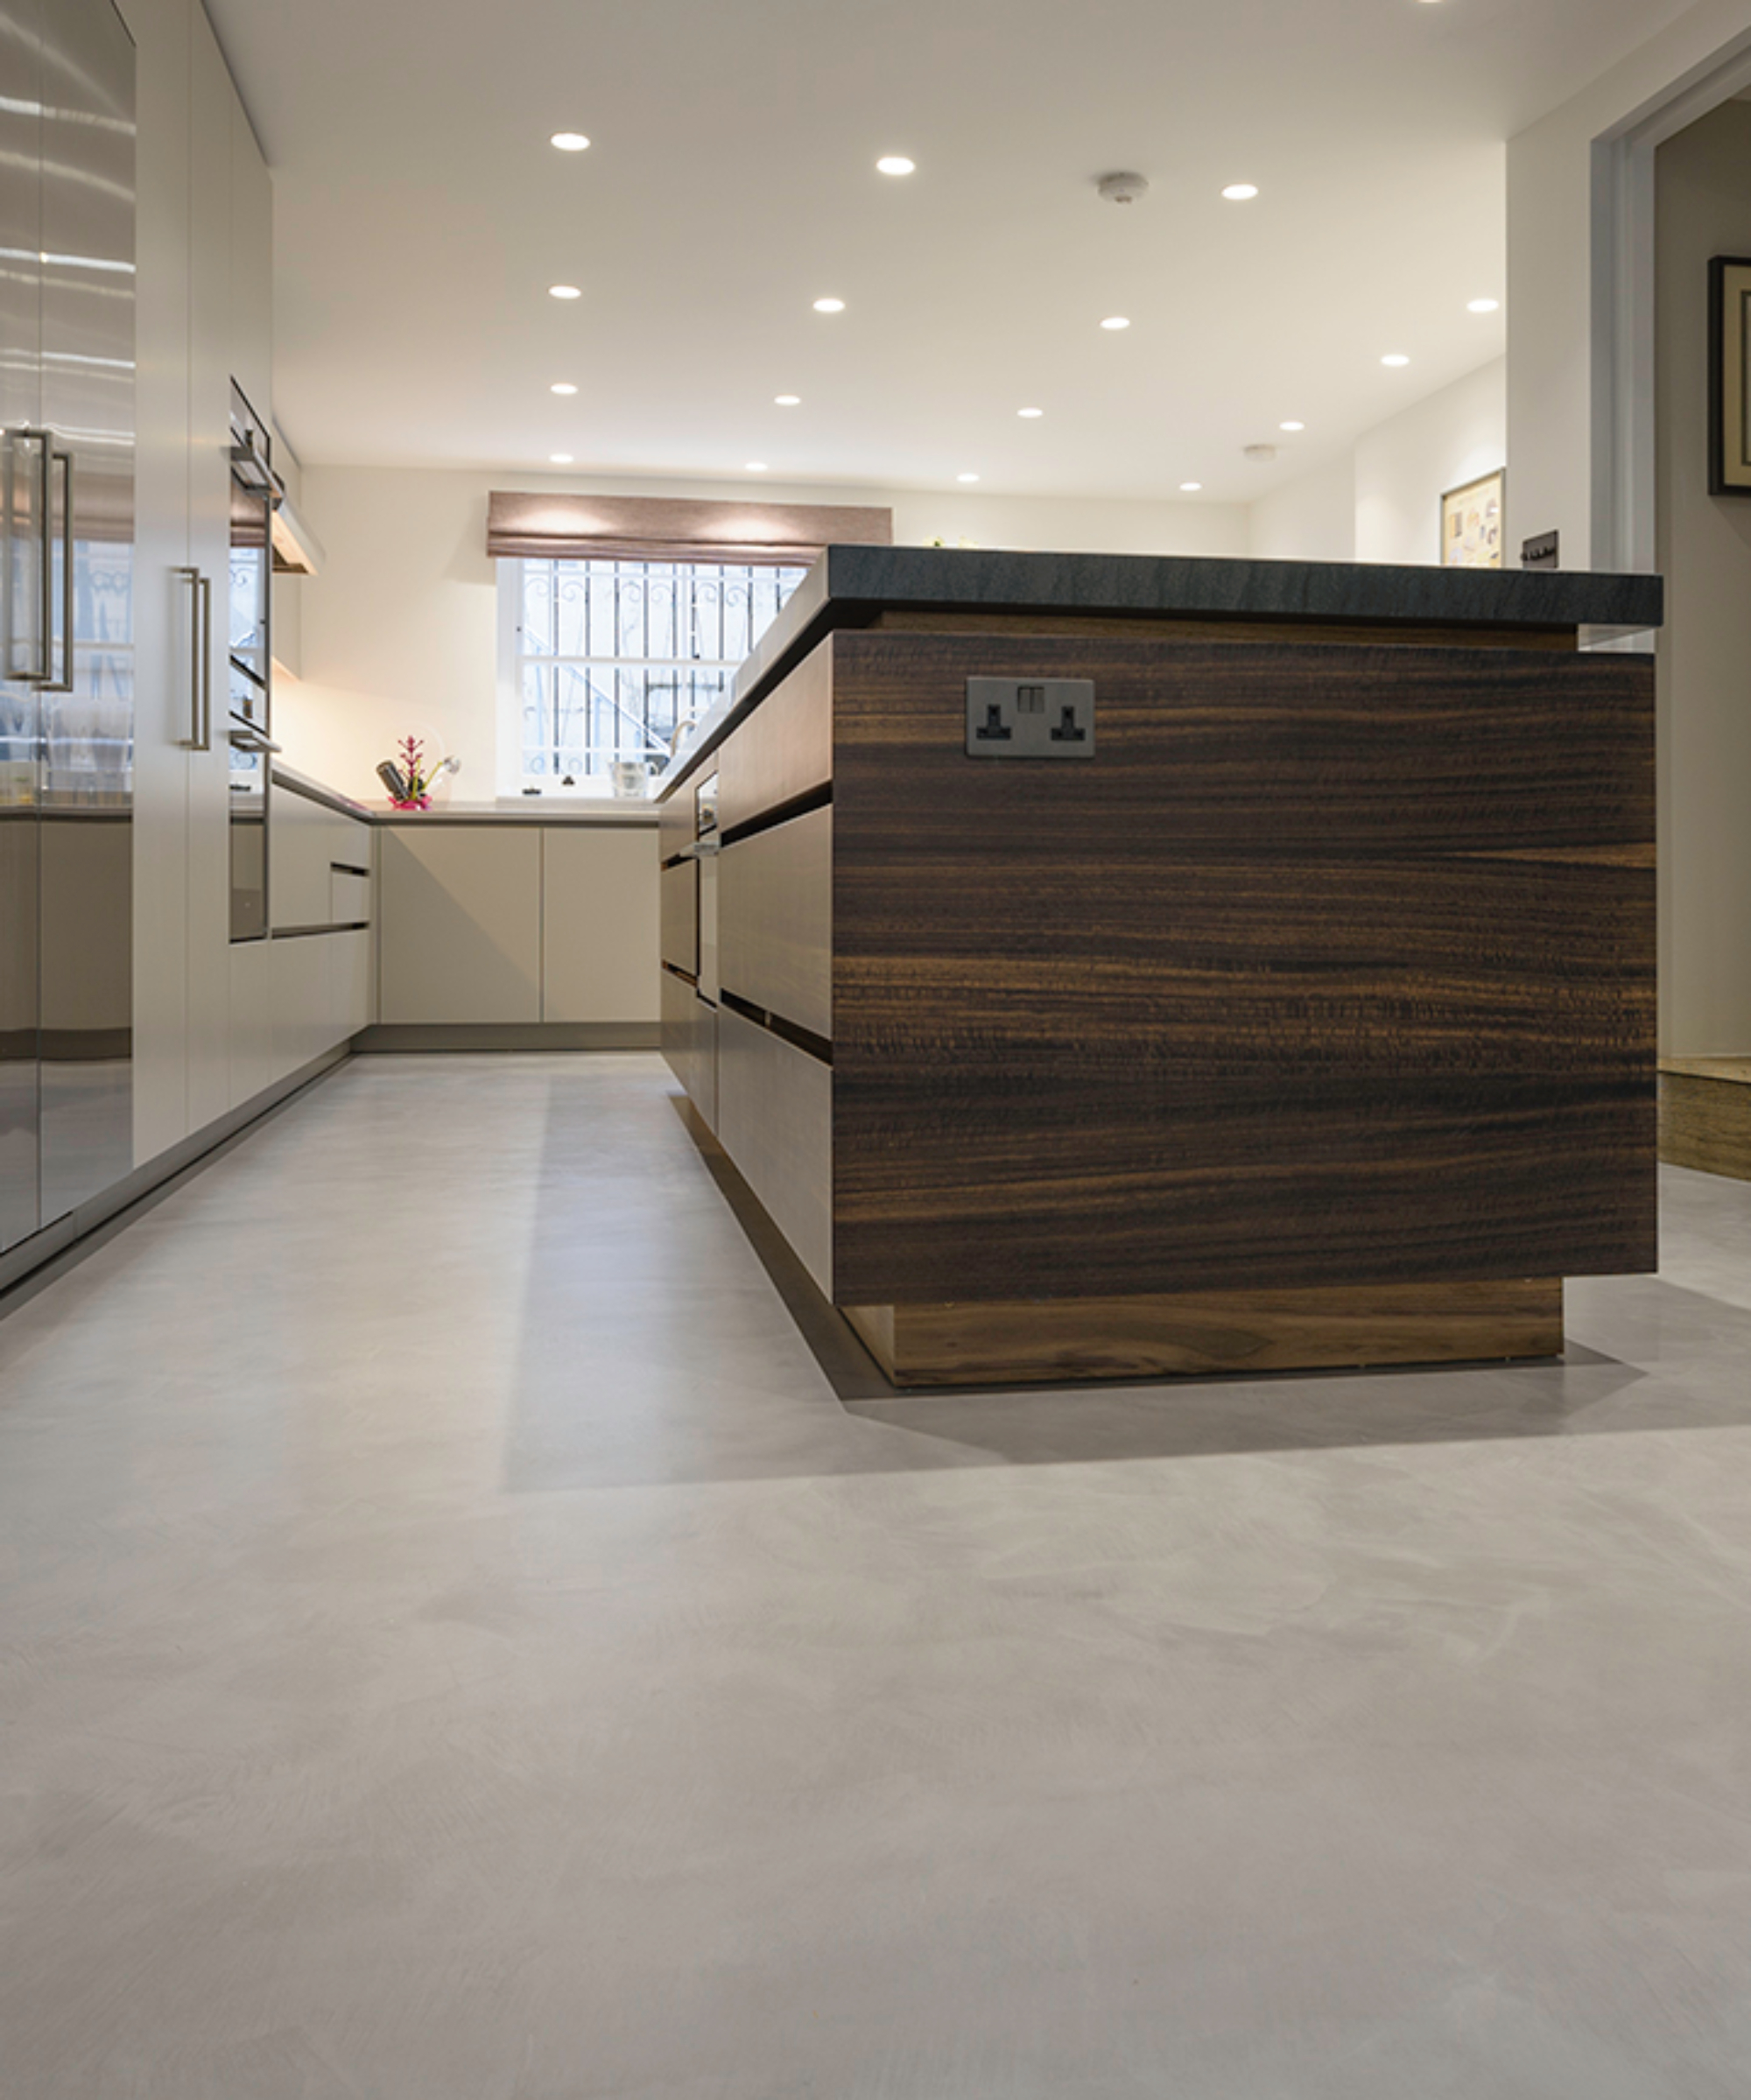
There’s a reason why microcement flooring has become a go-to in modern homes. It offers a seamless, contemporary look that works across open-plan spaces, kitchens and bathrooms alike, and it’s compatible with underfloor heating too. But getting this combination right takes more than a good eye for design. Subfloor prep, moisture control, heating protocols and product choice all play a crucial role in its long-term performance.
We asked industry experts to explain what you need to know before combining microcement flooring with underfloor heating, including common mistakes to avoid and the secret to a crack-free finish that lasts.
Can you use microcement flooring with underfloor heating?
"Microcement is thermally efficient and works brilliantly with underfloor heating systems,” explains Kieran Gunn, owner of Options 4 Surfaces. “Its fast heat response and low thermal resistance make it an ideal surface finish for energy-efficient heating, especially in modern interiors.”
"Thanks to its slim profile and excellent conductivity, microcement allows warmth to spread quickly and evenly across the floor," Kieran says. "It’s also well suited to the low, consistent temperatures that underfloor heating is designed to deliver."

Kieran Gunn founded Options 4 Surfaces to offer innovative surface solutions for residential and commercial spaces. The company specialises in bespoke finishes such as microcement flooring, exterior silicone rendering and EWI systems.
The Importance of Subfloor Preparation

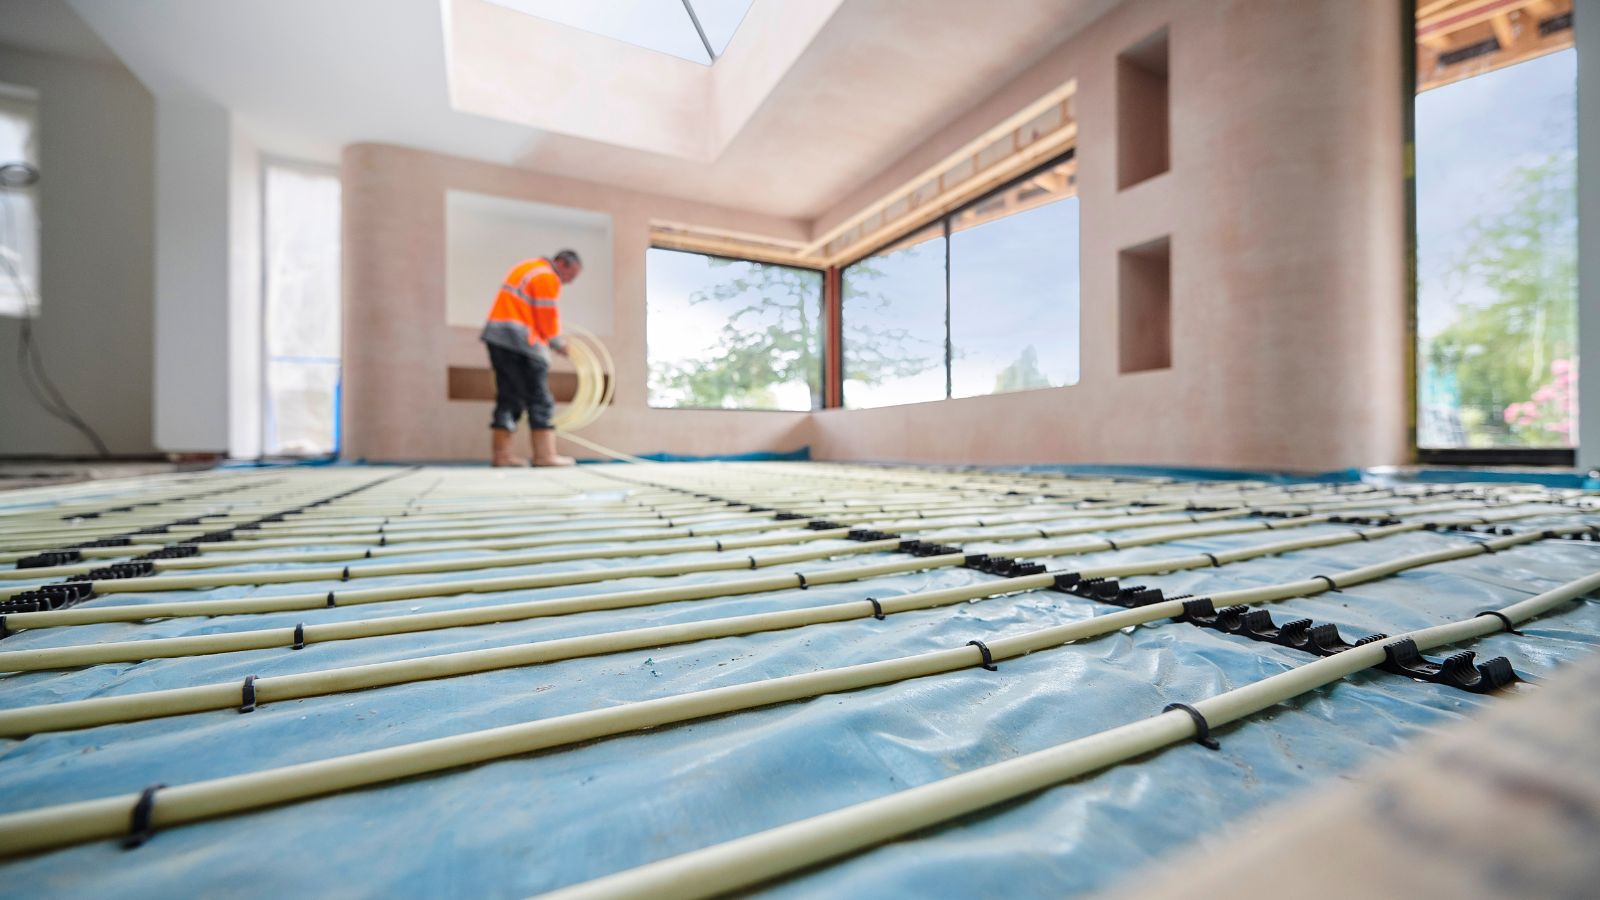
When pairing microcement with underfloor heating, what lies beneath is just as important as the finish you see on top. A perfectly prepped subfloor is essential. Skip this step, and you’re likely to run into issues like cracks, delamination or uneven heating later on.
Richie Butt, founder of Relentless Microcement explains that cracks most commonly occur in screeds when the underfloor heating is turned on for the first time. “This is because the heat causes expansion and then contraction in the screed,” he says. “Microcement is very strong, but it's only as strong as the substrate that it is applied to, so if there is movement in the subfloor this could transfer through to the surface of the microcement. This is why we always recommend that underfloor heating is turned on and put through a full cycle before the microcement is applied. This will force out any cracks, allowing them to be repaired in advance."
Ideally, your screed should be left to cure for at least three to four weeks. Before applying microcement, it’s also crucial to check that the moisture content is low enough (typically under 5%). A good installer will use a hygrometer to be sure.
Bring your dream home to life with expert advice, how to guides and design inspiration. Sign up for our newsletter and get two free tickets to a Homebuilding & Renovating Show near you.
The surface itself should also be level, clean, and free from cracks or dust. Kieran Gunn notes: “Substrate preparation is paramount. This involves making sure the surface is level, clean and free from cracks and dust. It also needs to be completely dry and cured before microcement can be applied.”
And don’t overlook the importance of good documentation either. As Lincoln Smith, managing director at Custom Heat, points out: “Choosing a reputable, high-quality installer minimises the risk of issues further down the line, but it’s also vital to keep a record of your underfloor heating layout. Holding on to the original designs and graphics means you can refer back to them if you ever need to drill into the floor or carry out maintenance. This can help avoid costly repairs and accidental damage.”

Richie co-founded Relentless in 2015 with partner Sally, bringing his background in concrete, plastering and rendering to develop versatile microcement solutions for floors, wet rooms, worktops and more.

After joining the business in 2001, Lincoln is responsible for the day to day running of Custom Heat, trusted suppliers of heating, plumbing and electrical services across the Midlands, East of England, South West and Cornwall.
Pre-Heating Protocol Before Applying Microcement
One of the most important steps in this process is how you warm up the floor before the microcement goes down. This isn’t just a flick-the-switch-and-go situation, as heating the floor too early or too quickly can lead to serious issues later, including trapped moisture and hairline cracks in your lovely new surface.
Here’s how to do it properly:
- Wait at least 3 to 4 weeks after your screed is poured before turning the heating on. The floor needs to fully cure first.
- Then slowly ‘commission’ the heating system. This means starting it at around 25°C for a couple of days, then gradually increasing to around 40–45°C over the following days.
- Turn the heating off at least 48 hours before applying microcement. The floor should be no warmer than 18°C when work begins.
This gradual process helps remove any hidden moisture from the screed and stabilises the surface, which is essential for preventing movement or cracking once the microcement is applied.
Correct Application Techniques

Once your screed has been properly cured and the underfloor heating system has gone through a full commissioning cycle and been switched off, you’re ready to apply the microcement.
Richie Butt recommends applying the product in thin, even layers for the best visual results. However, while neat application is important, he explains that it won’t have much impact on how well your underfloor heating performs: “Microcement is applied at 3–4mm finished, so it's not thick enough to affect the thermal performance of underfloor heating in any significant way,” he says. “This will come down to the insulation and screed thickness more than the microcement.”
After application, the sealing process is just as important. The sealant used should be durable, resistant to wear, and ideally non-slip, as this helps to protect the floor in high-traffic areas like kitchens, bathrooms or hallways.
How to choose the right product
“Not all microcement systems are suitable for use with underfloor heating,” explains Kieran Gunn. “They all differ in terms of thermal flexibility and adhesion strength.” In other words, what works perfectly well on a standard floor might struggle to cope with the heat cycles and movement that underfloor systems naturally produce.
That’s why it’s essential to choose a microcement product that’s been specifically designed – and tested – for use with radiant heat. According to Richie Butt, “The products need to be able to withstand and remain stable in temperatures of around 40 to 50°C. That includes the primers and sealers as well as the microcement itself."
So, if you want a flawless finish that lasts, product choice matters just as much as installation. Speak to your microcement installer about systems that are proven to work with UFH.
Choosing the right type of flooring is a big decision in any renovation or self-build, but when it comes to microcement, the success of your finish depends heavily on what’s underneath. If you're early in the planning stages, it’s worth brushing up on the basics. Our guide to floor screed is a great place to start.

Gabriella is an interiors journalist and has a wealth of experience creating interiors and renovation content. She was Homebuilding & Renovating's former Assistant Editor as well as the former Head of Solved at sister brand Homes & Gardens, where she wrote and edited content addressing key renovation, DIY and interior questions.
She’s spent the past decade crafting copy for interiors publications, award-winning architects, and leading UK homeware brands. She also served as the Content Manager for the ethical homeware brand Nkuku.
Gabriella is a DIY enthusiast and a lover of all things interior design. She has a particular passion for historic buildings and listed properties, and she is currently in the process of renovating a Grade II-listed Victorian coach house in the West Country.
