Guide to cottage renovation: How to restore original features
As charming as they are, cottage renovations don't come without their quirks. Here, we take a look at the most common issues faced by renovators and explain how to tackle them
Bring your dream home to life with expert advice, how to guides and design inspiration. Sign up for our newsletter and get two free tickets to a Homebuilding & Renovating Show near you.
You are now subscribed
Your newsletter sign-up was successful
For many people a cottage renovation project is the dream — the chance to restore a home already bursting with charm and character back to its original glory. However, while cottages are usually undeniably beautiful and much sought after properties, they do tend to have certain features in common which can take some careful treatment in order to make them suitable for a modern lifestyle.
Here, we take a look at the most common issues when renovating a house of this style and explain how to deal with them sensitively and in a way that will fit in with the expectations we have of our homes these days — such as a more open plan way of living and plenty of natural light.
We'll also take a look at how you can make a cottage more comfortable to live in — cold floors and draughty openings included.
How to carry out a sensitive cottage renovation
For a cottage renovation to result in a beautiful finished result there are a couple of considerations to bear in mind at all times.
Firstly, any work that is carried out needs to be respectful of the original form and origins of the building. Cottages are properties most commonly found in the countryside and were typically fairly small-scale and humble.
For this reason, the design of any cottage extensions needs to be mindful of not overshadowing or dwarfing the original form of the building.
"Buildings are often small in scale or nicely proportioned as a stand-alone property," explains architect Ian Phillips of VESP Architects. "Any addition needs to be carefully designed to compliment the scale of a cottage."
Bring your dream home to life with expert advice, how to guides and design inspiration. Sign up for our newsletter and get two free tickets to a Homebuilding & Renovating Show near you.
As cottages often enjoy picture perfect frontages, it is usually unwise to locate any newer additions to this elevation — side and rear extensions are best.
"If there is a particularly ornate elevation (and this is usually at the front) it might not be the best location for an addition," says Ian Phillips. "The sides and rear are usually plainer and easier to add to."
Of course you may well be happy with the size of your cottage and simply be looking at ways to enhance what is already there. In this guide we have covered the most common features of UK cottages and take a look at how to sensitively restore them or adapt them for 21st century living.
1. Thatched roofs
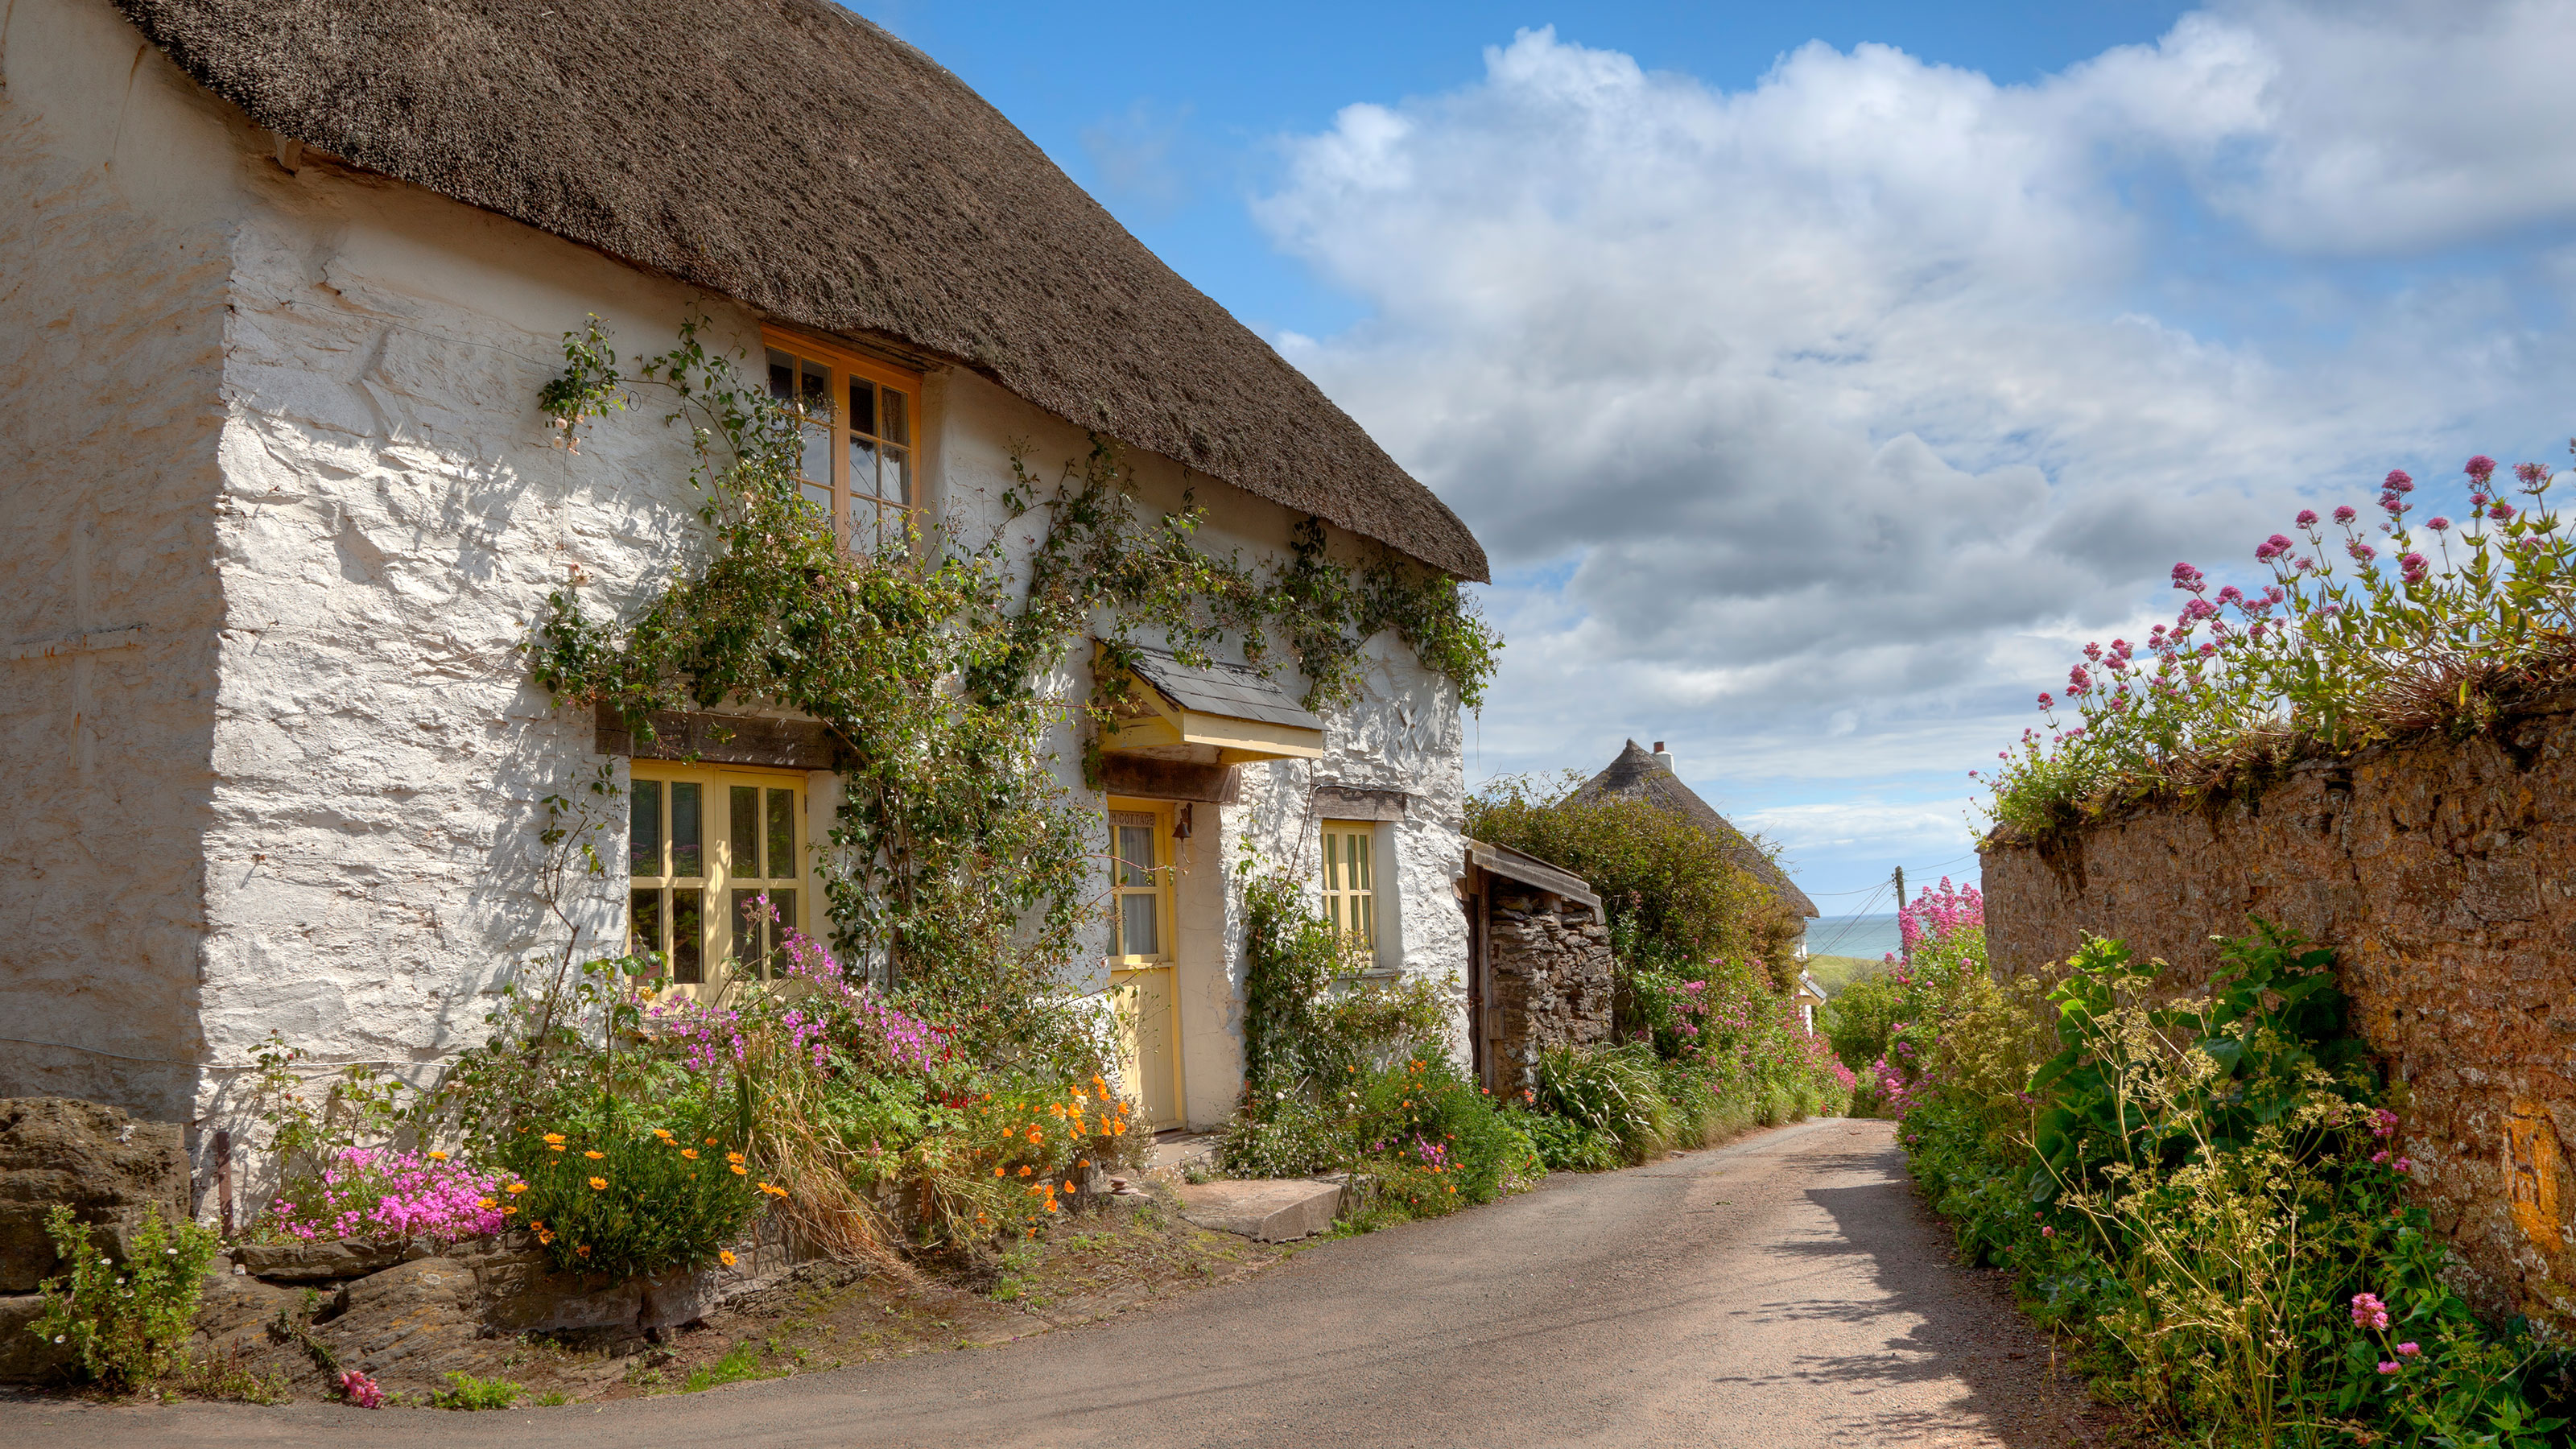
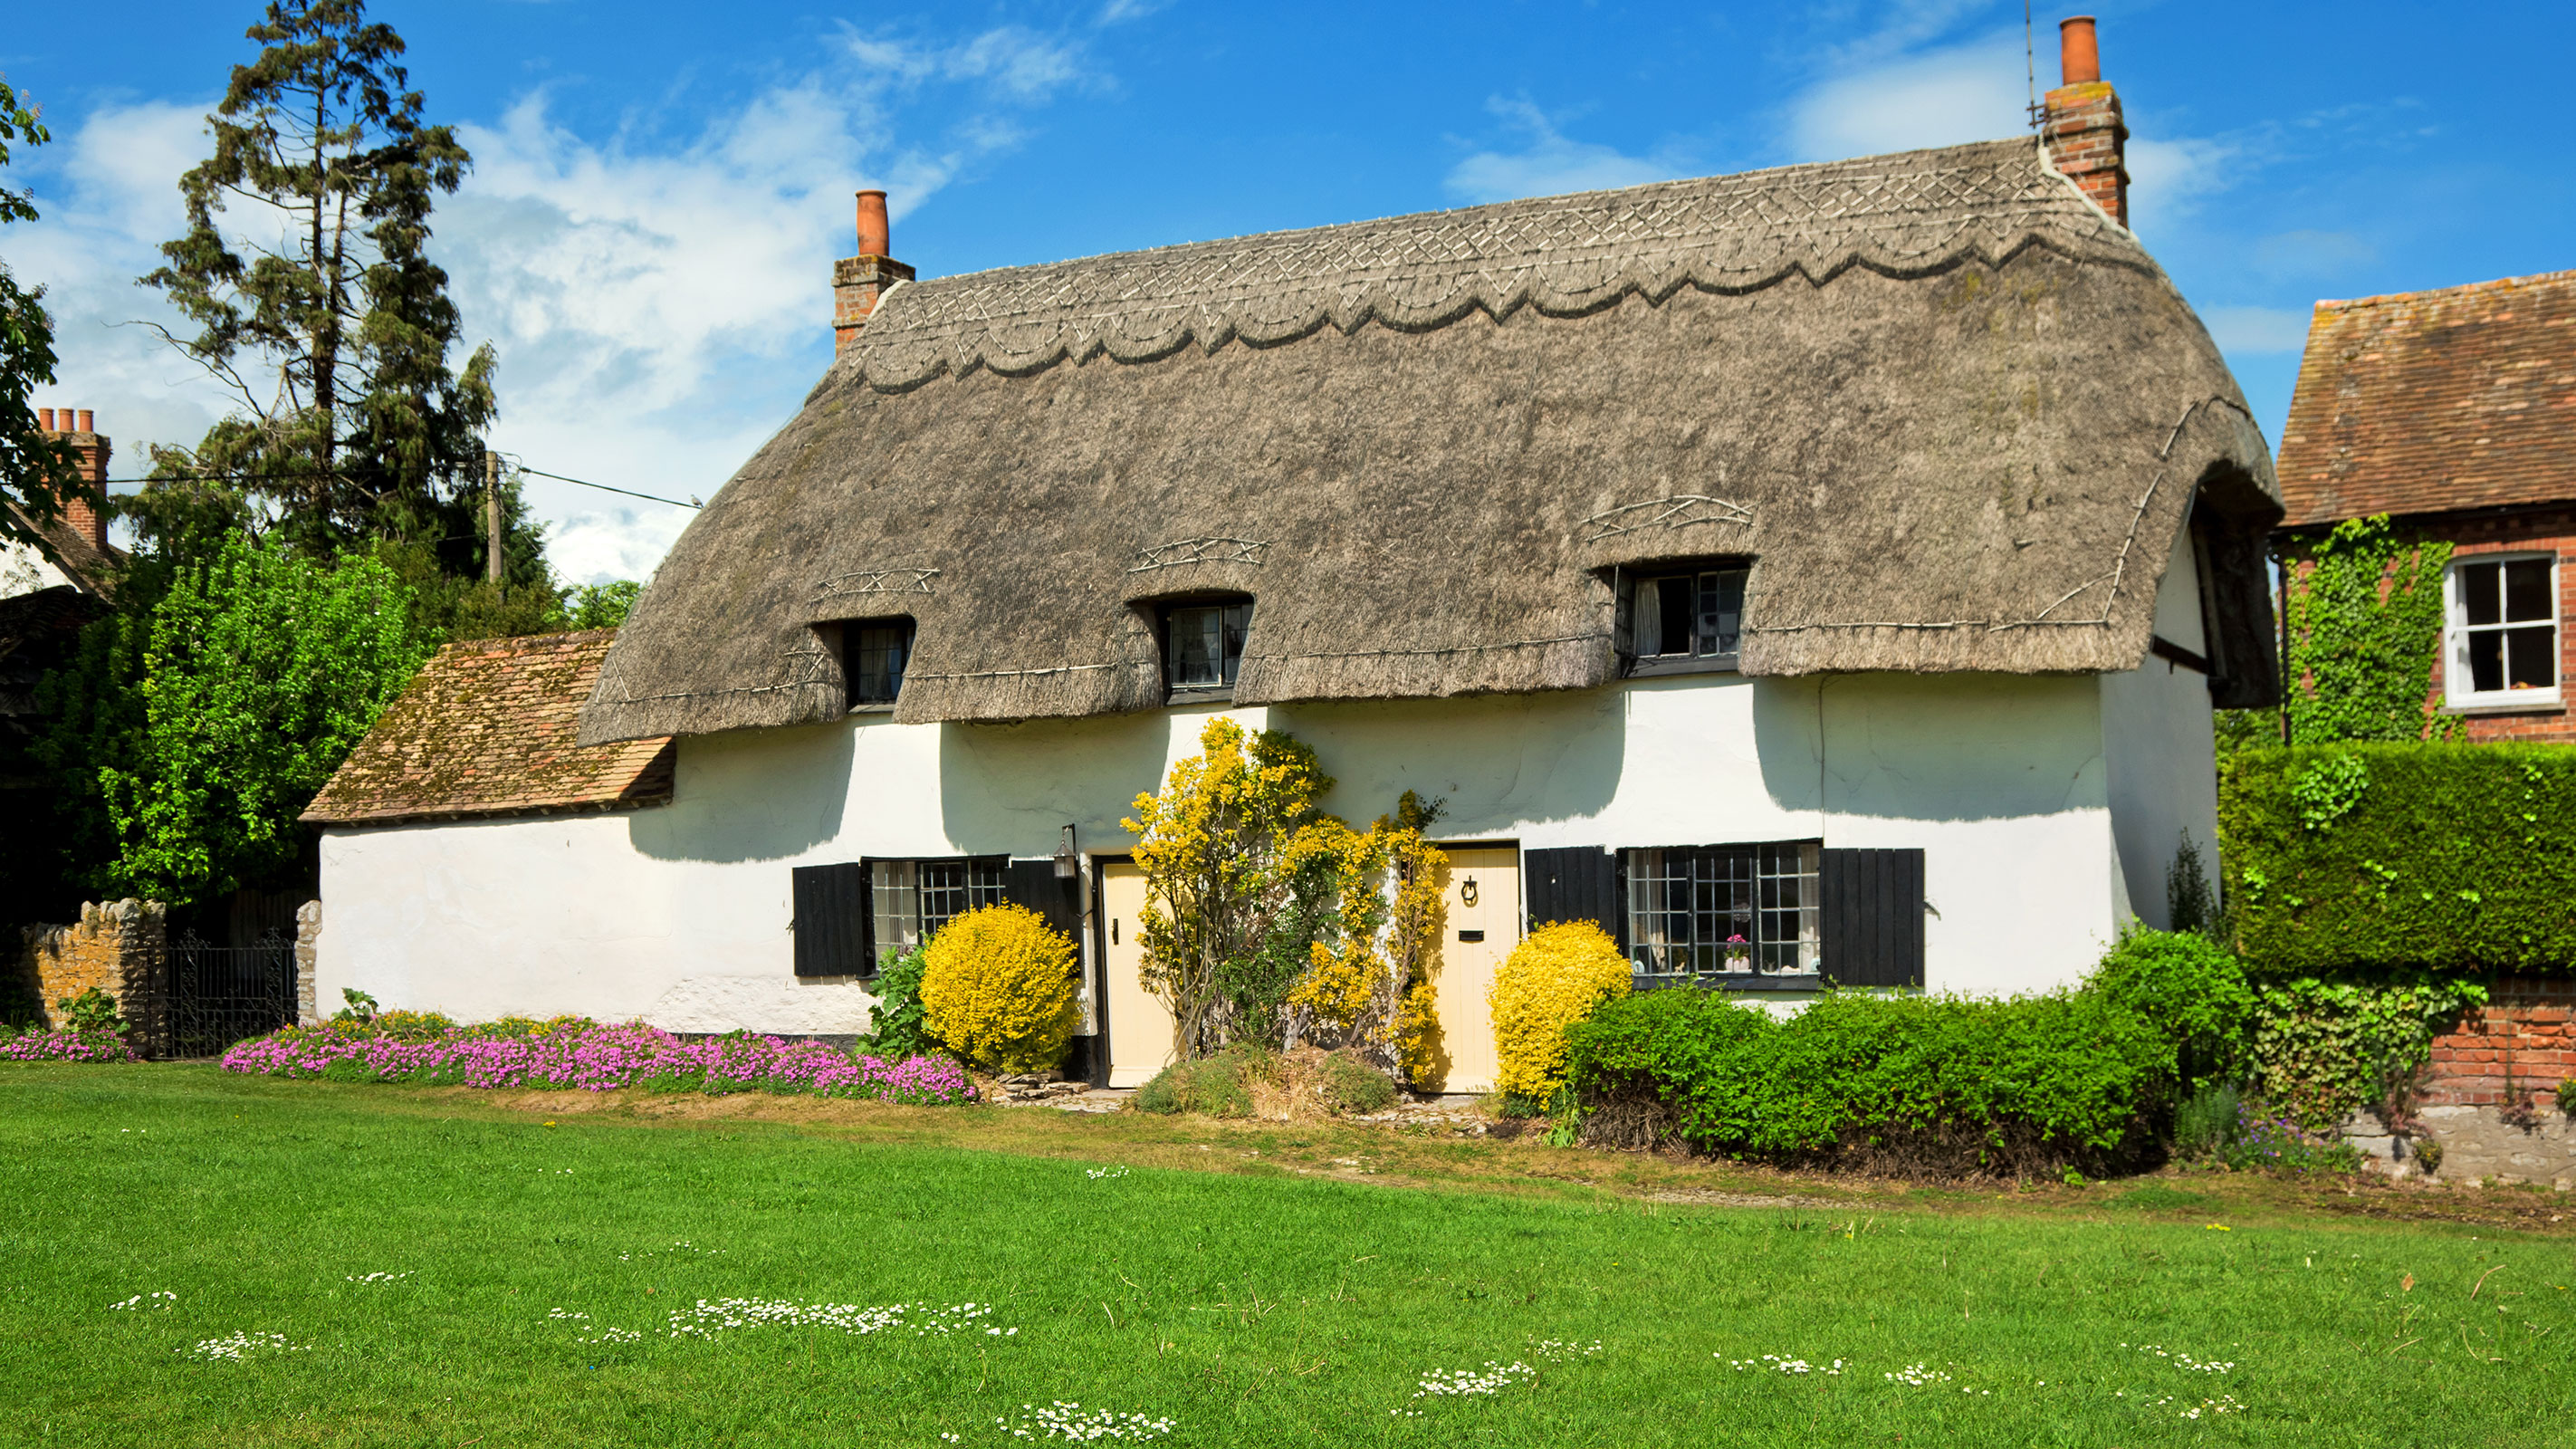
For many people, one of the first things to spring to mind when conjuring up an image of the archetypal country cottage is a thatched roof. As beautiful as they are they do require a degree of maintenance and for some people, the worry of thatched roof costs can be off-putting.
"Thatched roofs can last anywhere from 15 to 30 years before they need thatching again," says Homebuilding & Renovating's Amy Willis who is currently renovating her own cottage. "But the longevity of your specific thatch roof will depend on the thatching material it is made from, long straw being the least durable and water reed being the most."
If you are dealing with a cottage that has a roof in need of thatching there are a couple of things you need to know. Firstly, there are usually fairly long waiting lists for skilled thatchers — high demand and not enough thatchers means waiting times of up to two years can be expected in some areas.
The good news, however, is that thatching is a job that can be carried out all year round, even in winter and the process of thatching a roof takes between six and 10 weeks.
In terms of costs, there is a big difference in what you will pay depending on where in the country you are renovating.
"Thatched roof costs vary dramatically depending on where you live in the UK and can be anything from £1,500 to over £3,000 per thatcher's square plus VAT," says Amy Willis.
2. Inglenook fireplaces
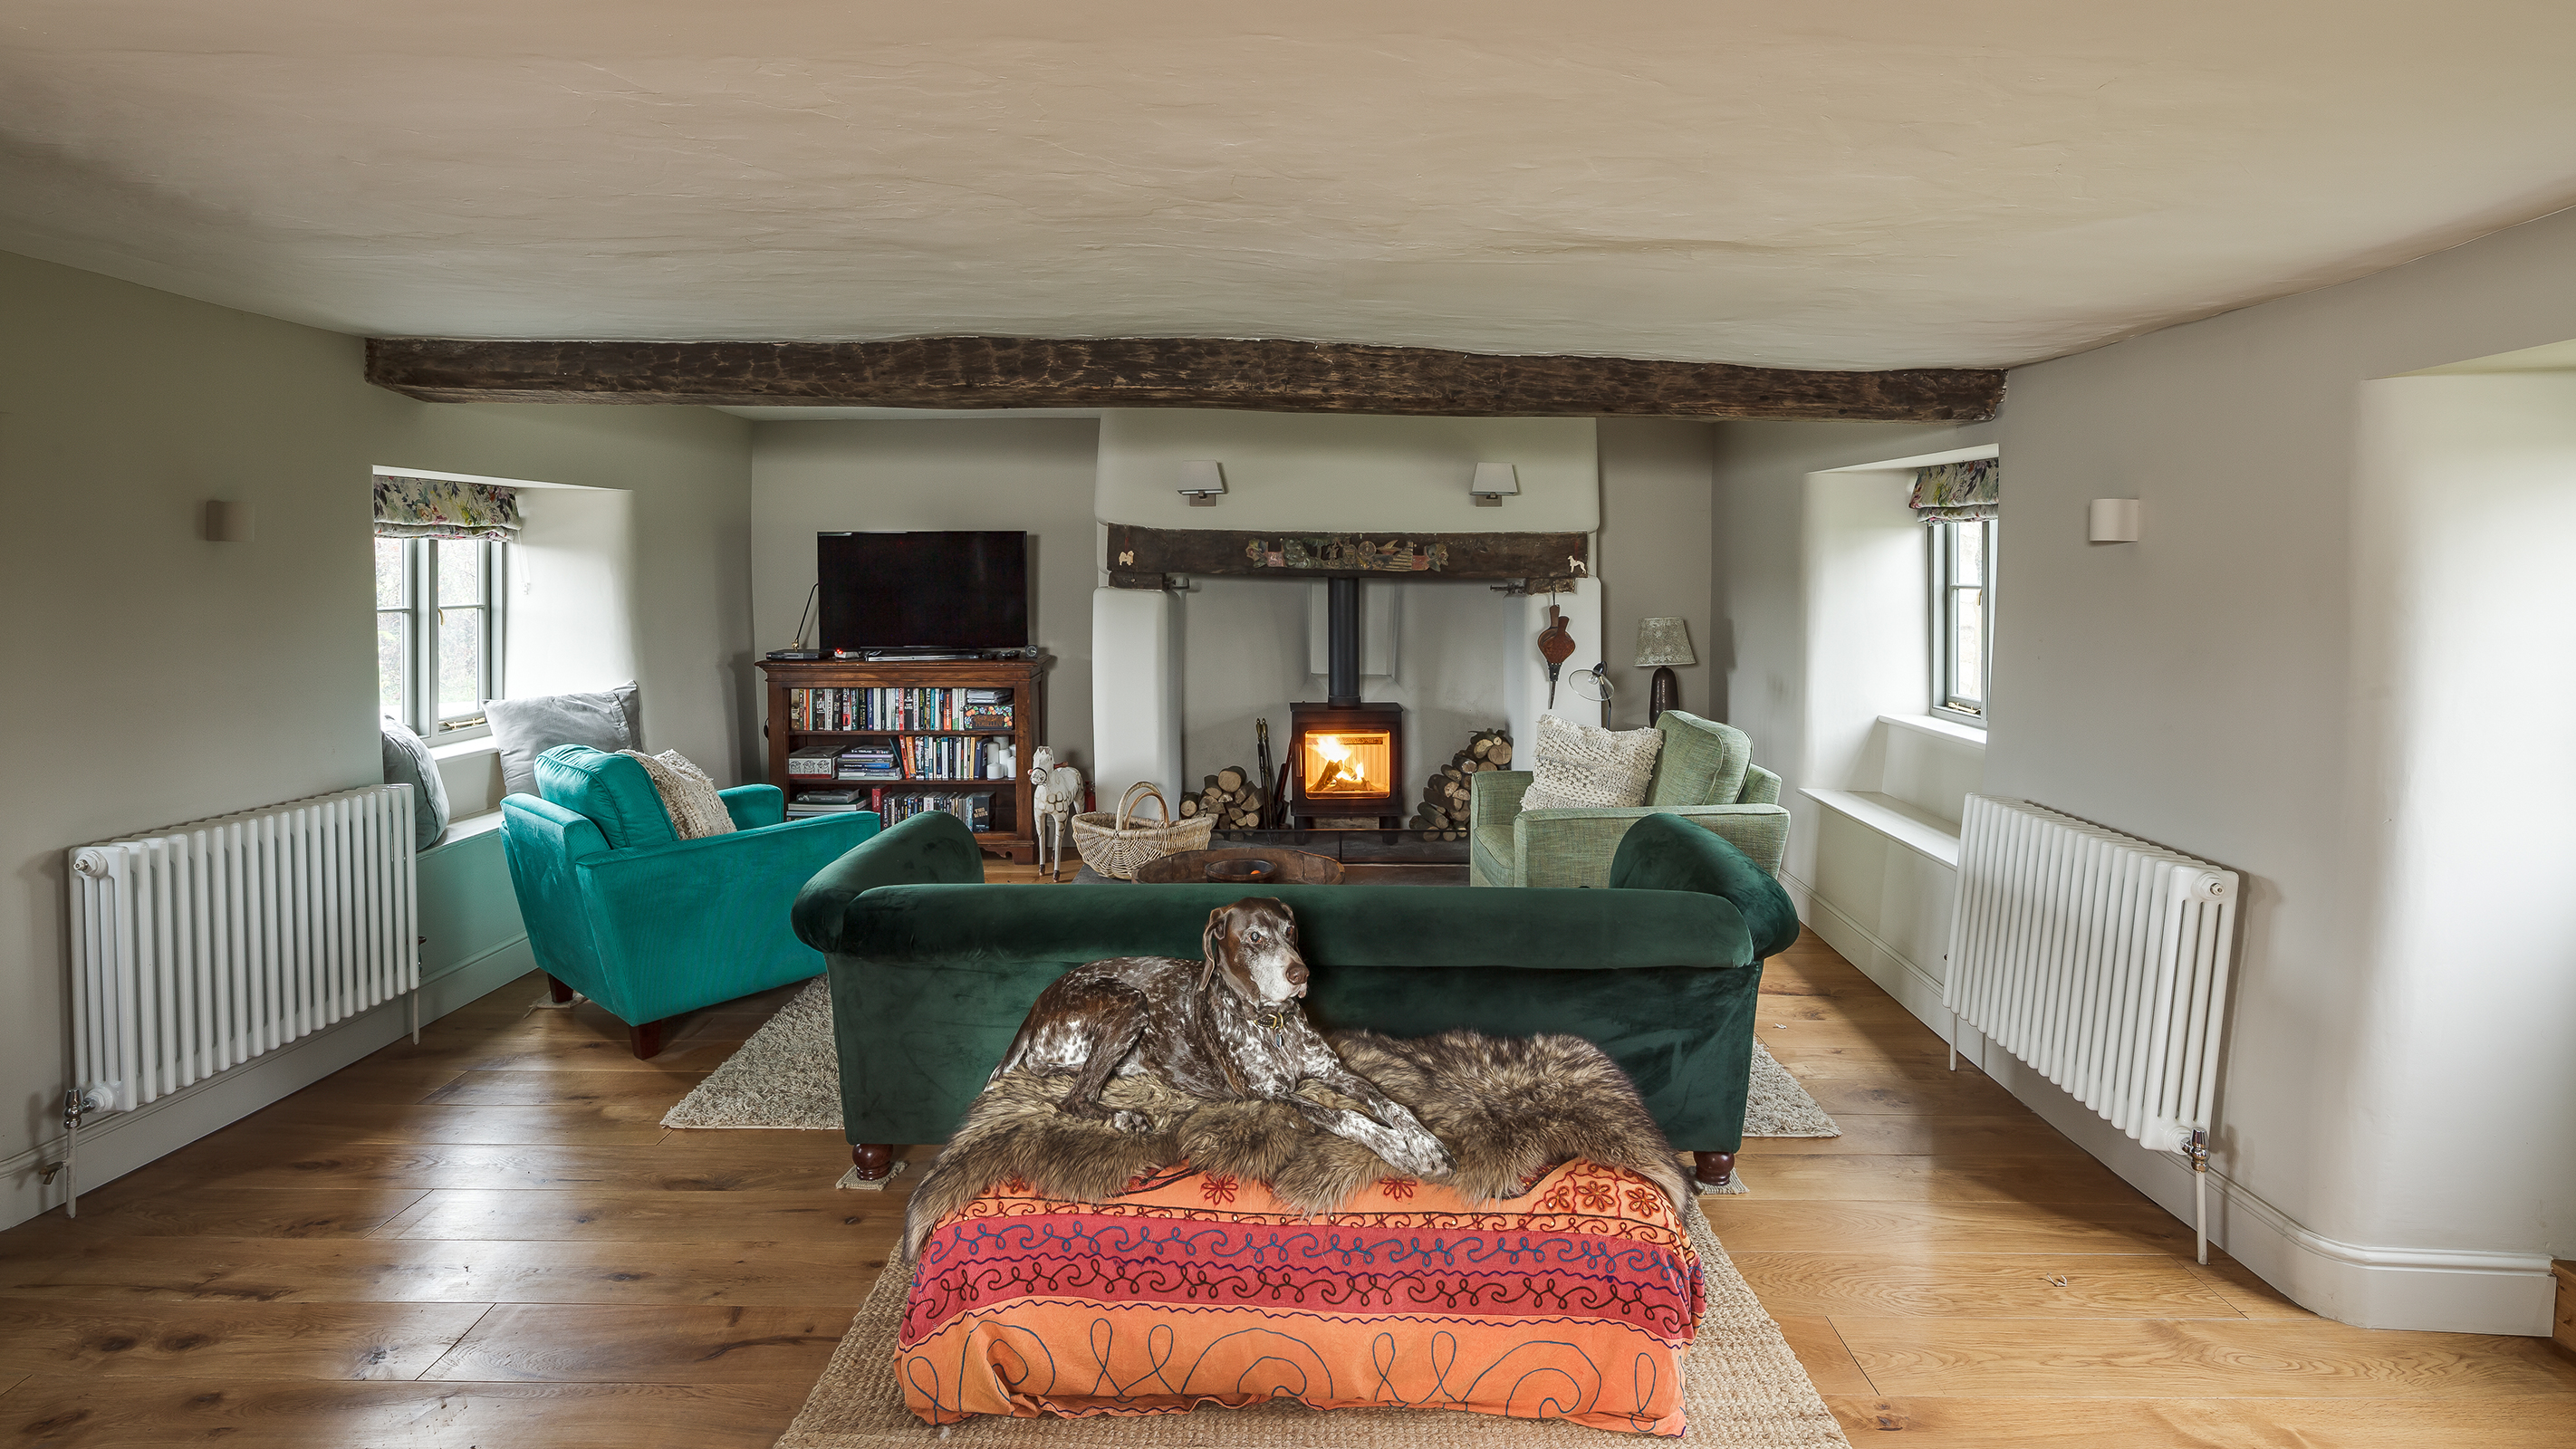
While inglenook fireplaces make instant focal points in any room they grace and add a sense of warmth and cosiness that can be hard to match, they have not always been seen as prized features meaning they were sometimes blocked up or may have fallen into disrepair.
Inglenook fireplaces often feature seating to one or both sides of an open fire with a fire basket. Openings can be any size, although between 2-3 metres is fairly common. They also usually feature a timber shelf or mantel above, although some have an attractive brick arch in place of this.
One of the main concerns renovators of old properties often have is that open fires such as this are not necessarily particularly energy efficient — in fact, much of the warm air produced by your central heating will be disappearing up that chimney in the winter months. Flue blockers, register plates and closure plates can all be used when the fire is not lit to help prevent heat loss but if you are after more modern inglenook fireplace ideas, you may want to consider fitting it with a log burning, multi-fuel or gas stove instead
Installing a log burning stove into an inglenook involves inserting a stainless steel flexible or rigid flue system into the existing chimney. An insulating wrap placed around the flue liner avoids the need for backfilling the space around the new flue.
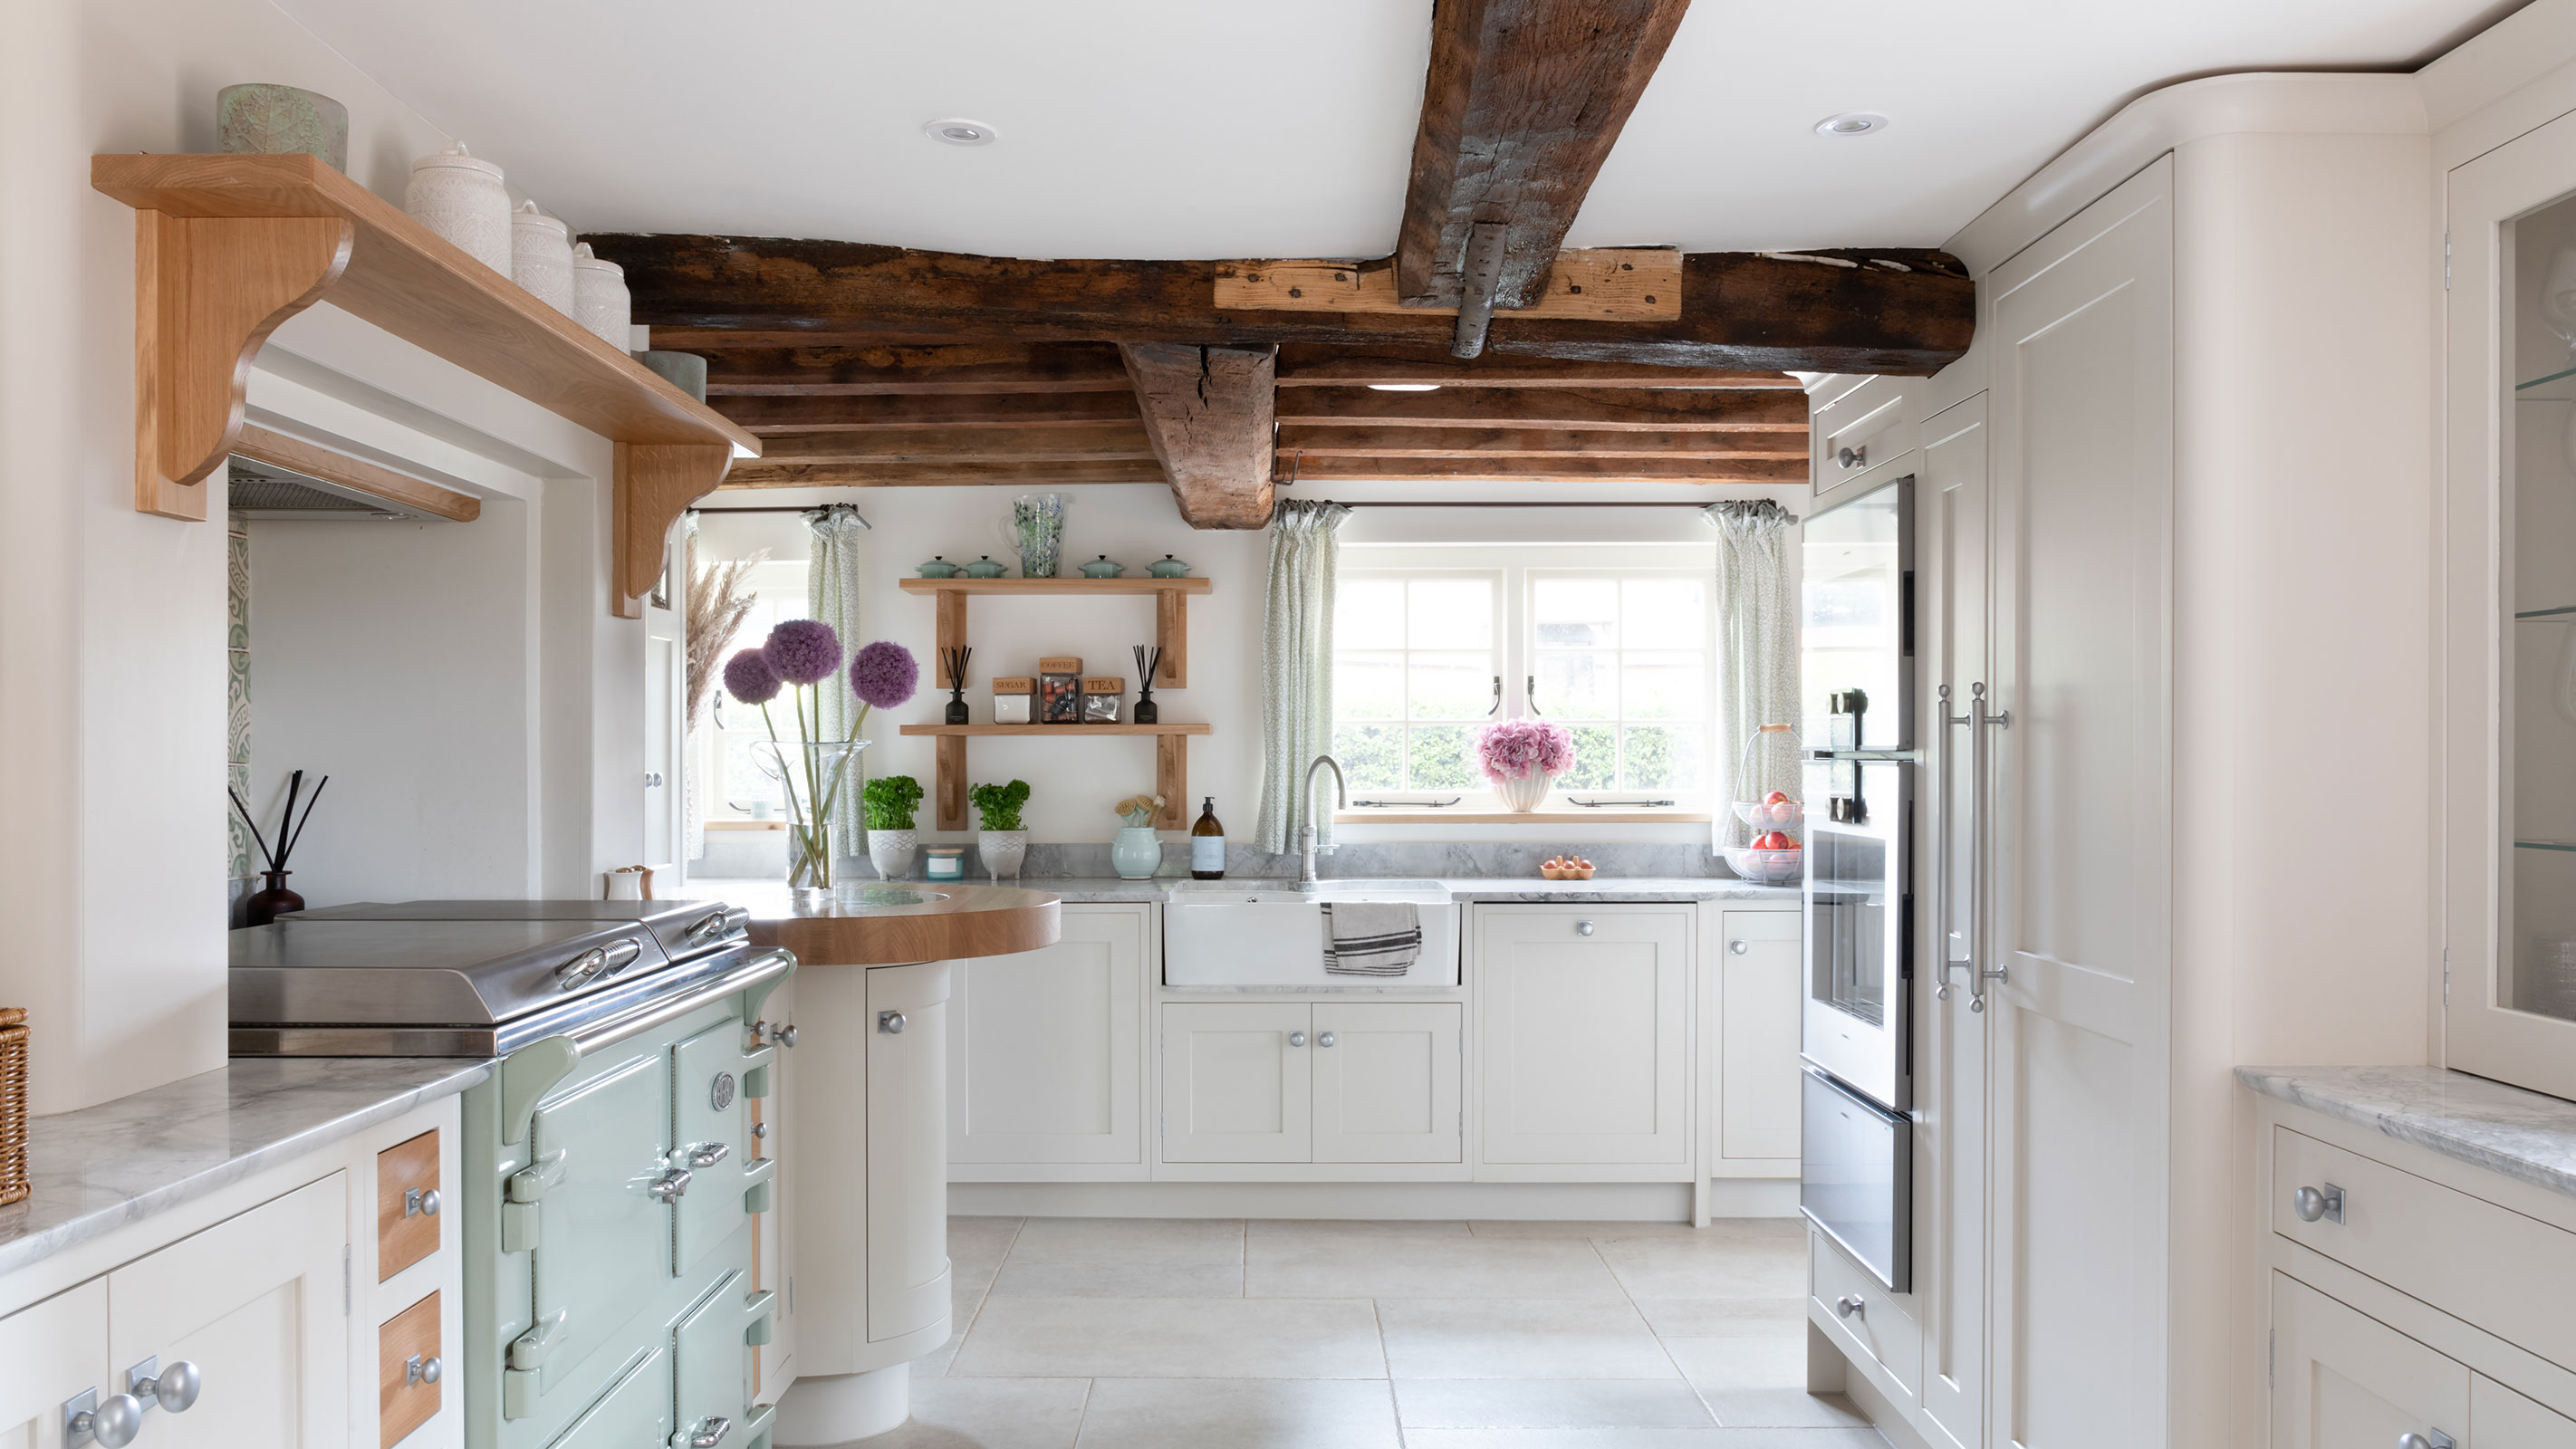
3. Old beams
Exposed original beams add bags of character and interest to the rooms they appear in — so much so that some people even fit fake beams (those with no structural purpose) just to try to inject a little charm into their home.
However, timber beams are not always without their problems — whether they have been coated in layers and layers of shiny gloss paint or are suffering from decay or insect attack.
During the 19th and 20th centuries it became popular to paint timber beams black and this is something most modern day homeowners are keen to reverse. Great care needs to be taken here in order not to damage the old timber and if your home is listed you will need consent before making this kind of alteration.
There are two ways of removing paint from beams: air abrasive and chemical techniques. It really is best to seek professional advice here as everything from the type of paint to the state of the timber needs to be taken into account when selecting the best removal method — your local conservation officers will be a good source of advice. You should also be aware that many old paints contain lead and other harmful chemicals that can give off toxic fumes during removal.
Some abrasive methods, such as sandblasting, will not be appropriate for all timber beams and could cause lasting damage, in which case a chemical stripper might be a better option. When the paint has been removed, some people choose to lighten the beams. Beeswax and turpentine polish or micro-crystalline wax are also good final finishes, while a lime-wash or a liming wax can help mask holes and damaged sections.
4. Flagstone floors
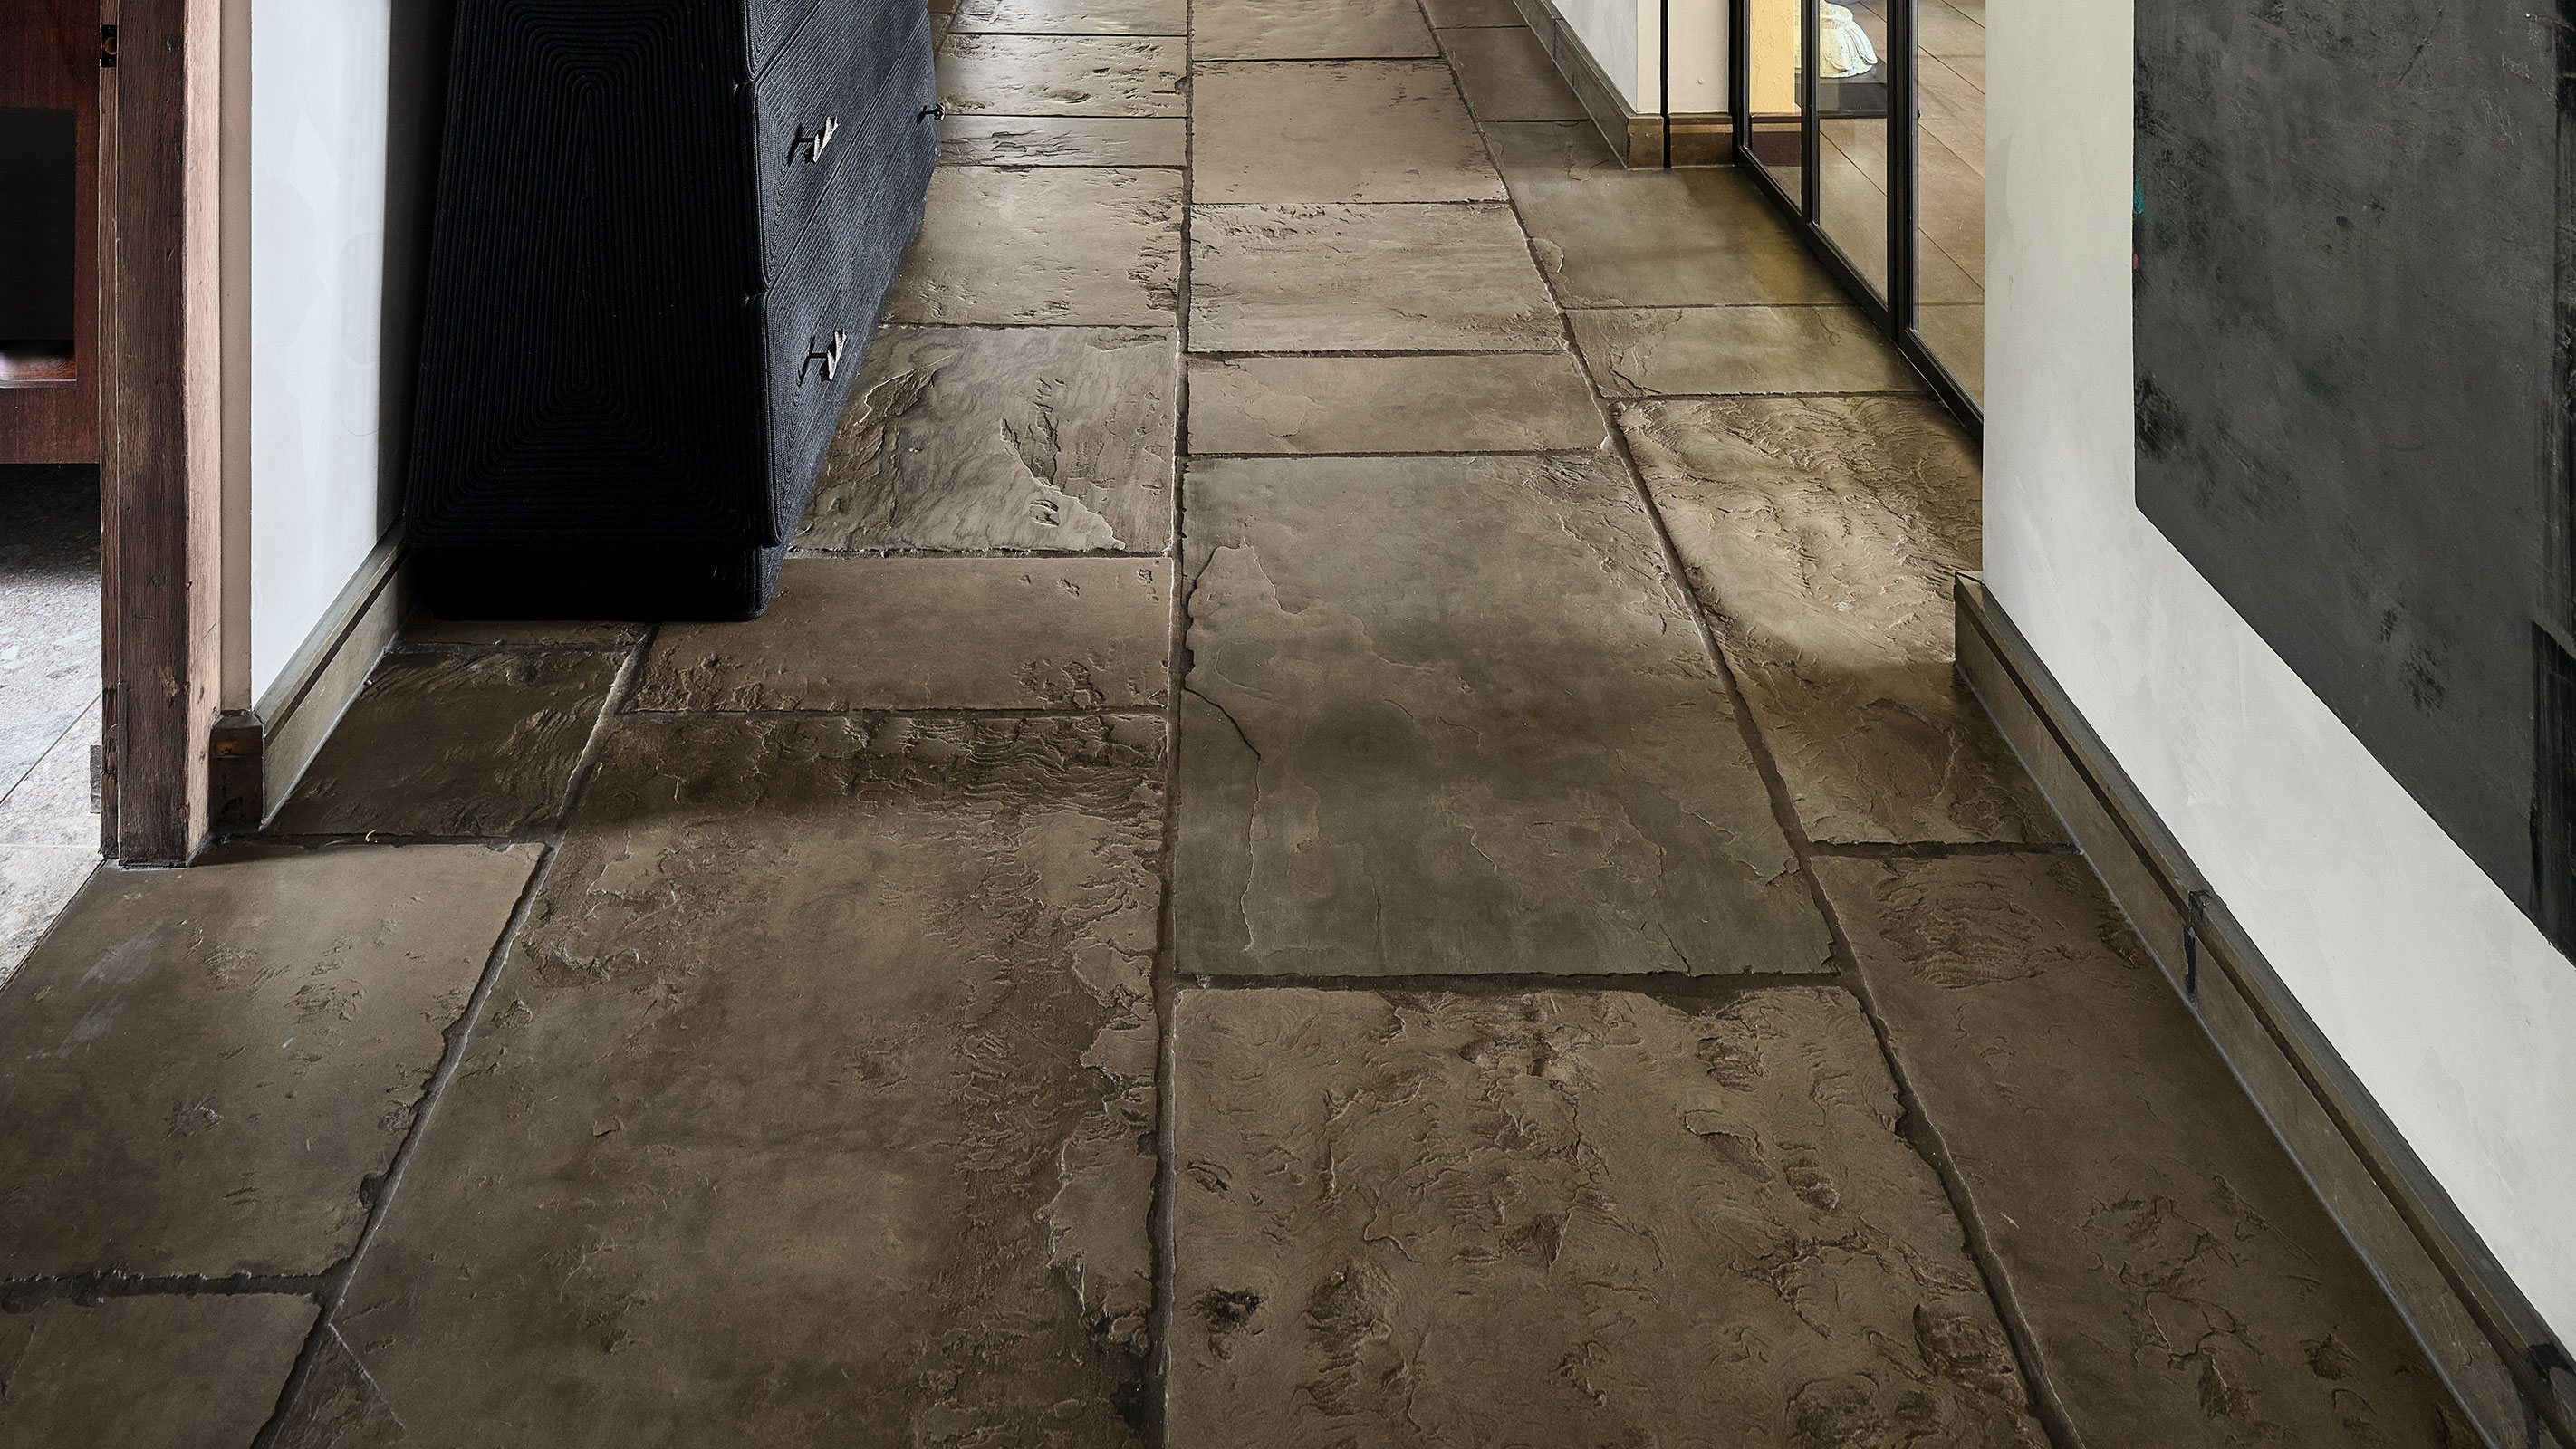
If you have found beautiful original flagstone floors in your cottage you are probably going to be looking into the best ways of renovating old floors without taking away any of their character.
Flagstones were commonly treated with boiled linseed oil to help with stain resistance but it is likely that this will have long worn off in a renovation project meaning they will probably have become porous again.
Avoid sealing them with modern sealants as this type of floor was designed to be 'breathable' and you don't want moisture to become trapped beneath them. Try something like HG Natural Stone Impregnating Protector from Amazon.
If the flagstones are stained or have been painted you could clean them with natural stone cleaner and water. In all likelihood, something like Nitromors or a similar recommended paint stripper will be required to remove paint stains but be sure to treat them with boiled linseed oil after they have been cleaned.
5. Original windows
"Ripping out original windows in historic buildings can be a sure-fire way of diminishing both their character and market value, as well as possibly contravening planning laws," says Chartered Surveyor Ian Rock and this is certainly true of most cottage renovations where the windows make up a huge part of their appeal.
"It’s a common misconception that window repair will be expensive, not to mention a lot of hassle," continues Ian. "Repairing rot and solving foggy panes are surprisingly simple to fix — although a job best left to professionals."
If your windows are suffering from soft, decaying wood, flaking paint and sticking windows then they may well have rot. Check to see if the wood is soft and spongy by digging in a little with a screwdriver. Rot does not have to equal replacement though — often the rotten areas can be cut away and either filled with putty or filler. Larger areas can be cut out and new sections of timber grafted into place.
"Cills are a notorious weak point," says Ian. "They can often be repaired by cutting the rotten face back to sound wood and then planting in a new piece of seasoned wood, using glue and non-ferrous screws.
"Loose joints are another common problem. The simplest form of repair is to strengthen the corner of a window with an angle bracket made from non-corroding brass or stainless steel. The bracket can be secured in place and concealed once any decay has been cut out and filled. Alternatively, simply re-glue loose joints."
You will probably also want to look into the best ways of draught proofing windows at the same time.
6. Low ceilings
Unlike many Georgian townhouses and Victorian properties, country cottages usually have low ceilings — which can be hard to live with. That said, raising ceiling levels is costly and distruptive, so just what is the best solution?
"Cottages are often darker than modern houses, with small windows and low ceilings," says Ian Phillips of VESP Architects. "Embrace this by using the original cottage footprint for cosy sitting rooms and snugs, and locate a new kitchen or day room, for example, in a bright, spacious new extension."
But how about those cottage owners for whom an extension is not on the cards? There are several ways to make a low ceiling appear higher, such as looking into the best ways of lighting low ceilings. Other tricks to consider include:
- Choose a lighter paint shade for the ceiling than on the walls
- Paint above the dado rail a lighter shade than that below
- Opt for low slung, horizontal furniture
- Use wall lights and lamps as opposed to ceiling lights
- Use vertical stripes and patterns
- Hang artwork higher on the wall
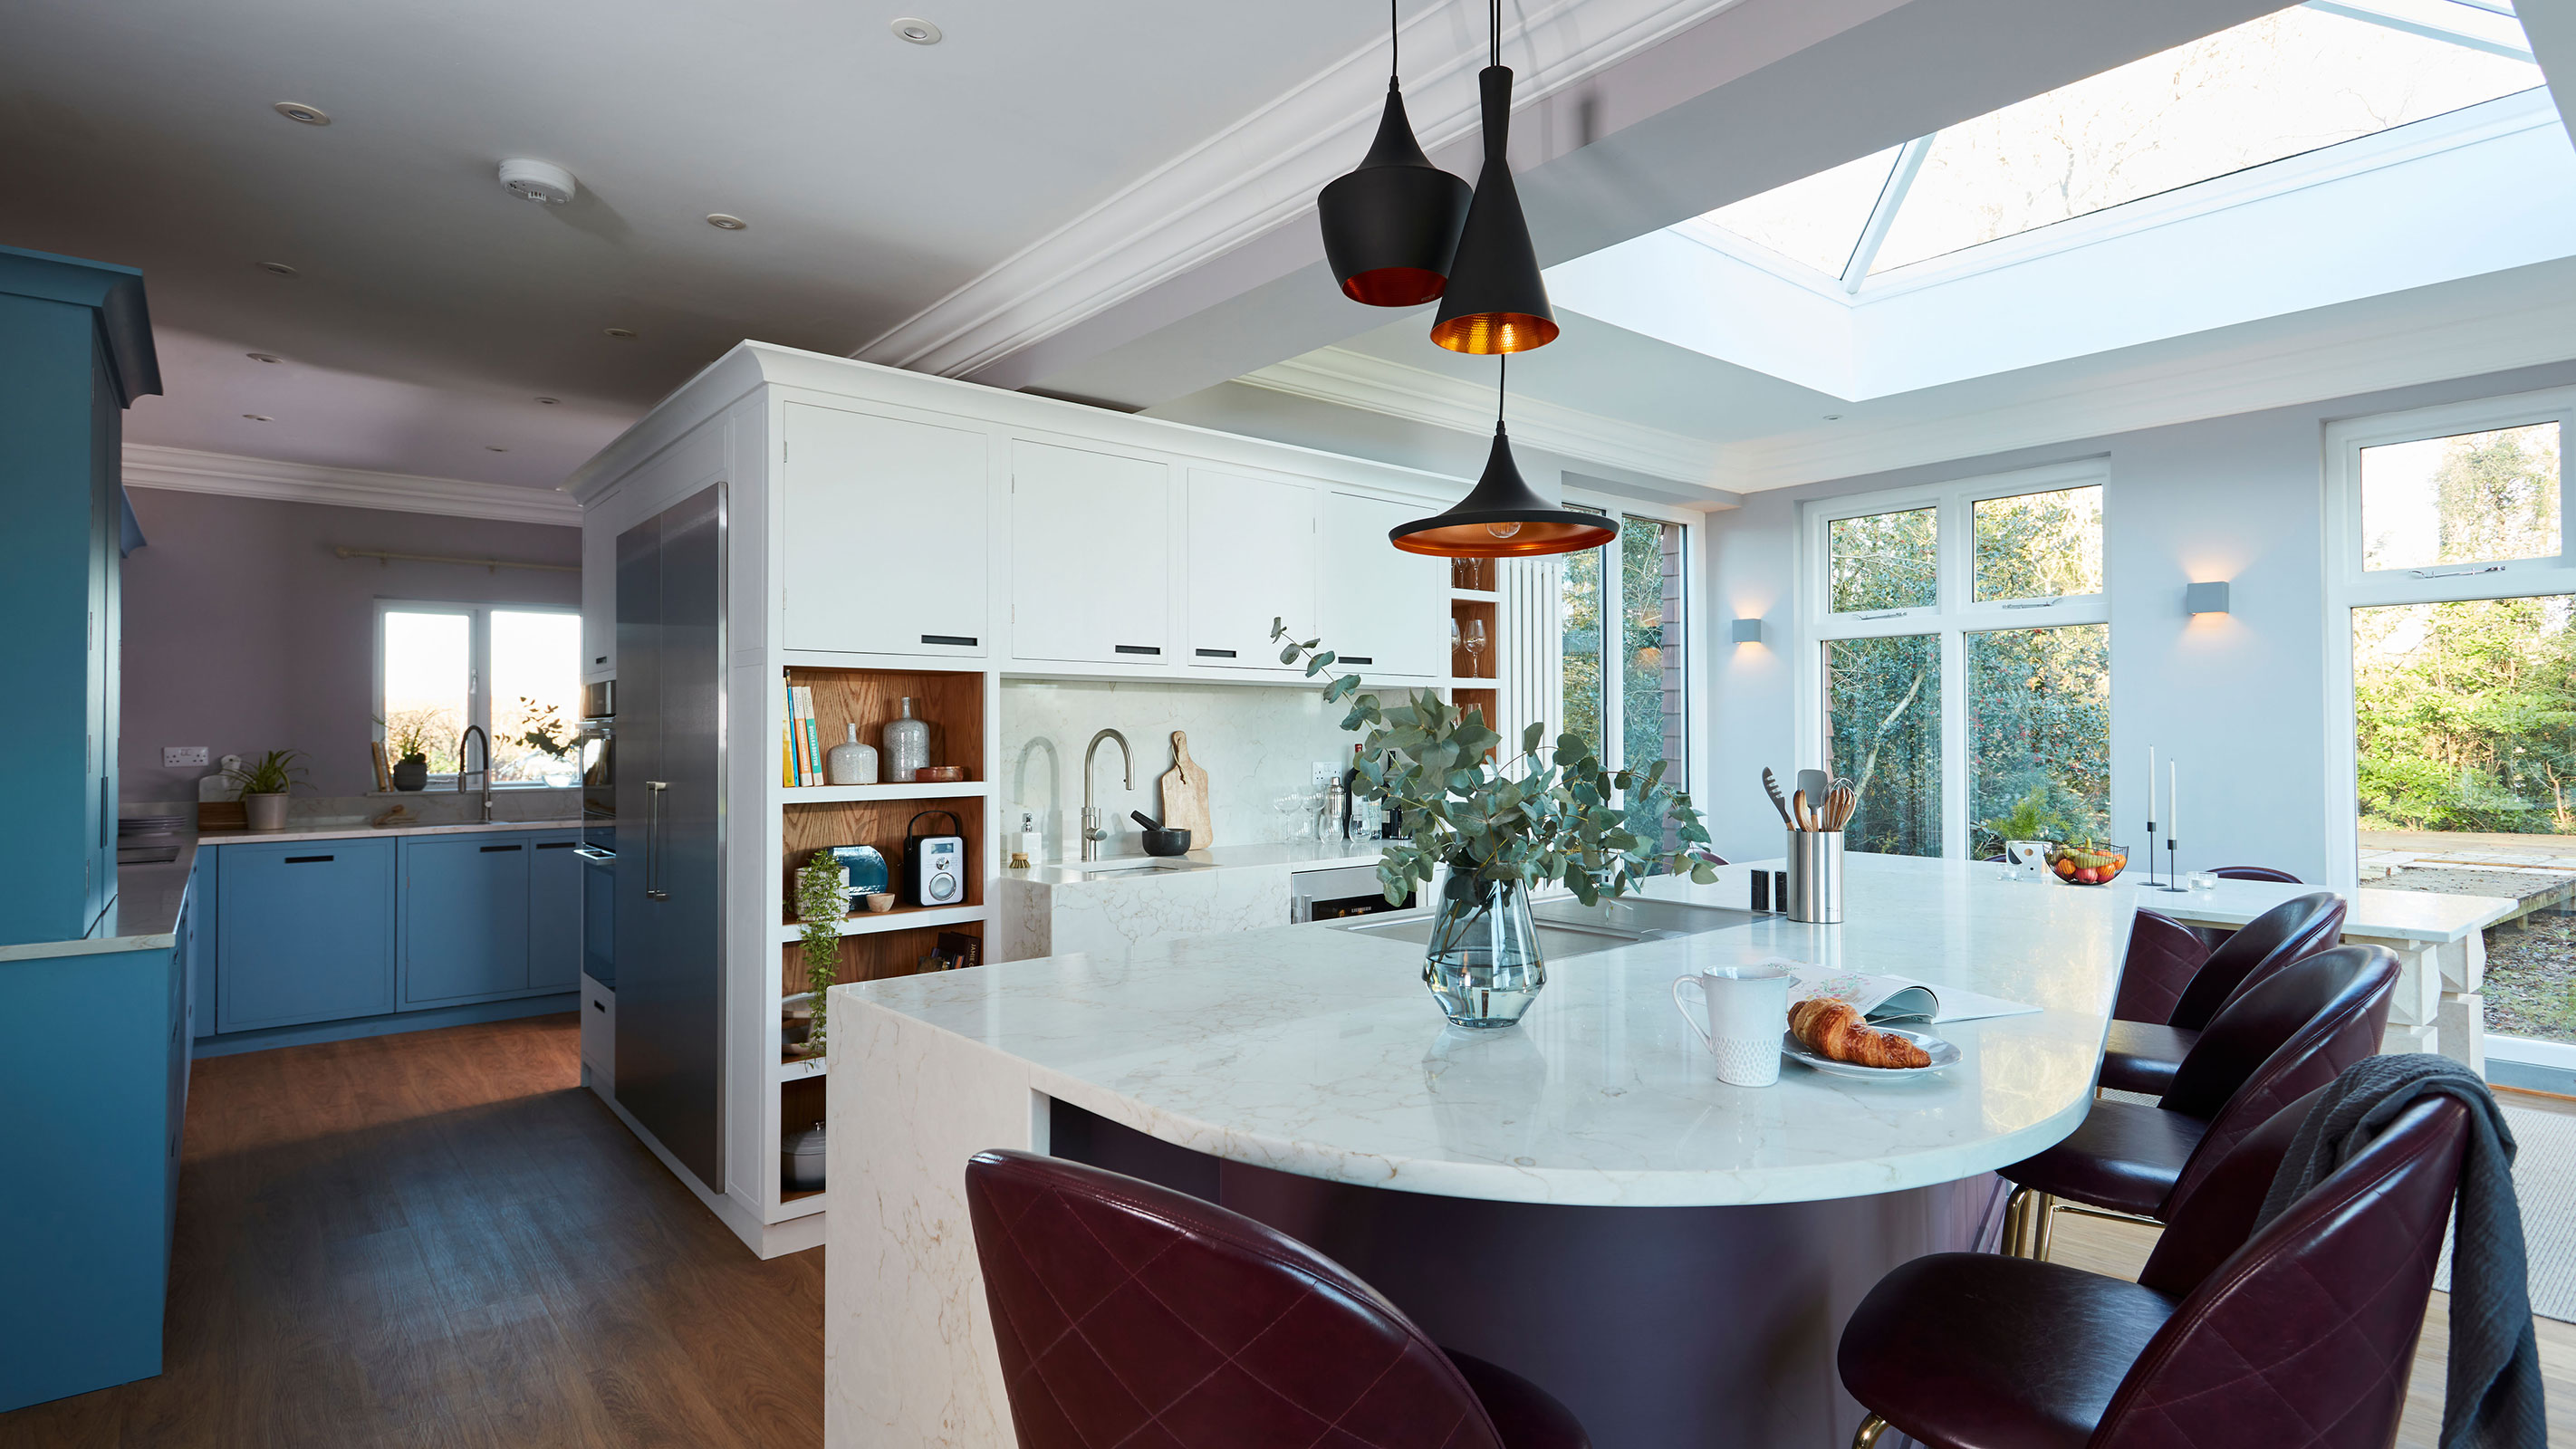
In the case of single storey areas of the house or in those that might be flat-roofed, you could also consider fitting a roof lantern, which will not only add natural light but will also physically raise the height of the ceiling.
7. Uninsulated floors
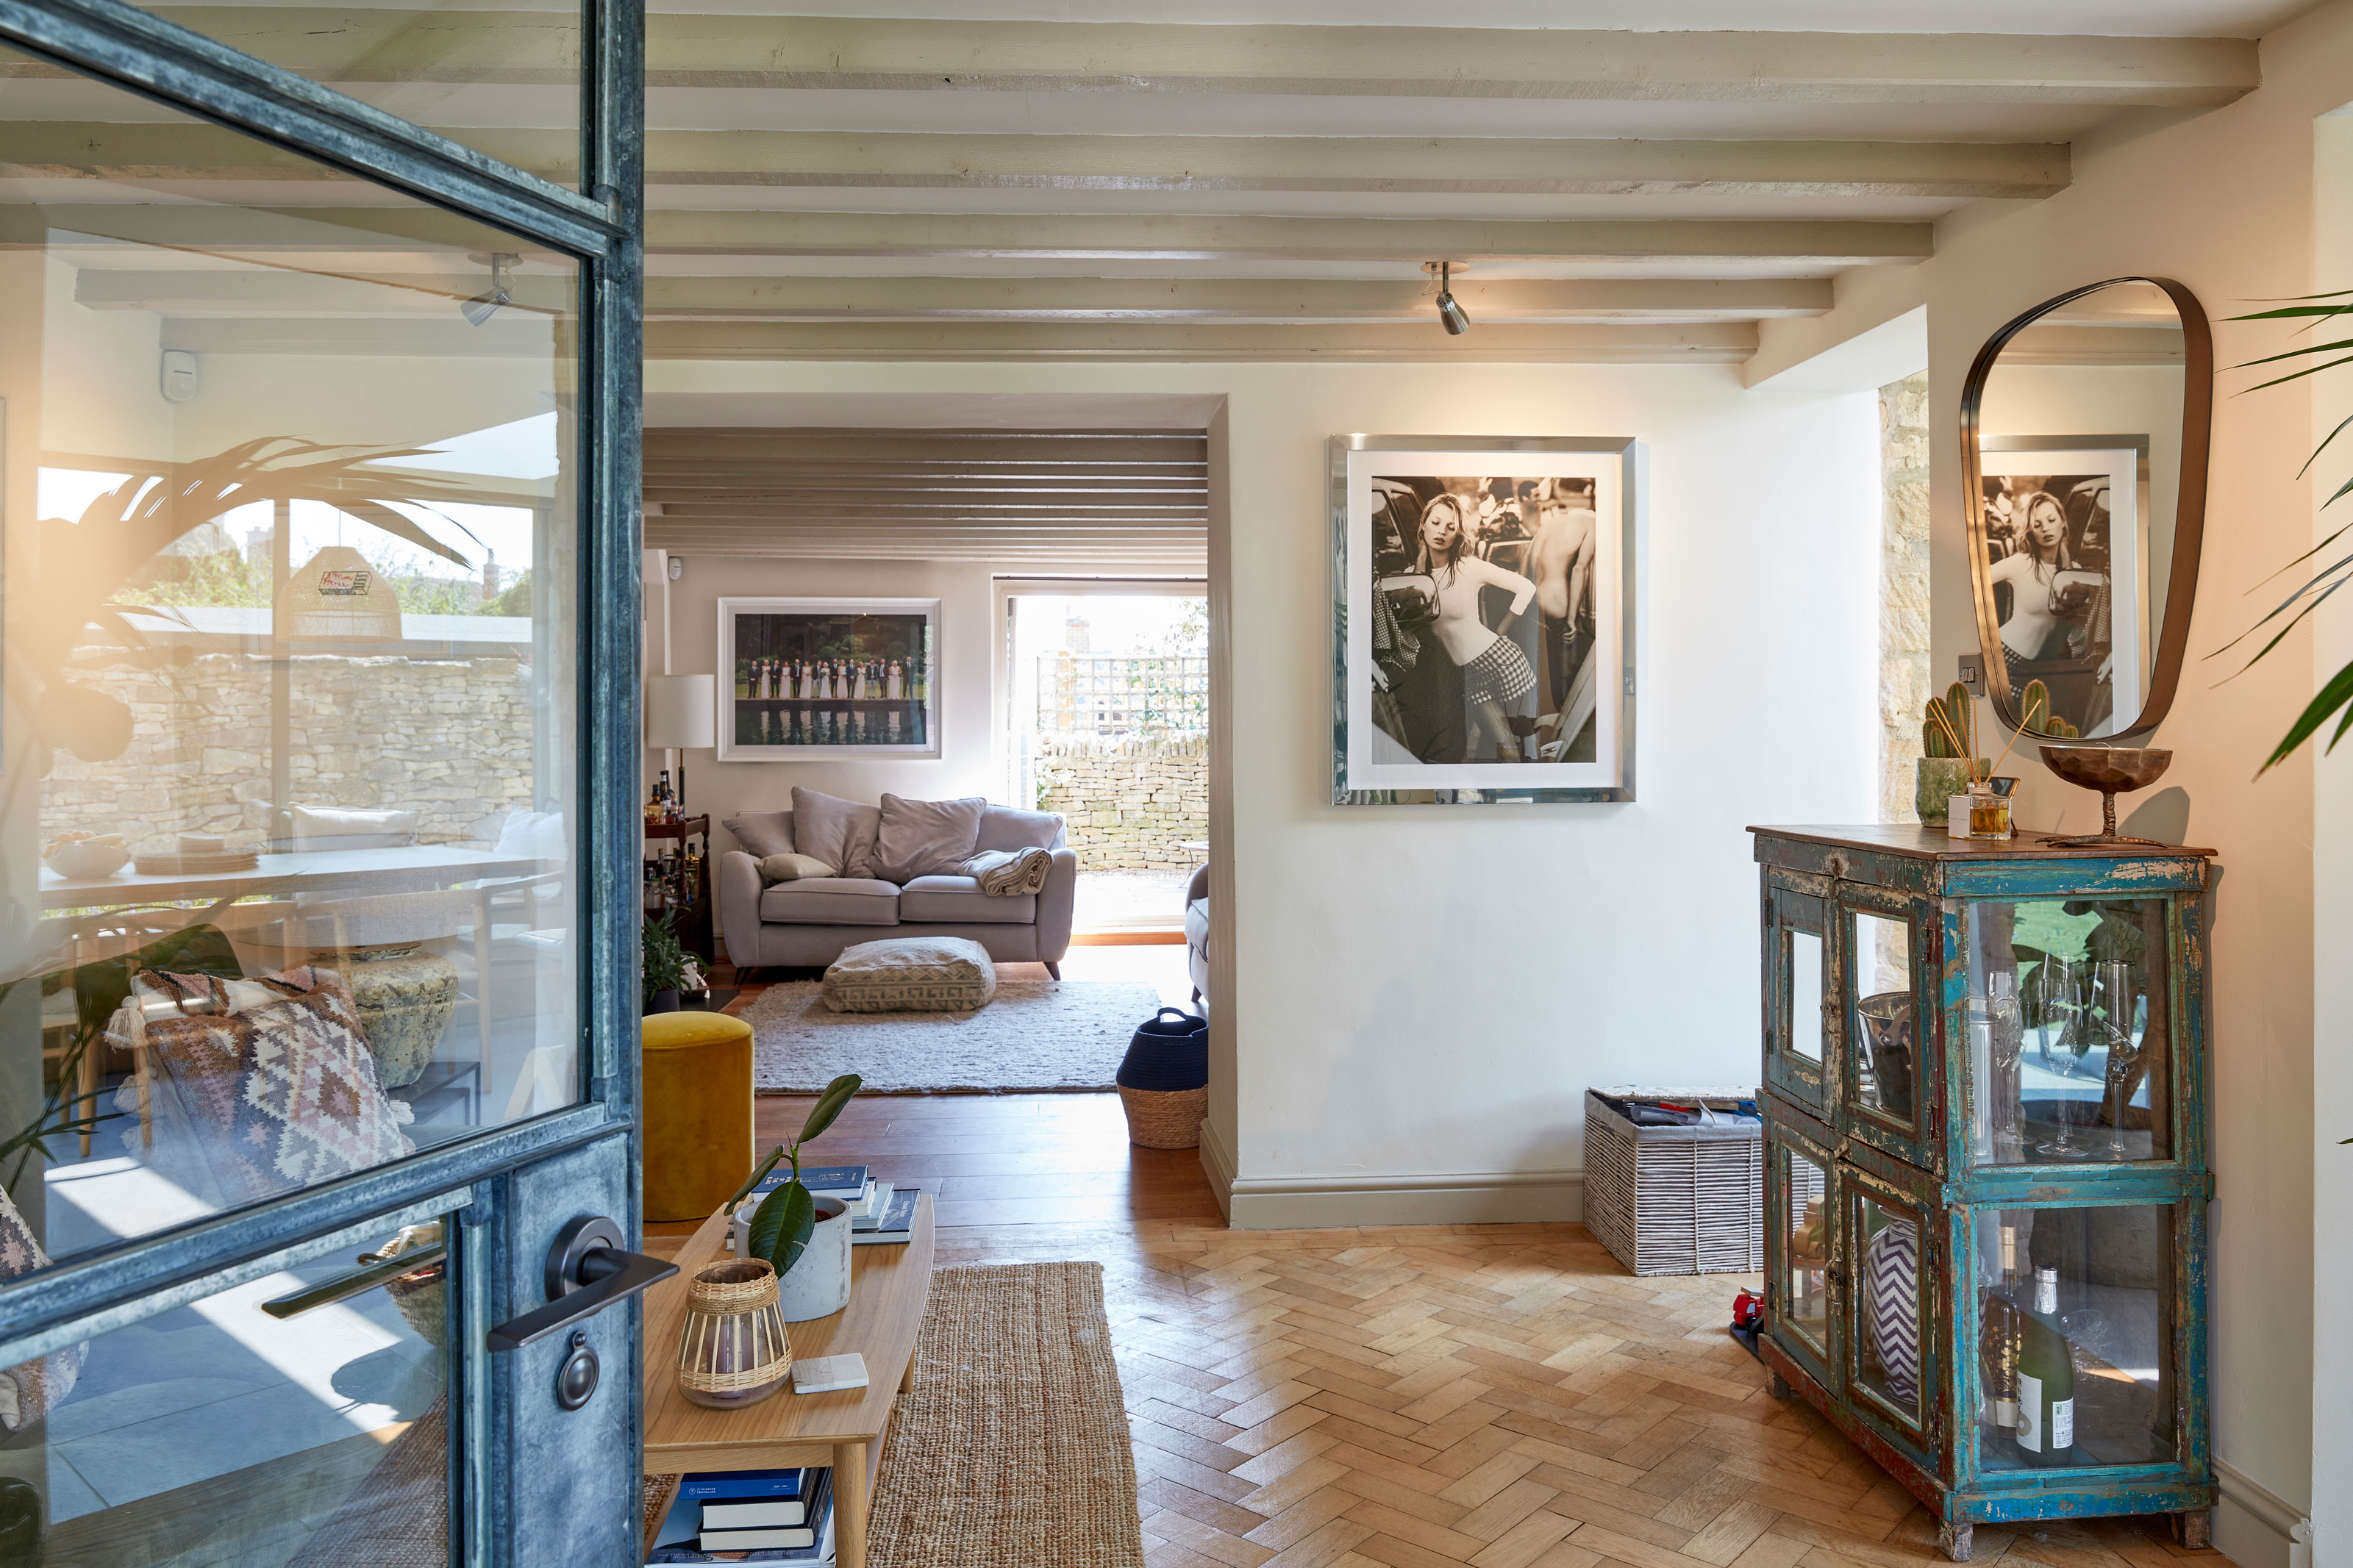
It was not unusual for flagstones or quarry tiles to be laid on nothing more than bare earth, ash or sand and while this is not necessarily a massive issue it can mean they feel extremely cold underfoot as they are unlikely to be insulated.
Insulating floors in old properties such as cottages needs to be done without ruining the breathability of the floor — adding unsuitable insulation materials could cause damp issues where there were none before. Taking up your floor and relaying it on a concrete sub-floor with a damp-proof membrane can cause salts within the old floor to come to the surface and these, in turn, can absorb moisture from the air and result in a damp floor.
Thankfully, there are now some relatively new materials on the market with the ability to absorb and emit moisture, something many standard modern systems fail to do. Check out Limecrete and GLAPOR recycled foam glass from Ty Mwar.
While adding insulation and a membrane beneath old floors is a disruptive job, it is well worth it in the end.
8. Lack of natural light
With low ceilings and small windows, cottages are not known for their light-filled interiors. While many cottage owners embrace these darker interior spaces and turn them into cosy, snug rooms, lighting them with good artificial light sources and using paler shades on the walls to offset the lack of natural illumination, others are keen to find ways to inject more daylight into their spaces.
There are several ways you could bring more light into your cottage. One of the most common ways to do this is to do away with one or two internal walls. Knocking down internal walls is one of the most common jobs carried out during a renovation project and can really help open up dark and dingy spaces, allowing them to share light with other rooms in the house.
Other methods of introducing more natural light without ruining the external appearance of a cottage include installing rooflights or roof lanterns. Stripping away any later extensions which are preventing light from entering the house and replacing them with full height glazing is another great idea as is opening up or redesigning the staircase to allow light to flow through.
9. Damaged or missing pointing
Cottages were built of local materials, such as stone or sometimes brick. They may also be half-timbered with rendered infill panels.
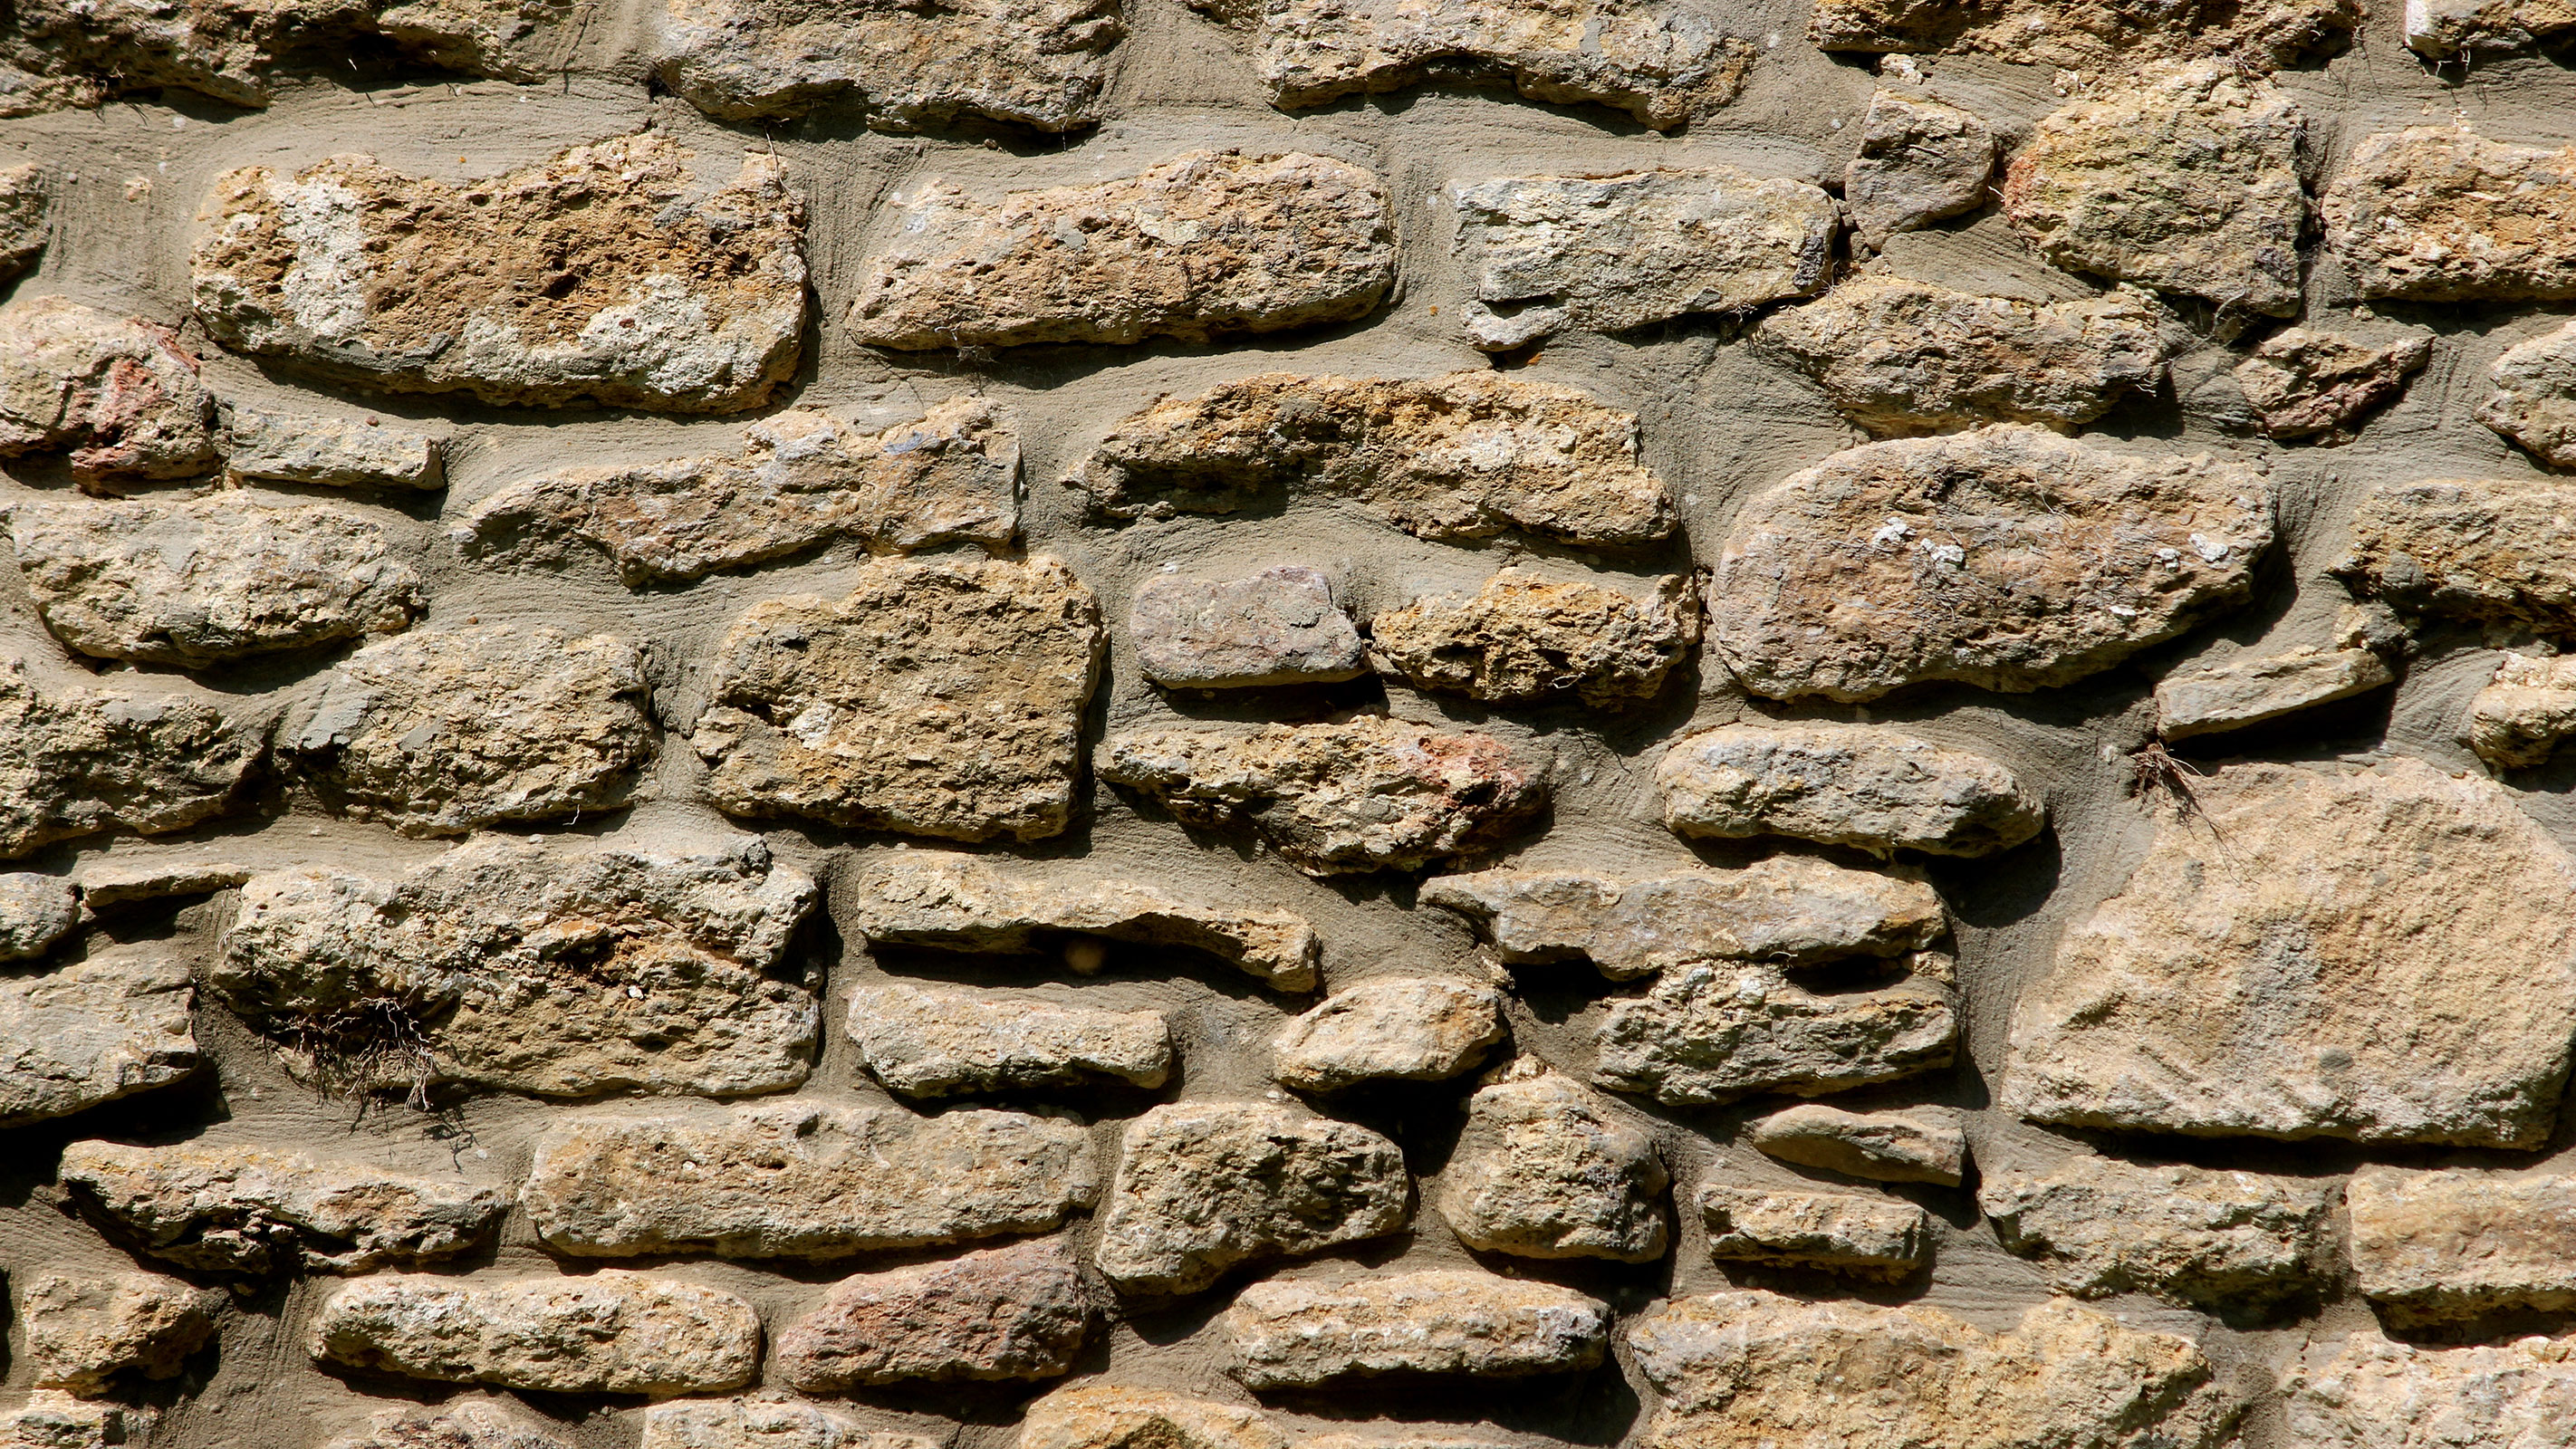
In the case of stone-built cottages it may be necessary to carry out some repointing. Pointing not only fills the gaps between stones or bricks to prevent water, draughts and dirt ingress, but it also manages the moisture of the wall, helping any moisture that it absorbs to evaporate.
If the pointing on your cottage is missing, crumbling or damaged it will need replacing but you must ensure that this is done with a suitable mortar mix. Pointing mortar is purposely made from softer and more permeable materials than the masonry it sits between. This is to ensure that moisture is concentrated here as opposed to in the stone or bricks.
Avoid using any mortar containing cement as this can cause all kinds of issues, from damp to bricks and stones that disintegrate at an alarming rate.
Mortars containing cement also tend to be more susceptible to salt and sulphate attack, while mortars containing only lime (putty or hydraulic) and sand are not vulnerable to this kind of damage.
10. Cracked or loose render
When it comes to render repair, this needs to be a job high on your list of priorities.
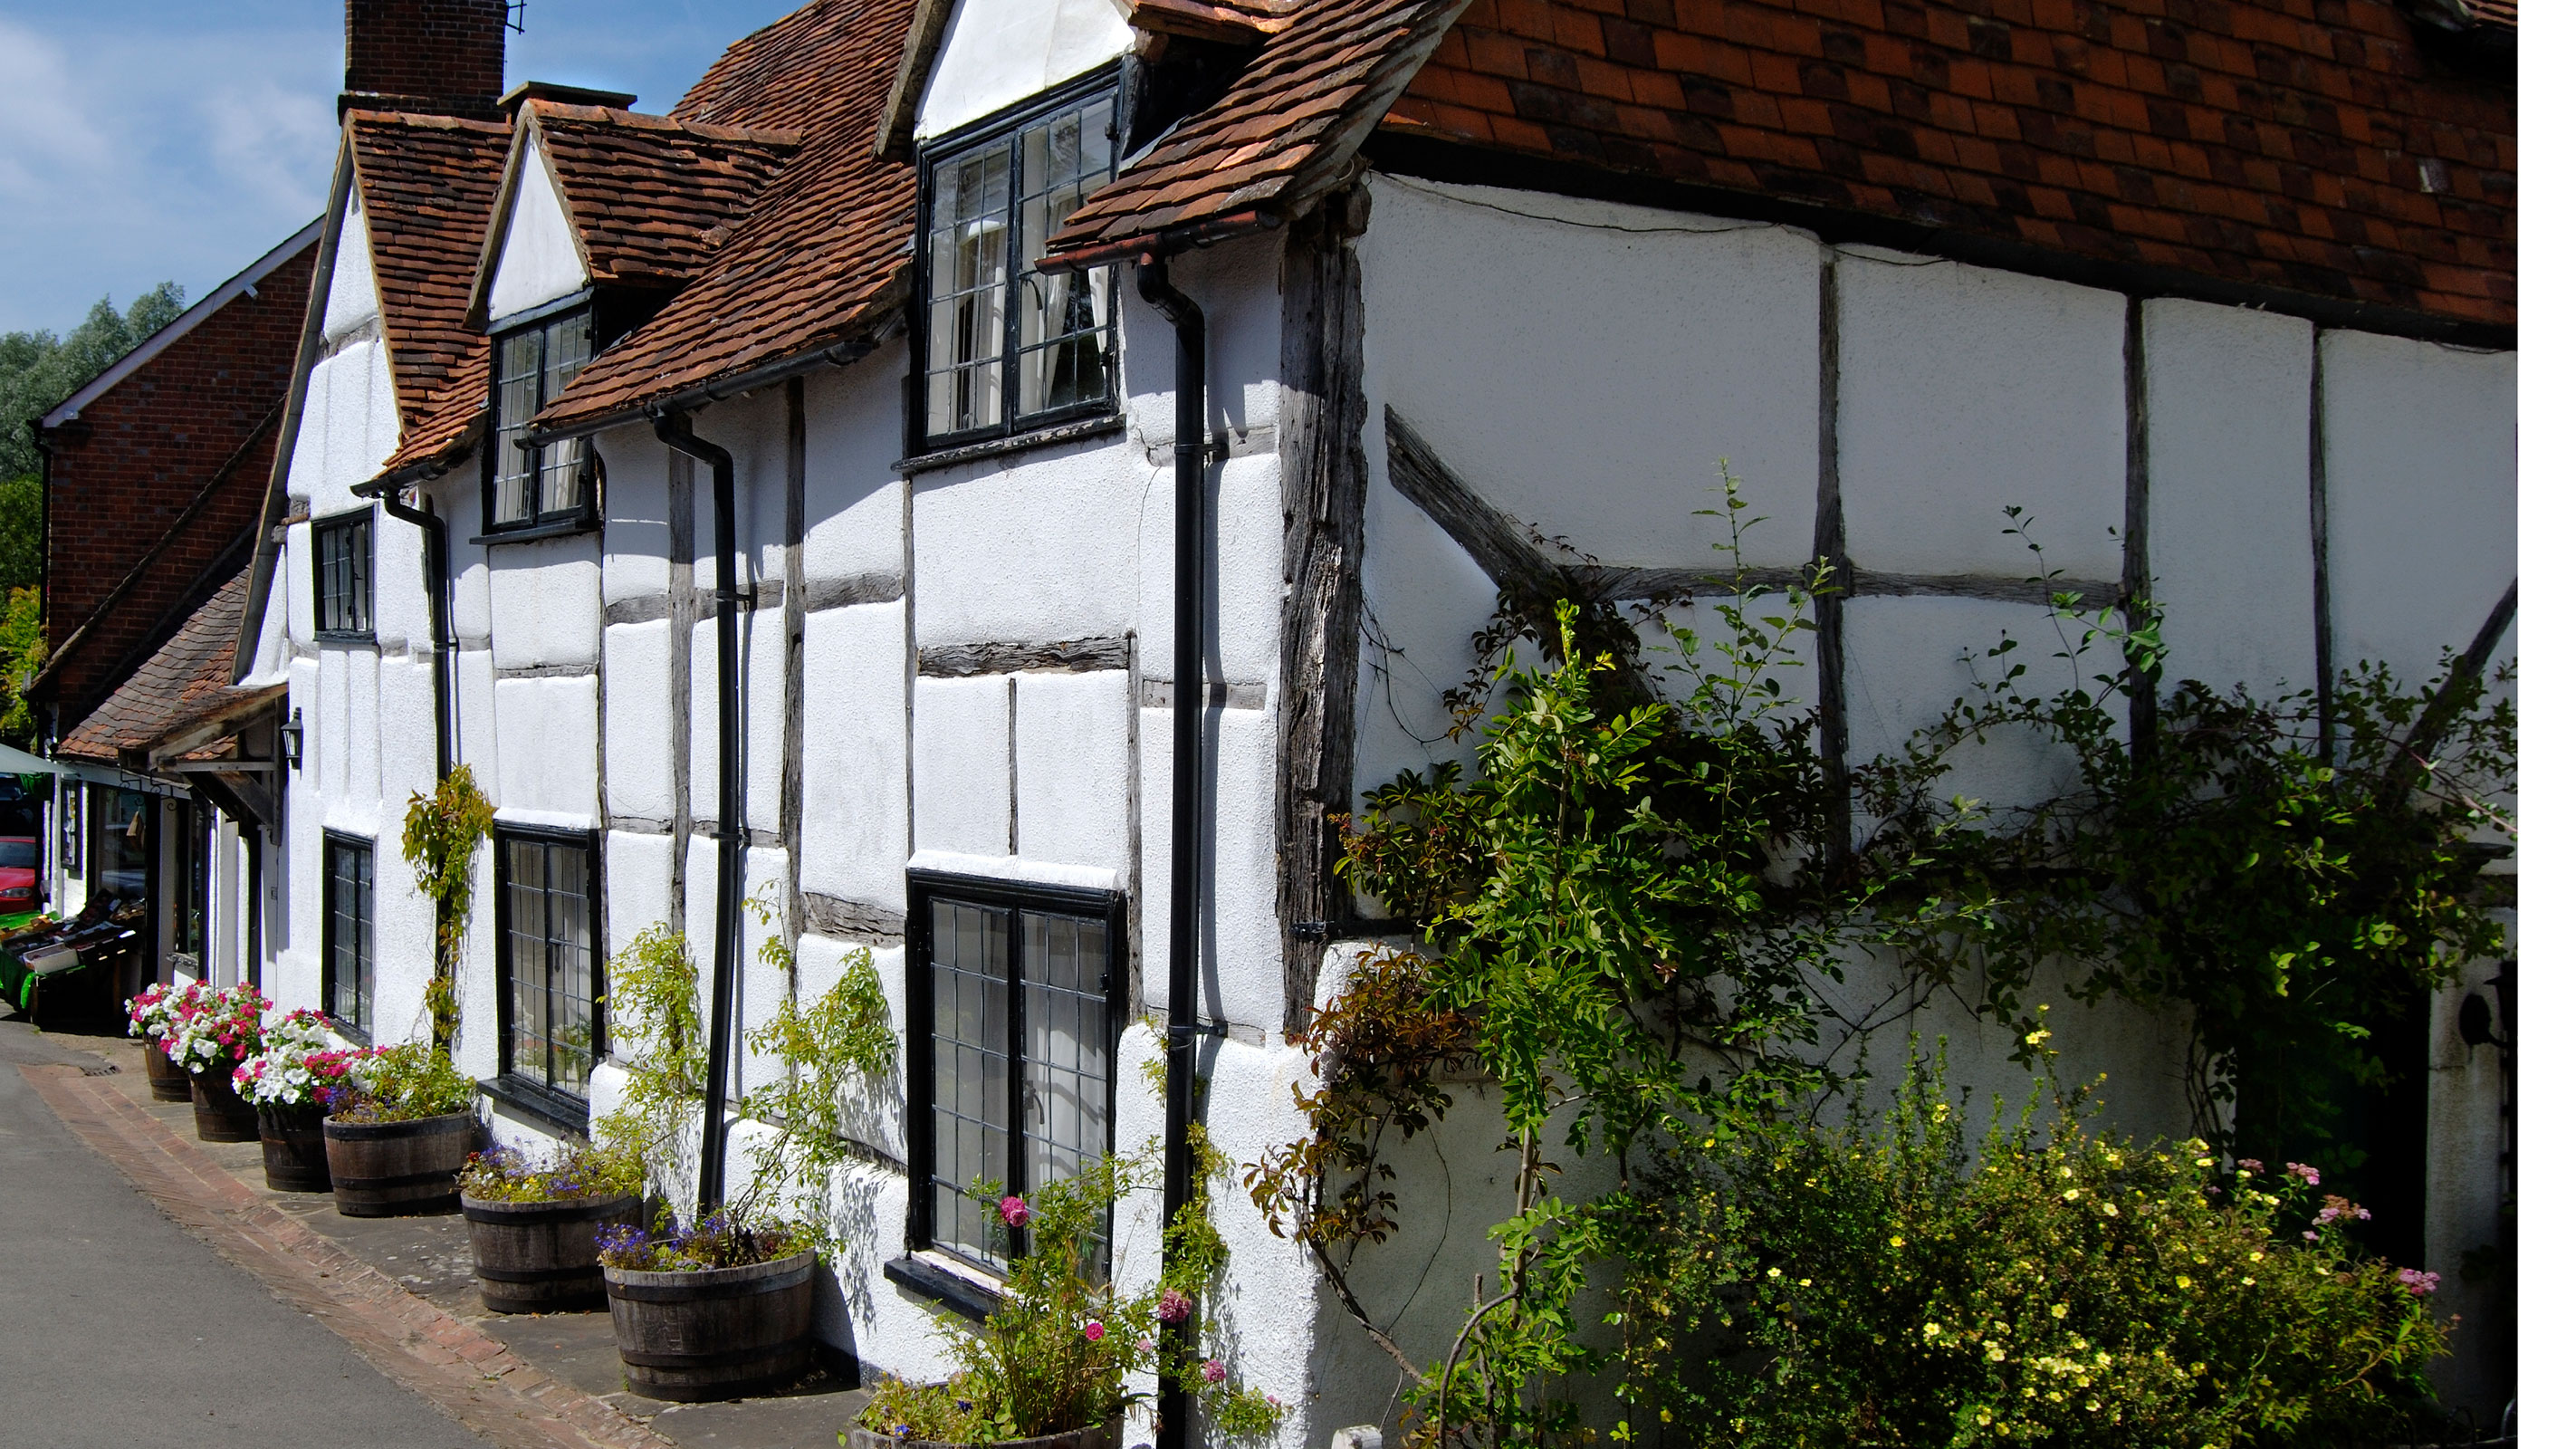
"If neglected, serious flaws can develop," says Ian Rock. "Look out for cracking or bulging render — both indicate trouble. Blown areas will sound hollow when tapped, while chunks of render may have even fallen off, exposing bare patches of wall behind.
"If the wall behind the render surface moves or cracks, so will the render. Traditional lime render is more flexible and forgiving than modern cement. In fact, cement render should never be applied to old solid wall buildings," continues Ian. "Small hairline cracks should be sealed when they first develop, otherwise water penetrating through can freeze and expand, blowing the render surface loose —resulting in even larger cracks."
The good news here is that it will often be possible to make patch repairs to render. "In most cases, only localised render repairs will be required," says Ian. "The first job is usually to hack off any hollow, loose and/or cracked render. This will expose bare patches of wall which will need time to dry out before new render is applied.
"Although rendering a large area is a skilled job, patching is less difficult. However, even in experienced hands, ‘invisible’ repairs are hard to achieve, so you may need to allow for redecoration of the whole wall.
"Traditional lime render on old buildings should never be patched using cement; this will prevent moisture in the wall from evaporating, forcing it out to the edges of the new patch, eventually causing render to fail around the edges of the repair."
Natasha was Homebuilding & Renovating’s Associate Content Editor and was a member of the Homebuilding team for over two decades. In her role on Homebuilding & Renovating she imparted her knowledge on a wide range of renovation topics, from window condensation to renovating bathrooms, to removing walls and adding an extension. She continues to write for Homebuilding on these topics, and more. An experienced journalist and renovation expert, she also writes for a number of other homes titles, including Homes & Gardens and Ideal Homes. Over the years Natasha has renovated and carried out a side extension to a Victorian terrace. She is currently living in the rural Edwardian cottage she renovated and extended on a largely DIY basis, living on site for the duration of the project.

