Cleaning grout: Six ways to restore it to its former glory
What's the best method for cleaning grout? Learn how to clean mould from grout and get rid of dirt and grime to refresh your wall and floor grout

Bring your dream home to life with expert advice, how to guides and design inspiration. Sign up for our newsletter and get two free tickets to a Homebuilding & Renovating Show near you.
You are now subscribed
Your newsletter sign-up was successful
Cleaning grout regularly means you can keep it looking like new for longer. If you leave grout untouched over time moisture will seep into its structure leading to mould taking over and discolouring the grout.
In high traffic areas where floors will see a lot of action dirt and debris will slowly be ground into the grout. In kitchen, grease and food splashes will eventually change the colour of your fresh clean grout.
So you need to make sure that you know how to grout tiles properly and seal it as your first step into your regime for clean grout. Then you will need to choose a preferred cleaning method to keep it as fresh as possible for as long as possible.
1. Cleaning grout with a homemade cleaner
If you want to stay eco-friendly, save a few pennies and use what you might already have in the home then a homemade cleaner is a good choice.
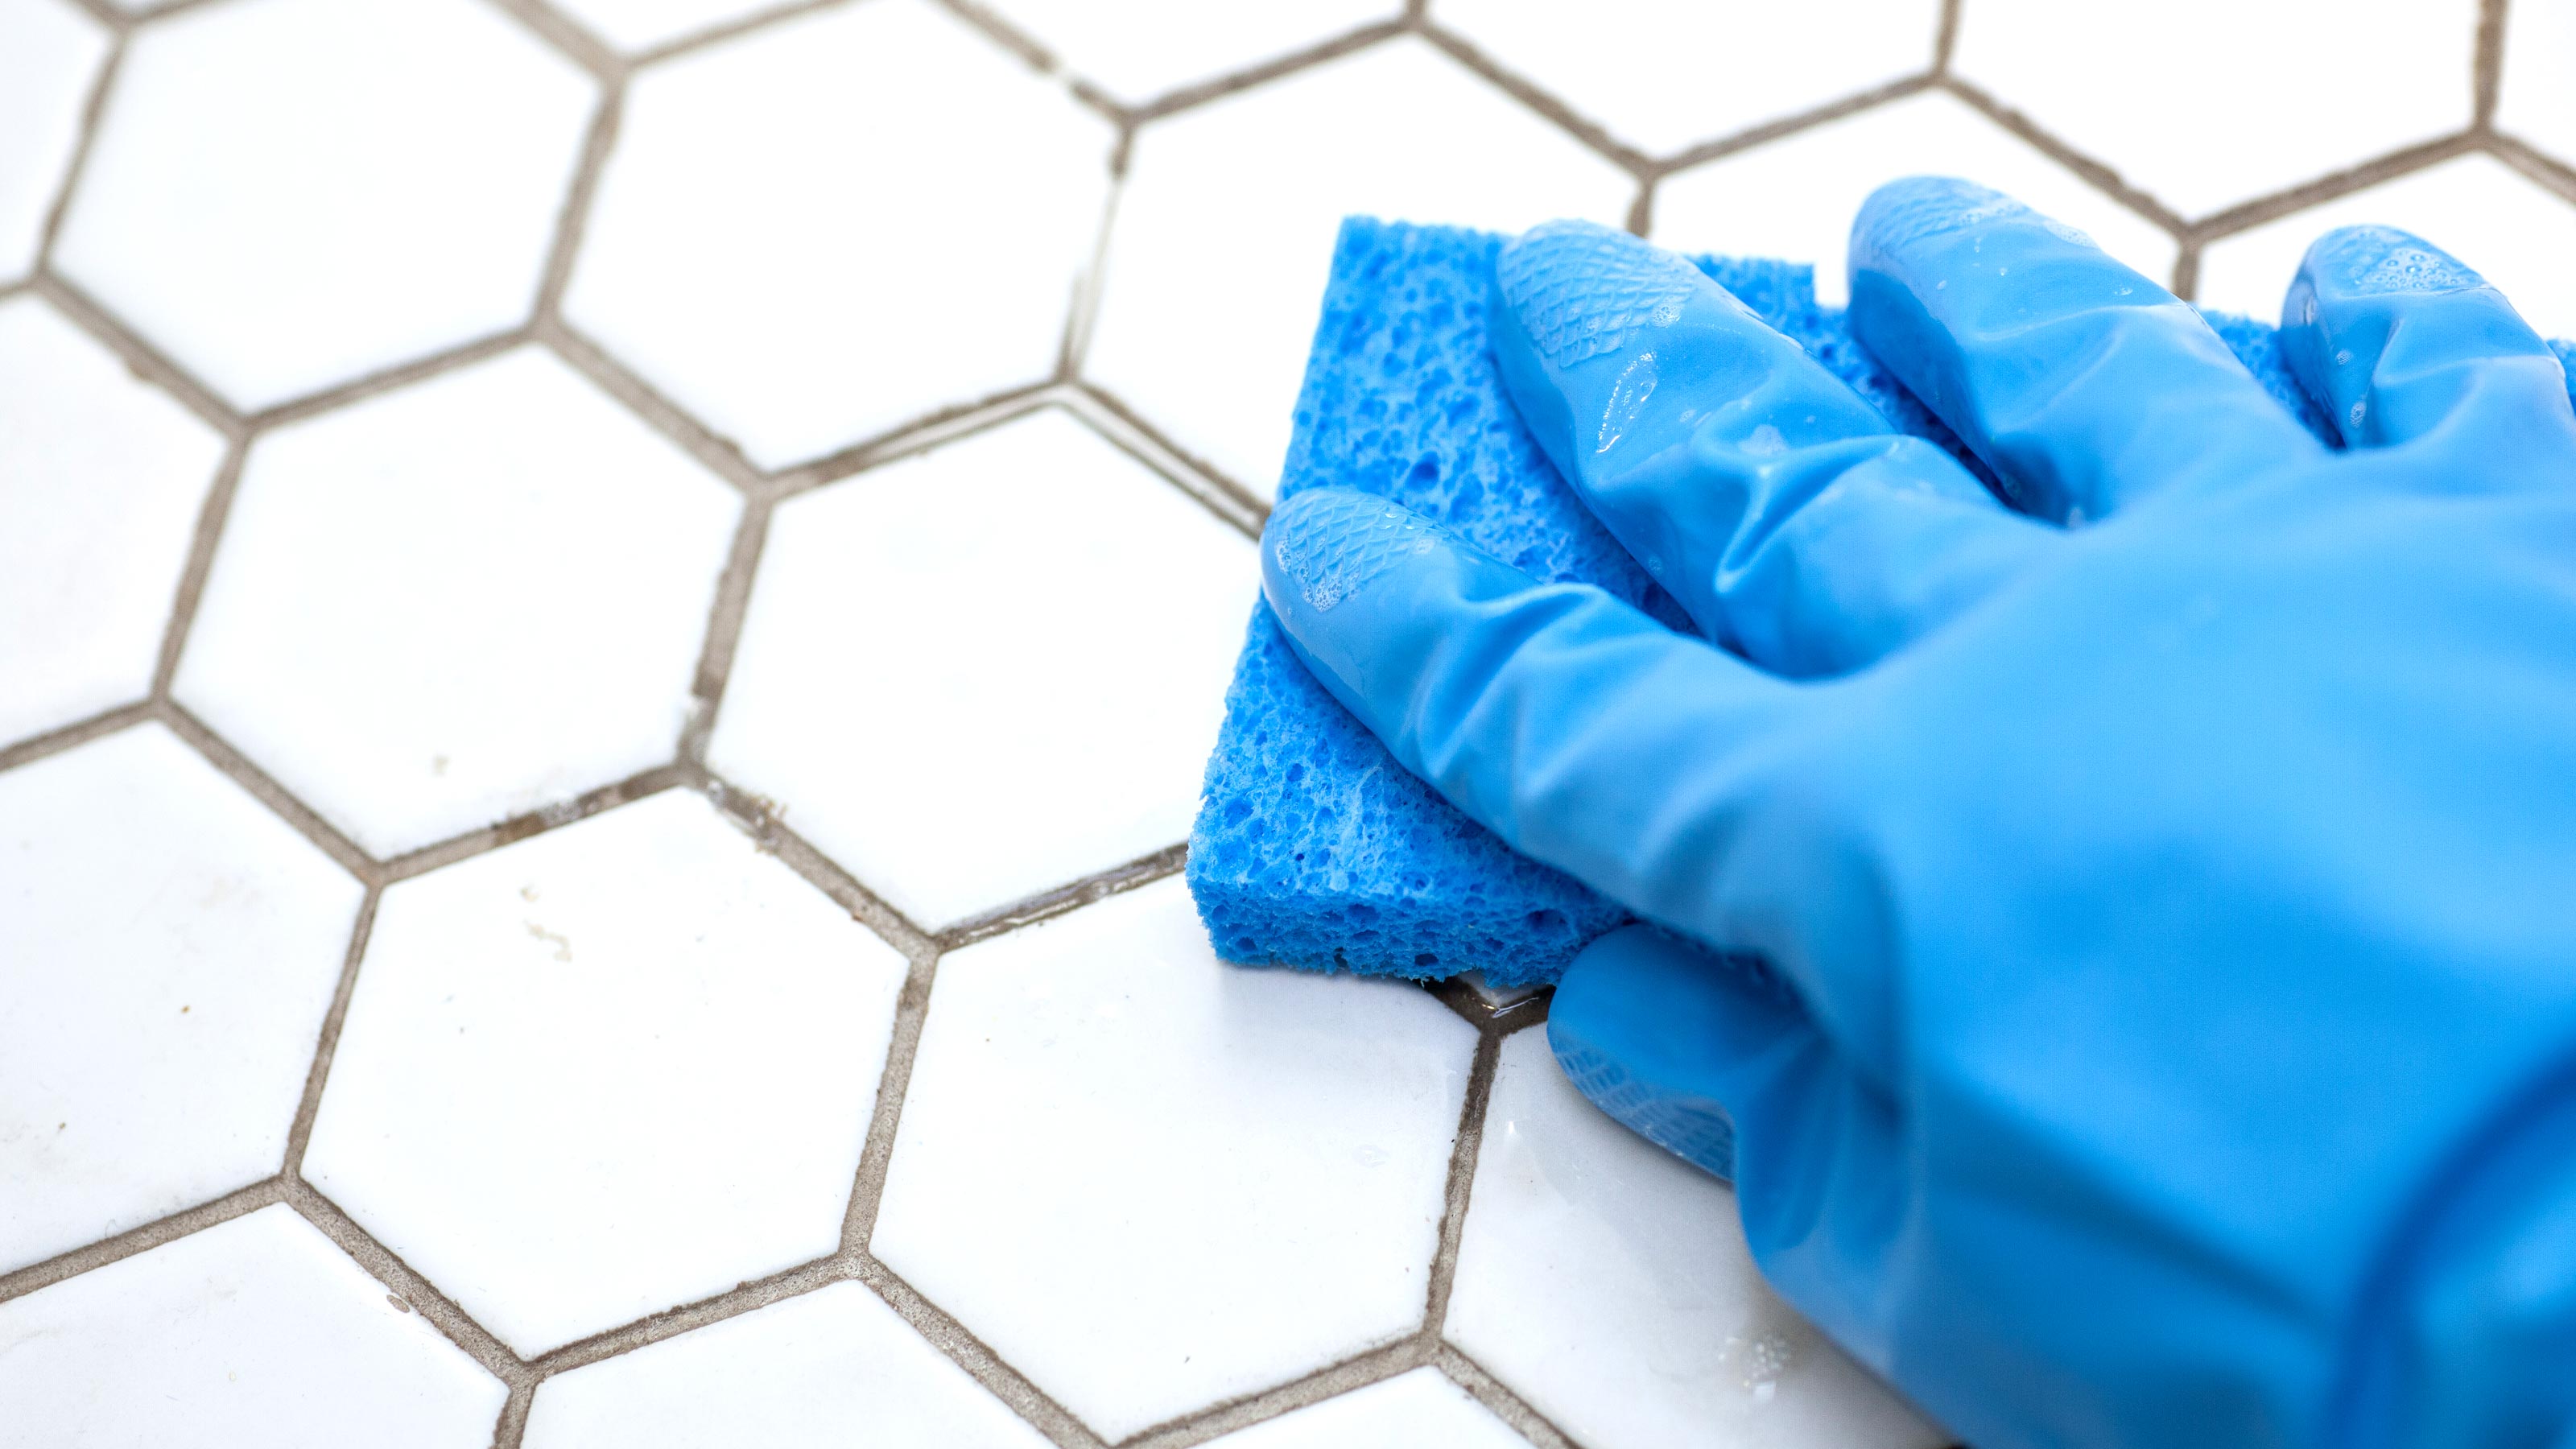
Mix 2 or 3 parts of the old favourite baking soda with water to create a paste. Apply the paste to the grout with a toothbrush. Now spray with distilled vinegar to activate the mixture and work in with an old toothbrush or a grout brush and rinse off with clean water when finished.
Another homemade option is lemon juice. Cover the grout with lemon juice and leave for around 10-15 minute before getting a kitchen sponge scourer and washing of with warm soapy water/ This has the added bonus of leaving a fresh lemon smell.
2. Use a specialist chemical grout cleaner
For more stubborn stains, marks and mould that a homemade cleaner won’t remove, you can up the ante with a specialist chemical cleaner. The best grout cleaners can be effective, but make sure to read the manufacturer's instructions to ensure you don't damage tiles.
Typically, you apply the grout cleaner to the grout, leave for a specified time (which can be up to an hour) before washing off. Some come with their own applicator which is very useful for applying the cleaner to just the grout.
3. Steam clean your grout
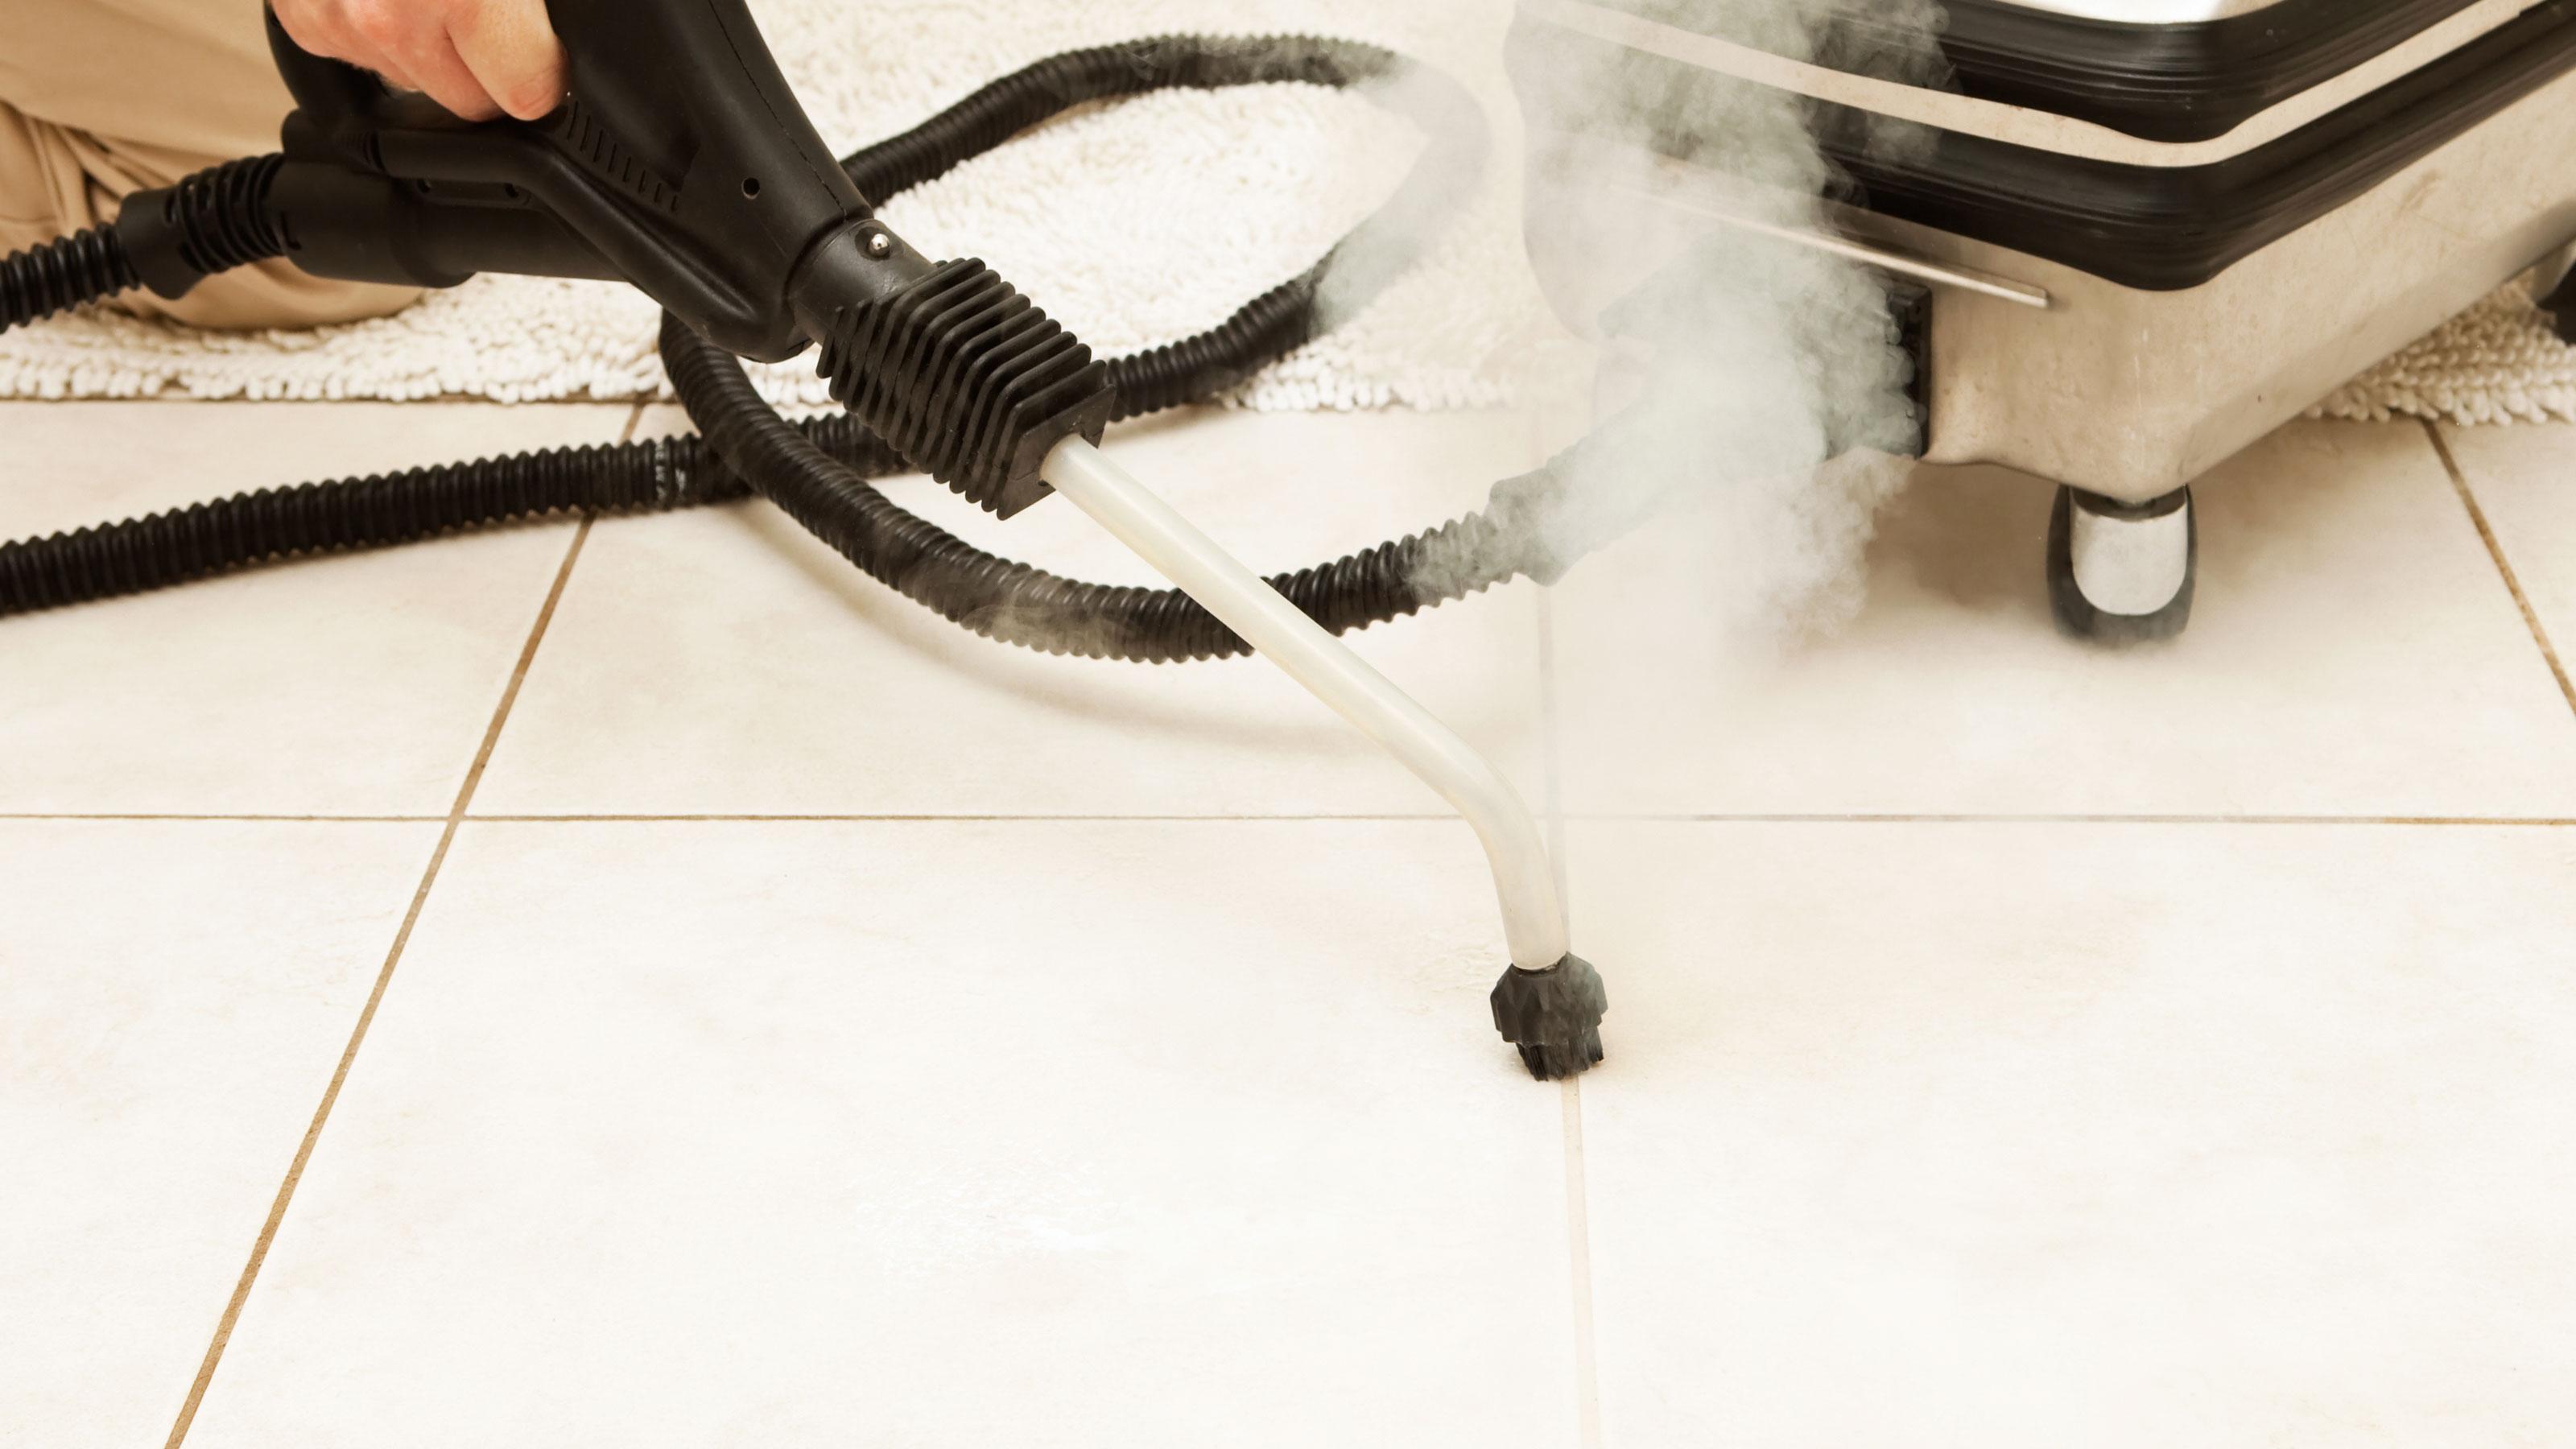
If you have a steam cleaner then use this. Upright steam cleaners are a tool for cleaning floor tiles and grout at the same time. But to get up close and personal to dirty grout you will need a steam cleaner with a hand attachment with a narrow nozzle.
Combine the concentrated steam with a toothbrush for really stubborn stains. If needed, go over the grout more than once.
Bring your dream home to life with expert advice, how to guides and design inspiration. Sign up for our newsletter and get two free tickets to a Homebuilding & Renovating Show near you.

4. Cover up with a grout pen
Grout pens are a quick and simple solution for refreshing the appearance of grout but it is only a quick fix. It's only a temporary option, but it is a good option especially if you have coloured grout and can find a matching grout pen colour.
Before you apply with the grout pen you need to make sure that the grout is clean and grease free. Wash down with a solution of sugar soap. Don't know how to use sugar soap? Check out our what is sugar soap guide for more pointers. Leave the grout to dry completely – at least 2 hours – before applying the grout pen.
5. Sand and seal grout
If cleaning your grout is not getting rid of ingrained stains and you don’t want to do a full regrout – then you can think about sanding off the surface of the existing grout and finishing off with a grout sealer like LEAN Tile & Grout Sealer found at Amazon.
Get a fine grade sandpaper – P180 is ideal – and a paint scraper or filling knife and wrap around the blade and then run it up, down and across the grout. Alternatively, just fold the sandpaper and use the edge.
When finished sweep down the tiles and grout with a stiff hand brush and wipe with a clean damp cloth and leave to dry. Don’t forget to vacuum up the dust. When dry apply the grout sealer.
6. If all else fails — regrout your tiles
Your grout may be at a point that no amount of cleaning can restore it to its former glory. You’ll either have to make do with the old grout or admit defeat and and think about regrouting tiles. This will be a more time-consuming job than cleaning, but you will get nice new clean grout to look at and enjoy.
You will need a grout removal tool to get rid of the old grout. You can use a manual tool like this Grout Remover Tile Grout Saw on Amazon. But, to make your life easier and get the job done quicker you can get a multi tool like the DEWALT DCS355N-XJ 18V Li-Ion Cordless Brushless Oscillating Multi-Tool with a grout removal blade.
Can you add new grout over old grout?
Yes and no. If your grout is old and lifting because moisture has gone behind parts of the tiles it is not worth putting new grout over the old. If your grout is still in reasonable condition you can apply new grout but you will only be able to add a thin layer and it will only be a temporary measure especially in areas exposed to a lot of water i.e. a shower.
When grouting floor tiles a different type of grout is typically used, but the same rules apply. If cracking or lifting, get rid of the old and add new, but if in good condition clean and add a new layer of grout. But make sure you are using the same type of grout as the old.
How often do you need to seal grout?
This depends on the area you are sealing. If you are sealing wall tiles that aren’t exposed to moisture or high traffic once every five years should suffice. In reality for areas like this, you don't really need to seal the grout at all. For floor tiles or kitchen tiles that are going to be exposed to more dirt and debris you should think about resealing your grout every three years.
However, in areas where the grout is going to be exposed to a lot of moisture or water you need to add new grout sealer every 12 months. Consider siliconing a shower or sealing a bath after adding the grout sealer to help protect the grout in areas where water and moisture will accumulate.
How long does grout last?
Once you have mixed grout and applied to the wall or floor – assuming that all prep was done correctly and left to dry according to manufacturers instructions – grout should last anywhere between five and ten years.
Grout itself does have a shelf life so once you have opened the packaging you want to use it as quickly as possible. Make sure to seal up any unused grout tightly and it should last for up to a year if stored indoors.
Steve Jenkins is a freelance content creator with over two decades of experience working in digital and print and was previously the DIY content editor for Homebuilding & Renovating.
He is a keen DIYer with over 20 years of experience in transforming and renovating the many homes he has lived in. He specialises in painting and decorating, but has a wide range of skills gleaned from working in the building trade for around 10 years and spending time at night school learning how to plaster and plumb.
He has fitted kitchens, tiled bathrooms and kitchens, laid many floors, built partition walls, plastered walls, plumbed in bathrooms, worked on loft conversions and much more. And when he's not sure how to tackle a DIY project he has a wide network of friends – including plumbers, gas engineers, tilers, carpenters, painters and decorators, electricians and builders – in the trade to call upon.

