Stripping wood floors: How to get rid of the old finish ready for a new one
Stripping wood floors will give you a clean like-new surface to work with. Here we reveal the best options for different floor finishes
Bring your dream home to life with expert advice, how to guides and design inspiration. Sign up for our newsletter and get two free tickets to a Homebuilding & Renovating Show near you.
You are now subscribed
Your newsletter sign-up was successful
Stripping wood floors is a cost-effective and practical way to say goodbye to an old unwanted finish. Maybe it’s time for a floor refresh, or maybe you want something completely new to bring out the beauty of your wooden floor.
Different types of wood flooring typically come with different finishes with varnish, wax, paint and stain the most commonly used options. Stripping isn’t as simple as one option suits all, you need to choose the most appropriate method to get the best finish. Here we look at the different methods and which will work best for your floor finish.
Stripping wood floors: The tools you’ll need
Stripping floors can be a messy job, so not only will you need the right tools, but you will also need to make sure to invest in protective gear such as gloves, goggles and a respirator mask.
- Chemical stripper
- Paintbrushes
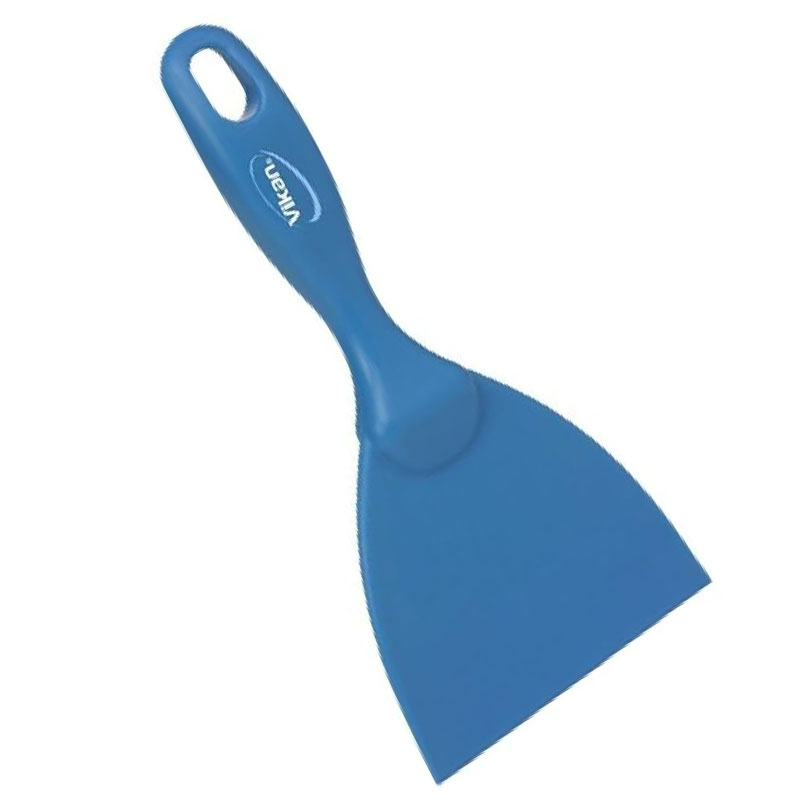
- Scraper
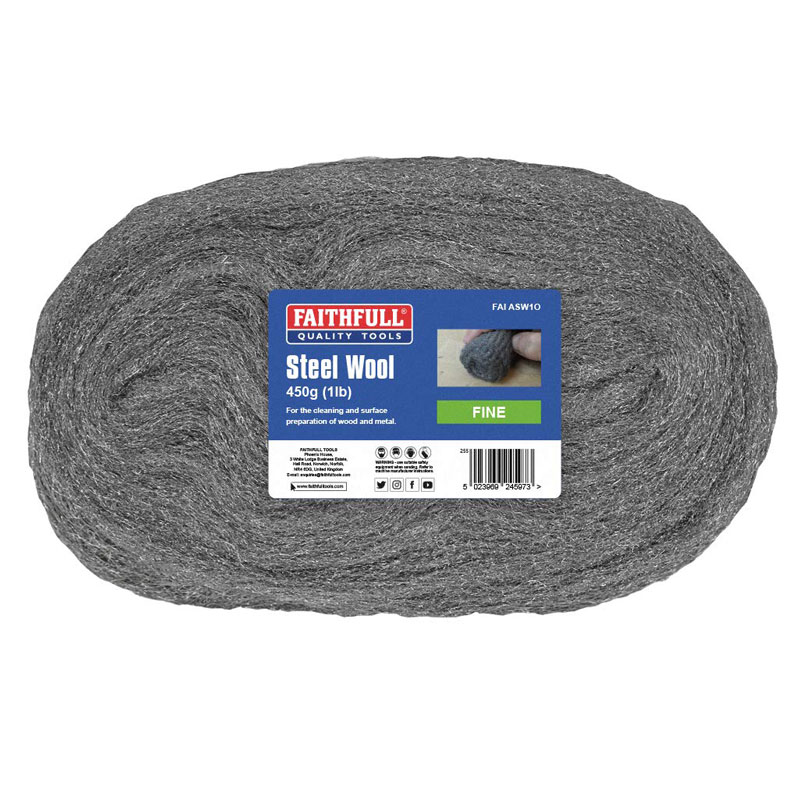
- Wire wool/Steel scourers
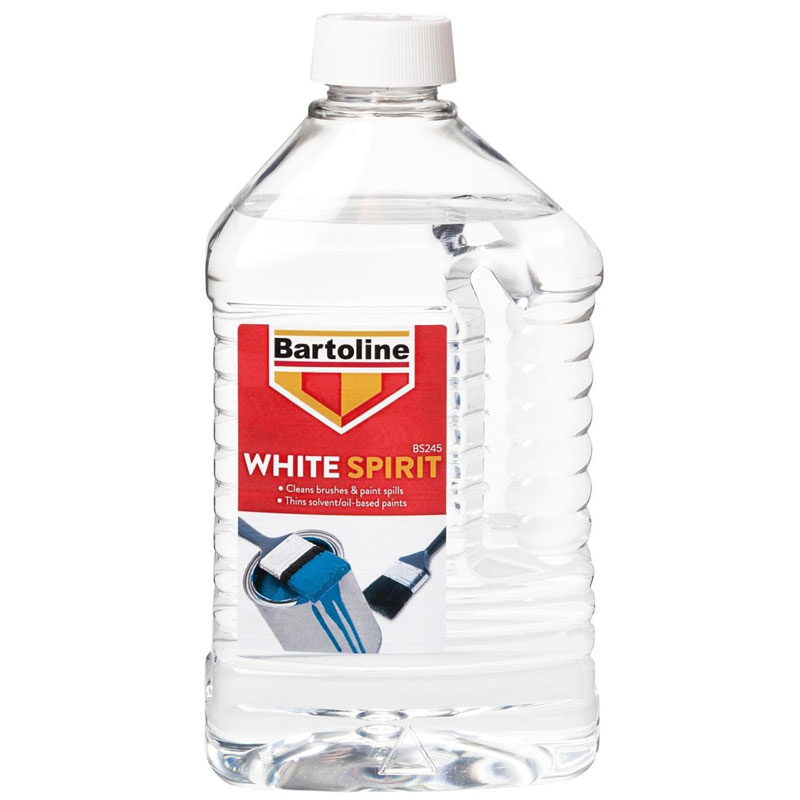
- White spirit
- Bin liners
Try these tools to help strip wood floors

Kirk has over 12 years’ experience in the wood flooring industry, including roles in sales, quality and training. Kirk’s knowledge of everything from subfloor preparation to maintenance and repairs is unsurpassed.
5 steps to strip a wooden floor
Kirk Evans, Technical Manager at Woodpecker Flooring runs through the steps you need to take to strip a wooden floor with a chemical stripper.
1. Prepare the room
The first step is to clear the area/floor that you are stripping. Begin by removing all furniture, rugs, and decorations from the room. Then protect the surrounding space by shielding any power outlets, vents, and doorways with plastic sheeting to keep dust and fumes contained.
Before applying any chemicals, wear protective gear like gloves, goggles, and a respirator like this 3M Maintenance Free Half Mask from Amazon.
2. Apply chemical stripper
Select a chemical stripper suitable for your floor’s finish. Gel-based options are often preferred as they adhere well to the surface. Evans recommends Barrettine Peelaway 7 or Barrettine Peelaway 1. For a more cost effective solution he suggests No Nonsense Paint & Varnish Stripper.
Bring your dream home to life with expert advice, how to guides and design inspiration. Sign up for our newsletter and get two free tickets to a Homebuilding & Renovating Show near you.
Apply using a paint brush or roller, apply the stripper along the wood grain. Ensure an even, thick layer for effective penetration. Then let the stripper sit for the time recommended by the manufacturer, usually 15 to 30 minutes, longer for more stubborn finishes. You’ll know it’s ready when the finish begins to bubble or wrinkle.
3. Remove the finish
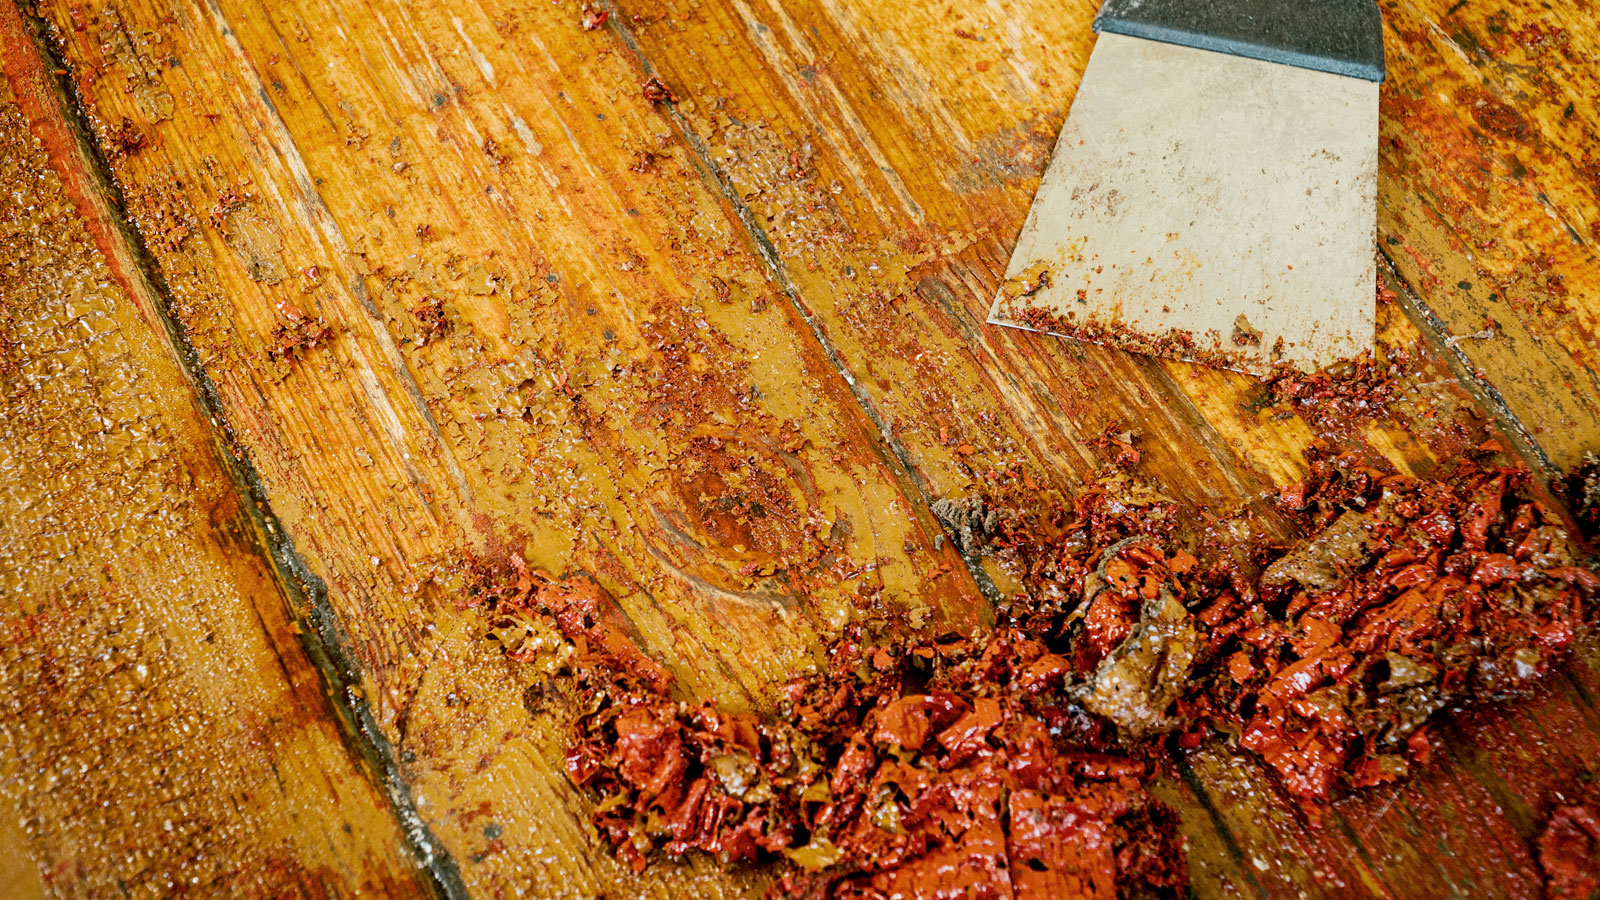
When the stripper has done its job, use a plastic scraper or putty knife to gently lift the softened finish from the floor. For corners or detailed areas, a stiff-bristled brush or steel wool works well. Repeat if necessary, there may be multiple layers and you may need to reapply the stripper and repeat the process until all finishes are removed.
4. Clean the surface
After stripping, clean the floor with a recommended neutralising agent, like white spirit or a vinegar-water mix, to remove any residue. When done, rinse the surface by wiping down the floor with clean water and a damp cloth to ensure all chemicals are removed. Finally, leave the floor to dry thoroughly.
5. Finishing touches
When the floor is dry lightly sand the floor with a fine-grit sandpaper to smooth any rough spots and prepare the surface for a new finish. Next vacuum the floor to remove all dust and debris. To finish, inspect the floor and make sure it is clean, dry, and free from chemical residues before applying a new finish.
Common methods for stripping a wood floor
Not all wooden floor finishes will need a chemical stripper to remove the finish. There may be more suitable options depending on the type of finish. Here Evans gives a list of the benefits of the common methods and what floor finishes they best work with.
- Chemical strippers – These are ideal for intricate or detailed floors, especially when dealing with multiple layers. Ensure good ventilation and handle with care. These are typically used on polyurethane, varnish and shellac floor finishes and sometimes on painted wooden floors.
- Sanding – This method commonly uses a drum or orbital sander to remove the finish. It is fast and effective, but can be dusty and may remove a thin layer of the wood. It is a popular choice for stained wooden floors where you want to get back to bare wood.
- Heat gun – Best for small areas or stubborn finishes. It softens the finish for easier scraping but requires careful handling to avoid damaging the wood. This is a popular choice for painted wood floors and isn’t as messy as using a chemical stripper.
- Mineral spirits – This is typically used on waxed wooden floors. Combined with a cloth it helps remove the wax and isn’t as messy as a chemical stripper.
FAQs
Does vinegar strip hardwood floors?
Yes and no. You can mix household vinegar with cream of tartar and water to create a solution that is acidic, that will help soften/clean a finish. But this method isn’t as effective as a chemical stripper. I suggest that you don’t bother using it as a stripper alternative, especially if you're looking to strip a whole floor.
However, a vinegar and water mix can be used as an homemade floor cleaner for wooden floors. But make sure to test the solution on an out of the way spot to see its reaction.
And if you do use the solution, don’t leave it on the floor for long. Use a damp mop to apply the solution, wring out a mop in clean water to rinse the floor and leave to dry. Don’t leave any standing pools of water on the surface.
If stripping your wooden floor, try your best not to damage it, but if you do check out our repair wood flooring guide. If you’re adding a new finish make sure to check out our staining wood floors and sanding wood floors guides to help you get the best finish.
Steve Jenkins is a freelance content creator with over two decades of experience working in digital and print and was previously the DIY content editor for Homebuilding & Renovating.
He is a keen DIYer with over 20 years of experience in transforming and renovating the many homes he has lived in. He specialises in painting and decorating, but has a wide range of skills gleaned from working in the building trade for around 10 years and spending time at night school learning how to plaster and plumb.
He has fitted kitchens, tiled bathrooms and kitchens, laid many floors, built partition walls, plastered walls, plumbed in bathrooms, worked on loft conversions and much more. And when he's not sure how to tackle a DIY project he has a wide network of friends – including plumbers, gas engineers, tilers, carpenters, painters and decorators, electricians and builders – in the trade to call upon.
