Learn how to wallpaper corners for a professional-looking finish
There’s an art to wallpapering inner and outer corners to get a neat finish on ceilings and walls. Here we tell what you need to know
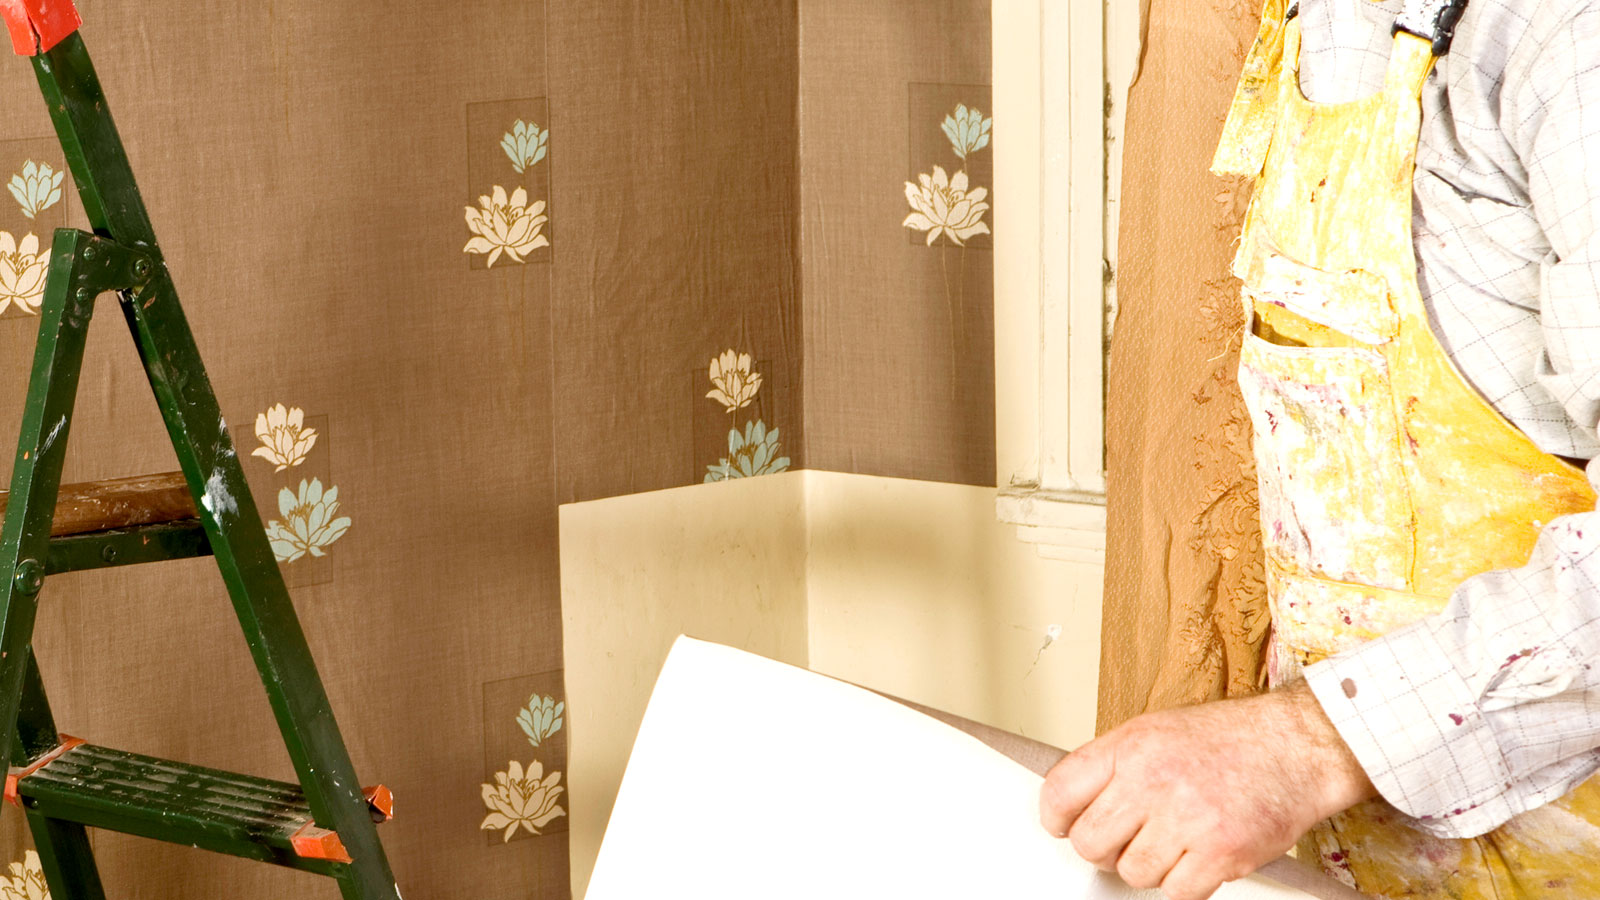
Knowing how to wallpaper corners isn’t as simple as you might think. Getting neat, good-looking corners is only one part of the process. The corners need to stay in place as well, and if you don’t get the execution right you could be staring at unwanted curling edges.
Inner and outer corners present different problems so you’ll need to know how to wallpaper both to get a flawless finish. In this guide, the pros reveal the techniques and tools you’ll need to ensure that you get crinkle-free corners.

Catherine Jacob is the Head of Design at Hovia, a B-Corp-certified interior design brand dedicated to sustainably designed wallpaper products made to enrich environments.
How to wallpaper inner corners
Inner corners are where two interior walls meet in the corner of the room. Here, we set out how to get this right for a good finish.
1. Measure up
If you can't put a full-width drop of wallpaper in a corner (which is often the case), ensure you have a tape measure to hand. Measure the gap and add a little extra, as Chelsea Clark, Head of Brand at wallpaper brand I Love Wallpaper explains: “Ensure that your piece of wallpaper is at least 3 cm wider so that it overlaps onto the adjoining wall.”
2. Paste and hang
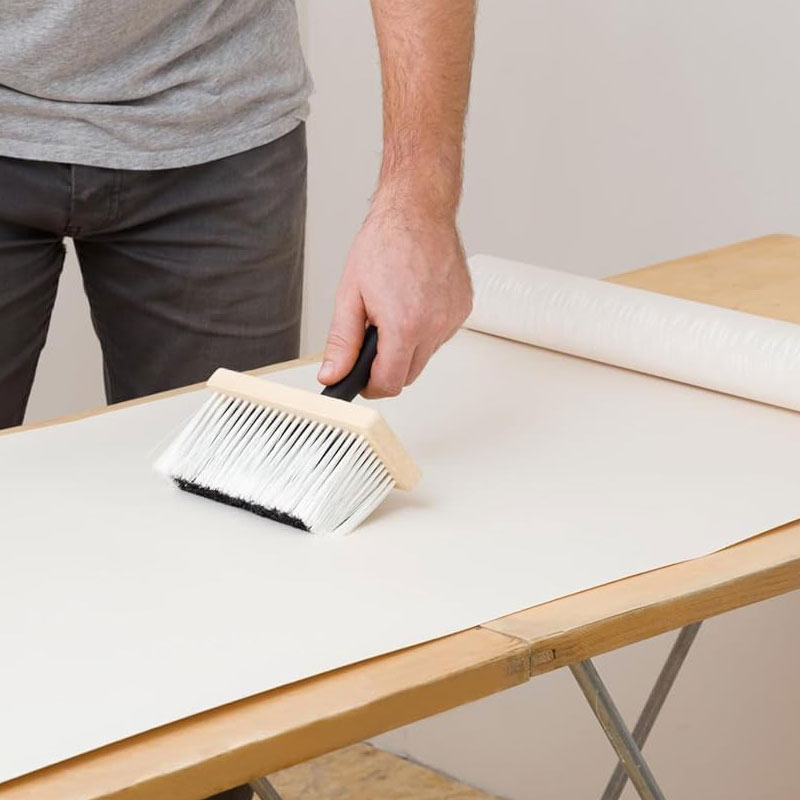
If you are pasting your wallpaper, use a pasting table; if not, paste the wall with a roller before hanging.
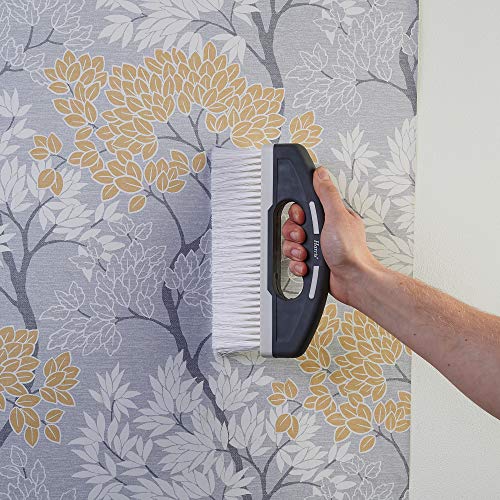
Catherine Jacob, Head of Design at Hovia, says, “Take the wallpaper and paste it onto the strip of wall that meets an adjoining wall.” She adds, “Smooth it snugly into place, using your wallpaper brush to release any air bubbles or wrinkles as you go.” Work the wallpaper brush towards the edges.
Then, you need to cut to get a good fit. Jacob says, “Push your straight edge right into the corner, then use your sharp knife to cut along the straight edge so that the paper is trimmed to fit the corner perfectly.”
Corners are not always perfectly straight, so leave a small, even-width overlap on the adjoining wall. Finally, trim the excess from the top and bottom.
Bring your dream home to life with expert advice, how to guides and design inspiration. Sign up for our newsletter and get two free tickets to a Homebuilding & Renovating Show near you.
3. Keep it straight
With one side of a corner complete you need to to make sure that the next drop matches up and is straight as Clark explains: “Set up a plumb line on the adjoining wall and hang the offcut against this line, matching the pattern as best as possible, this should fit neatly into the corner with a slight overlap.”
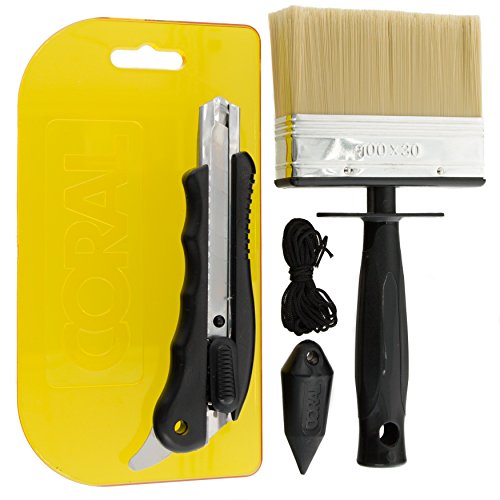
Get the gear to help wallpaper corners
How to wallpaper outer corners
Hanging wallpaper on outer corners is similar to hanging wallpaper on inner corners but with a subtle difference.
Eric Bramlett, owner of Bramlett Real Estate, says, “Outer corners demand a slightly different trick to inner corners.” He adds, “Wrapping the paper around the corner with a small overlap – typically around 40–50mm – helps secure it in place.” (This technique is typically used when wallpapering a chimney breast.)
Bramlett says stretching to get a tight fit is a mistake, “Overstretching can distort the pattern and cause weak adhesion, leading to peeling down the line.” He adds, “Instead, keep the tension firm but natural, smooth it with a wallpaper tool, and trim any excess for a crisp finish.”

Eric Bramlett is the owner of Bramlett Real Estate. He has extensive experience in real estate development and brokerage management. They have won multiple industry awards and been featured in top media outlets such as Axios, Bloomberg and Forbes.
What corner do you start wallpapering first?
You want to start in a corner that doesn’t have any obstacles, such as a window frame, door frame or light switches, in the way, if possible.
This allows you to do a complete uninterrupted drop which will give you a nice straight edge to butt up against when you put up the next drop. Start about a third of a roll away from the corner.
FAQs
Do you overlap wallpaper in corners?
“The answer depends on the material and the situation,” explains Bramlett. ”With thicker wallpapers, a small overlap (around 5–8mm) can ensure better adhesion, especially if the walls aren’t perfectly even.” He adds, “. For thinner wallpapers, though, overlapping too much can cause visible ridges.”
If you cut flush to a corner rather than overlapping, there is a very good chance that when the wallpaper dries, you will be left with a gap exposing the wall underneath. This is why overlapping is important, especially if using patterned wallpaper.
However, if you are hanging lining paper or patterned wallpaper like Anaglypta that is going to be painted, you can cut the paper flush into the corners if you want. If there are any small gaps left, paint will hide them.
What can go wrong when wallpapering corners?
“There’s the dreaded pattern misalignment,” says Bramlett. “Nothing ruins a wallpaper job faster than realising halfway through that your beautiful floral or geometric design is running off course.” He says to prevent this from happening, “Always start at a corner that’s free of major obstacles—no windows, no doors—so you can establish a clean, straight edge from the beginning.”
Another issue is getting an overlap to stick. To solve this issue, use an extra-strong paste and a seam roller to put the overlap in place. However, if it does lift, you can use a wallpaper repair adhesive like Solvite Overlap & Border from Amazon.
Another solution is to wipe off any excess paste, dry with a clean dry cloth and use painter's tape to hold down the overlap until the paste is dry. This is time-consuming but effective if needed.
If anything goes wrong, as a last resort, you can start removing the wallpaper and start again.
To ensure that your wallpaper is put up properly you will need the right wallpaper tools. Check out our 9 wallpaper hacks to help get a great finish. If you decide your wallpaper has got to go painting over wallpaper is a quick and easy option.
Steve Jenkins is a freelance content creator with over two decades of experience working in digital and print and was previously the DIY content editor for Homebuilding & Renovating.
He is a keen DIYer with over 20 years of experience in transforming and renovating the many homes he has lived in. He specialises in painting and decorating, but has a wide range of skills gleaned from working in the building trade for around 10 years and spending time at night school learning how to plaster and plumb.
He has fitted kitchens, tiled bathrooms and kitchens, laid many floors, built partition walls, plastered walls, plumbed in bathrooms, worked on loft conversions and much more. And when he's not sure how to tackle a DIY project he has a wide network of friends – including plumbers, gas engineers, tilers, carpenters, painters and decorators, electricians and builders – in the trade to call upon.
