9 easy-to-follow wallpaper hacks that will help get a pro-looking finish
Unleash the wallpaper hacks in this guide to make your next wallpapering project quicker and easier
Bring your dream home to life with expert advice, how to guides and design inspiration. Sign up for our newsletter and get two free tickets to a Homebuilding & Renovating Show near you.
You are now subscribed
Your newsletter sign-up was successful
The smart wallpaper hacks in this guide will soon become your friend. You might know a few already, but we’re sure you will find a collection of useful tips and techniques that will make wallpapering a little (or a lot) less frustrating.
You can add them to your how to wallpaper skills and become a DIY pro. No longer will you be searching for the right tool or struggling with ends that simply won't lie flat. Instead, you’ll enjoy achieving perfect cuts at both the top and bottom, resulting in a smooth, professional finish.
9 wallpaper hacks to make hanging wallpaper easier
Whether you are hanging or removing wallpaper, introduce this collection of wallpaper hacks to speed up the process and get a great finish.
1. Reroll your wallpaper in the opposite direction
When you unwrap a roll of wallpaper and lay it out on a pasting table the wallpaper simply keeps rolling back up. You can use a wallpaper brush or wallpaper scissors to weigh the paper down, but there is a better option.
Simply reroll a metre section of the wallpaper in the opposite direction of the original roll and unroll. The wallpaper will now stay flat – without a weight – ready for pasting.
2. Keep your pasting table clean and pasting even
A dirty pasting table can mean dirty wallpaper. So, when applying paste to wallpaper, you want to keep your pasting table as paste-free as possible while adding an even layer of paste.
Line up the far edge of the wallpaper with the far edge of the table. Add plenty of paste and roller onto the wallpaper, making sure to get an even layer. Go along the edge and into the middle. Now move the wallpaper to the edge of the pasting table nearest to you and apply the rest of the paste.
Gary Tidman, lead designer at Only Lifts, offers an alternative option. "It’s worth laying down a plastic dust sheet or even just lining the table with cling film." He adds, "That way, when the paste inevitably gets everywhere, you can just peel it off and start fresh. It also helps to keep a damp cloth nearby so you can wipe up any drips before they dry and go sticky."
Bring your dream home to life with expert advice, how to guides and design inspiration. Sign up for our newsletter and get two free tickets to a Homebuilding & Renovating Show near you.
When finished make sure you know how to dispose of wallpaper paste properly to avoid any unexpected or unwanted problems.

Gary Tidman is a seasoned home improvement and construction expert with over 35 years of hands-on experience across the UK, Europe, and the Middle East. He has tackled everything from bespoke residential builds to complex retrofits in heritage and modern properties.
Try these wallpaper tools to a pro finish
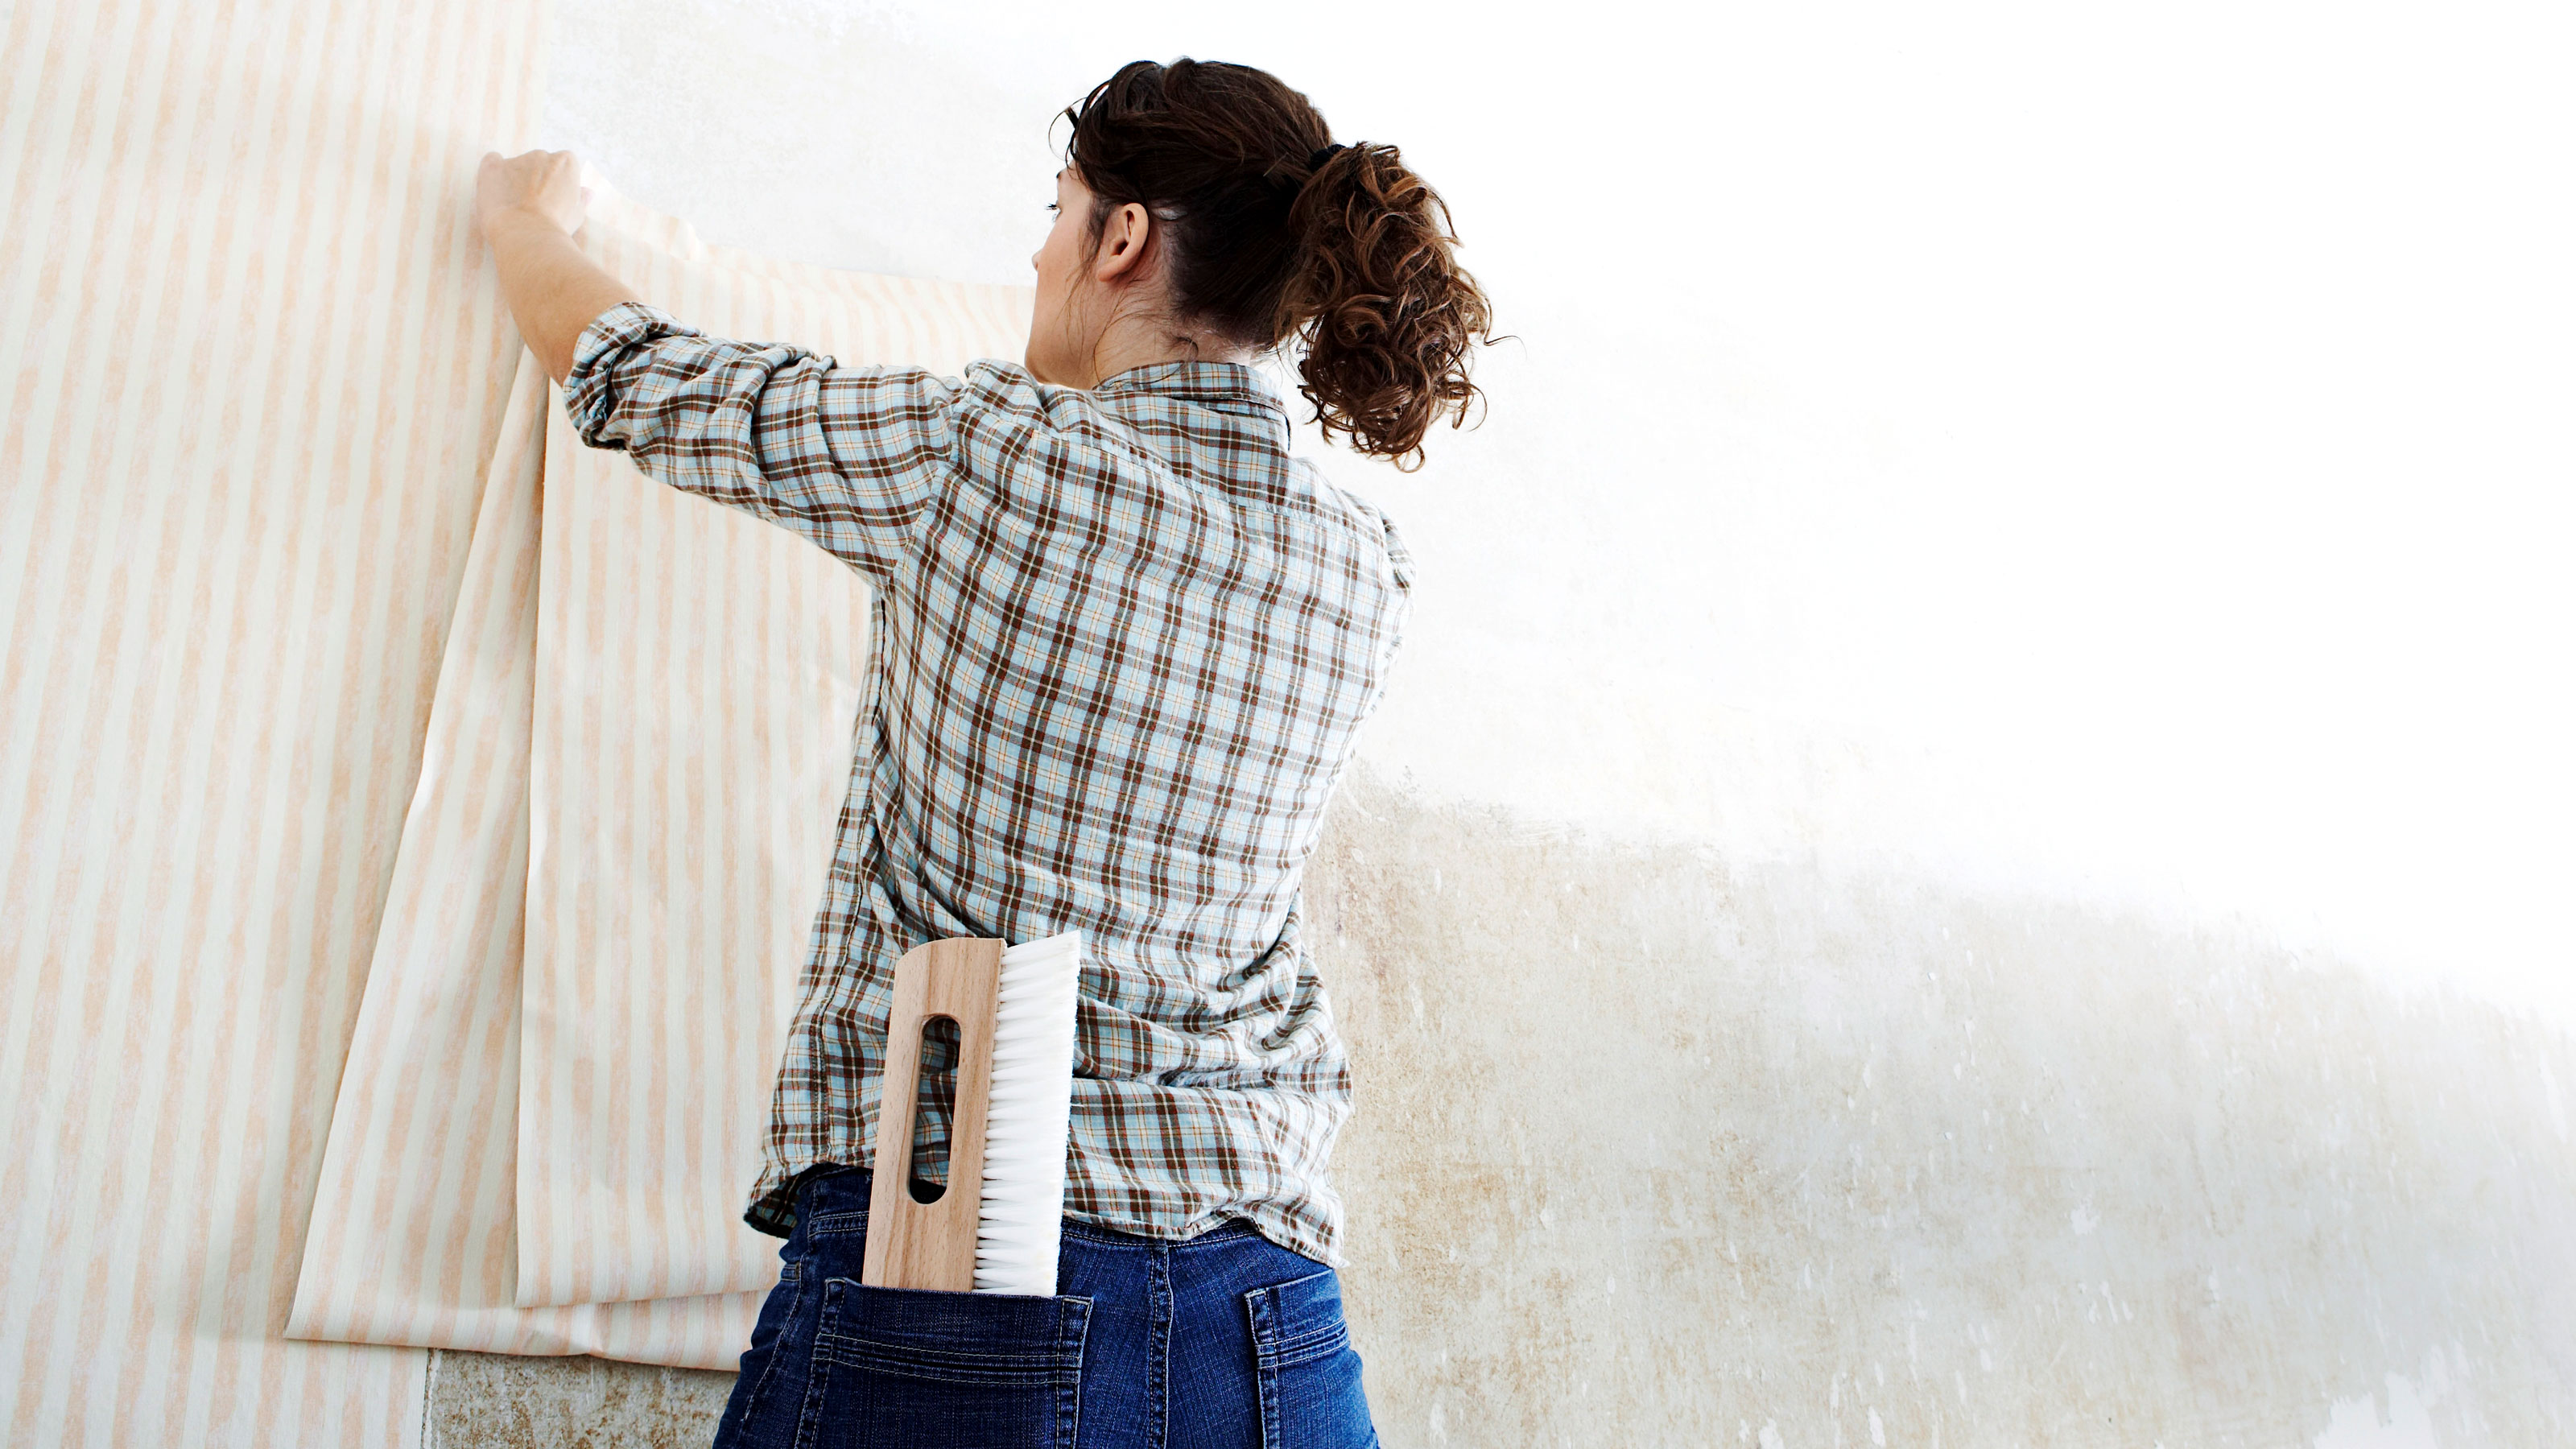
3. Keep wallpapering tools in your pocket
There is nothing more annoying than putting down your brush, scissors, knife or pencil and then climbing up a ladder without them. When you go to mark or make a cut at the ceiling and realise you don't have what you need, it can be frustrating having to climb all the way down the ladder again.
Over the course of a job, this can be time-consuming and annoying so keep your wallpaper tools in your pocket. Get into the habit of putting them back there again after use too.
4. Paint the wall for perfect looking seams
It doesn’t matter how well you put up your gorgeous new contemporary dark wallpaper, there is always still a chance that small gaps will appear around the seams.
One option is to get a similar colour paint to the wallpaper and paint a strip on the wall where the seams are going to be before putting up the wallpaper. A 2-inch brush should do the job.
5. Score wallpaper for easy removal
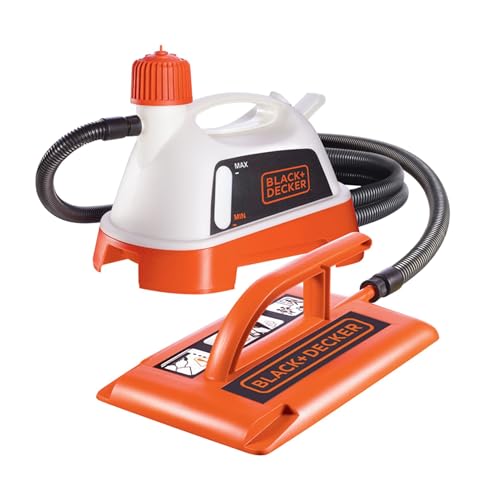
To make wallpaper removal easy, score the paper with a Stanley knife. Create criss-cross patterns around two inches apart from top to bottom. Do not push too hard; otherwise, you will dig into the plaster. Then, combine this with a wallpaper steamer for quick removal.
Jimmy Englezos, DIY expert and Senior Brand Manager at Ronseal, suggests a few budget-friendly removal options. “Mix equal parts of fabric softener and water before painting this across the surface of the wallpaper.” He adds, “Fabric softener helps to break down the wallpaper glue, helping the wallpaper come off much more easily.”
An alternative is to “Mix one part white vinegar with two parts water and fill up an empty spray bottle.” Then, “spray this mixture over the wallpaper and allow it to sit for 10 minutes.” The acid in the vinegar will help break down the wallpaper paste.

Jimmy regularly provides insights and guidance on how to properly prepare wood for treatment, as well as handy tips and hints for decorating and general woodcare projects.

6. Work out quickly where to start
Start towards the left around half a roll from a corner and mark with a pencil. Now use a new roll of paper and place against the first mark and see where the next drop will be. Do this across the whole wall.
This is to try and avoid having to cut thin slivers against doors, windows, sockets and corners. Adjust the start mark if needed.
7. Measure twice and cut once
The old adage measure twice and cut once is just as relevant today as it's ever been. It helps ensure you are making a cut in the right place. There is nothing worse than cutting a drop of wallpaper an inch or two short, as it renders it useless and can be an expensive mistake.
An alternative way to measure is to place the roll of wallpaper on the floor, climb a ladder and pull the roll up to the ceiling. Make sure to leave a few inches extra at the top and bottom. Get off the ladder and mark the wallpaper halfway down the skirting board or at the bottom of the skirting board and cut.
8. Use a seam roller
The edges of a drop of wallpaper are the most likely to lift. So, make sure that you apply the same amount of paste on the edge as the rest of the wallpaper.
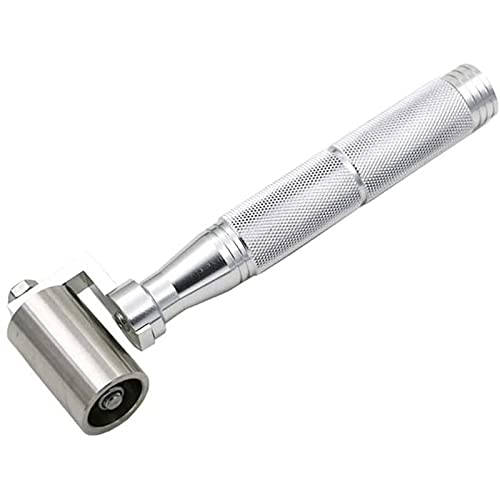
Brush down with a wallpaper brush and wipe off any excess paste and then use the seam roller to gently move up and down the seam until finished.
John Small, Home improvement specialist at Ty Eco, says, "Don’t press on too hard, as this can squeeze out adhesive or stretch the paper, damaging the work you’ve just done." He adds, "If you see any paste or dirt on the roller, make sure to remove it before using it as it could mark the wallpaper."

John Small helps UK homeowners improve energy efficiency, sustainability, and home maintenance through smart, practical building and renovation solutions.
9. Get a clean cut and straight lines top and bottom
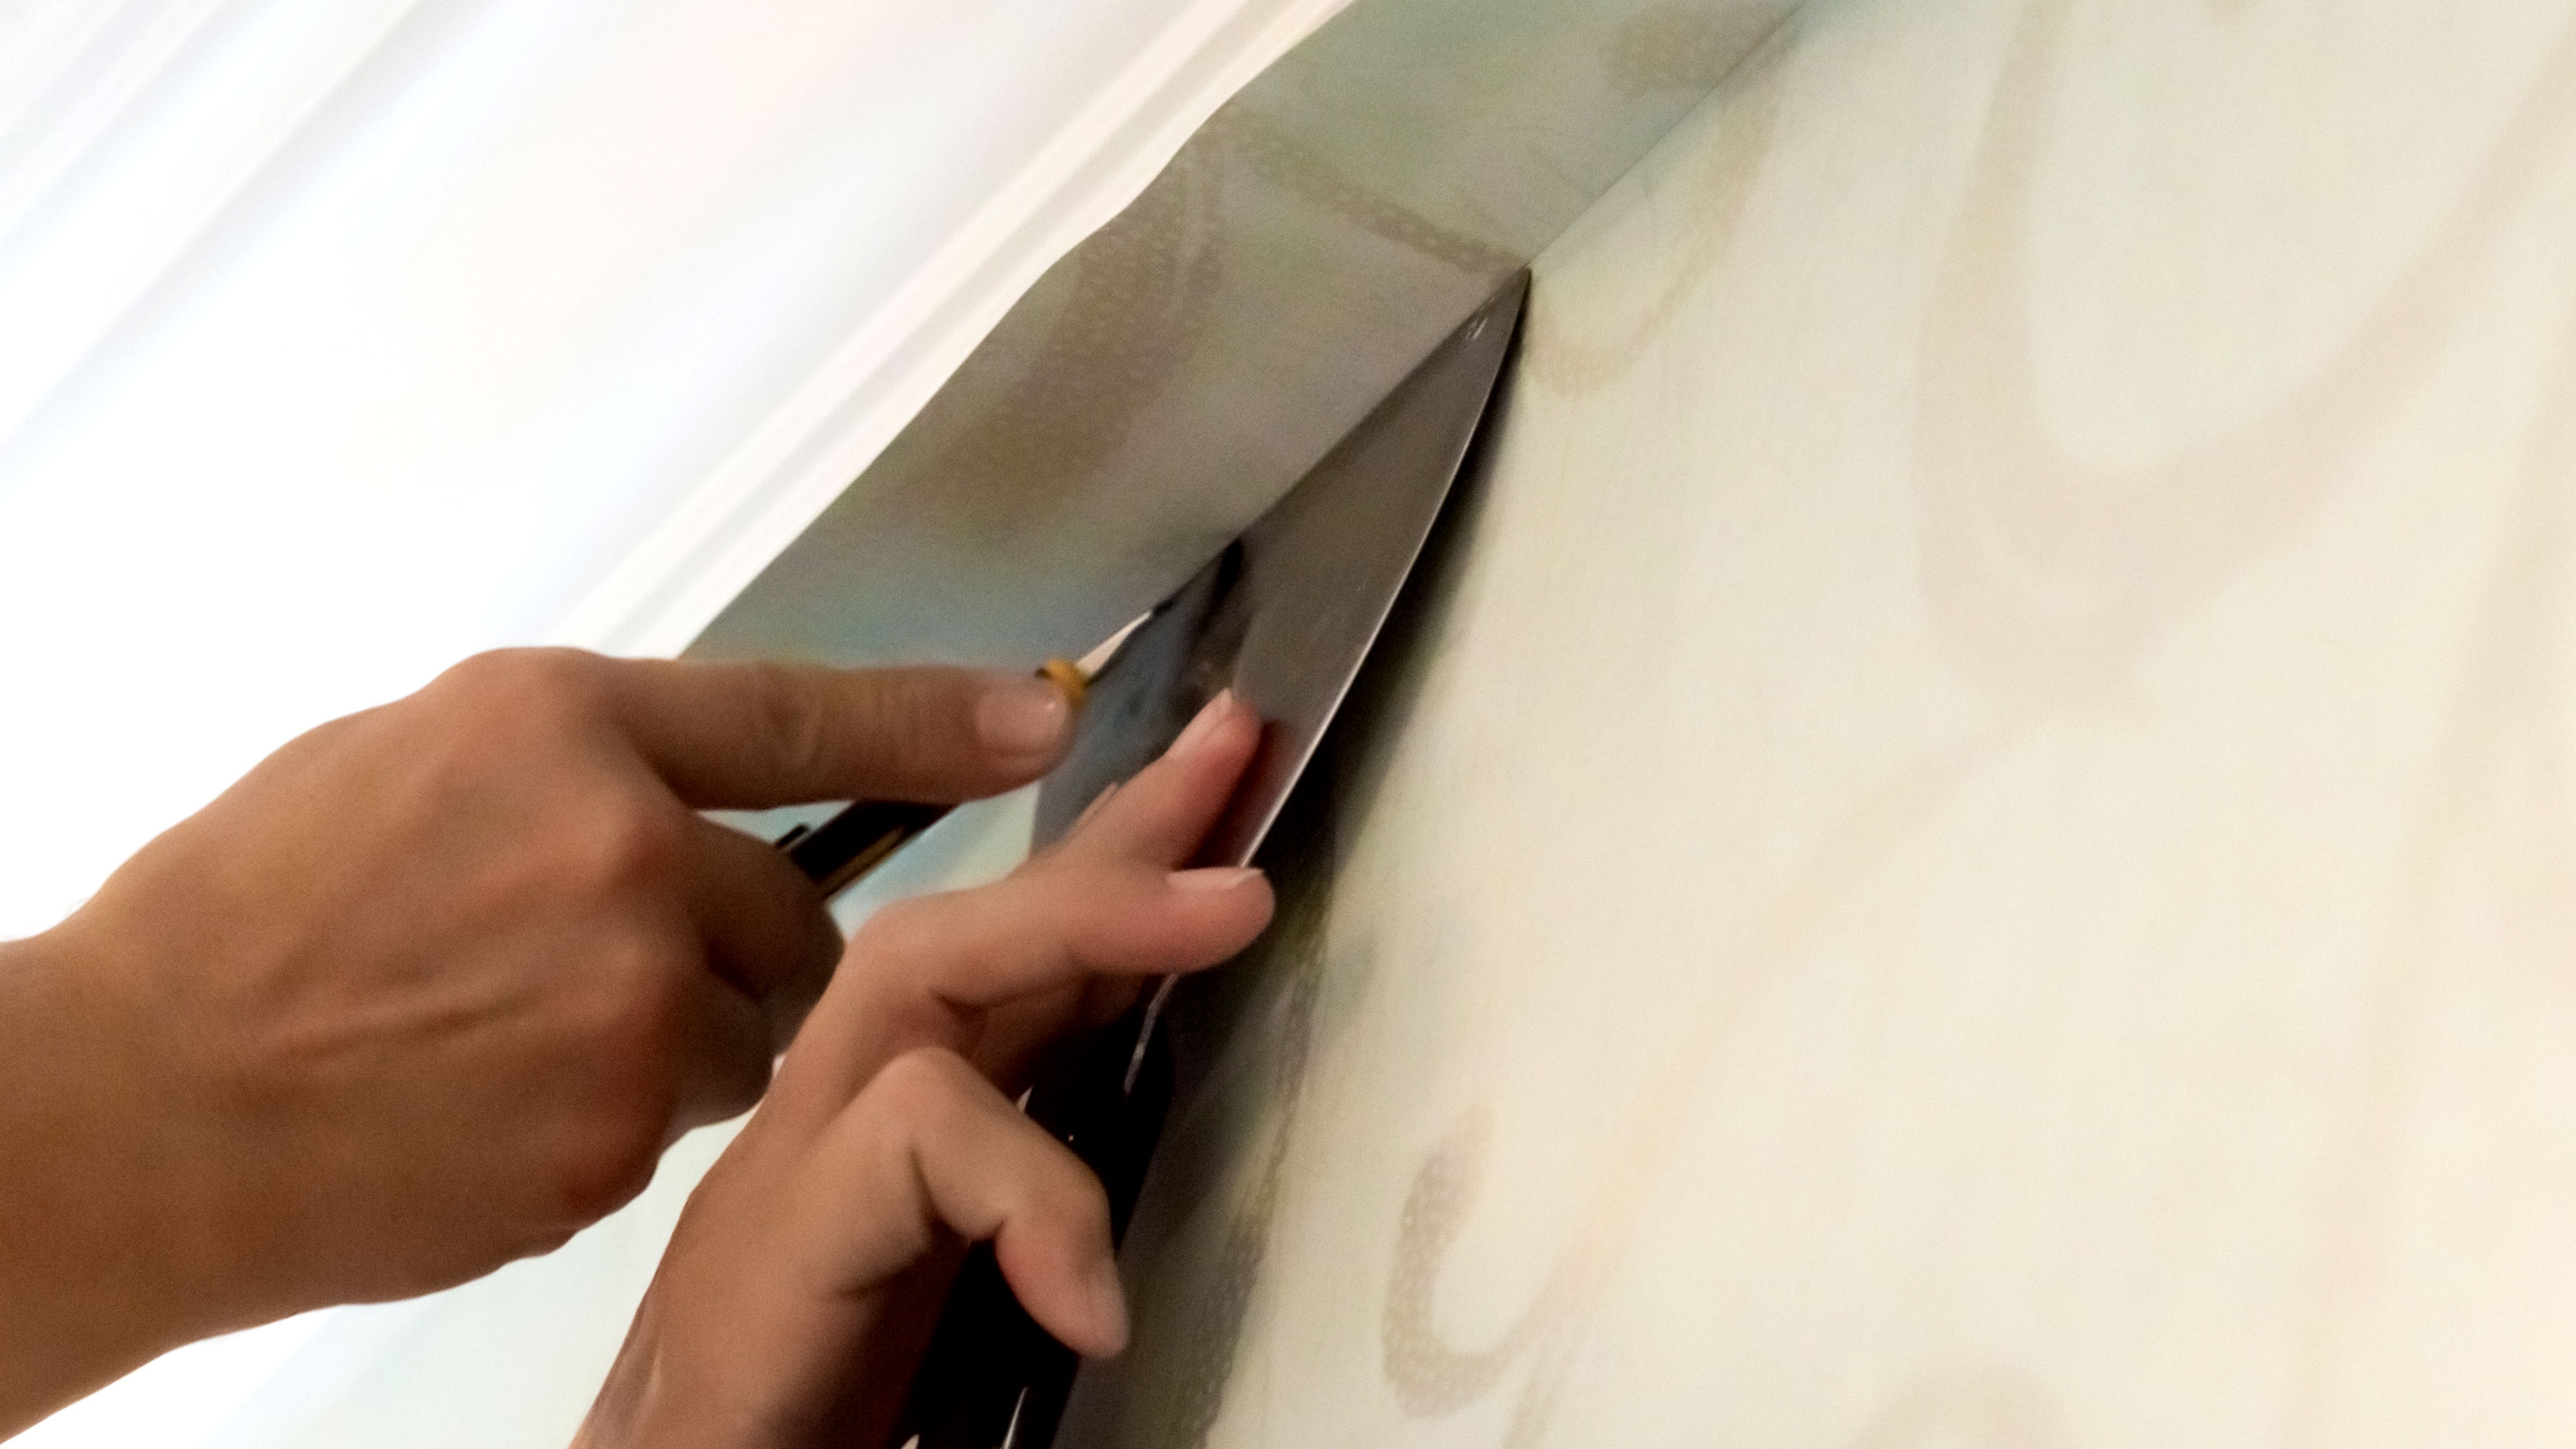
To help get matching lines and cuts along the bottom and top of your wallpaper do two or three drops at a time. This is ideal for flat walls. Put up multiple rolls and push in the top and bottom on all drops with a wallpaper brush. Then run the back of a pair of scissors along all three drops at the ceiling and skirting to mark the cut.
Now gently ease off the first drop at the ceiling and cut with scissors and repeat for all drops top and bottom. Push back into place with a wallpaper brush.
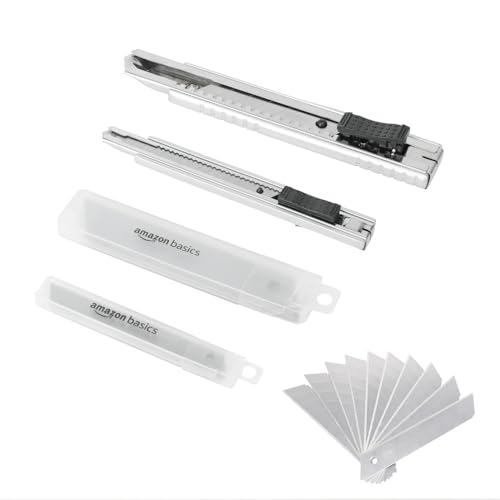
If cutting with a knife, use a snap knife. These are sharp and you can snap off the blade for a fresh one. Ideally let the paste dry for five minutes before cutting. You can use a large putty knife or long level as a guide. Make sure the knife is sharp otherwise it will rip the paper.
Once the paper has dried think about caulking skirting boards to create a final seal at the bottom. Use decorators caulk so you can paint over it.
FAQs
How much does one roll of wallpaper cover?
A single roll of wallpaper is typically 10 metres in length (around 33 feet) and 530mm wide (around 1 foot 8 inches). The average height for a wall in the UK is around 2.4m or 8 feet. In this scenario a single roll will give four drops or maybe three on patterned wallpaper. Four drops will cover around two metres, width wise.
So you will need two rolls to cover a single wall in a 12ft x 12ft room or 7 or 8 rolls for the whole room (depending on how many doors and windows you have).
There’s a lot of subtle skills you need to know for successful wallpapering. Check out the following guides – paper a ceiling, wallpapering new plaster and wallpapering a chimney breast – to get some essential tips to ensure you get a great finish.
Steve Jenkins is a freelance content creator with over two decades of experience working in digital and print and was previously the DIY content editor for Homebuilding & Renovating.
He is a keen DIYer with over 20 years of experience in transforming and renovating the many homes he has lived in. He specialises in painting and decorating, but has a wide range of skills gleaned from working in the building trade for around 10 years and spending time at night school learning how to plaster and plumb.
He has fitted kitchens, tiled bathrooms and kitchens, laid many floors, built partition walls, plastered walls, plumbed in bathrooms, worked on loft conversions and much more. And when he's not sure how to tackle a DIY project he has a wide network of friends – including plumbers, gas engineers, tilers, carpenters, painters and decorators, electricians and builders – in the trade to call upon.
