Learn how to wallpaper with these expert tips for a professional finish
Want to know how to wallpaper walls and ceilings? Master the basics with this easy-to-follow guide for DIYers
Bring your dream home to life with expert advice, how to guides and design inspiration. Sign up for our newsletter and get two free tickets to a Homebuilding & Renovating Show near you.
You are now subscribed
Your newsletter sign-up was successful
Knowing how to wallpaper is the perfect way to transform a room with a fresh new look. You can keep it simple with plain wallpaper ready for painting, or hang patterned wallpaper to add personality and panache.
But like all well-executed DIY projects, you need to plan ahead. You’ll need to calculate how many rolls are needed to ensure you don’t come up short on a project. And for a stable, smooth base for your wallpaper, you’ll need to know how to hang lining paper.
To finish, check out the pro tips and techniques in this guide to help get a smart, professional-looking finish.
Tools you'll need to wallpaper
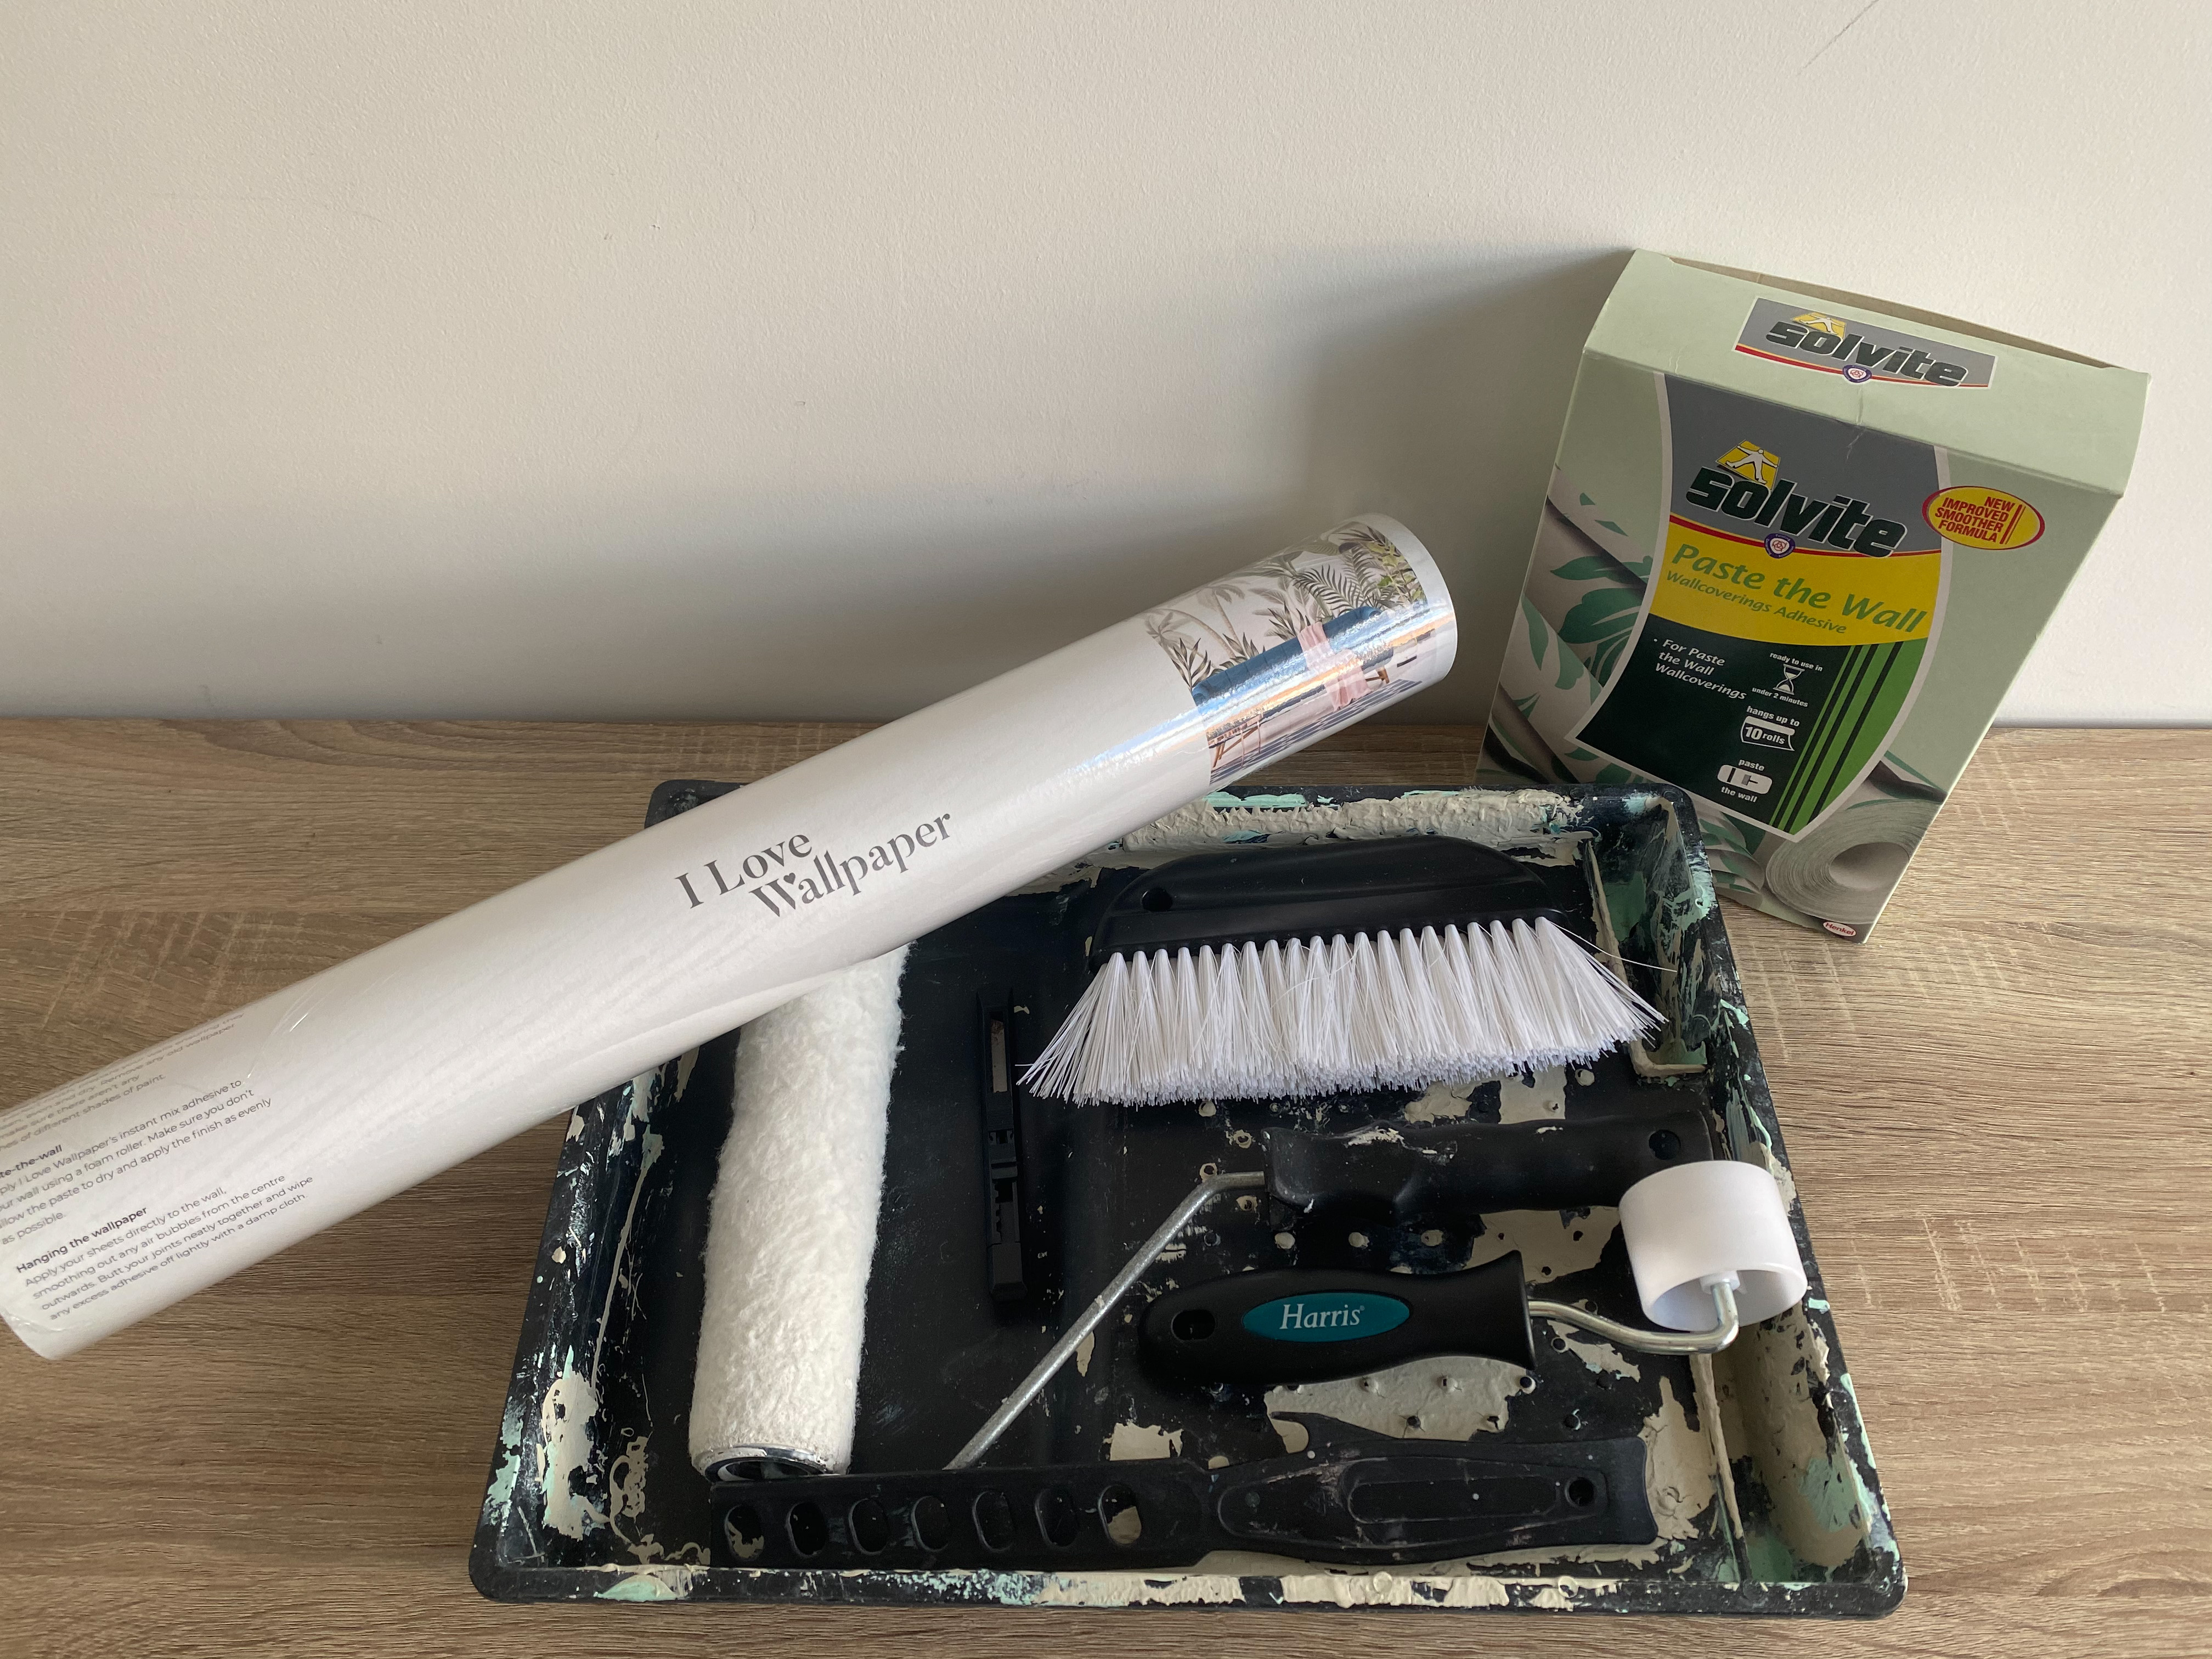
- Lining paper
- Wallpaper
- Pasting table
- Pasting brush (like this Faithfull Wallpaper Paste Brush from Amazon)
- Hanging brush
- Wall sealer
- Wallpaper paste
- Wallpaper scissors (like these Coral Endurance Scissors from Amazon)
- Filler knife / Filler
- Plumb line or spirit level
- Tape measure
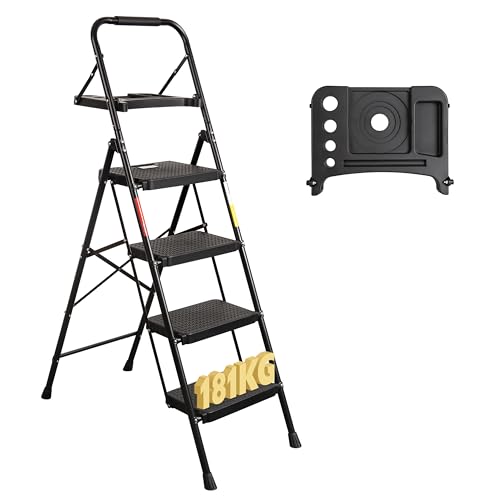
- Step ladder
- Bucket (like this 14L Builders Bucket from B&Q)
- Cloth
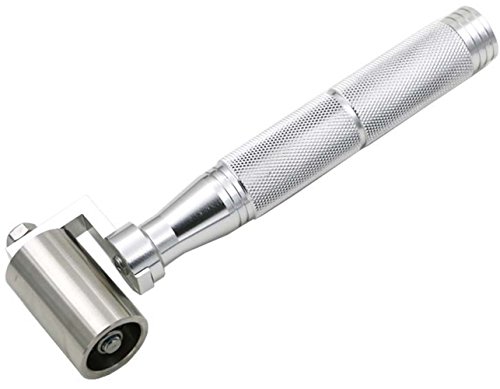
- Seam roller (optional)
Try these top quality tools for wallpapering

Gary Tidman is a seasoned home improvement and construction expert with over 35 years of hands-on experience across the UK, Europe, and the Middle East. Gary has tackled everything from bespoke residential builds to complex retrofits in heritage and modern properties.
Preparation
1. Clear the room and fill any cracks
Use an online estimator, such as B&Q’s Wallpaper Calculator, to see how many rolls of wallpaper you will need. Don't forget to add around 10% extra for wastage. Alternatively, ask in store for help.
You will need space for a pasting table, ladder and room to manoeuvre when hanging wallpaper. So, an empty room is the best option. Alternatively, place furniture against the opposite wall you are going to paper and cover with dust sheets.
Ideally, a bare wall is the best base to work. Make sure that any minor cracks are filled with an interior filler such as PolyCell Quick Drying Polyfilla or TOUPRET Redlite Filler. If you have bigger holes to fill try PolyCell Deep Gap Polyfilla or patching plaster. Use a 2-3 inch filler knife to apply. Let it dry and rub down with a fine grit – 120 – sandpaper to get a smooth finish.
2. Treat newly plastered walls
When wallpapering new plaster, the wall needs to be treated. This is because otherwise it will absorb all the wallpaper paste and make it difficult to hang wallpaper. Try a sealer like Solvite Wall Sealer and apply with a roller for speed. Alternatively, apply a coat of wallpaper paste to the wall and let it dry.
To wallpaper over a previously painted wall first make sure to remove any loose/peeling paint with a scraper. Fill any cracks/holes and sand. If the wall is dirty or greasy give it a quick clean with sugar soap. Finally, give the whole wall a quick sand – especially if the paint has a gloss finish – to improve adhesion.
3. Mark fixings
There are a few options for noting the position of any fixings. Gary Tidman, lead designer at Only Lifts suggests, "Take a photo of the measurements and positions first, and note down the distances from fixed points like corners or the floor." He adds, "Once the wallpaper is up, you can use a pin or needle to gently feel through the paper to locate your fixing holes without tearing it."
Another option is to put any screws taken out back into the wall. Leave the screws protruding around 1-2cm. When papering the wall gently push the paper to see where the screws are. Get a sharp blade and cut across the screw head and gently push the paper over the screw head and finally pat down with a hanging brush.
Kevin Keen, owner of Keen's Buildings suggests a similar option to using screws, "Drop a small matchstick or wooden dowel into the holes before the paper goes up." He adds, "It will poke right through the paper and give you an easy visual marker after everything's done"

Kevin has been in the industry for 25 years and handles everything, from the distribution and installation of portable structures to financing and manufacturing. He can speak with authority on every aspect of construction.
Application
Before hanging any wallpaper, first mix your wallpaper paste. A general all-round wallpaper paste, such as Solvite All Purpose Wallpaper Adhesive - Extra Strong, is ideal for most wallpapers. Read the packet to see how many rolls the packet covers. One quick tip – make sure you add paste to water and stir as instructed to avoid lumps.
Bring your dream home to life with expert advice, how to guides and design inspiration. Sign up for our newsletter and get two free tickets to a Homebuilding & Renovating Show near you.
1. Add first drop
There are two options for the first drop. If using plain wallpaper (like this Anaglypta Maxwell Luxury Textured Vinyl Paintable Wallpaper from B&Q) that's going to be painted, Tidman says, "Start in the most visible corner of the room – often next (or near) to a doorway or window – and work away from there." Make sure that you can do an uninterrupted full drop, i.e. no cuts. He adds, "This means if you do end up with a narrower strip in an awkward corner, it’s less noticeable."
If you are using wallpaper with a large pattern, hang in the centre of the wall and work in both directions. Ideal for a feature wall or fireplace. Eric Bramlett of Bramlett Real Estate says, "Always begin in the most visible area of the room – not in a corner. It might seem easier to start at the edge, but I’ve found it’s better to begin at a focal point like the middle of a feature wall or right behind a central piece of furniture."
Before you start hanging, create a vertical straight line on the wall to ensure that the wallpaper goes up straight. Use a plumb line and bob to mark a line with a pencil. Alternatively, use a 600mm – or larger – spirit level to draw the line.

Eric Bramlett is the owner of Bramlett Real Estate. He has extensive experience in real estate development and brokerage management. They have won multiple industry awards and been featured in top media outlets such as Axios, Bloomberg and Forbes.
2. Paste wall or wallpaper
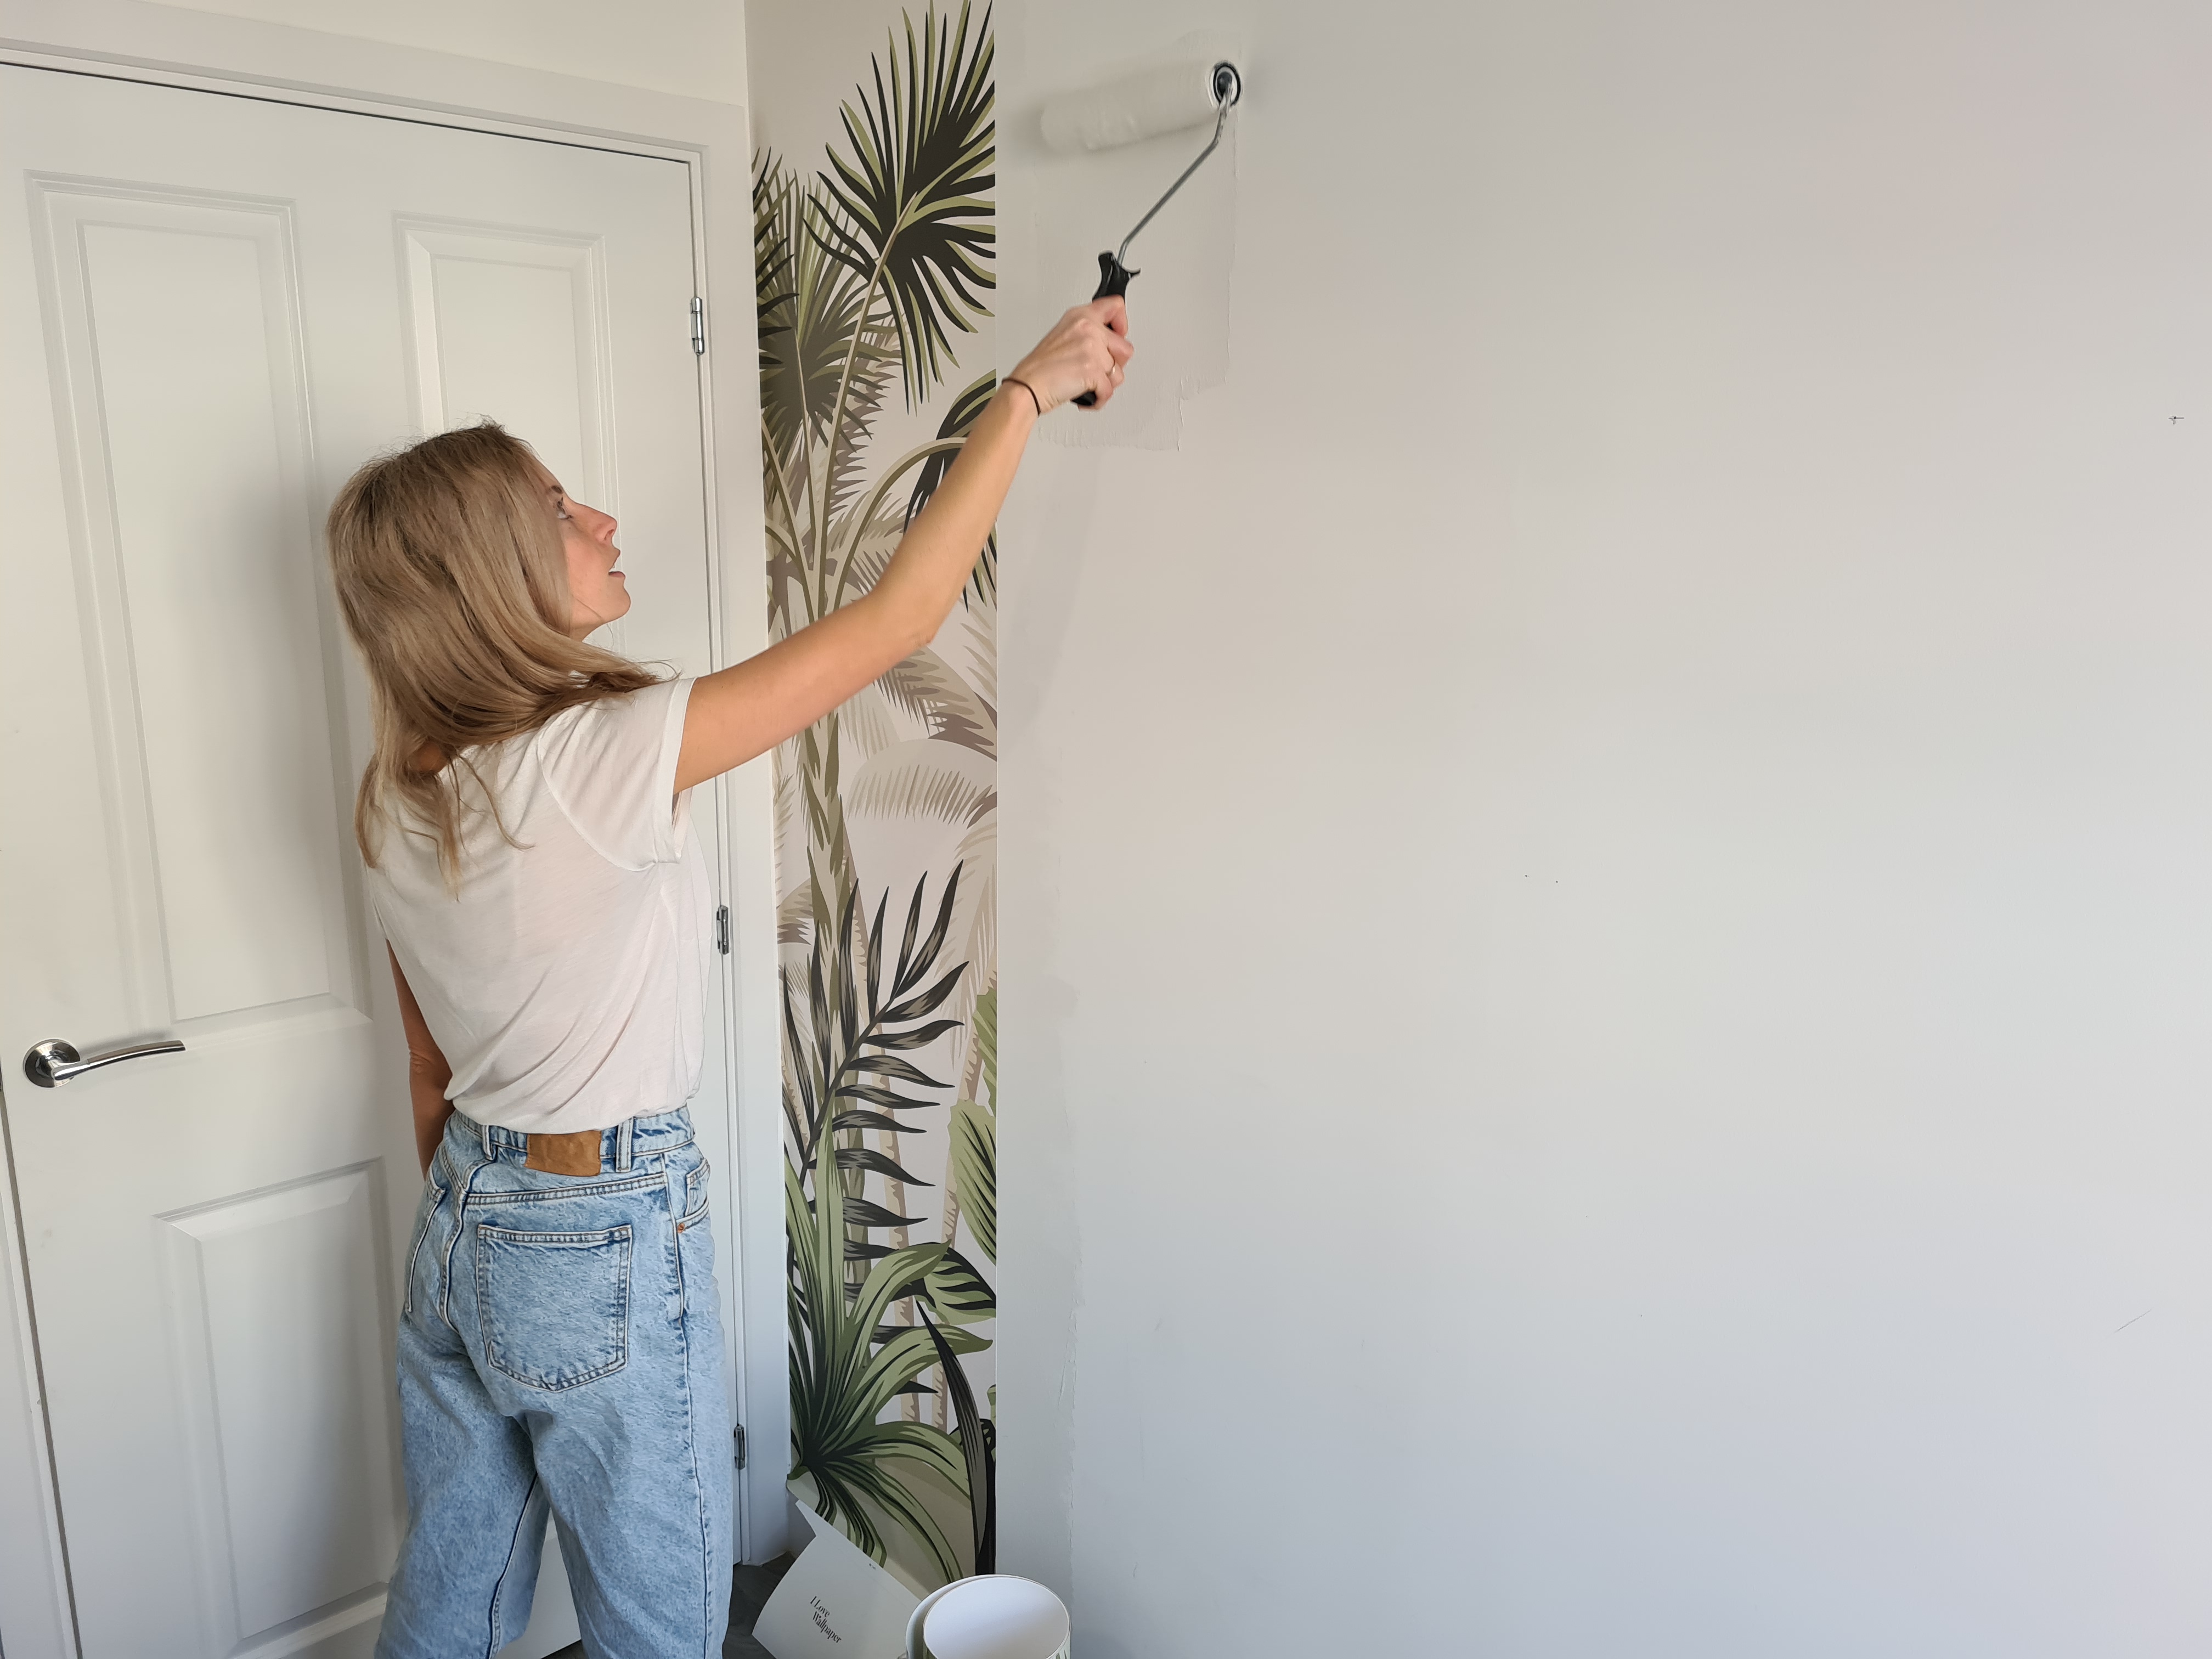
This will depend on your wallpaper. Wallpaper commonly comes in two variations – paste the wall or paste the paper. If you are using paste the wall wallpaper, use a paint tray and roller to apply to the wall. Make sure the coat is even and not too thick. If you are using paste the paper wallpaper use a standard pasting brush to apply the paste to the paper.
3. Apply wallpaper
If you are using patterned wallpaper write T at the top of every strip you cut to make sure you don't hang any patterned paper upside down. Also try matching up the pattern by placing the dry wallpaper against the wall to get an accurate idea of where you need to cut.
Measure the wall – don't forget to add around an extra couple of inches top and bottom. Place wallpaper on a pasting table, measure and cut and apply paste.
Fold over the bottom of the wallpaper – paste side to paste side – around halfway up the strip. Now place the top of the strip at the top of the wall with a slight overlap onto the ceiling. Guide into position with both hands and brush down and out. Now pull down the folded paper, adjust position and brush down. If using paste the wall wallpaper, pat the paper onto the wall – start at top – and guide into position and brush down.
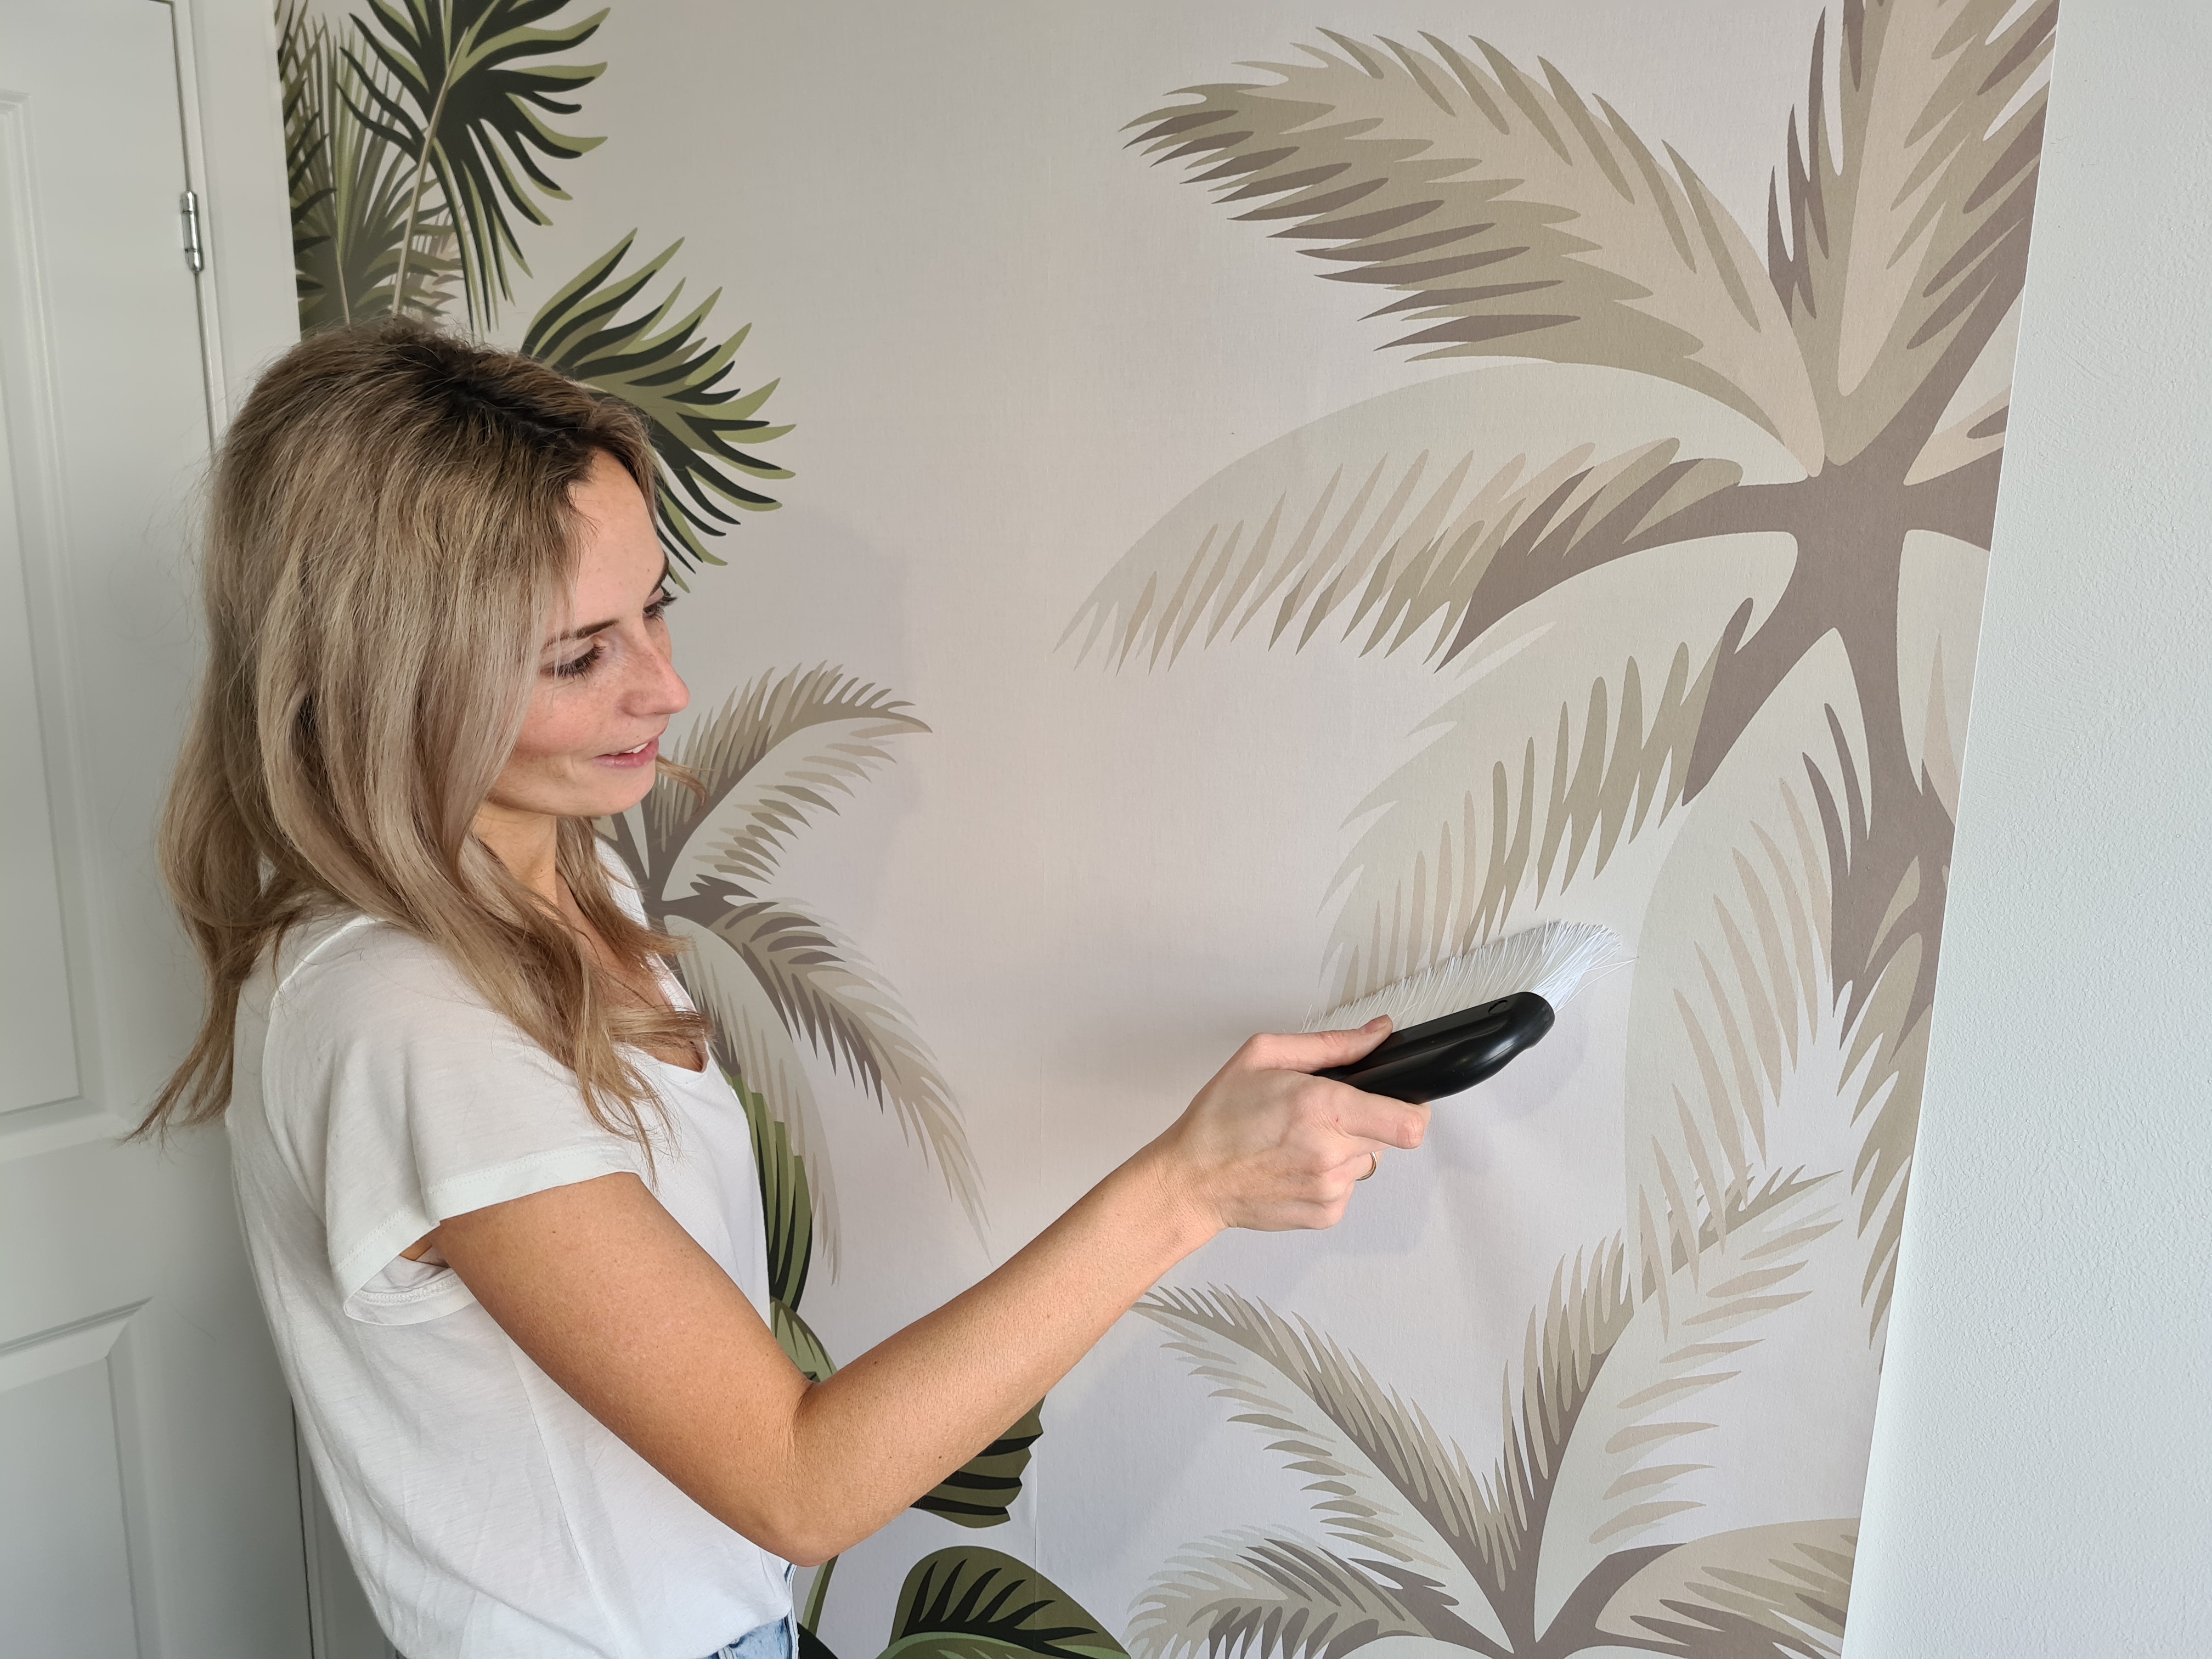
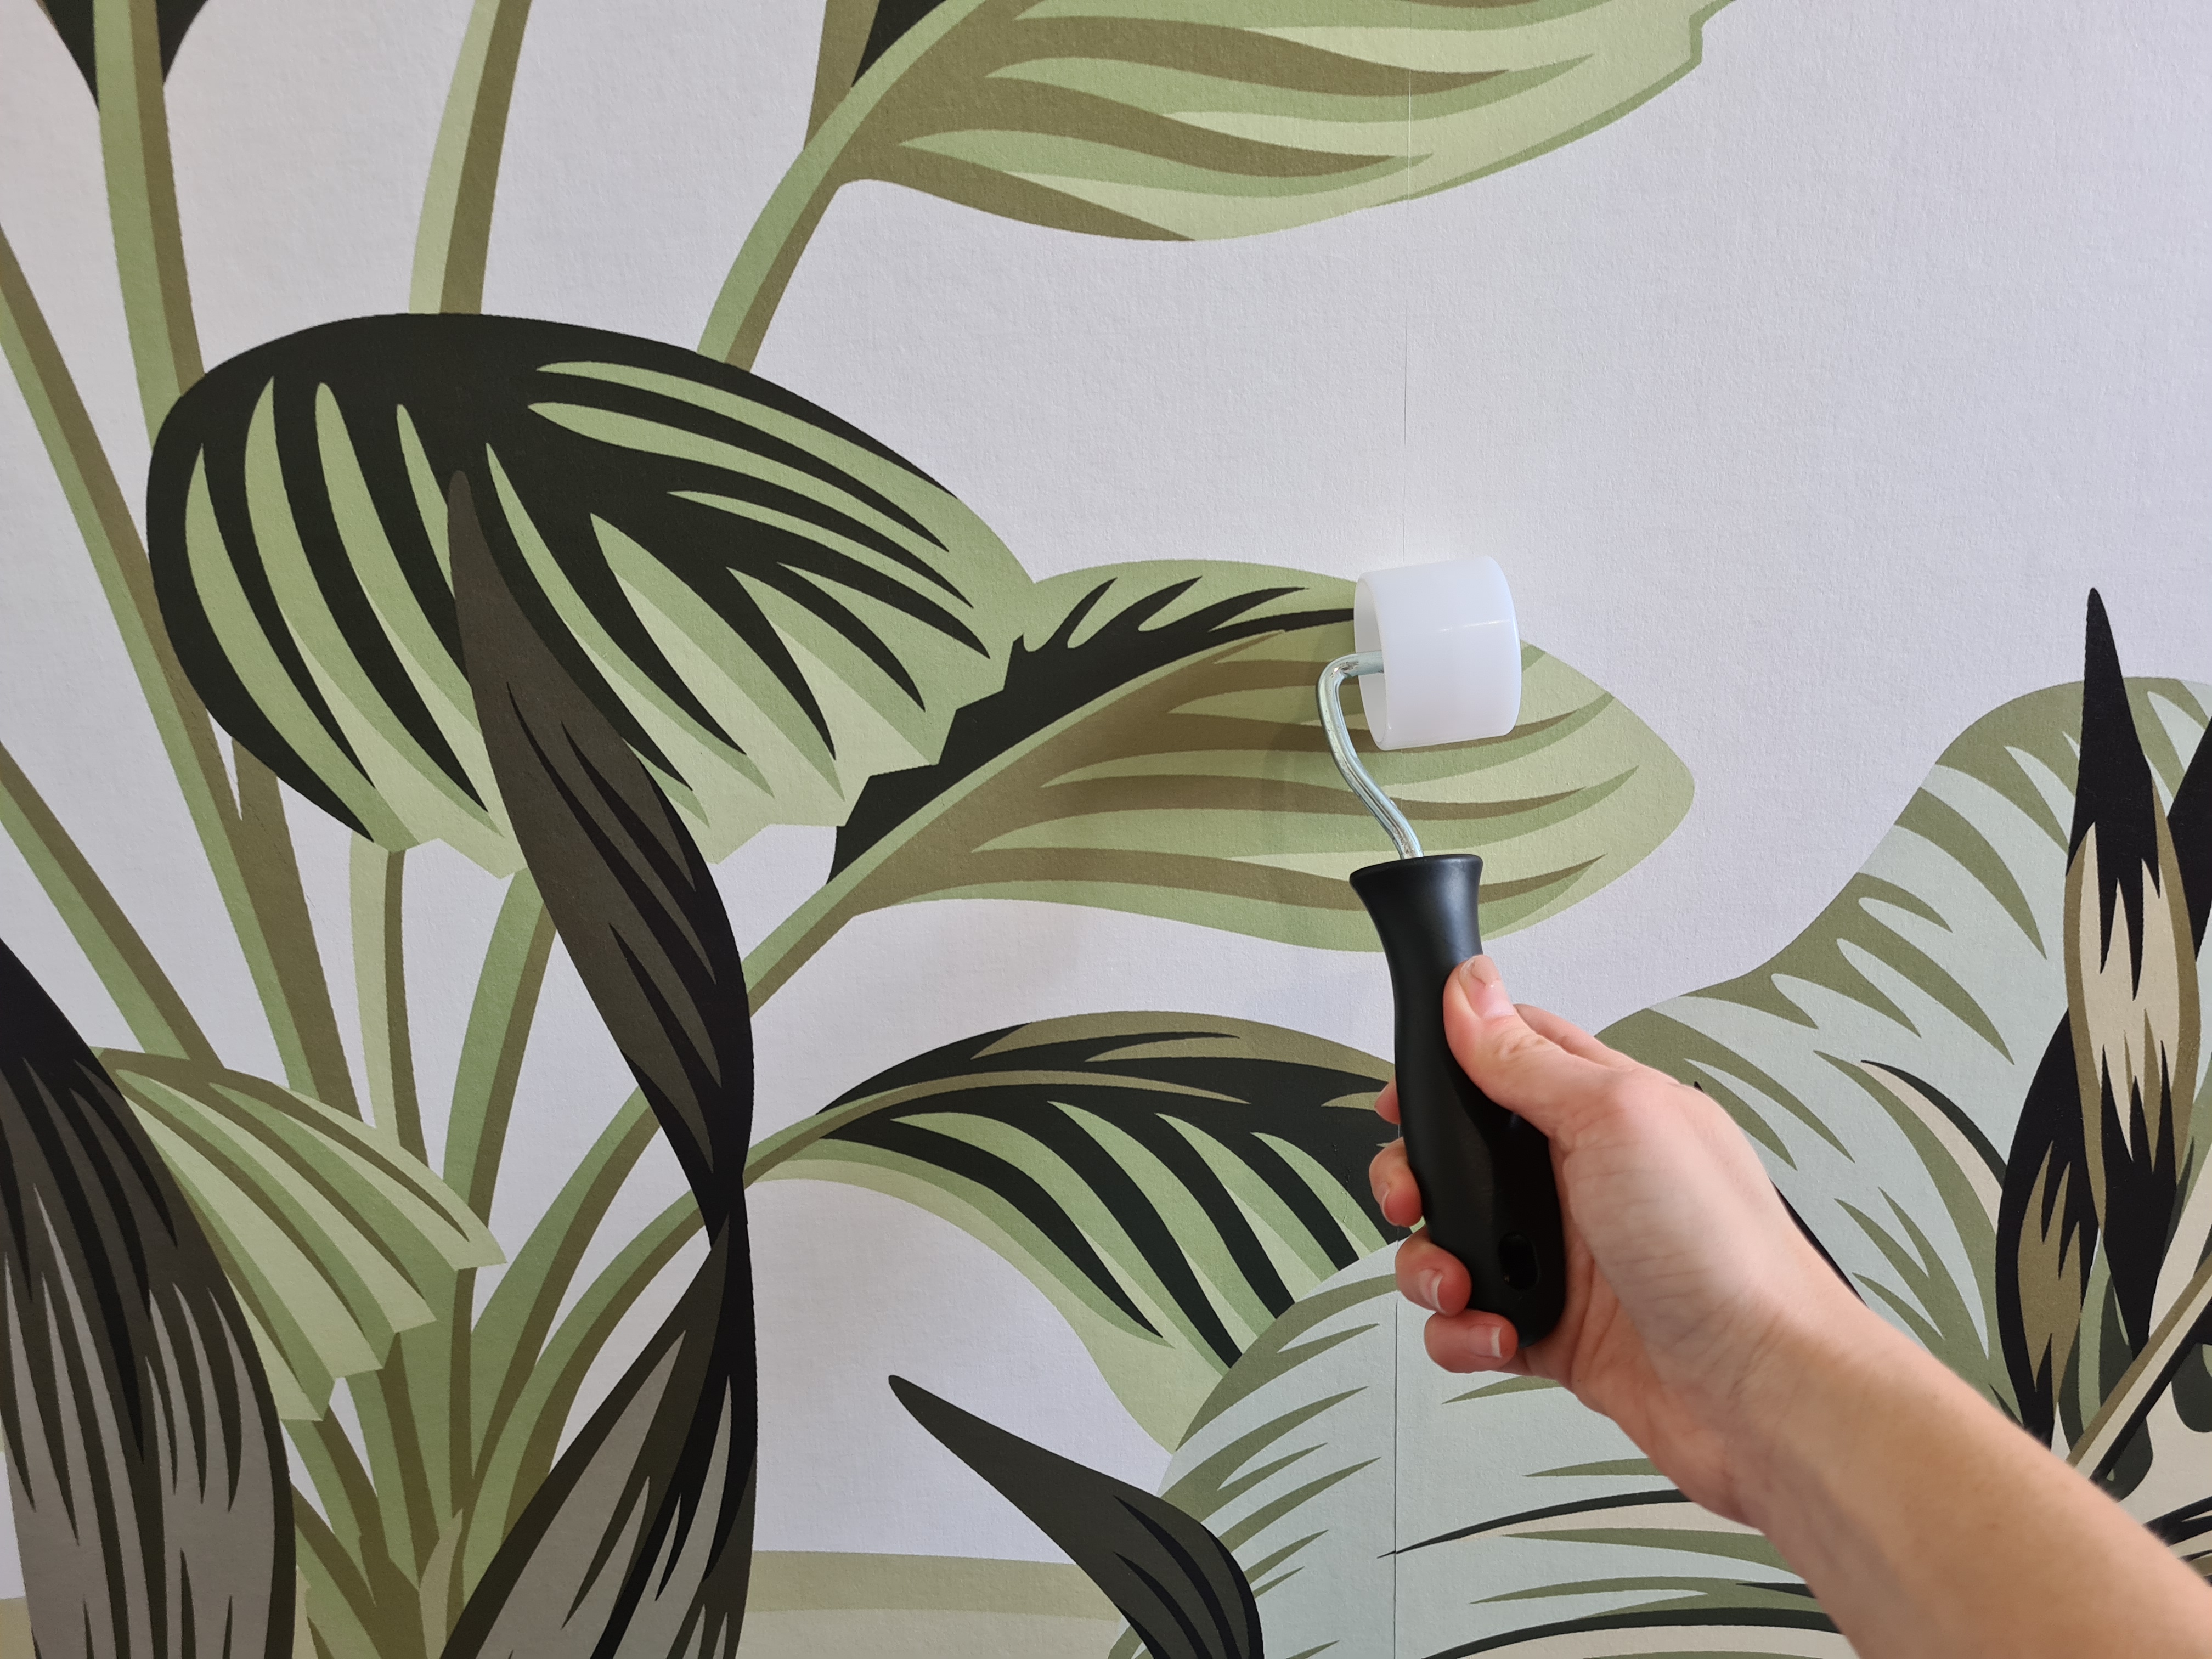
Use a hanging brush to push out any bubbles. Start in the middle and brush up and out towards edges to push out any air. Do the same of the bottom of the strip. Use a seam roller to make sure the seams are stuck down properly to the wall.
To ensure the wallpaper fits neatly against the ceiling and the skirting board, use the back of your wallpaper scissors to create a crease in the paper. Cut along the crease for the perfect fit. Now use the hanging brush to finish. Wipe down – top and bottom – with a damp cloth to remove excess paste.
An alternative to scissors is a sharp knife, as Tidman explains, "Use a wallpaper smoother to press it firmly into the edge, and run a sharp knife along the crease to trim the excess." To ensure the cut is successful he adds, "Make sure your blade is fresh – a blunt one will drag or tear the paper. Go slow and change blades as you go to keep your cuts clean."
Working around awkward corners and objects
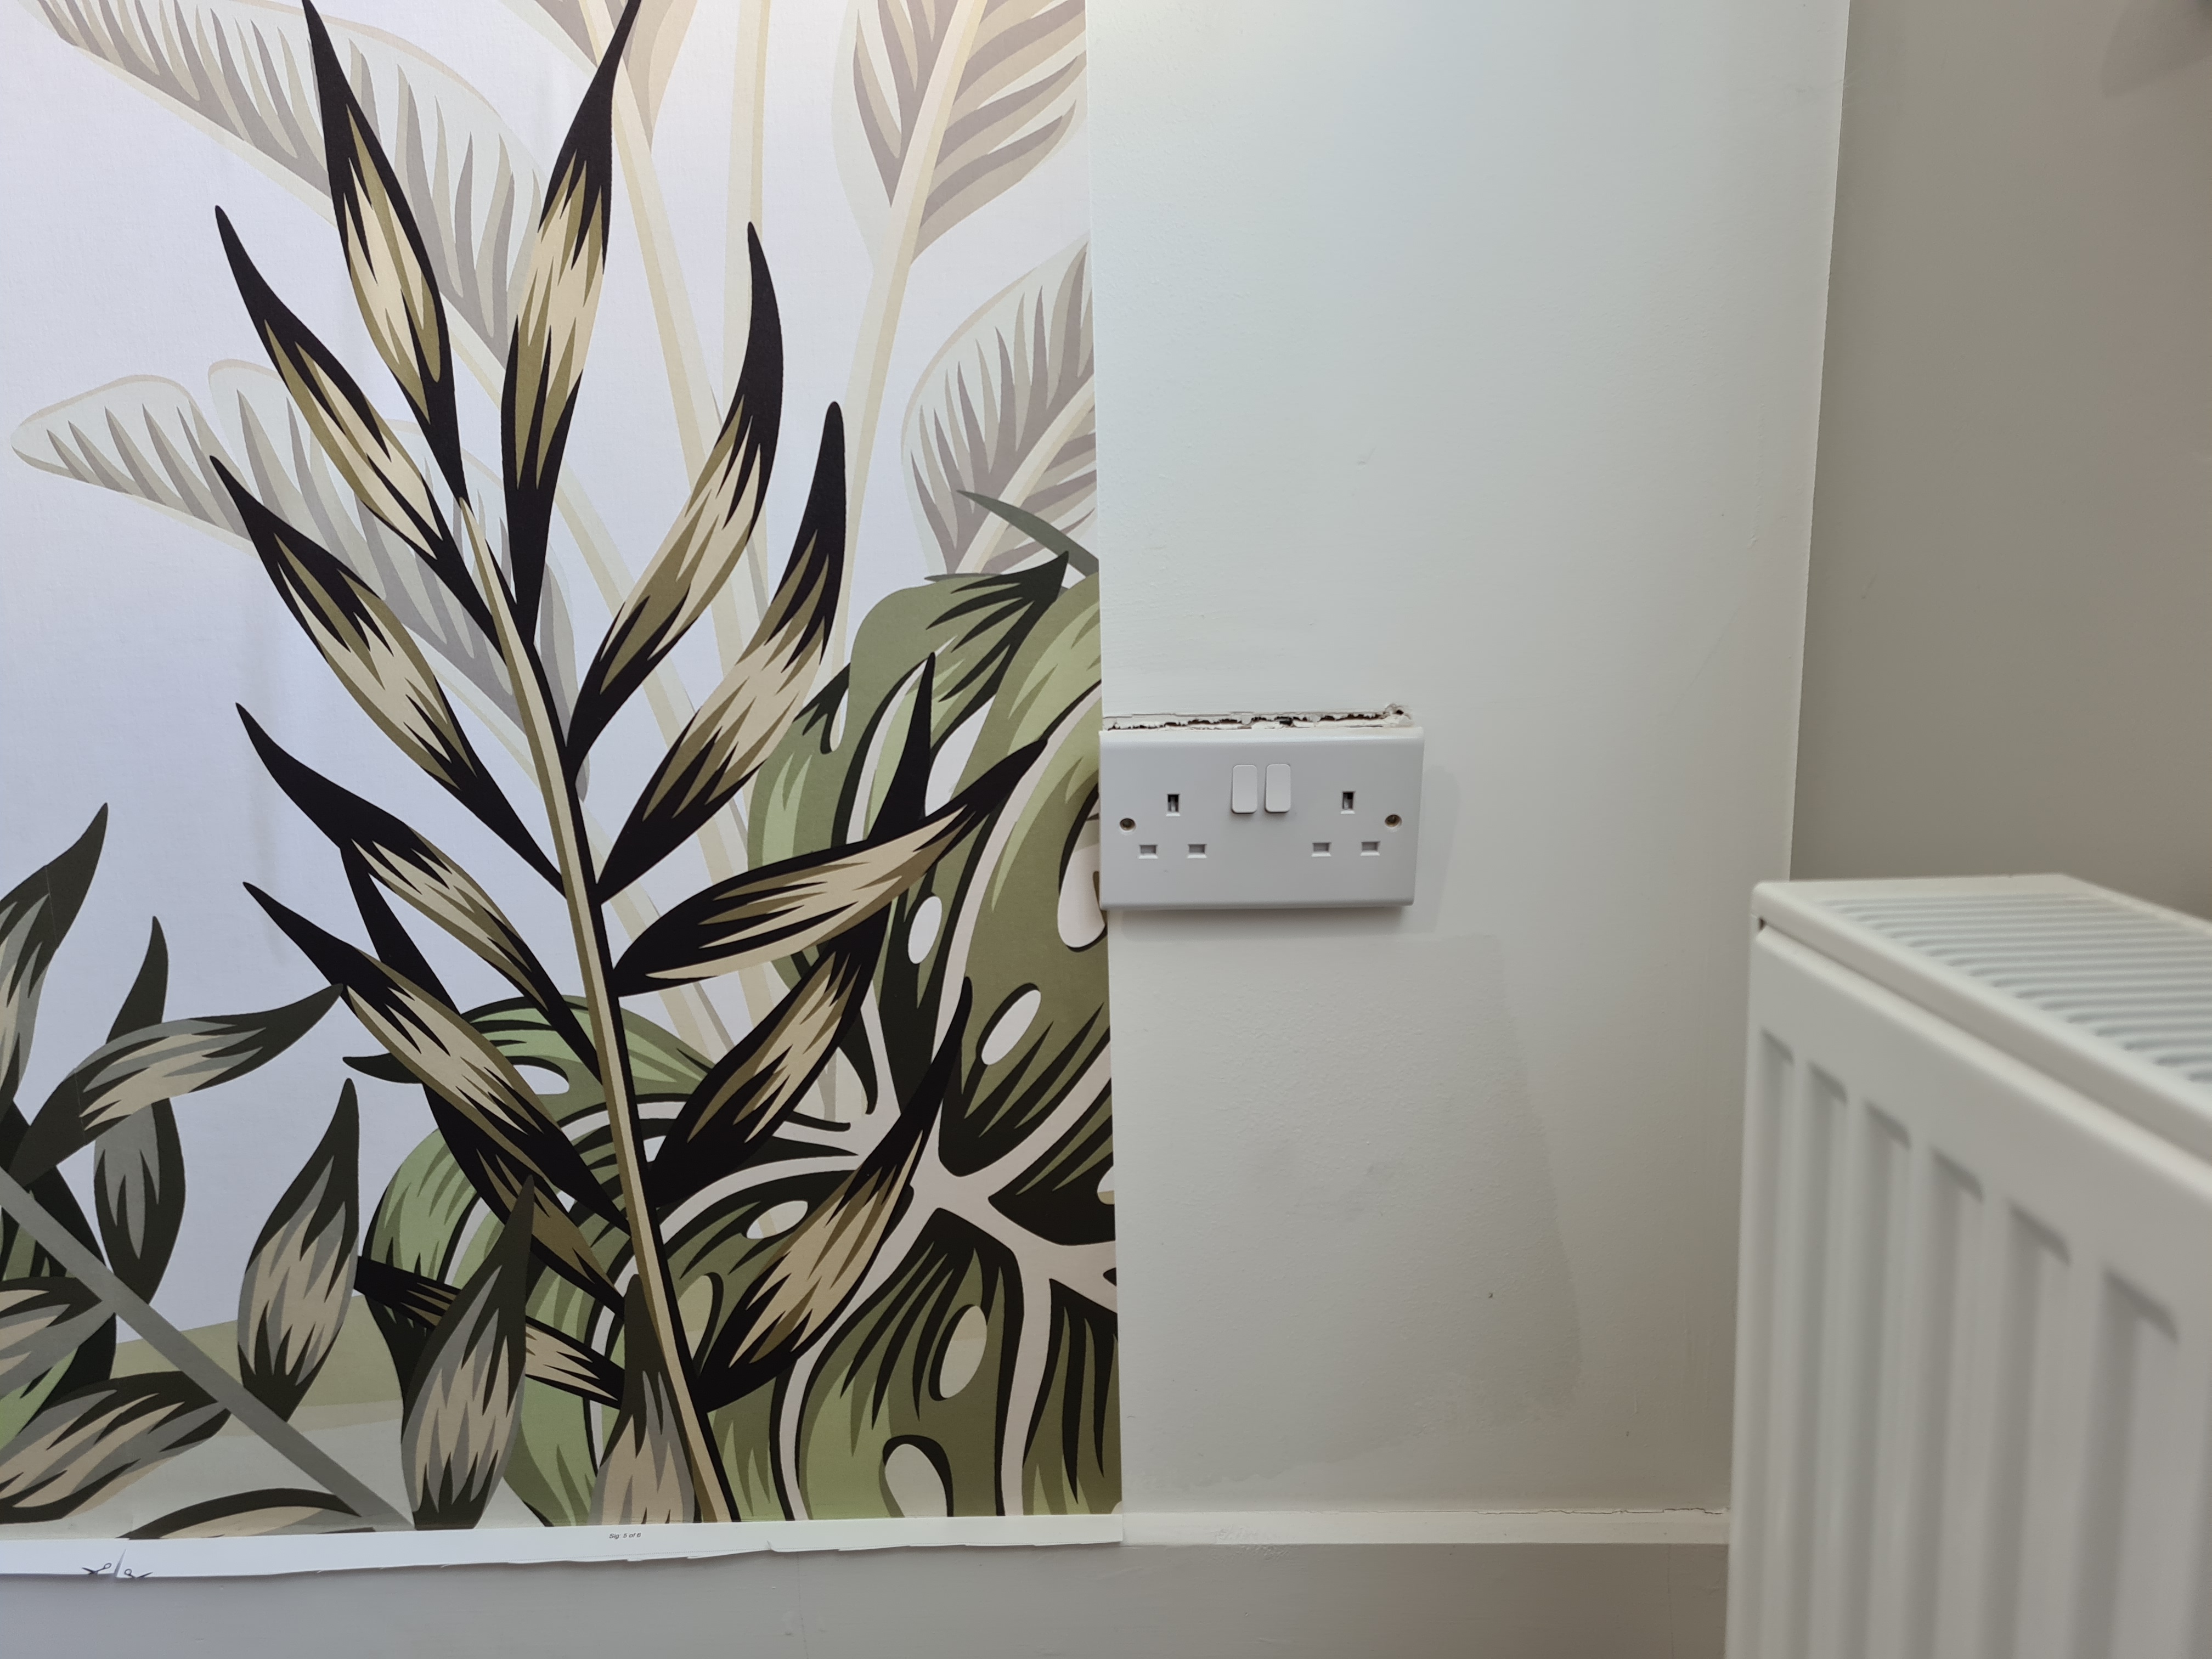
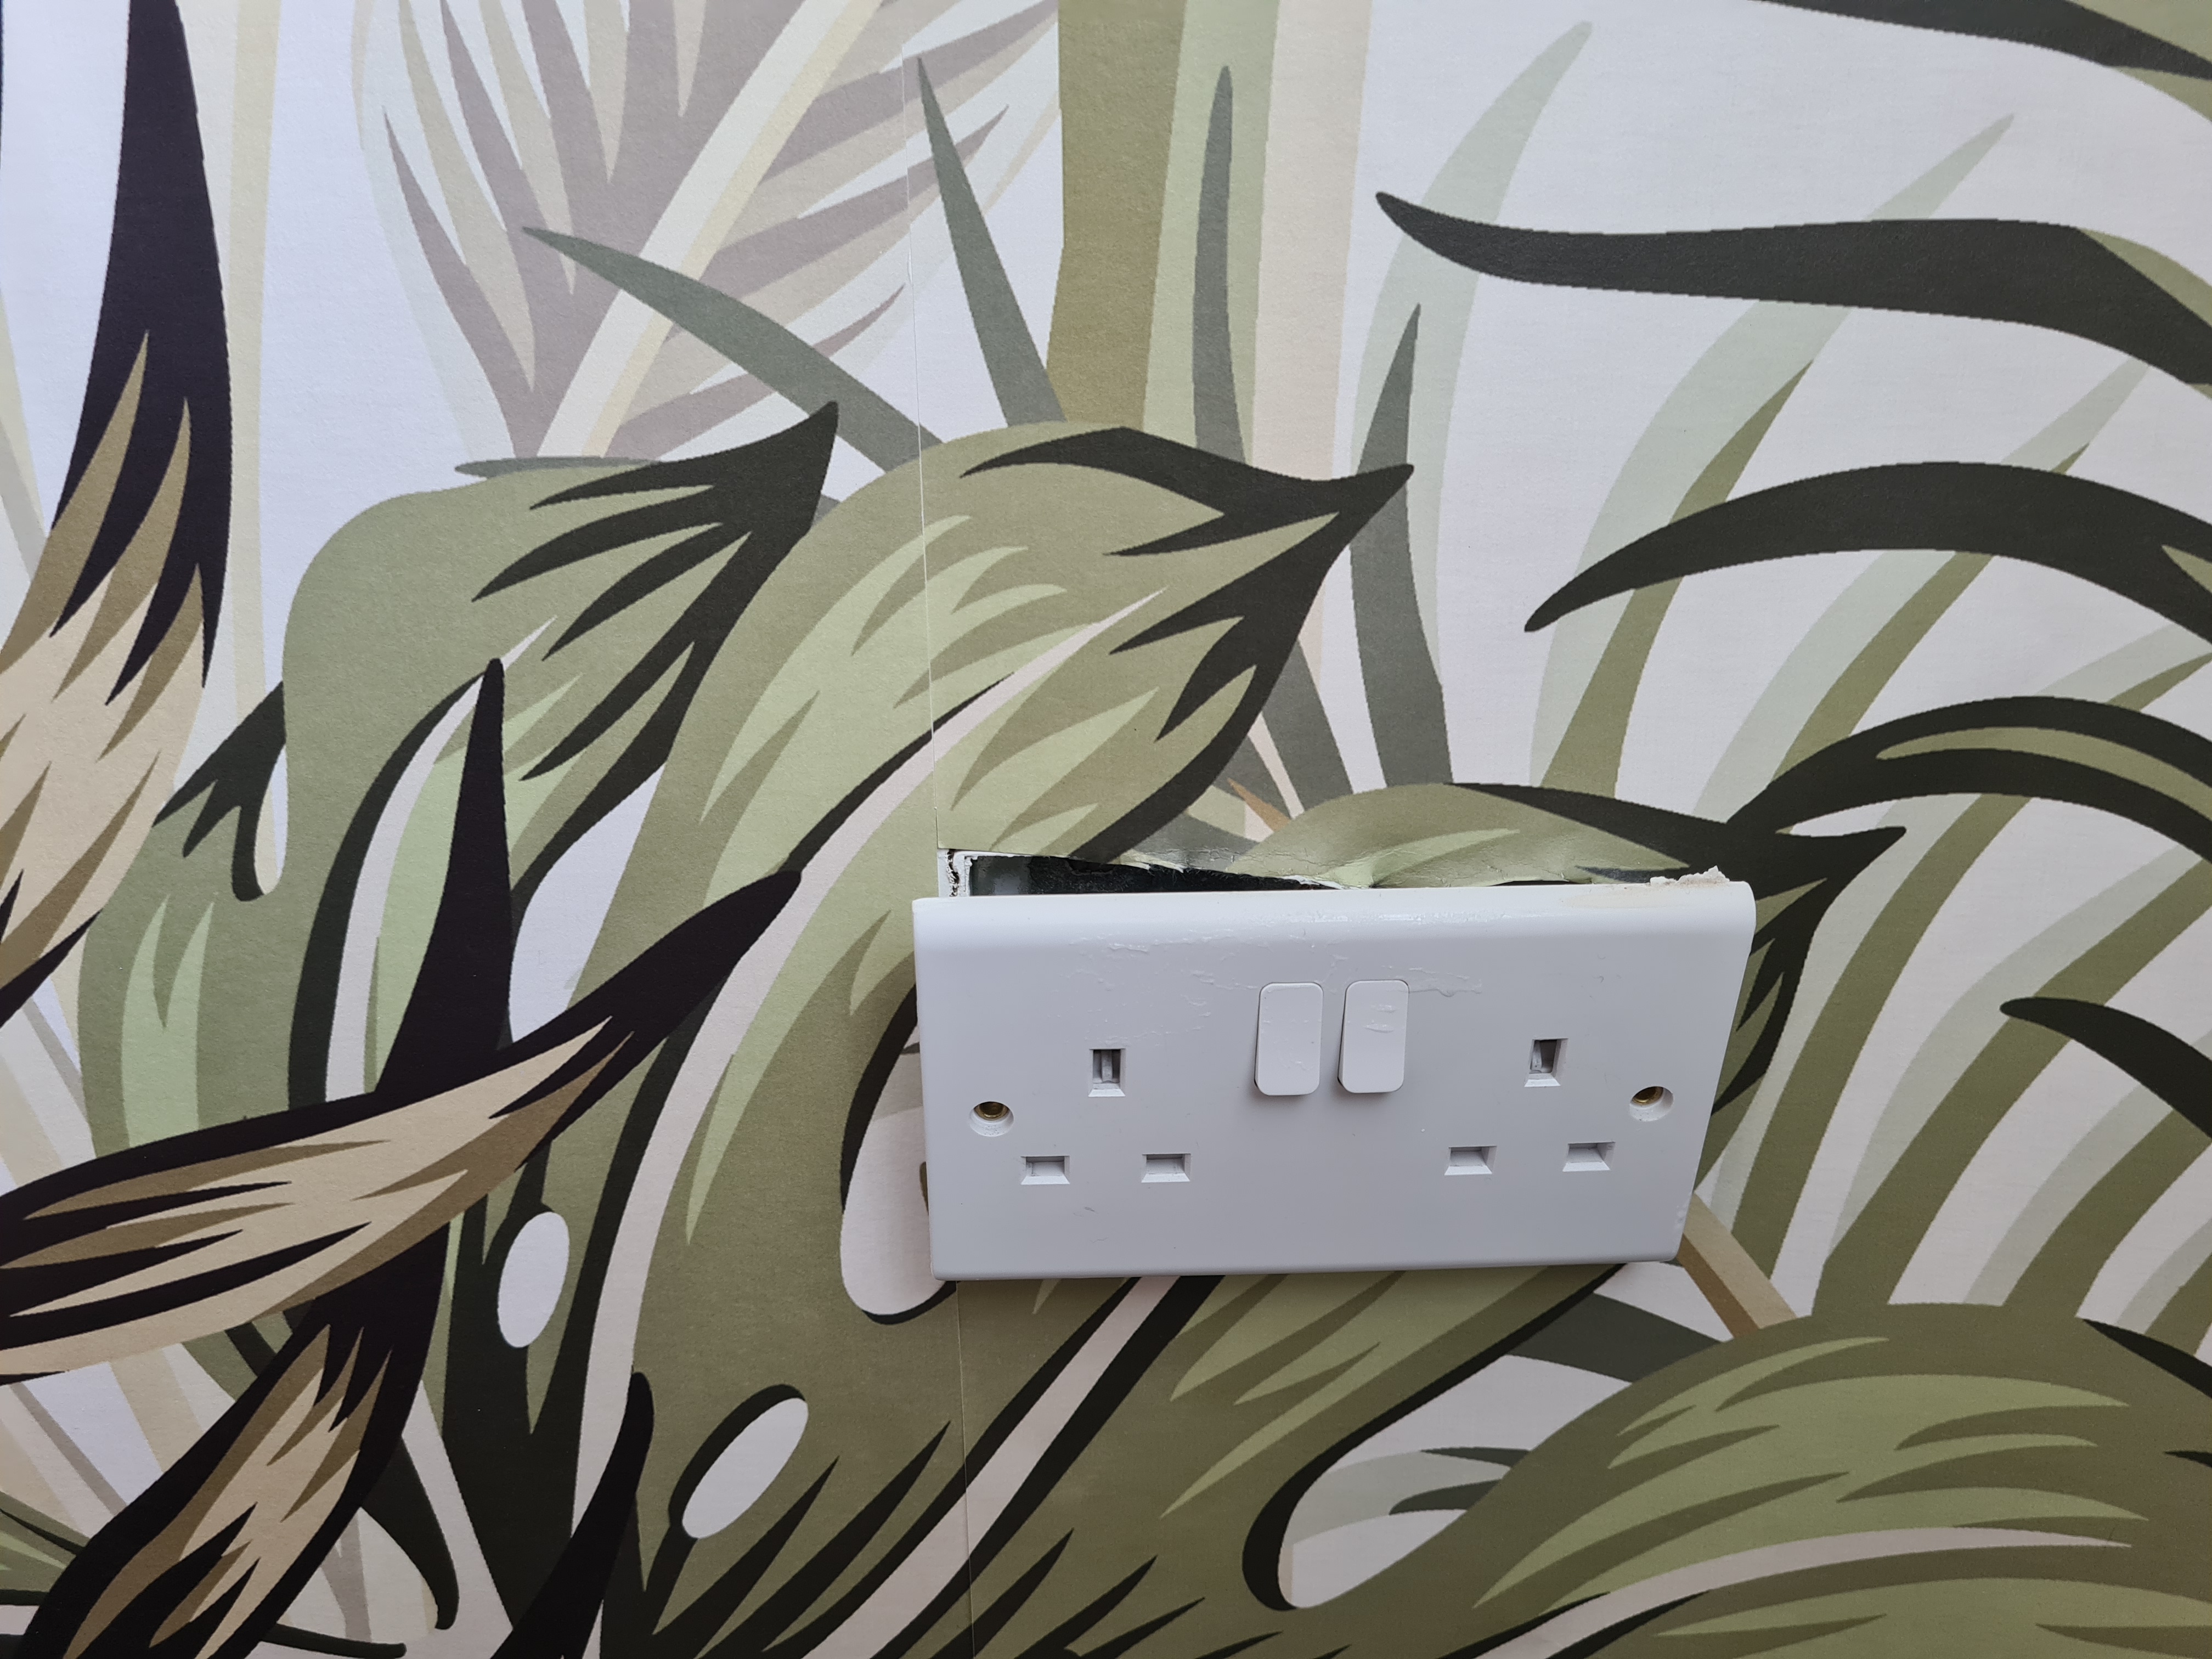
Electrical sockets, light switches, radiators, doorways and windows are the common awkward areas when decorating.
To work around electrical outlets first switch off the electric supply. Locate the socket or switch and pierce a hole in the centre of the paper with scissors. Now makes four cuts from the centre to an inch past each corner of the socket/switch. Now trim each triangle, but leave just enough to go behind the socket. Unscrew the socket/switch, push paper behind and screw back to wall. Make sure the wallpaper paste is totally dry – usually 24 hours – before switching the power back on.
The easiest way to paper behind a radiator is to remove the radiator. If this is not possible, measure from the edge of the last strip of wallpaper to where the radiator hanging bracket is. Now cut a slit - from top of radiator bracket to bottom of paper. Use a long handle brush to brush down the wallpaper.
For doors and windows hang the strip, cut near the window or door edge – leave a couple of inches – and then push into place with a dry hanging brush. Create a crease with the back of your wallpaper scissors, cut and pat down with a hanging brush. Wipe off any excess paste.
Finally when you get to the last strip it won’t match perfectly. Plan to finish in a corner. Measure the width of the final gap and add 1-2 inches when you cut. Paste, put up and use the back of the scissors to create a crease in the corner and cut along the crease to fit.
FAQs
Should I hang lining paper first?
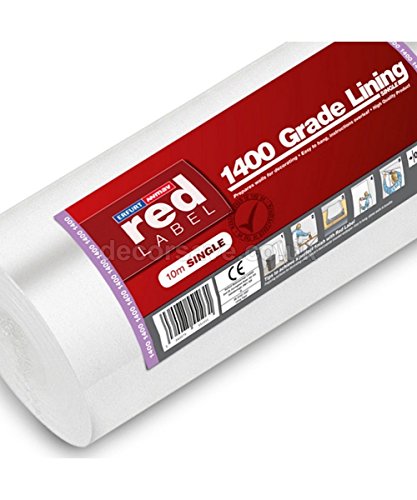
Lining paper helps hide small imperfections, prevents shrinkage, covers stains and creates a smoother better quality finish to apply your wallpaper to. It’s available in different grades from 800 (thinnest) – 2000 (thickest). 1200/1400 is the ideal lining paper grade for most walls. Use a heavier grade if the wall is in need of it. Check your wallpaper packaging to see if it recommends using lining paper.
You can hang lining paper vertically or horizontally. Vertical is the easy option and ideal for DIYers, but the pros hang horizontally, also known as cross lining. This helps stop seams lining up when the wallpaper goes on. A simple solution is to hang lining paper vertically, but when hanging wallpaper make sure to start in the middle of the lining paper strip to avoid seams matching up.
Should the seams of lining paper and wallpaper match up?
No. But try to ensure that all the seams on lining paper butt up as close as possible without riding over each other. This will help ensure that you get the best finish on the wallpaper.
Do I have to hang wallpaper vertically?
No, but it is the common choice as this allows the paper to drop naturally and is much easier to do. Many patterns are designed to work on a vertical drop, though you can buy wallpaper that is specially designed to be hung horizontally.
Can I wallpaper over existing wallpaper?
As a general rule it is best to remove all old wallpaper to get the best finish, but there are a number of things to consider before you wallpaper over existing paper. Is there already more than one layer of wallpaper? If there is, don’t add another.
What is the condition of the current wallpaper? If it has lumps, tears or is peeling, you need to remove it before papering. Does the current wallpaper have a vinyl coating? If it does, don't paper over it.
Now you know how to wallpaper, there are a few other things you need to know. Check out our how to hang lining paper guide to create a stable base, and some smart bedroom wallpaper ideas for inspiration. If you go beyond the basic, you need to look at our how to hang patterned wallpaper guide for a seamless finish.
Steve Jenkins is a freelance content creator with over two decades of experience working in digital and print and was previously the DIY content editor for Homebuilding & Renovating.
He is a keen DIYer with over 20 years of experience in transforming and renovating the many homes he has lived in. He specialises in painting and decorating, but has a wide range of skills gleaned from working in the building trade for around 10 years and spending time at night school learning how to plaster and plumb.
He has fitted kitchens, tiled bathrooms and kitchens, laid many floors, built partition walls, plastered walls, plumbed in bathrooms, worked on loft conversions and much more. And when he's not sure how to tackle a DIY project he has a wide network of friends – including plumbers, gas engineers, tilers, carpenters, painters and decorators, electricians and builders – in the trade to call upon.
