How to Paint a Fence: Tips for an Even, Long-Lasting Finish
Knowing how to paint a fence can help freshen up your fence panels and achieve the best finish. Get advice on the prep and painting with our guide
Bring your dream home to life with expert advice, how to guides and design inspiration. Sign up for our newsletter and get two free tickets to a Homebuilding & Renovating Show near you.
You are now subscribed
Your newsletter sign-up was successful
Understanding how to paint a fence brings with it two-fold benefits. Painting your fence panels offers protection against the weather, meaning they will last longer, and gives your garden a fresh, contemporary look, too.
Replacing fence panels isn’t cheap, so it makes sense to get your fence painted as soon as possible and repaint regularly to keep it in tip-top condition. Mould and algae will start to appear with time, and eventually the panels themselves will begin to rot much quicker than if painted.
Here, we have a pro guide on how to paint a fence, covering prep, picking the best paint, and choosing the best method for strong, good-looking protection.
What Is the Best Way to Paint a Fence?
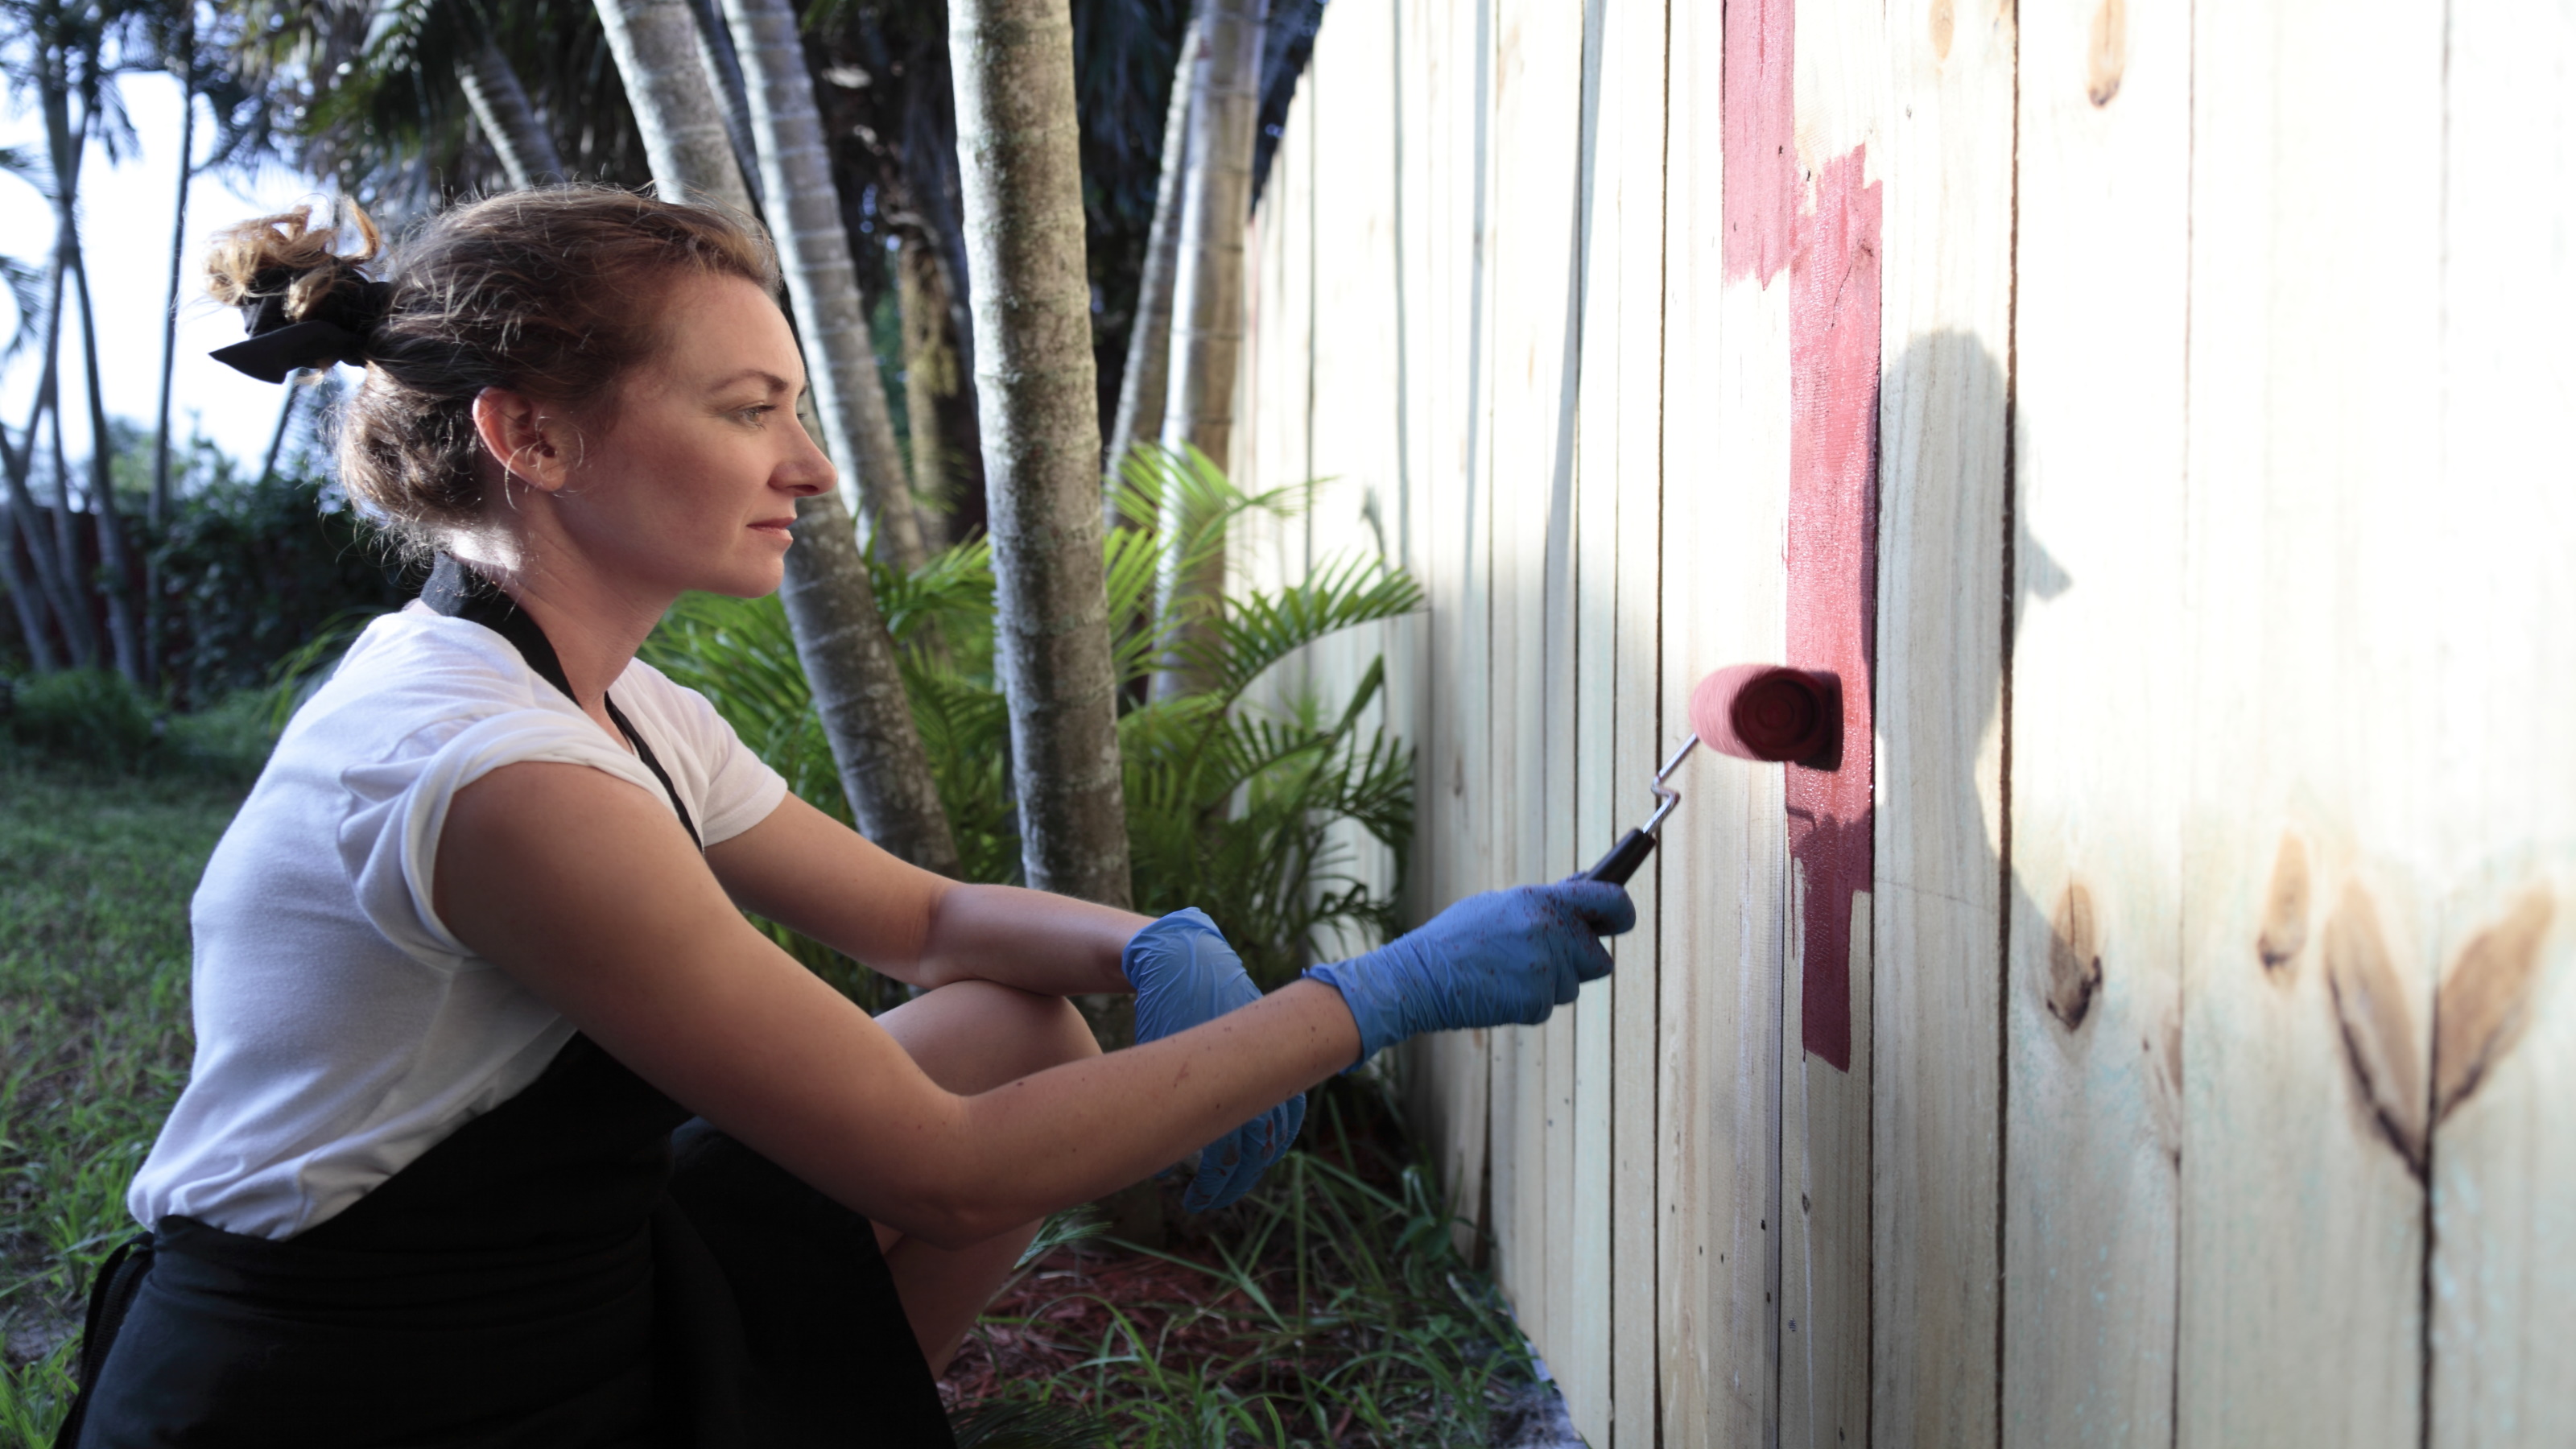
This depends on what type of fence you are painting. If you have standard rough-sawn overlap fence panels, a good-quality brush or spray are the best choices. Both give good coverage and get into all the hard-to-reach areas.
However, if you have a more decorative or high-quality timber fence, a roller and spray combination is the better way to go, using the best exterior wood paint. Spray will get into hard-to-reach spaces, while a roller is ideal for achieving a smooth finish on larger areas.
Is It Better to Stain or Paint a Fence?
Both have their pros and cons. Stain is the more popular choice, especially as you can now get it in a decent variety of colours. It is easy to apply, low-maintenance and offers good protection. However, its colour will fade quicker than paint, meaning it will need a re-stain every couple of years.
Paint hides the natural grain of the wood and is better suited to high-quality timber fences. The best fence paints on offer nowadays come in a wide variety of contemporary colours, but they'll need more prep to get a good finish.
Bring your dream home to life with expert advice, how to guides and design inspiration. Sign up for our newsletter and get two free tickets to a Homebuilding & Renovating Show near you.
What Is the Best Paint to Use for a Fence?
The best paint to use in this scenario is a specialist fence or exterior paint. There is also the option to choose from stain or paint, depending on what type of finish you want.
Both types of product usually contain anti-mould elements and an ingredient that will help waterproof your fence panels, to stop any moisture from getting in and rotting the timber.
When Should You Paint Your Fence Panels?
The rain and cold (5°C and below) are your enemies when painting a fence; ergo, the spring and summer months are the best time to paint outside.
Check the weather forecast before you start, though. A warm, dry day with no rain on the way is the perfect scenario, and your fence will need to remain dry for at least 24 hours before any painting can begin.
If your fence panel is still wet when you start painting, the paint won't adhere properly to its surface. This can cause unsightly bubbles, and the paint simply won’t do its job properly.
If it does rain when you are painting, the paint will start to wash away, leaving a poor, streaky finish. This means you will need to start again, so it's crucial that you paint in the right conditions.
How to Prepare a Fence for Painting
If you have just learnt how to fit a garden fence, it's unlikely that there will be much vegetation to clear before you undertake the task of painting the new fences. However, if you are re-painting existing fences that are surrounded by plants and bushes, your first step may be to cut these back to provide access.
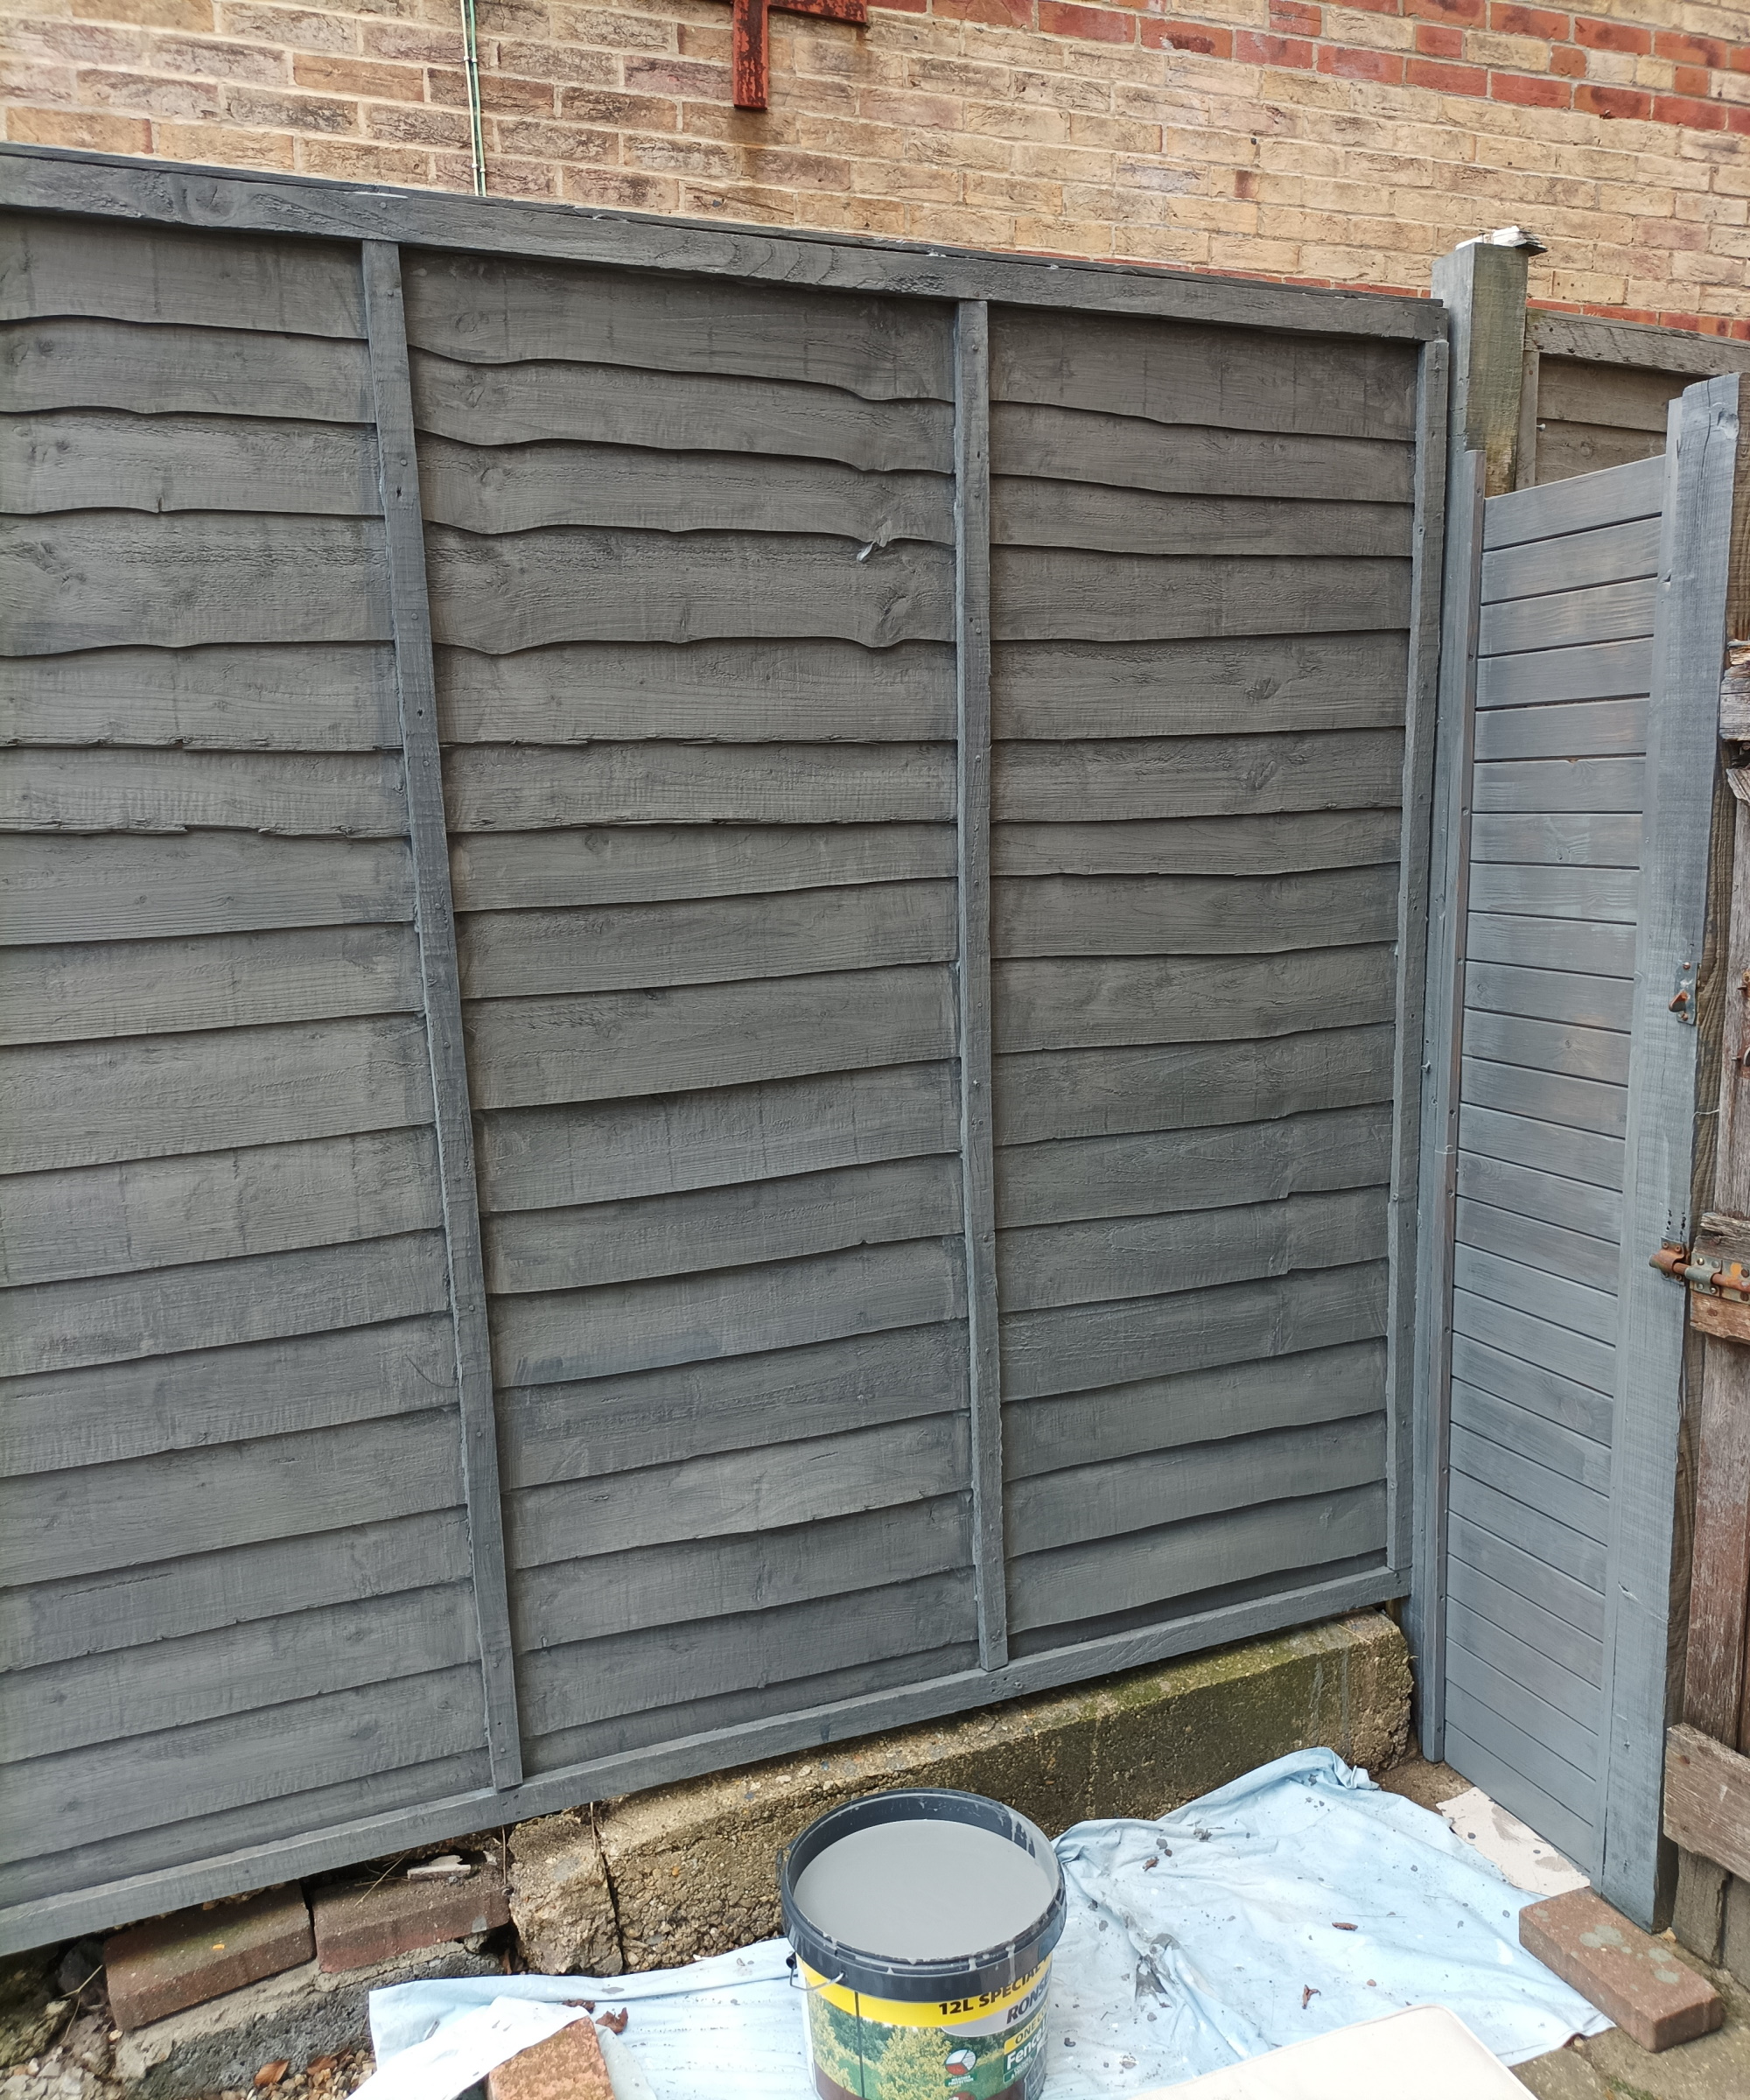
Once you have a clear space around your fence, think about covering the surrounding vegetation (essential if spray painting) and laying down dust sheets or plastic sheeting along the bottom of the fence to catch any paint drips.
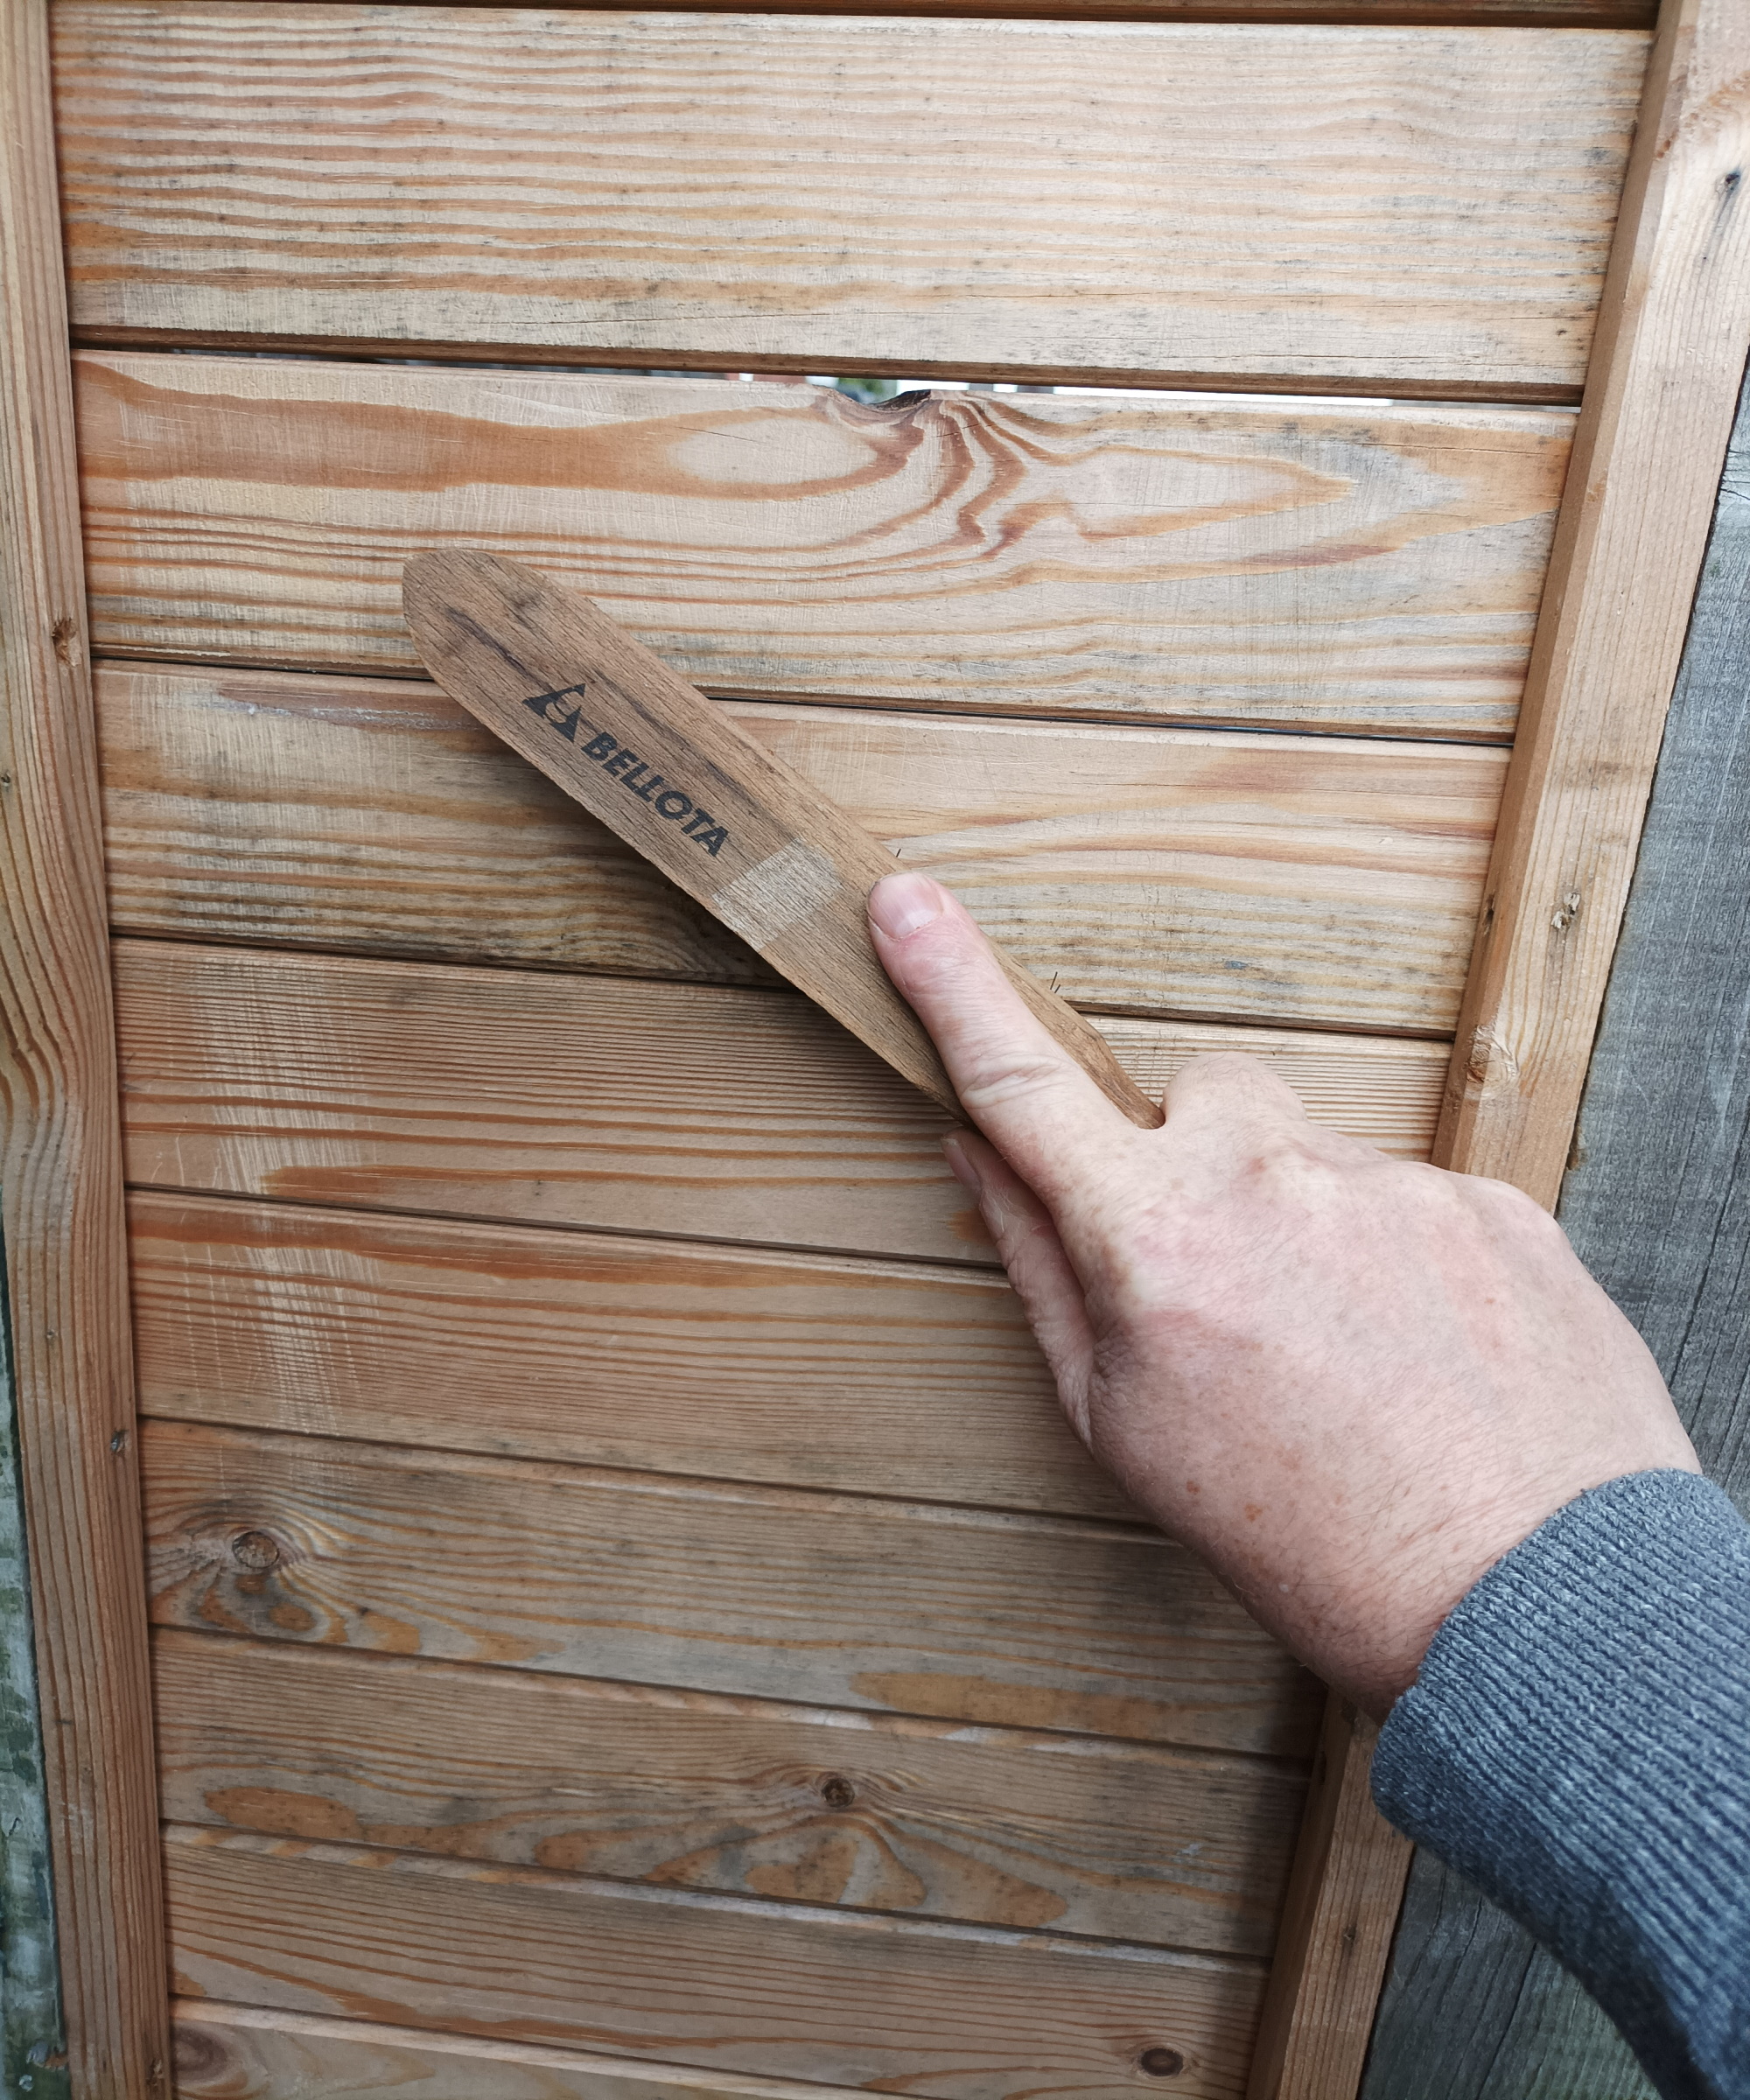
Next, you need to clean your fence — especially if it's an older fence. Use a stiff hand brush or wire brush to remove any dirt and debris from the surface.
Alternatively, you can use one of the best pressure washers, but you will need to wait for at least 24 hours for the fence to dry before recommencing the paint job.
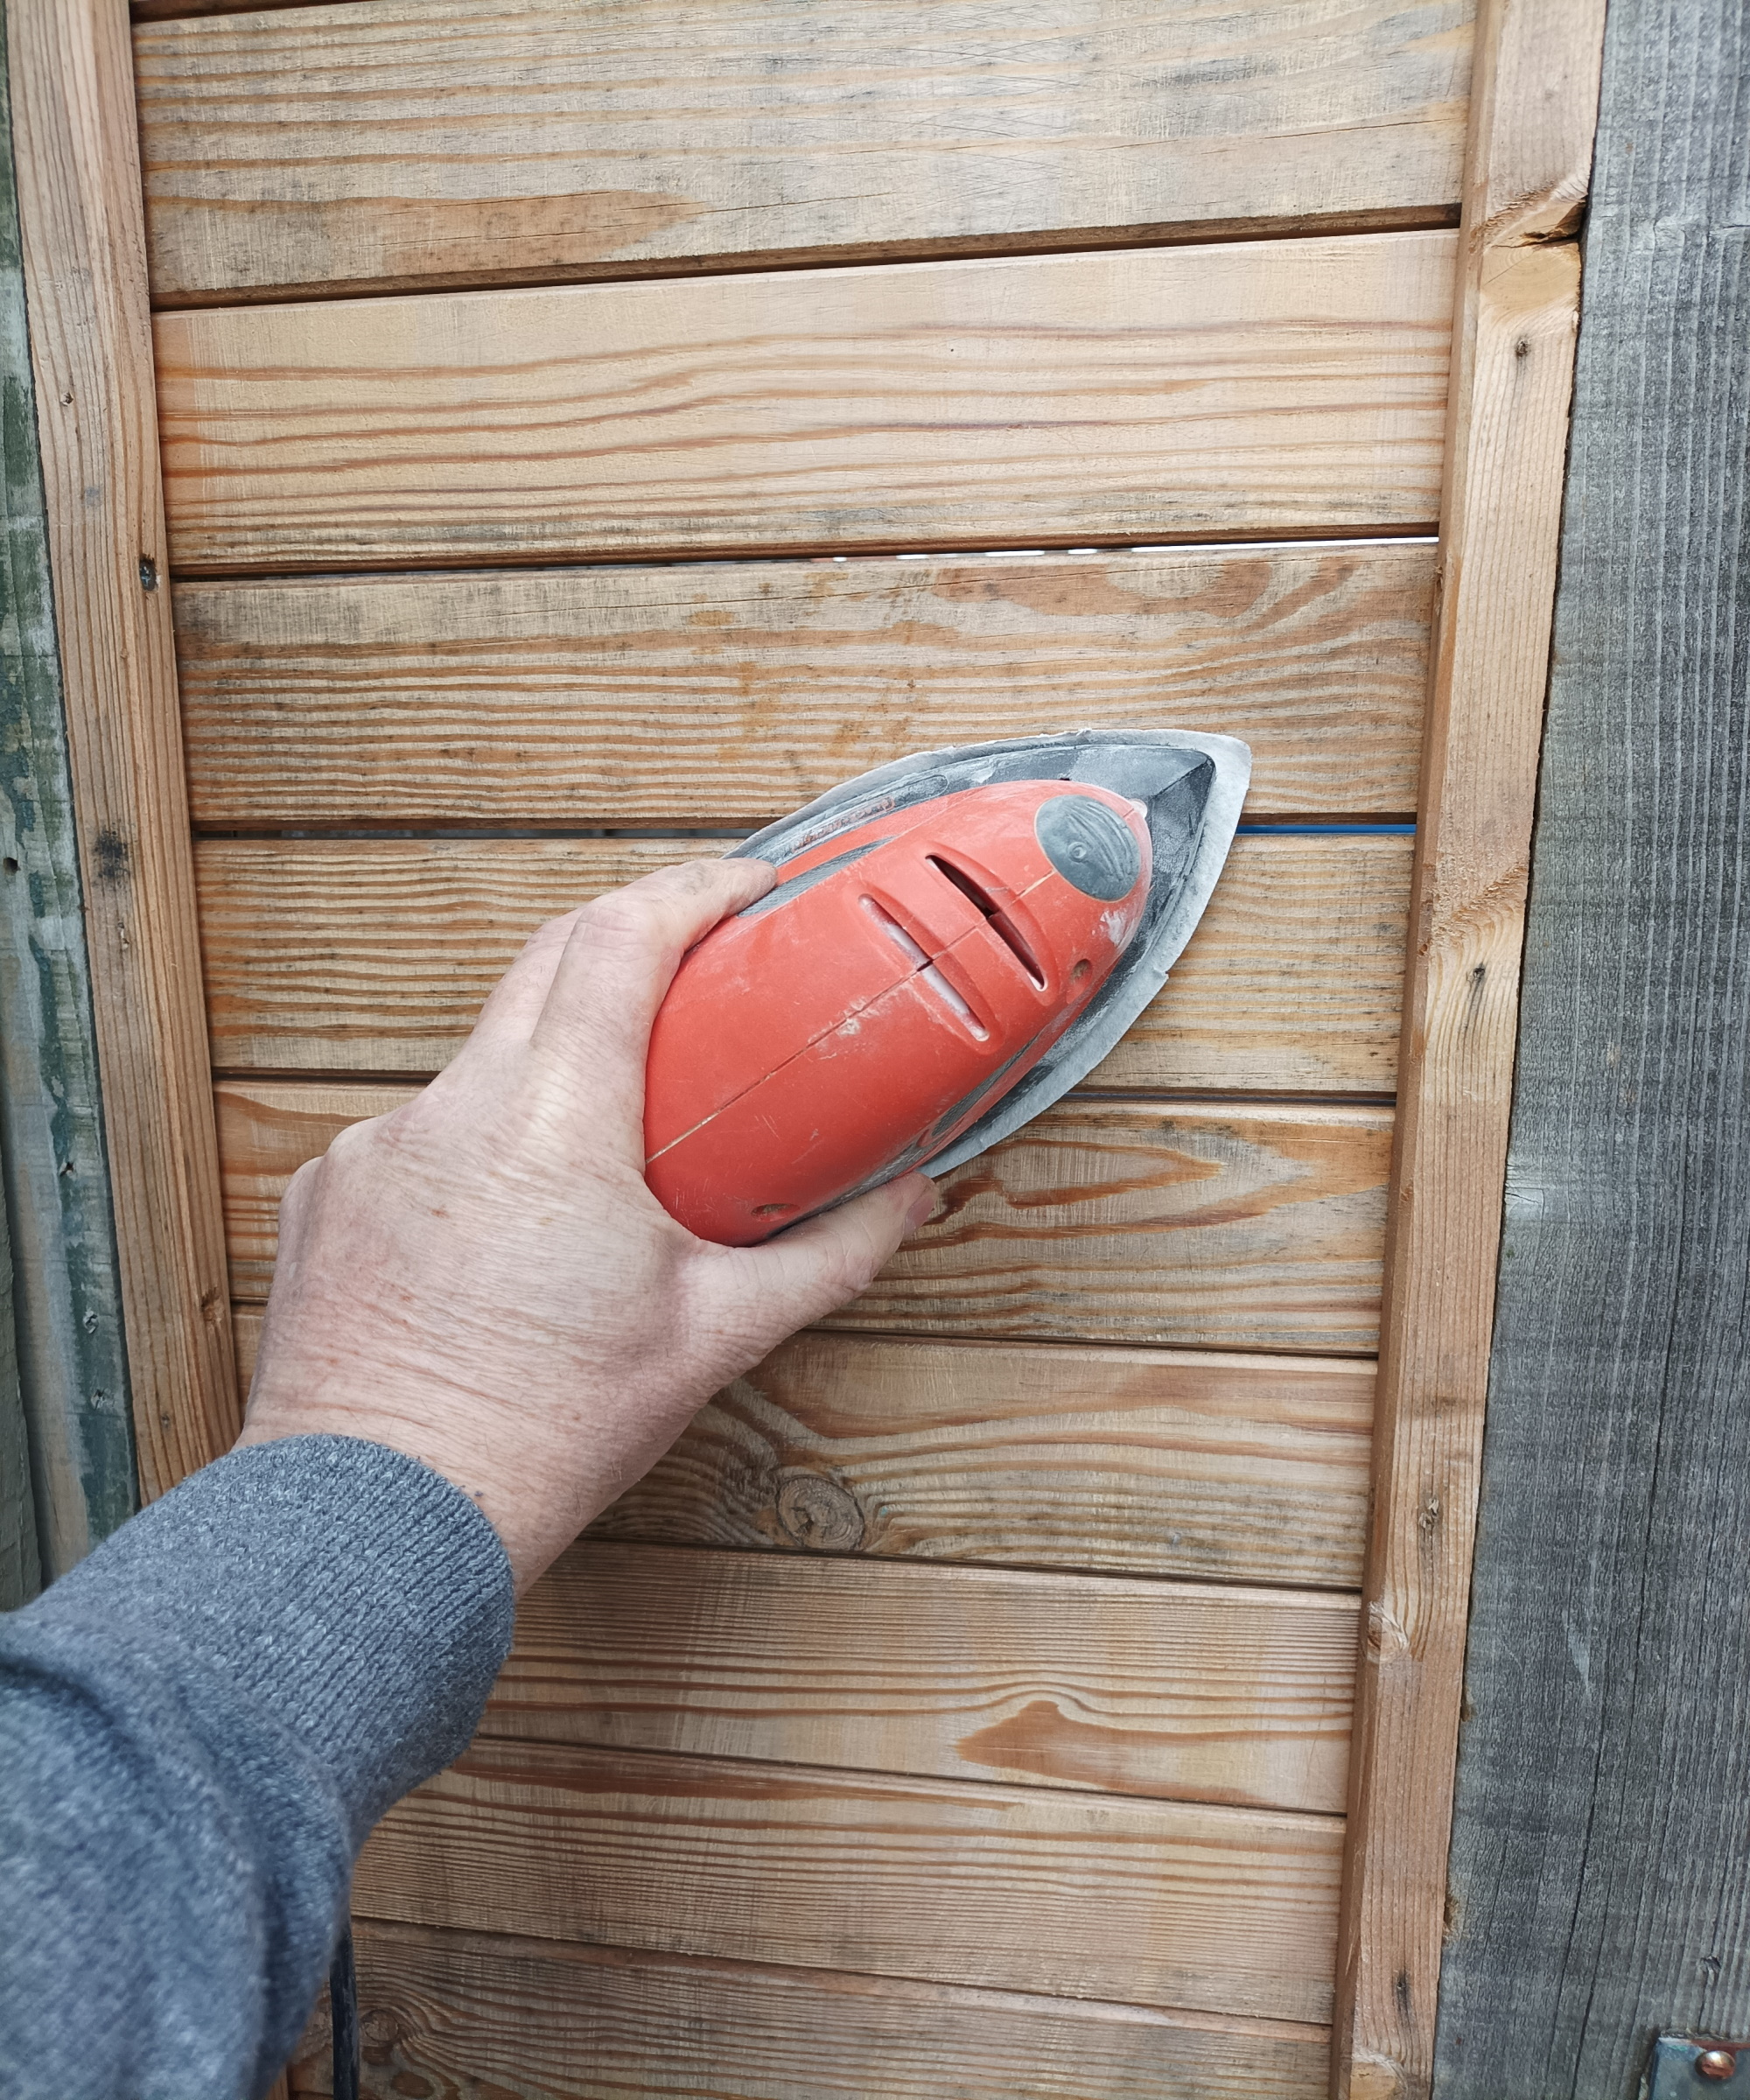
To finish your fence prep, give the fence a rub down with sandpaper to get rid of any rough areas. This is not so important for rough-sawn fence panels, but if you have a smoother timber fence, i.e. a slatted fence, then make sure to rub down for improved adhesion.
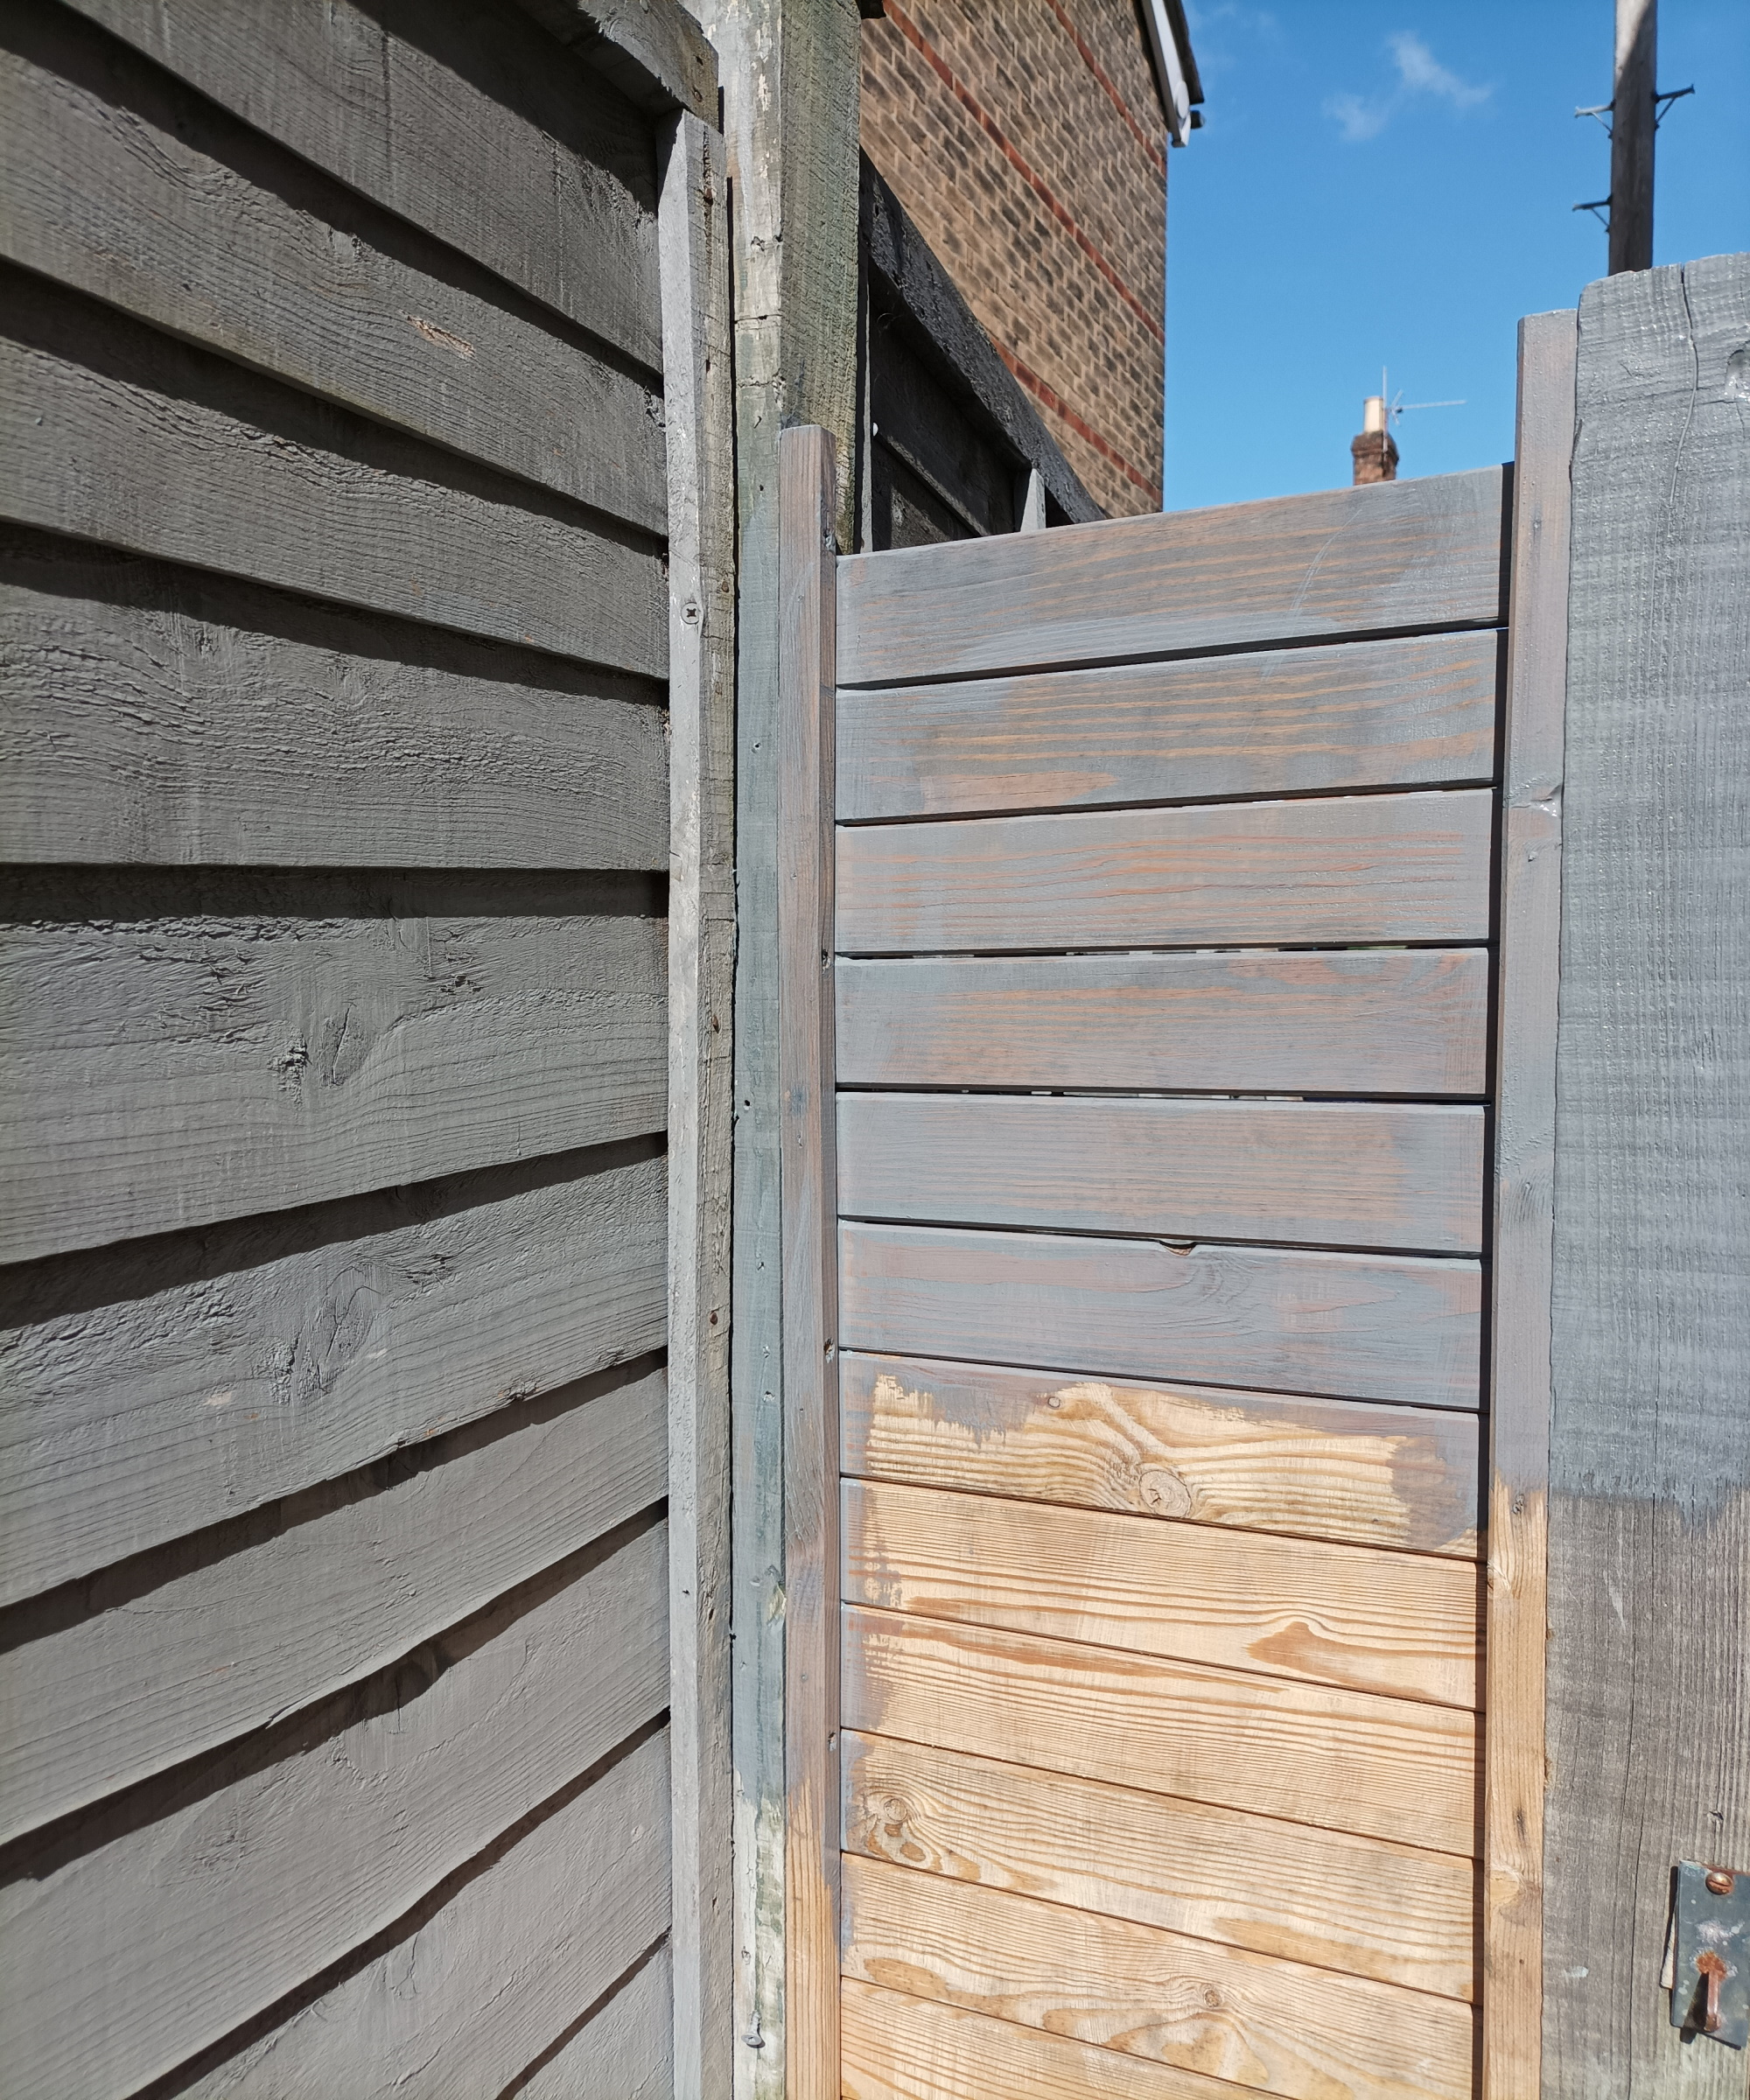
If your fence has been stained or painted before, you might need a little extra prep. If stained, just clean, rub down and test the new stain on a small, out-of-the-way area to see how it looks and how well it goes on. If painted, scrape off any flakes with a decent paint scraper and give it a good rub down before painting.
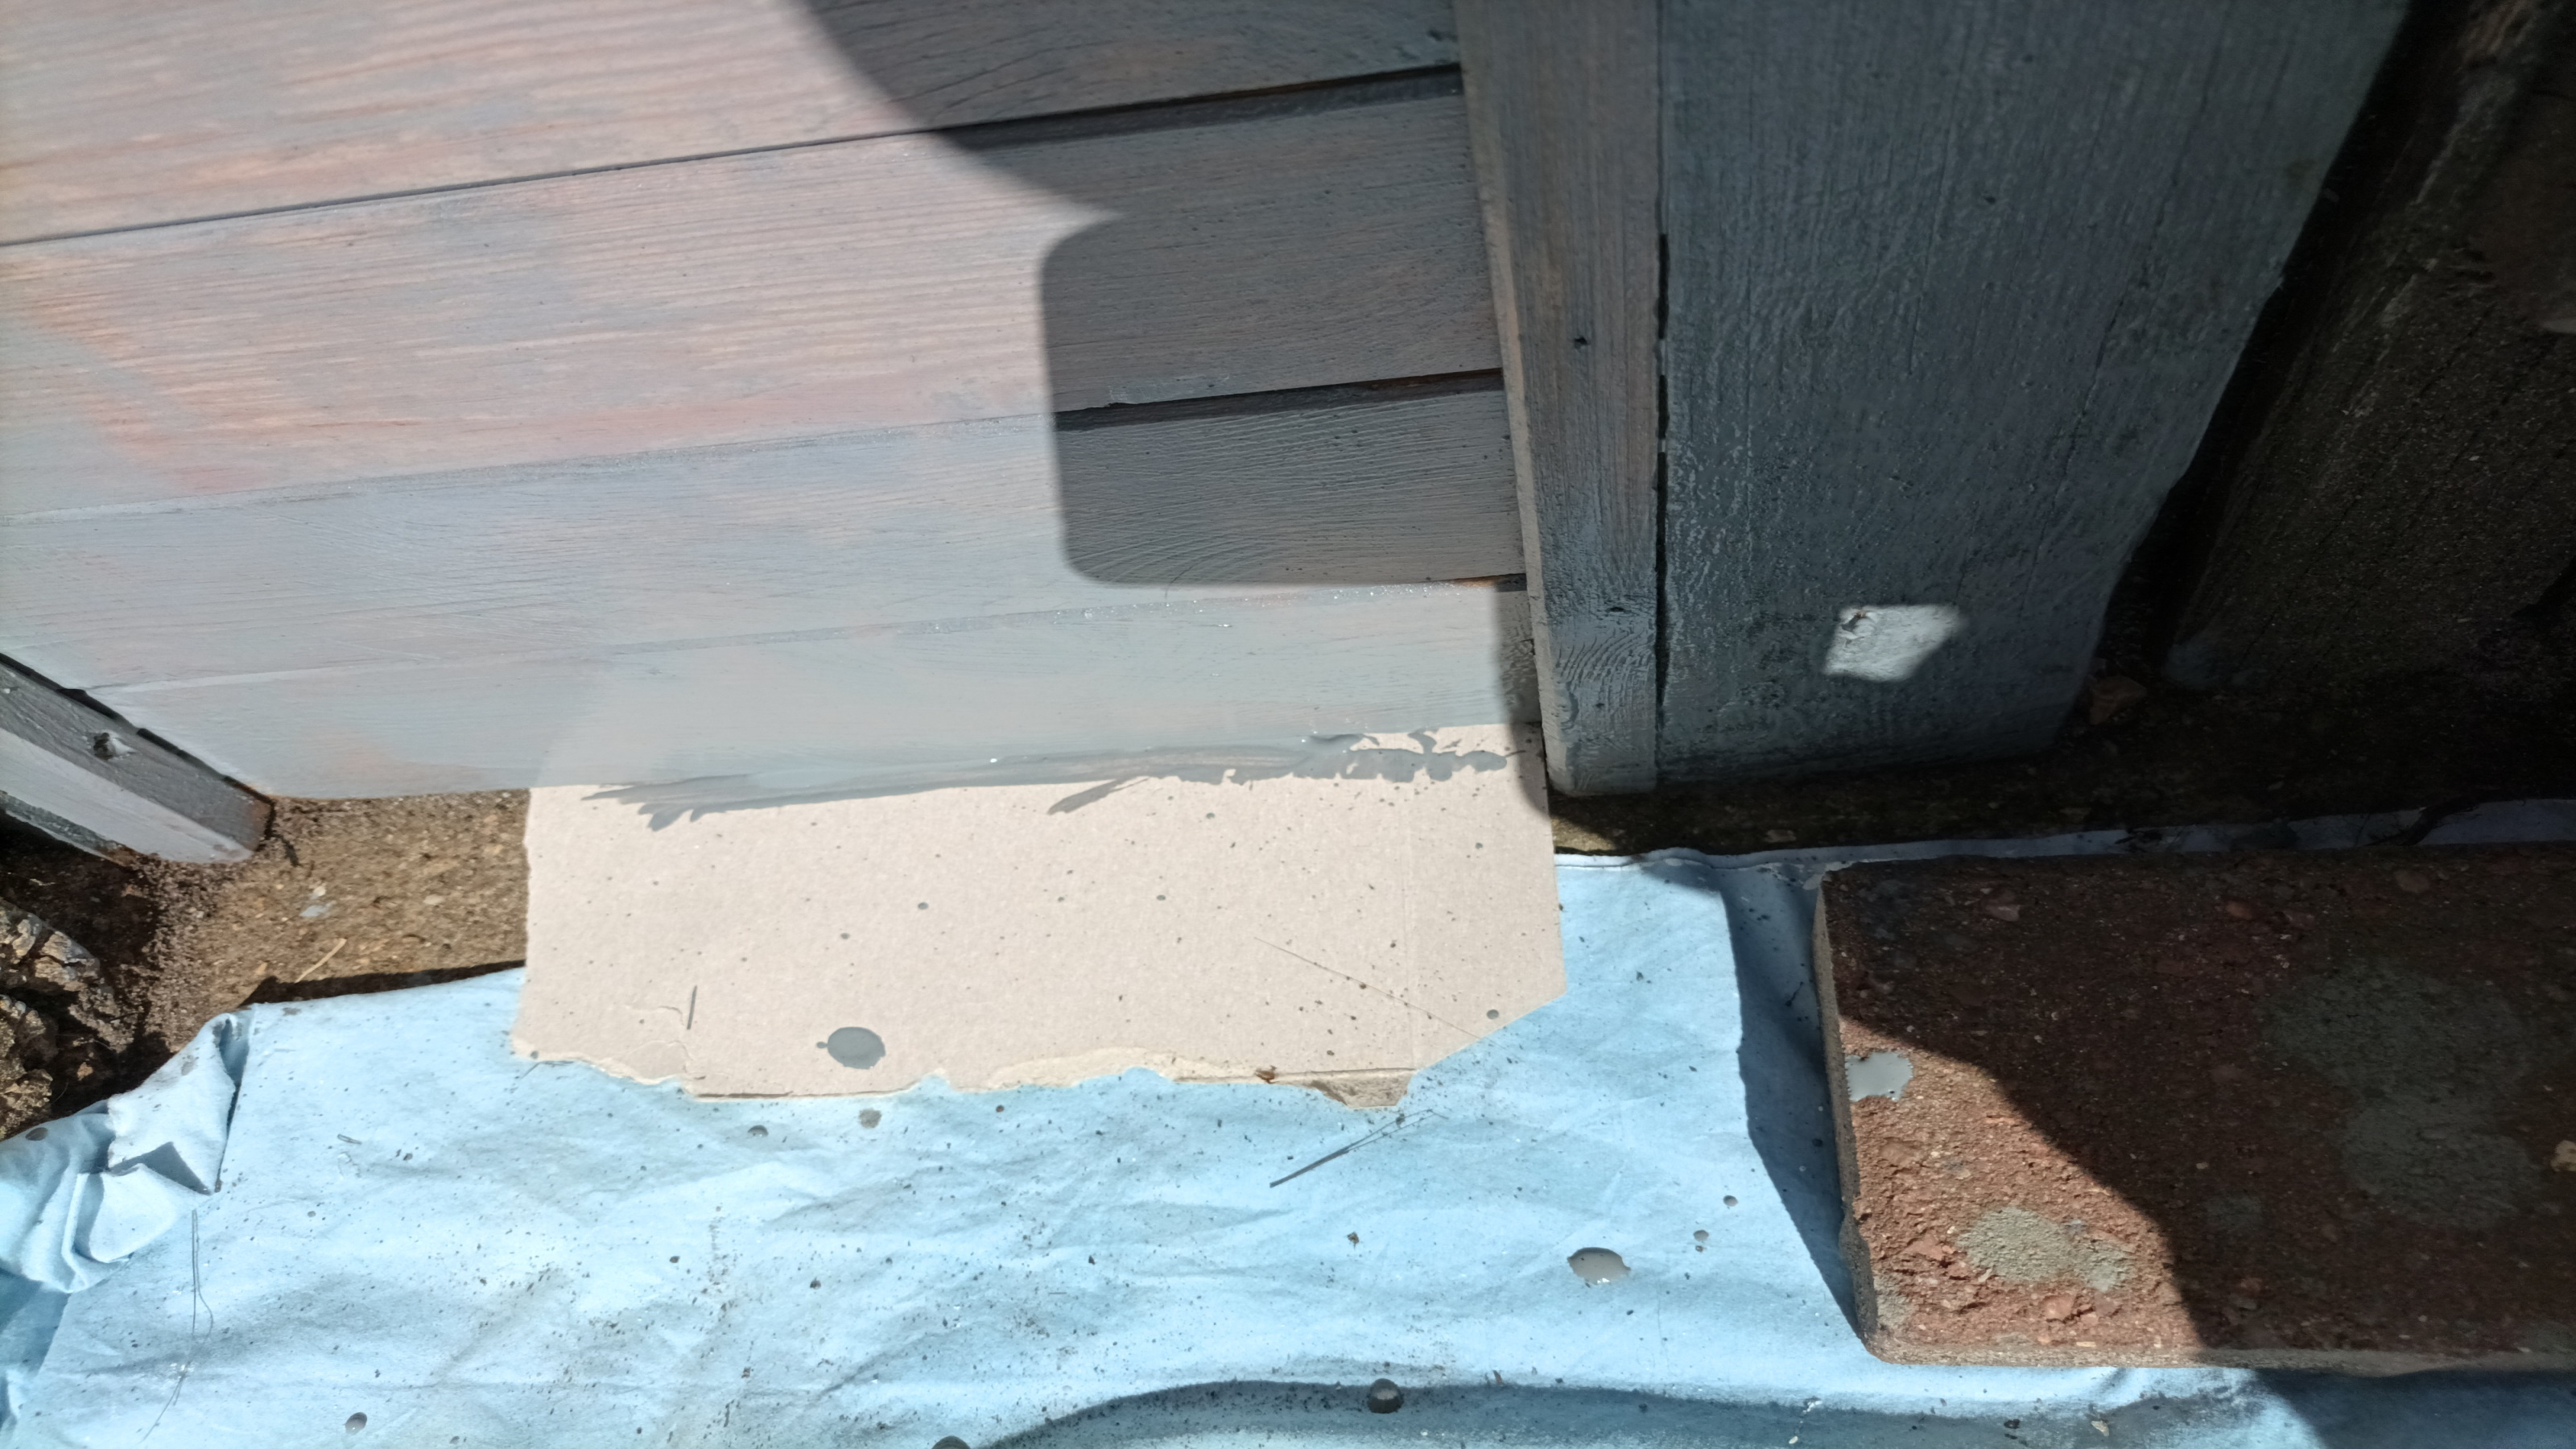
Finally, if you have concrete – or non-wood – posts that you don’t want to get paint on, mask off with tape and paper. A simple tip if you have slotted concrete posts is to lift out the panel completely and paint it in a separate prepared area.
How to Paint a Fence: A Step-By-Step Guide
There are several options to consider when painting a fence. We take a closer look at each one, its pros and cons, and how best to apply.
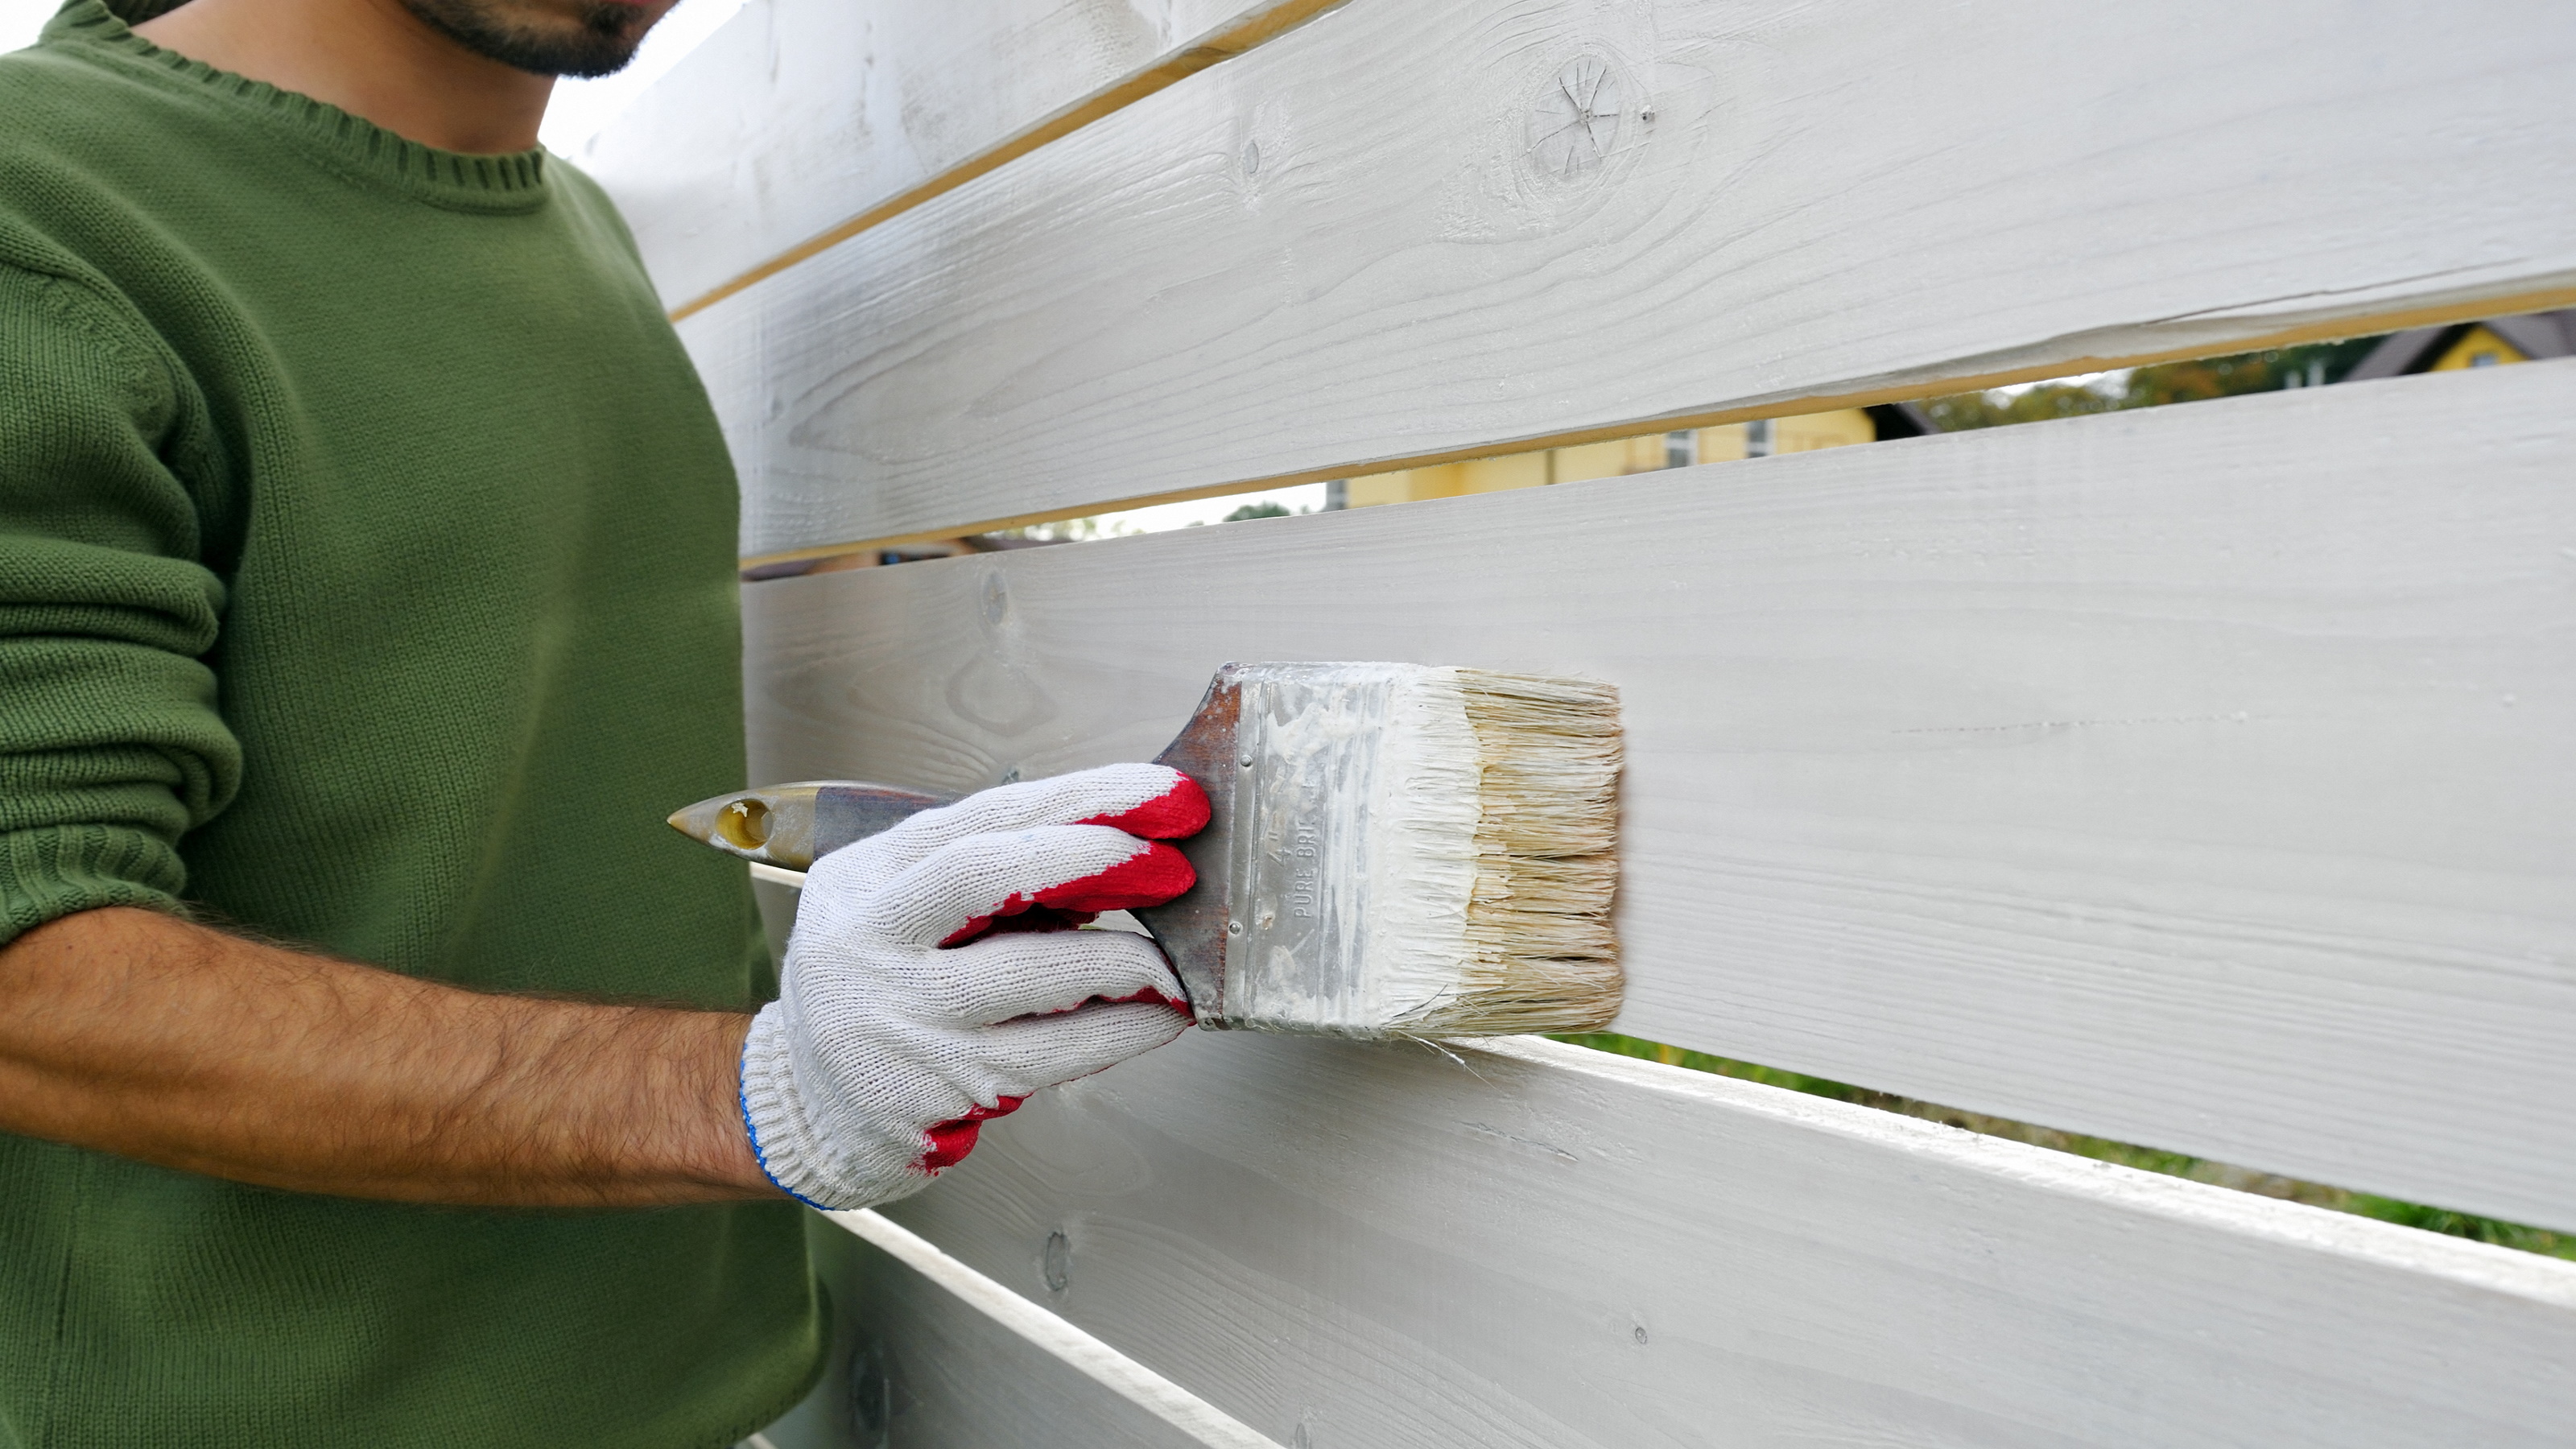
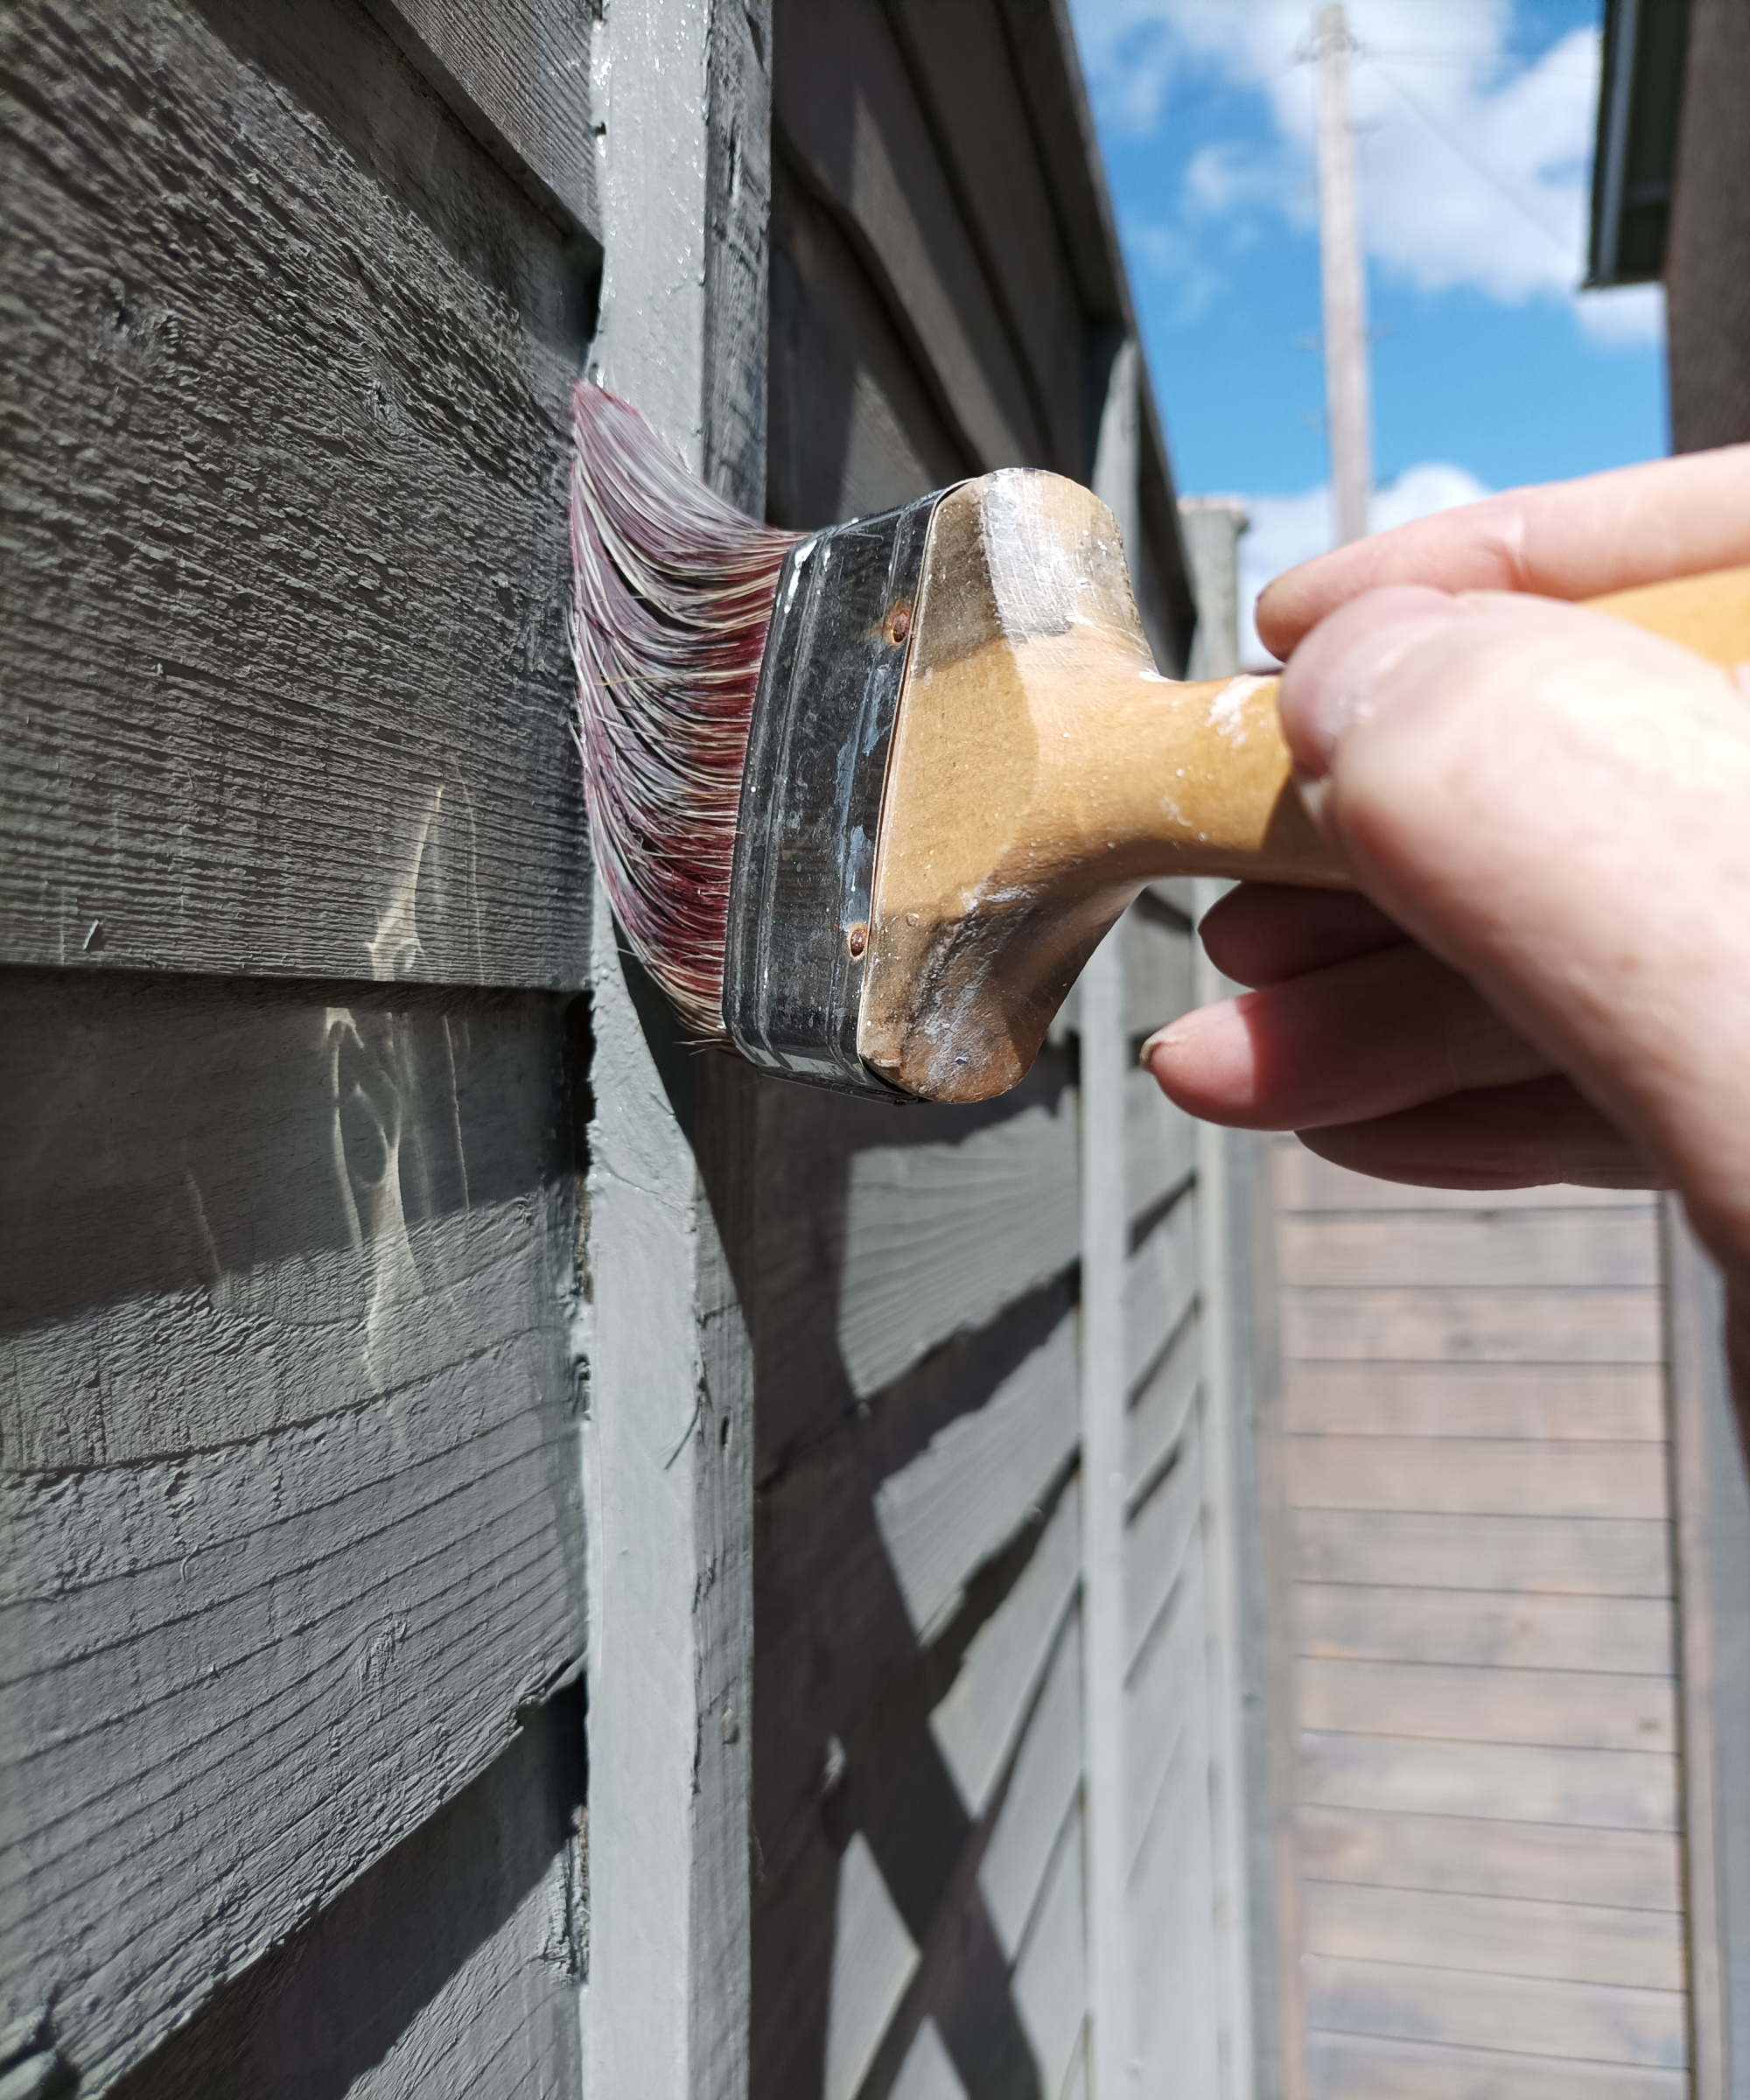
How to Paint Your Fence With a Brush
First, you will need a 4-5 inch brush and maybe a smaller brush, too, for hard-to-reach areas. Make sure you have protective sheets on the floor to catch drips.
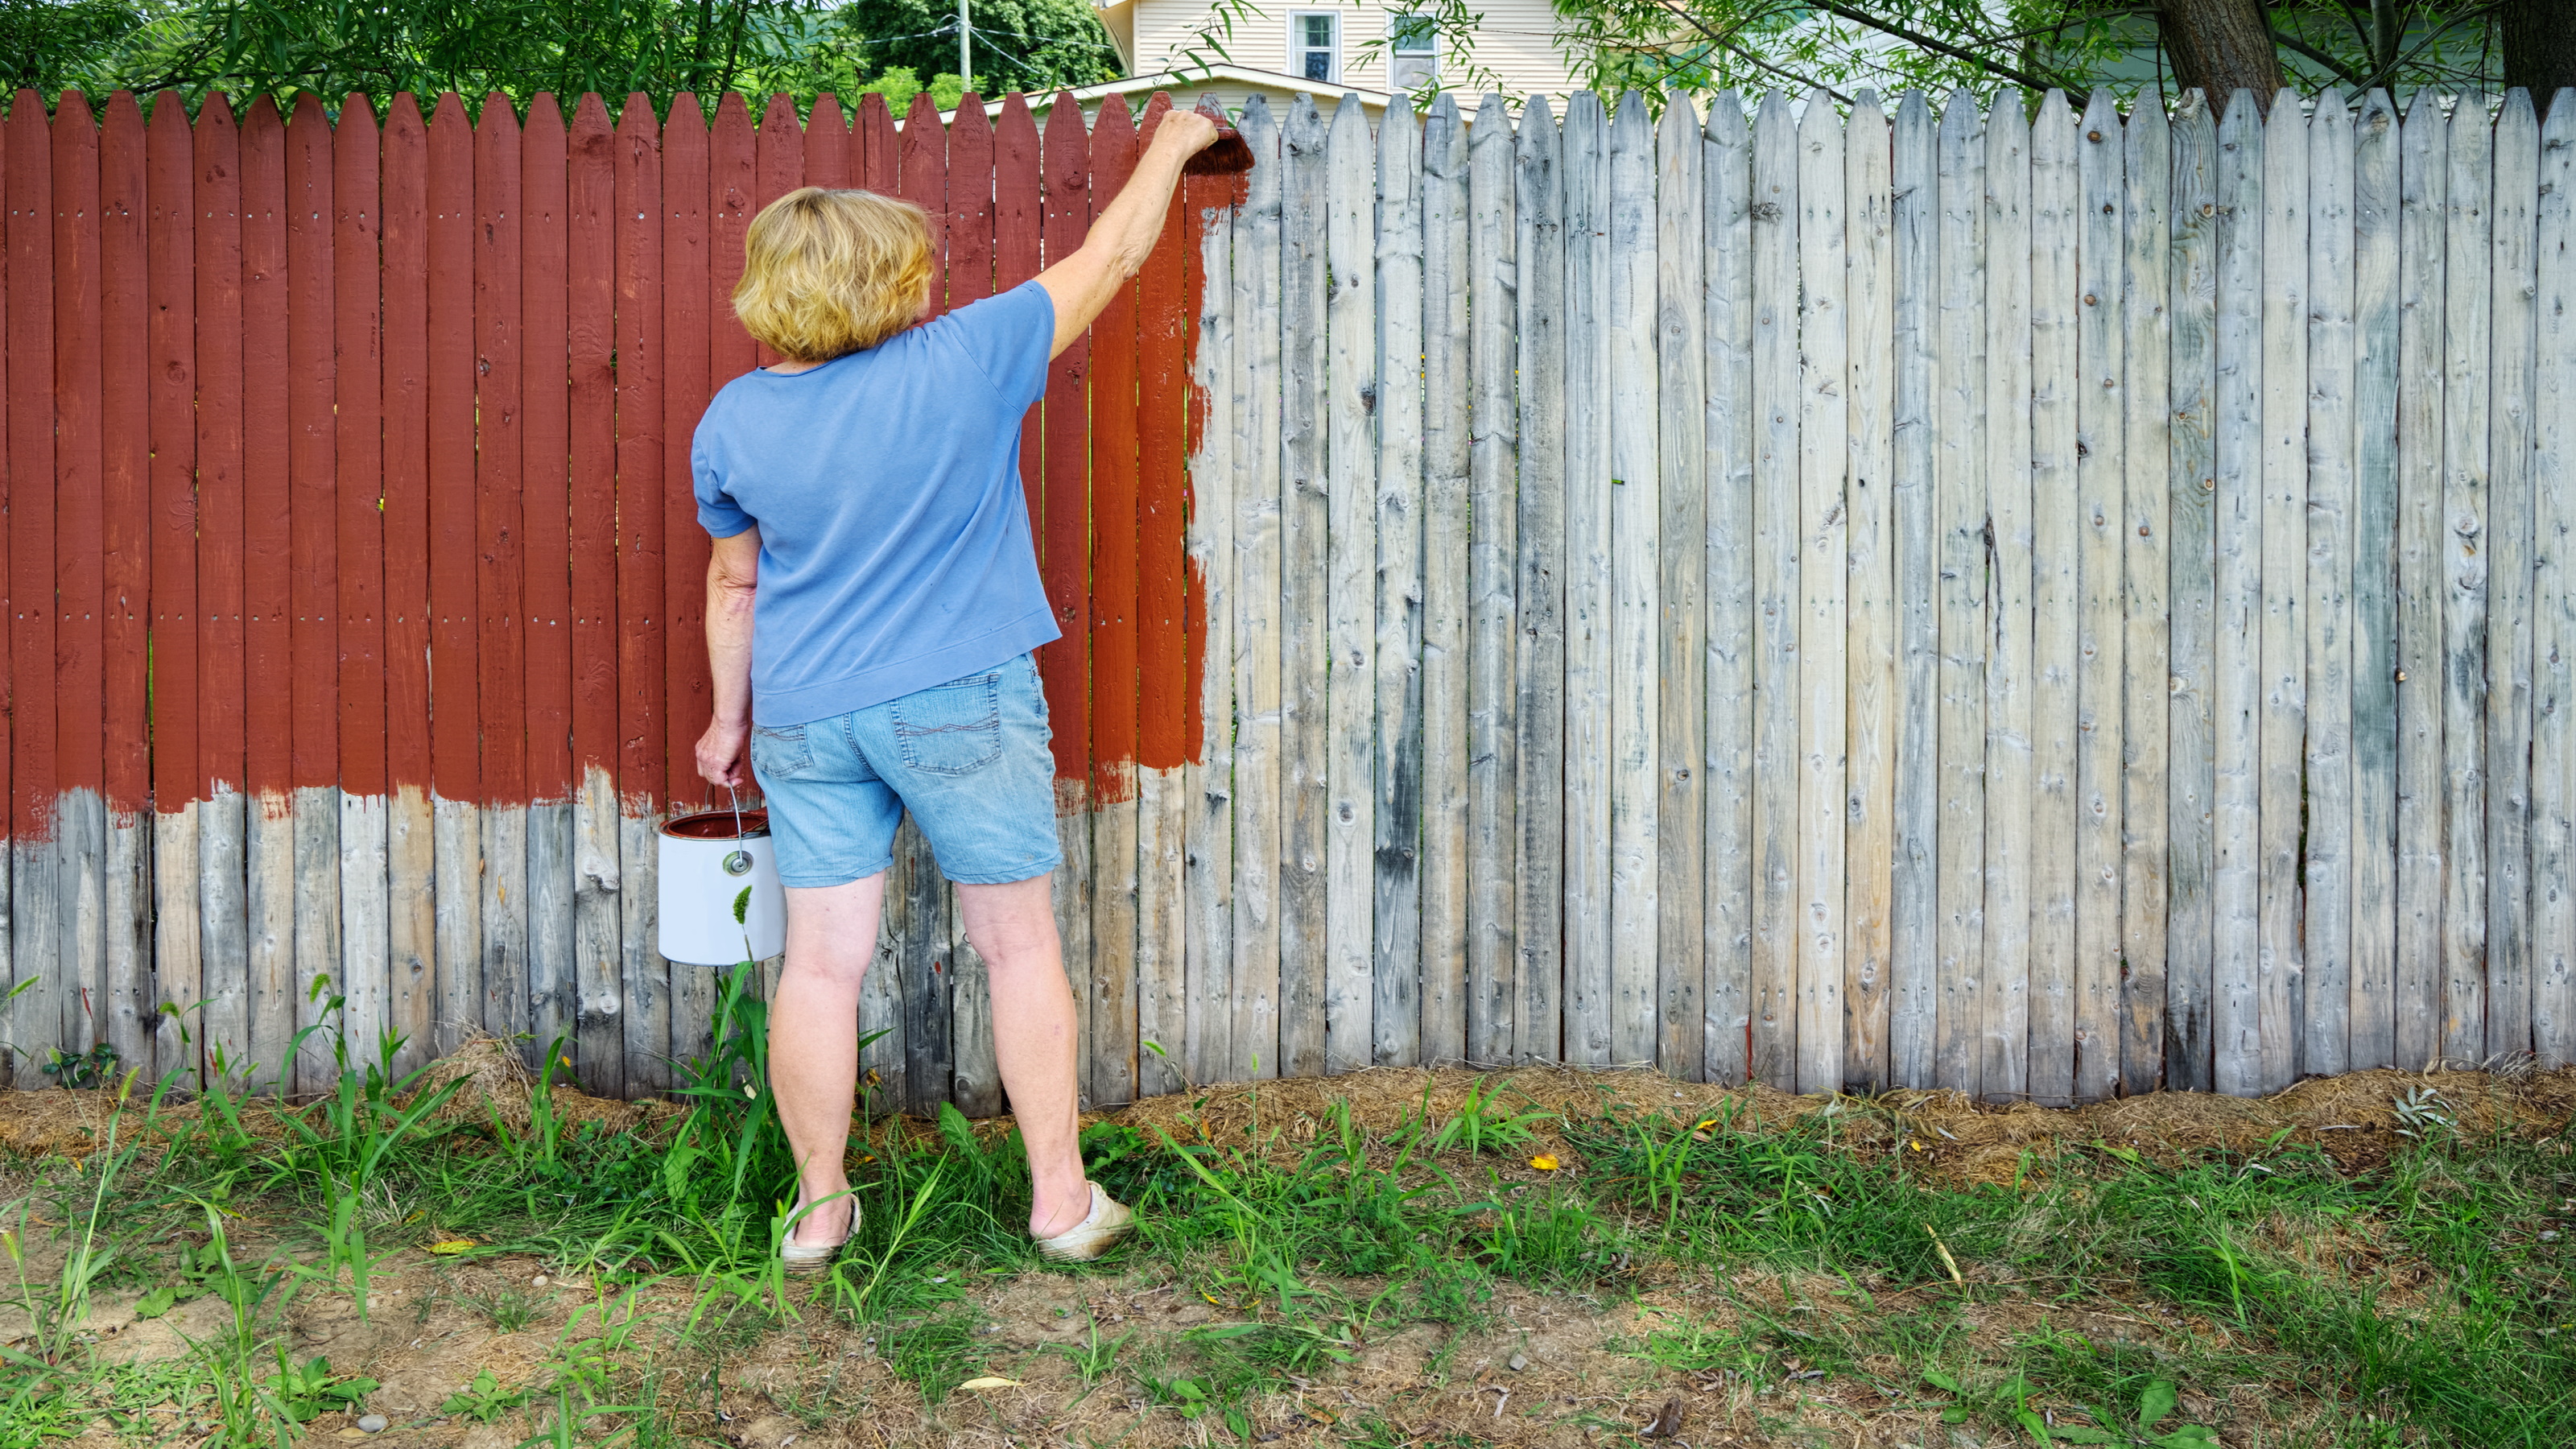
Start at the top and work across, then back across until you reach the bottom. If you are painting overlap fence panels (typically divided into three), paint the first panel from top to bottom and repeat.
A panel should take around 15-30 mins to paint, depending on how precise you are. This is the slowest method but also the simplest, as you only need a brush.
How to Paint Your Fence With a Roller
For this, you will need the best paint rollers, preferably a 4-inch product, a paint tray, and a 2-inch brush for areas that a roller can’t reach.
If you have fence panels with large, flat areas, you can use a 9-inch roller to speed up the painting process. But for most panels, a 4-inch roller is perfectly adequate.
Start by painting the hard-to-reach areas and edges with a brush. Work in sections from top to bottom, so you can see where you have painted.
Next, get your roller — start at the top of a section and work across and down. This will help smooth out any drips that might land below where you are painting.
A single fence panel should take you around 10-20 minutes to complete using this method, depending on how many edges you have to paint.
How to Paint Your Fence With a Sprayer
You can use a hand pump sprayer or an electric sprayer to paint a fence. The electric sprayer will be much quicker, but costs more to buy than a hand pump.
While both will cost a lot more than a brush or roller, you can get one of the best paint sprayers for as little as £50.
Start by filling your sprayer's container with paint. Switch on your sprayer and start in the top right or left corner.
Using smooth even movements go from one side of the panel to the other, then down and back across. Keep doing this until the panel is complete.
This is undoubtedly the quickest option for fence painting, taking anywhere from one to five minutes to complete a panel. If you have a lot of panels to paint, it is definitely worth investing in a sprayer.
How Often Will Fence Panels Need Repainting?
A well-prepped fence painted using a quality, long-lasting paint could last five years or longer. However, despite still offering good weather protection after all this time, it won’t look so pleasing to the eye.
To keep your fence looking like new, you will need to repaint it every two to three years.
Steve Jenkins is a freelance content creator with over two decades of experience working in digital and print and was previously the DIY content editor for Homebuilding & Renovating.
He is a keen DIYer with over 20 years of experience in transforming and renovating the many homes he has lived in. He specialises in painting and decorating, but has a wide range of skills gleaned from working in the building trade for around 10 years and spending time at night school learning how to plaster and plumb.
He has fitted kitchens, tiled bathrooms and kitchens, laid many floors, built partition walls, plastered walls, plumbed in bathrooms, worked on loft conversions and much more. And when he's not sure how to tackle a DIY project he has a wide network of friends – including plumbers, gas engineers, tilers, carpenters, painters and decorators, electricians and builders – in the trade to call upon.

