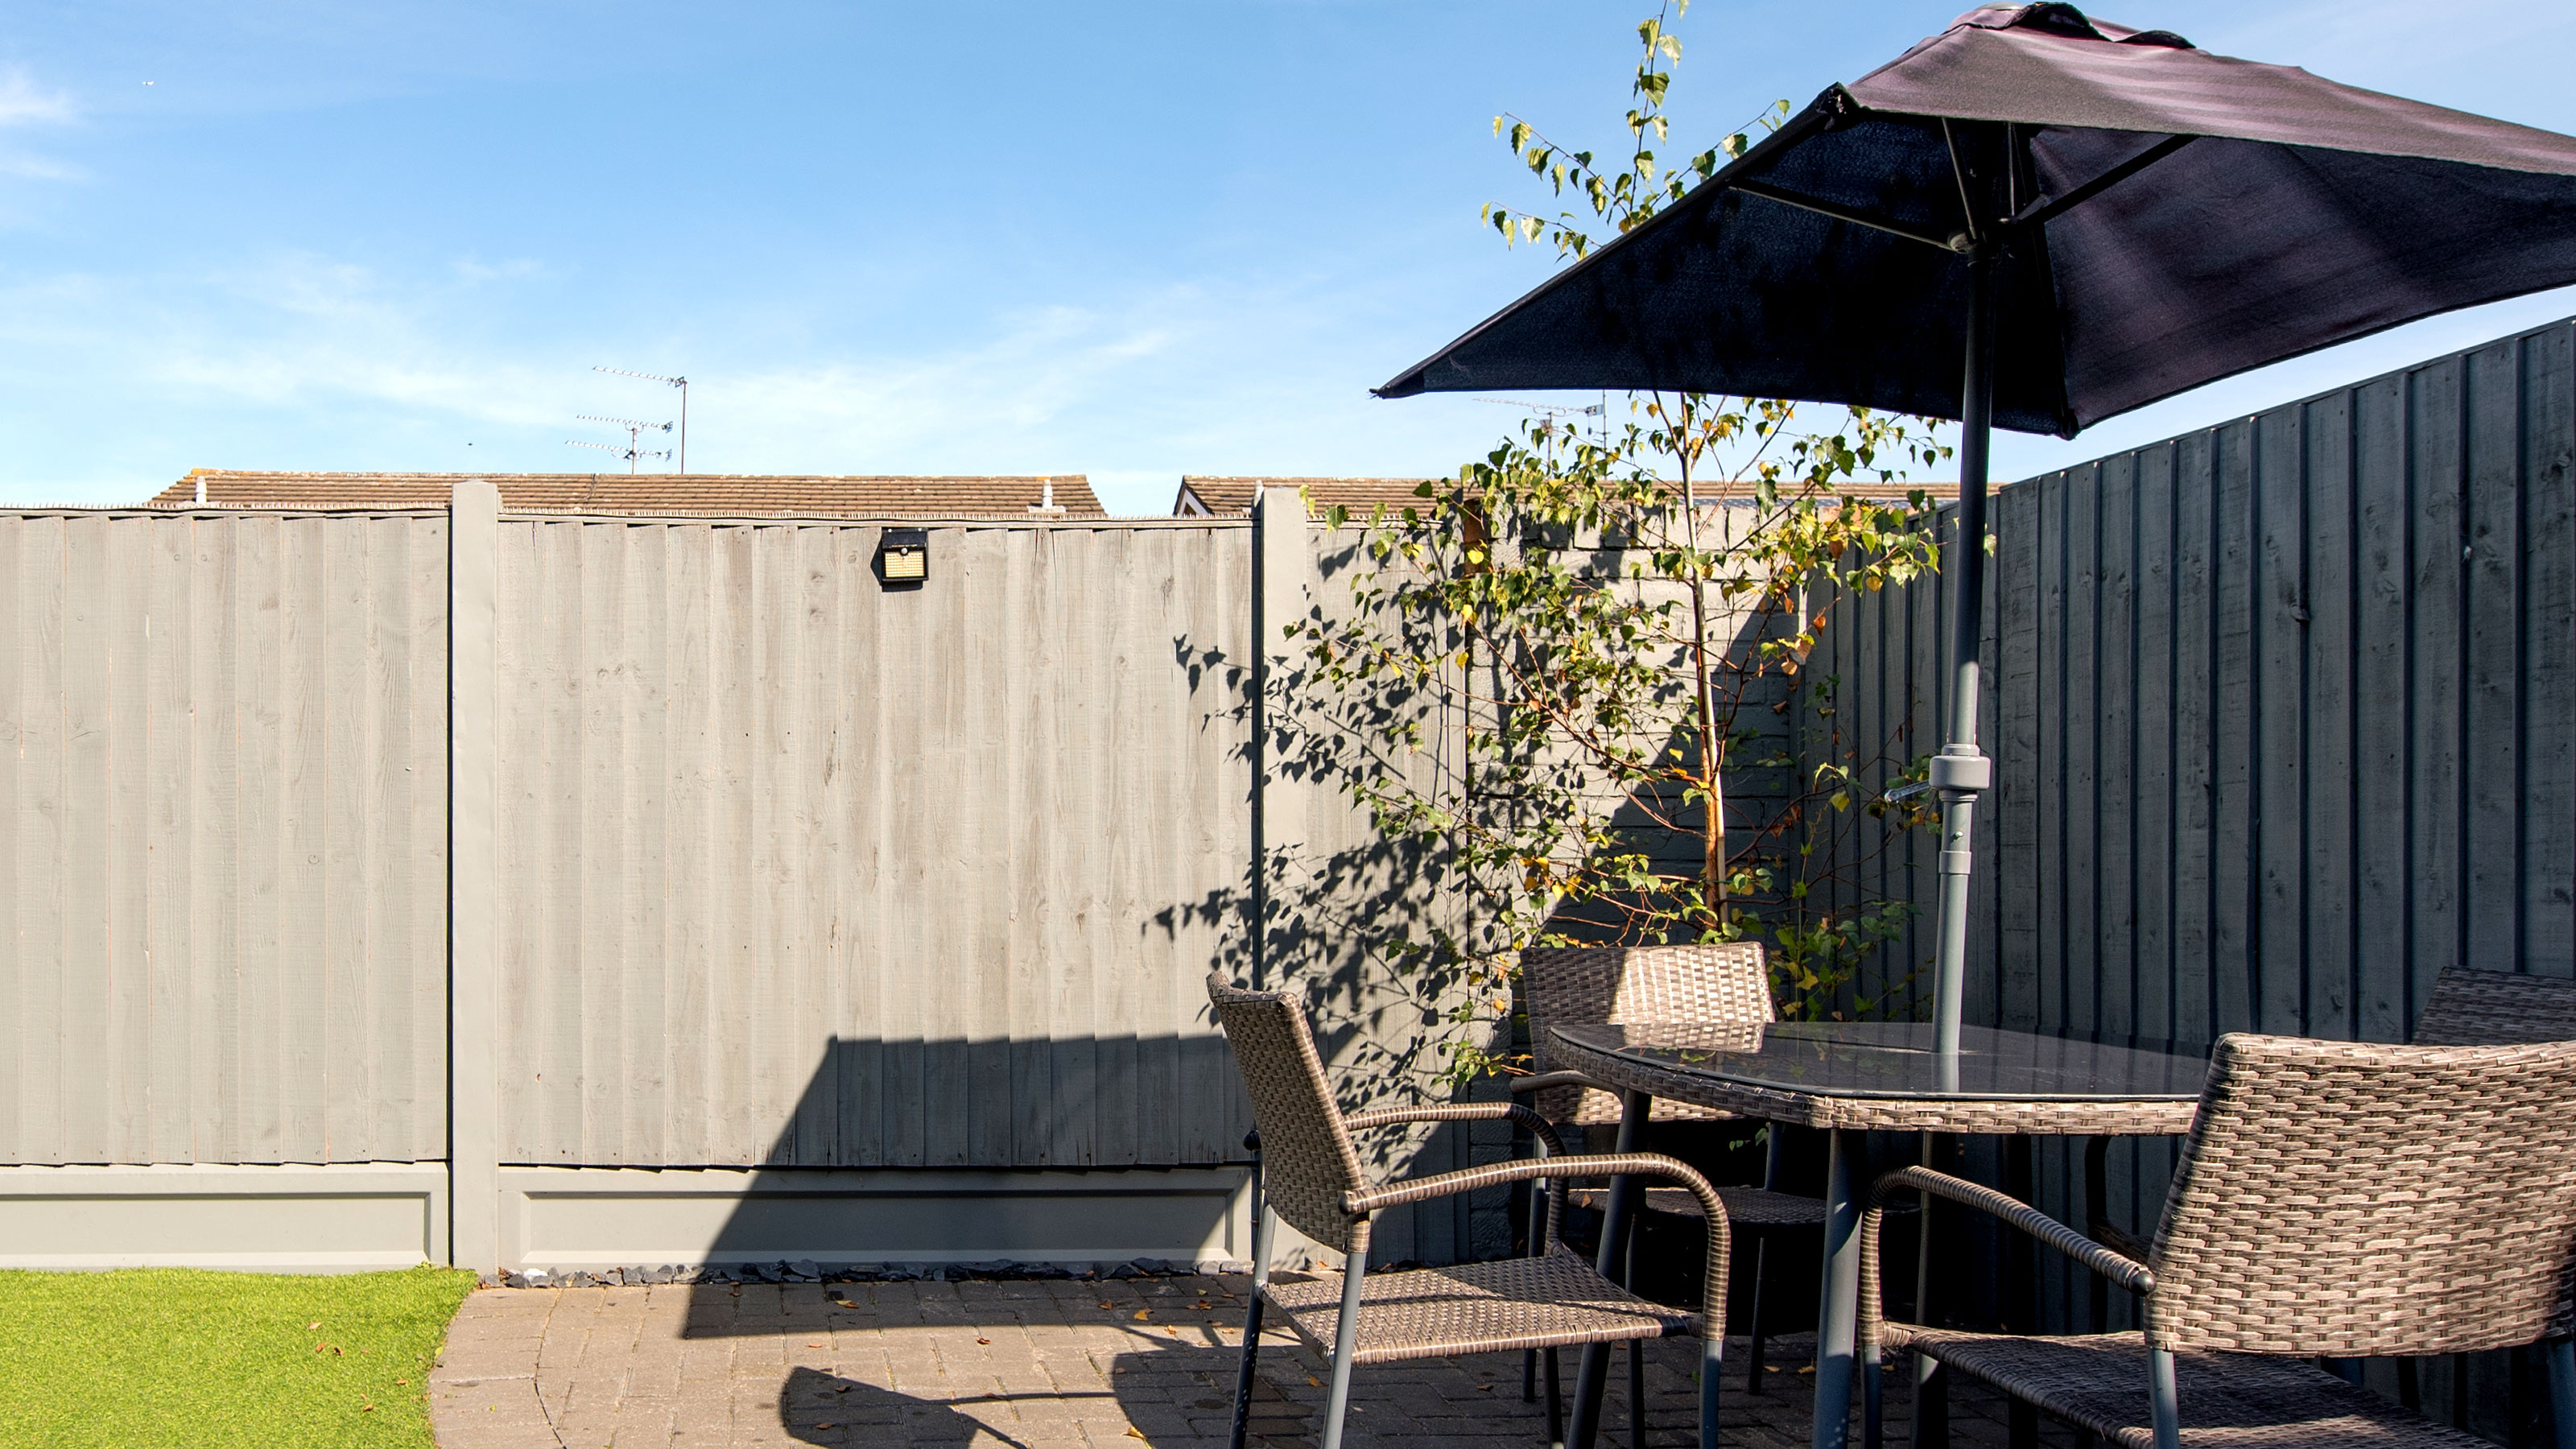
How to put up a fence: An easy step-by-step guide to installing panels and posts
Need to know how to put up a fence that looks good and will last for years and years? Follow our step-by-step guide that takes you from start to finish
Bring your dream home to life with expert advice, how to guides and design inspiration. Sign up for our newsletter and get two free tickets to a Homebuilding & Renovating Show near you.
You are now subscribed
Your newsletter sign-up was successful
Learning how to put up a fence you will give your home a natural boundary that brings privacy and enhanced security. But the real bonus is that any competent DIYer can take on the challenge and have a brand spanking new fence erected over a weekend at a cost that won't break the bank.
Ready-made fence panels appear to be heaven-sent for DIY fans. Stick up a few posts, screw the panels to them and you’re done. This is true in theory, but to install a fence that not only looks good, but will last, you need to be concreting the posts in and making sure that you know how to paint a fence. Not only will this give added protection but also let you choose a colour you want.
You will also need to ensure a meticulous degree of accuracy when marking out posts. Once you have concreted in a post you'll struggle to move it, and if your fence panel don't fit there's a lost of unwanted work ahead so you need to get it right.
Follow our step-by-step guide to find out how to get a straight guide line, how deep to dig, measure up, protect your posts and concrete in for a long-lasting garden fence.
How to put up a fence step-by-step
Here we take you through from the whole process of putting up a garden fence to give yourself a new, neat and tidy boundary.
In this step-by-step we are putting up the fence on a DIY basis which save you money, but you still need to know how much it will cost to install a fence before you start. Shop around to see if you can bag yourself a bargain.
In addition to buying the panels, there are a number of other key materials you will need to buy, and tools you'll need for the job. These include:
- Wooden stakes
- String
- Tape measure
- Spade
- Fence posts
- Gravel boards
- Bitumen-based paint
- Paintbrush
- Drill
- Screws
- Pencil
- Fence panels
- Batten
- Spirit level
- Quick-setting concrete post mix
- Water
Once you have bought your materials and collected the tools required, you can begin our step-by-step guide (ideally on a dry day).
Bring your dream home to life with expert advice, how to guides and design inspiration. Sign up for our newsletter and get two free tickets to a Homebuilding & Renovating Show near you.
Start with a straight fence line
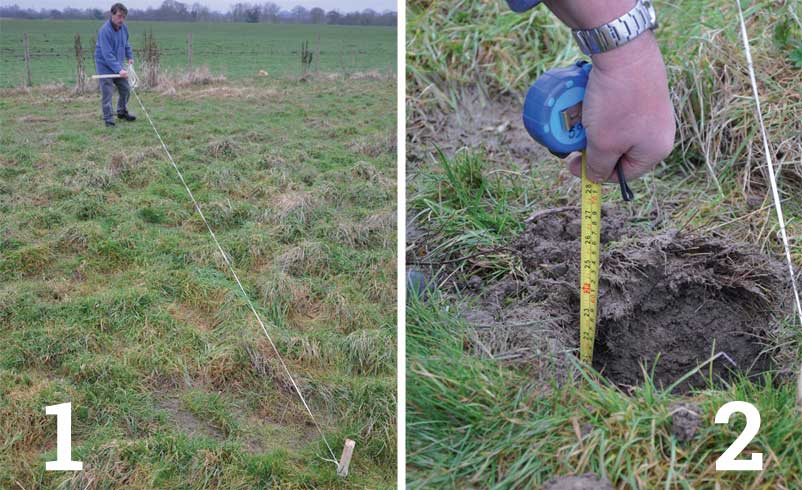
To end up with a straight fence you need to start with a straight line. Hammer a wooden stake in the ground at the starting point for the fence. Tie a string to this stake, pull the string out tight and wrap around another stake at the end of the area to be fenced off. This will provide a straight datum line to work to.
Now dig a hole 600mm deep with sides the same width, using a regular-sized garden spade, at the start point of your fence line. This size hole provides enough room for the post and the concrete needed to secure it.
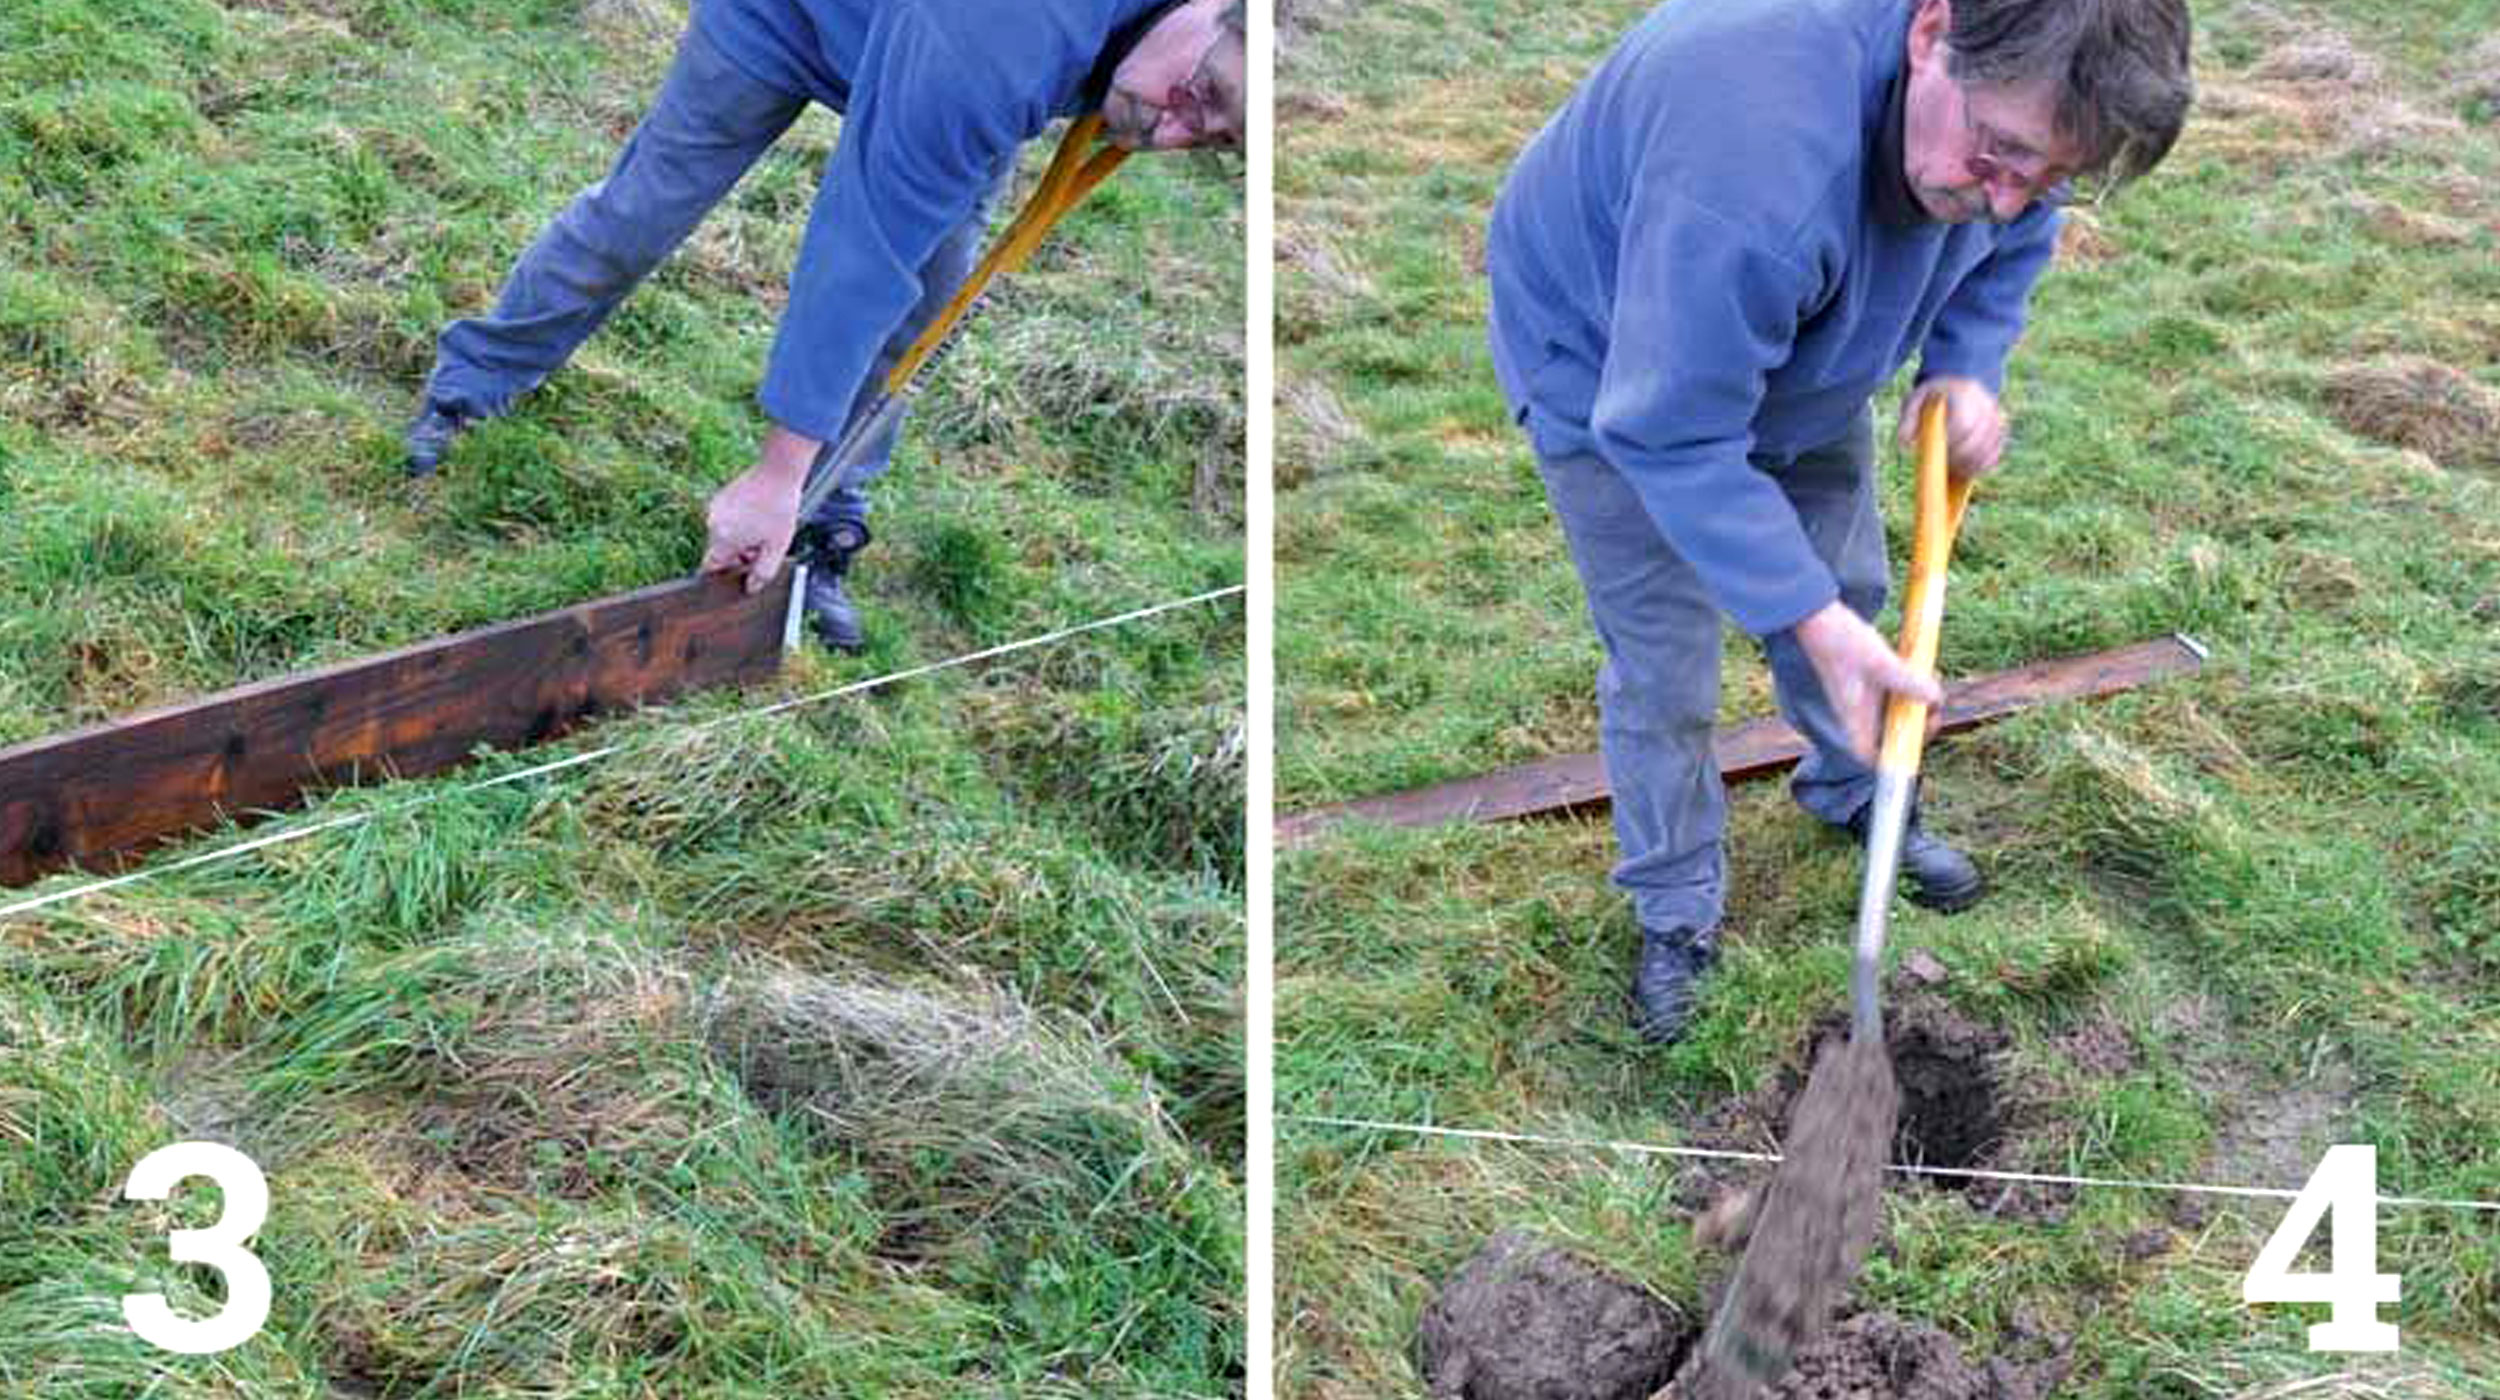
Mark out and dig out the holes for fence posts
Now mark out the position of the remaining post holes. Do this with a tape measure, or a gravel board — it’s the same width as the fence panel and makes for a rapid form of measurement.
Dig out the remaining post holes using the same method mentioned in the previous step.
Paint and protect the fence posts
If you're using timber fence posts instead of concrete, it's a good idea to ensure the section which will sit below ground and just above ground is protected.
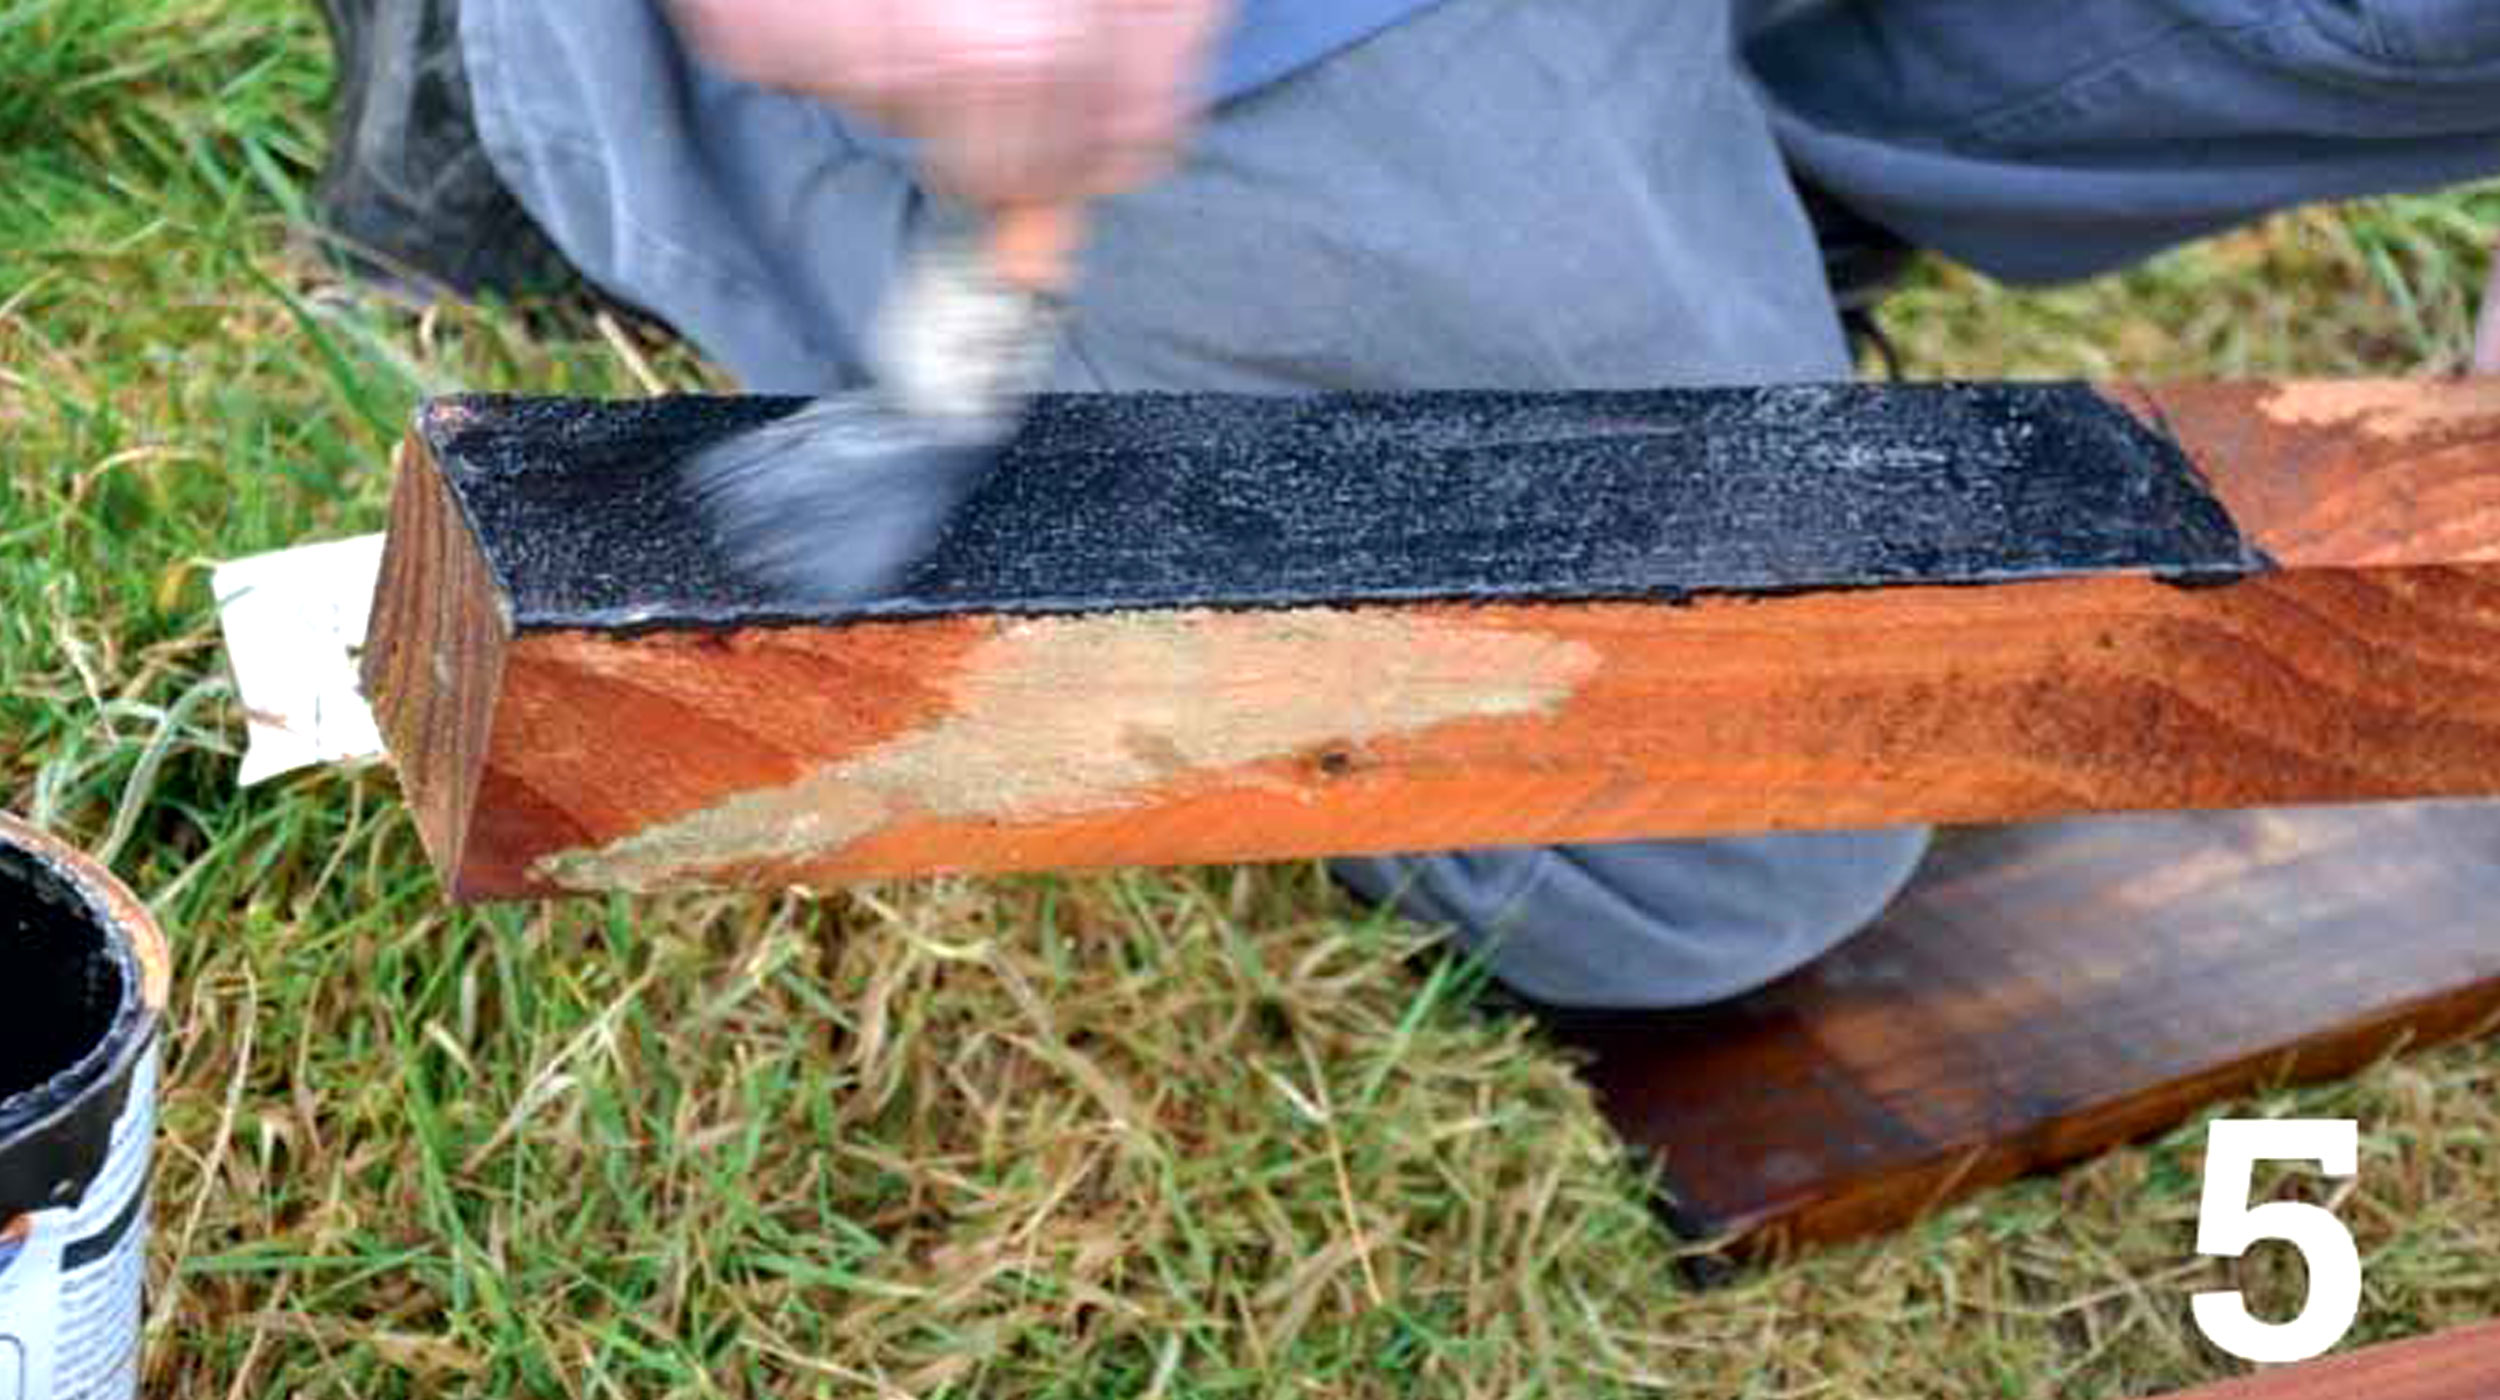
Even if a fence post has been pressure treated – where chemical preservatives are forced into the wood – it makes sense to add extra protection for the section of post that will sit in the ground. Brush on a couple of coats of bitumen-based paint on all sides and at the base of the post.
The bitumen paint on the bottom of the fence posts will take around two to four hours to dry and be ready to use.
Alternatively, you can plan ahead to save time at this stage by painting all the fence posts with bitumen the day before you are going to install the fence. This means the paint will be completely dry and posts ready to use.
Drill pilot holes in the fence panels
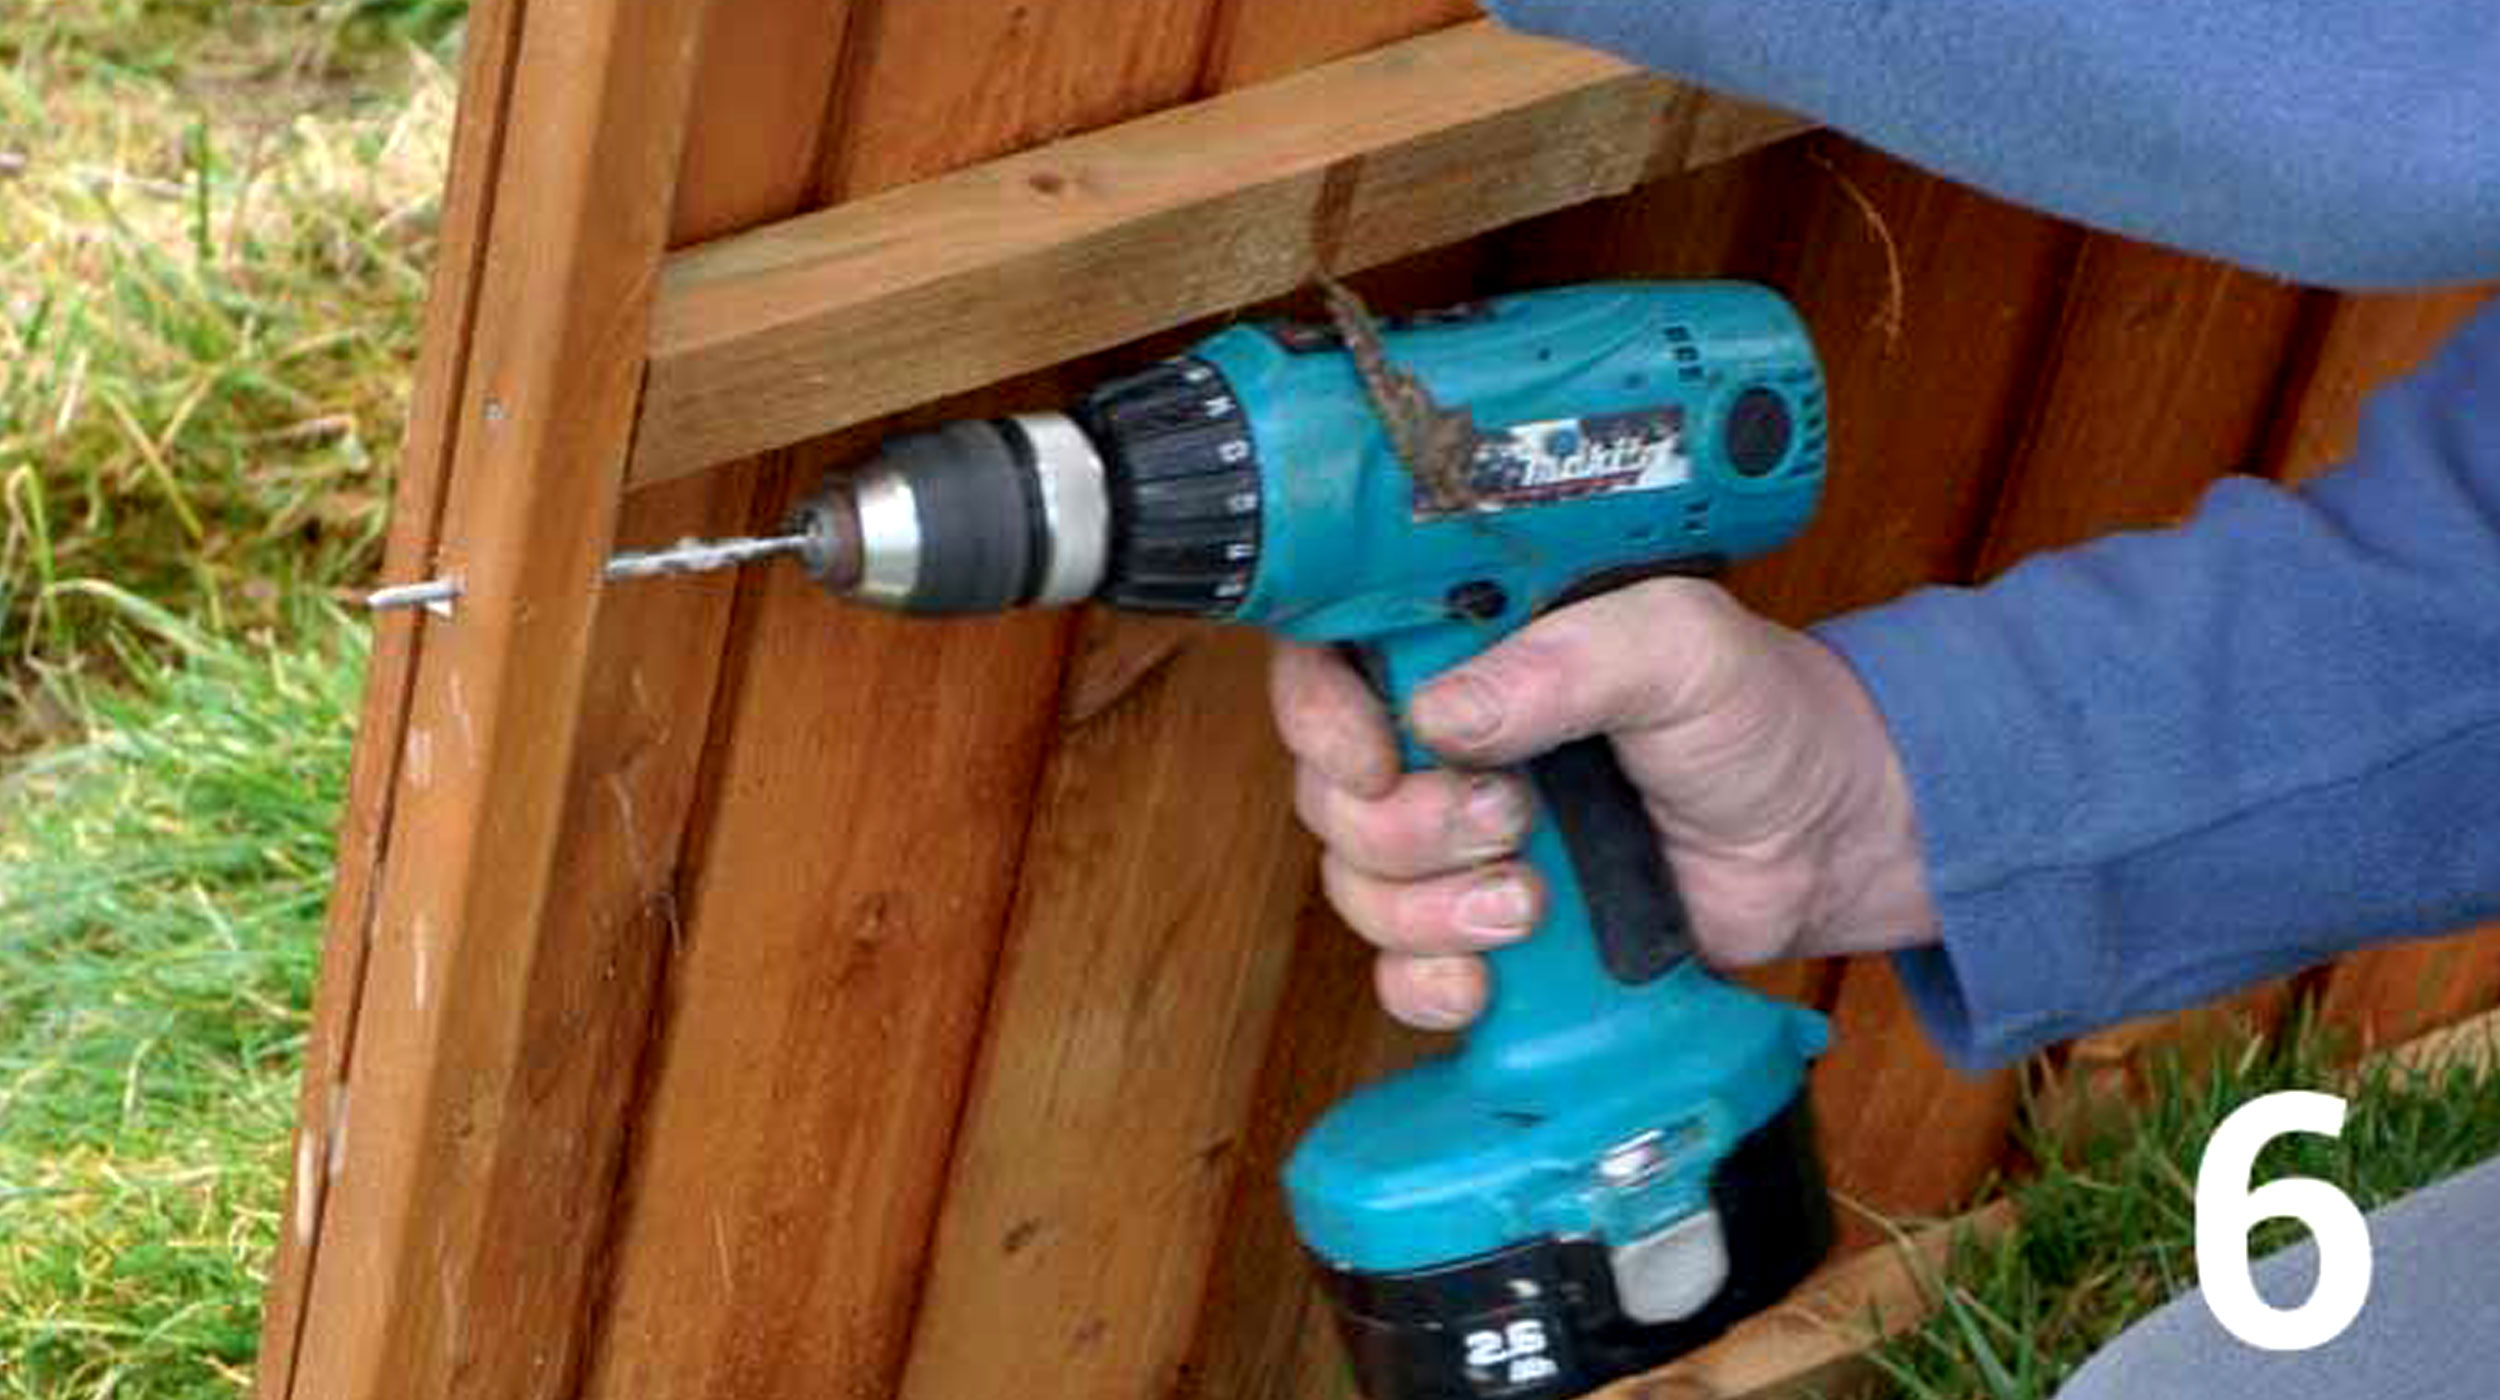
Drill four pilot holes through each side bar of the fence panel, ready to attach the panel to the wooden fence posts.
Make sure the drill holes match the size of the screws you are going to use. In this step-by-step we use closeboard fence panels, but the principles can be applied to all different fence types.
Insert gravel board and attach the posts to the panels
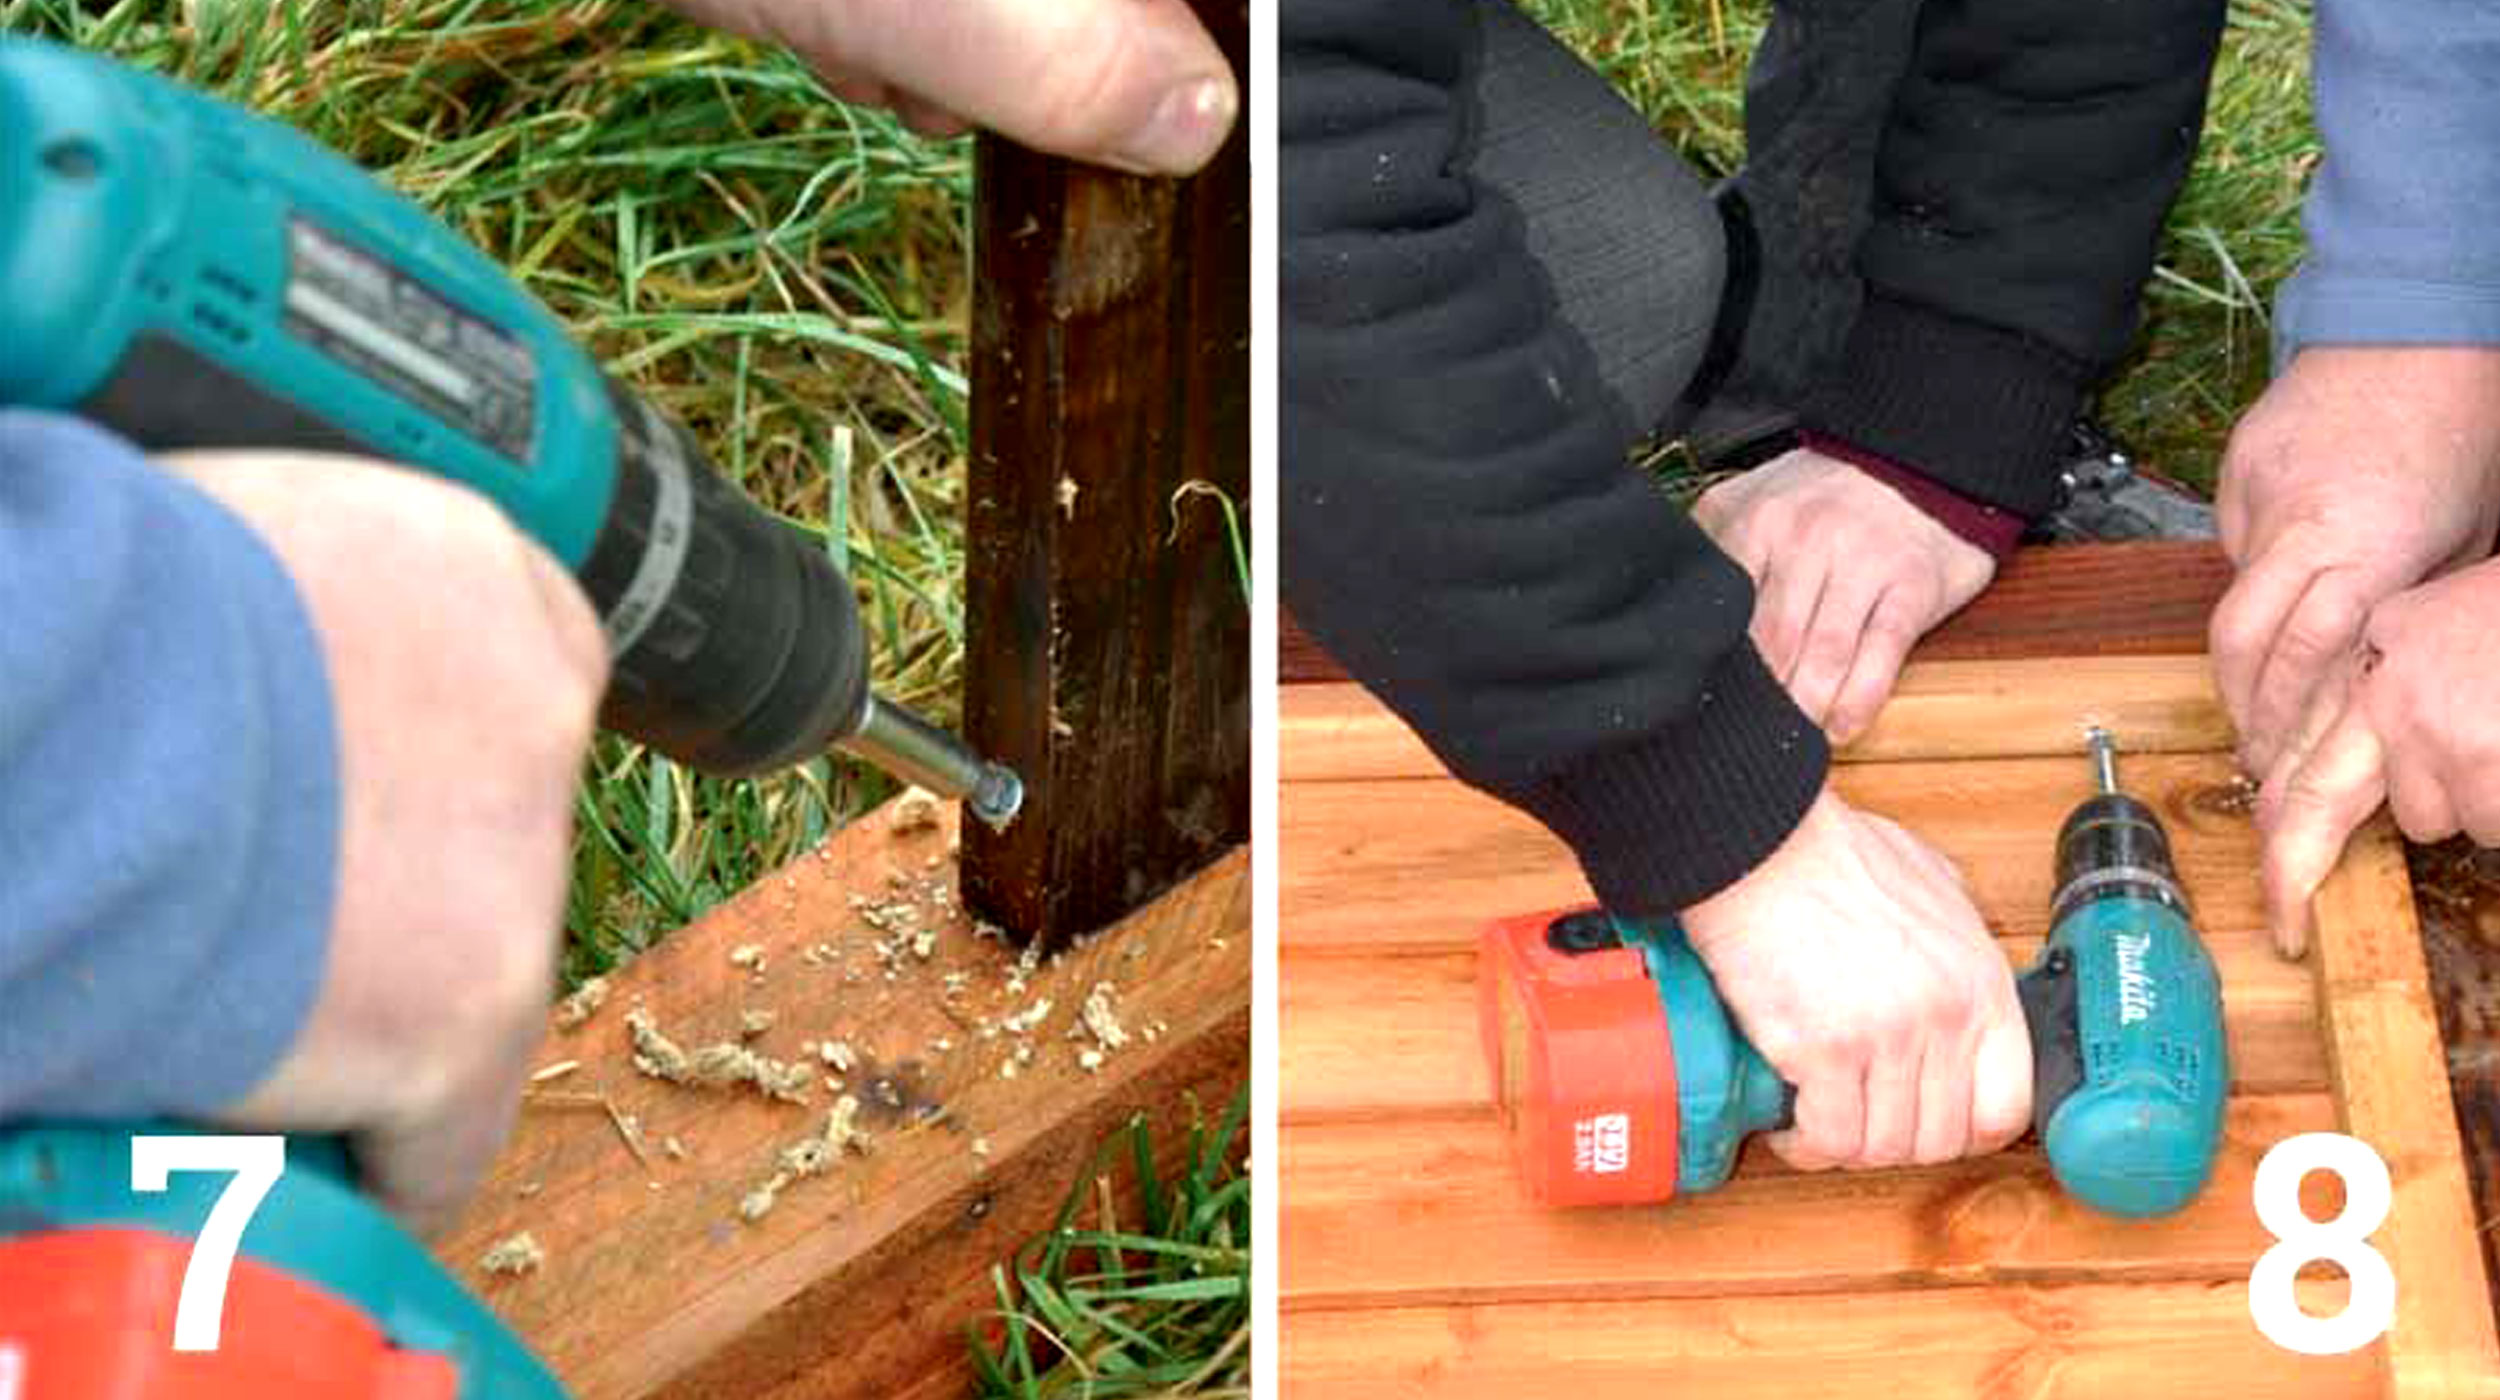
It’s a good idea to use a gravel board at the foot of the panel to stop the end grain touching the ground and absorbing moisture. Position the gravel board just above the bitumen-painted section of the post.
Now drill a pilot hole diagonally through the edge of the gravel board and into the post on both sides — use a couple of screws to secure the board.
Even if you’re not using a panel with vulnerable end grain, a gravel board will prolong the life of the fence — particularly for those that run over the top of grass or soil, which will invariably be waterlogged at some point.
Leave a 5mm gap between the base of the fence panel or gravel board and the ground over hard surfaces like concrete. This allows water to wash underneath, rather than soak into the wood.
Now attach the panel to a post on both sides, screwing through the pilot holes made previously.
Lift the first fence panel and posts into position
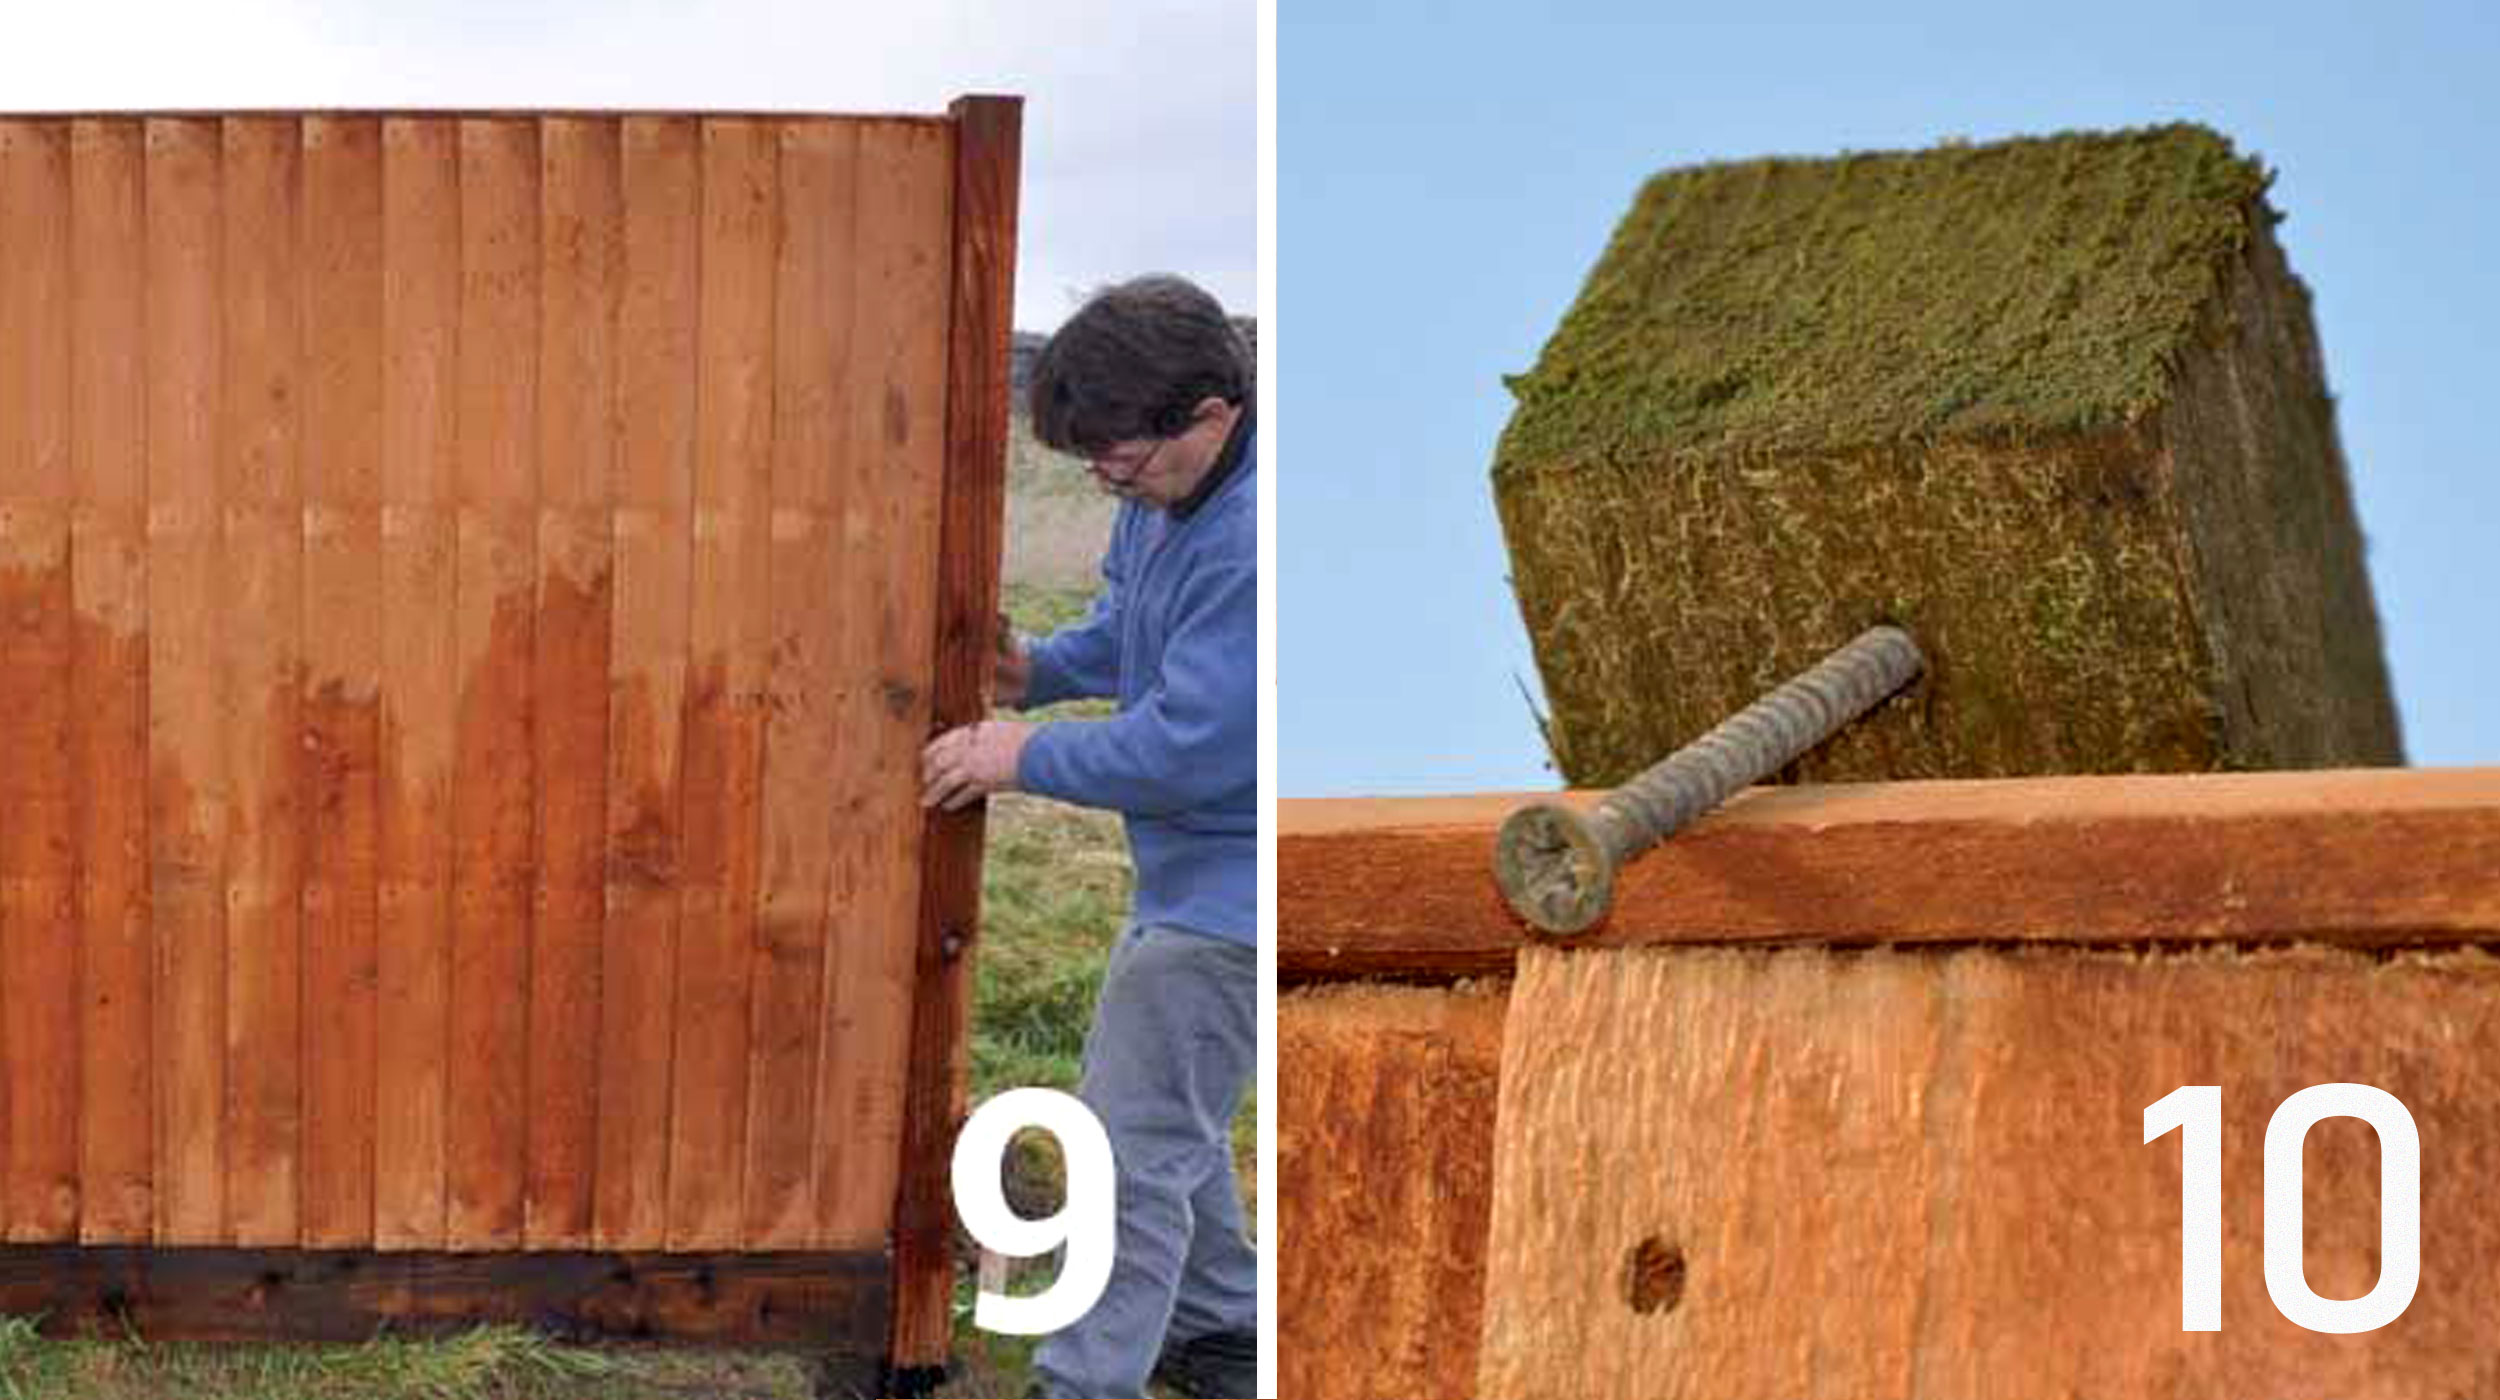
With the gravel board and fence panel firmly attached to the fence posts you now need to lift into position and lower the posts into the holes. (You'll need a second pair of hands for this task.) Make sure that you are observing common fence rules and the combined height isn't over two metres.
Prop the fence panel in position with a length of batten run diagonally from the ground to the top of the panel. Put a screw in the top of the batten and hook it over the top of the fence panel to help keep it in position.
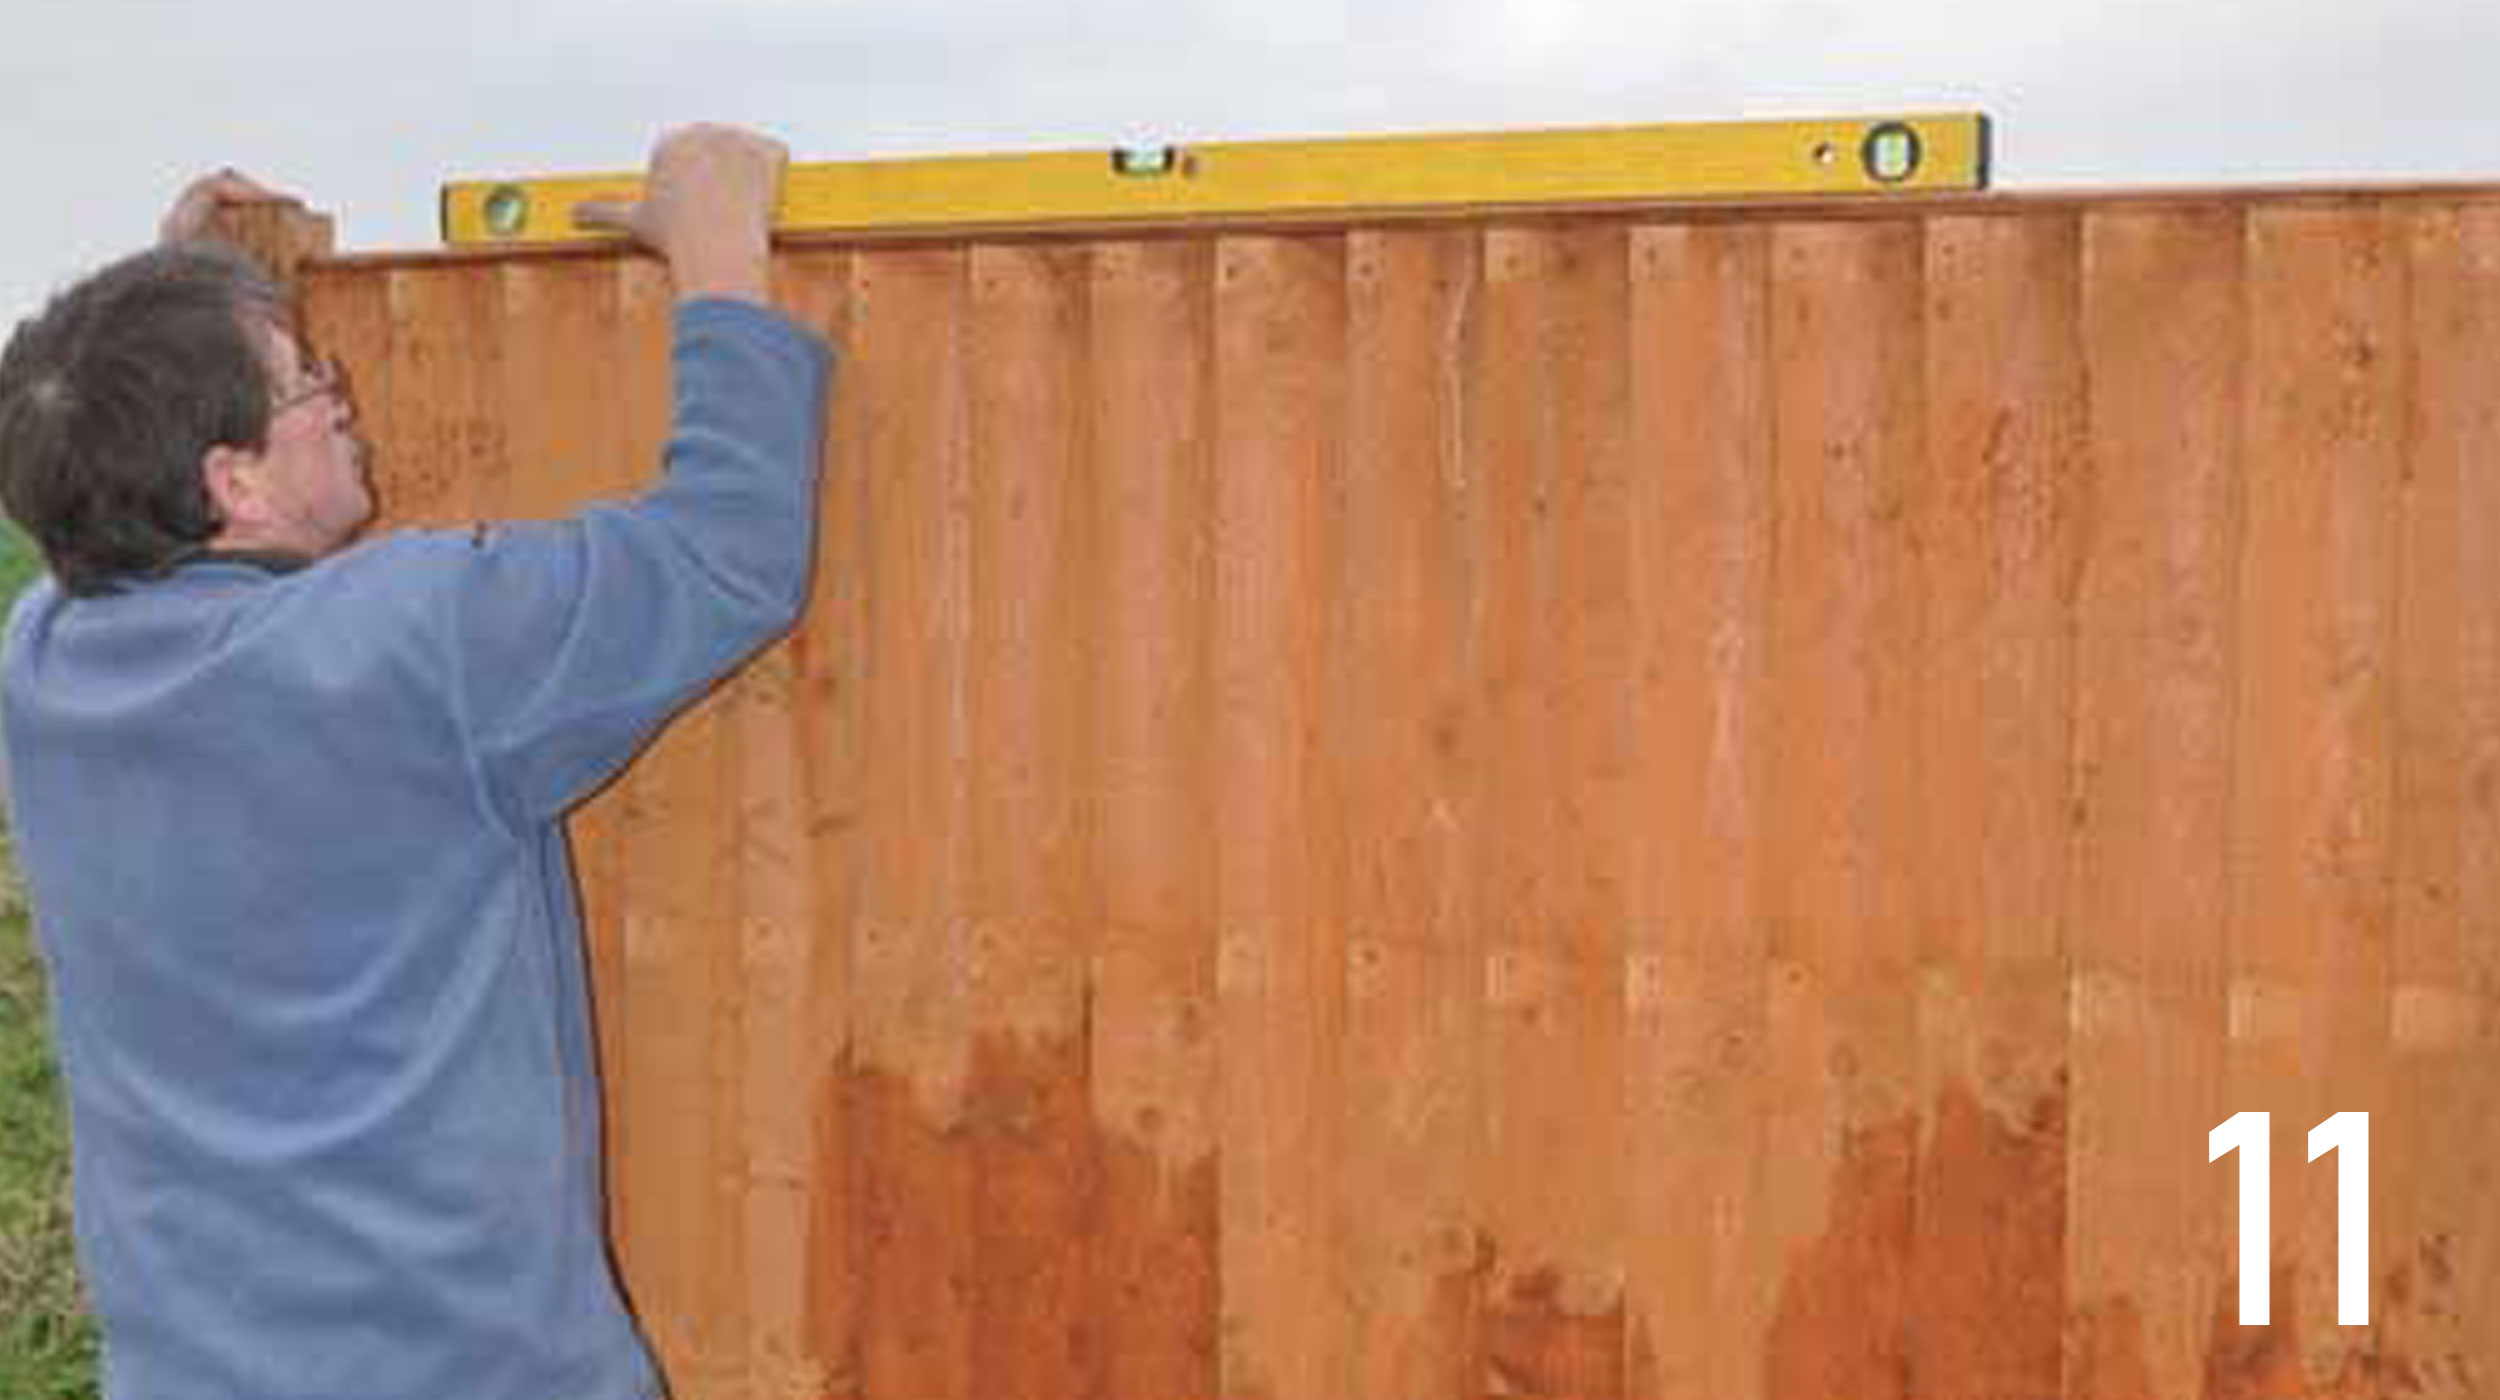
Check the fence panel is level
Now you have the fence panel in position use a spirit level to check the fence panel is level across the top and then check that the posts are vertical.
If the fence panel isn't horizontally level, add a little rubble, stone or dirt into the post hole and check the levels again. Keep doing this until level. Adjust the batten so that the posts are upright and vertically level.
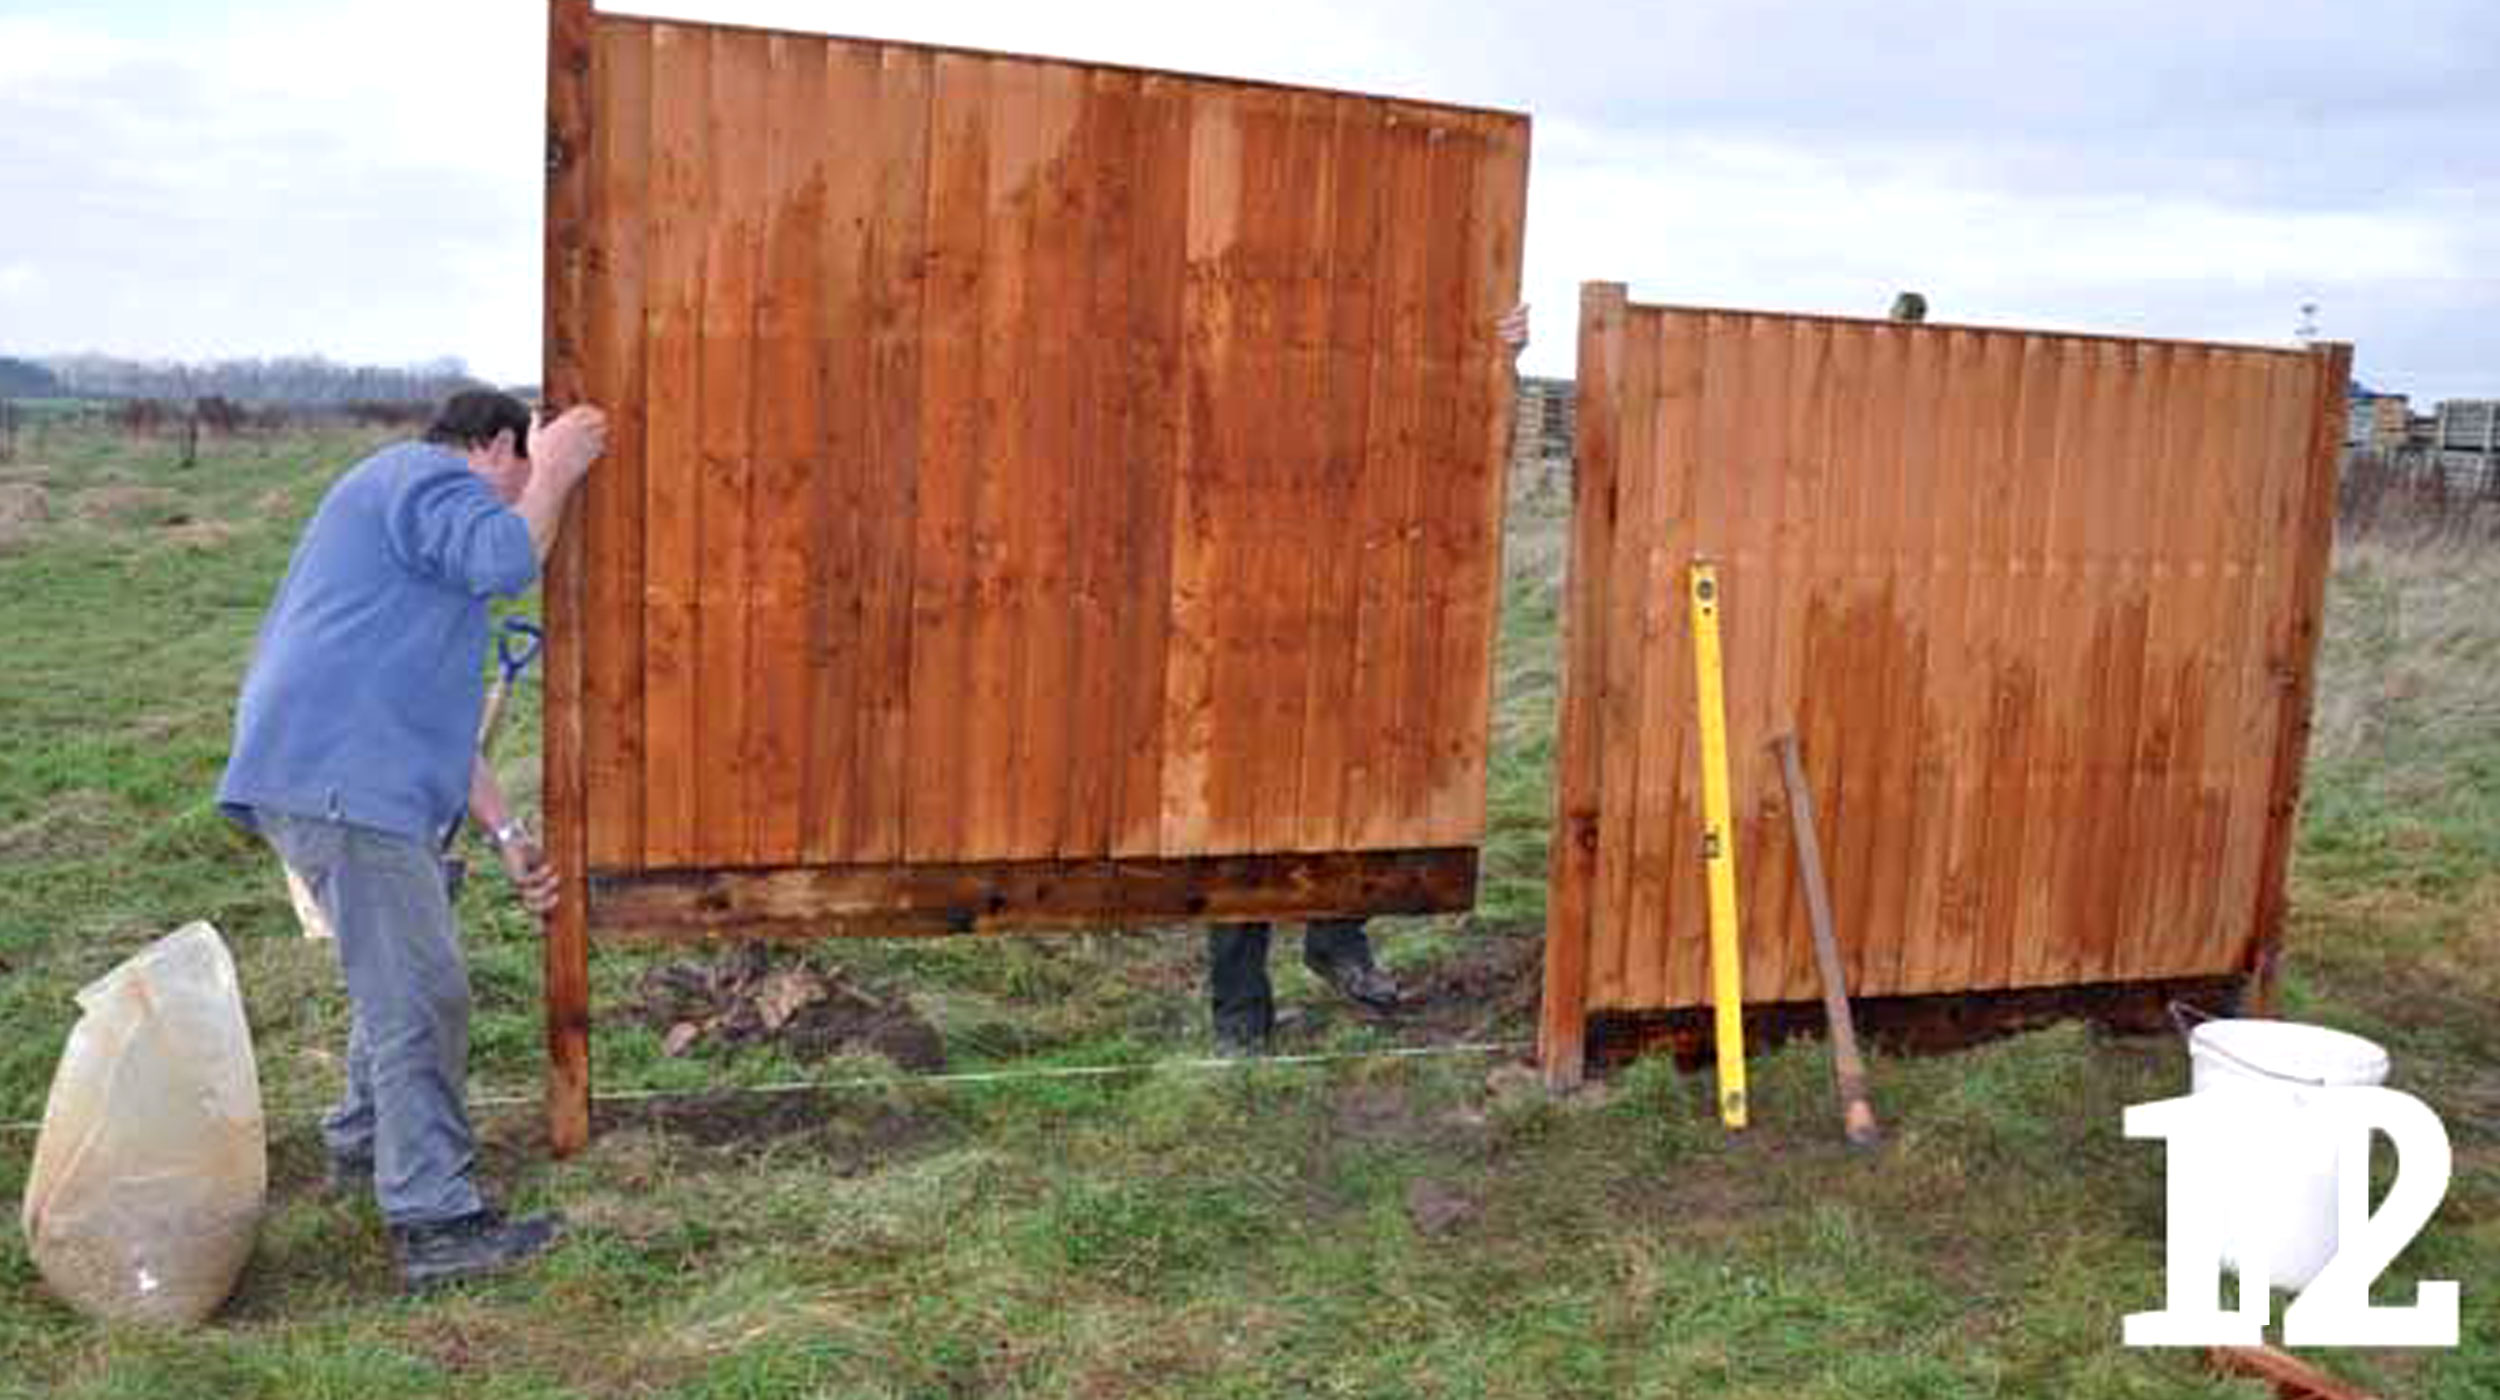
Add the next fence panel and posts
Once the first panel is secure, fix a post to one edge of the next fence panel and lower the panel and post into position. Use a batten to secure the panel – as shown before – and then check for level before screwing the new panel to the existing post. Add rubble to the hole and then repeat this whole step until all the fence panels are in position.
Check levels and cement the fence posts into place
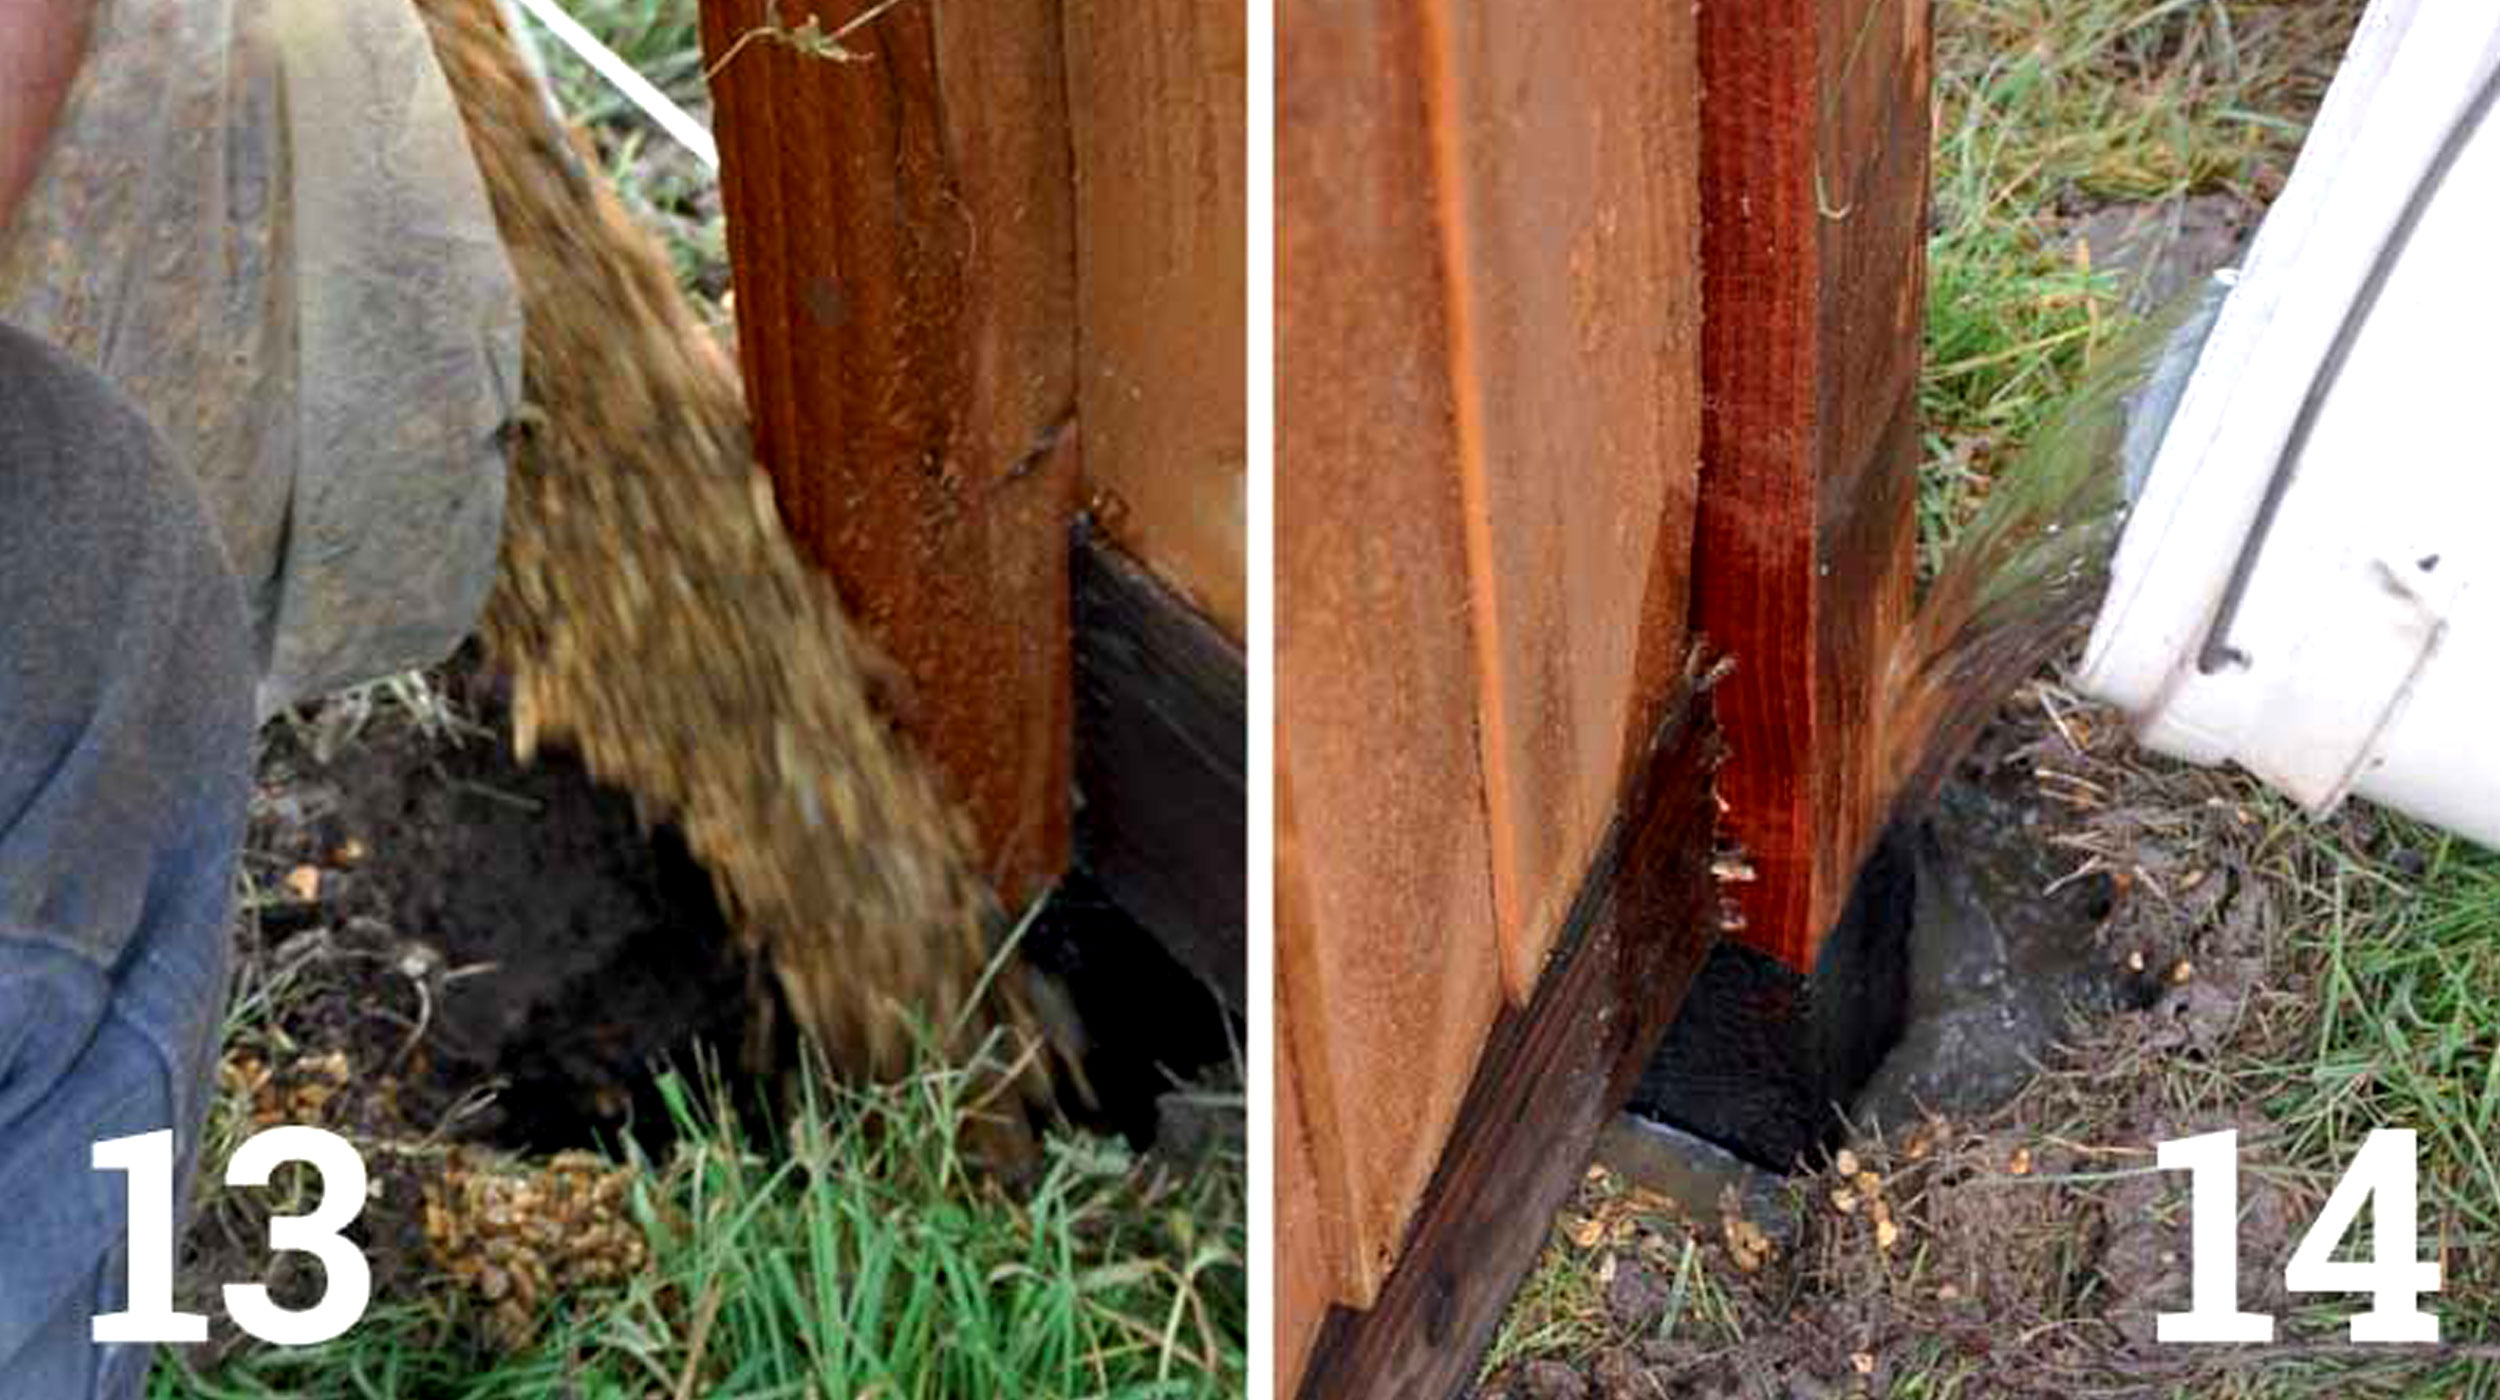
Finally check again that everything is level. With all the posts vertical, the fence posts can be concreted in. You can mix up your own cement and ballast to make concrete, but it’s far easier to buy bags of ready-mixed, quick-setting ‘post mix’.
Poured in the dry mix and pack down with a piece of wood. Now pour the right amount of water into the hole; pack down to make up a stiff mix. Keep the mix just below the natural level of the ground so the set concrete can be covered over with earth or turf later on.
Paint panels and add the finishing touches
Once the concrete is dry and your fence posts and panels are painted you can think about adding a few creative fence lighting ideas to take your garden boundary to the next level.
While your hard work, diligence and creative mind will mean that your fence will hopefully look wonderful for a long time you can never rule our high winds and storms, which might damage your fence. So be prepared to repair damaged wood fencing, or in more extreme cases replace fence panels to restore your fence to its former glory.
Steve Jenkins is a freelance content creator with over two decades of experience working in digital and print and was previously the DIY content editor for Homebuilding & Renovating.
He is a keen DIYer with over 20 years of experience in transforming and renovating the many homes he has lived in. He specialises in painting and decorating, but has a wide range of skills gleaned from working in the building trade for around 10 years and spending time at night school learning how to plaster and plumb.
He has fitted kitchens, tiled bathrooms and kitchens, laid many floors, built partition walls, plastered walls, plumbed in bathrooms, worked on loft conversions and much more. And when he's not sure how to tackle a DIY project he has a wide network of friends – including plumbers, gas engineers, tilers, carpenters, painters and decorators, electricians and builders – in the trade to call upon.

