How to get patio drainage right: experts explain everything you need to know
Investing in a patio can be an expensive outgoing so make sure you factor in the right drainage at planning stage to avoid problems later on. If, on the other hand, you have surface water issues with an existing patio find out how to fix that too

It might not be the first thing that comes to mind but installing a good drainage system for your new patio design is as important as choosing the right paving slabs or wiring in cables for lighting and an outdoor kitchen.
Patio drainage systems are essential to deal with the accumulation of water on the surface of patio pavers that can render the space unusable. Surface water drainage for patios is one of the most commonly encountered aspects of drainage in back garden landscaping schemes, so there are plenty of options to choose from.
Although you might think that patio drainage is complicated, the good news is there are plenty of easy systems that are inexpensive and straightforward to install. So make sure that when you're planning how to design a patio you don't skip this key step. Now follow our expert guide on everything you need to know to make sure you give patio drainage the attention it deserves.
Why patio drainage is so important
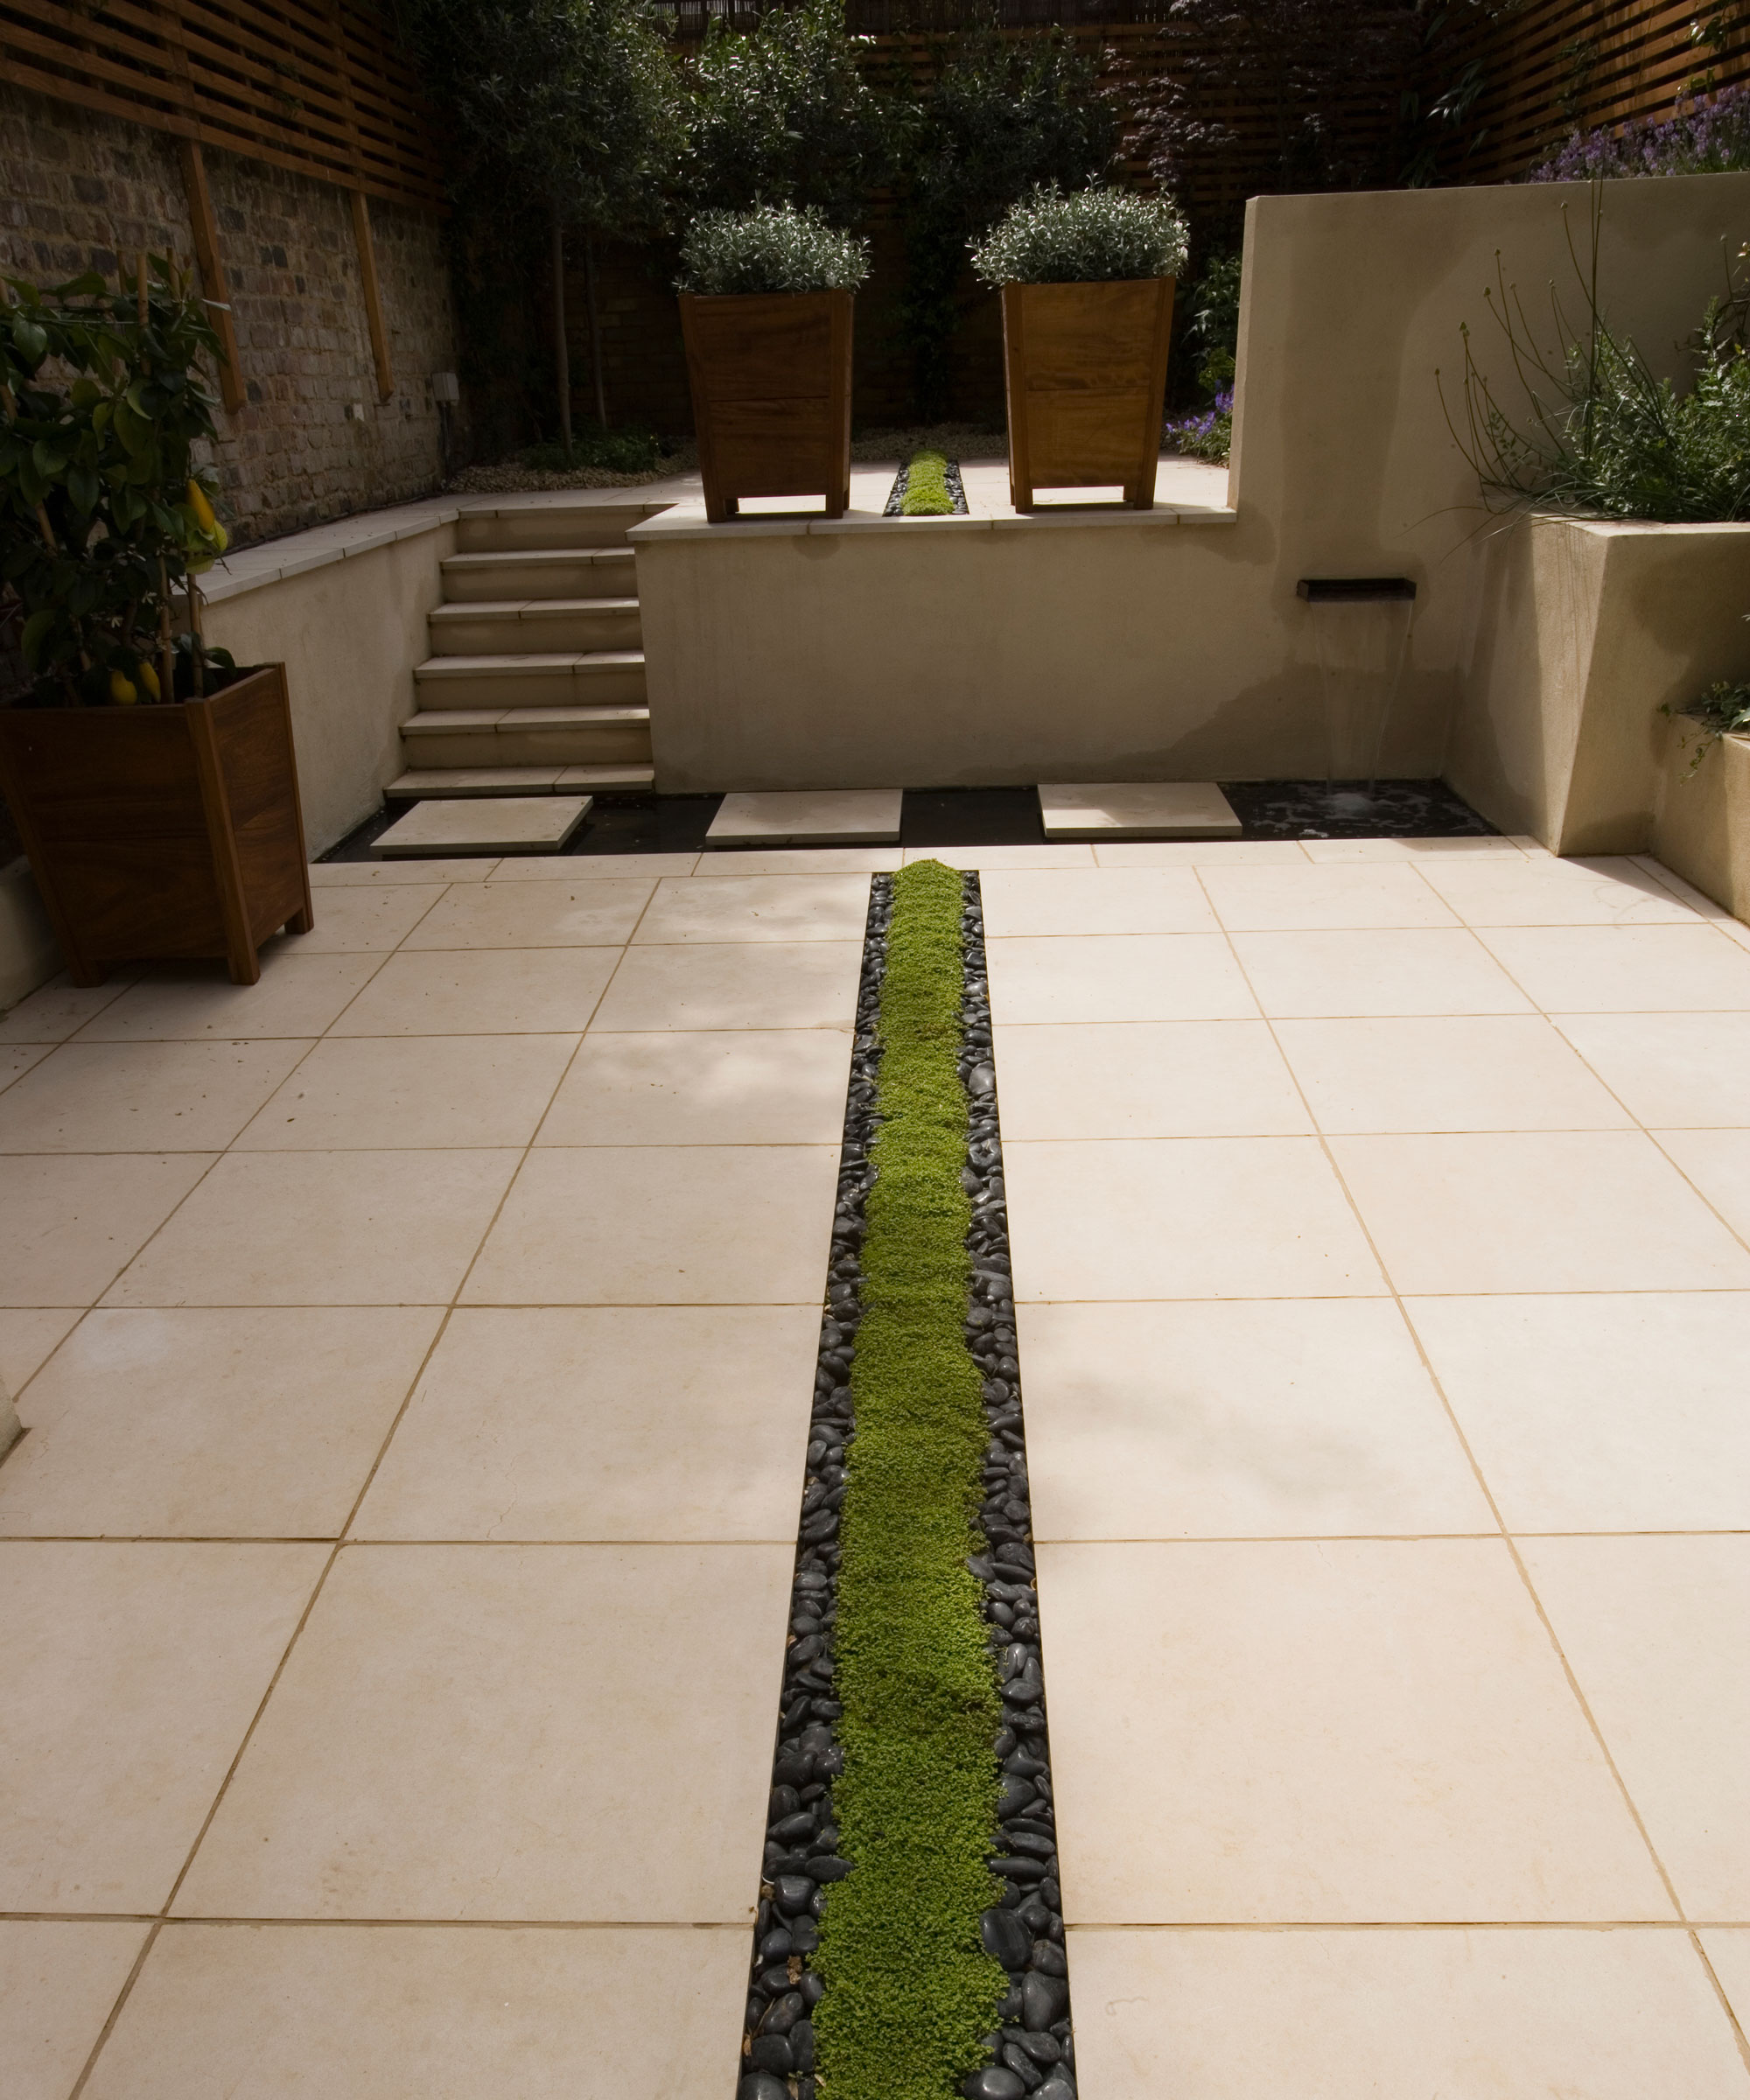
Patio drainage is an important consideration when thinking about the overall issue of where to put drainage in your garden. If your patio does not have adequate drainage, water can accumulate, creating the need for surface water drainage. This can cause many issues including water damage and structural problems, plus of course the slippery surface can increase the risk of injuries.
"If your patio is made of a porous material, water that is left pooling on the surface can seep into the pores of the material, weakening and deteriorating your patio," says drainage expert Jess Thomas, MD of Drainage Central. "Proper drainage can also reduce the risk of erosion: if water is allowed to flow freely over the patio it can begin to erode the surface over time, making it uneven. You can reduce the chances of flooding by ensuring that your patio has proper drainage."

Jess Thomas is managing director of Drainage Central and a recognised expert in the drainage and plumbing industry. He is dedicated to helping homeowners find effective solutions to their drainage problems.
How to include patio drainage in a new patio
Whatever drainage system you decide on needs to be planned from the get-go, as it's one of the most common patio mistakes that can happen.
The rule is that drainage should be installed at the lowest point of your patio and run at right angles to the patio. This will allow the water to run off the patio away from the direction of your home to prevent structural issues.
Bring your dream home to life with expert advice, how to guides and design inspiration. Sign up for our newsletter and get two free tickets to a Homebuilding & Renovating Show near you.
The most common choices of drainage system are either a channel drain (also known as a linear drain or trench drain) or a French drain.
Channel drains
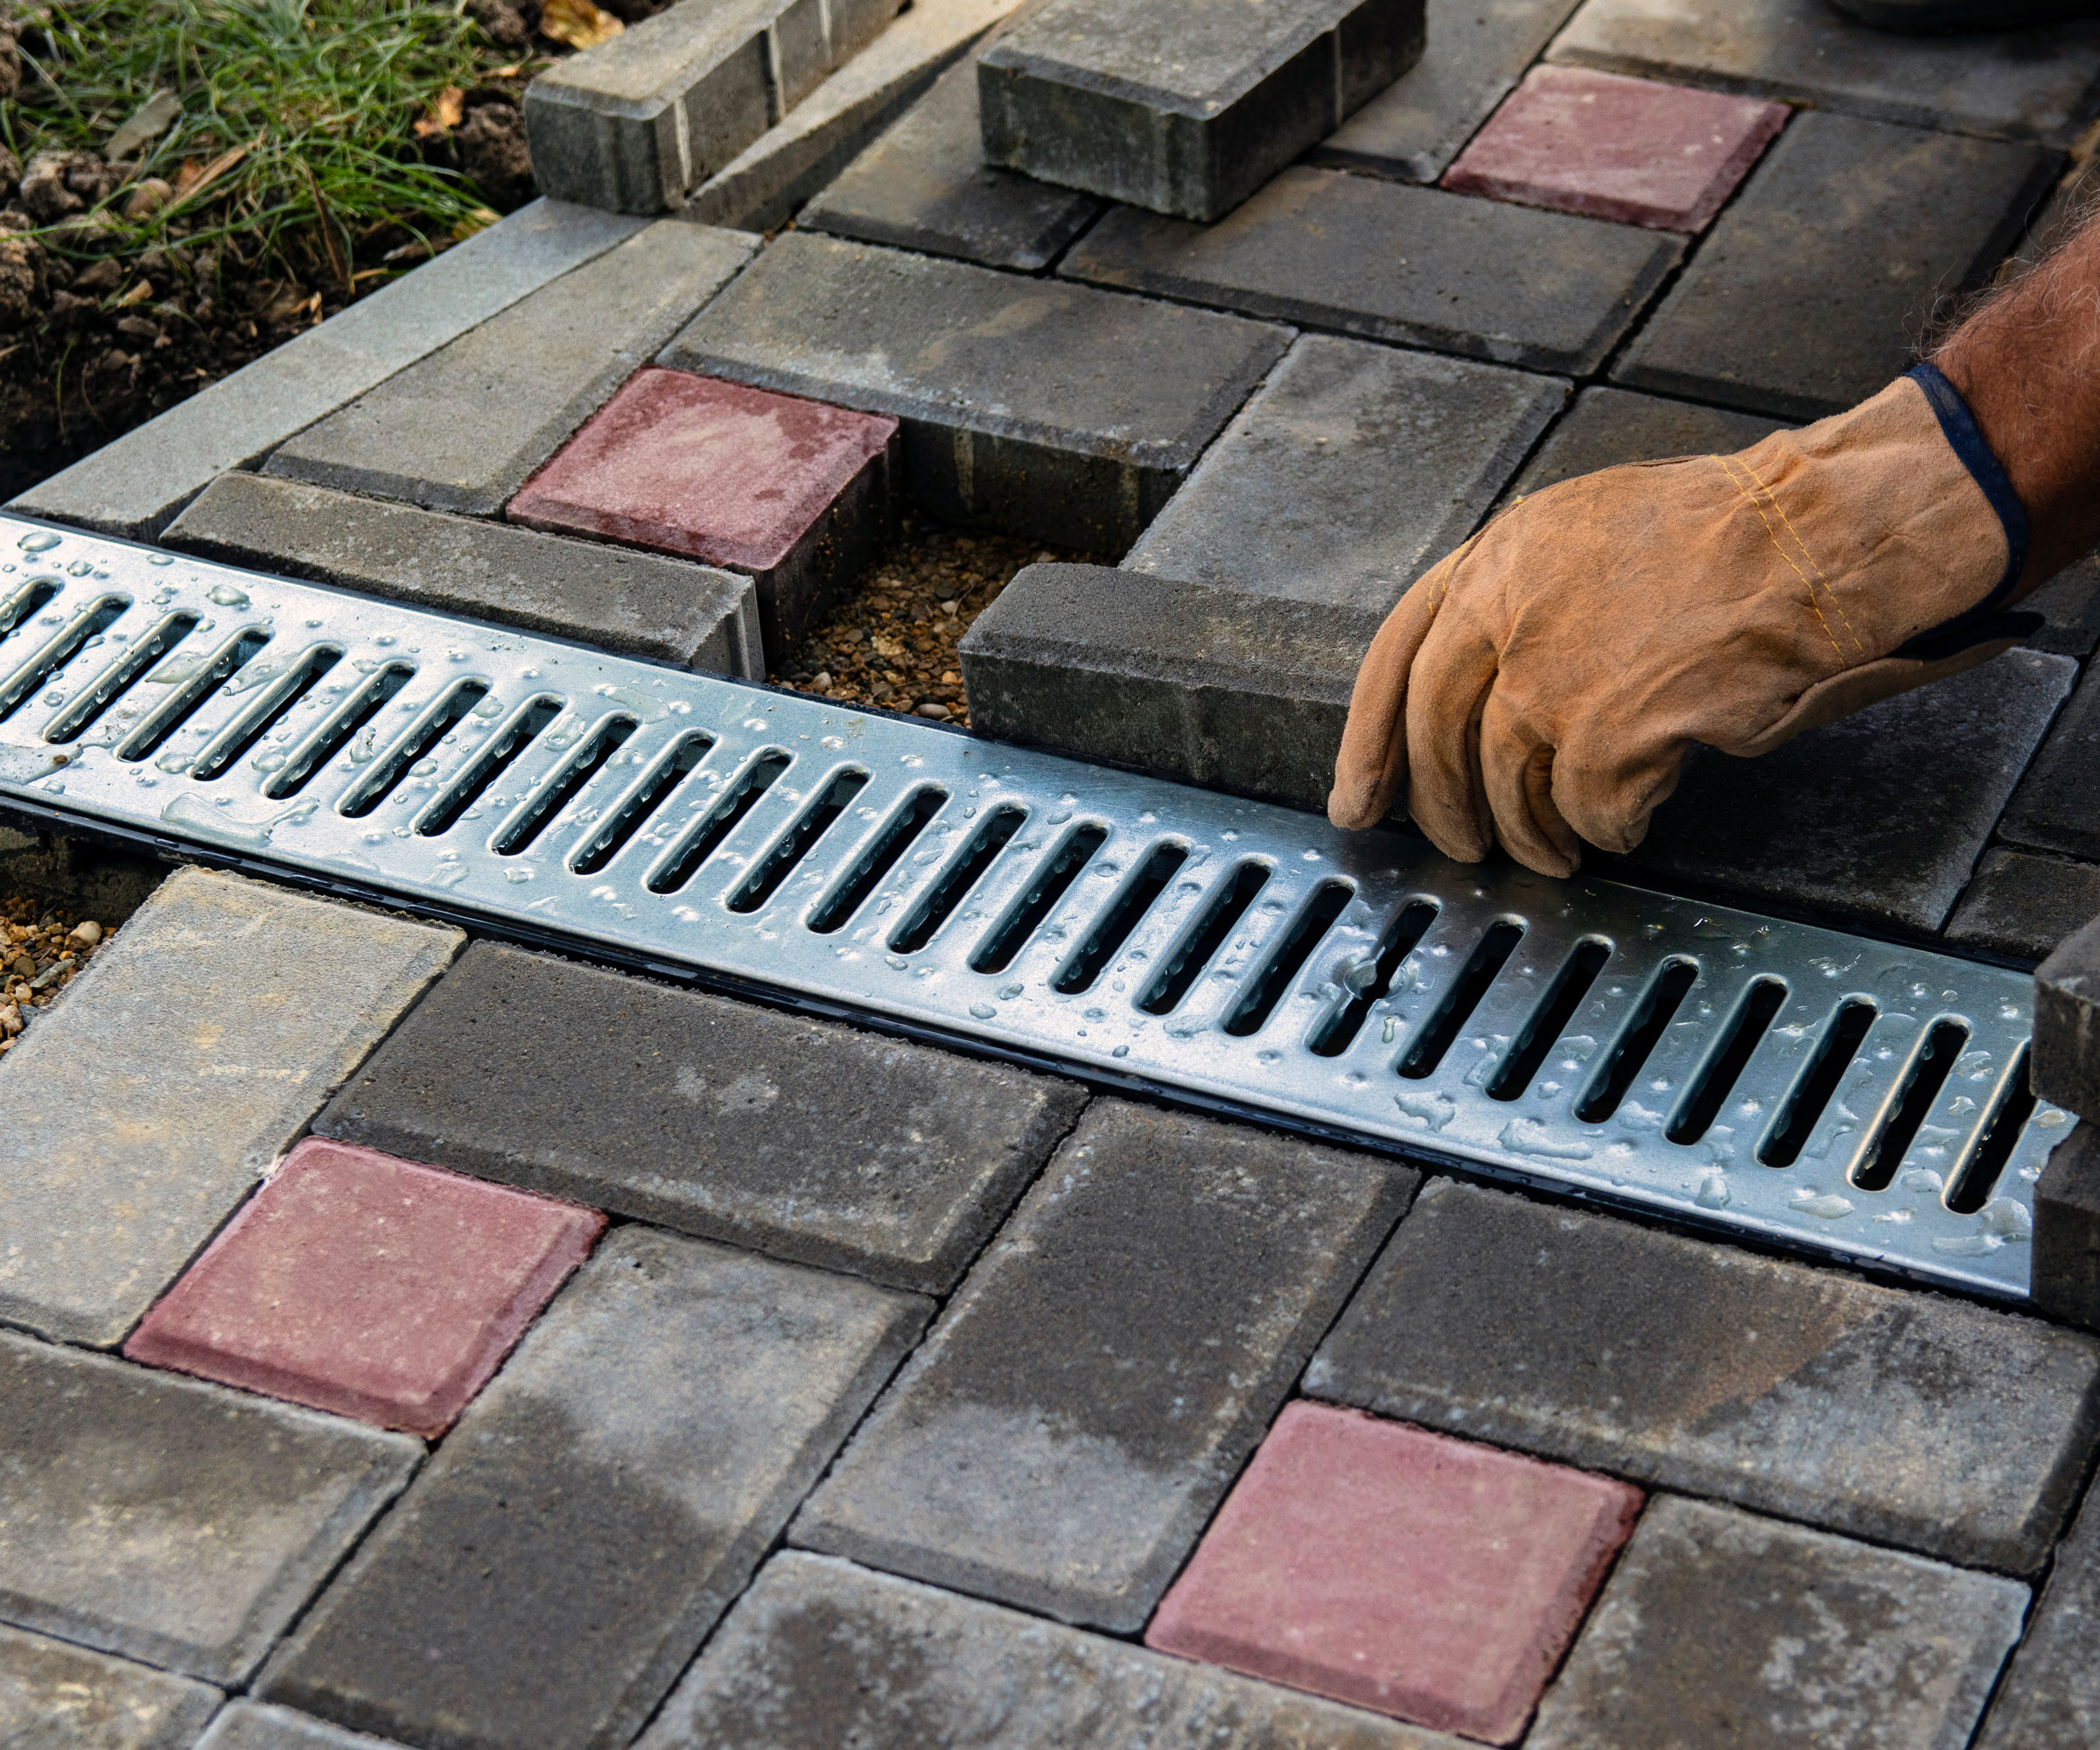
Channels drains are an effective drainage option for a patio that are easy to install.
"If using a drainage channel system, any products used to create this should have an appropriate load rating for the area where it will be installed," says Jess Thomas. "You should also check that you have a suitable, permitted connection to a drain or soakaway, as this will prevent water from being directed towards the foundations of the house."
Jess has shared this step-by-step advice on how to install a channel drain:
1] Prepare the trench Dig a trench for the channel drain, allowing for a backfill of at least 100mm on either side of where the drains will be. You should also account for a base of roughly 50mm of aggregate and the appropriate fall gradient for the slopes. Use a line of string to mark where the final height of the grate will be, which should be a few millimetres lower than the ground surface level.
2] Install the drain sections Begin installing the sections of the drainage channel at the lowest point, usually where the drain will meet the main underground drainage system. Install sections with the grate in place to ensure they align properly, and fit an end cap to the final section before placing it in the trench. Once you're happy that the pieces are joined together correctly, seal the locating grooves with sealant and connect a drainage pipe.
3] Secure in place Use heavy duty masking tape to protect the grates before pouring concrete into the trench on each side of the drain channel to secure it in place. The concrete should reach a few millimetres above the grates. Allow the concrete to dry for a few days before applying any pressure or weight to the drainage channel.
French drains
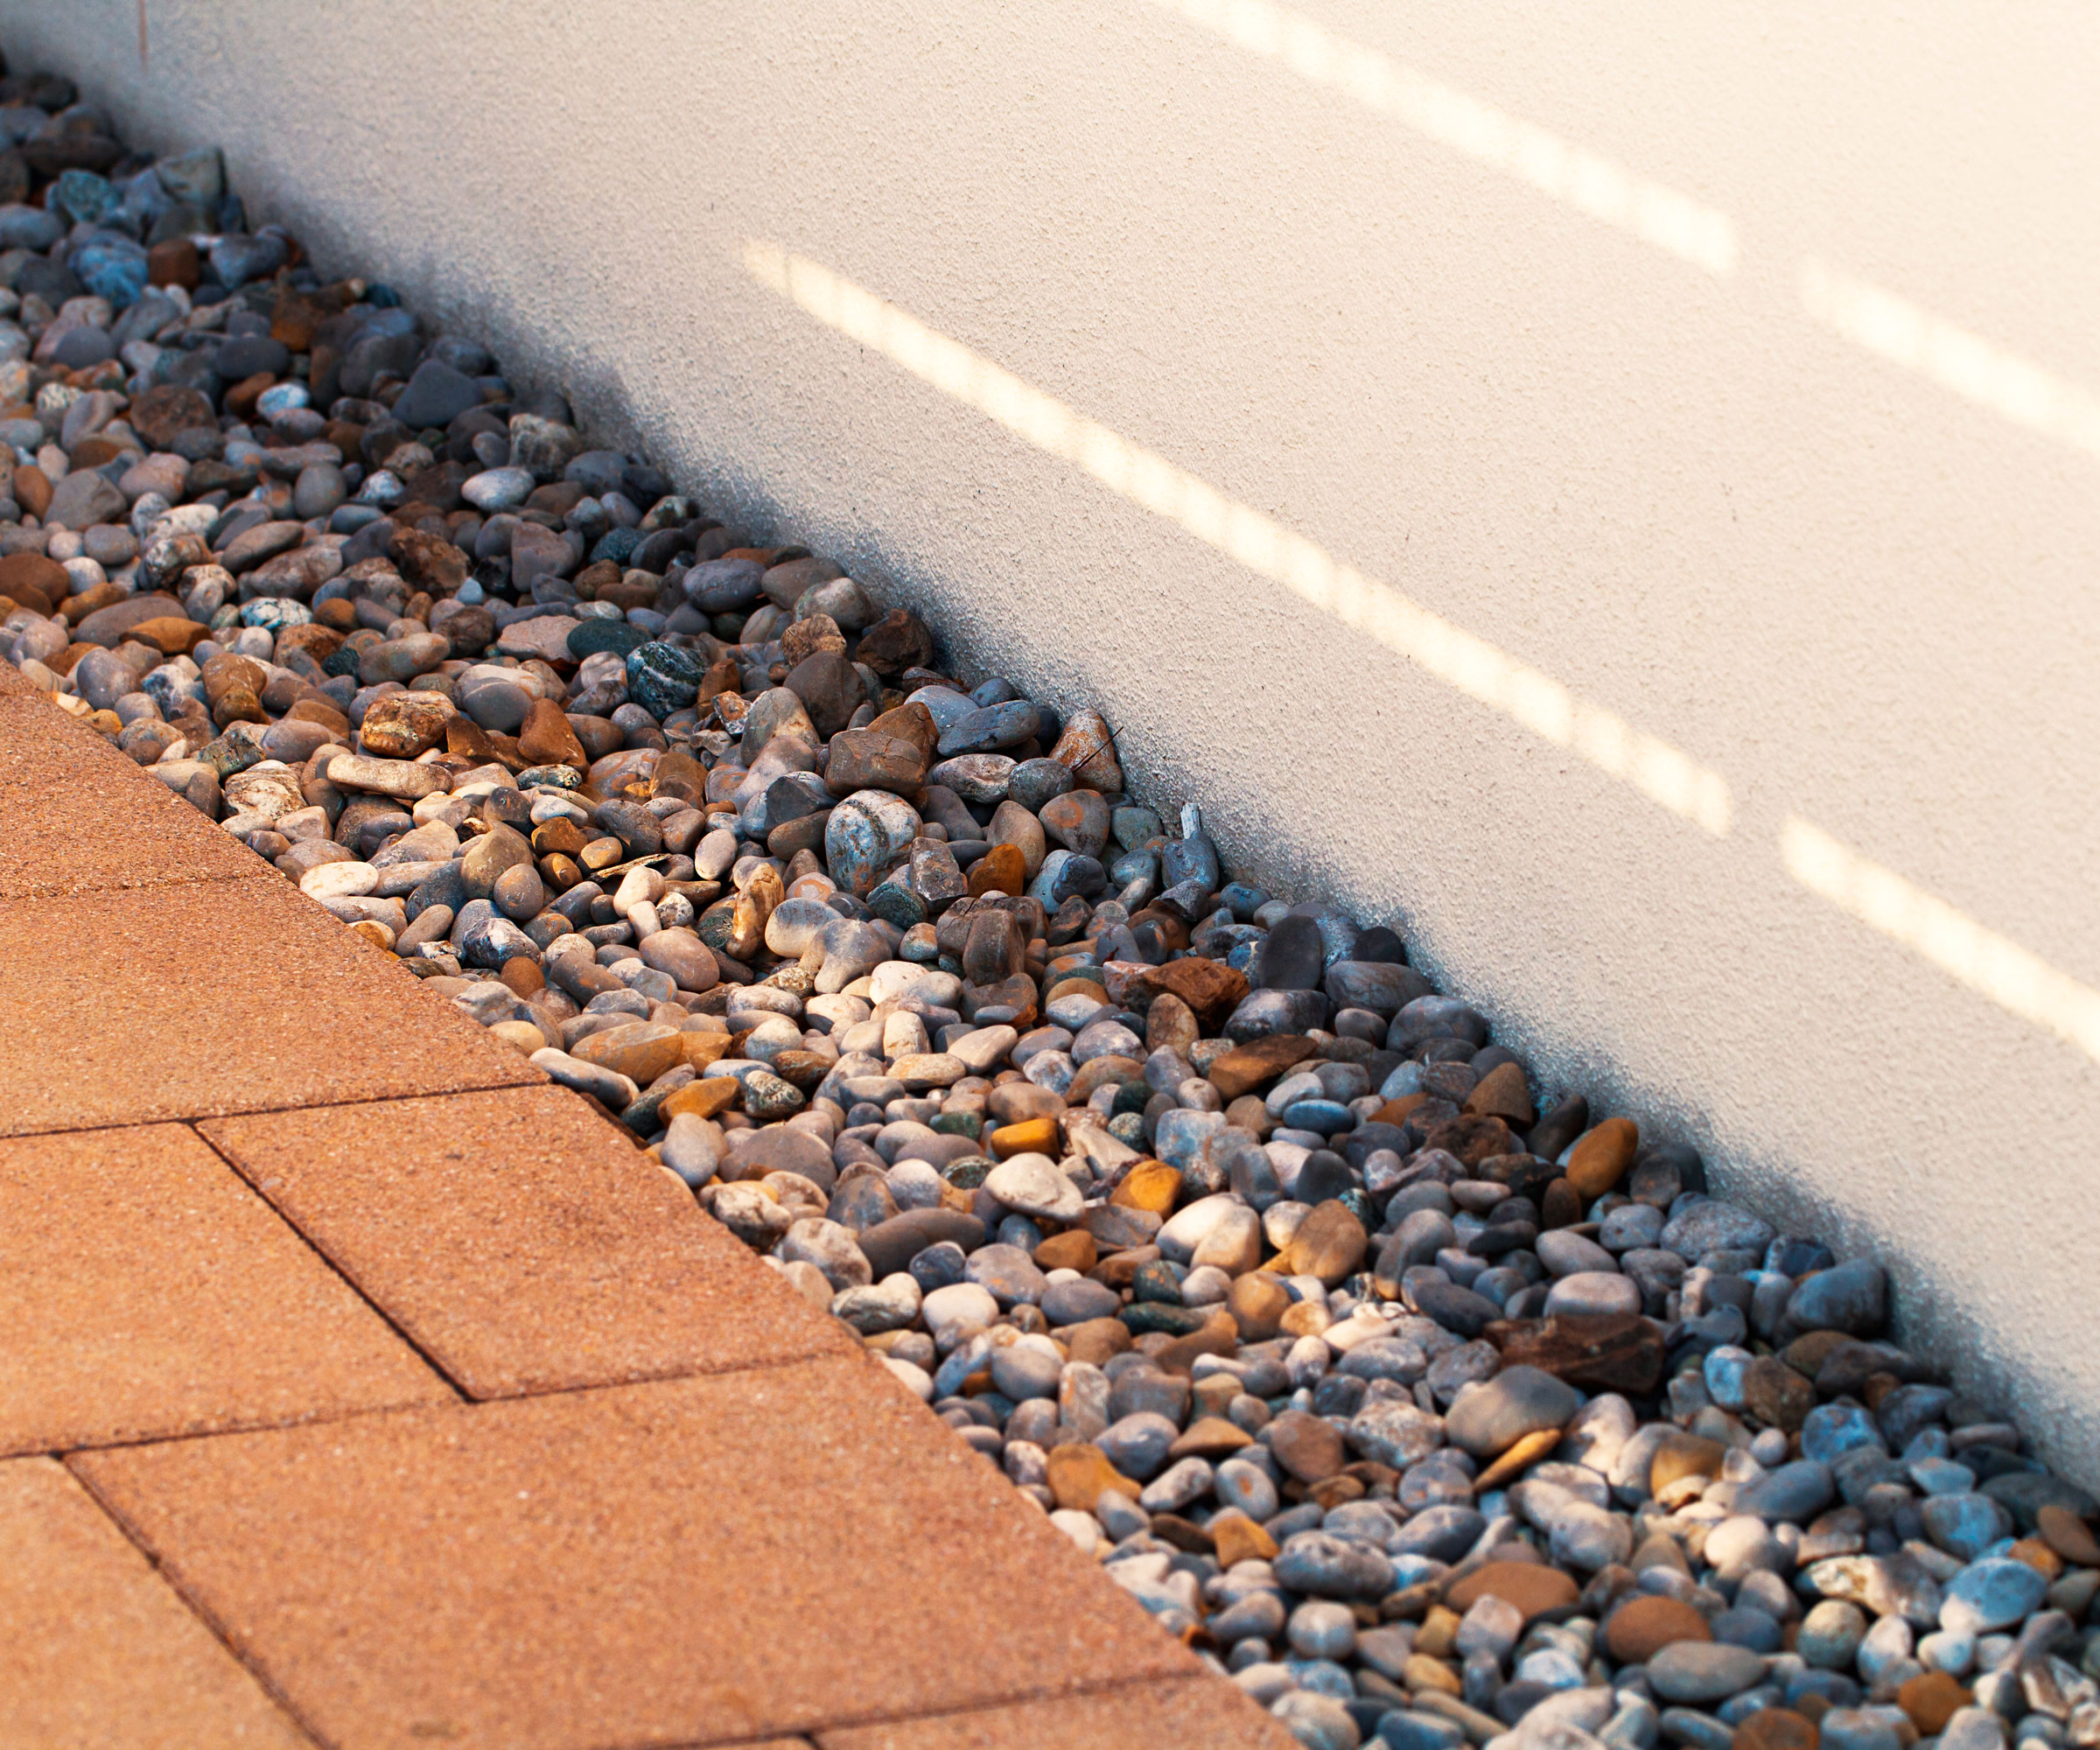
The second choice is a French drain, which does not require as many materials as channel drains, and is generally considered to be the more affordable option. Jess has shared this step-by-step advice on how to install a French drain:
1] Prepare the trench Dig a trench wide enough to accommodate the perforated pipes you will be using, and leave a gap of around 25mm on each side. The trench should be at least half a metre deep, with a fall of 1 to 80. Fill the trench with a layer of aggregate that is a few millimetres deep, then cover this with a non-woven geotextile membrane. The membrane should be slightly wider than the trench so that it can overlap and prevent dirt from getting into the pipes.
2] Install the pipes Place the pipes into the trench, then wrap more geotextile membrane around the pipe. Add a layer of aggregate on top of the pipe, ensuring that there is a gap between this and the surface level of the ground. Top with a layer of gravel or pebbles.
Find out more about installing a French drain, as these can help drainage issues elsewhere in the garden too.
How to improve drainage on an existing patio
Improving drainage on an existing patio can be more challenging and expensive than designing it in. However, the good news is there are still ways you can sort it out with other surface water drainage ideas.
- If there is a specific low spot that consistently pools, a gully can be installed there. This requires digging a hole and connecting it to a drainage system.
- Replace solid pointing with a more permeable material, such as resin-based jointing compound.
- Install small decorative gravel channels along the edge of the patio where water collects so it can flow into a garden bed.
- Installing linear channel drains can also be helpful. If the water is pooling against the damp proof course of your house, a channel drain can be cut into the existing patio directly adjacent to the house wall.
- If water runs off the patio and pools at its edge, consider digging a small trench and filling it with gravel or installing a perforated pipe to carry the water away.
Common patio drainage mistakes
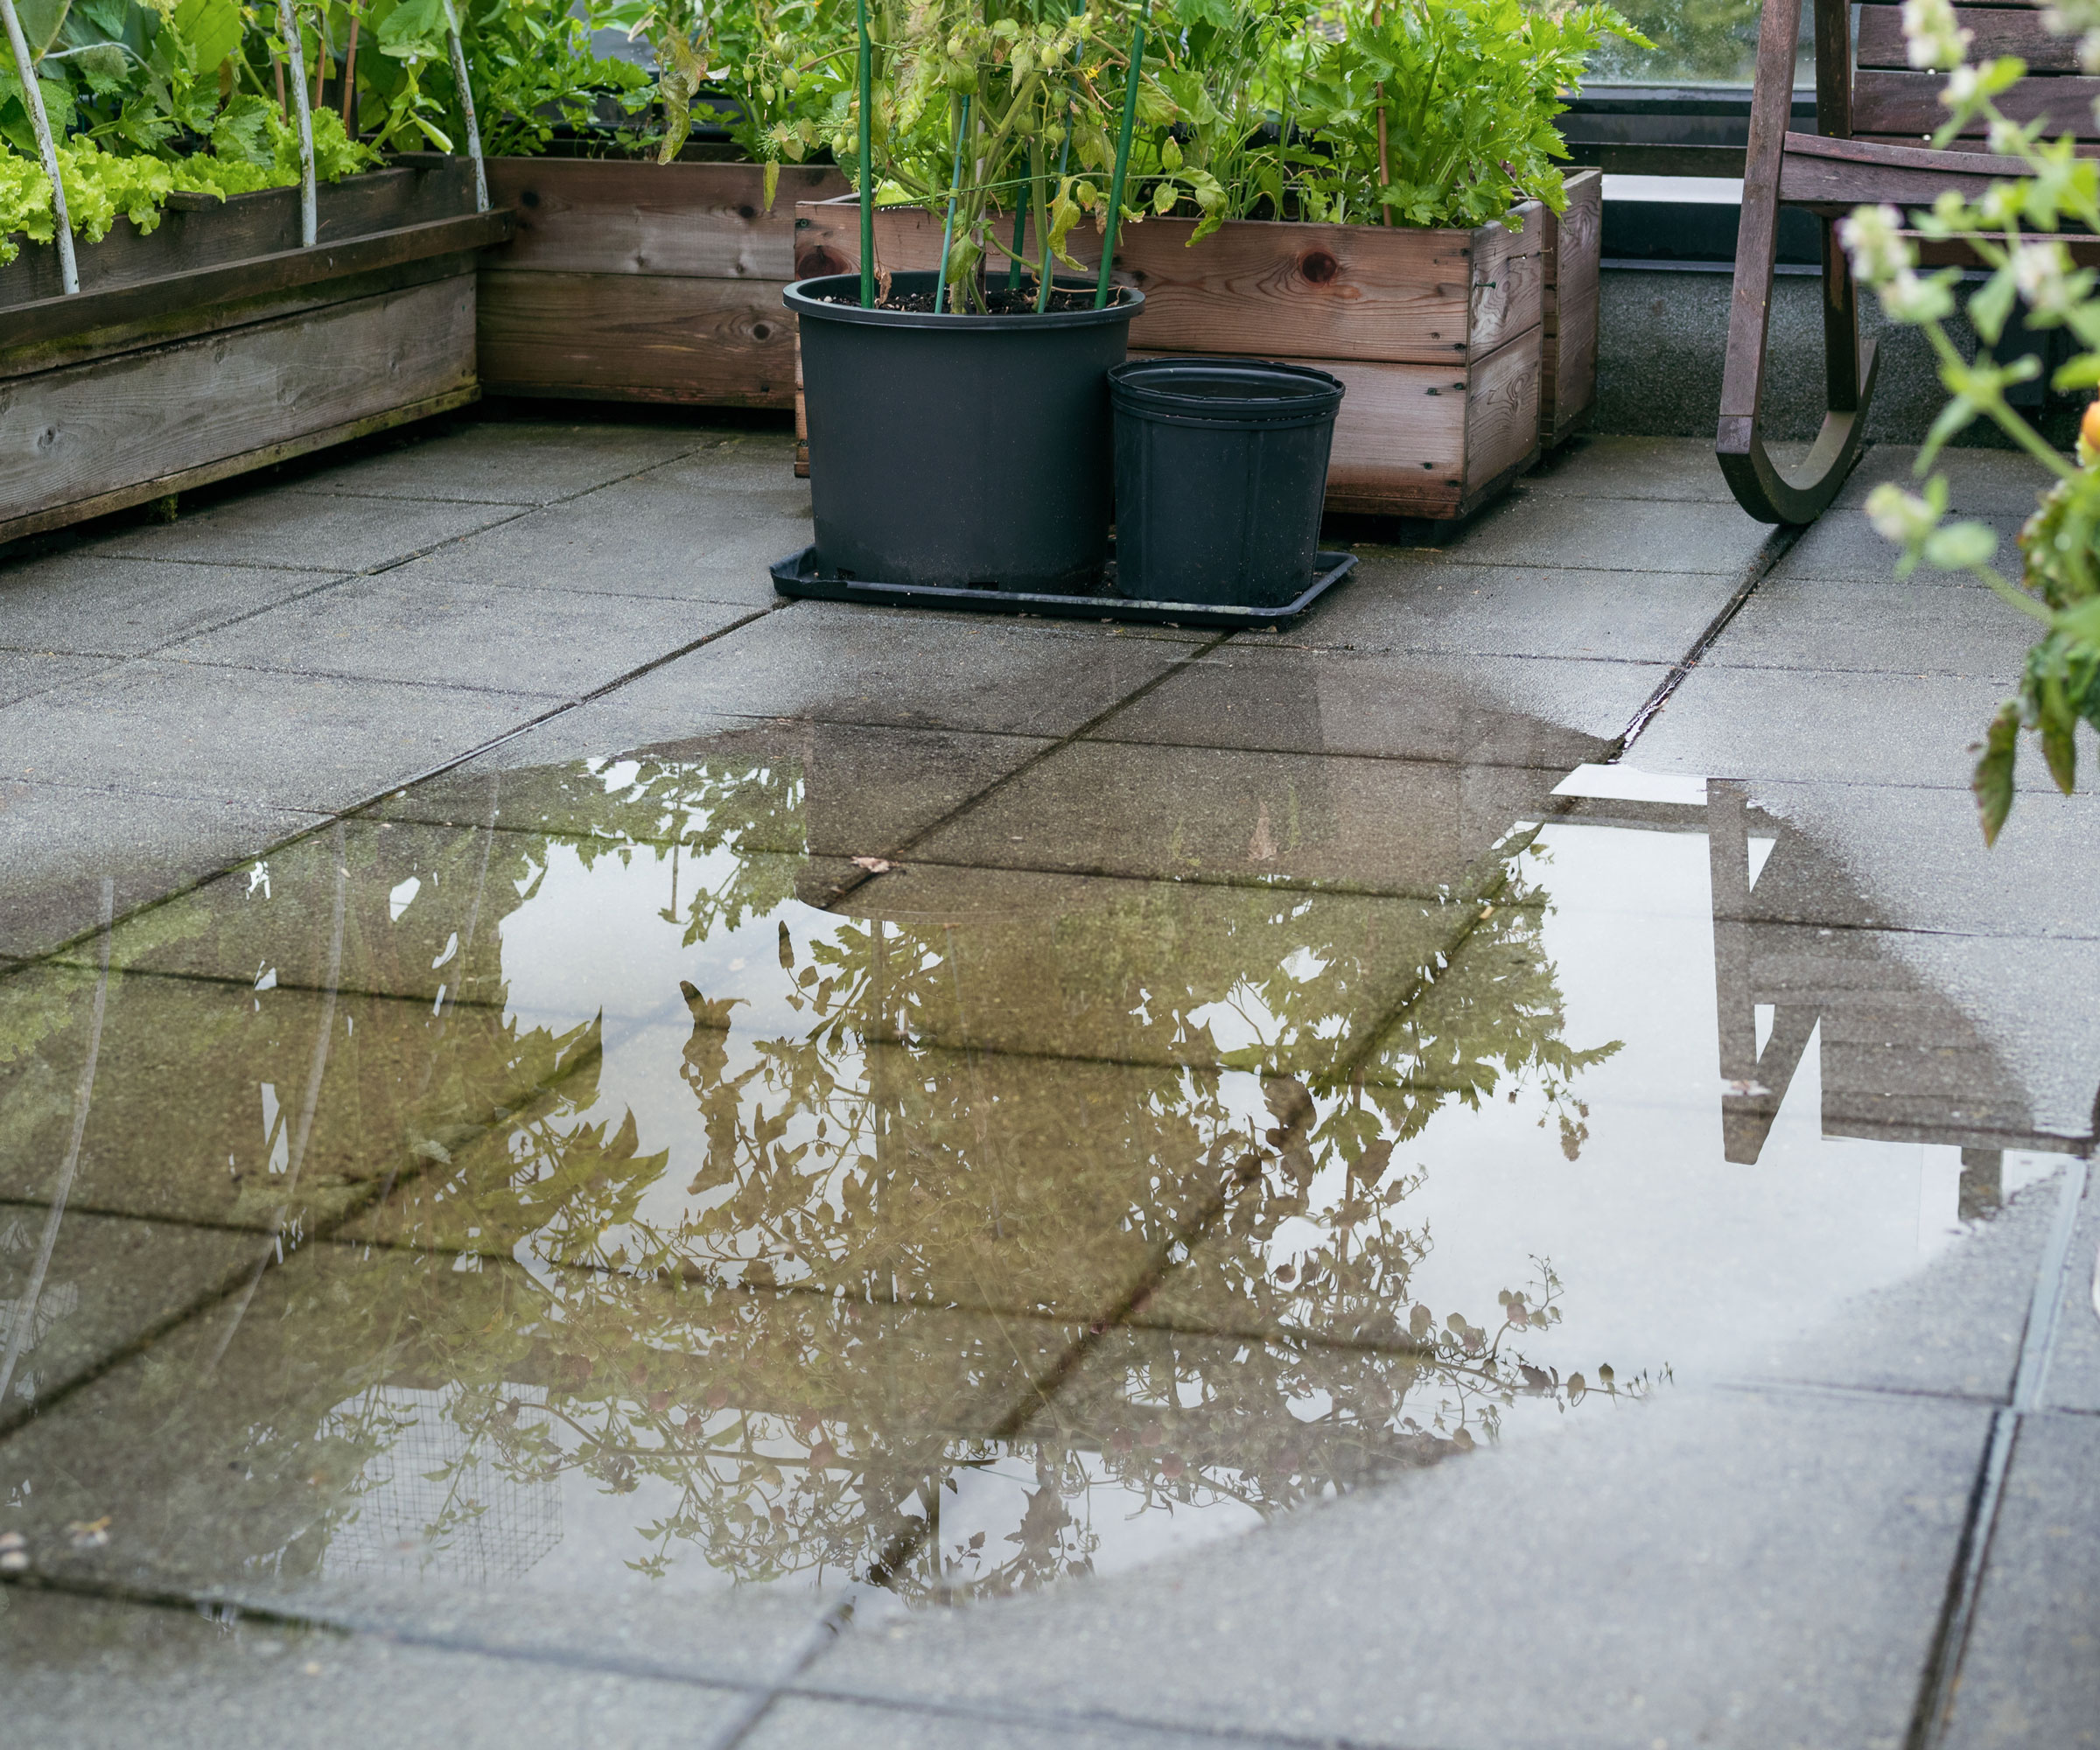
Lack of planning is usually at the root of poor patio drainage. This can stem from a failure to get professional advice at the outset of your project. Here are the most common mistakes that occur when patio drainage solutions are installed, according to Jess Thomas.
1. Incorrect pitch
This is the most common patio drainage mistake. A completely flat patio or one with an inadequate slope will inevitably lead to ponding. When installing a patio, the ground should have a slight, gradual slope so that water run-off can flow in the direction of a drain and away from the patio surface. If the ground is completely flat, water run-off will not be able to flow away, and will be left sitting on the patio surface.
2. Poor maintenance
Patio drainage systems should be regularly cleaned and checked to ensure that water can drain away properly, and that it is not blocked by debris. It's generally a good idea to check the system after storms or heavy rainfall.
3. Poor roof drainage
Roof drainage can also impact your patio, as overflowing downspouts and gutters can spill water onto the surface of your patio. As well as regularly checking your patio drainage systems, you should also check any roof drainage and keep guttering clean. Extending downspouts away from your patio can also be beneficial, as it will redirect water elsewhere.
4. Failing to test the system
If you neglect to test you new patio drainage system after installing it this means that any problems may go unnoticed until the next heavy rainfall. After installation, it's always a good idea to run water through the drainage system to check for leaks, blockages or flow issues.
FAQs
How can I drain water from my patio?
If you want to drain water from your patio there are several ways to do this. In addition to the previous suggestions, there are also several other ways to drain water from a patio.
"Try drilling small drainage holes in the patio," suggests Jess. "These should be roughly 3cm wide to help excess water drain away. The holes can be filled with gravel to hide their appearance."
Alternatively, If your patio is flat, installing an overlay can correct the pitch to enable water to run off the surface.
Finally, when building a new patio, use permeable or porous concrete paving to help prevent pooling by allowing water to drain into the ground below.
That's patio drainage covered. It's a good idea to look at sustainable drainage ideas like permeable paving too, as well as eco-frendly garden ideas to improve your garden's green credentials.
EDITOR’S NOTE: An earlier version of this article included a quote from a purported expert whose credentials we have not been able to verify. The quote has been removed. We regret this lapse in our verification process and have updated our internal protocols to reduce the risk of recurrence.

Lifestyle journalist Sarah Wilson writes about garden design and landscaping trends. She has studied introductory garden and landscape design, and also has an RHS Level 2 qualification in the Principles of Plant Growth and Development. Sarah is a regular contributor to Homes & Gardens and Livingetc, and has also written for Modern Gardens, Country Living, and Country Homes & Interiors magazines.
