Installing a French drain only takes 6 simple steps but could reduce the risk of flooding in your garden
While some drainage problems need expert help, installing a French drain is something you can tackle yourself. We explain the tools you need and how to do it
Bring your dream home to life with expert advice, how to guides and design inspiration. Sign up for our newsletter and get two free tickets to a Homebuilding & Renovating Show near you.
You are now subscribed
Your newsletter sign-up was successful
When water starts pooling in places around your home or garden, installing a French drain is one solution that could help. The good news is it's also a task that most homeowners are capable of doing, once they are armed with the right knowledge and tools.
But what is a French drain? It's a relatively simple type of land drainage, comprising a shallow ditch that diverts water away from the problem zone to a more suitable location.
The tools, materials and techniques used are all easy to find and with just six steps to follow when installing a French drain, it's a job that won't take you too long as well.
How to install a French drain
Before you start installing your French drain, you will need to plan ahead and make sure you have all the tools to hand. Before you start, also make sure that there are no undergrounds pipes or cables in the location where you are going to dig.
In basic terms, once you've dug the ditch, it then needs to be lined with a membrane and filled with aggregate and a pipe with holes. The water drains through the aggregate, and when it rises above the level of the pipe the water is carried away so it no longer reaches the surface, thereby removing the problem of water pooling in your garden, or around your home.
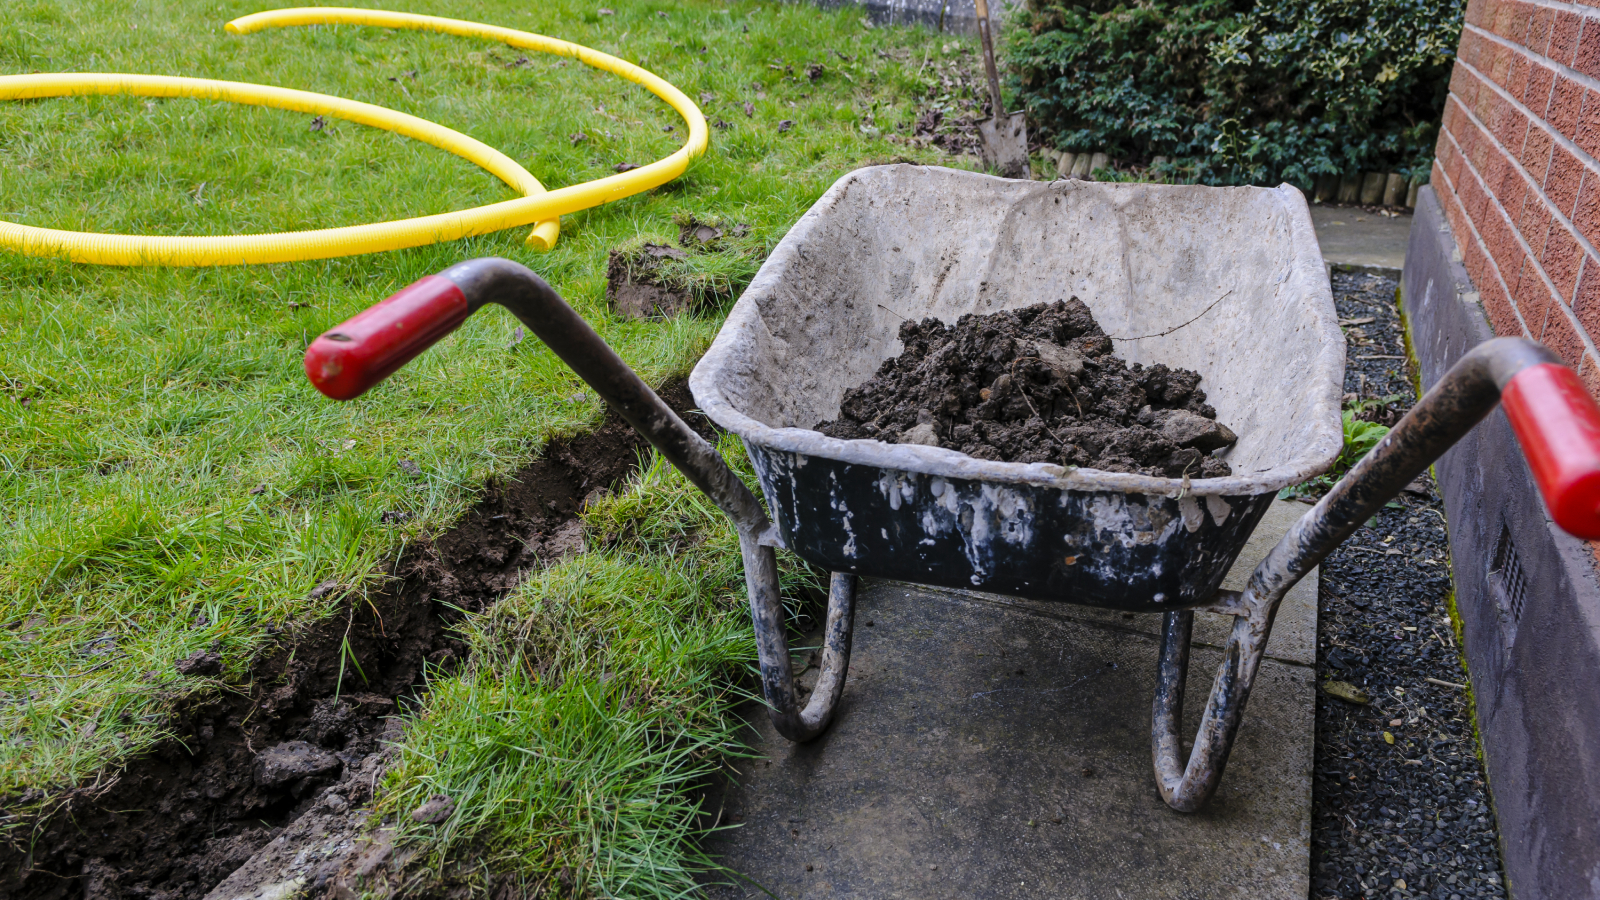
1. Dig trench
Choose where you are going to start digging. Typically your trench will need to be around 30cm deep, but this can be deeper if needed. Make it 30-40cm wide at the bottom depending on the size of the pipe you are using. You will need enough room to put a decent amount of aggregate.
The walls of the trench need to be sloped to help drainage and the trench will need a slight slope from start to finish – around 10-20mm for every three metres – so the water will naturally drain.
The digging can be done by hand, using a spade, but it's hard work. If you have a large length of pipe to lay, my advice would be to hire a mini digger and ensure you have an area to store any unused earth.
2. Lay fabric membrane
The trench needs to be lined with a water-permeable landscape membrane. This will keep the soil separated from the aggregate and help prevent the drain getting blocked. Make sure that it goes over both edges by around 300mm.
Bring your dream home to life with expert advice, how to guides and design inspiration. Sign up for our newsletter and get two free tickets to a Homebuilding & Renovating Show near you.
3. Add aggregate
The bottom of the trench needs to be filled with a layer of aggregate on which to lay the pipe. A 10-20mm sized aggregate like this simpa 20mm Natural Pea Gravel from B&Q will do the job. Use an aggregate calculator to give you a rough idea of how much you need. Fill the bottom of the trench to around a third of the depth of the trench.
4. Add pipe
Now lay your perforated land drain pipe – 100mm pipe is a good option – on top of the recently laid aggregate. The perforations in the pipe need to be face down, so when the water rises it will seep into the pipe straight away.
Check your local hardware store to see if they sell the pipe. If not, search online for 100mm perforated land drain pipe. Drain pipe commonly comes in 25m lengths. If you need more you will need to purchase connectors as well.
5. Add more aggregate
With the pipe in place you now need to cover the pipe with more aggregate, around 10 cm from the top. Now cover the aggregate with the remaining fabric that is left either side of the trench you have left over. This will stop dirt and debris getting into the drain and clogging it up.
6. Finish up
When finished there are a few options to hide the drain. You can cover the membrane with the same aggregate you used previously and take it up to up to the level of the surrounding area. This is a smart – and cheaper – option if you have plenty of aggregate left over.
Alternatively, you can finish off with decorative aggregate to blend in with your modern garden ideas. Another option is to cover with sand or soil and lay turf or grass seed to disguise the drain. But mark where the drain starts in case you need to dig around the area at any point in the future.
Tools for installing a French drain
- A spade or mini digger
- Wheelbarrow
- Perforated pipe
- Geotextile membrane
- Aggregate
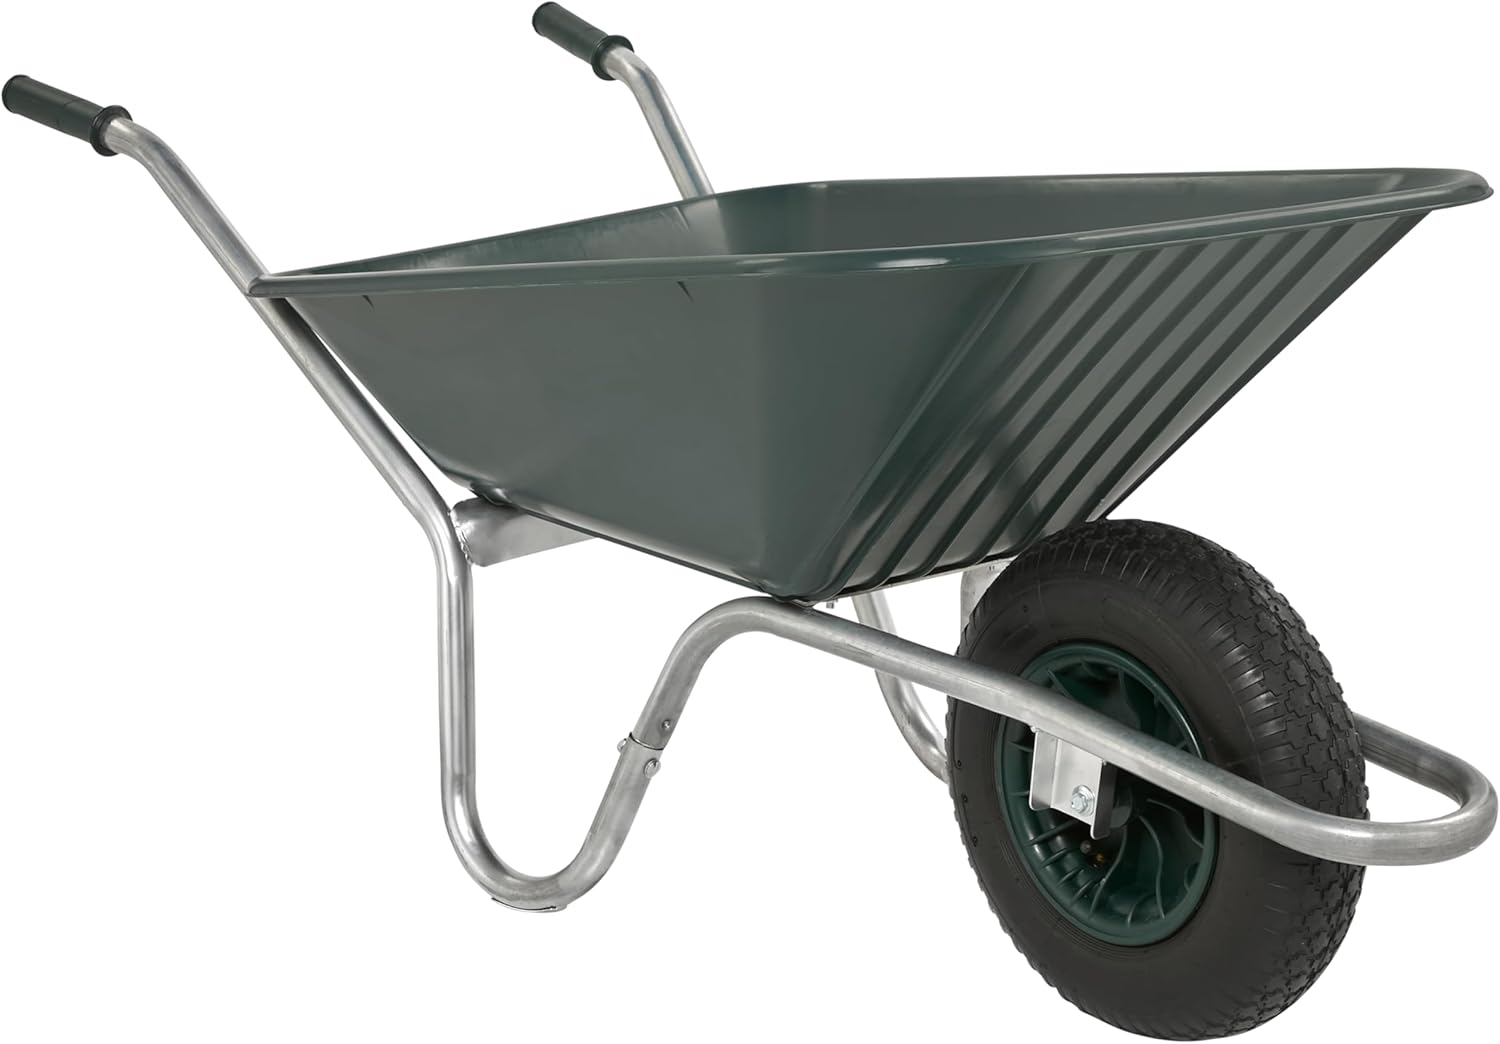
A heavy duty green garden wheelbarrow for removing soil when digging the trench for your French drain
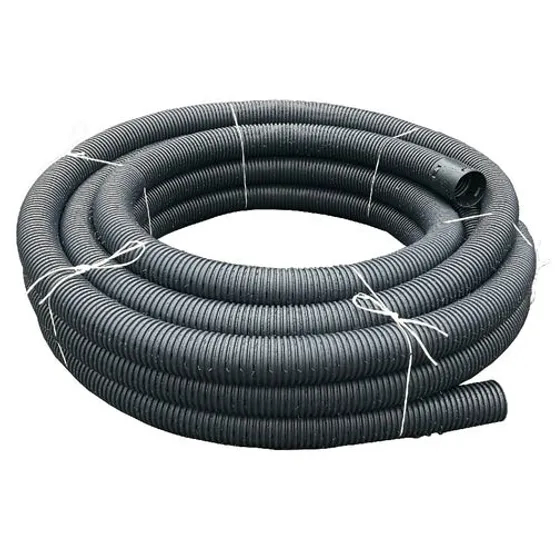
This land drain coil pipe is ideal for use in the removal of surplus water that builds on the surface of fields and gardens to an appropriate collection point

A folded Piece of 100gsm non woven fleece fabric perfect for us in drainage channels
FAQs
Will a French drain work without a slope?
No. A French drain uses gravity to ensure that water flows down the pipe to its destination. You will need a slope of at least one percent along the entire length of the pipe laid. This translates roughly to around 10-20mm for every three metres of pipe.
If there isn’t a slope the water will struggle to drain away, negating the purpose of installing the drain.
What size pipe do I need to use?
This will depend on how much water you are looking to get rid of. But typically for the area around your home a 60mm, 80mm or 100mm pipe will be adequate.
And finally, while it's not essential you might want to think about installing an access point such as a bottle gully at the start of the French drain so you get access to clean when needed.
Wondering how much to budget? Discover how much you can expect to pay for French drain costs, and if you also have problems elsewhere, take a look at our guide to patio drainage so you can make sure you don't fix one problem, only to encounter another.
Steve Jenkins is a freelance content creator with over two decades of experience working in digital and print and was previously the DIY content editor for Homebuilding & Renovating.
He is a keen DIYer with over 20 years of experience in transforming and renovating the many homes he has lived in. He specialises in painting and decorating, but has a wide range of skills gleaned from working in the building trade for around 10 years and spending time at night school learning how to plaster and plumb.
He has fitted kitchens, tiled bathrooms and kitchens, laid many floors, built partition walls, plastered walls, plumbed in bathrooms, worked on loft conversions and much more. And when he's not sure how to tackle a DIY project he has a wide network of friends – including plumbers, gas engineers, tilers, carpenters, painters and decorators, electricians and builders – in the trade to call upon.

