How to Build Garden Steps
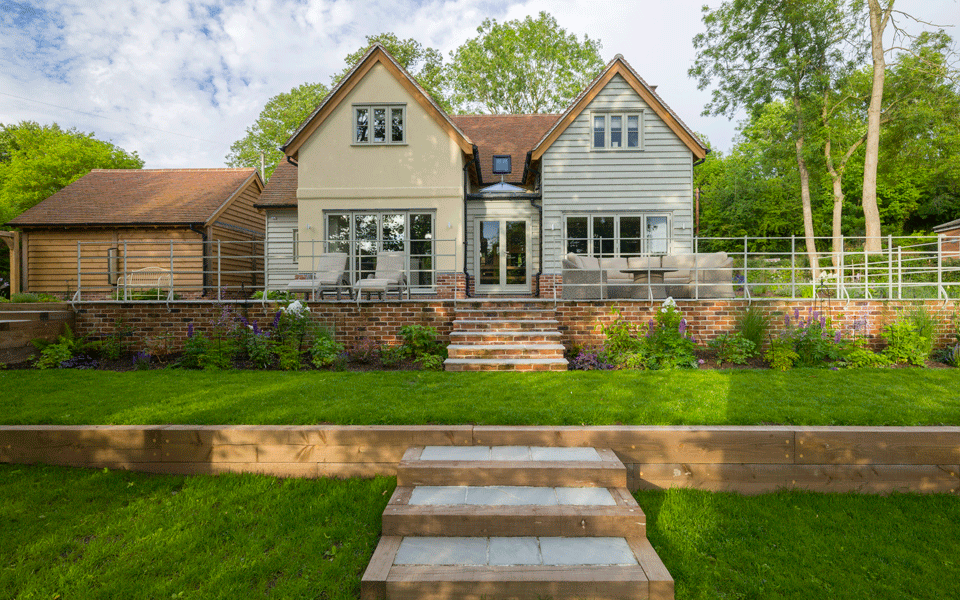
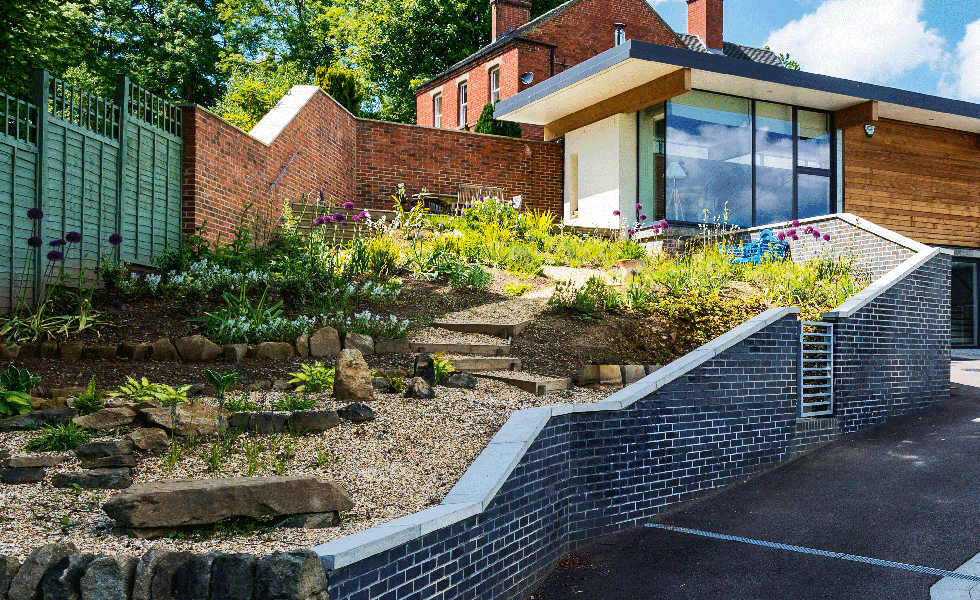
Transform your garden by learning how to build garden steps. These step-by-step guides demonstrate how to build steps on a slope and freestanding risers

Bring your dream home to life with expert advice, how to guides and design inspiration. Sign up for our newsletter and get two free tickets to a Homebuilding & Renovating Show near you.
You are now subscribed
Your newsletter sign-up was successful
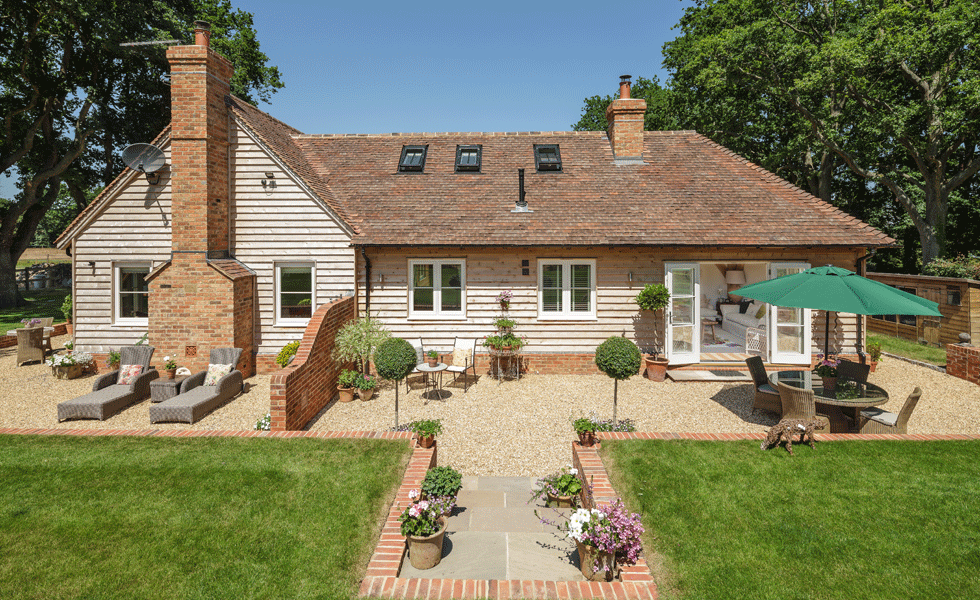
Knowing how to build garden steps can allow you to transform the enjoyment and functionality of a garden.
Whether you’re looking at adjusting a slope for more practical use in wetter months, or building freestanding access alongside a walled garden or down a terraced lawn, this step-by-step guide (no pun intended) on how to build garden steps will help you assess what’s involved, what tools you need and how to get started.
(MORE: Patio Design Ideas)
Essential Toolkit for Building Garden Steps
- Tape measure
- String lines
- Pegs
- Shovel
- Bricks
- Slab
- Mortar
- Gravel
- Concrete
- Spirit level
How Deep Should Garden Steps Be?
The steps will need to be at least 300mm (12in) by 600mm (2ft) in width. If you want the steps to be wide enough for two people walking side by side, then they’ll have to be 1.5m (5ft) in width The height of the rise will need to be at most 200mm (8in). Frost-resistant bricks are mostly used to build garden steps
How to Build Garden Steps on a Slope

Step 1
When building steps into a slope, you first start by measuring the vertical height of the slope and marking it with two parallel string lines.
Next, attach a string line at the top of the slope and hold it horizontally; measure the height and length of the flight. Then, divide the height measurement by 200mm (8in) to work our how many steps you’ll need. Divide this number by the height to determine each step’s depth.
Bring your dream home to life with expert advice, how to guides and design inspiration. Sign up for our newsletter and get two free tickets to a Homebuilding & Renovating Show near you.
Set the lines across to mark the step.
Step 2
Dig the step shapes from the top of the flight, working downwards step by step. Once you have reached the bottom, dig a shallow trench and lay a concrete foundation.
This strip of foundation will have to measure about 100mm (4in) thick and 300mm (12in) wide.
Step 3
Allow the foundation to harden for 48 hours before laying two courses of bricks onto the concrete strip, and backfill with gravel.
Step 4
Apply mortar, using the trowel to the top of the brickwork. Position the first slab on the mortar bed and tamp down. Using a spirit level, check that the steps are level.
Step 5
Continue to build the second riser on the back edge of the first tread, backfill and lay the slab to form the second tread as in previous step.
Repeat this process until you have reached the top of the flight.
How to Build Freestanding Garden Steps

Step 1
Firstly begin by determining the number of risers, through measuring the height of the flight and dividing it by 200mm (8in). The tread should measure 300mm (12in) in depth.
Step 2
Lay out some bricks on the lower level, so you can envisage how the flight will look.
Step 3
The flight will need a firm foundation to support the step and its risers, so lay a concrete slab of 100mm (4in).
Step 4
Now set up string lines across the slab and lay the first two courses of bricks.
Step 5
Next build the brickwork off the foundation slab within the perimeter wall to support the other risers in the flight. Fill the first riser with gravel and top it with a layer of fine concrete. Next build the other risers and the perimeter wall until the outline of the flight is complete and backfill behind the risers.
Step 6
Layer the slabs forming the steps and tamp them down. Check to see if it is level, by using a spirit level.
(MORE: Ordering Concrete)

Natasha was Homebuilding & Renovating’s Associate Content Editor and was a member of the Homebuilding team for over two decades. In her role on Homebuilding & Renovating she imparted her knowledge on a wide range of renovation topics, from window condensation to renovating bathrooms, to removing walls and adding an extension. She continues to write for Homebuilding on these topics, and more. An experienced journalist and renovation expert, she also writes for a number of other homes titles, including Homes & Gardens and Ideal Homes. Over the years Natasha has renovated and carried out a side extension to a Victorian terrace. She is currently living in the rural Edwardian cottage she renovated and extended on a largely DIY basis, living on site for the duration of the project.

