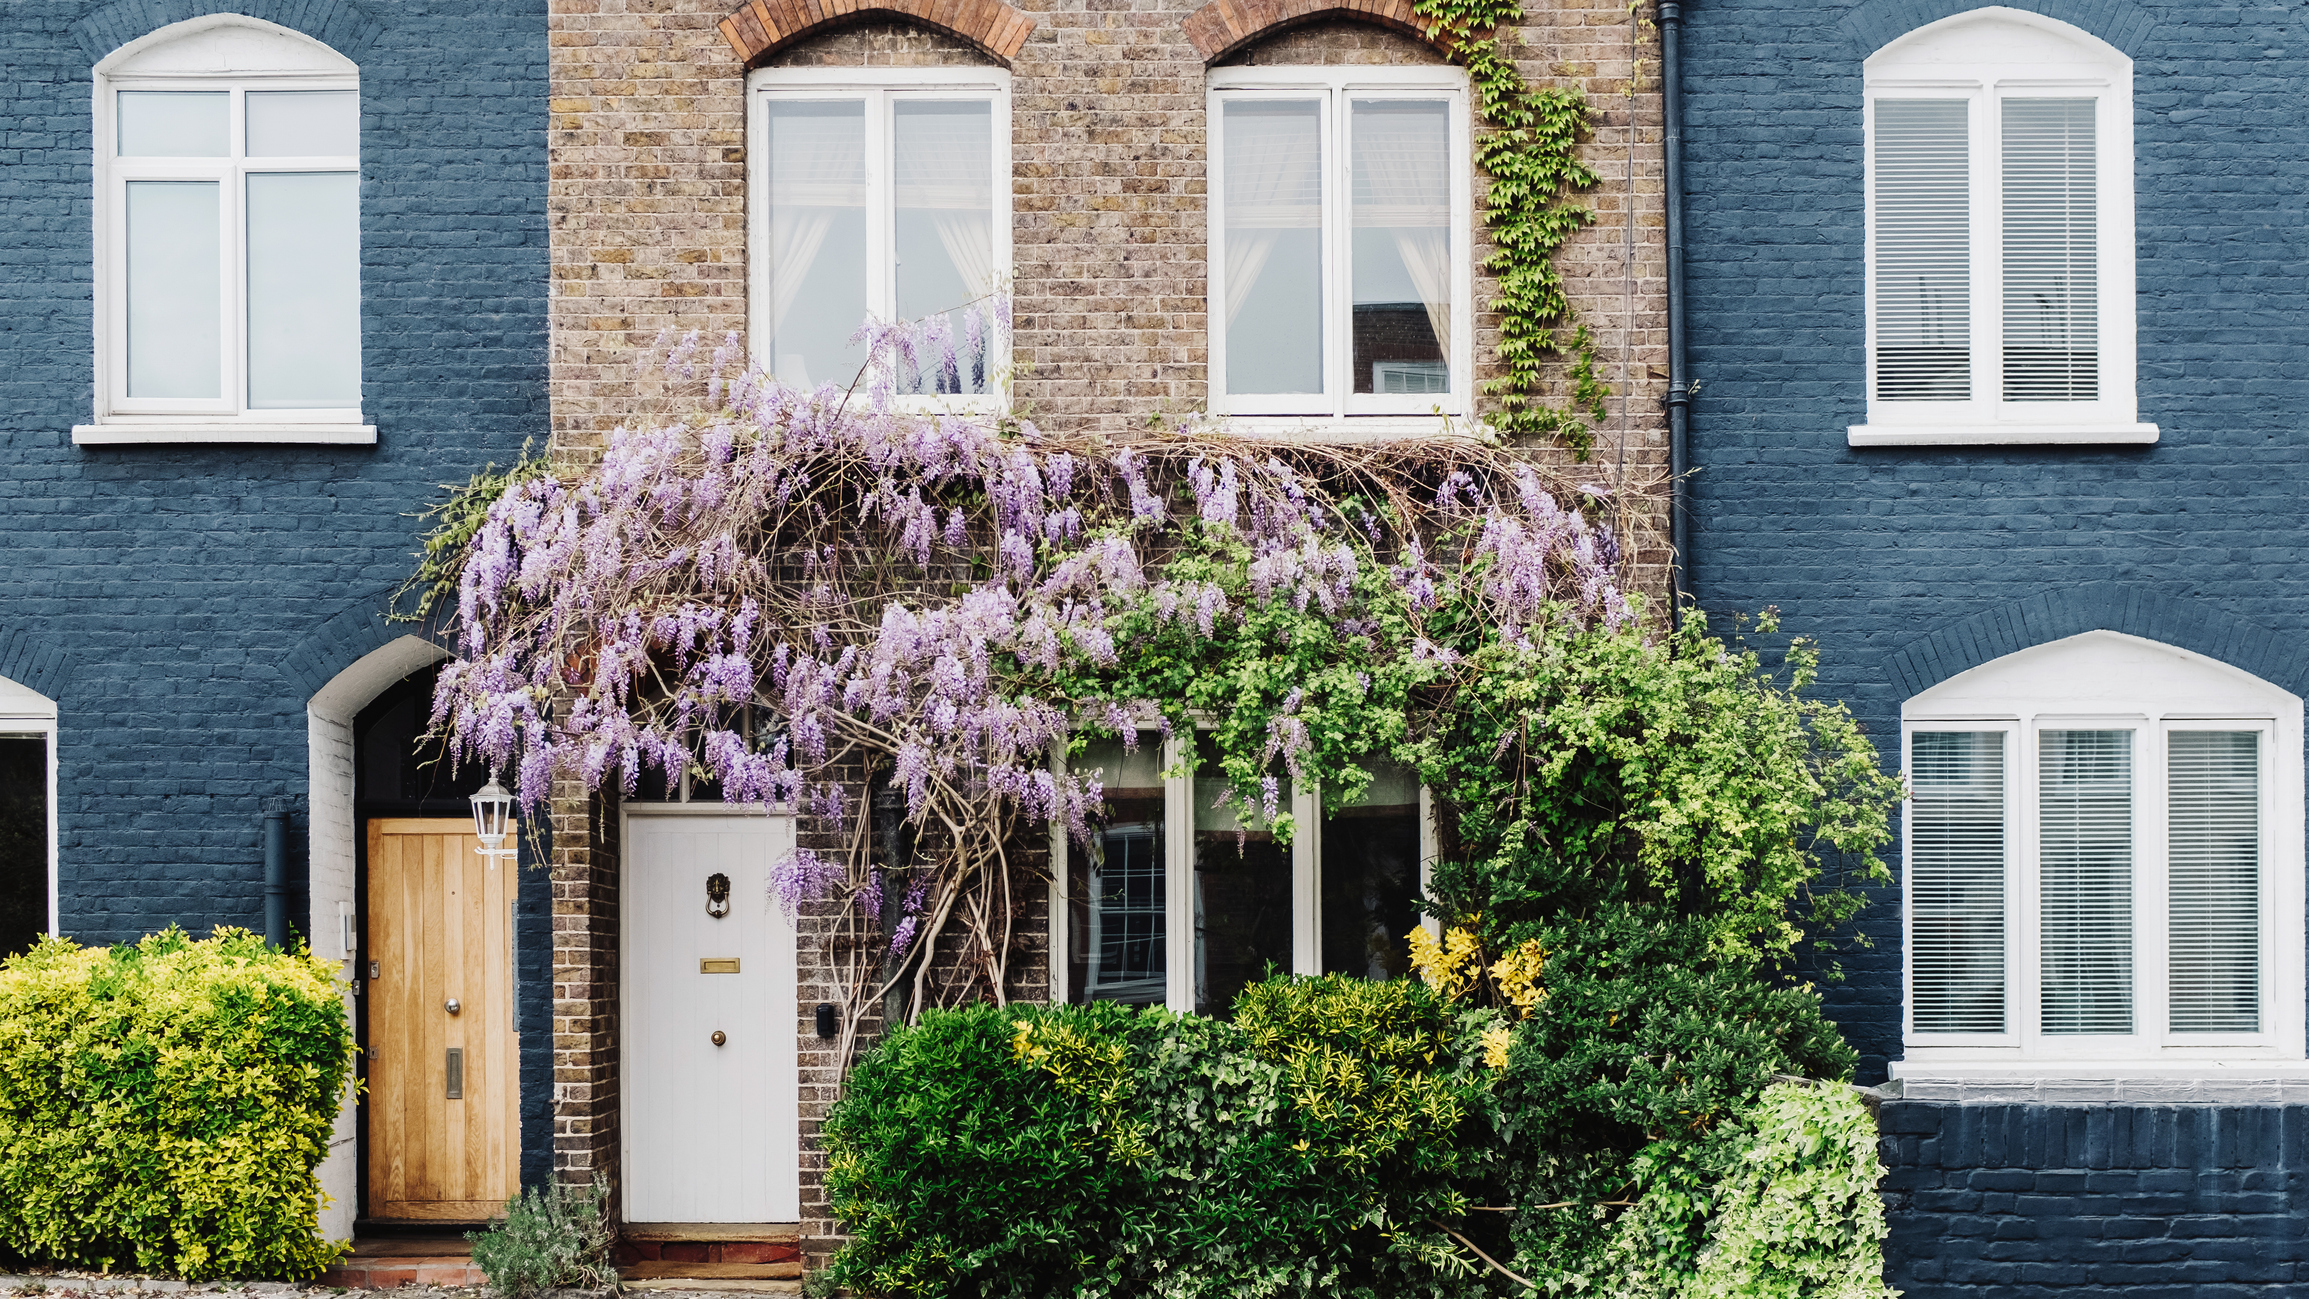
Pointing is the process of creating the mortar joints between bricks in a piece of brickwork. When old mortar is partially removed and replaced, this is called repointing.
If you’ve looked closely at more than a few brick walls, you’ll know that pointing can look quite different from one structure to the next. Not only are there variations in the colour of mortar, its condition and the quality of pointing – the finish of the pointing can also take various forms. These different profiles are known as ‘pointing styles’.
Each pointing style has its own history, look and structural properties. We spoke to expert bricklayers to learn about six of the most notable styles, from flush and tuck to weather struck.
Read on for their insight, plus guidance on how to choose the right pointing style for repointing your property.

Third-generation bricklayer, Marcus Clark, is director of Heritage Brickwork Restoration, a company of renovation and conservation craftsmen based in Kent. Clark oversees his firm’s repointing services and is an authority on mortar formulation for historic properties.
6 brickwork pointing styles to consider
Many styles of pointing have been used in brickwork through the centuries. We’ve picked out six of the most popular, significant and interesting types – ranging from the most common pointing styles today to a few lesser-known styles that may be of interest if you’re renovating a historic property.
Third-generation bricklayer, Marcus Clark of Heritage Brickwork Restoration, will talk us through each of the pointing styles throughout this section.
Don’t skip the FAQs at the end of the article, where Charlie Hill of Hill House Brickwork offers his guidance on which pointing styles are best for historic and contemporary properties – or for a trainee bricklayer.
Bring your dream home to life with expert advice, how to guides and design inspiration. Sign up for our newsletter and get two free tickets to a Homebuilding & Renovating Show near you.
1. Flush pointing
Pros: relatively easy; suits some contemporary properties
Cons: can overshadow the bricks
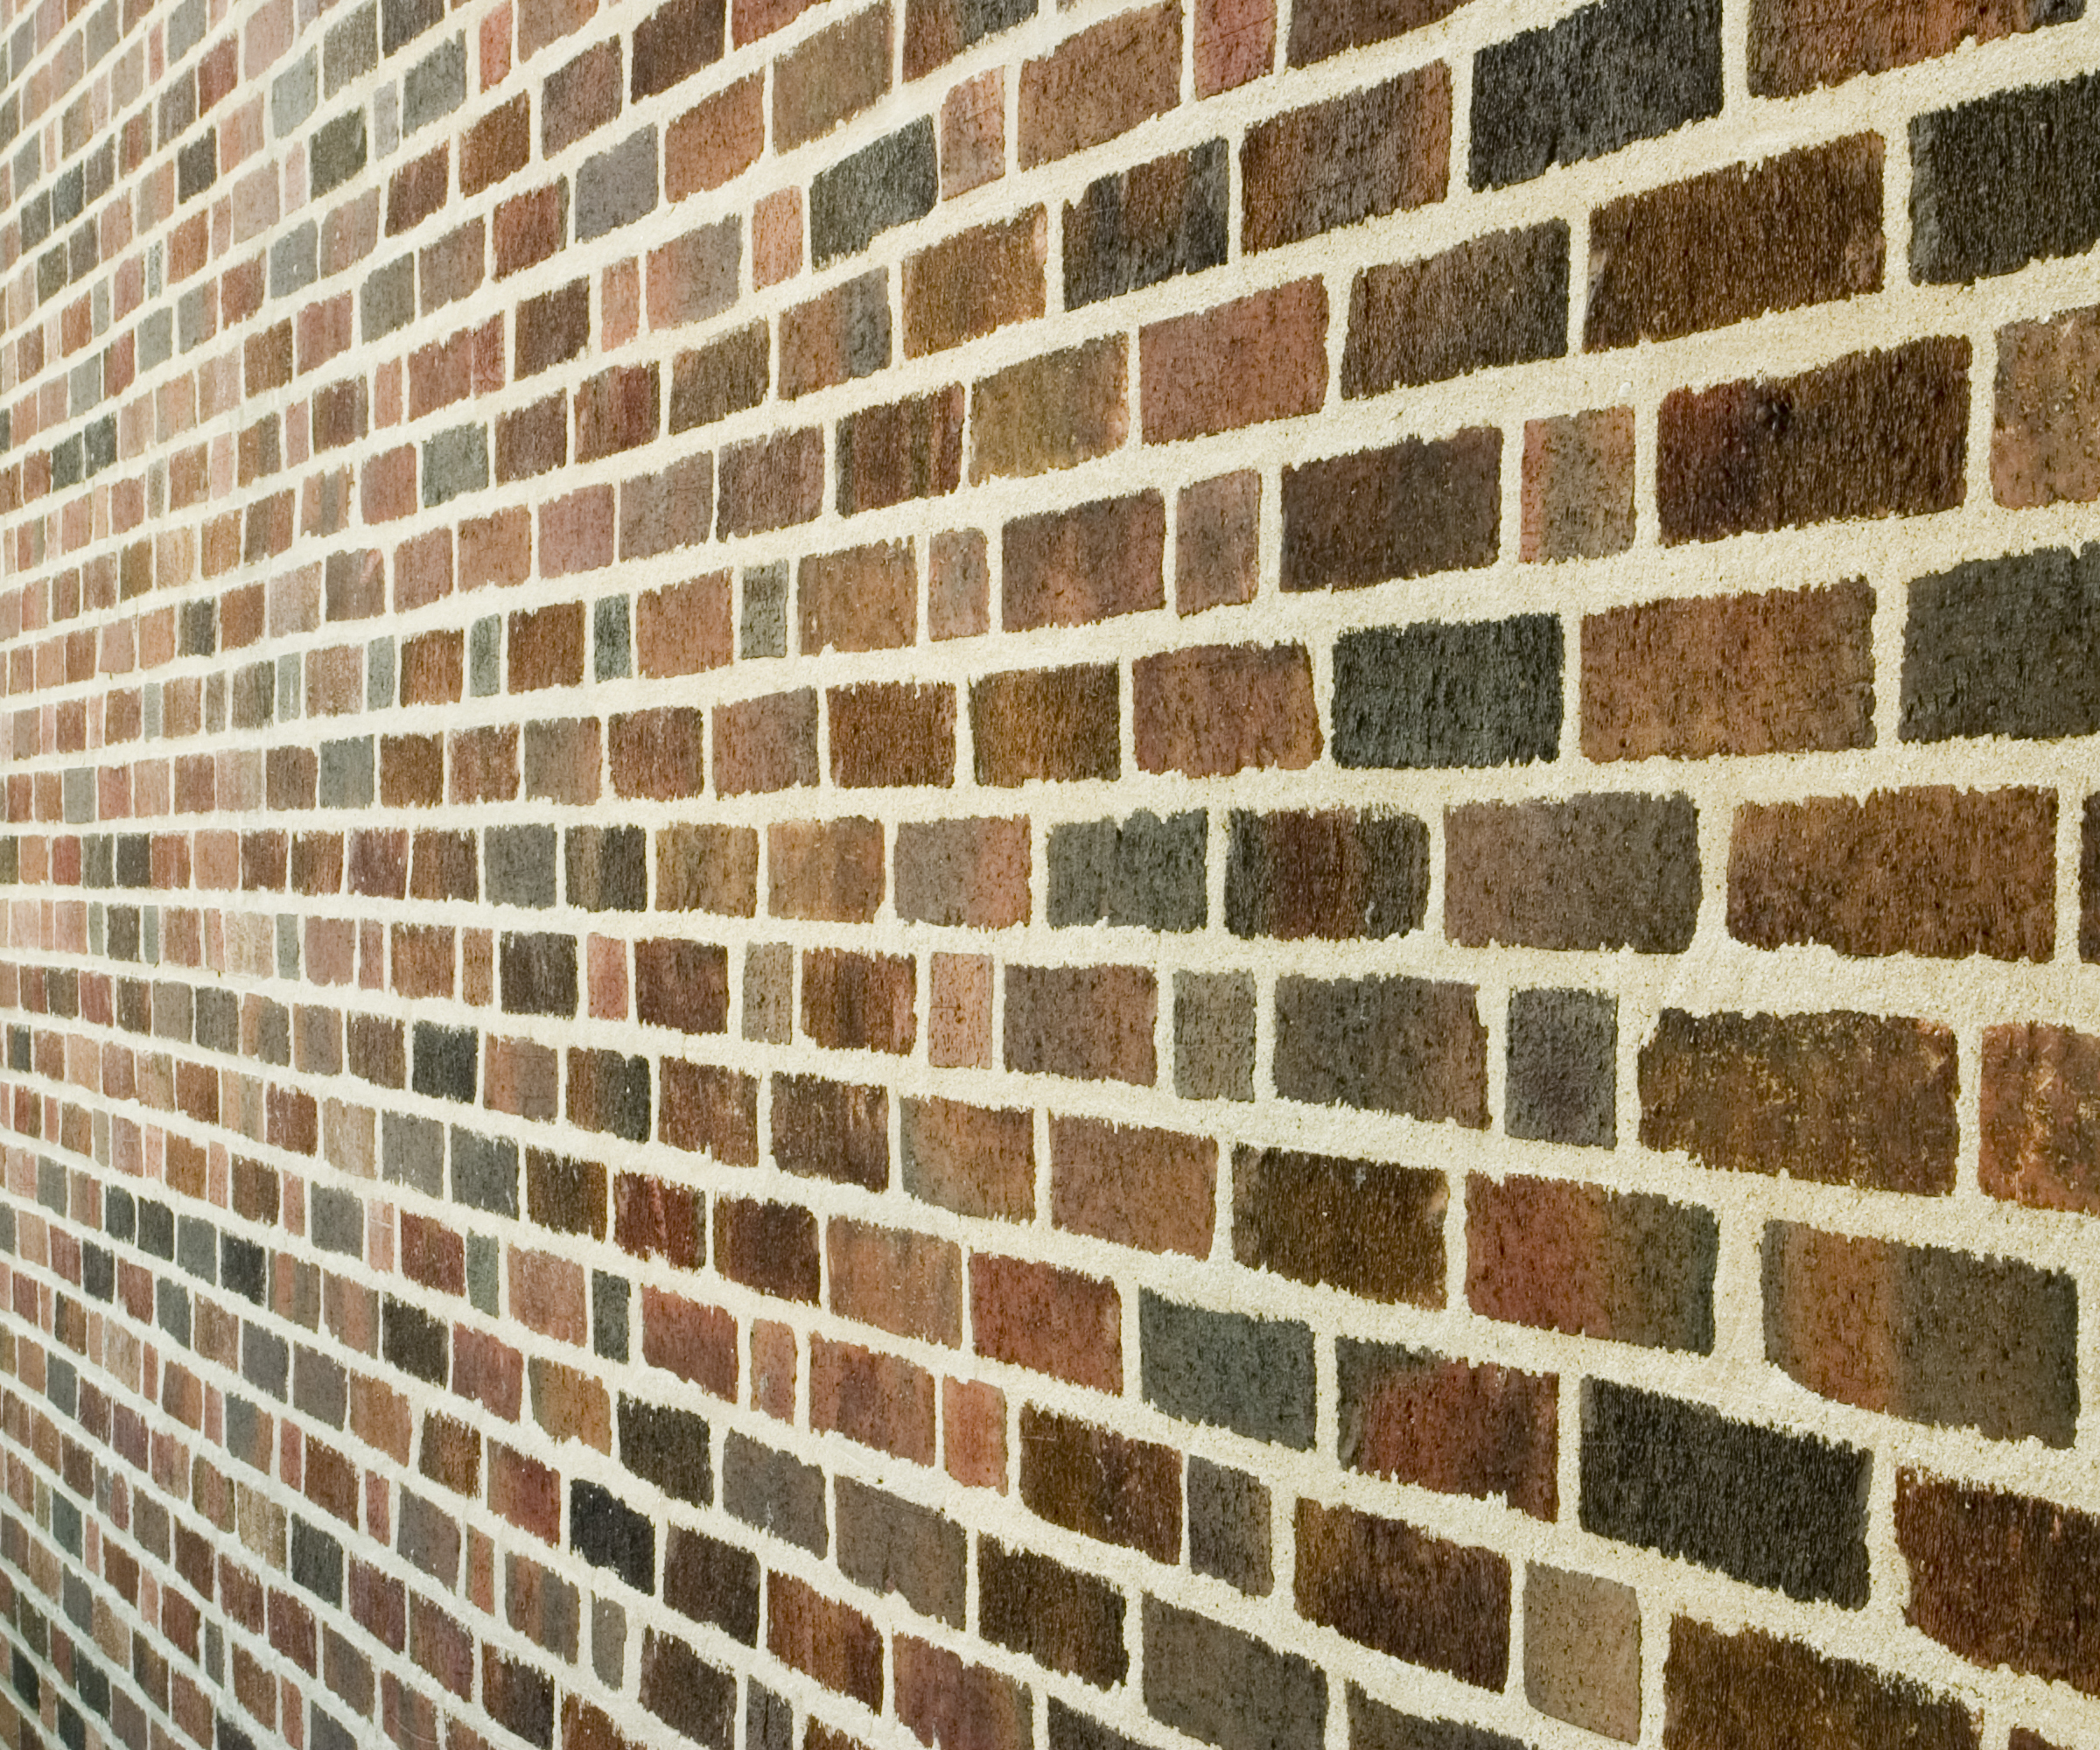
Flush pointing is currently one of the most popular styles of pointing, commonly used in new builds where efficient work and a contemporary look are desired. The mortar comes neatly to the edges of each brick, so that the faces of the bricks and the mortar-filled joint form a flat, ‘flush’ surface.
According to Clark, this pointing style has got to be done just right – if at all.
“You're bringing the mortar just that little bit further out than structurally necessary, which can make it stand out more than the brickwork does,” he says.
“If you can imagine the brick being laid and the mortar being cut off with the trowel and left as it is, that is a true flush finish.”
While Clark’s definition of flush pointing is correct, in practice, some bricklayers create a flush joint where the mortar is actually slightly recessed from the brick faces, which tends to give the bricks themselves more visual prominence.
If you’re getting your property repointed flush, it’d be a good idea to ask the bricklayer about their specific approach so that you can ensure it matches your intention.
2. Recessed pointing
Pros: pleasing shadow effect; emphasises high-quality bricks in internal brickwork
Cons: reveals imperfections in bricks; lower weather resistance
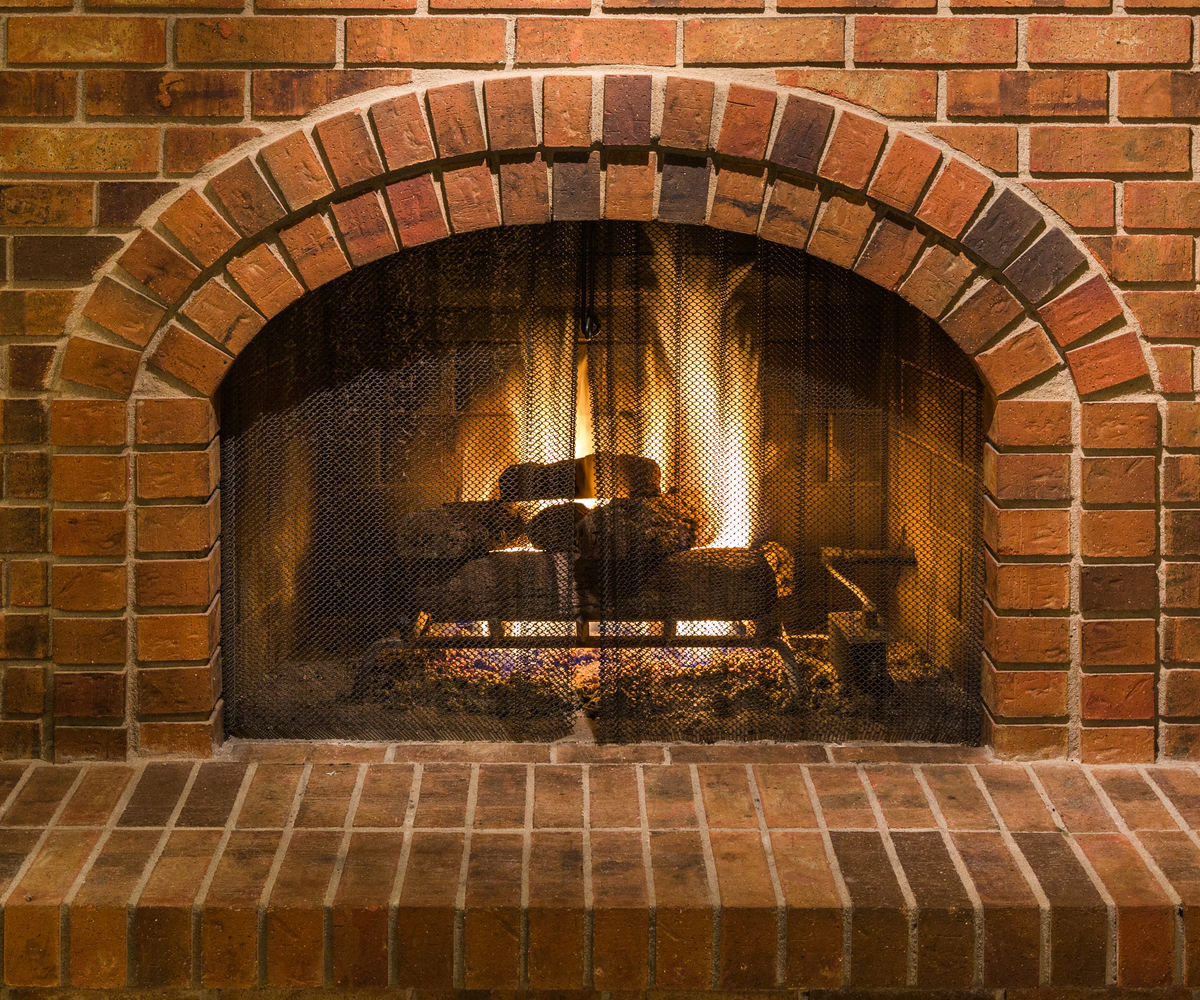
In recessed pointing (also known as ‘raked pointing’), the front edge of the mortar is even and vertical, as is also true of flush pointing. It differs in that some of the mortar is raked out to a uniform depth, so that it is set back from the faces of the bricks.
“It’s not actually a style that you see very much on site anymore, but was fashionable from around the late 1970s to the mid 80s,” says Clark.
“Nowadays it’s not always considered sufficient for an external building finish because there is more chance of water penetrating the brickwork, but you can still use it on internal brickwork such as corridors.”
Recessed or raked pointing is often used to highlight the form and textures of bricks.
“It gives you hard edges and definition, which looks nice if you’ve got a very uniform brick that allows for perfect spacing,” says Clark.
“But for the right balance between weather protection and aesthetics, I would usually aim for somewhere between a flush joint and a raked joint, using a heritage mortar with aggregate.”
3. Weather struck pointing
Pros: moisture-resistant; heritage finish
Cons: difficult and expensive
Weather struck pointing was widely used in Victorian structures, and remains prized for its elegant finish and protectiveness against severe weather.
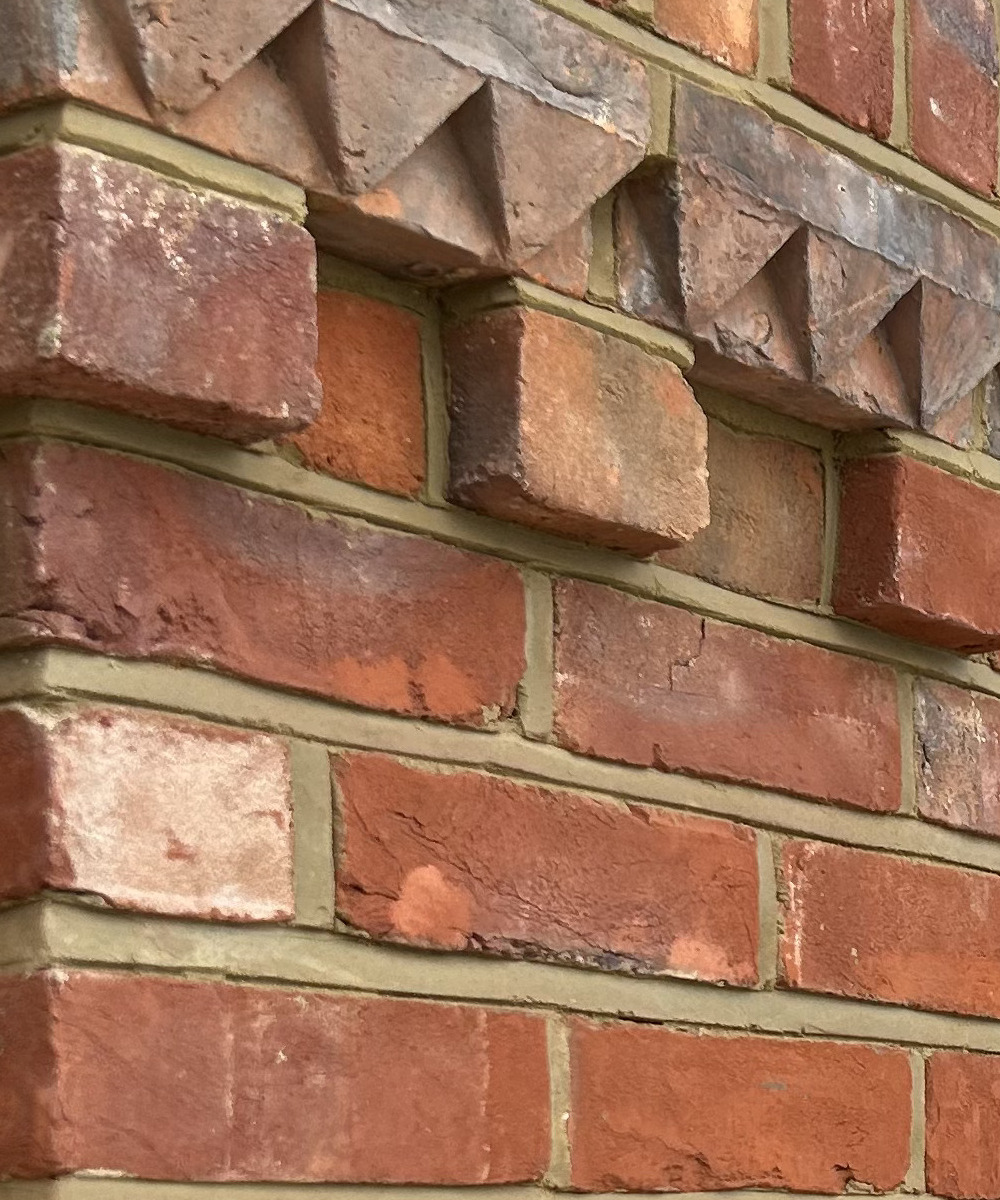
The mortar slopes from top to bottom, so it is significantly recessed at the top of the joint and almost meets the arris (outer edge) of the brick below. This profile encourages water to run down the mortar and off the wall, rather than remaining in the joints.
“You should see an angle and a suggestion of protrusion at the bottom of the joint – but without the mortar actually protruding,” Clark explains.
“By staying just behind the top and bottom edges of the brick, you’ll always be defining all of the brick and can apply your finish within that parameter.”
Weather struck finishes are created using specialised pointing tools such as a Frenchman knife.
4. Tuck pointing
Pros: beautiful trompe-l'œil effect
Cons: rarely practised and highly expensive
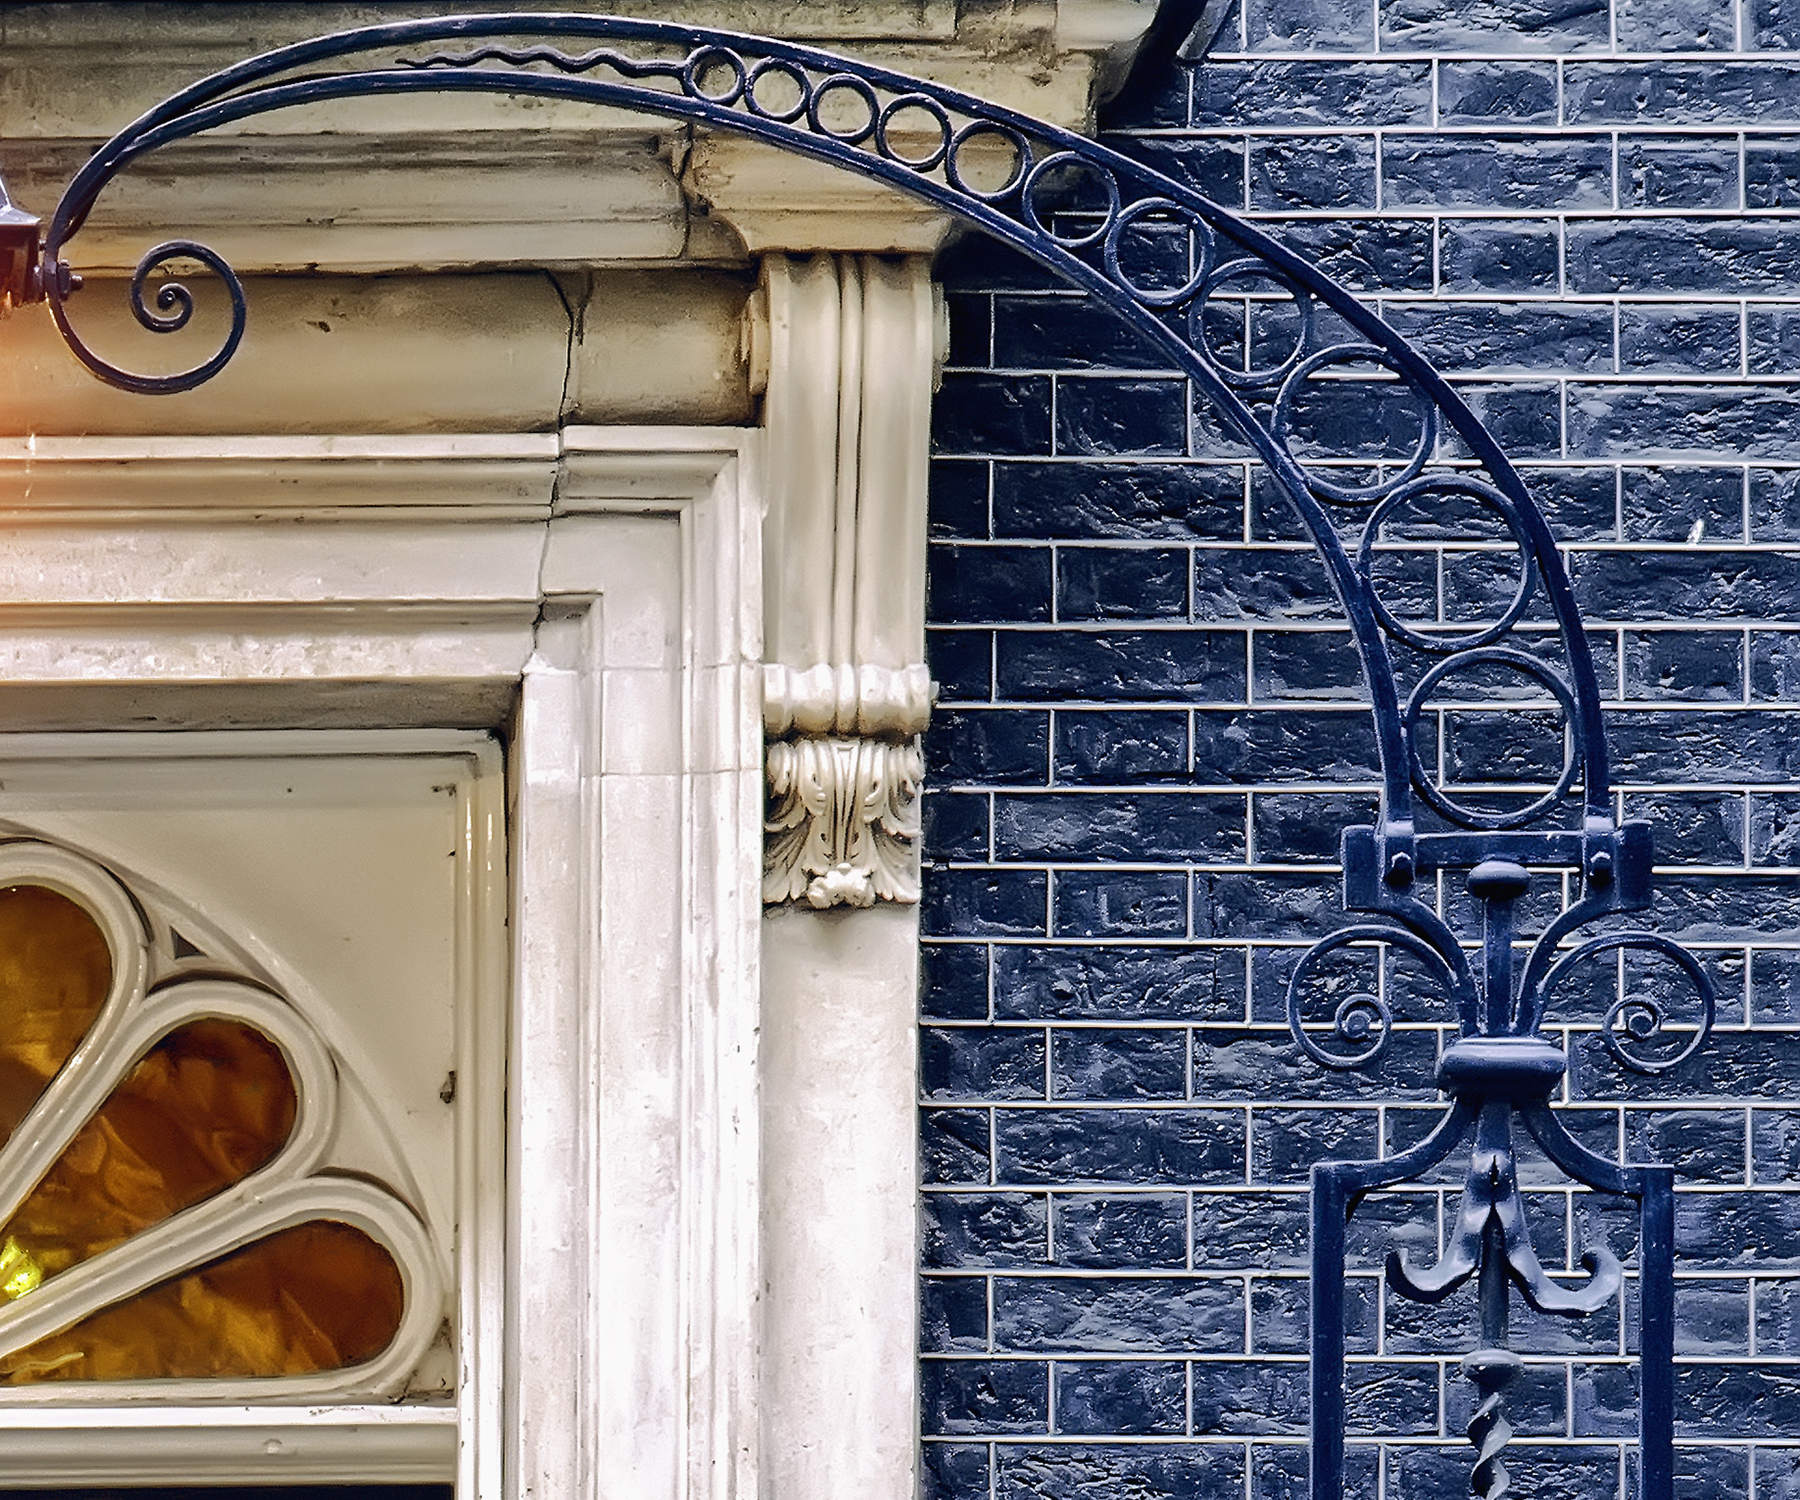
Tuck pointing involves applying two different colours of mortar. The larger base layer matches the colour of the bricks, while a thinner but more prominent layer adds a contrast colour within scribed lines at the front of the joint.
“It’s what’s known as a trompe-l'œil, which is French for a trick of the eye,” says Clark.
“When you look at the top, you’ve got no more than a 5mm ribbon joint on the brickwork. It's supposed to look like rubbed and gauged brickwork, which is a highly specialist finish mostly seen on old bank buildings and affluent properties.”
“During the First World War, the country lost so many men that the art of gauged brickwork almost died out completely.”
Homeowners seeking the rubbed and gauged look will likely find that tuck pointing is the nearest achievable alternative.
“For a red brick wall, the joints are raked out after it’s been built, and the joint is then filled with a red mortar to match the bricks, and that is called your stopping mortar,” says Clark.
“You would score a line along the dead centre of the joints (both horizontal and vertical), use a special tuck pointing tool to apply your white ribbon mortar, and then go back over it with a Frenchman knife to cut either side of that line that you’ve just applied.
“When you stand back and look, you’ve completely blinded out wherever the edges of the brick were, because that thin white line looks like the full mortar joint. It's probably the slowest and most difficult pointing style.”
5. Concave pointing
Pros: easy, quick and cost-effective
Cons: although widely used, it’s not considered a fine finish
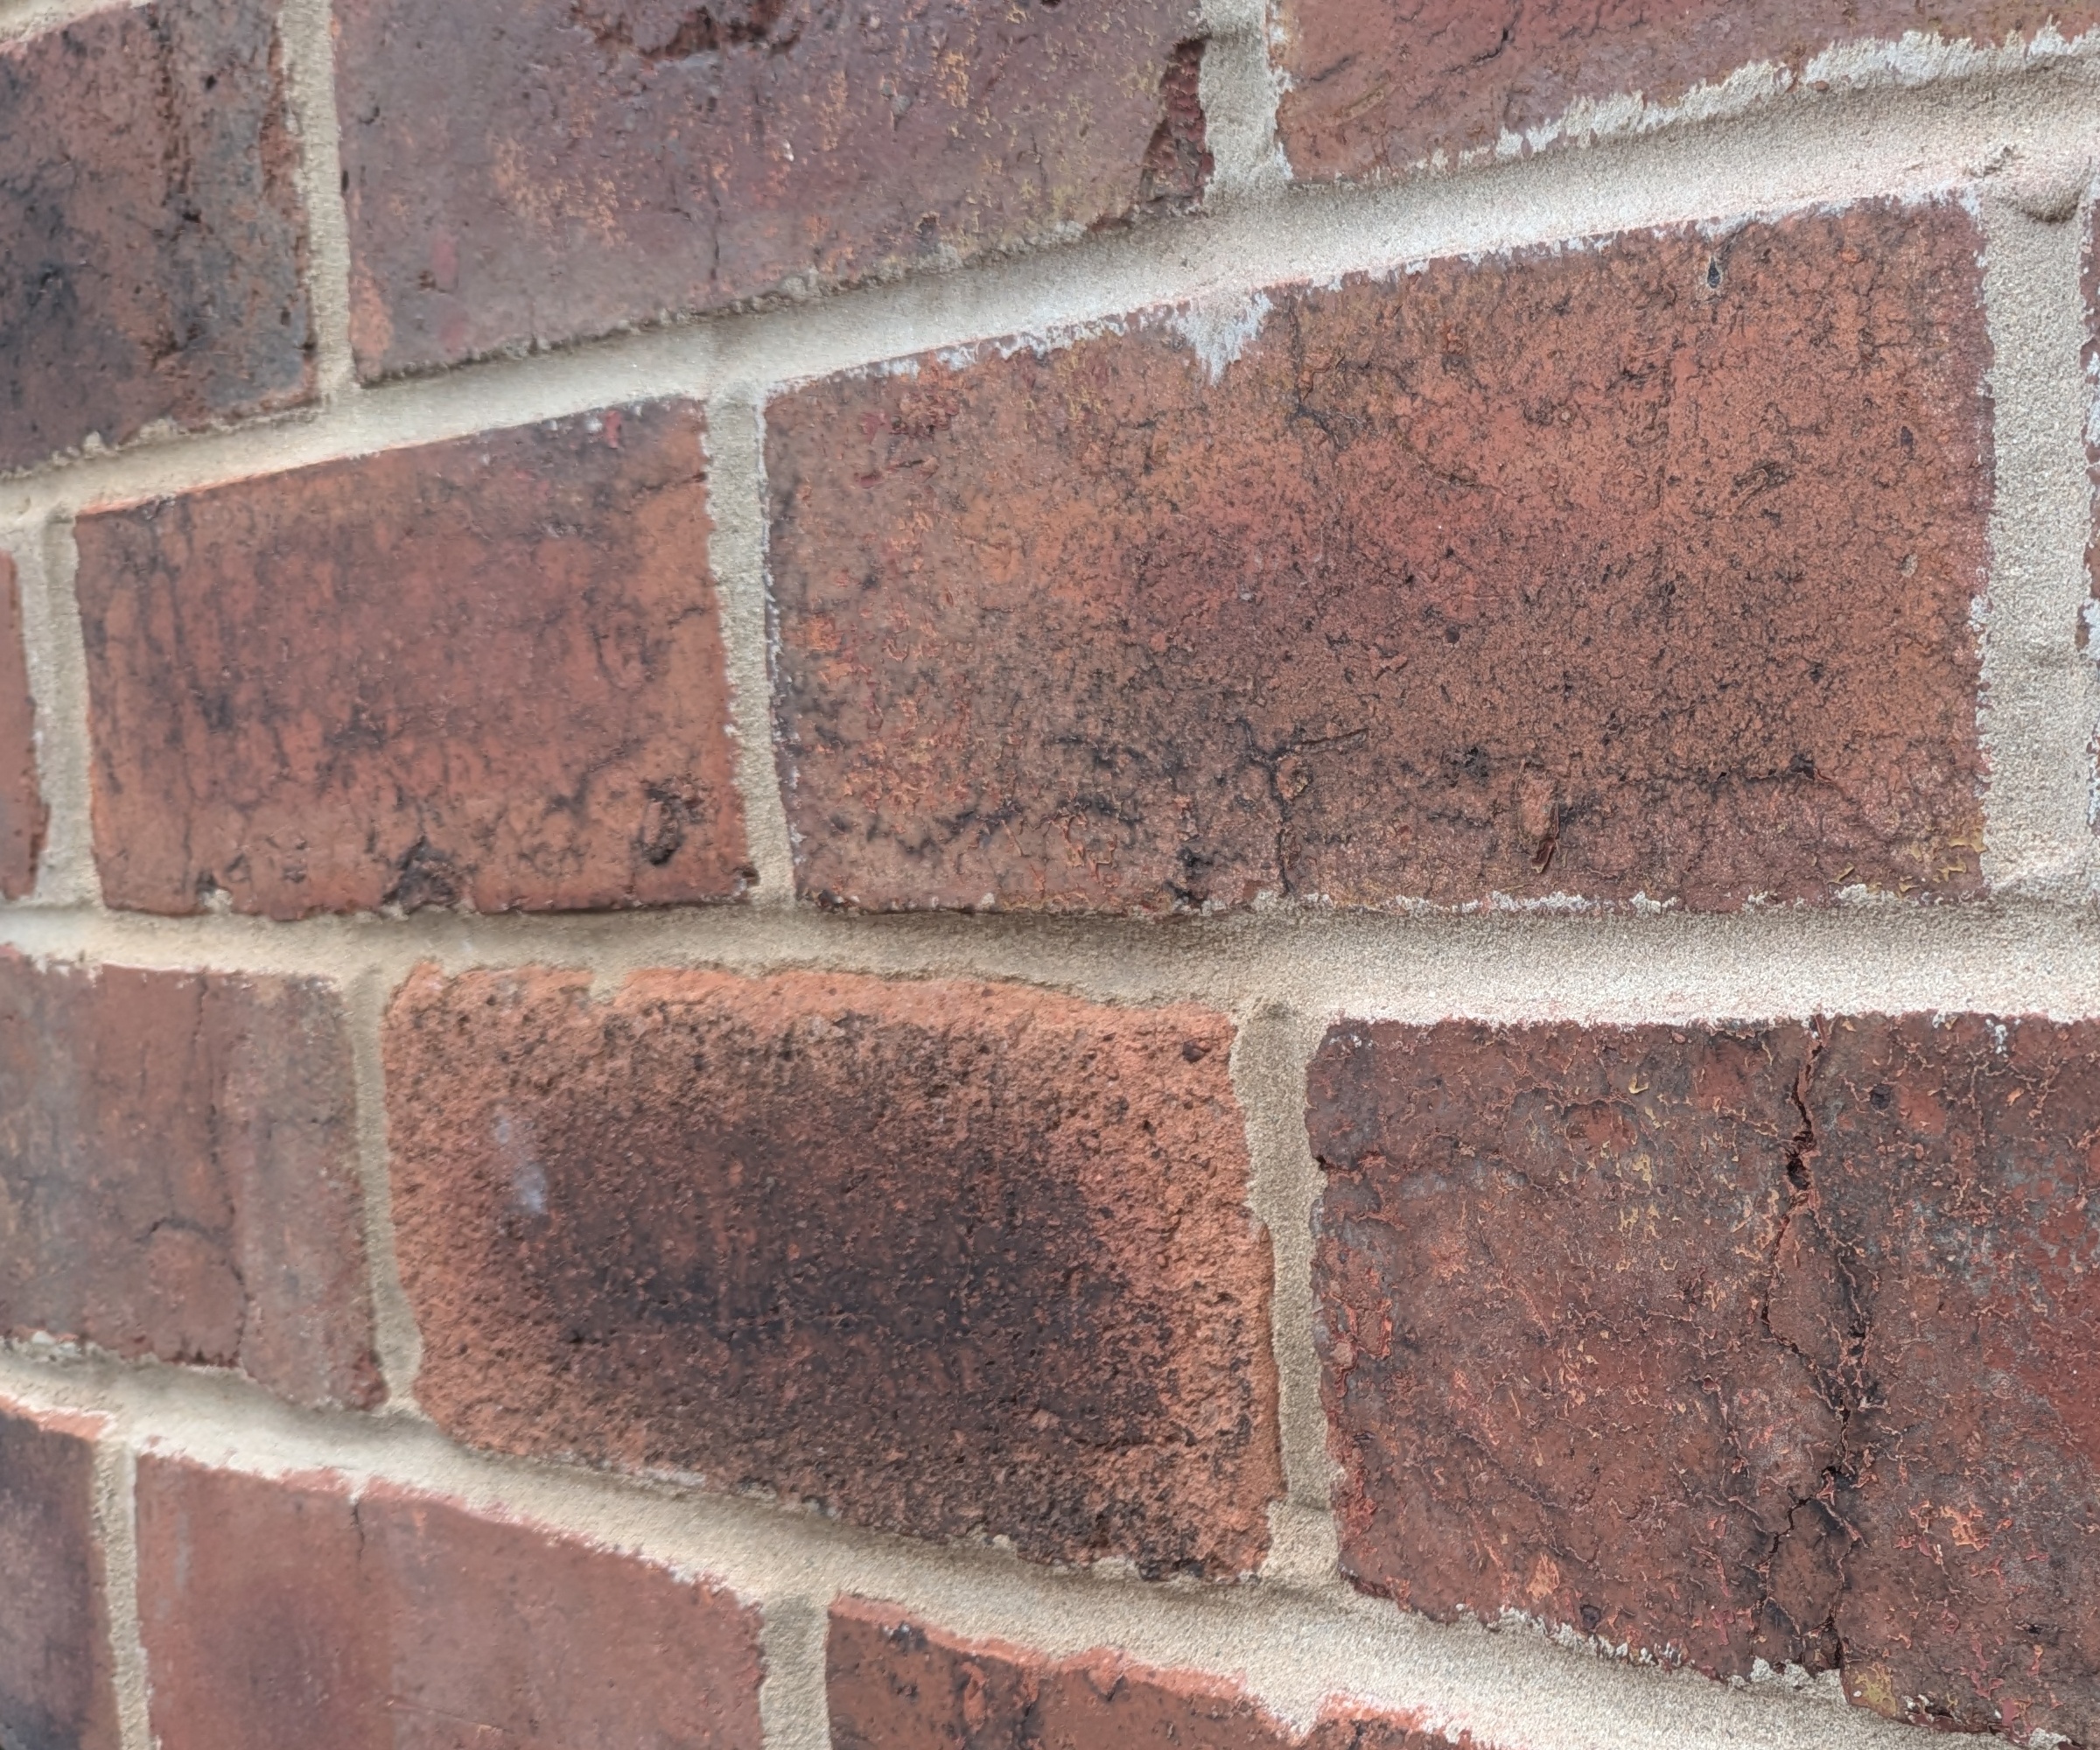
Concave pointing is a simple style that’s commonly used on new builds, where the mortar curves inwards from the edges of the bricks.
“We call it ‘the bucket handle finish’, and it was created just because it’s much faster to do than any of the other styles of pointing we’ve discussed,” says Clark.
“You go over the mortar with a metal tool, and as long as you get the timing right and there’s enough water still left in the mortar, you end up with a completely slick, smooth finish.
“It’s like when you're at the beach playing with wet sand and you score a line: you get that really fine finish on it because of the water content.”
6. V-joint pointing
Pros: used to preserve the heritage of very old (e.g. Tudor) buildings; minimises the perceived width of large joints
Cons: rarely practised and highly expensive
Also known as ‘double struck’ or ‘bird’s beak’, v-joint pointing is a traditional style of pointing seen mostly in historic buildings. The mortar has a v-shaped profile, coming to its highest point along the centre of the joint.
“Bird’s beak was one of the very first actual finishes that was created for brickwork,” Clark explains.
“It dates back to the Tudor period, when brick-making technology was in its absolute infancy and the bricks were very irregular, so walls were built using a much much wider bed joint.
“The pointing style almost halves the joint size you see, because you’ve applied two strikes to the joint that lessen its impact on the eye. You could fill quite a large void of mortar and it would still look half-decent.”
Clark is among a minority of working bricklayers who have repointed walls in the v-joint style.
“I’ve done it mostly on redstone walling with very irregular material, where you can’t flow from one end to another and you’ve got to try and find some way of finishing it.”
An original example of v-joint pointing can be seen at Hampton Court Palace.
Learning how to point? Here’s where to start
FAQs on pointing styles
Which pointing style is most commonly used in modern properties?
According to Charlie Hill of Hill House Brickwork, flush pointing with a very slight recess is considered ideal for modern properties.
“It’s achieved by filling the mortar joints flush with the brick and then shallow raking it out (2mm deep),” he explains.
“This highlights the shape of the brick whilst giving it a sleek and contemporary look.”

Charlie Hill is the owner of Hill House Brickwork in Surrey, specialising in brickwork and pointing. The firm prides itself on expertly restoring and enhancing properties through meticulous care and craftsmanship.
Which pointing styles are most commonly used for repointing historic properties?
“Two of the most common pointing styles seen in historical properties are ‘weathered’ and ‘weather struck’,” says Hill.
“Weathered pointing involves using a pointing trowel to angle the mortar joint so it slopes forward. Weather-struck pointing follows the same process however requires an additional ‘striking’ motion with the pointing trowel, to trim the bottom edge for a more defined finish.”
Do traditional pointing styles require an expert bricklayer?
“Yes, homeowners should seek a professional to achieve advanced traditional pointing styles such as weather-struck,” says Hill.
“Weather-struck pointing is very time-consuming and the technique can take a while to master. You’ll find some bricklayers will avoid this style as they find it challenging.
“Each pointing style requires a particular tool to achieve the desired finish. For example, to achieve styles such as concave (also known as ‘half-round’) you will need a jointing iron. I carry a variety of different pointing tools in my collection, which are a mix of types and sizes,” he adds.
Which are the easiest and most difficult common pointing styles to master?
According to Hill, weather-struck is by far the most time consuming and expensive style in common use.
“It can take twice as long as the half-round technique but can make a massive difference to the appearance of a wall or house,” he says.
“The easiest pointing style for trainees to master would be concave, as the shape of the jointing iron does most of the hard work. Beginners need to make sure that the ratio of sand and cement stays consistent throughout, or the colour from mix to mix will be off and the mortar will dry patchy. Also, make sure that the existing mortar joint is raked out to a sufficient depth.”
Repointing is one of many steps you can take to improve the condition of your property's brickwork. For further guidance, see our articles on removing paint from brick and weep vent installation.
Pete Wise is a freelance writer and keen DIYer from Leeds. Pete's tool reviews have featured in titles including Homebuilding & Renovating, Ideal Home and The Independent. He also writes features and news articles for publications such as The Guardian, BBC Good Food and T3. When he isn't busy writing, Pete can often be found at libraries, pubs and live music venues. He finds tile-cutting strangely zen.
