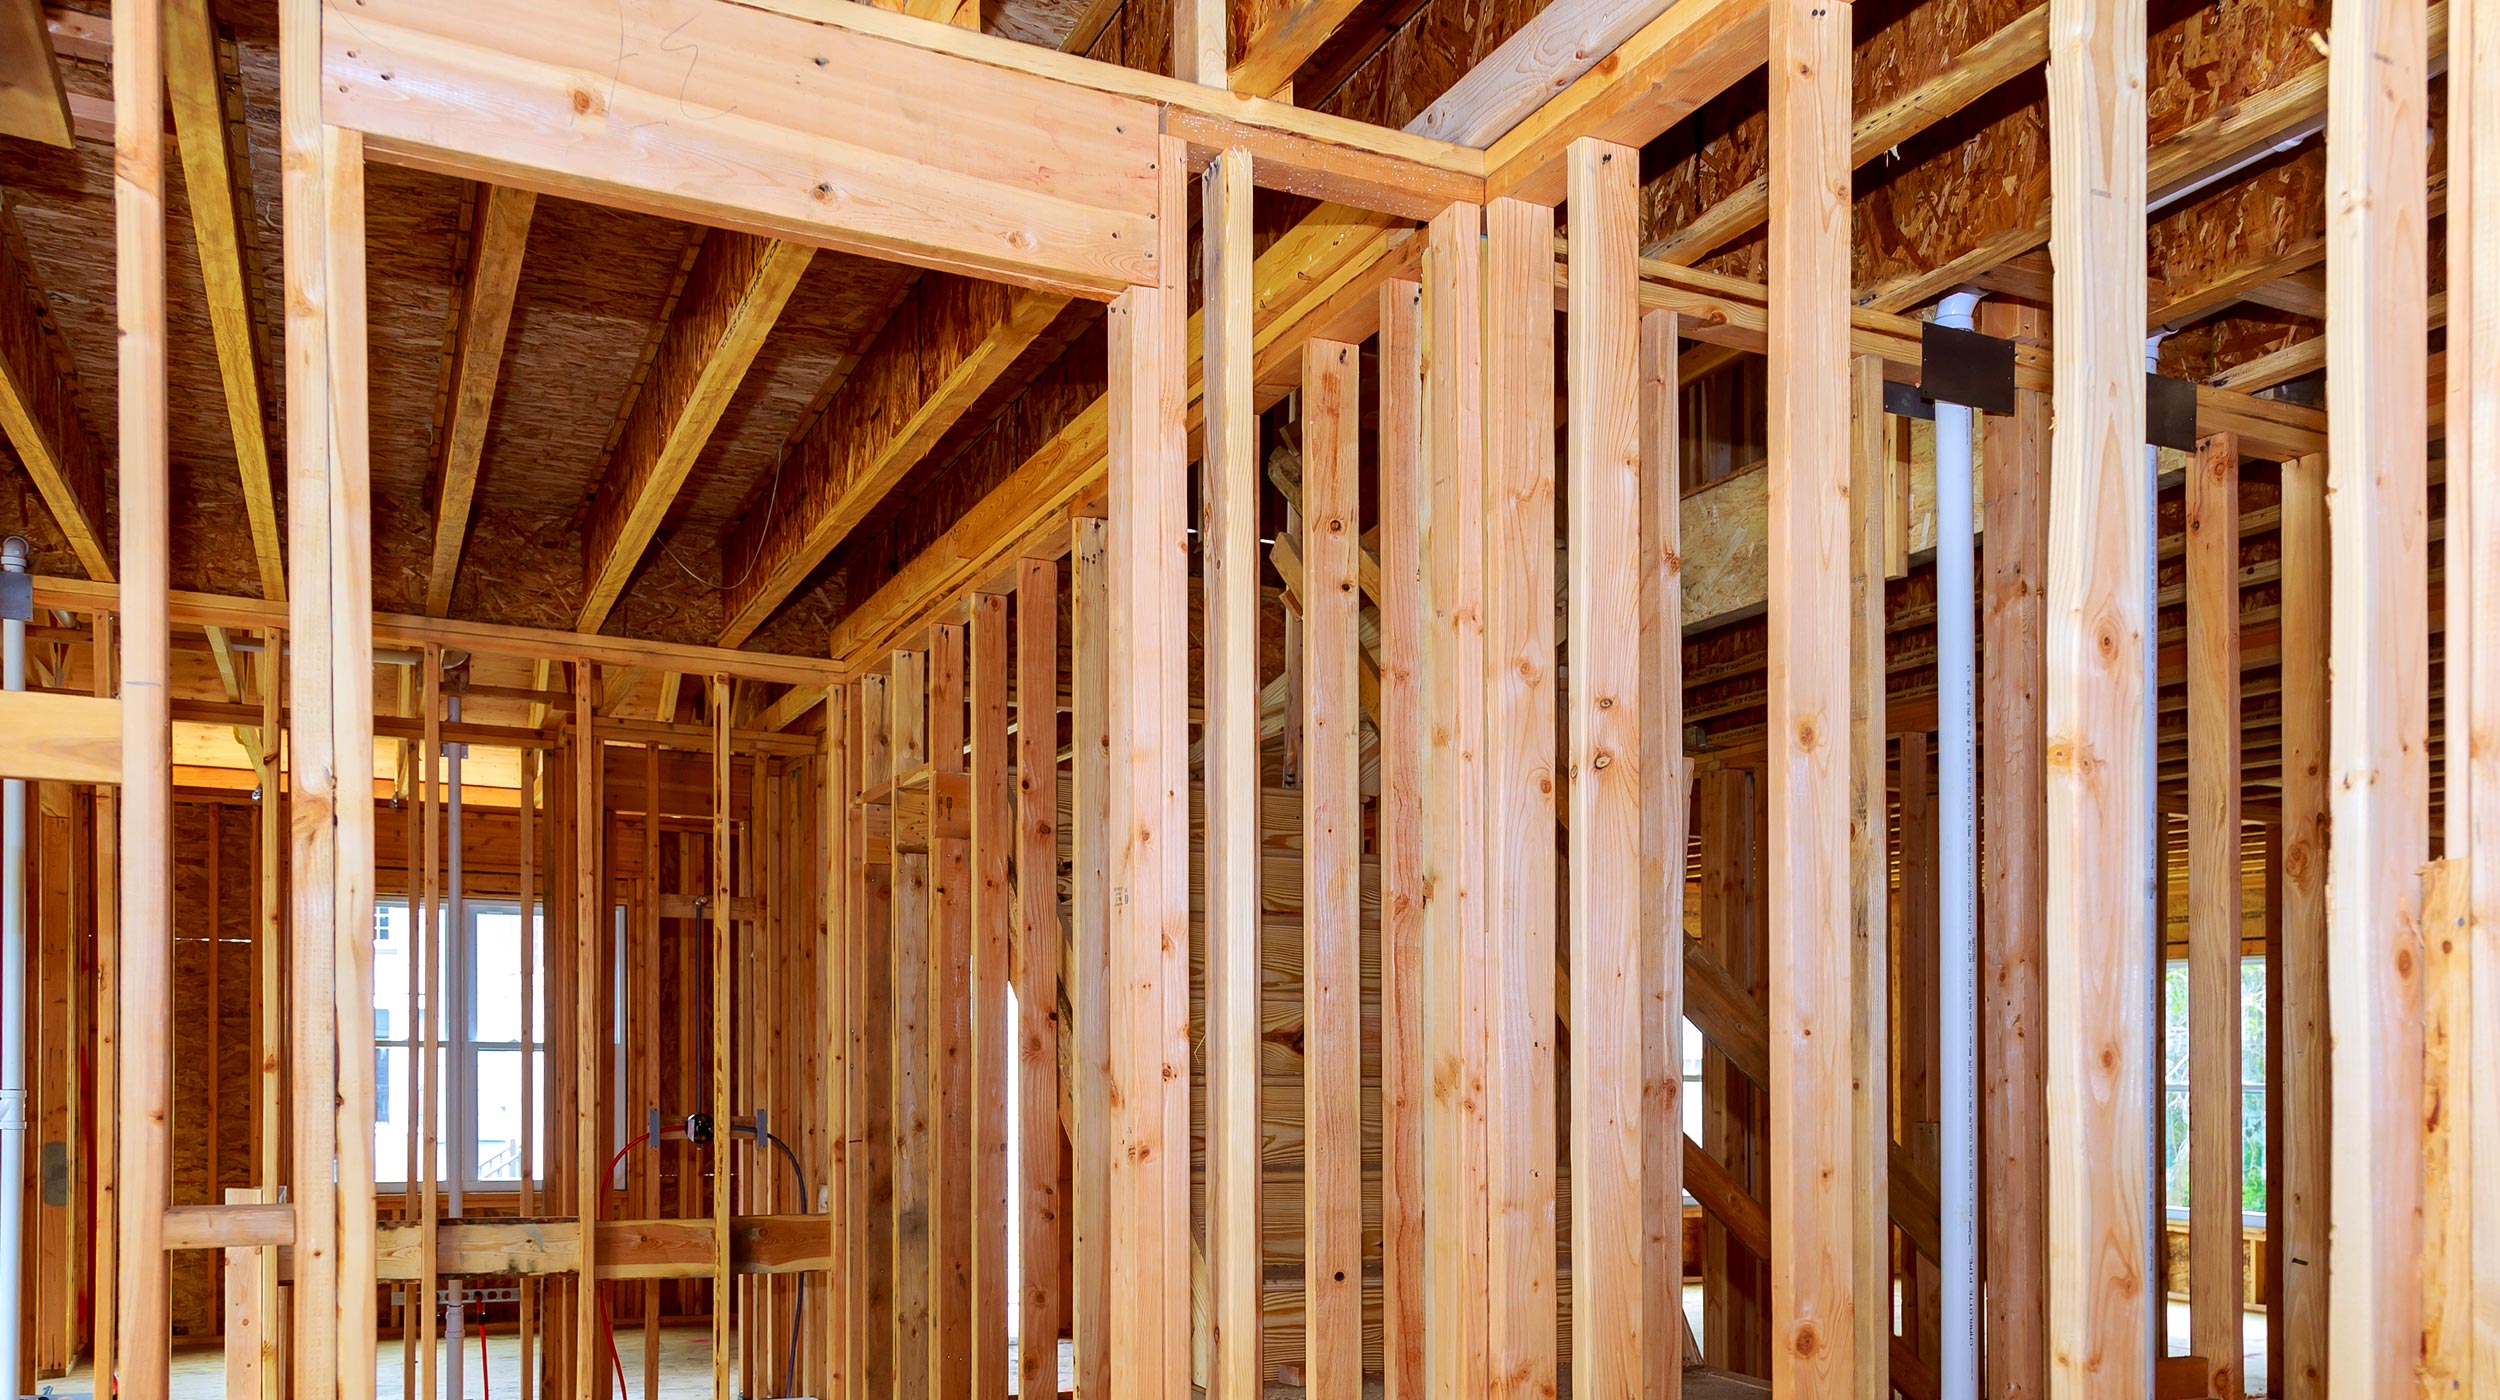
How to build a stud wall with a door: A step-by-step guide for DIYers
Do you know how to build a stud wall with a door? In this guide we give you the lowdown on building a stud wall frame and leaving a space for a standard door

Bring your dream home to life with expert advice, how to guides and design inspiration. Sign up for our newsletter and get two free tickets to a Homebuilding & Renovating Show near you.
You are now subscribed
Your newsletter sign-up was successful
Knowing how to build a stud wall with a door opening is a great way to add an extra room with much less hassle and cost than an internal brick wall. It’s a job that most DIYers will be able to take on successfully with the help of this guide.
You might want to add an en suite to a bedroom or simply divide up a large room to give more rooms for people to use. Knowing how to build a stud wall is the first part, but you’re going to need a doorway to access the new space. There are a few details that you will need to know to make sure you are doing it right. Get it wrong and your door won’t fit and you’ll need to do a lot more work than anticipated.
Here we cover what wood, sizes and hardware you will need to get a professional finish. as well as all the steps.
How to build a stud wall with a door opening
Here we are going to give an outline of how to build a standard internal stud wall and leave a space for a door. To check you are using your tape measure correctly before you start, make sure you read what is the diamond on a tape measure used for.
1. Fix the floor plate
Get your timber — commonly 100mm x 50mm — and cut to the correct length. Typically a doorway will be to the left or right so you only need to cut one length of timber. You need to leave a gap of around 65mm for the lining of the door. So if you are installing a 762mm x 1981mm door — 2 ft 6 inches x 6ft 6 inches in imperial — the opening needs to be around 825mm x 2046mm.
If the door is to be placed in the middle, mark your timber accordingly and cut, leave the appropriate gap and cut the timber for the other side of the door.
Once you have measured up and got the gap right, you need to screw the floor plate — or plates — into the floor. Note that the larger area i.e the 100mm side, lies flat on the floor, and use 90-100mm screws.
If screwing into a wooden floor you need to locate where the joists are to get a good secure fit. Use a wire and pipe detector like the Bosch Detector Truvo from Amazon to stop any unwanted accidents. Alternatively you can lift up the floorboards where you want to add screws and mark where the joists are and any wiring or pipework.
2. Fix the head plate
Next you want to fit the head plate, which is the timber that goes along the ceiling. Use a laser level such as the STANLEY Cubix Cross Line Red Beam Laser from Amazon to make sure that the head plate is in line with the floor plate. Alternatively, use a spirit level and mark up on the wall from the floor plate to the ceiling on both sides.
As with the floor plate you will need to attach the timber. Locate the ceiling joists and screw the plates into the joists ideally at around every 900mm.
3. Add wall studs
Now you need to add the wall studs. Start by screwing a stud to the wall on both sides. Measure up and make sure to get a good tight fit. Now measure 400mm centres for the studs if using 9.5mm plasterboard and 600mm if using 12.5mm plasterboard.
As you head towards the door opening the stud gap won't be 400mm or 600mm. Don’t worry, simply add a stud where the door space is. Use a spirit level to make sure the studs are vertical and screw in at an angle top and bottom.
Bring your dream home to life with expert advice, how to guides and design inspiration. Sign up for our newsletter and get two free tickets to a Homebuilding & Renovating Show near you.
For a more secure and stronger fit, double up on the studs at the door opening. This is not essential but if you are fitting heavy solid wood doors or fire doors it is a good idea. Remember to account for this when working out the position of the door opening.
For example, you cannot add an extra stud if the original stud is against the wall without mucking up the door opening size. So think ahead.
4. Add noggins
Finally you need to add noggins. These are small pieces of timber that brace the studs and give them more strength. Use the same timber as you used for the studs. Measure the gap between the studs, mark and place about half way up the stud.
Fix from both sides going through the stud into the noggin. Now measure up the next noggin and cut to size. Place this in the next stud gap just below the level of the first noggin and fix as before. Now repeat the process until you have noggins inside all studs.
If you have any wiring that needs to be put in the wall space get a suitable sized spade drill bit and drill holes through each stud and feed through the wires.
5. Complete the job
The final piece in the jigsaw is to add the studs and noggins to complete the door opening. Now measure the height and mark where the top of the door opening will be. If using a standard 1981mm door remember to add 65mm to create the necessary height — so 2046mm.
Now measure the width of the door opening at the position where the noggin is going to be fixed and cut to length. Now fix into studs with screws at an angle and make sure it's level. You now have the outline of the door frame. Now measure two small studs to go between the noggin you just put up and the ceiling plate. This will brace the noggin and stiffen up the frame.
How to build a stud wall with a door: what’s next?
You now have a complete frame to work with. To finish the stud wall you will need to add a door lining/frame, a door and plasterboard the frame. You can do these in any order you prefer, but we recommend putting up the plasterboard first, but others prefer to put up the door frame first.
There’s an art to putting plasterboard onto the frame, so make sure that you follow our cutting plasterboard guide to get a good clean cut that will make it easier when it comes to plastering.
Also check out our screwing into plasterboard guide to help you choose the right screws and tools for the job. You don’t want to break the plasterboard with the screws as this will lead to a poorer finish.
You will also need a door lining to cover up the edges of the frame and butt up to the plasterboard. These are typically three pieces of wood with door jambs. You will typically need 25mm depth wood, which will leave around 15mm to fit the door.
What is the best type of wood to use for stud walls
You can use any good quality wood for the frame of a stud wall, such as C16 timber, but as it won’t be seen it just needs to be solid enough to support the plasterboard and door.
A typical choice is a softwood with pine being a popular choice as this is reasonably cheap, easy to work with and hard wearing enough for the job at hand.
Do I need planning permission for an internal stud wall?
Typically you do not need to apply for planning permission for building an internal stud wall but there are a few rules you should follow. Fire regulations and sound insulation are two to consider.
When building a stud wall you can use fire-rated plasterboard and plaster finishes that are at least 12.5mm thick. It is highly recommended that you install a fire alarm if there isn’t one nearby.
For a more in-depth look at the regulations make sure to check out our Fire Safety Building Regulations: Part B guide
When building any stud wall it is always a good idea to install sound installation. You can use acoustic plasterboard instead of standard plasterboard as this is denser so helps stop sound passing through.
Another option is to use sound insulation. You can try solid sound insulation such as Rockwool Acoustic Cavity slab from B&Q, which is easy to cut and push into position.
Steve Jenkins is a freelance content creator with over two decades of experience working in digital and print and was previously the DIY content editor for Homebuilding & Renovating.
He is a keen DIYer with over 20 years of experience in transforming and renovating the many homes he has lived in. He specialises in painting and decorating, but has a wide range of skills gleaned from working in the building trade for around 10 years and spending time at night school learning how to plaster and plumb.
He has fitted kitchens, tiled bathrooms and kitchens, laid many floors, built partition walls, plastered walls, plumbed in bathrooms, worked on loft conversions and much more. And when he's not sure how to tackle a DIY project he has a wide network of friends – including plumbers, gas engineers, tilers, carpenters, painters and decorators, electricians and builders – in the trade to call upon.

