Wallpapering an alcove can add style and panache to a room. Get pro tips on how to do it
Discover the smart tips you need to know when wallpapering square and arched alcoves
Bring your dream home to life with expert advice, how to guides and design inspiration. Sign up for our newsletter and get two free tickets to a Homebuilding & Renovating Show near you.
You are now subscribed
Your newsletter sign-up was successful
Wallpapering an alcove can dramatically transform a space. Make a bold statement with patterned wallpaper or introduce a complementary colour to create a cohesive flow that ties a room together.
If you know the basics of how to wallpaper, you can quickly and relatively easily restyle a room. There’s just a little more you need to know, especially if you have an arched alcove. But it’s not just the how-to you need; it's time for your inner interior designer to shine as well.
Here, the pros share simple tips and tricks to help you make the right design decisions, select the perfect wallpaper, and ensure it looks great when hung.

Stuart Murray has a deep knowledge of design trends, craftsmanship, and material authenticity, vital for understanding the benefits of wallpapering.
Wallpapering a square alcove
Wallpapering a square alcove is simpler than tackling one with a curved arch, but it's worth remembering that there are a lot of similarities you can apply to both projects.
Stuart Murray, founder of Retrovintage, shares the first and key step, “Wallpapering a square alcove starts with careful measuring and prep.” He adds, “Begin in the centre of the back wall and work outwards to keep things looking balanced, especially if you’re using a patterned design.”
Now you have two options: leave the sides plain or continue wallpapering. If hanging patterned wallpaper, the drop of wallpaper on the back wall (in the corner) should overlap onto the side wall by around 15-20mm. Now add the next drop of wallpaper (on the side wall of the recess), line up the pattern, and paste to the wall.
If wallpapering the ceiling, measure up the paper (leaving around 20mm extra). Paste the ceiling and paper (if needed), slide into place and use a smoothing tool to push into the corners. Make a 45-degree cut into the corners. Now, using a straight edge and a sharp knife, cut off the excess, smooth down and wipe off any excess paste with a damp cloth.
Bring your dream home to life with expert advice, how to guides and design inspiration. Sign up for our newsletter and get two free tickets to a Homebuilding & Renovating Show near you.
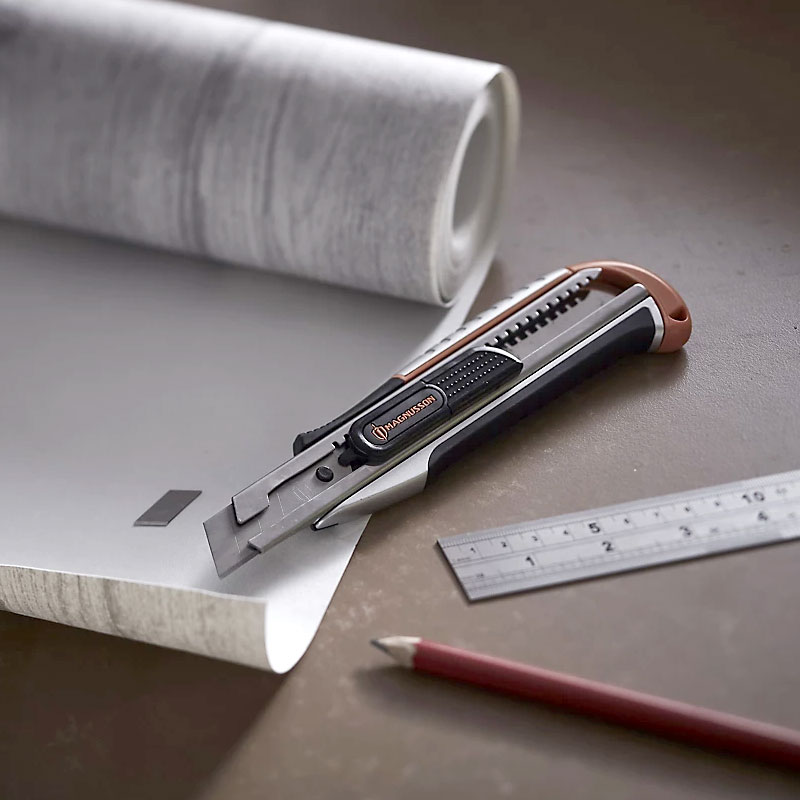
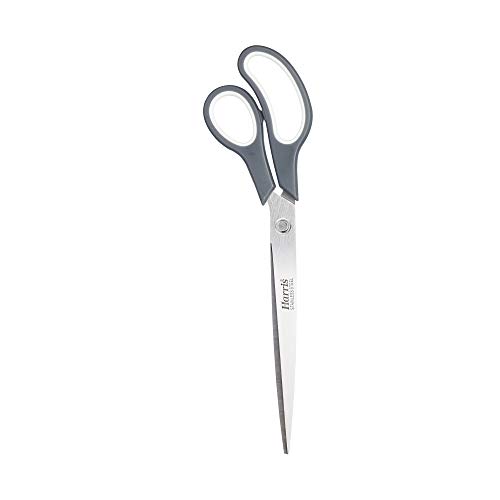
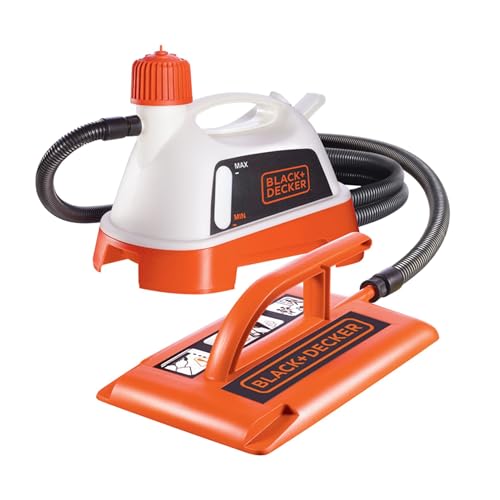
Try these tools to help wallpaper an alcove
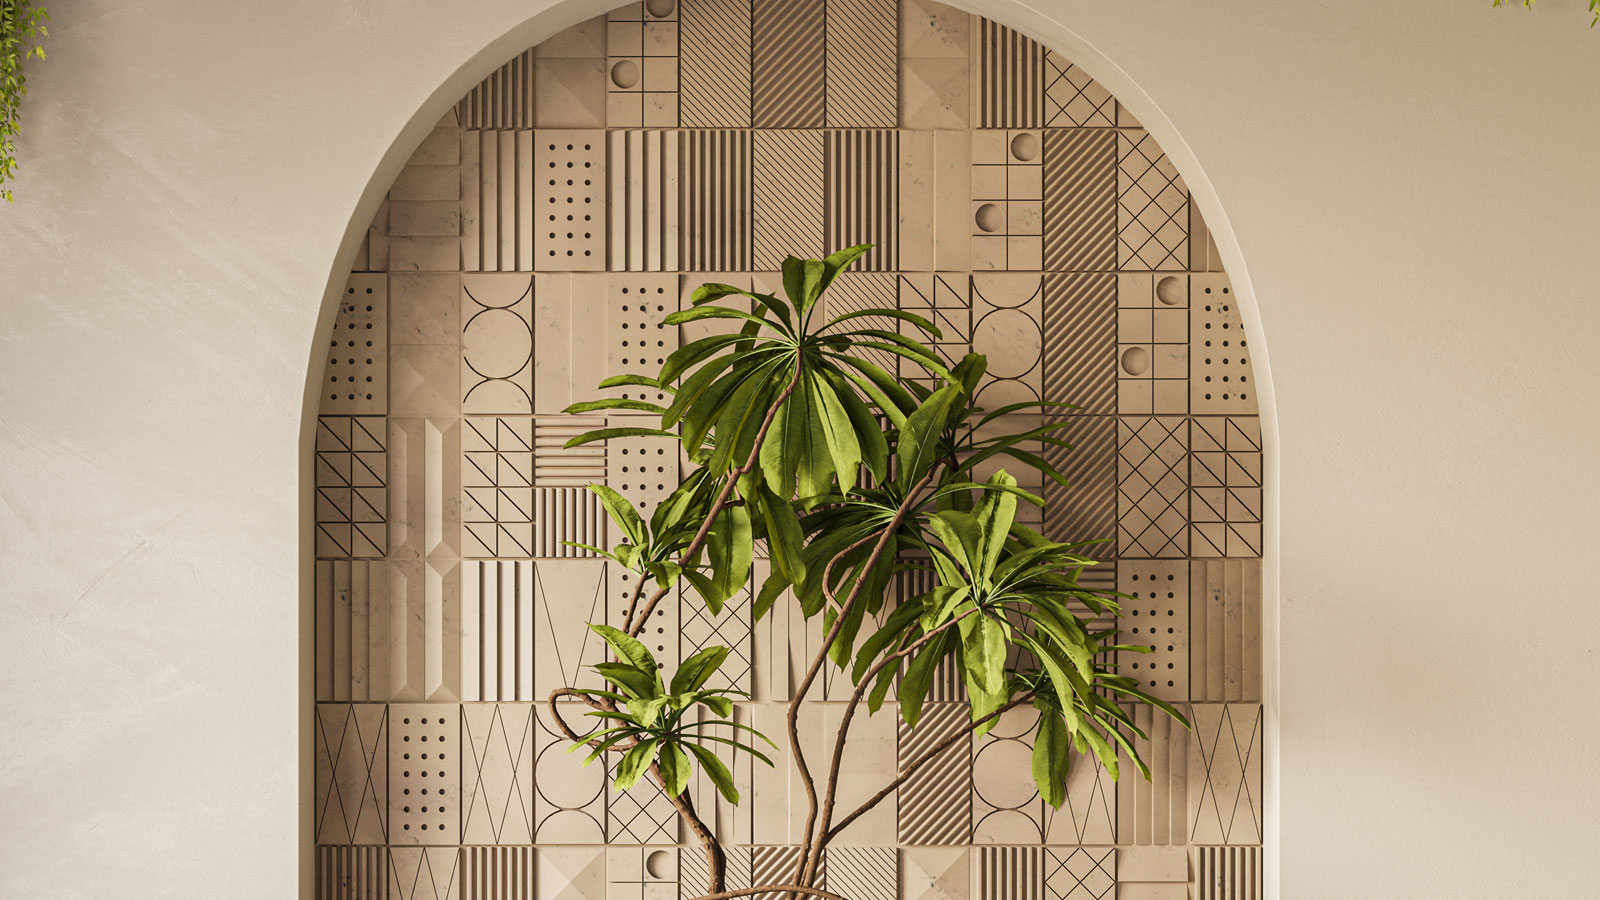
Wallpapering an arched alcove
The process for wallpapering an arched alcove follows the same pattern for the back and side walls. But the arch will take more time and a different approach. Murray says, “Rather than trying to cover it with one large strip, it helps to cut smaller sections of wallpaper or make slits around the curve to help it bend into shape.”
Ideally, two strips would be the ideal choice. Measure from the centre of the arch to the skirting boards and add 20cm. To make it easier to put up measure the width of the arch and add 15-20mm each side. Now paste and put up the wallpaper starting at the centre of the arch. Smooth down and cut slits every 50mm around the arch and bend over onto the wall. Now add your other wallpaper on the outer walls to hide the cuts.
Alternatively, if hanging lining paper is going to be painted, you can smooth it down and cut the edges to line up with the walls. No need for the overlap.
Murray offers one tip when putting up the wallpaper: “Using a hairdryer on a low setting can soften the paper slightly and help it mould to the curve more easily.”
FAQs
What tool is better for cutting wallpaper?
Scissors and a sharp knife are the key cutting tools for wallpaper. Murray says, “It’s useful to have both to hand.” Both do a decent job, but they are typically used in different scenarios. Murray shares, “A sharp knife tends to give you a cleaner, more precise cut than scissors, especially around tricky edges or when trimming wallpaper in place.”
Combined with a smoothing tool, like this Coral Paperwiz Flexible 3-in-1 Wallpaper Tool from Amazon, a sharp knife will give straight edges that give crisp, clean lines, especially at the ceiling and skirting boards. But be warned, a blade needs to be super sharp to be effective. A blunt blade will tear wallpaper, especially when it's wet. If you run out of sharp blades, a pair of wallpaper scissors will do the job.
Wallpaper scissors are typically the better choice for cutting wallpaper to length when dry. But it can also be used for all aspects of wallpapering, including small cuts for curved areas like an alcove.

Kavanagh is the Art Director for Hovia, a B-Corp certified interior design brand dedicated to responsibly designed interior products made to enrich environments.
What wallpaper ideas work well in an alcove?
An alcove can be brought alive with patterned wallpaper or blended into the rest of the room with some simple matching colours. Lauren Kavanagh, the Art Director for Hovia, says, “Bold tropical or floral designs can bring vibrant colour and texture to a room.”
She adds, “Using them on a feature wall – like an alcove – adds just the right amount of interest without overwhelming the space.” If you have a small room, she suggests, “This approach is especially effective in smaller rooms, where too much pattern can make things feel cramped.”
Murray adds, “In smaller spaces, lighter colours can make an alcove feel brighter and less boxed in, but a darker wallpaper can also work well to create a more dramatic, cocooned look.”
If you use a bold, colourful pattern in an alcove, Kavanagh suggests using the colours in the wallpaper to tie together the rest of the room. “To tie in the patterned wallpaper by wallpapering an alcove, you also create an opportunity to tie in the rest of your décor.”
She adds, “Simply pick out a colour from the wallpaper design and use it as inspiration for the surrounding wall paint. This creates a cohesive, stylish look that feels intentional and balanced.”
Alcoves can be found in kitchens, bathrooms, bedrooms, living rooms and hallways. Check out our kitchen wallpaper ideas, bedroom wallpaper ideas and bathroom wallpaper ideas for inspiration for your next DIY project.
Steve Jenkins is a freelance content creator with over two decades of experience working in digital and print and was previously the DIY content editor for Homebuilding & Renovating.
He is a keen DIYer with over 20 years of experience in transforming and renovating the many homes he has lived in. He specialises in painting and decorating, but has a wide range of skills gleaned from working in the building trade for around 10 years and spending time at night school learning how to plaster and plumb.
He has fitted kitchens, tiled bathrooms and kitchens, laid many floors, built partition walls, plastered walls, plumbed in bathrooms, worked on loft conversions and much more. And when he's not sure how to tackle a DIY project he has a wide network of friends – including plumbers, gas engineers, tilers, carpenters, painters and decorators, electricians and builders – in the trade to call upon.
