A Typical Self Build Schedule
When you take on a self build project, organisation is key. Ensuring you know the scale and length of works so that you can plan accordingly is essential. Here we explain what to expect
Bring your dream home to life with expert advice, how to guides and design inspiration. Sign up for our newsletter and get two free tickets to a Homebuilding & Renovating Show near you.
You are now subscribed
Your newsletter sign-up was successful
Taking on a self build project can be a daunting prospect, especially if you are building your own home for the first time. There is a lot to be done before you even break ground on site, from finding the plot, arranging your finance and securing planning permission.
To help, we’ve created a typical self build schedule.
Before you Start On Site:
- Arrange a mortgage in principle
- Find potential plots
- Assess development potential
- Plan budget
- Arrange valuation of the plot
- Arrange a site survey
- Purchase site
- Arrange site insurance
- Choose designer and builders
- Create your design
- Get planning permission
- Apply for water and electricity
- Prepare detailed drawings
- Obtain Building Regulations approval
- Put contract out to tender
- Select builder/tradesmen
- Arrange warranty and insurances
Starting the Build – Month One
1. Clear and Peg Site
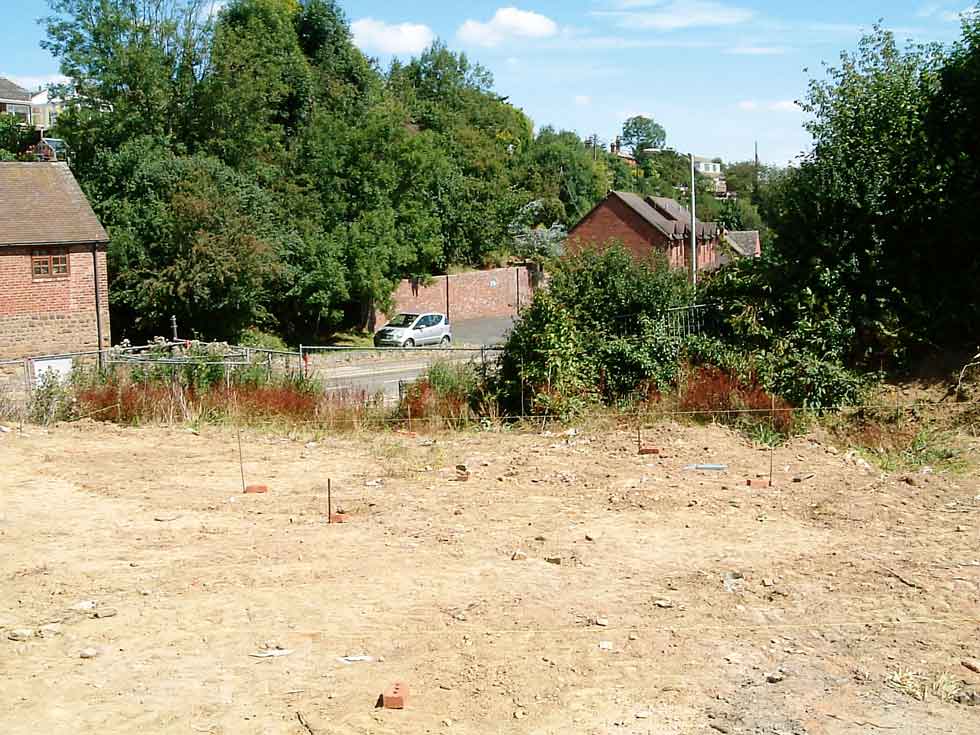
Create access then get surveys to work out levels. Clear site and peg out site as per drawings. Set up site facilities including site hut, toilet and secure lock-up.
2. Foundations
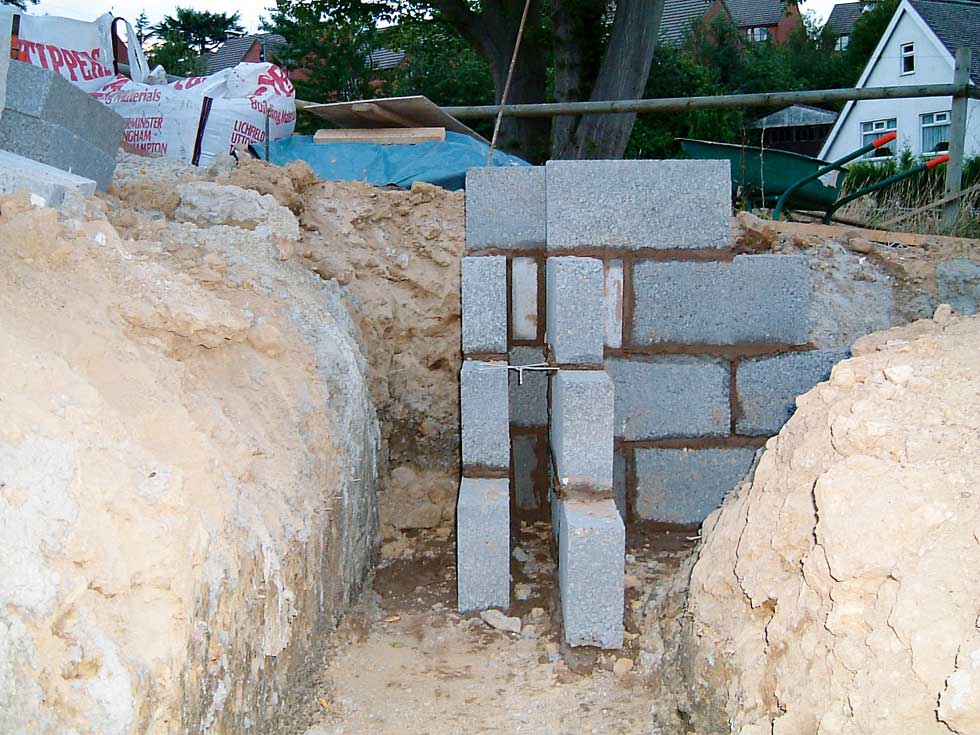
Dig trenches and begin to build up the blockwork footings. Obtain necessary approval from building control and warranty inspectors.
3. Floor Structure
Bring your dream home to life with expert advice, how to guides and design inspiration. Sign up for our newsletter and get two free tickets to a Homebuilding & Renovating Show near you.
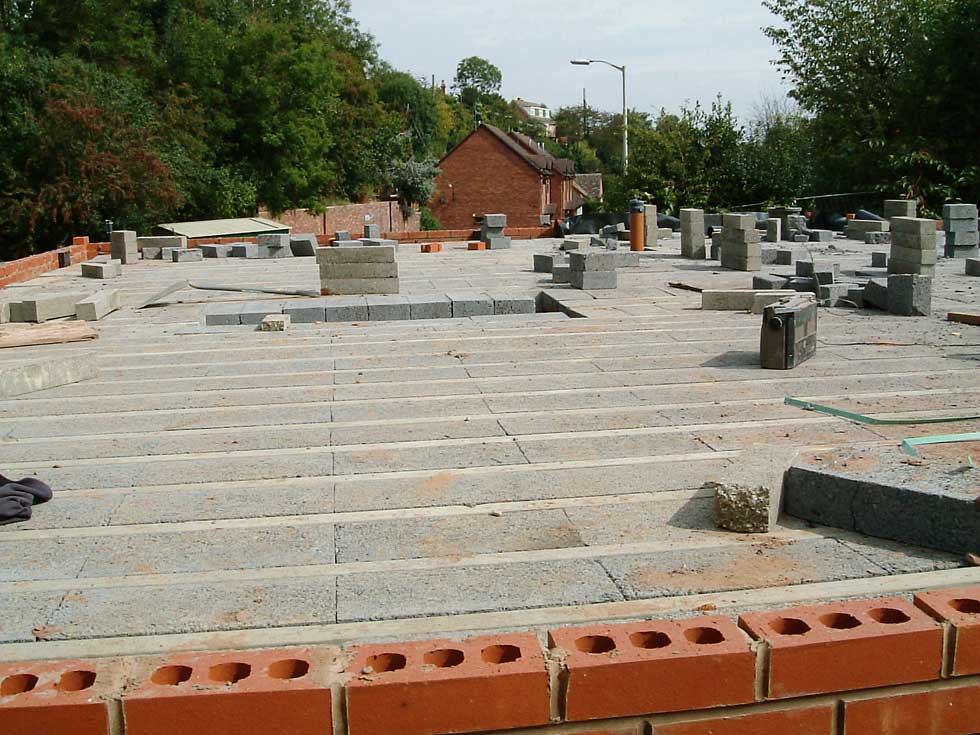
Finish footings and install ground floor slab, or beam and block.
The Build – Month Two
4. Superstructure
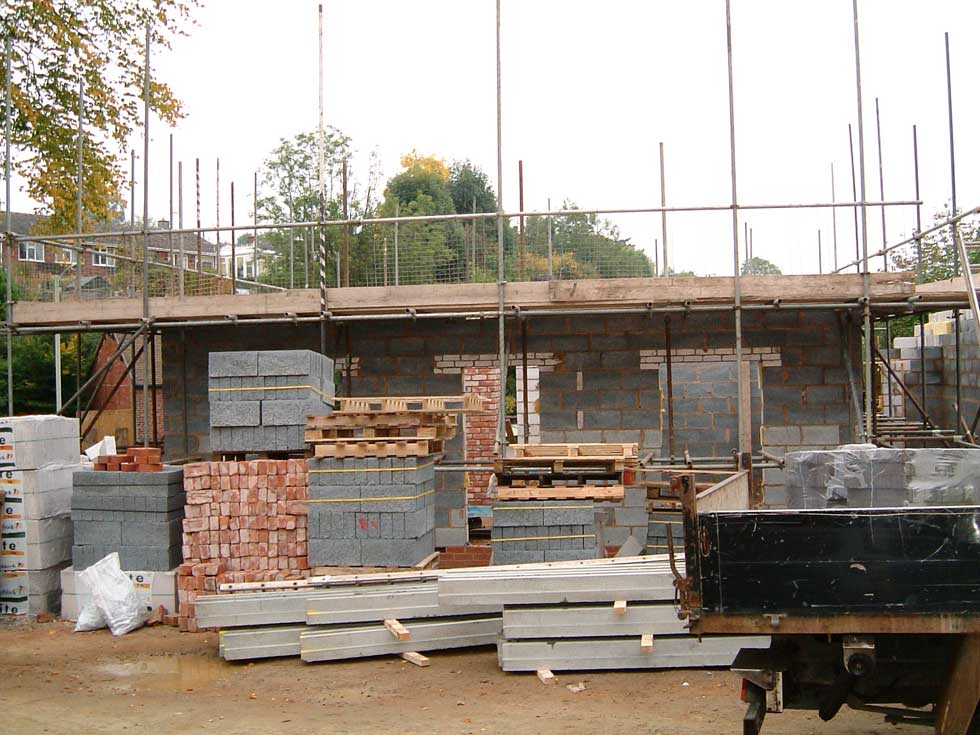
Blocks or frame used to build external walls to first floor height.
The Build – Month Three
5. Second Lift
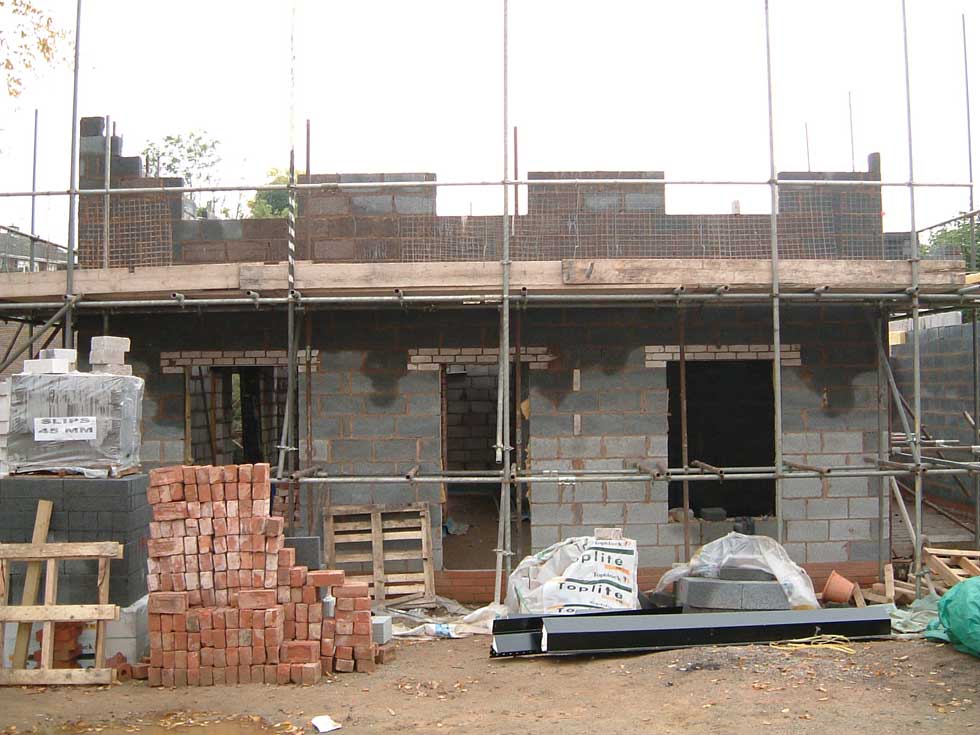
First floor structure installed, external walls continue to roof.
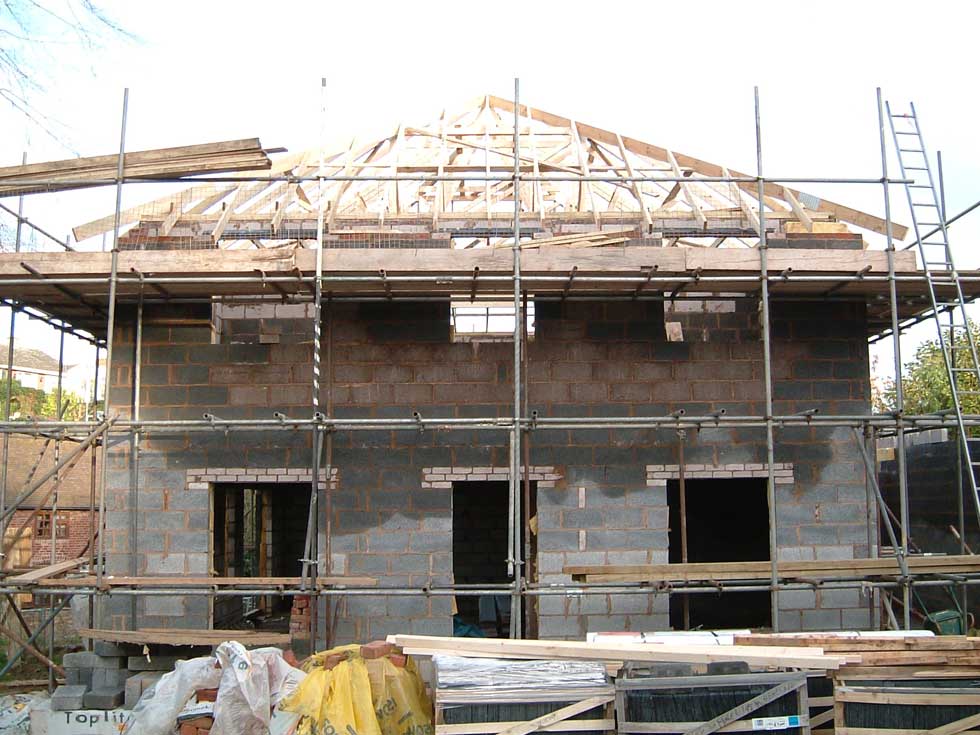
Walls finished, roof structure installed and covered with slate or tiles. Warranty inspection sometimes required.
The Build – Month Four
7. Weathertight
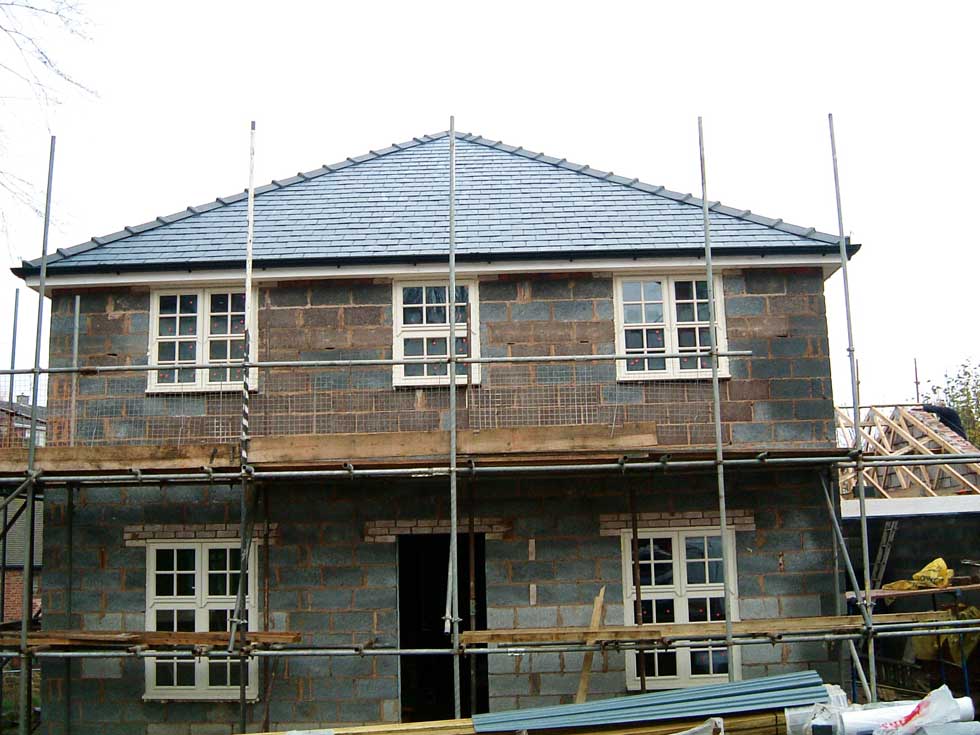
Windows, doors and soffits fitted to make house weathertight. Rainwater goods and external decoration finished.
The Build – Month Five
8. First Fix
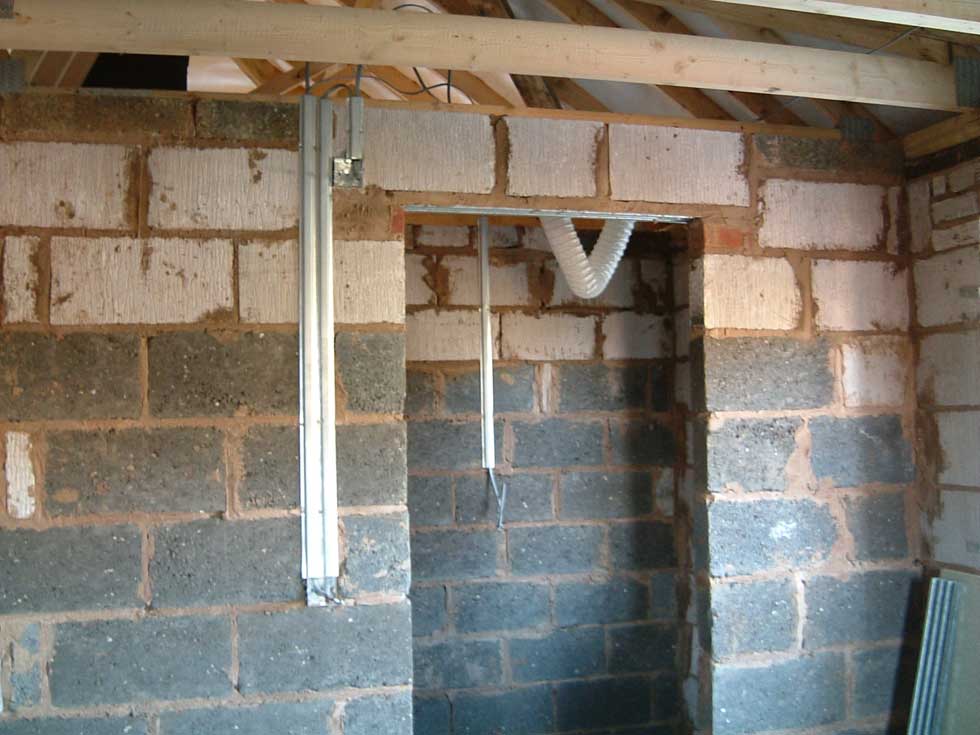
Electrical and plumbing runs put in place, then internal walls and stud walls built.
The Build – Months Six to Eight
9. Plastering
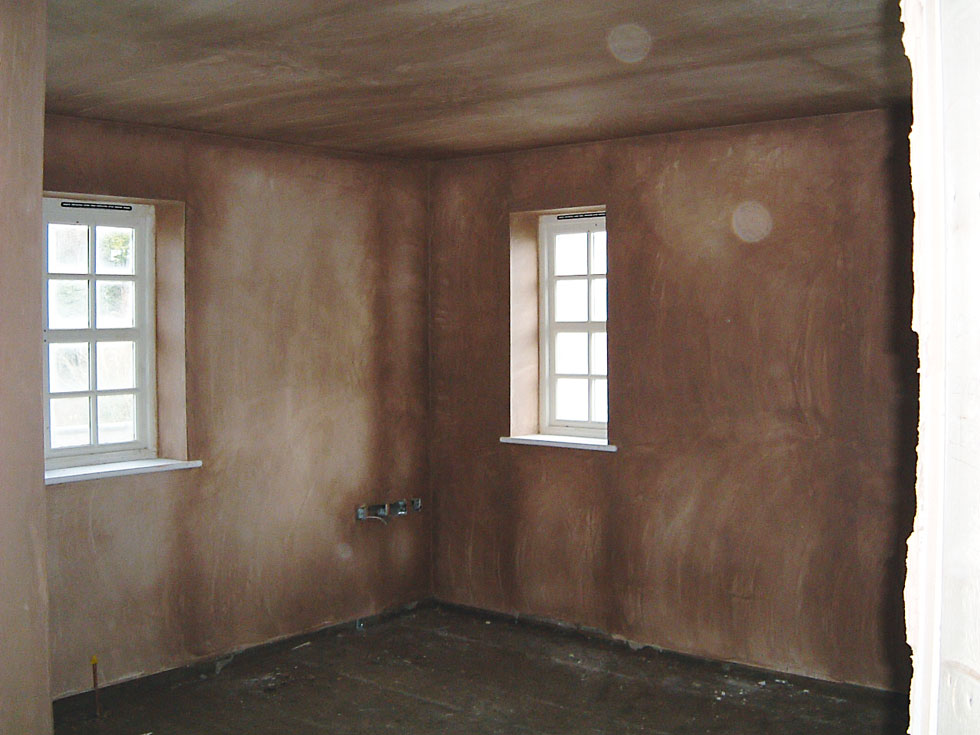
Usually a skim coat on top of plasterboard after completion of first fix.
10. Second Fix
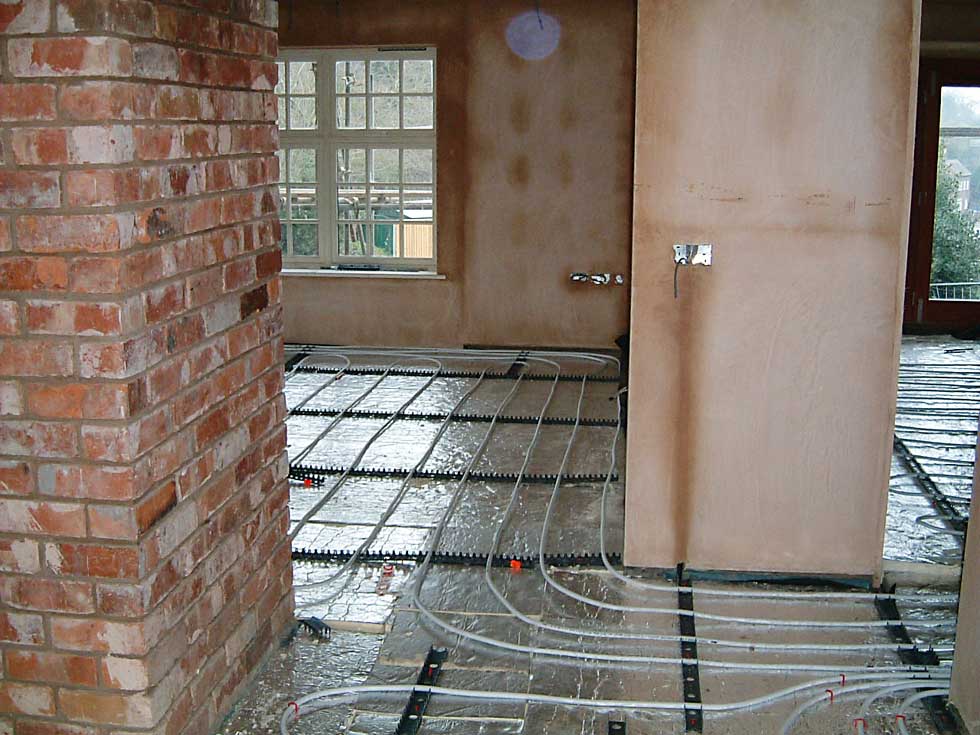
Connecting up the electrics (to include sockets) and heating systems. All sanitaryware to be fitted and plumbed in.
The Build – Months Nine to Ten
11. Fixtures
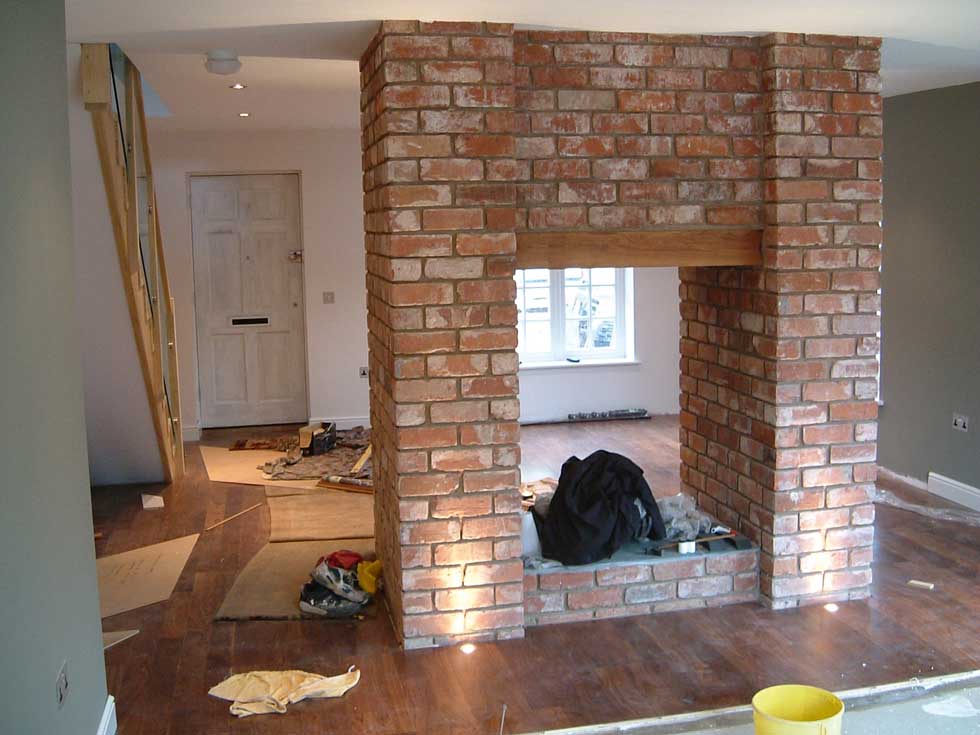
Flooring down, joinery completed and kitchens and bathrooms installed. Decoration and tiling.
12. Snagging

Arrange for final inspection and prepare to move in. Builders back to deal with any issues, final exterior finishes and landscaping.

The former Editor of Homebuilding & Renovating magazine, Jason is an experienced self builder and has recently finished renovating his 1960s home. Jason is now Managing Director of Future PLC's Homes' portfolio, which includes UK-leading titles such as Ideal Homes, Livingetc and Homes & Gardens. He is also the author of The Self Build Dream. You can catch Jason in the seminar theatres and Advice Centre at many of the Homebuilding & Renovating Shows across the UK.
