Want to know how to wire a light switch? It's as easy as 1-2-3 when you follow this expert advice
Get all the essential expert knowledge you need to know to tackle wiring a basic one-way light switch in your home
Bring your dream home to life with expert advice, how to guides and design inspiration. Sign up for our newsletter and get two free tickets to a Homebuilding & Renovating Show near you.
You are now subscribed
Your newsletter sign-up was successful
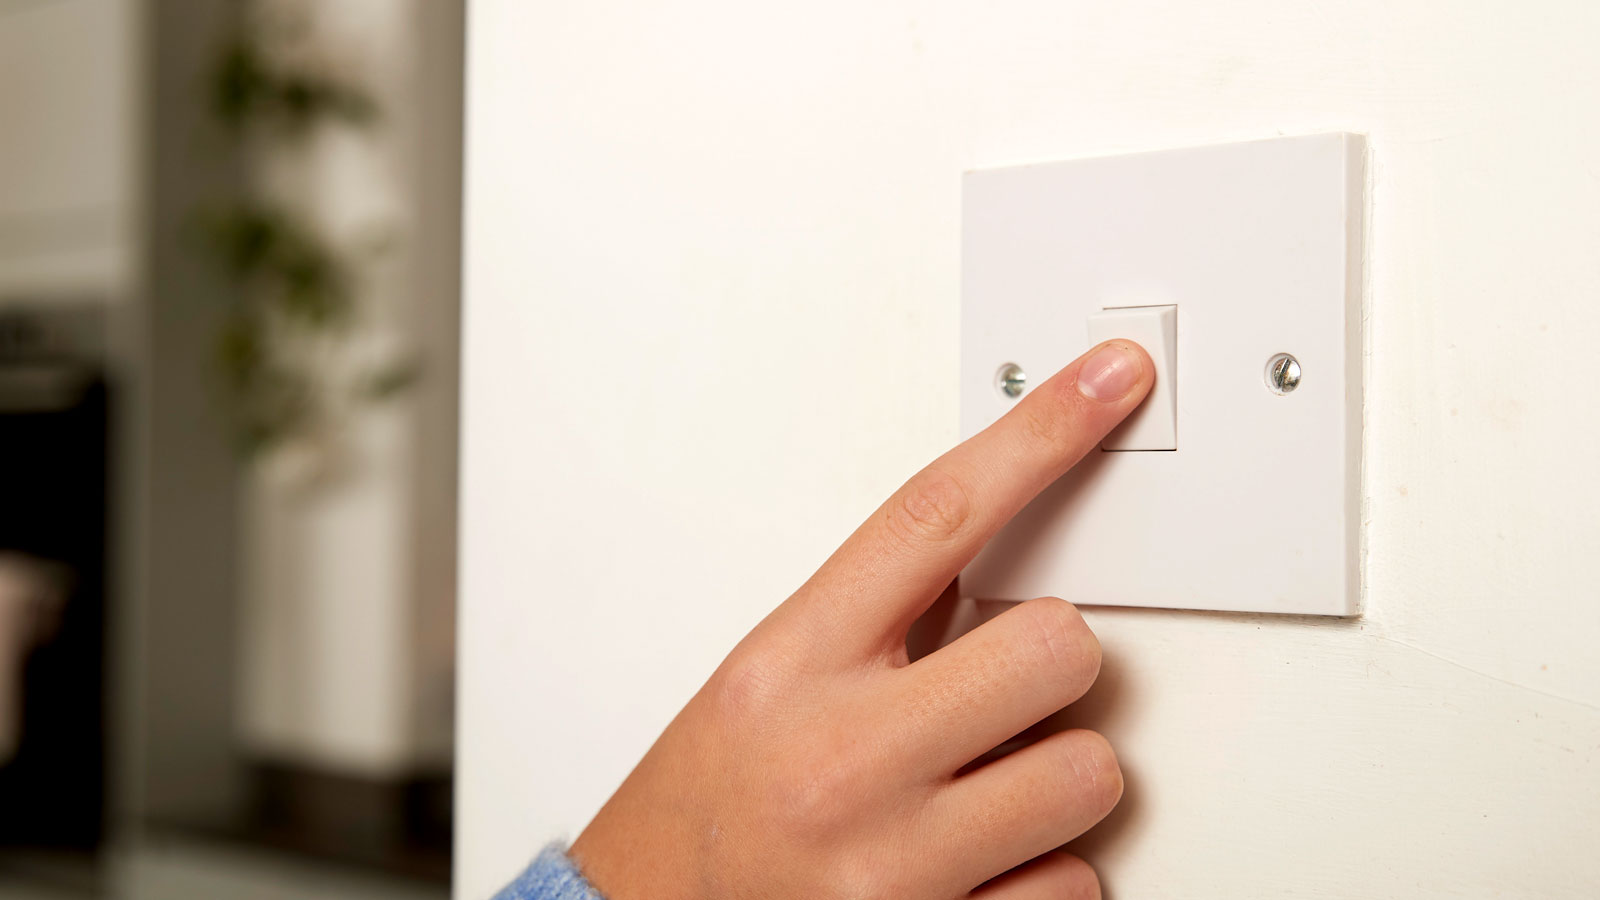
Tackling electrical projects can be daunting for DIYers. It’s one task that can be dangerous if not done correctly. However, knowing how to wire a light switch is a relatively straightforward job, and unlike rewiring a house, it's one you can attempt yourself.
But to ensure your safety, there are some basic rules that need to be followed. Take note of the rules and steps in this guide to wiring up a one-way light switch, and you will be able to safely install a new light switch yourself – anywhere in your home.
Tools you’ll need to wire a light switch
Before you start, make sure that you have all the tools you need nearby. Thomas Oldham, co-founder of UK Construction Blog, shares what you’ll need.
“Start with a voltage tester to confirm the circuit is not live before you begin. You will also need wire strippers to prepare the cable ends and an insulated screwdriver (like the Hilka Electricians Screwdriver Set from Amazon) to tighten the terminals safely," he adds.
In addition, you will need the following, says Thomas.
“Have a replacement switch ready if you are upgrading, and keep electrical tape or sleeving to identify switched live wires. A small pair of needle-nose pliers (like these ZUZUAN Premium Vise-Grip Long Needle Nose Pliers from Amazon) can help bend wires neatly into the terminals, and a torch is useful if you are working somewhere like a dark hallway.”
Try these tools for wiring a light switch
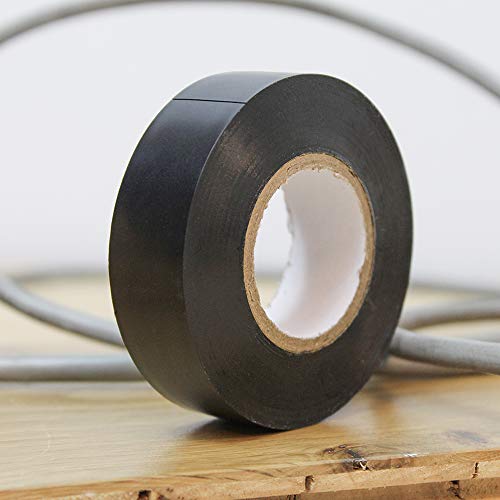
A two-pack of flame-retardant and self-extinguishing black PVC electrical tape. Conforms to British safety standards and measures 19mm in width and 20m in length
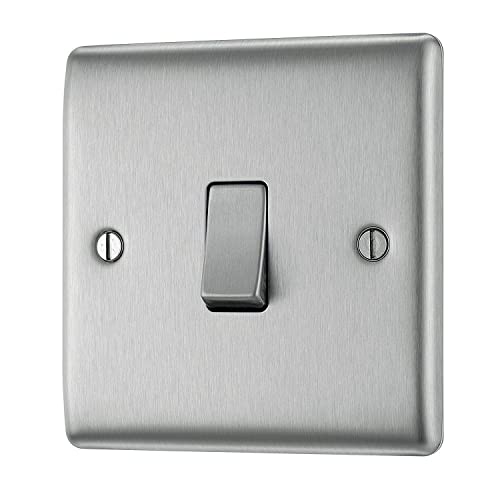
A contemporary brushed steel single push switch light switch. It can be used as a one-way switch for simple operation or a two-way switch, making it an ideal choice for hallways

This set of two includes an automatic wire stripper and a manual precision stripper. The automatic wire stripper adjusts to various wire gauges, delivering quick and clean results. Ideal for DIYers

Thomas Oldham has spent the past four years using his expertise of working in the engineering and construction industry for over a decade to develop the UK Construction Blog - a leading online platform dedicated to empowering individuals and businesses in the construction industry.
3 steps to wire a light switch
Once you have the tools you need, it is recommended that you make sure you are completing the work during daylight hours, as you will be turning off the electrics to your home.
Bring your dream home to life with expert advice, how to guides and design inspiration. Sign up for our newsletter and get two free tickets to a Homebuilding & Renovating Show near you.
1. Switch off the electric
Before you start you need to isolate the light switch so you are not working with a live circuit. Find your fuse box, where you will see a large on/off switch and push to off. As an extra safety precaution you can also remove the fuse that controls the lighting circuit you are working on.
Now test the electricity has been switched off. Try the switch you are replacing and any other plugged in electric items – such as a lamp or TV – and check they are not working.
2. Remove old switch
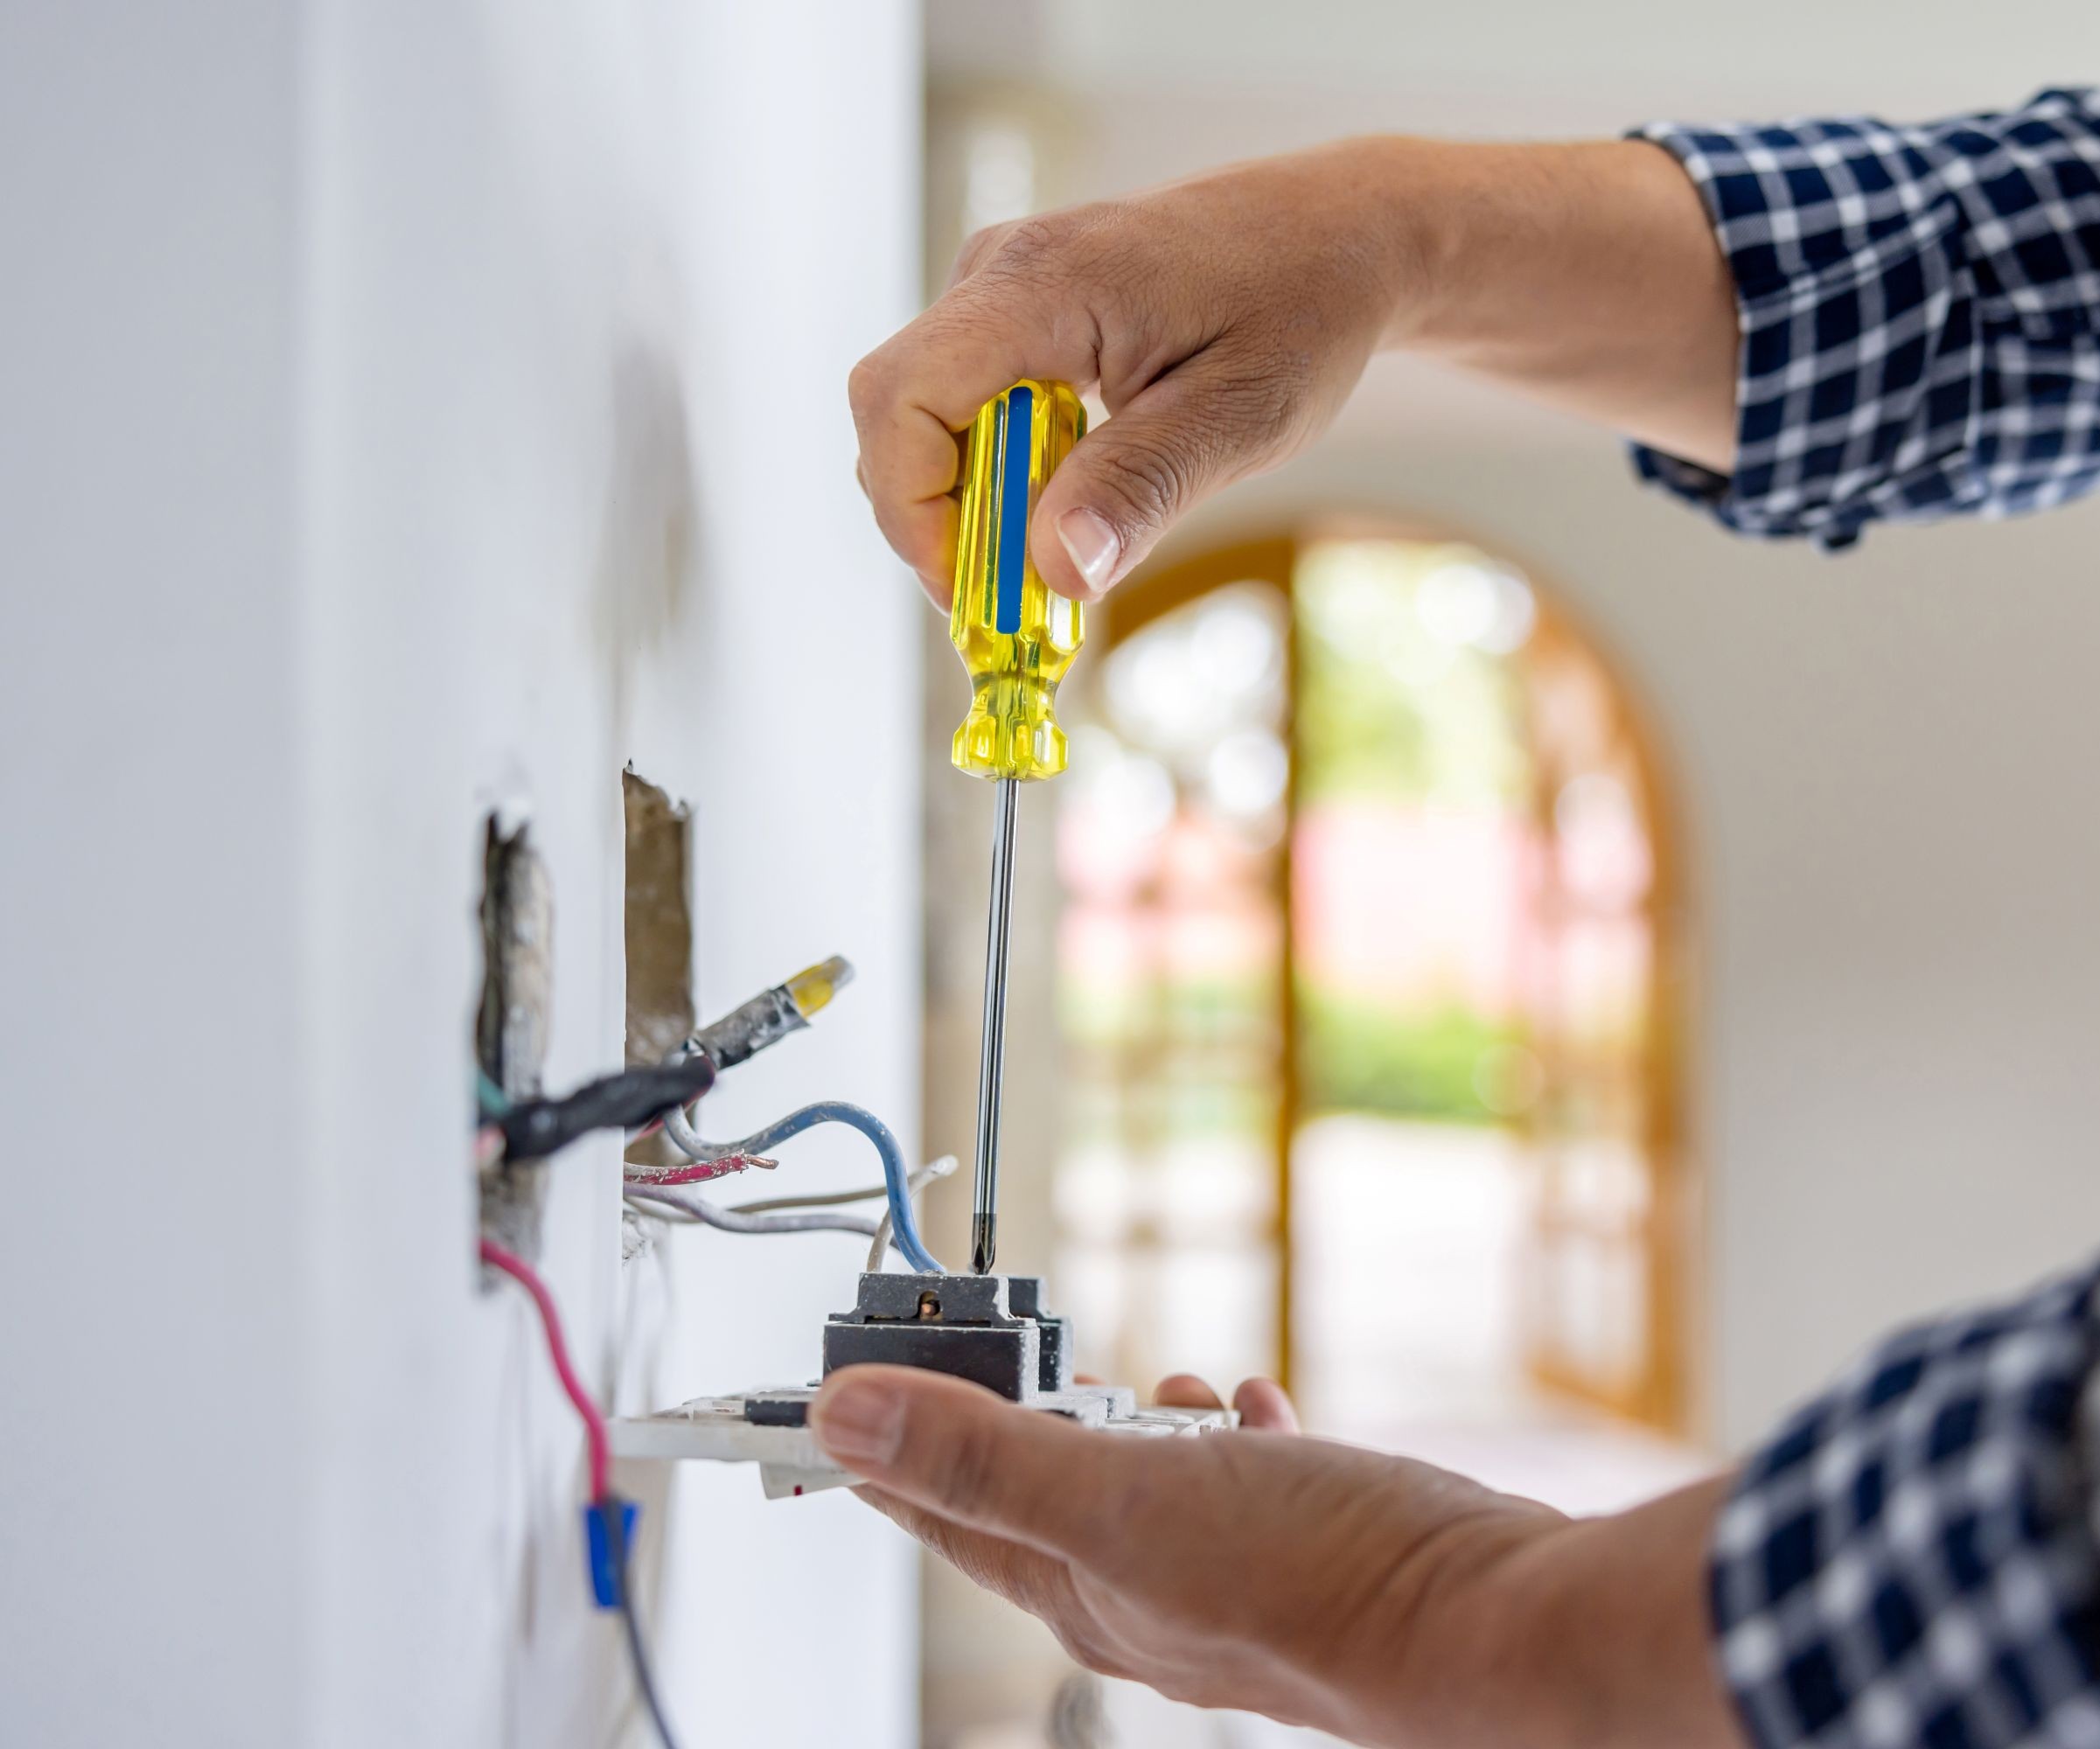
Get a suitable screwdriver and gently remove the switch plate. Place the screws somewhere safe so you don’t lose them. Now note which wires go where. Take a photo for reference.
Typically, a one way switch will have two terminals named COM (at the top) and L1 at the bottom. The brown (live feed) wire goes into the COM terminal and the blue (switch wire) wire goes into the L1 terminal. The blue (switch wire) wire will normally have a brown sleeve or tape indicating that it is also a live circuit, and not a neutral circuit as the colour would normally suggest.
For older wiring it's the red (live feed) wire that goes in the top COM terminal and the black (switch wire) wire that goes into the L1 terminal.
Again, the black (switch wire) wire would normally have a red tape or sleeve indicating that it is a live circuit and not neutral.
3. Wire up the new switch
Loosen the terminal screws holding the wires in place and gently pull out the wires and put the old light switch aside. Check that the ends of the wires are neatly twisted together so there are no stray wires. Use a pair of pliers to tidy up if needed.
You may need to strip the wires with a pair of wire strippers and trim up with a pair of pliers. Leave around 15mm of bare wire and enough length so it's easy to wire up the new terminals. Place the brown or red (live feed) wire into the COM terminal and tighten. Give it a gentle tug to make sure it is secure. Do the same with the switch blue or black wire and place it into the L1 terminal. If the cables do not fill the terminals, then the wires can be stripped further back and folded over to ensure a nice tight connection.
If installing a light switch with a metal faceplate, you need to connect the green/yellow earth wire to the faceplate. Once complete, tuck the cable into the back box and screw the switch plate back on, making sure it is secure. Finally, restore the power to test the new switch.
Wiring colours
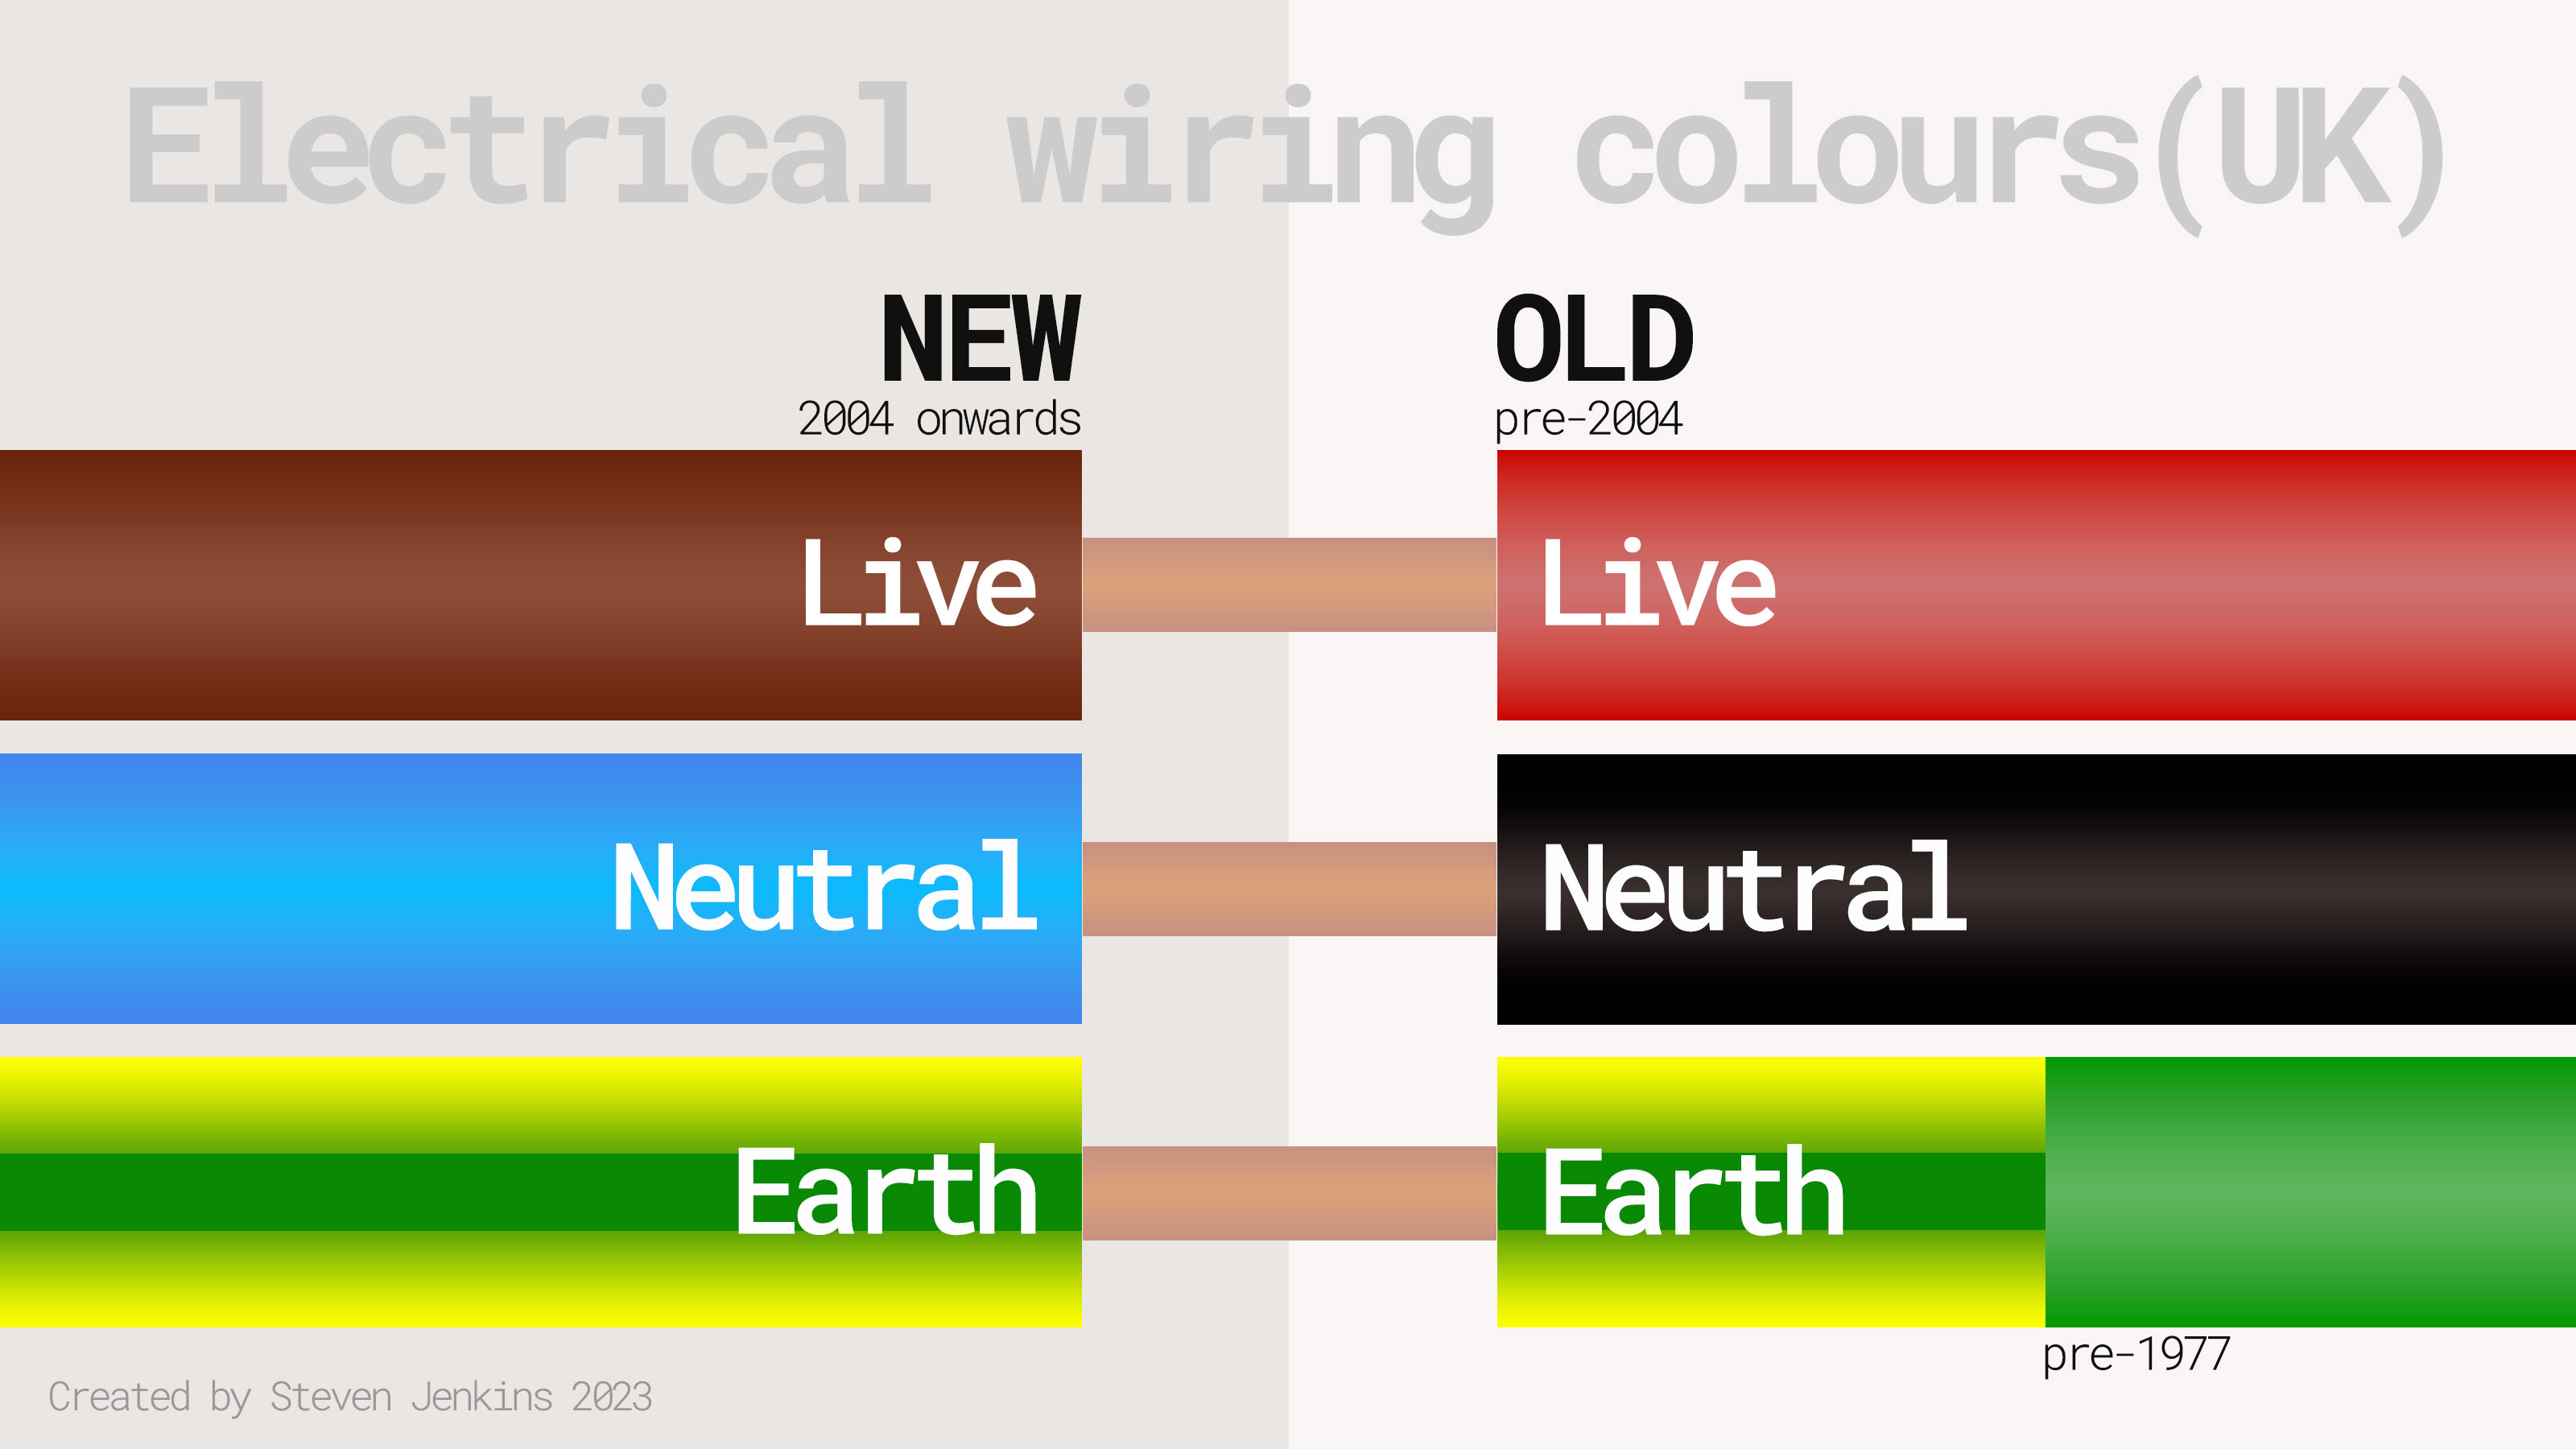
The current standard wiring colours of green/yellow, blue and brown were introduced back in 2004 with all new wiring installations from the beginning of 2006 having to adopt these colours.
But if you live in a home built before the regulations came into effect the wiring will most likely be red, black and green/yellow (pre-1977 the earth was just green). The old live red wire was replaced by brown, the old neutral black wire by blue and the old green earth became yellow and green.
It is important that you note the colours and make sure you connect to the right terminal whenever doing any domestic electrics including wiring up a light switch or wiring a plug.
FAQs
What does L1 and L2 mean on a light switch?
In a standard one-way switch, you will only need L1, as Thomas Oldham explains. “In a standard one-way switch, you only use COM (common) and L1, with power entering through COM and leaving through L1 to the light.” The COM terminal is typically found at the top, while the L1 terminal is found at the bottom.
A two-way switch will add an L2 terminal alongside the L1 terminal. Jordan Batchelor from JB Electrical reveals what L1 and L2 mean, "There are two ways of connecting a light switch, one-way and two-way. In a one-way switch installation, you simply connect the incoming permanent live conductor into the common terminal and the switched live conductor (going to the light fitting) to the L1 terminal. "
He adds, "two-way is used for when you have two light switches switching one light, e.g. one switch at both ends of a hallway. This is when you would use the L2 terminal."
While changing a light switch it could be a good time to change a light fitting as you will already have the tools you need and the power turned off.
Are switch markings on a light switch all the same?
No. Different manufacturers can have slightly different markings on the inside of the switch. “The principle is consistent, but manufacturers may label them differently,” confirms Thomas Oldam.
“Most one-way switches use COM and L1, while two-way switches may show COM, L1, and L2 or sometimes L1, L2, and L3.”
But, it doesn’t matter how they are marked as long as you know what they mean.
“They all serve the same function," says Thomas, "with COM always being the supply input and L1 and L2 (or L2 and L3) acting as the switched outputs. The safest approach is to check the manufacturer’s diagram inside the switch housing to confirm correct connections,” he advises.
Do you need to earth plastic plasterboard back boxes?
When installing different types of light switches, the back box is typically recessed into the wall. These are commonly metal or plastic, and which material is used decides whether it needs to be earthed.
"There is no need to connect an earth conductor to the plastic pattress; however, it is very important to the safety of the homeowner and the installation to always connect an earth conductor to any metallic light switch and light fitting," says Jordan Batchelor. If in any doubt, always consult a competent and qualified electrician."
If you need new light switches, it’s a good time to consider your lighting design to complete the picture. Check out our ceiling light ideas and our guide on kitchen lighting mistakes to ensure you get it right.
Steve Jenkins is a freelance content creator with over two decades of experience working in digital and print and was previously the DIY content editor for Homebuilding & Renovating.
He is a keen DIYer with over 20 years of experience in transforming and renovating the many homes he has lived in. He specialises in painting and decorating, but has a wide range of skills gleaned from working in the building trade for around 10 years and spending time at night school learning how to plaster and plumb.
He has fitted kitchens, tiled bathrooms and kitchens, laid many floors, built partition walls, plastered walls, plumbed in bathrooms, worked on loft conversions and much more. And when he's not sure how to tackle a DIY project he has a wide network of friends – including plumbers, gas engineers, tilers, carpenters, painters and decorators, electricians and builders – in the trade to call upon.

